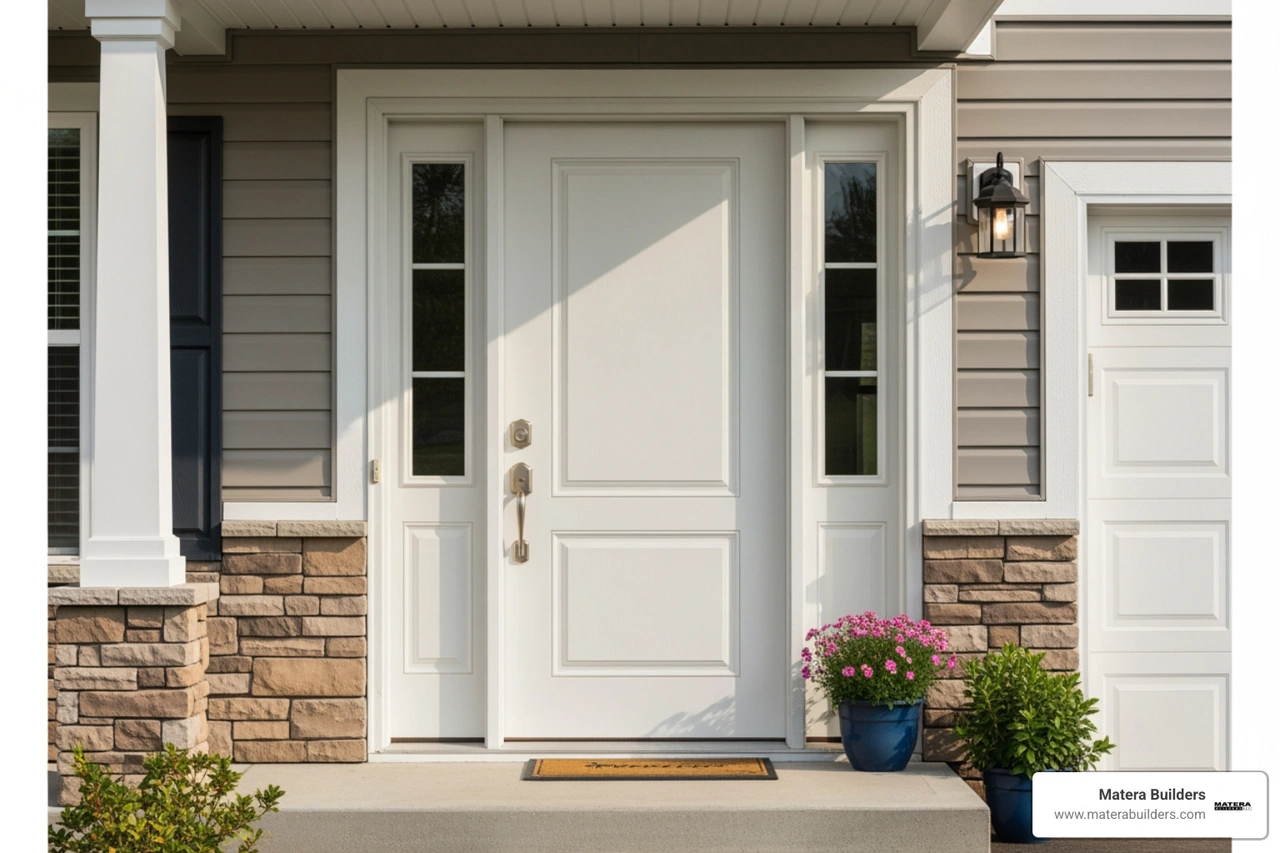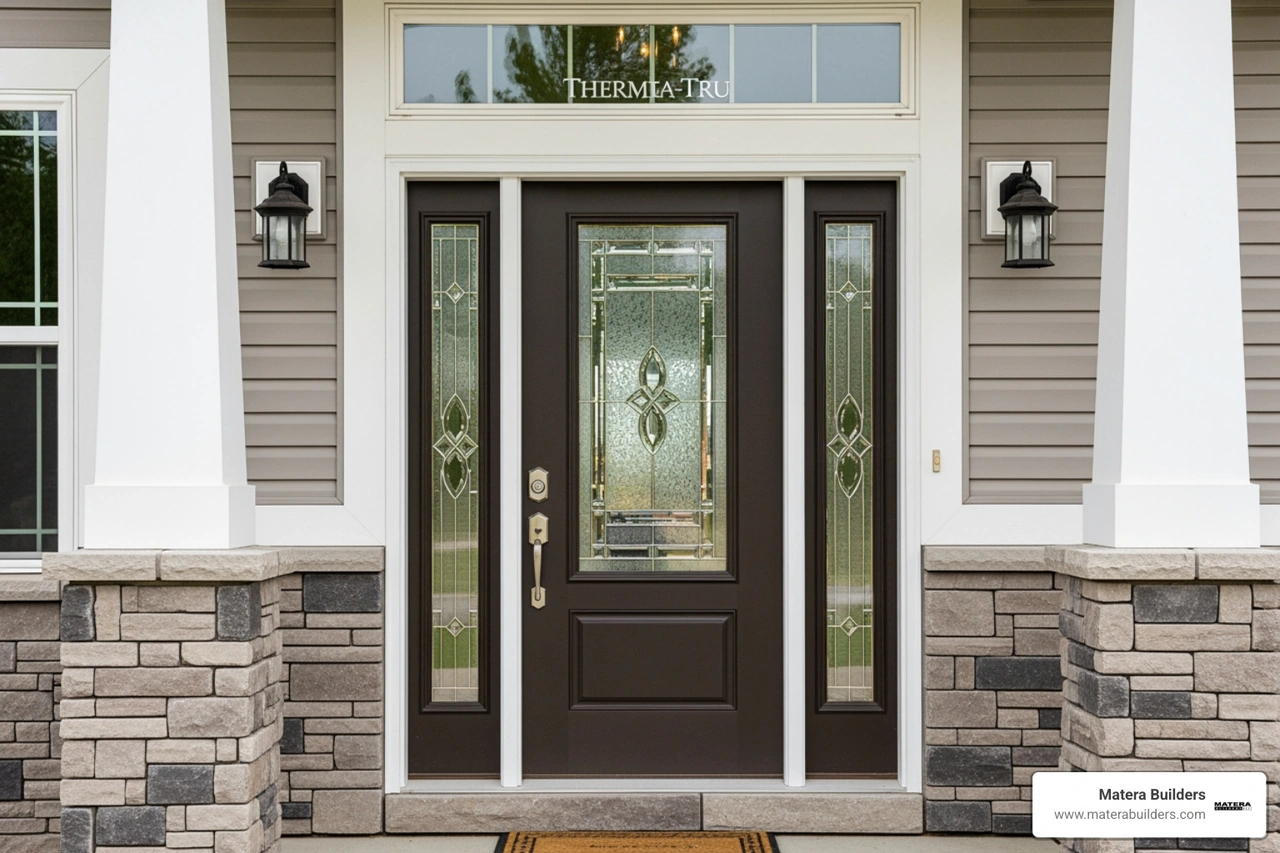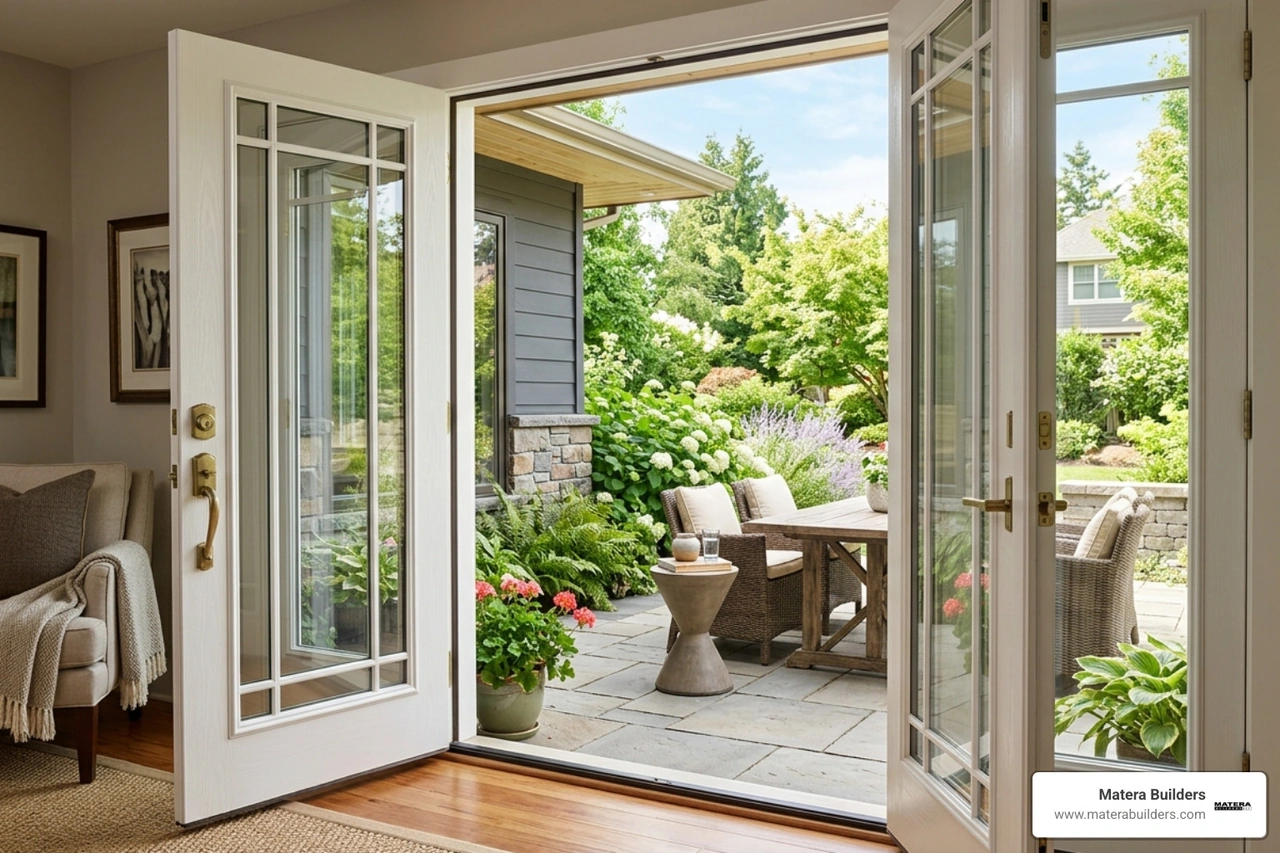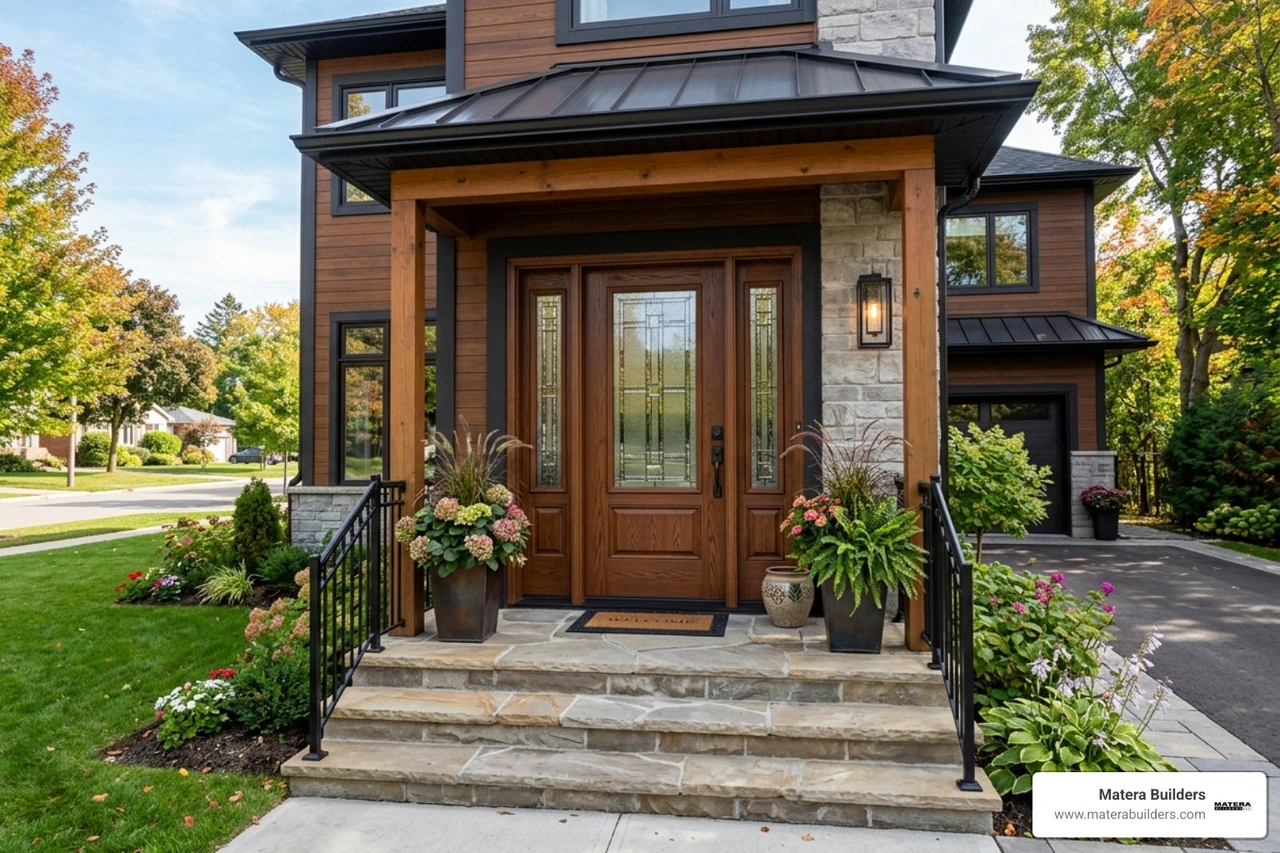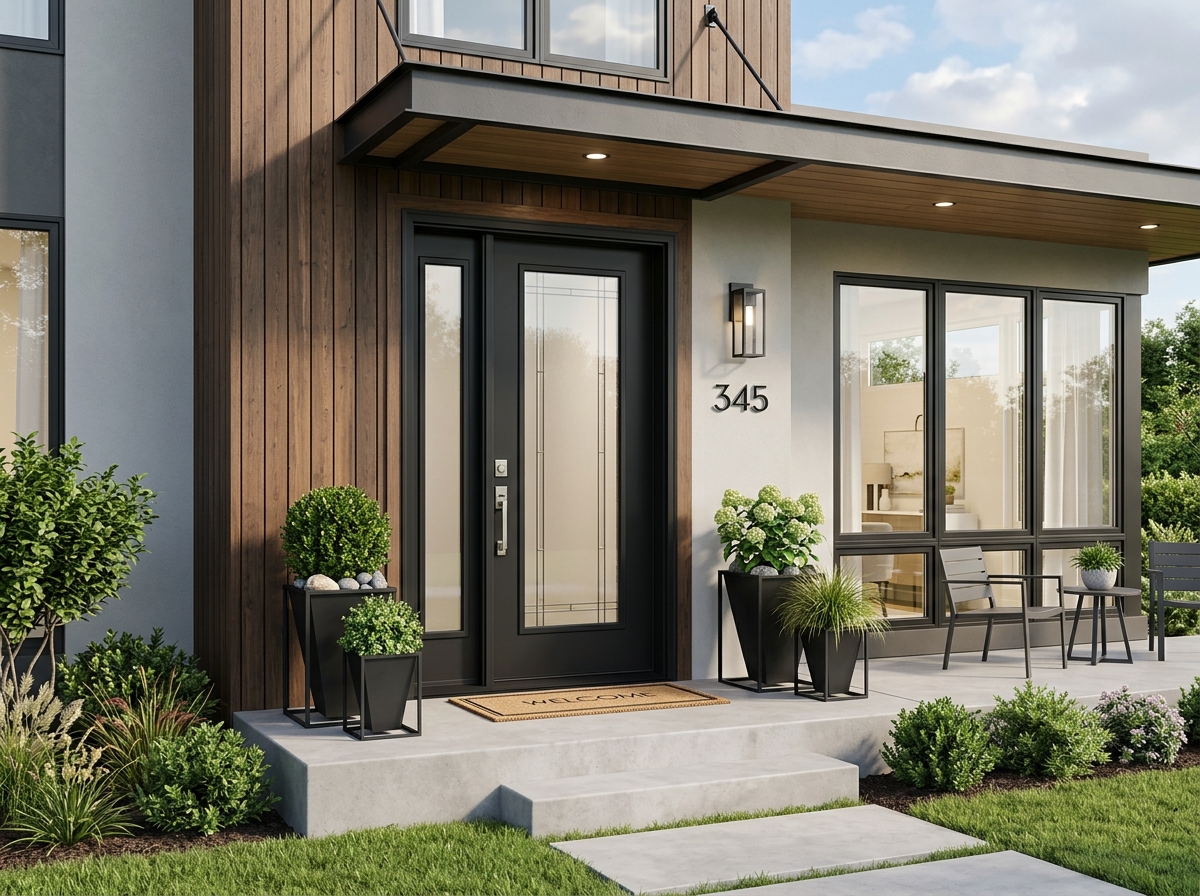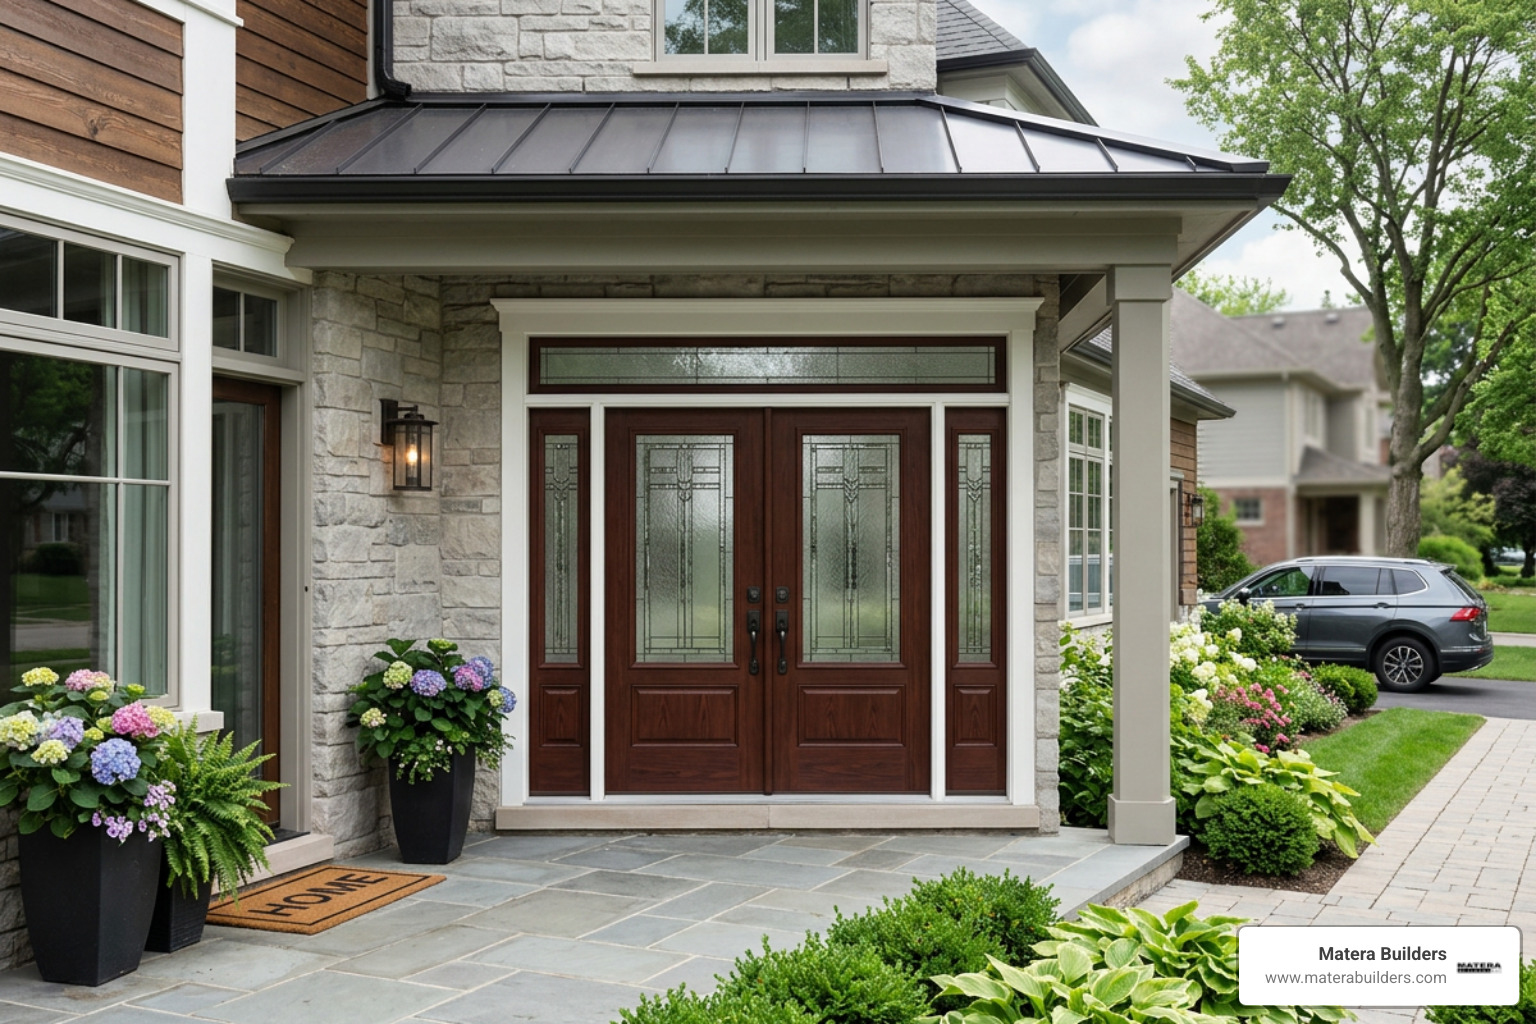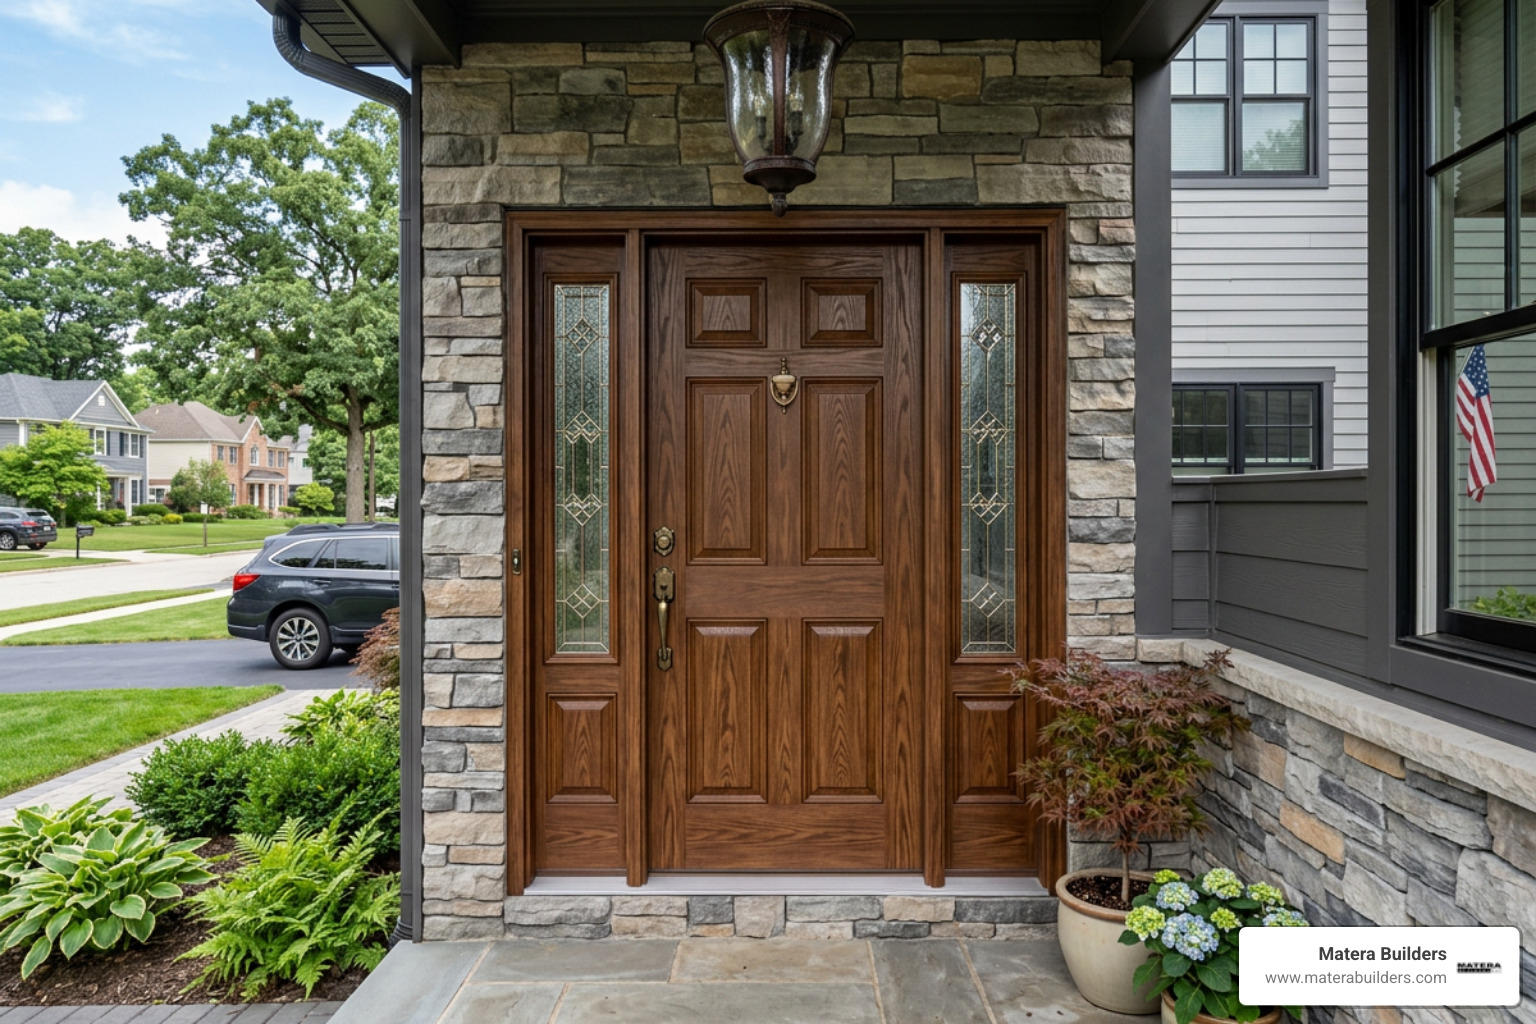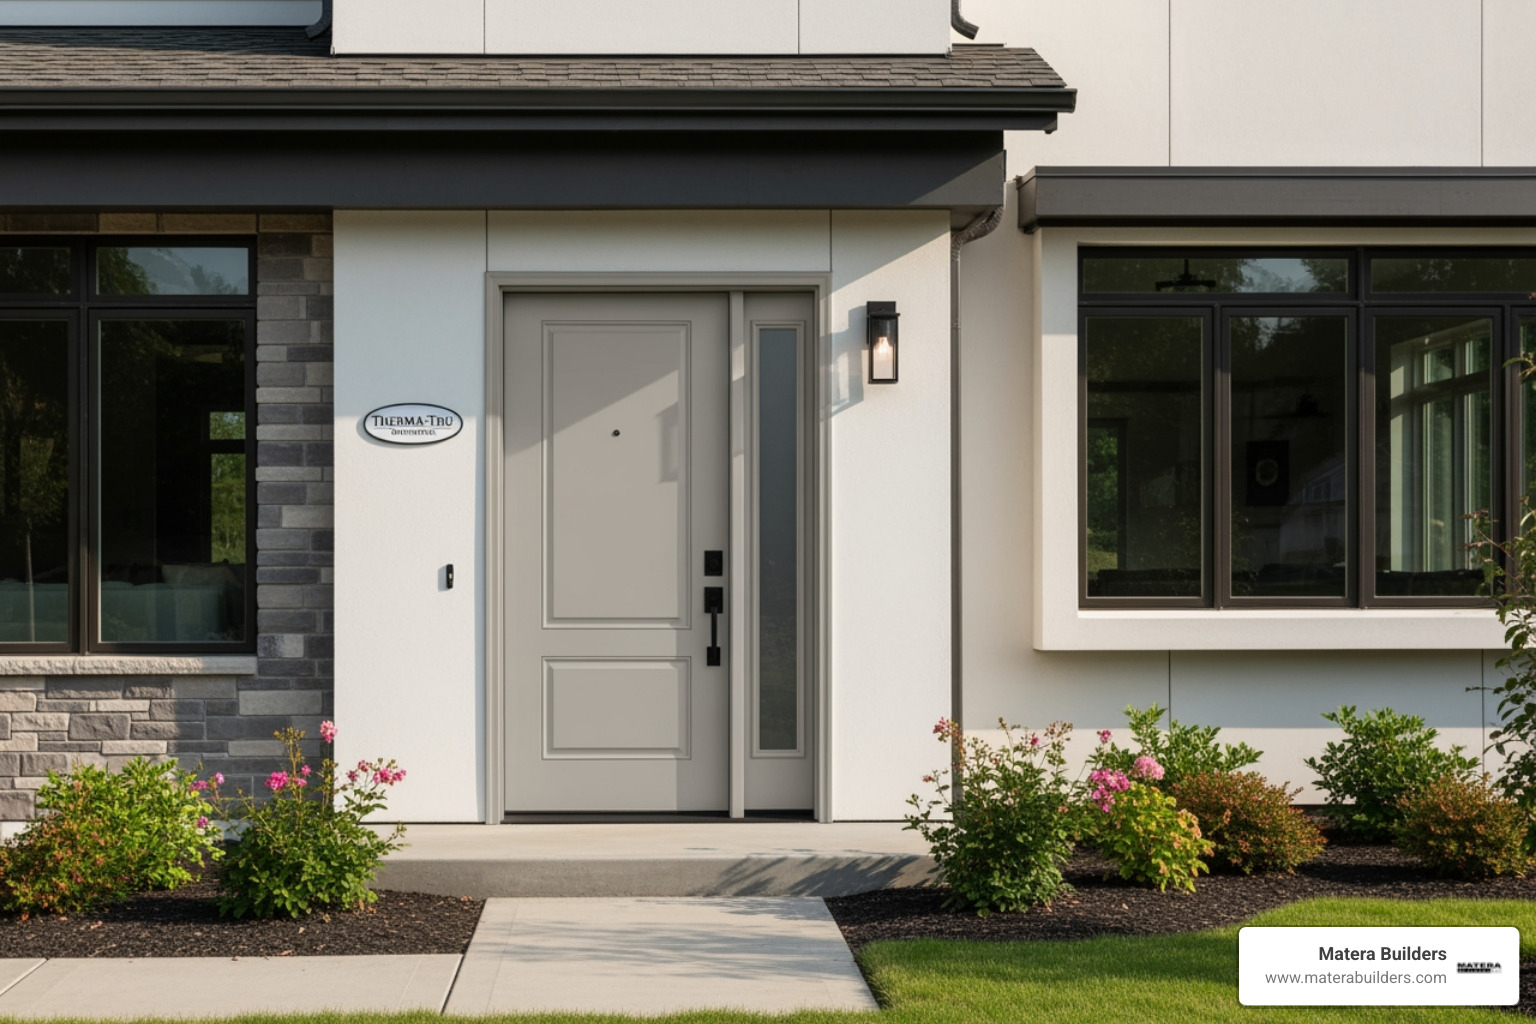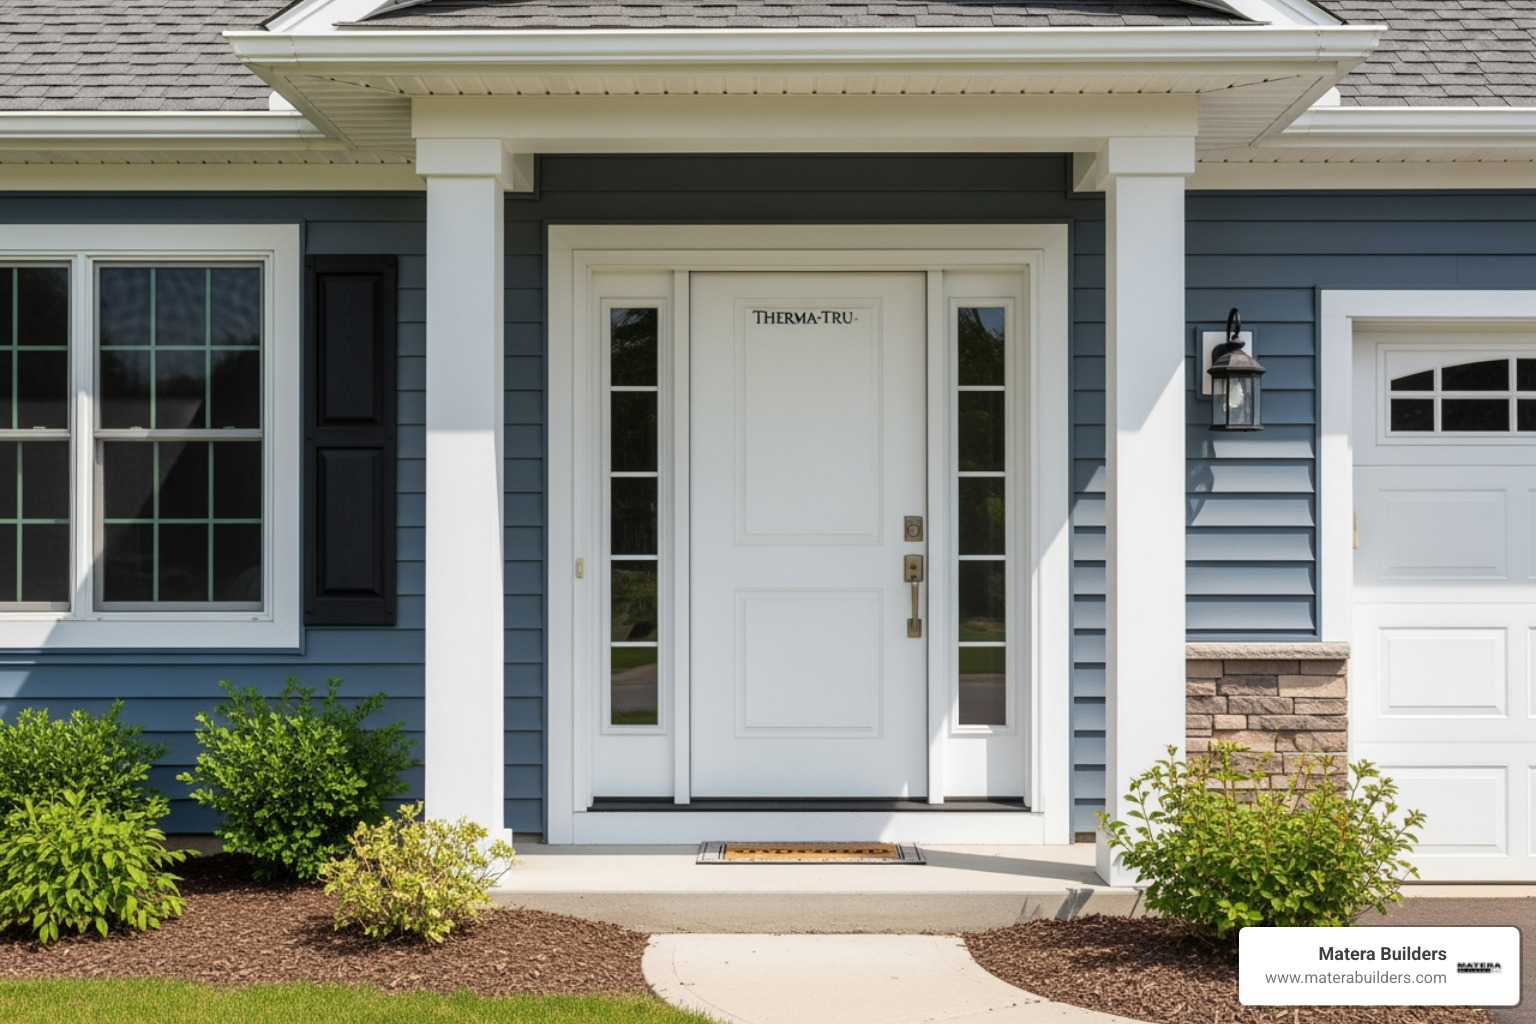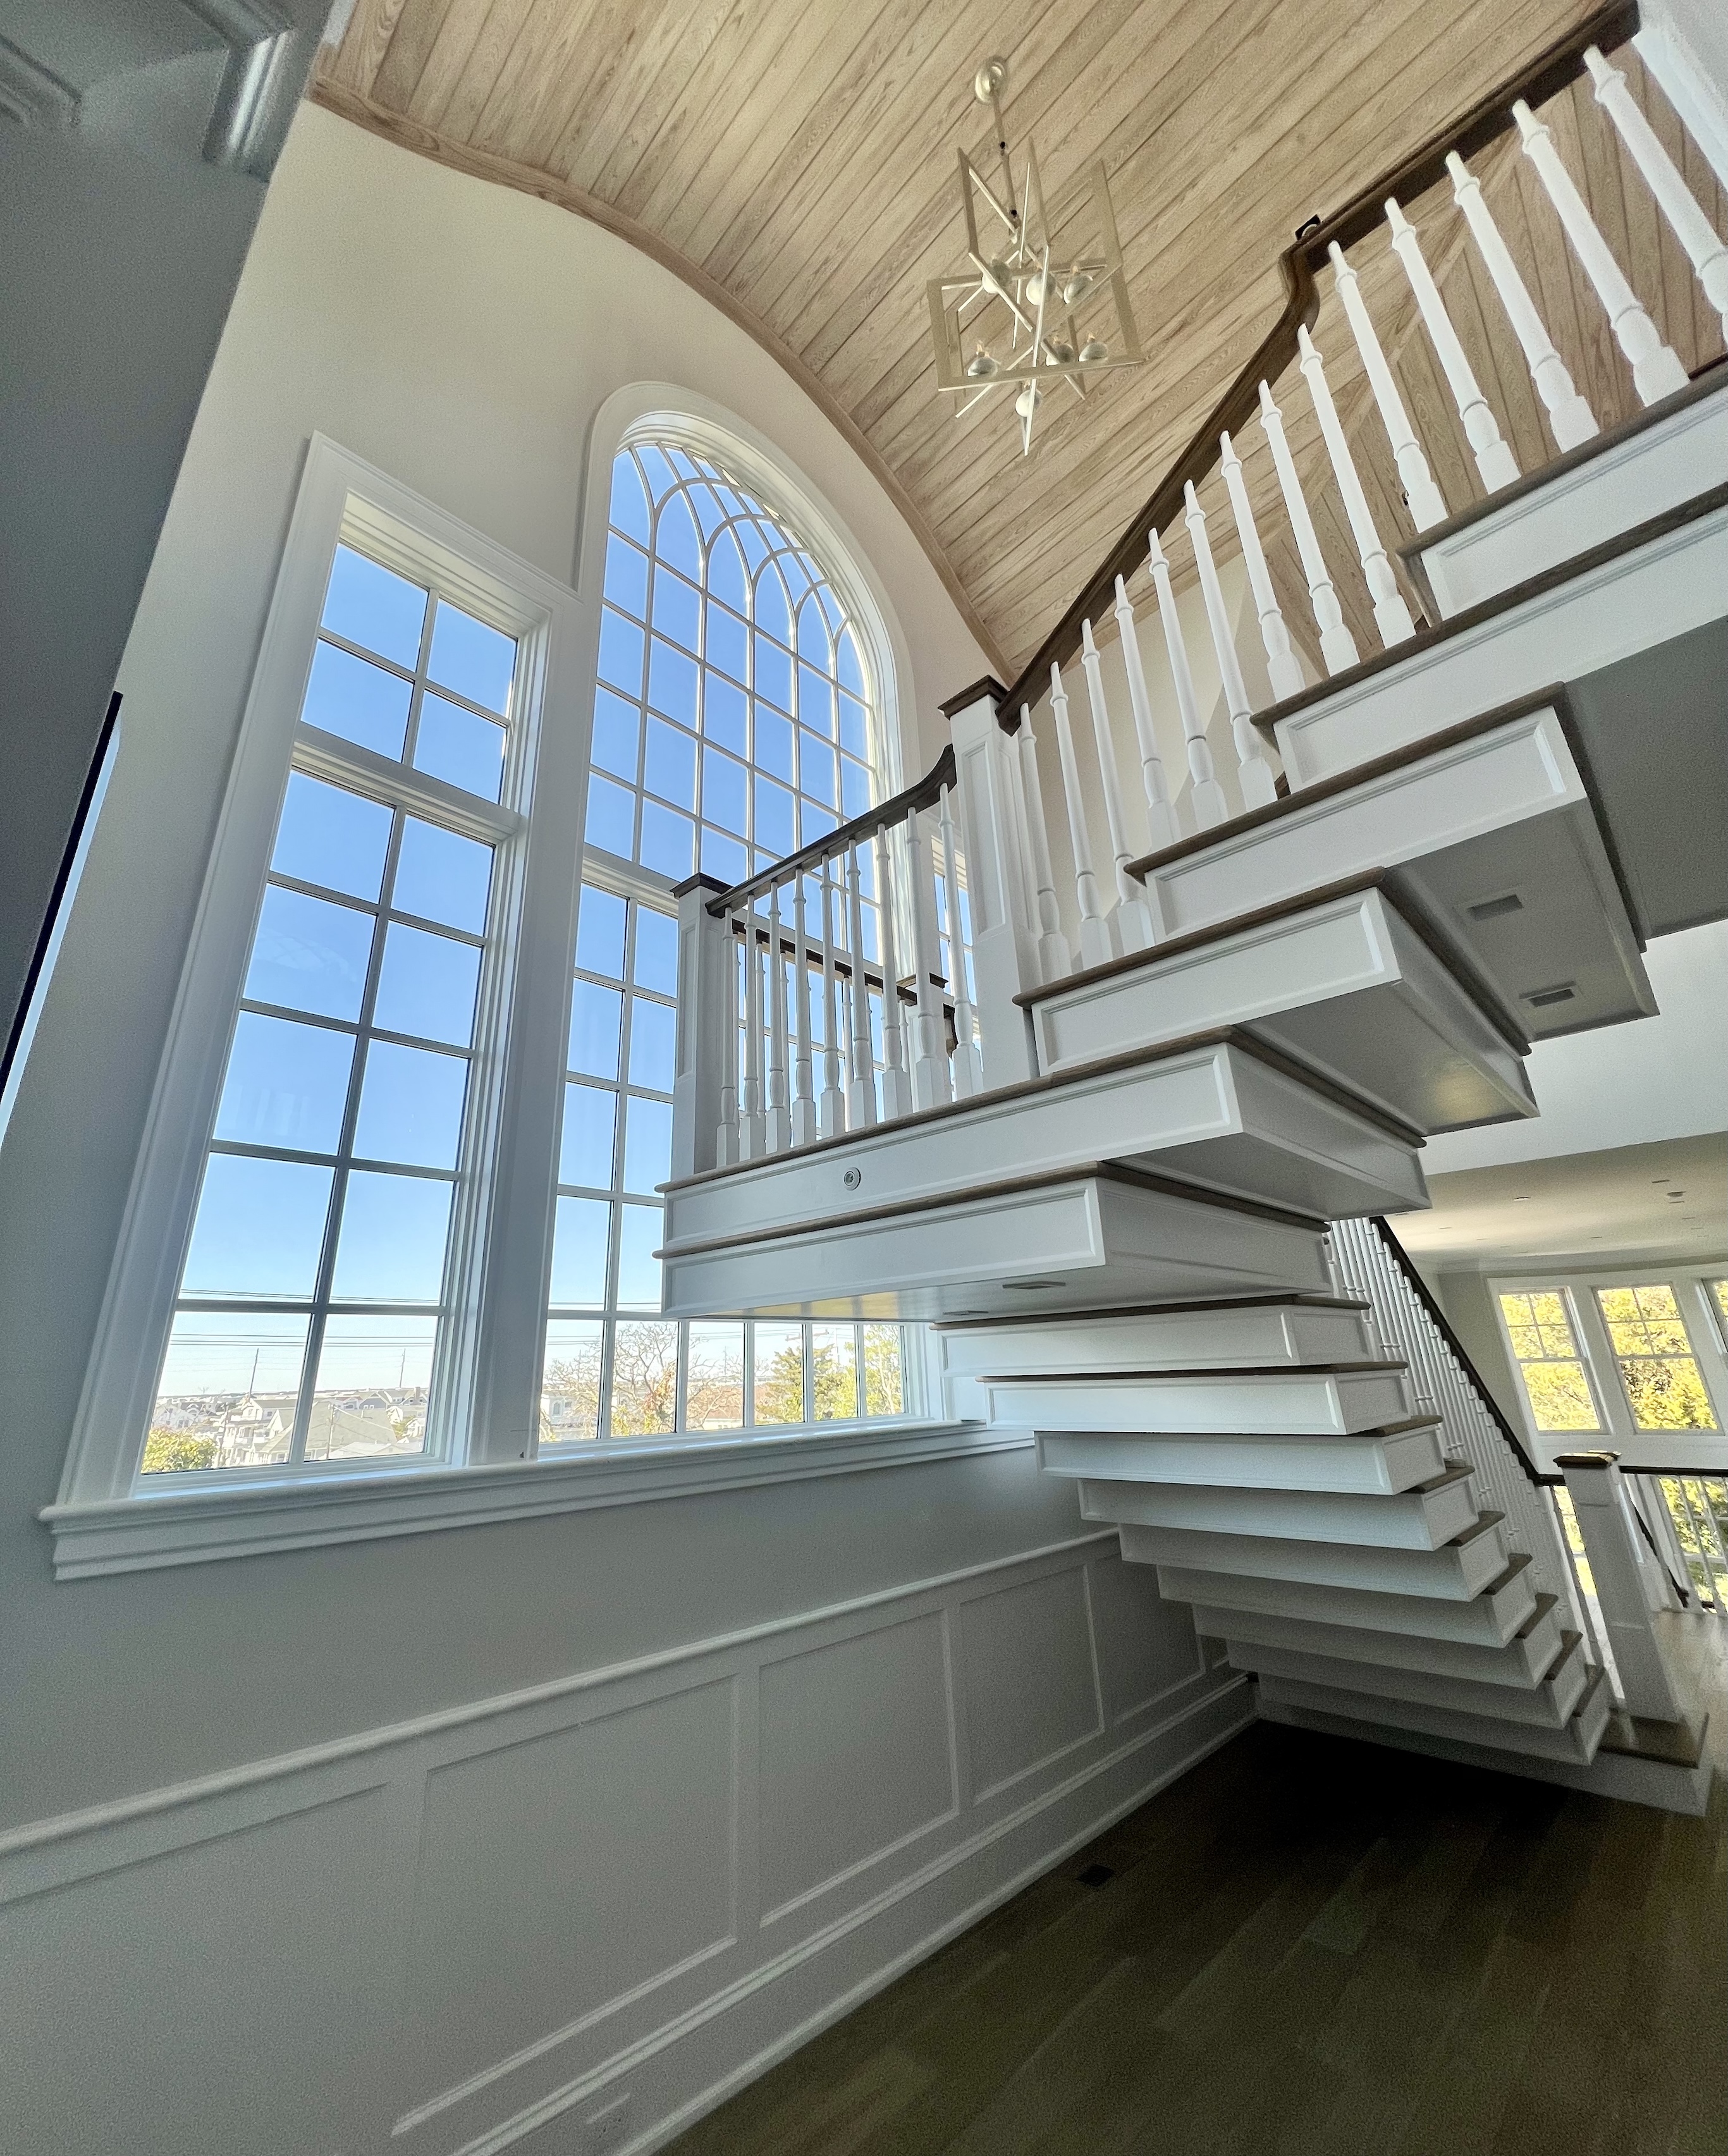

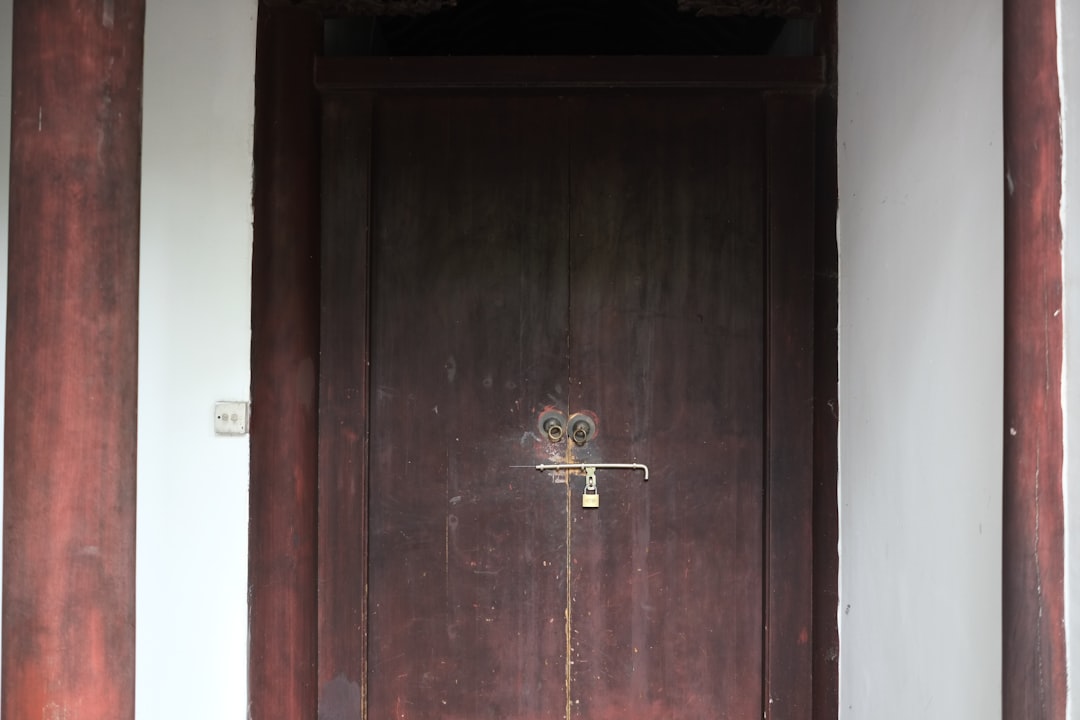
The Right Entry Door Installation Stops Drafts and Leaks From Day One

Drafts at the front door. Water on the floor after a storm. Rusted hardware from salt air. These are the problems we see most in coastal New Jersey.
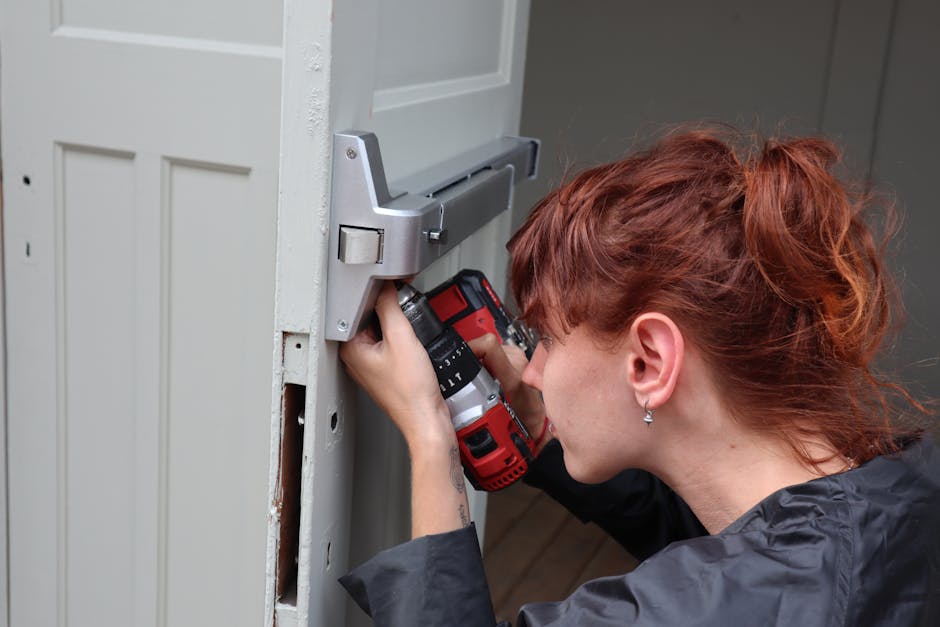
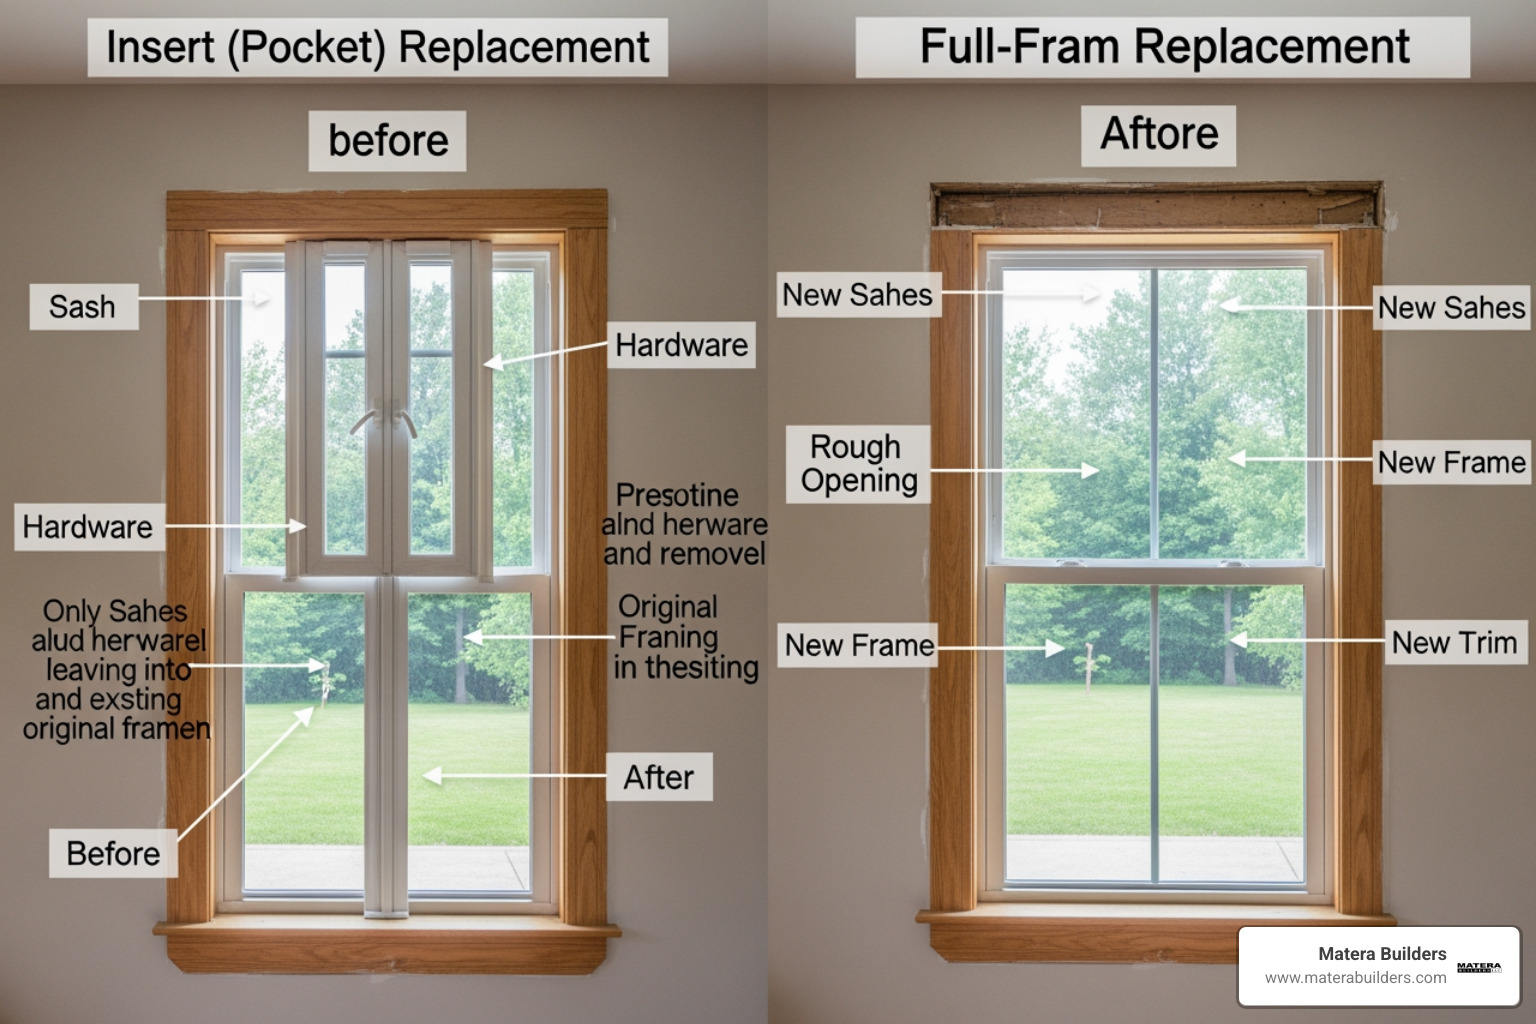
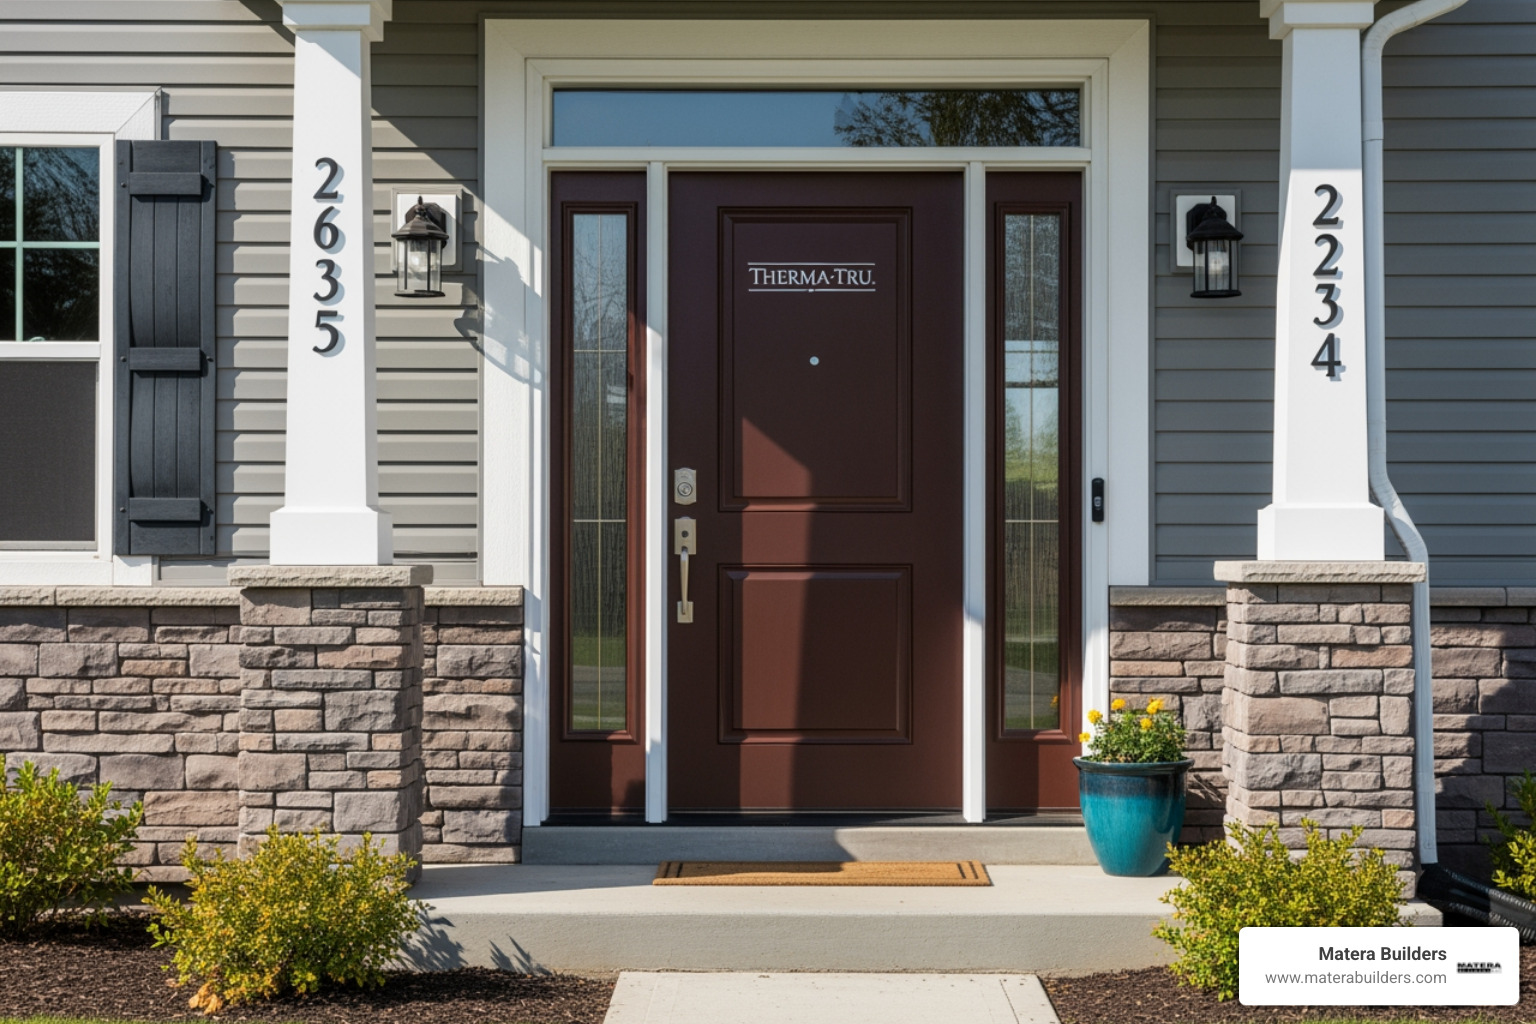
A proper entry door installation fixes the real cause. It is not just the door slab. It is the frame, the flashing, and the seal at the sill.
| Step | What Happens |
|---|---|
| 1. Choose your door | Pre-hung unit (frame included) or slab door |
| 2. Measure the rough opening | 1/2" wider and 3/4" taller than the door jamb |
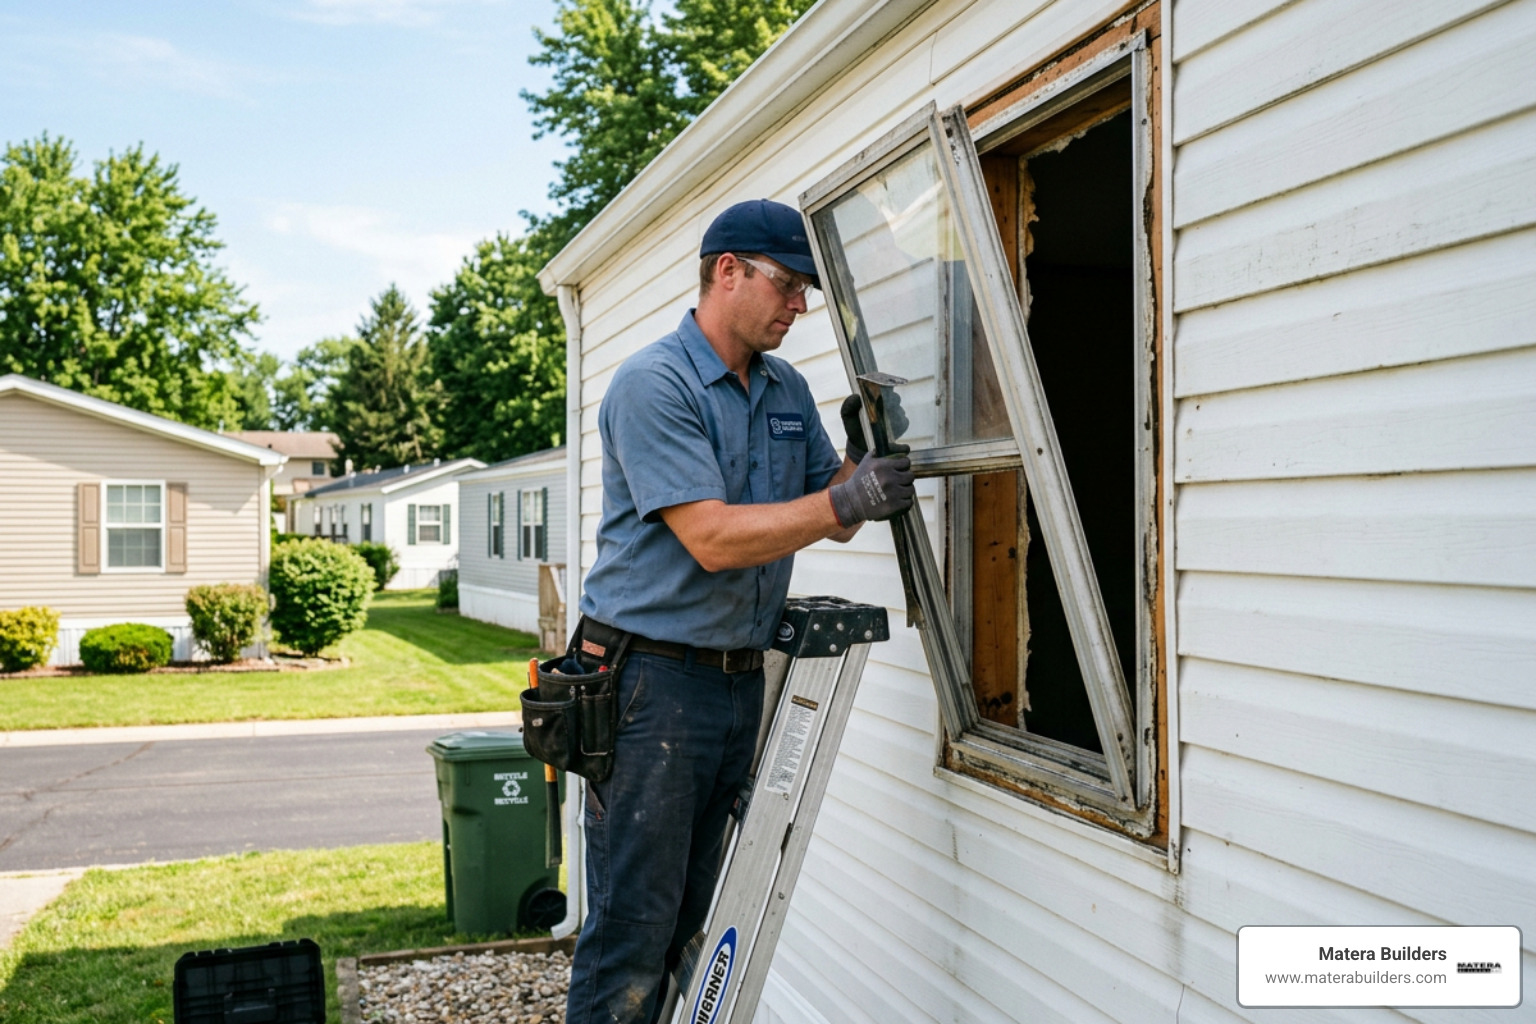
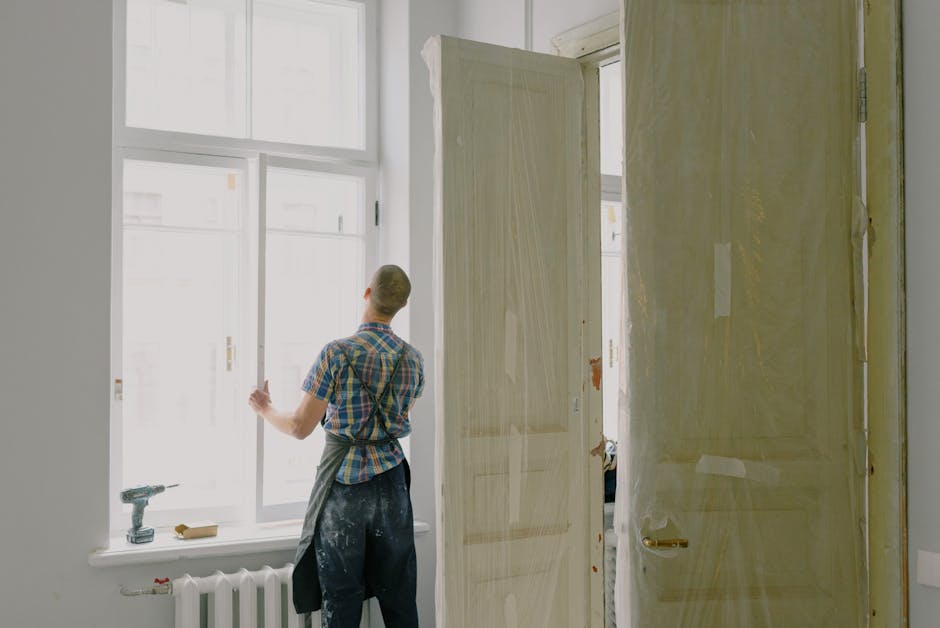
| 3. Remove the old door and frame | Score trim, pull hinge pins, extract frame |
| 4. Prepare the opening | Check plumb, level, and square; repair framing |
| 5. Set and shim the new door | Hinge side first, then strike side |
| 6. Fasten and seal | 3" screws into studs, flashing, low-expansion foam, exterior caulk |
| 7. Adjust hardware and threshold | Test operation, run the dollar bill test on the sweep |
In our climate, a small gap becomes a big problem fast. Wind pushes rain sideways. Salt air speeds up corrosion. If the install is off, the door can leak, stick, and lose heat.
I am Mike Werner, owner of Matera Builders. I oversee exterior renovation work across New Jersey’s coastal and high-humidity markets. In this guide, I will show you what makes an installation last.

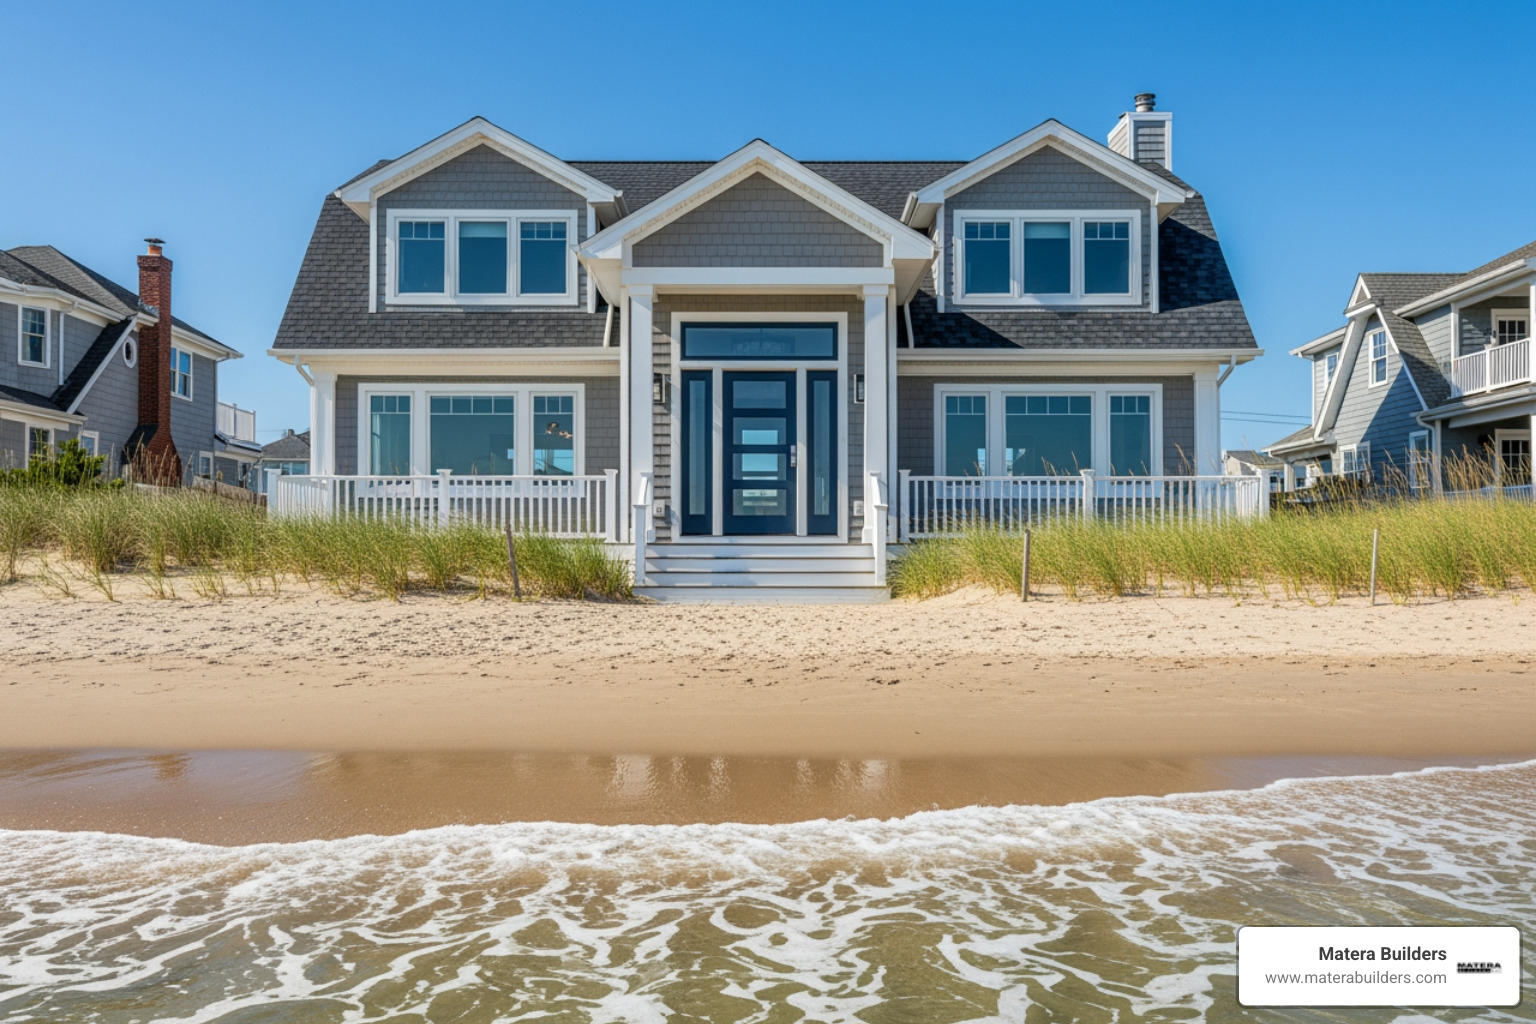
Why Professional Entry Door Installation Matters in Coastal Homes
Homeowners usually call us for one of three reasons.
- Drafts around the door.
- Water getting in at the corners.
- A door that is hard to lock because the frame moved.
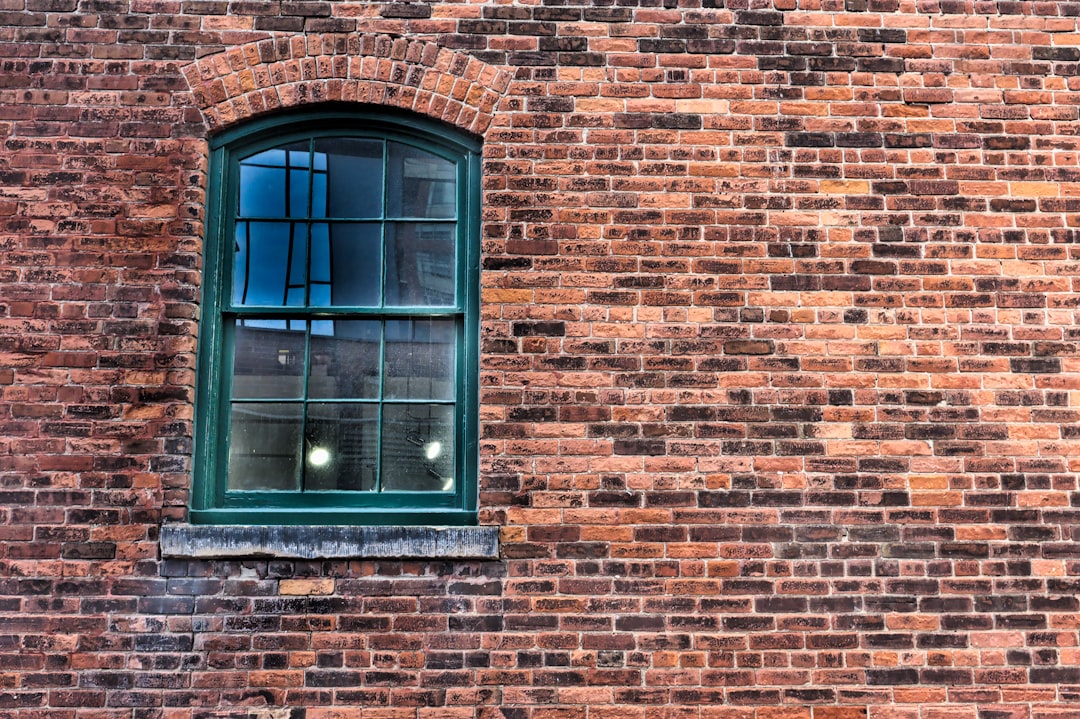
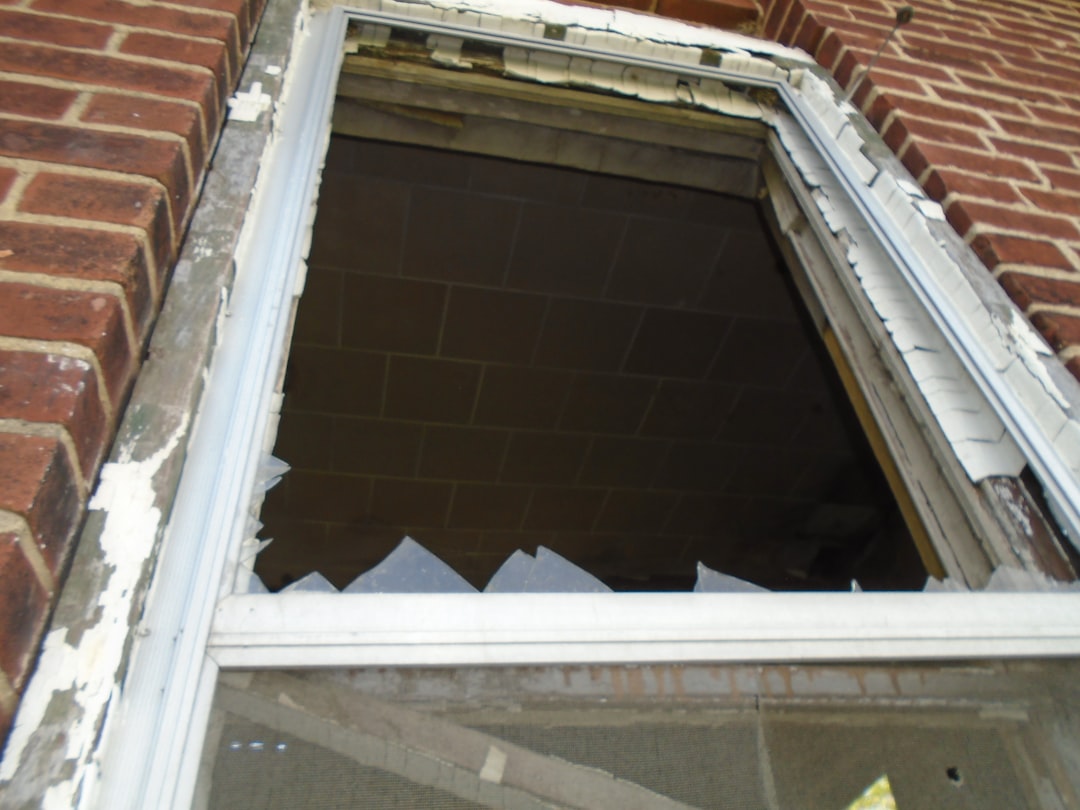
Along the Jersey Shore, salt air and wind-driven rain make those problems worse. If the sill is not flashed right, water can get into the framing. That can lead to rot at the subfloor and jamb.
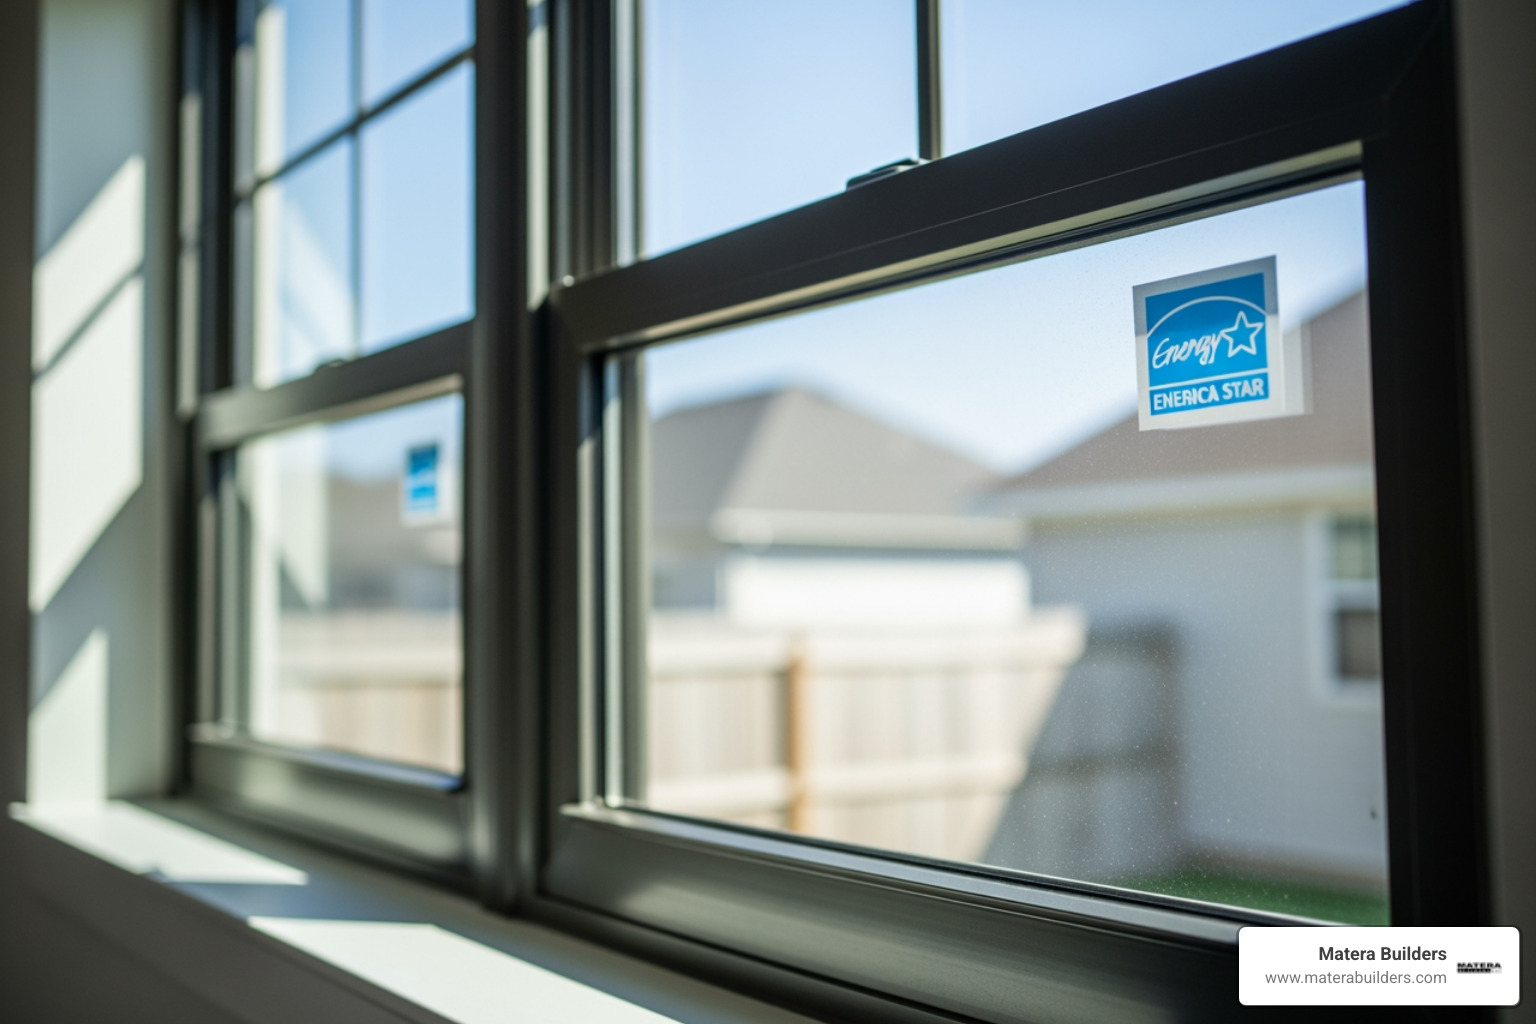
A professional entry door installation also helps with energy use. When the frame is square and sealed, you lose less conditioned air. Many homes see a noticeable drop in drafts and hot and cold spots.
Security is part of installation too. A strong door still needs a strong frame connection. We use 3-inch screws into the studs so the jamb does not flex.
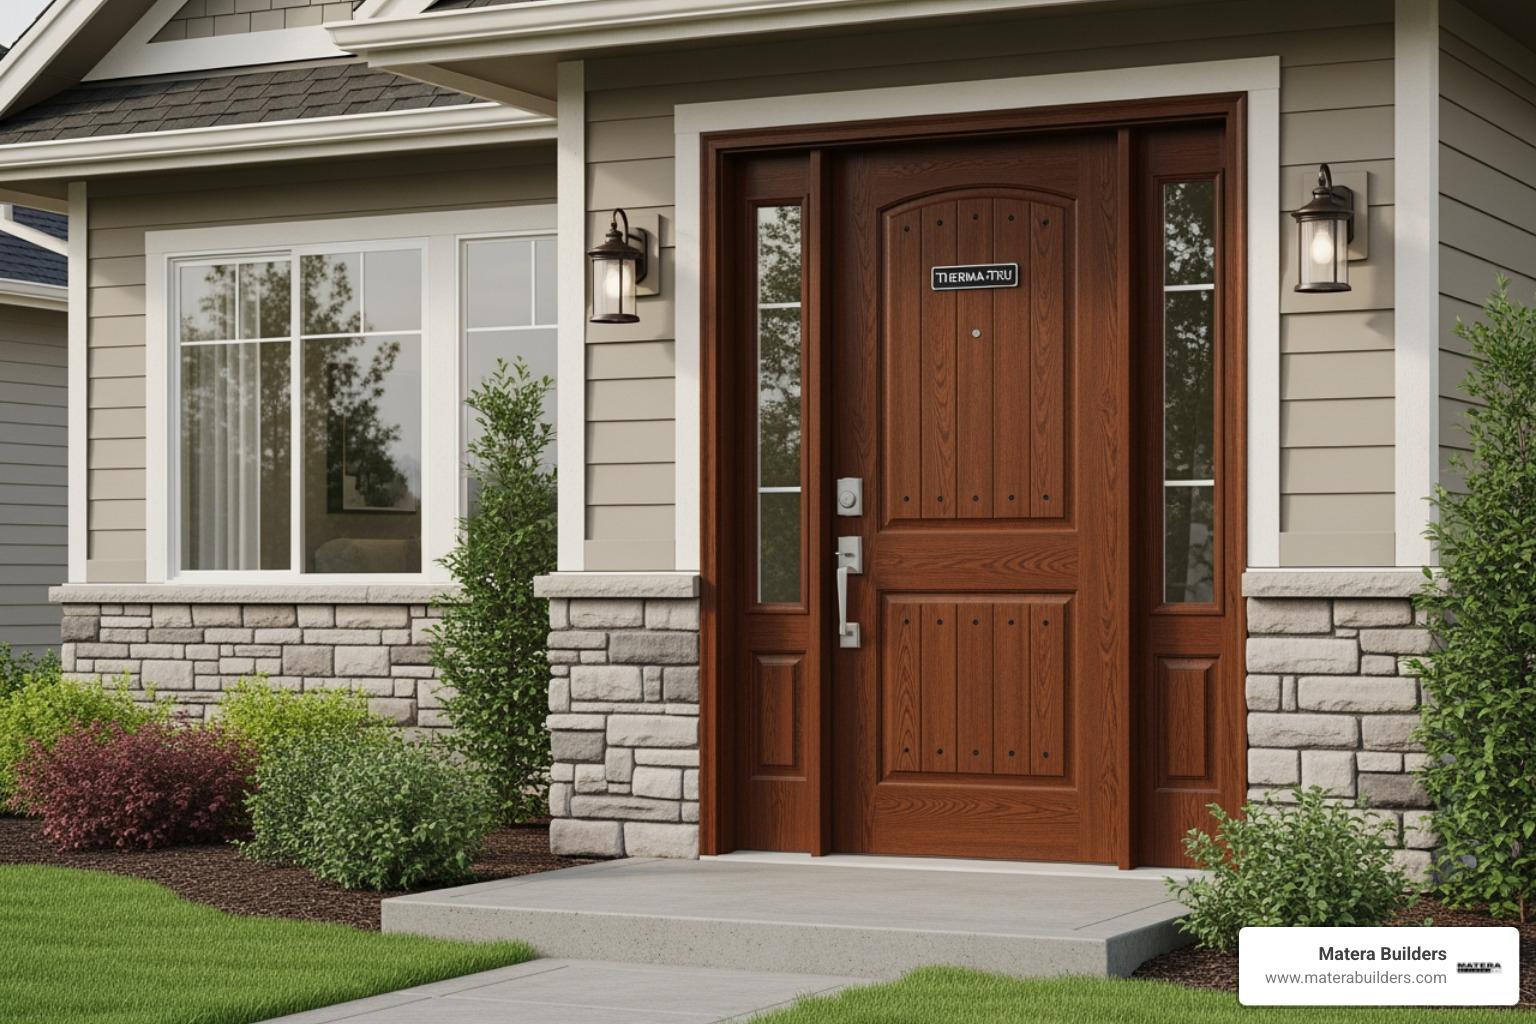
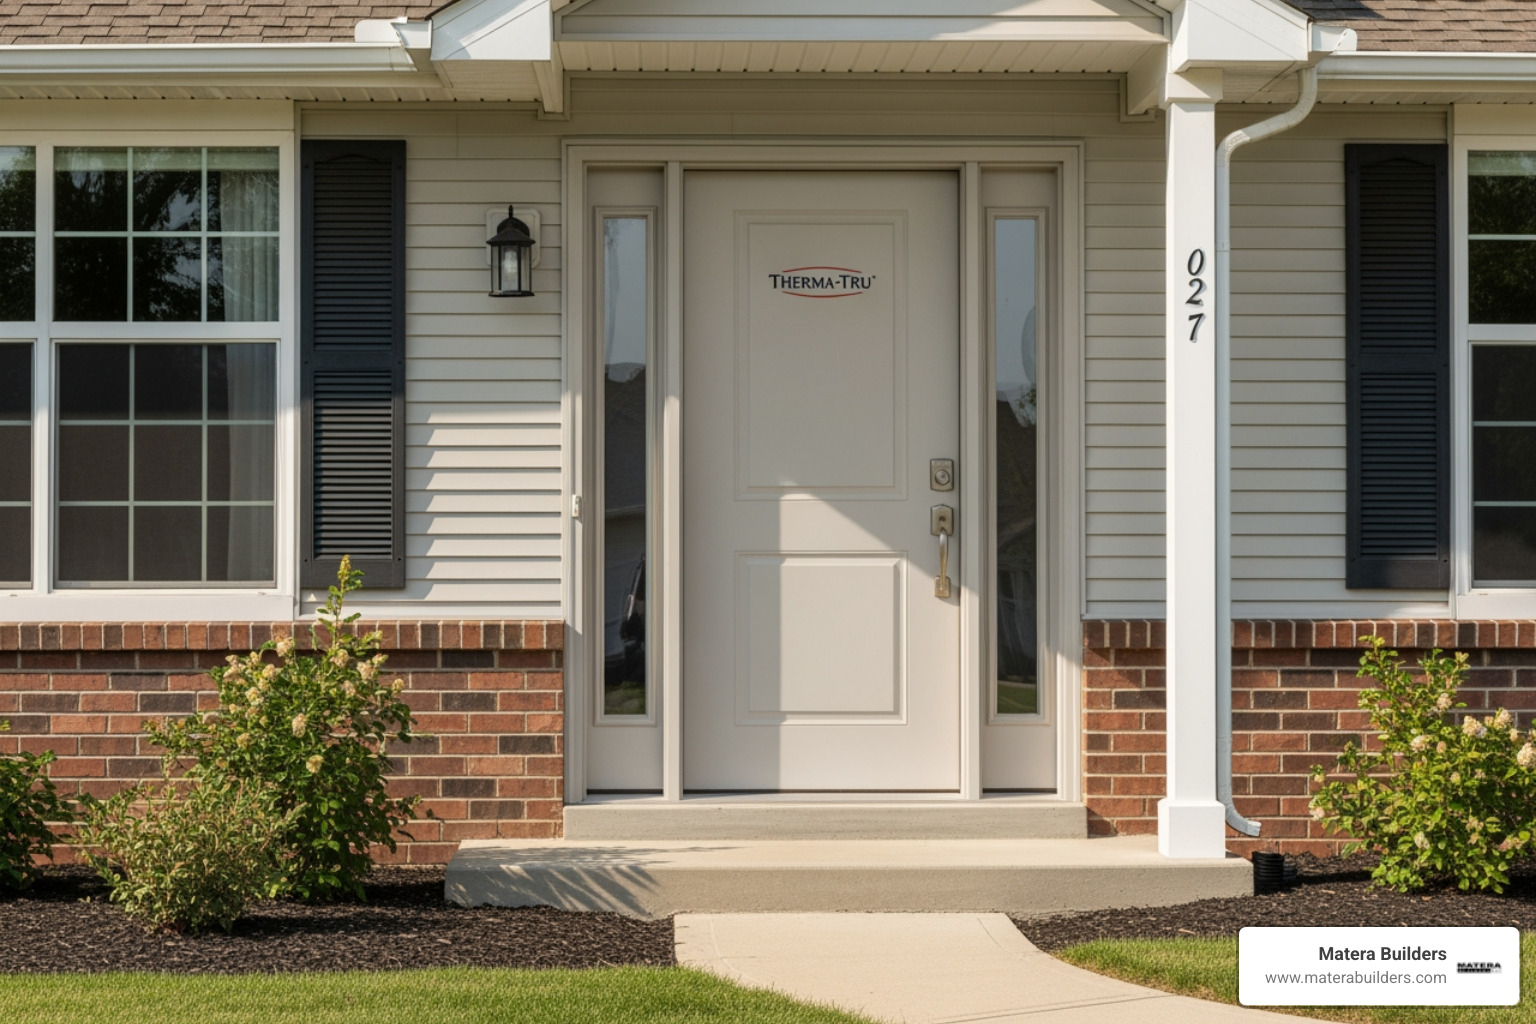
For homeowners who want long-term durability, we often recommend looking at Andersen Doors. Their systems are built for repeated wet and dry cycles. They also support strong warranties when the door is installed to spec.
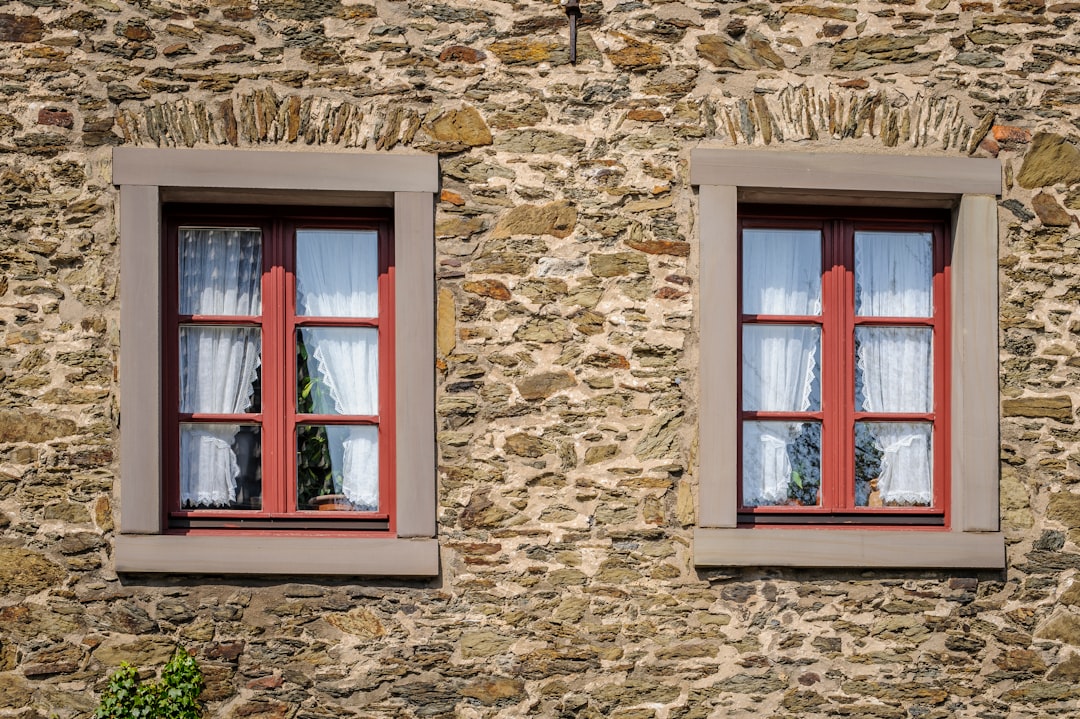
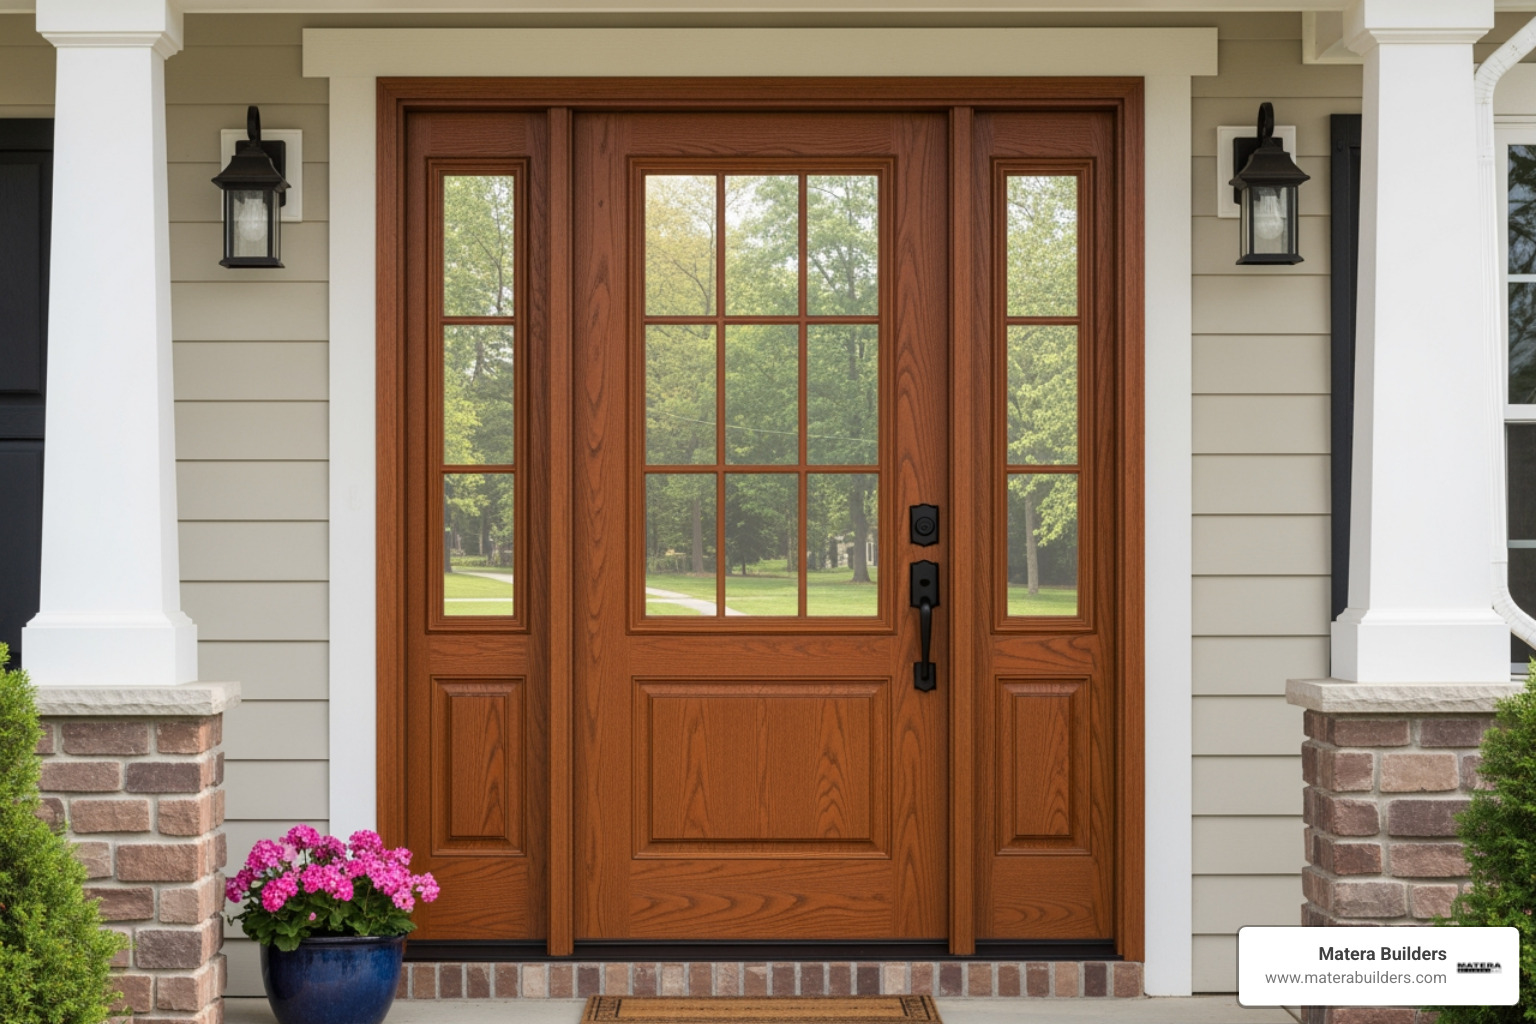
Choosing the Right Door Materials for Salt Air and Humidity
Door material matters more at the coast. Humid air can swell wood. Salt can attack finishes and hardware. Strong sun can heat and stress the surface.
Fiberglass for Stable Performance
Fiberglass is a common choice near the shore. It does not swell like wood. It resists rot. Most fiberglass doors are insulated, which helps limit heat loss.
Steel for Strength, With Rust Risk
Steel doors are strong and often cost less. But scratches can turn into rust in salt air. If you choose steel, the paint and edge seals must be kept in good shape.
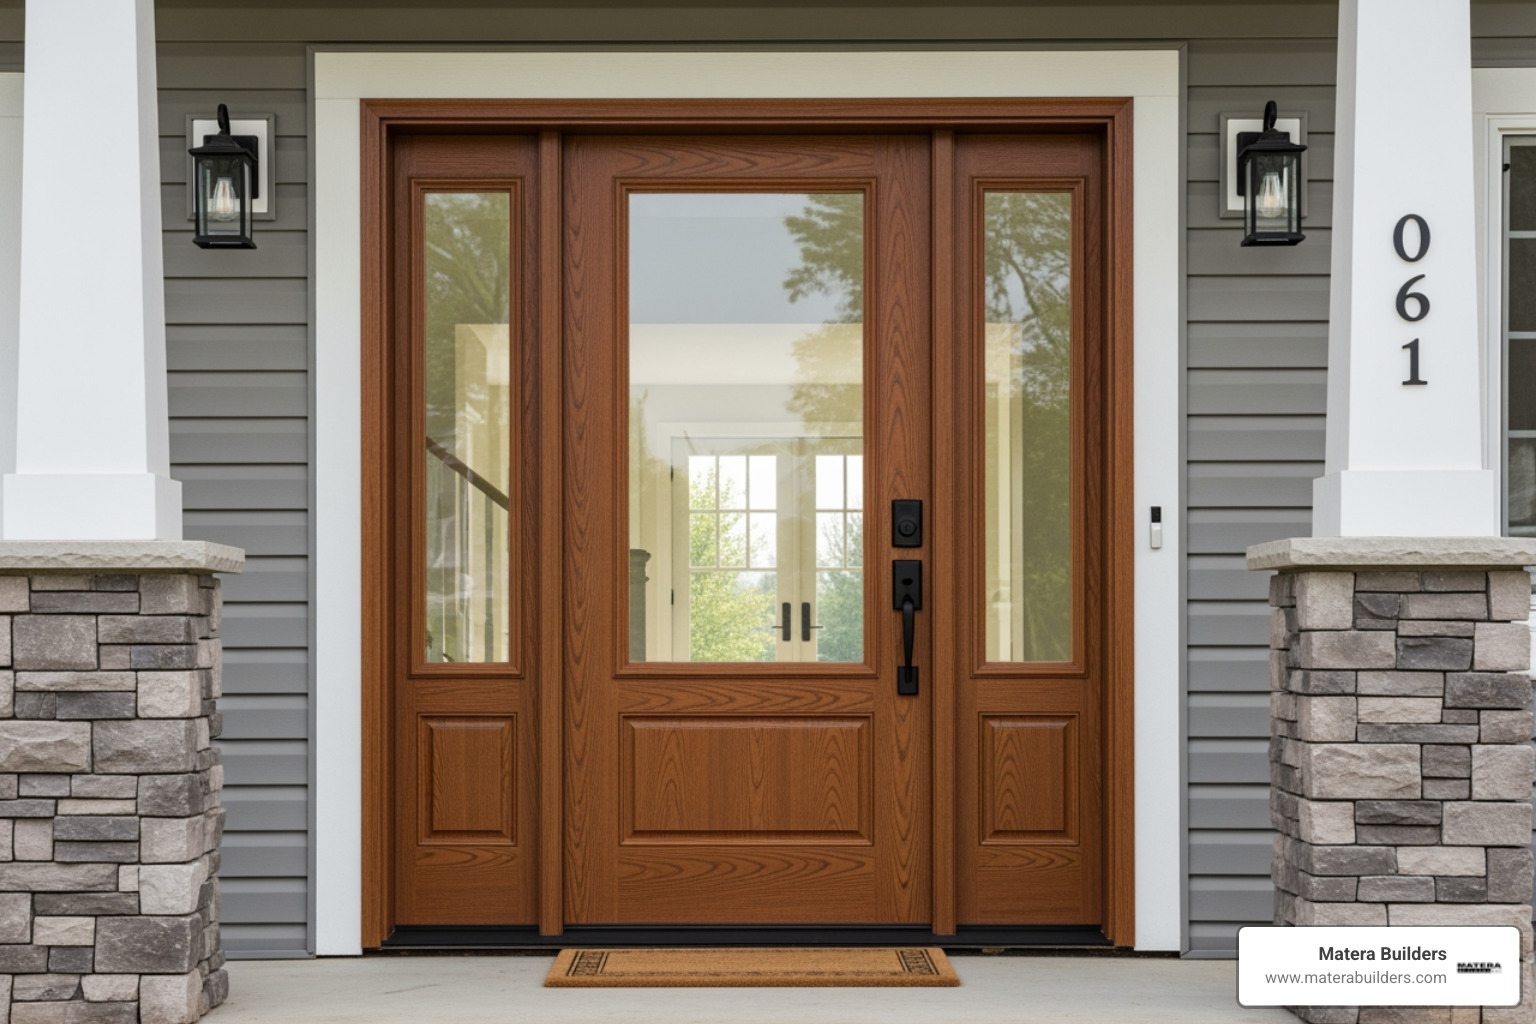
Wood for Looks, With More Maintenance
Wood doors look great, but they need care. They must be sealed on all six sides. That includes the top and bottom edges. Without that, moisture gets in and the door can warp.
Fibrex and Composite Options
Many homeowners want the look of wood with less upkeep. Andersen uses Fibrex in many products. It is a composite that holds its shape well through season changes. It also resists the expansion and contraction that can cause sticking.
If you are planning an Andersen Doors replacement, we walk through exposure, overhang, and sun direction first. That helps match the material to the job. You can read more about Andersen materials here: Andersen Door materials.

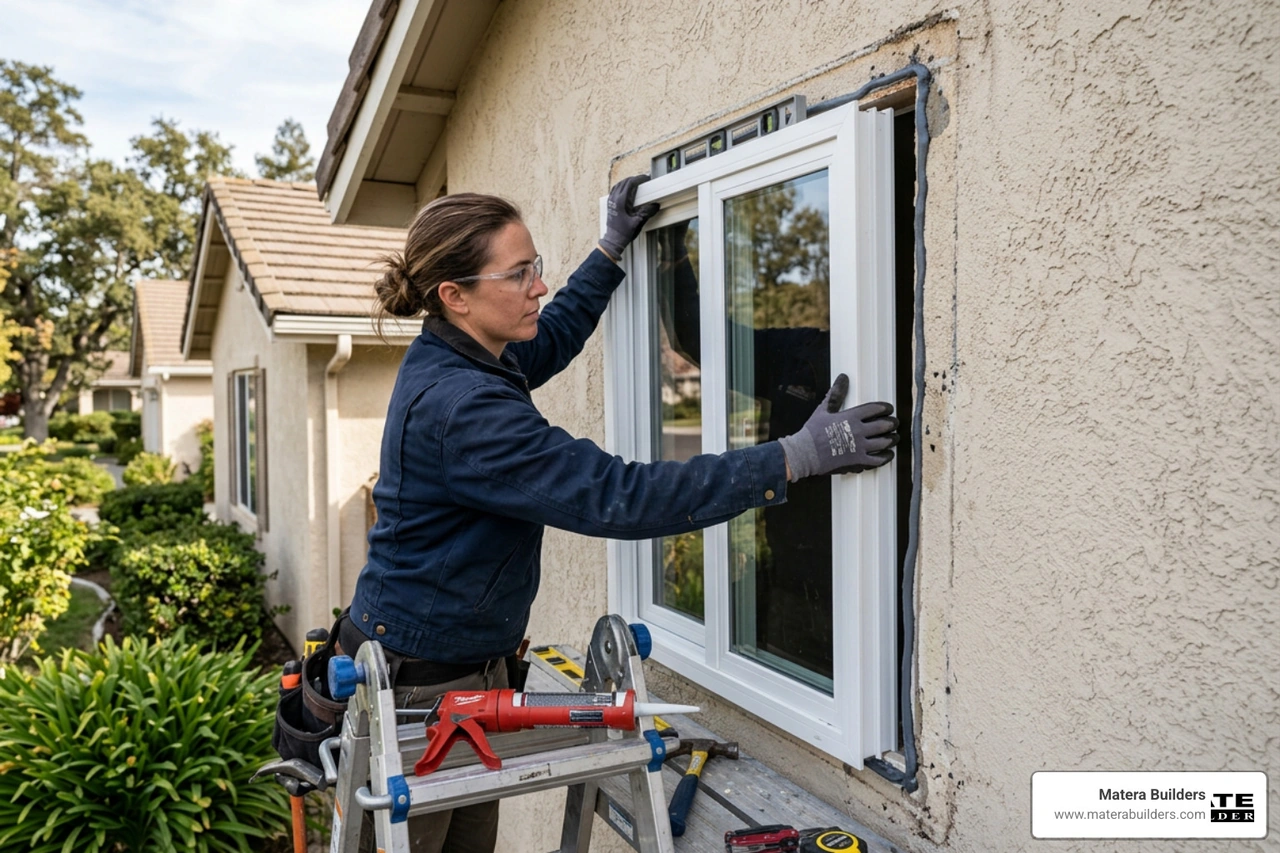
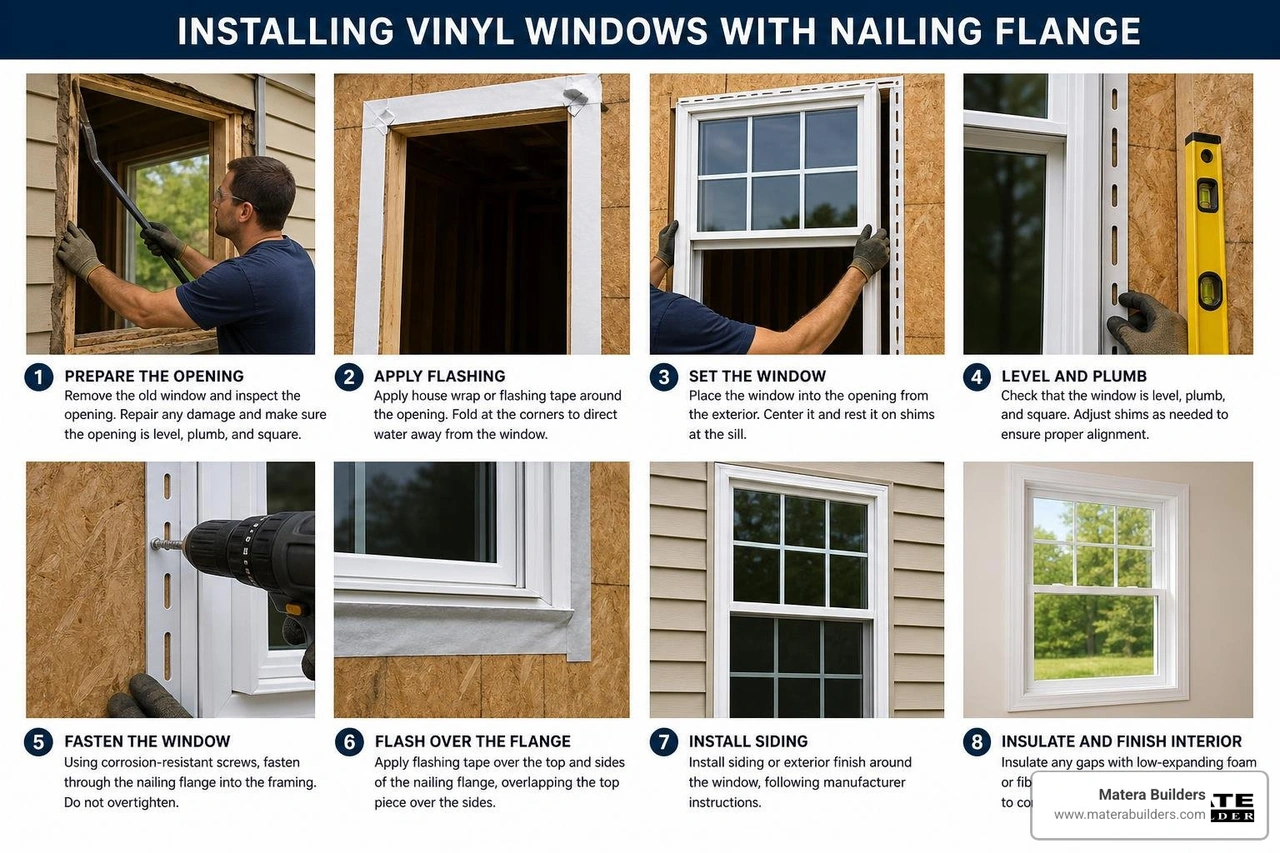
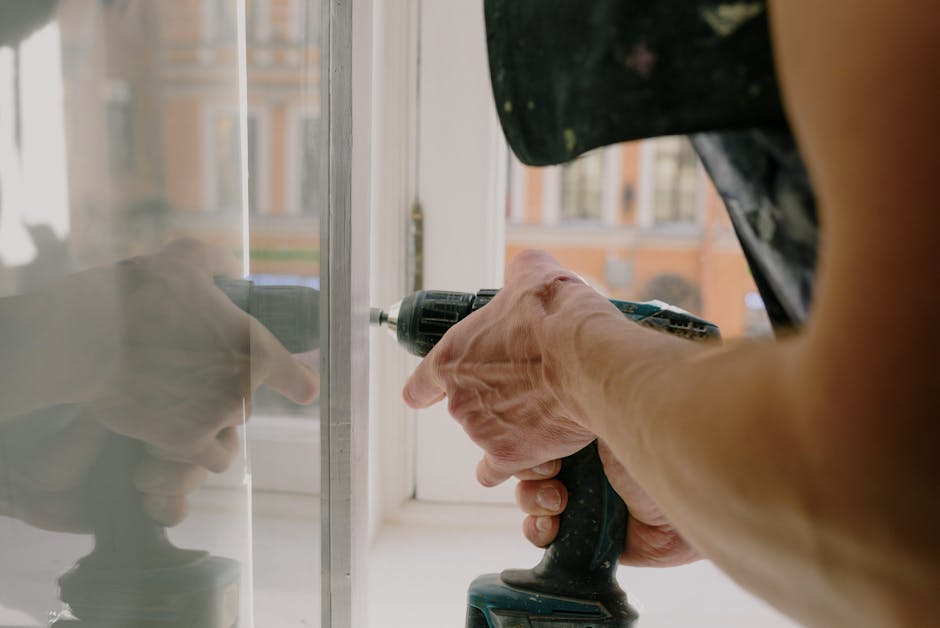
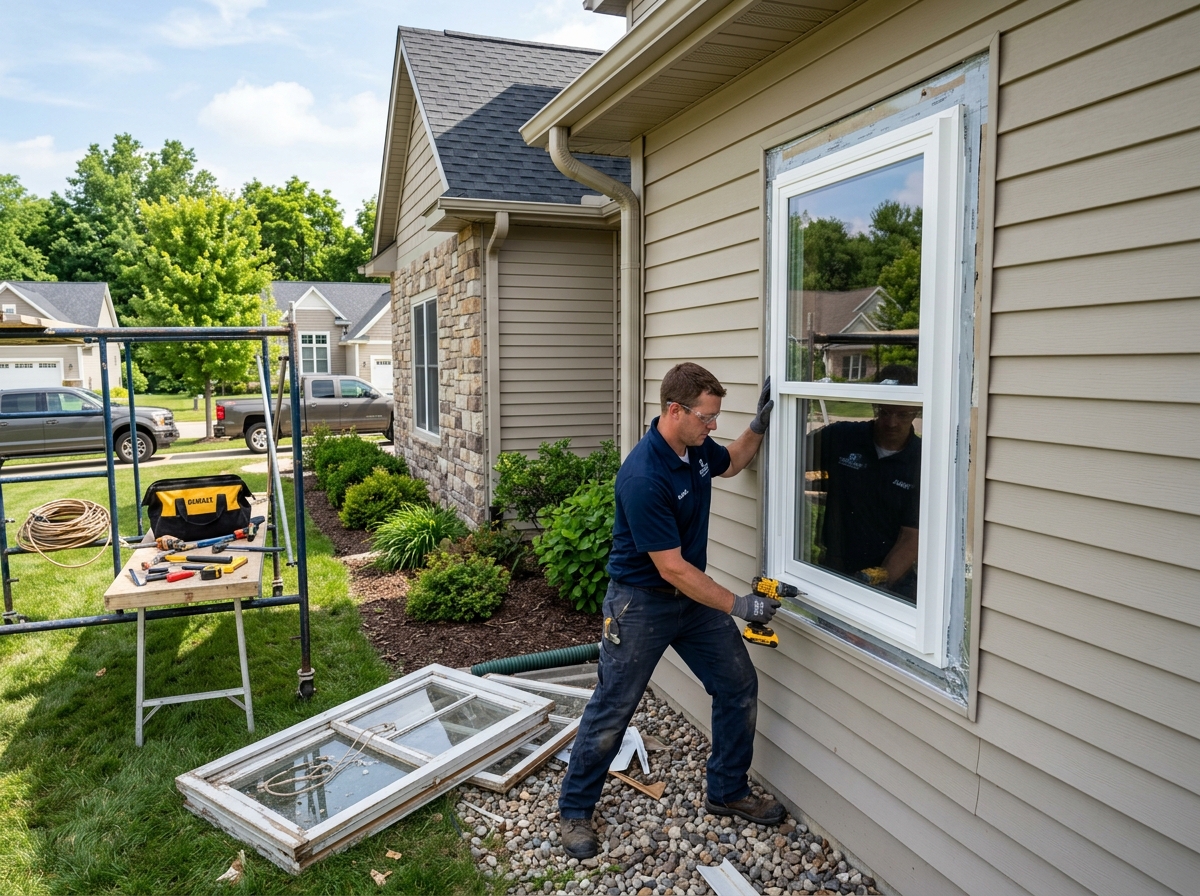
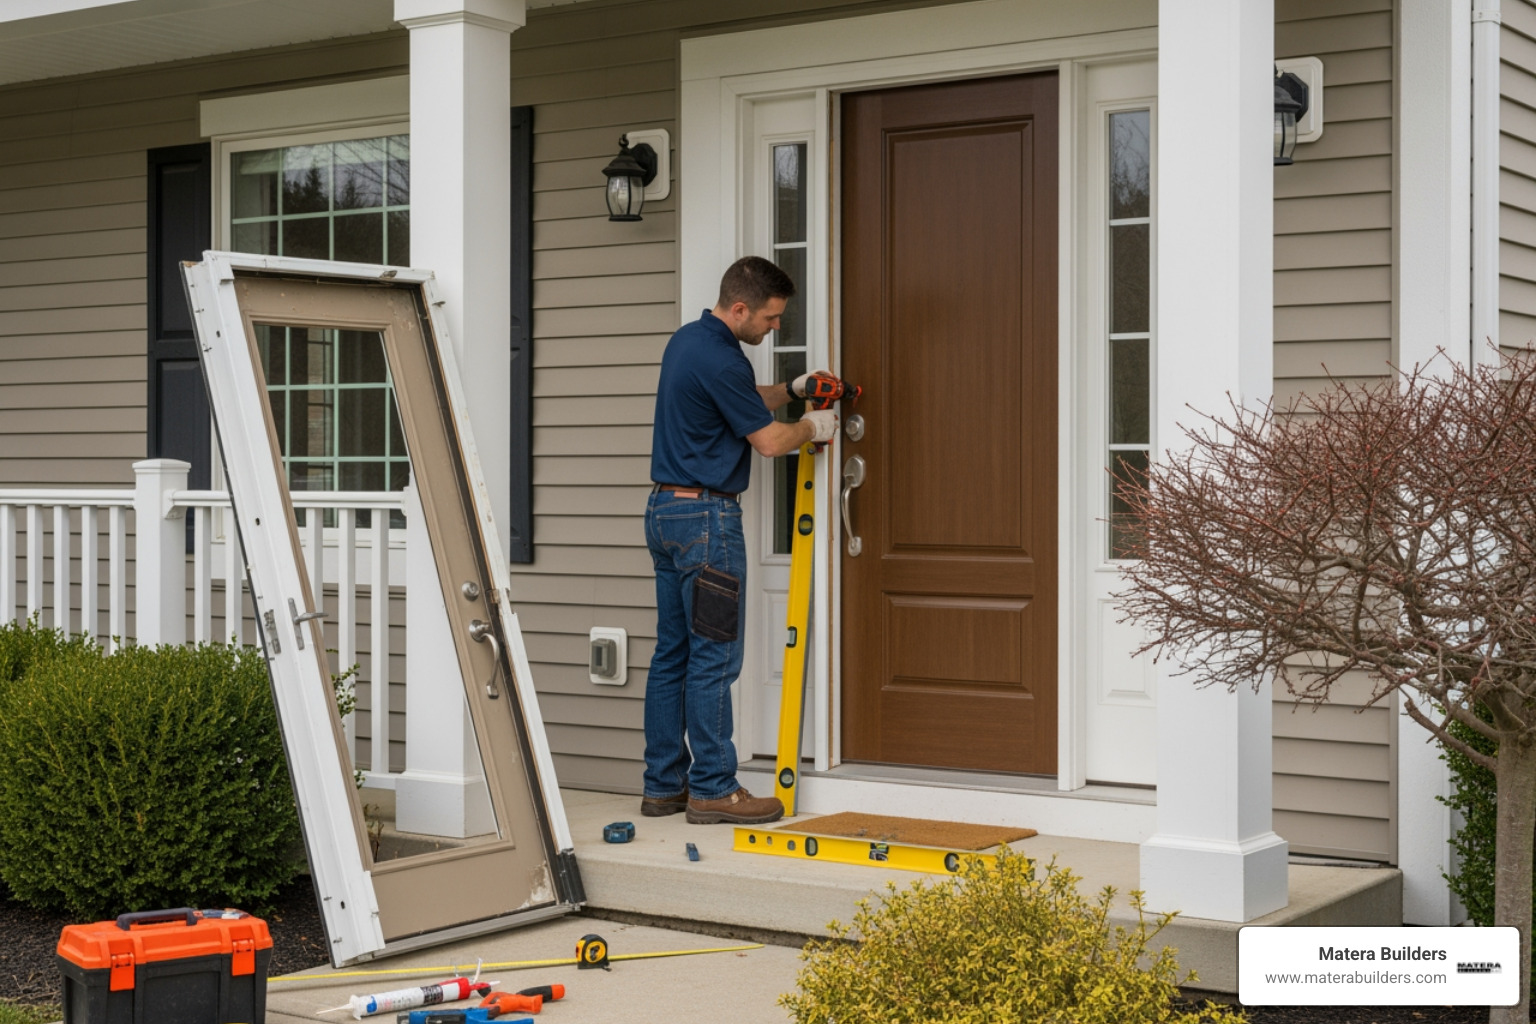
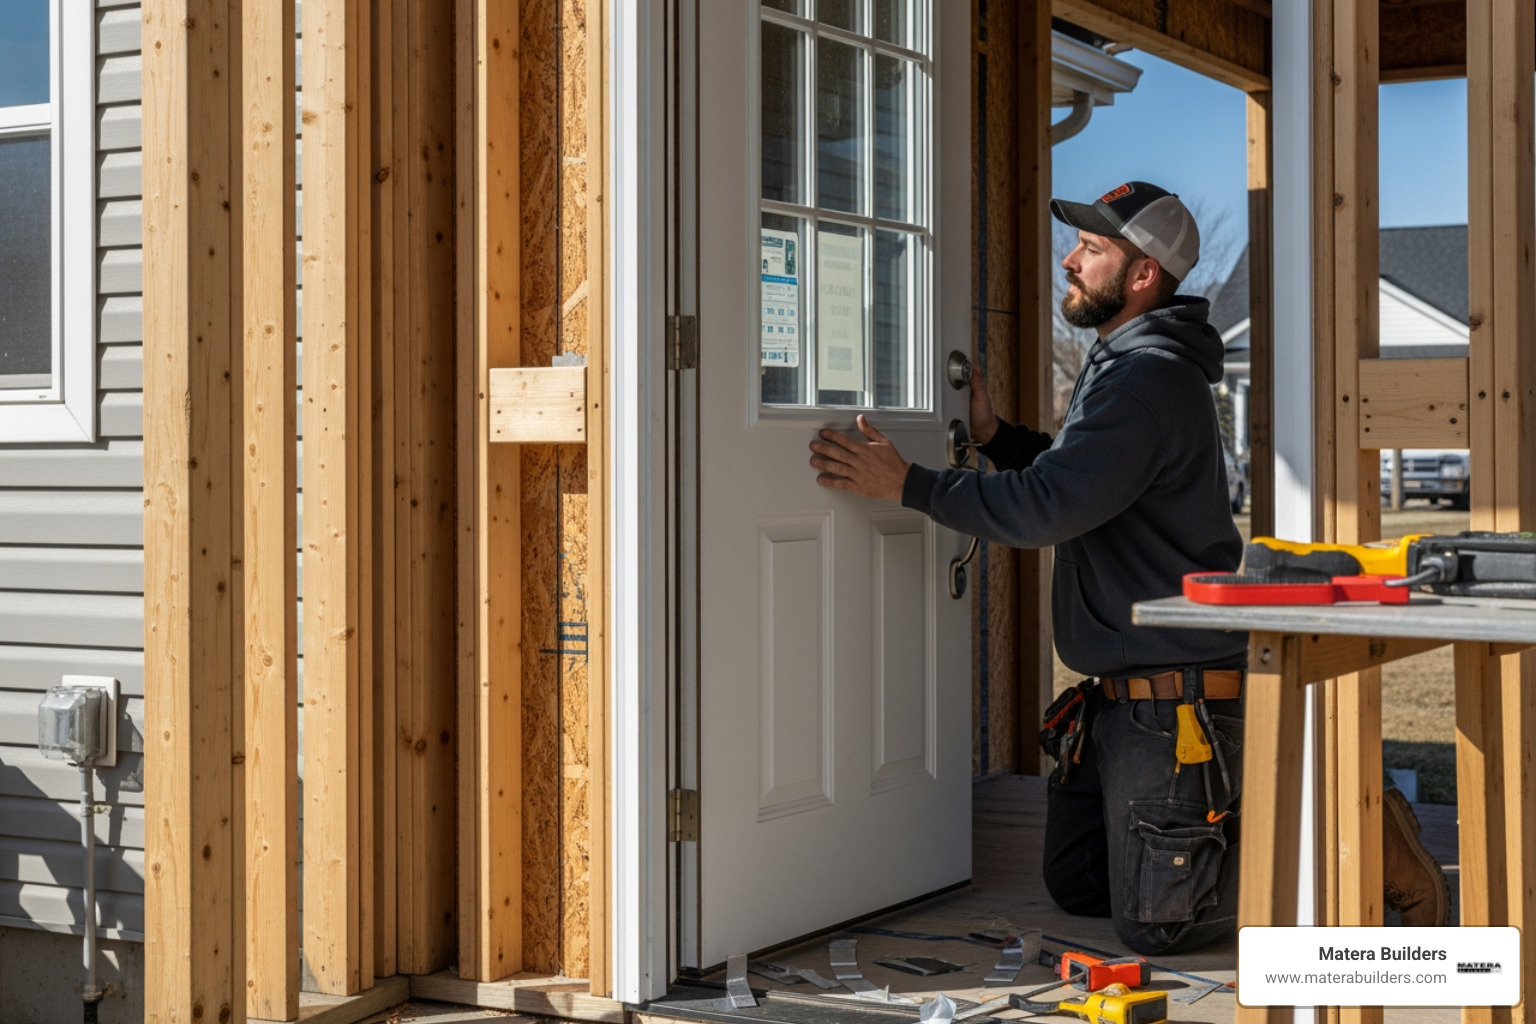
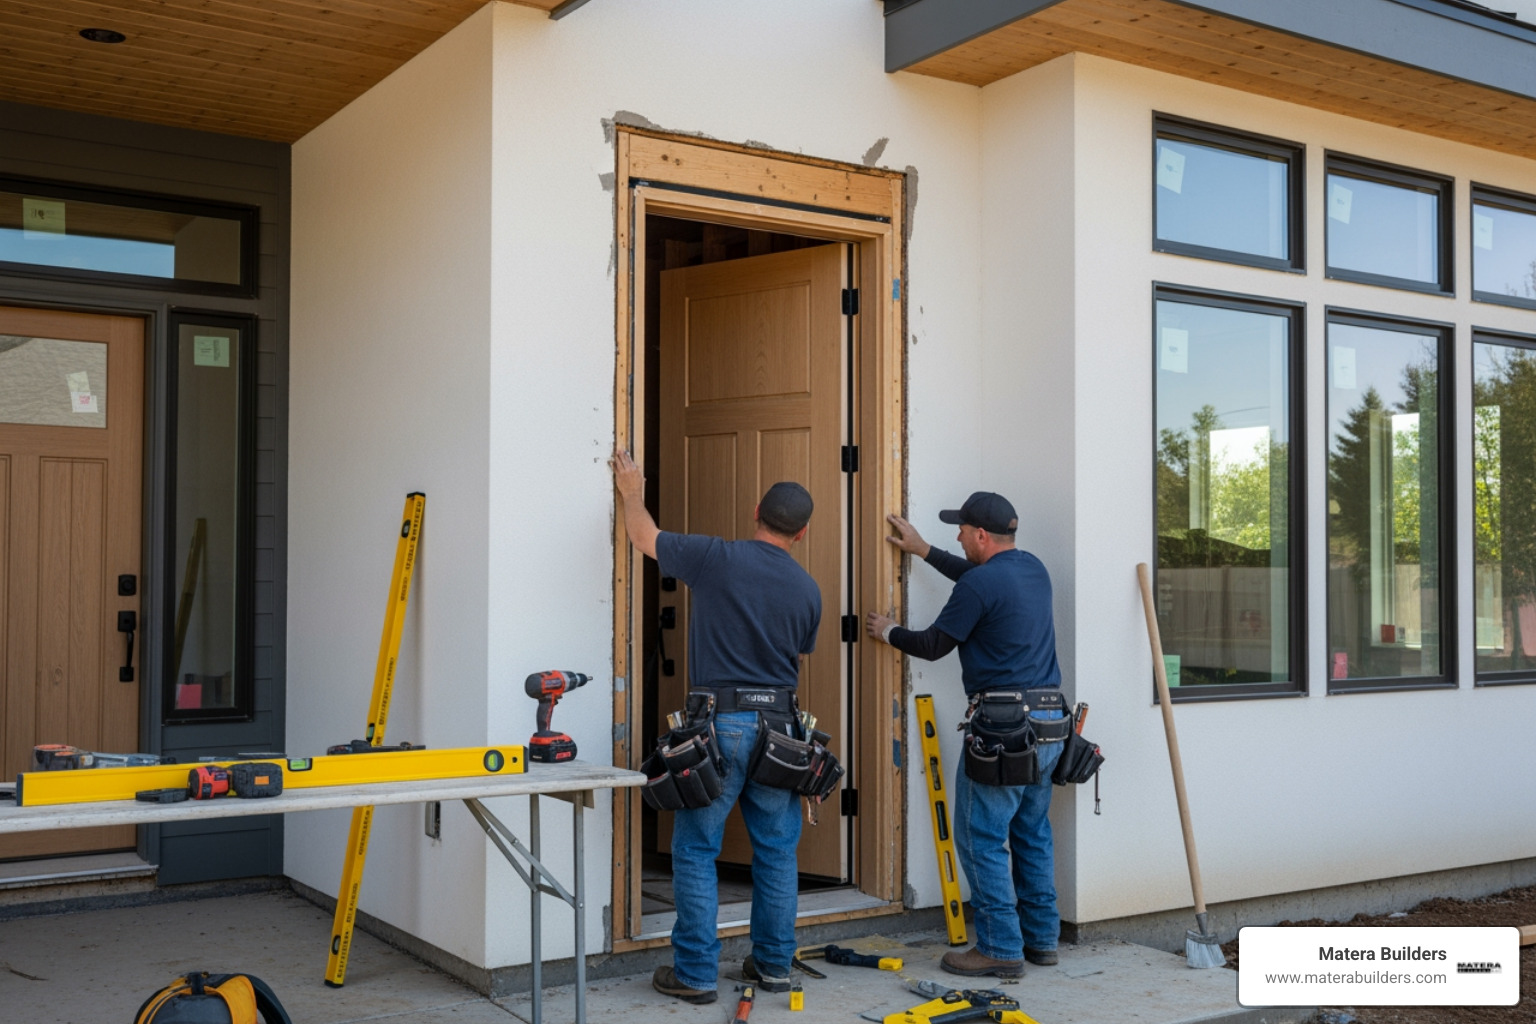
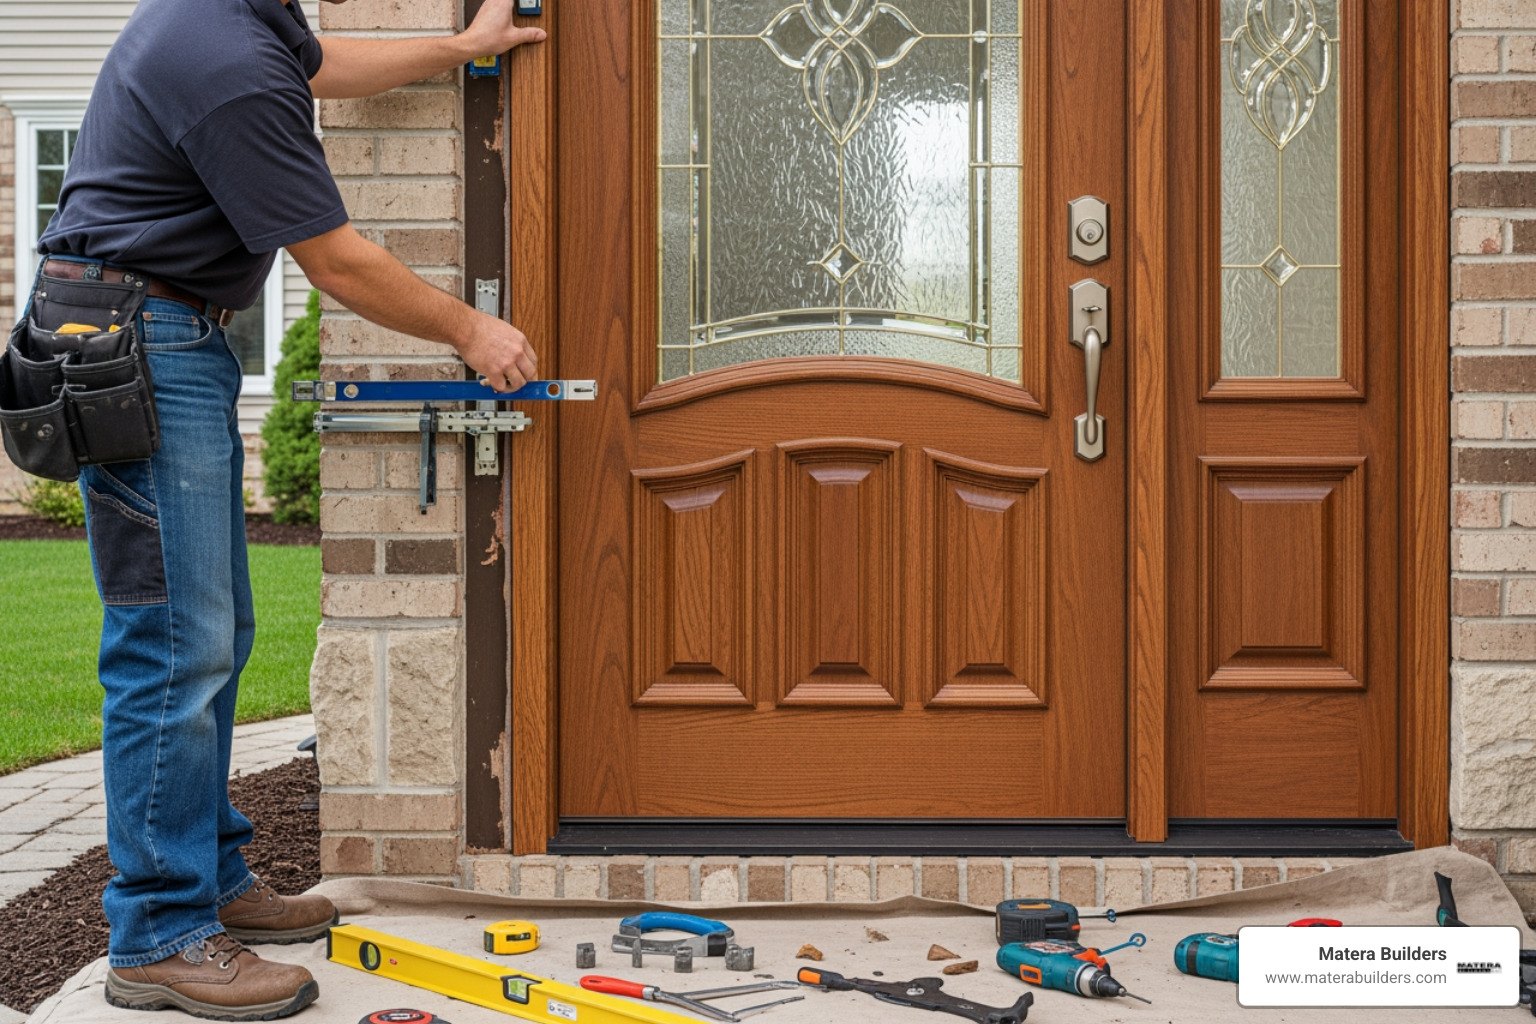
The Technical Process of Entry Door Installation
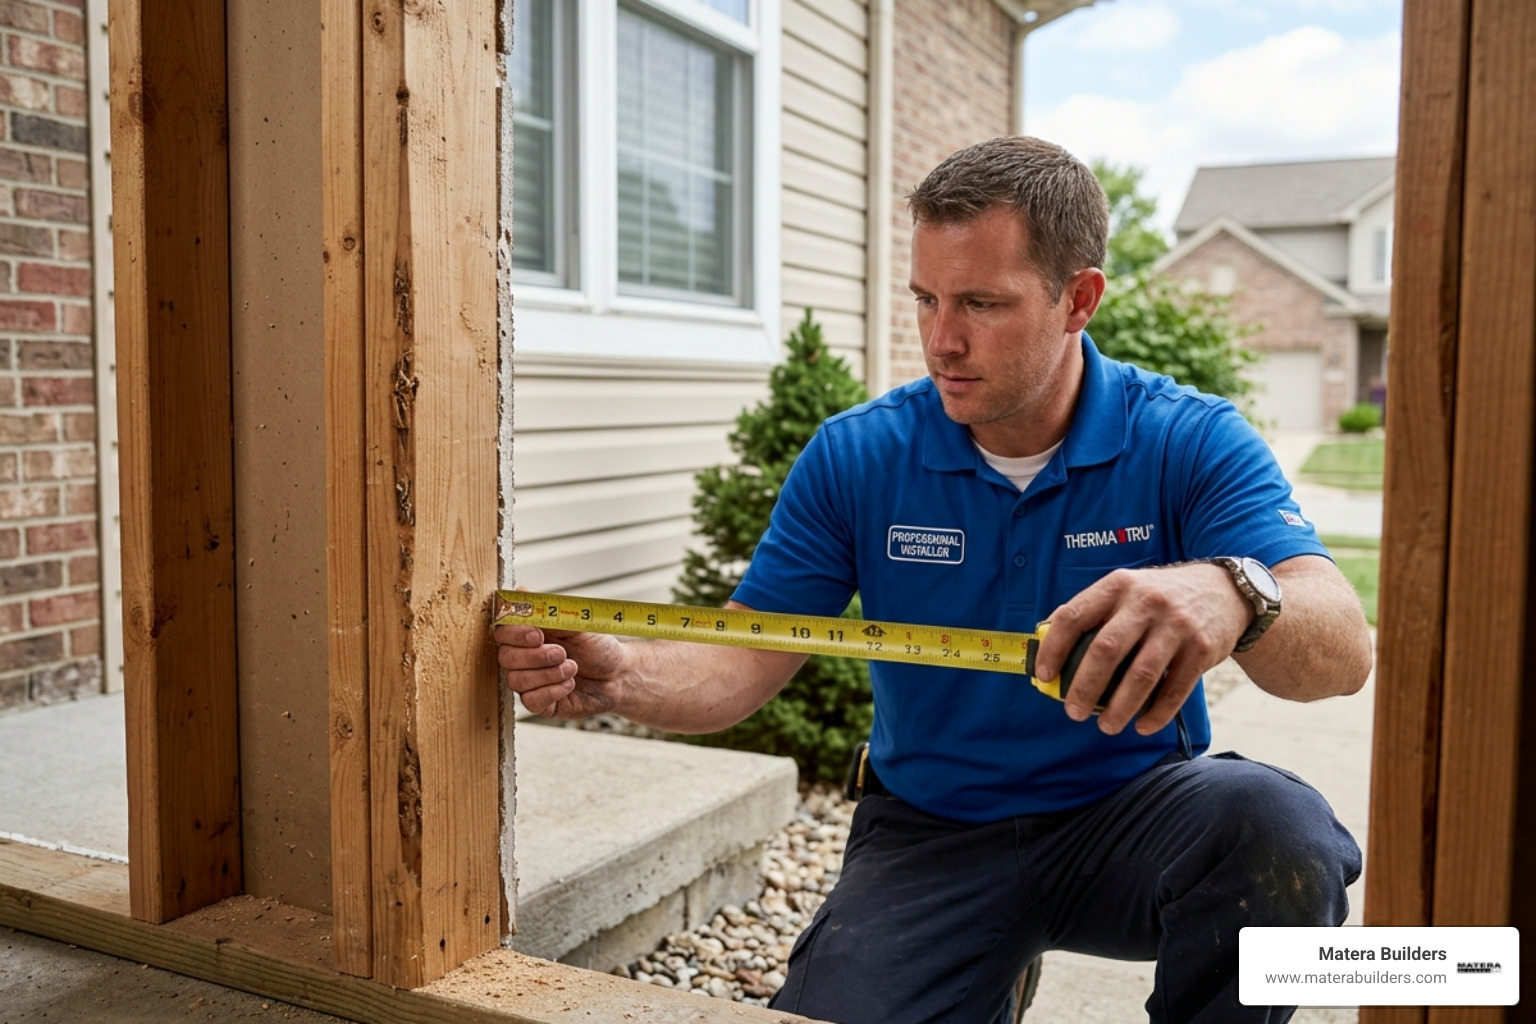
A good entry door installation starts with the opening. If the opening is out of square or the floor is not level, the door will not seal.
We measure the rough opening in three places. We also check jamb depth. Some homes have 2x6 walls. That often needs a jamb extension so the door sits tight to the interior finish.
Pre-hung vs. Slab
We install pre-hung doors most often. The door comes already hung in its own frame. That makes it easier to get an even seal at the weatherstripping. A slab-only swap can work, but the old frame must be square. Many are not.
Setting the Door
We dry-fit the unit and check the hinge side for plumb. We also check the sill for level. If the sill is not level, the door can swing open or closed on its own and it can leak.
Shimming for a Tight Reveal
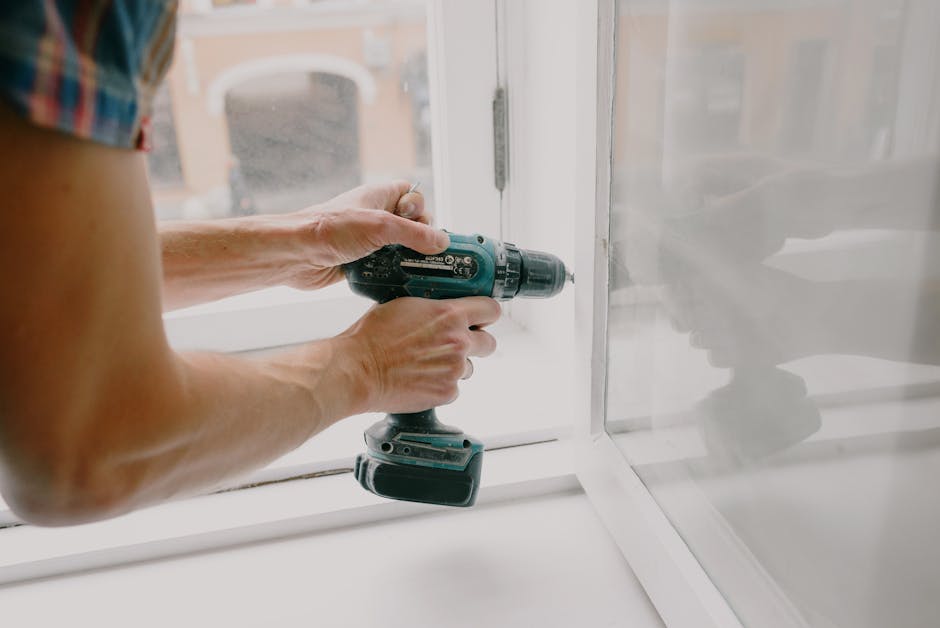
We place shims behind each hinge point and at the strike side. We set the reveal to about 1/8 inch all around. Then we fasten through the shims into the framing with exterior-grade screws. This helps prevent sag over time.
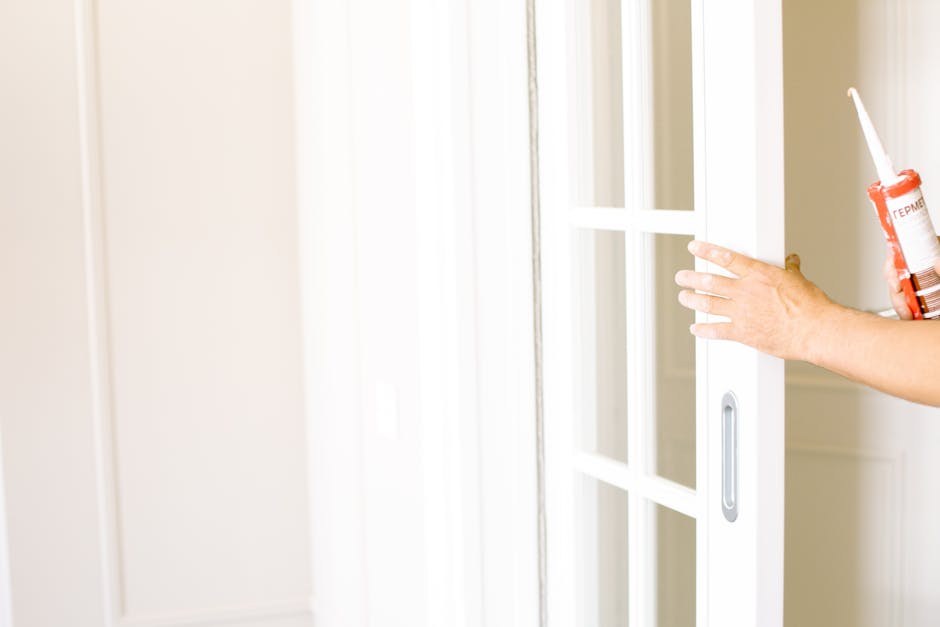
Sealing and Weatherproofing
Water management is the difference between a door that lasts and a door that rots the framing.
- Sill Pans: We install a sill pan to collect any water that gets past the door and send it back out.
- Flashing Tape: We use self-adhesive flashing tape at the jambs and head to block wind-driven rain.
- Sealant: We use 100% silicone or quality polyurethane caulk under the threshold and at key joints.
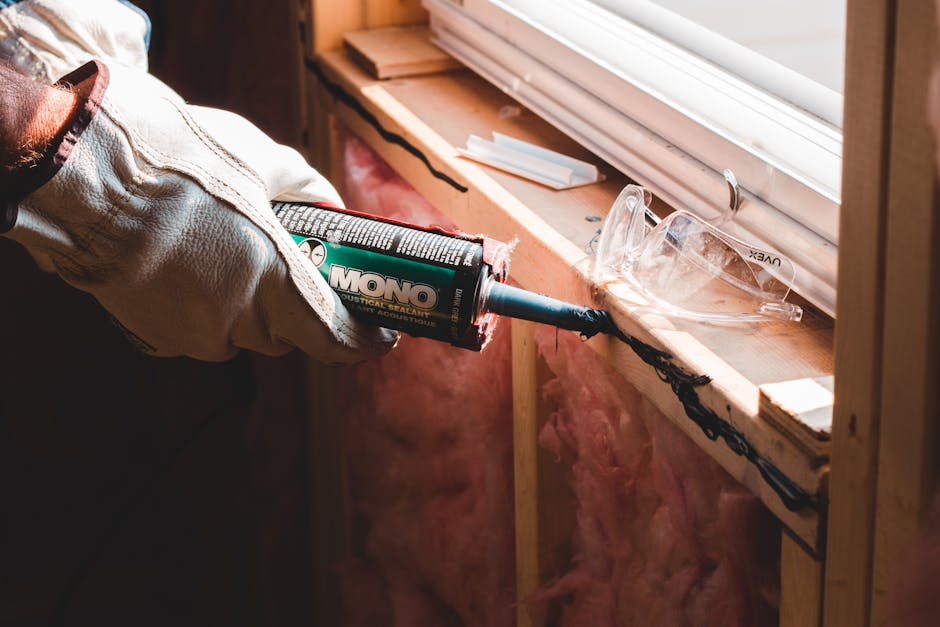
- Low-Expansion Foam: We fill the gap between the frame and studs with low-expansion foam made for windows and doors. High-expansion foam can bow a frame.
- Drip Caps: We install a drip cap above the exterior trim to keep water from running behind the casing.
The Dollar Bill Test
We check the bottom seal with the dollar bill test. Close the door on a bill. You should feel light, even resistance when you pull it.
Common Mistakes We See
- No shims: The frame bows and the door binds.
- Wrong foam: The frame gets pushed out of shape.
- Tight rough opening: There is no room to set the door plumb.
- Unlevel sill: The door will not seal evenly.
- Lead paint risks: Older trim can create unsafe dust. Follow Lead paint safety guidelines in pre-1978 homes.
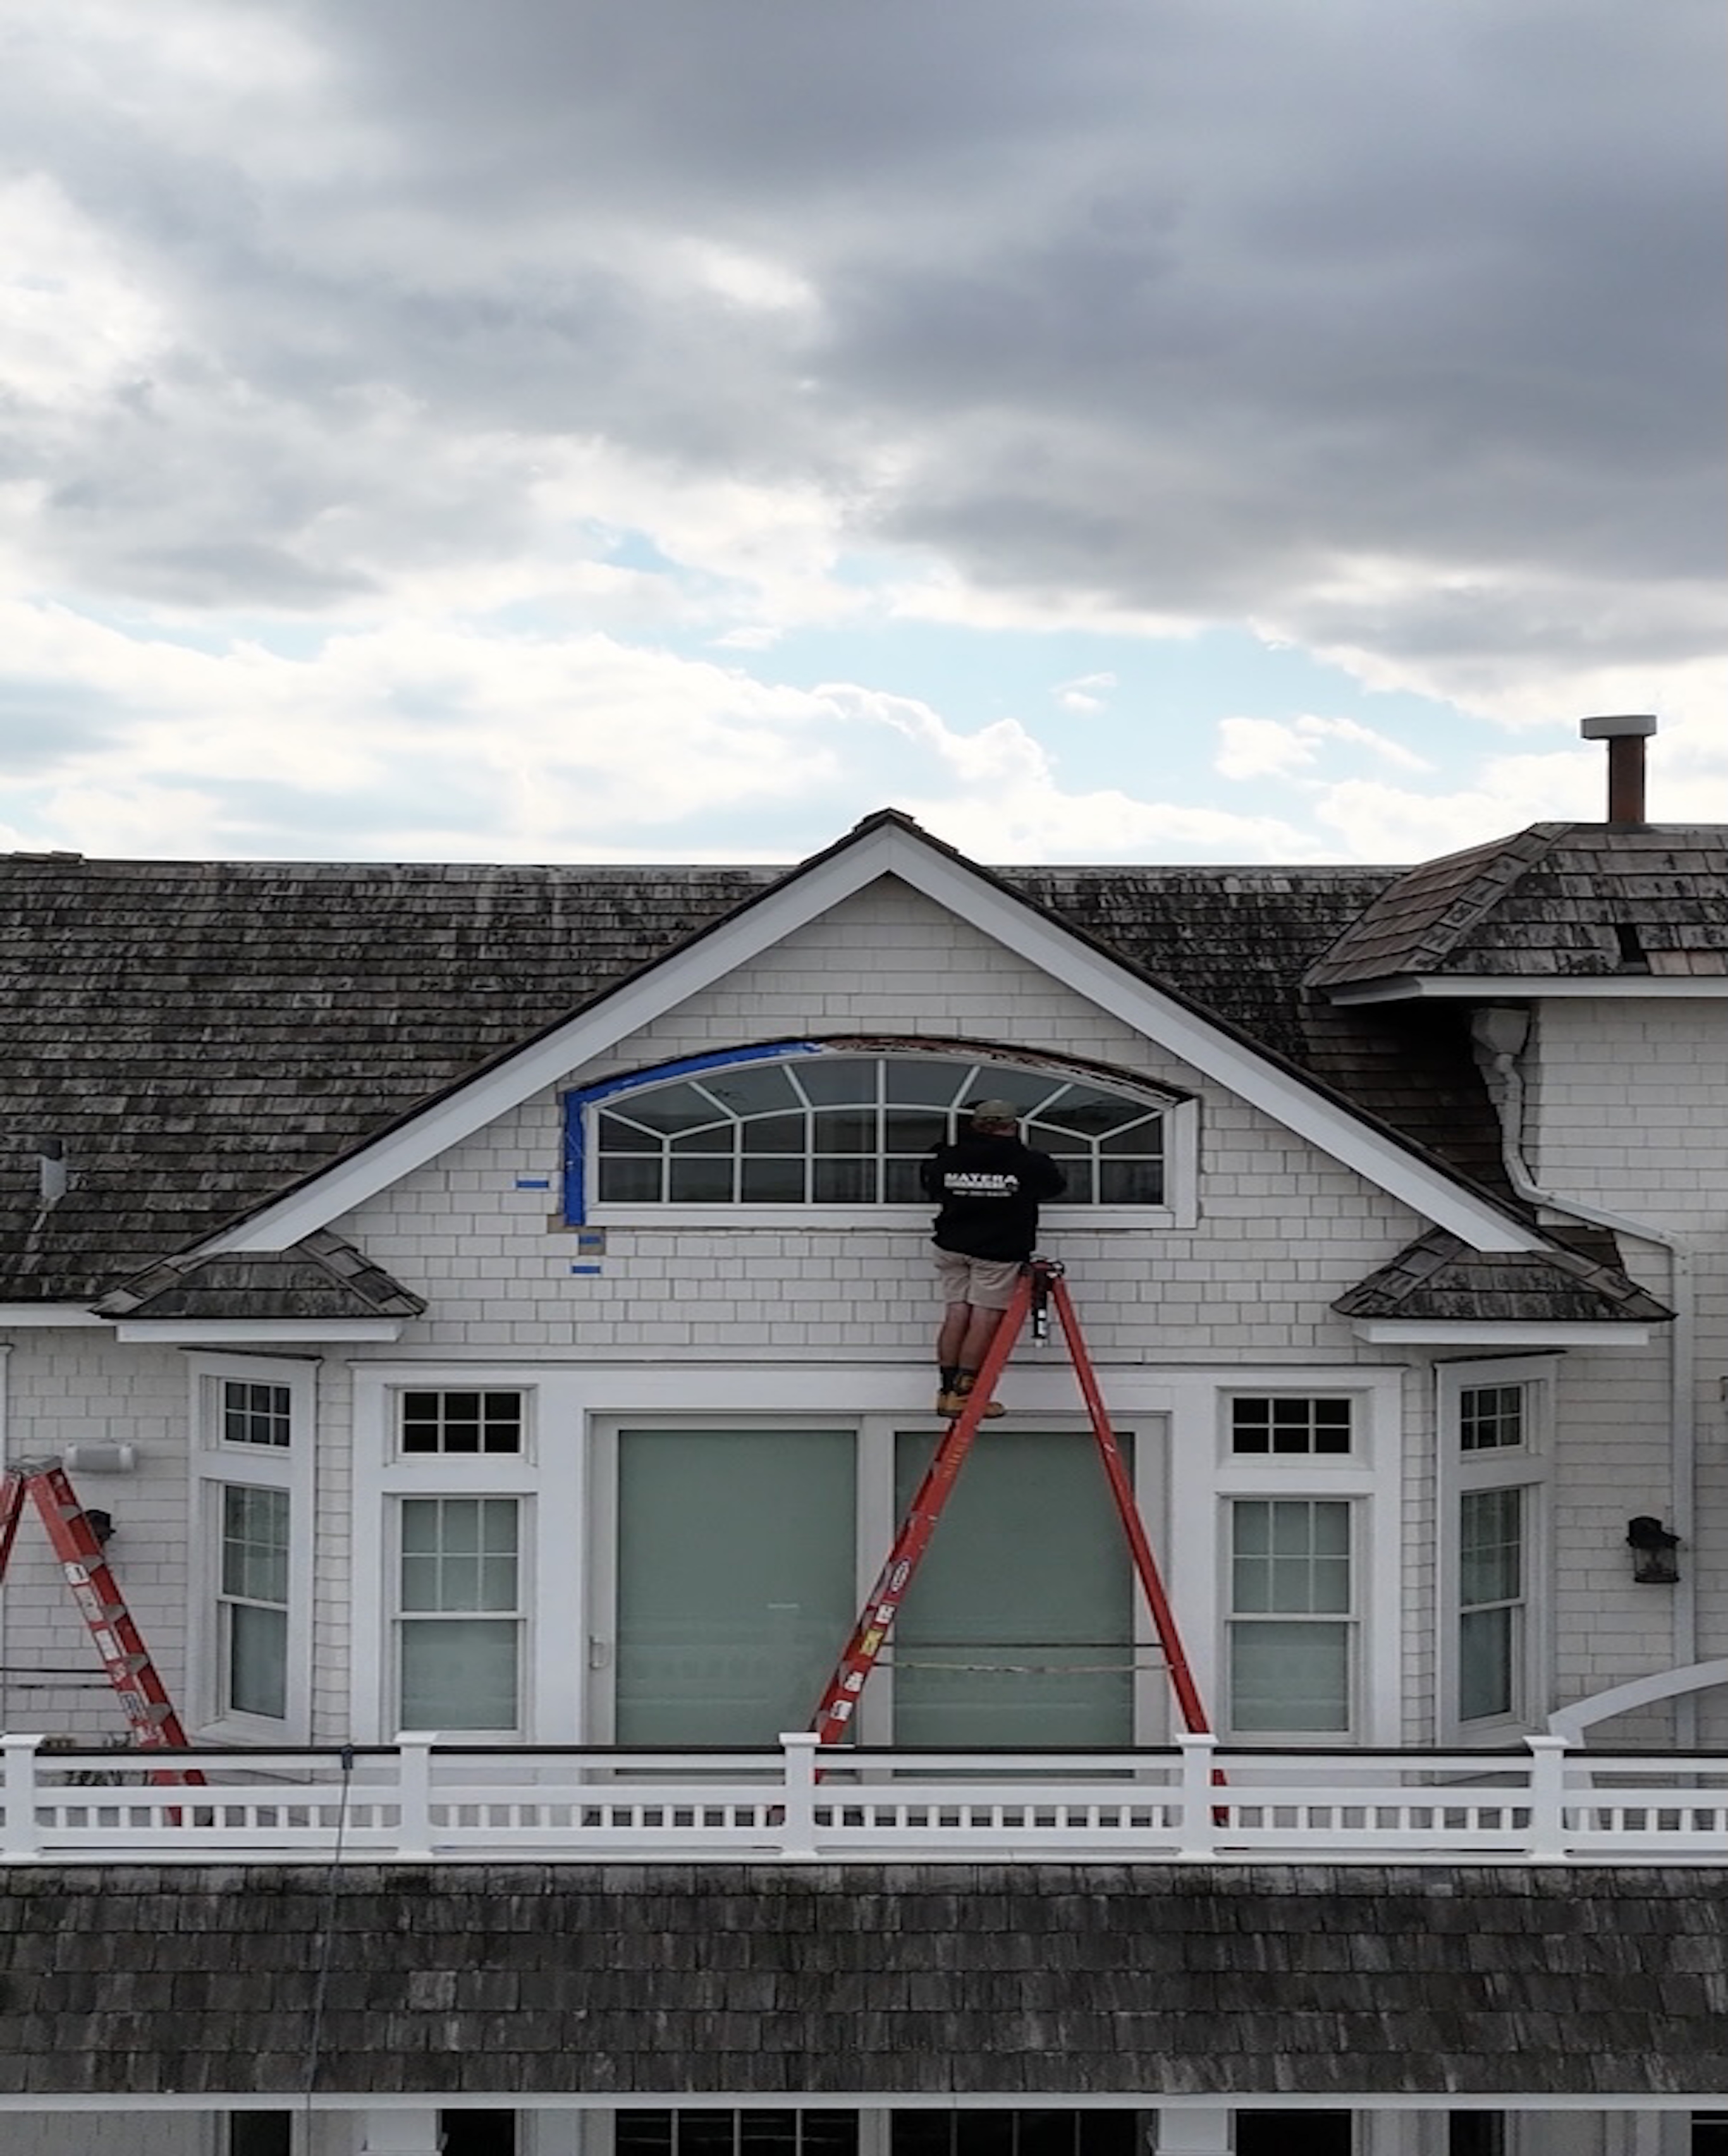
These steps also apply to Andersen Windows installation. Windows and doors both rely on flashing, drainage, and square frames. Even premium products can fail when the install is rushed.
DIY vs. Professional Installation Requirements
Some homeowners can handle a basic entry door installation. But it is not a small job. If the opening is not square or the sill is damaged, the project gets harder fast.
A typical install takes two people 4 to 8 hours. The door is heavy. You also need the right tools, like a long level, a drill, a saw for removal, and a good caulk gun.
When you hire a pro, you are paying for process and accountability. We check the framing, manage water at the sill, and follow the product install specs. That matters for long-term performance and warranty support.
If you are also planning energy efficient windows or a full exterior update, it helps to work with one window replacement contractor who understands the full wall system. For more on how we approach exterior work, see our interior and exterior services.
Frequently Asked Questions About New Doors
We get a lot of questions at the kitchen table when we’re planning a project. Here are the most common ones.
Is a building permit required for entry door installation?
In many parts of New Jersey, if you are doing a "same-size swap"—meaning you aren't changing the size of the hole in the wall—you might not need a permit. However, if you are widening the opening to add sidelights or a double door, you definitely need one. Structural changes require a permit to ensure the new header can support the weight of your roof. Also, if the door is between your house and your garage, it must be fire-rated, which local codes strictly enforce.
What maintenance is needed after installation?
Even the best entry door installation needs a little love once a year.
- Inspect the Caulk: Look for cracks where the door meets the siding.
- Lubricate: Use a silicone-based spray on the hinges and lockset.
- Check the Sweep: The rubber flap at the bottom of the door eventually wears out. If you see light under the door, it’s time to replace the sweep.
- Finish Protection: If you have a wood or fiberglass door with a wood-grain finish, apply a fresh coat of UV-resistant topcoat every few years to prevent fading.
When should you hire a professional for entry door installation?
You should call a pro if you see any of the following:
- Rotting Subfloors: If the wood under your door is soft or black, the structural framing needs to be replaced before the new door goes in.
- Sidelights and Transoms: Doors with glass windows on the sides or top are much heavier and harder to square.
- Masonry Walls: Installing a door into brick or stone requires special anchors and non-shrink grout.
- Warranty Compliance: Many high-end door brands, like Andersen, require certified installation to keep the full warranty in effect.
Conclusion
A front door should close smooth, lock easy, and keep water out. In coastal New Jersey, that comes down to two things. The right product and the right install.
I am Mike Werner, and I run Matera Builders. We focus on high-performance window and door work, including Andersen systems. Our job is to make sure the opening is prepped right, the unit is set plumb, and the flashing and seals manage water the way they should.
If you are considering an Andersen Doors replacement or want to pair it with coastal window replacement, schedule a consultation with us at Matera Builders. We will look at your current windows and doors, explain what is failing, and give you a clear plan for long-term value.