


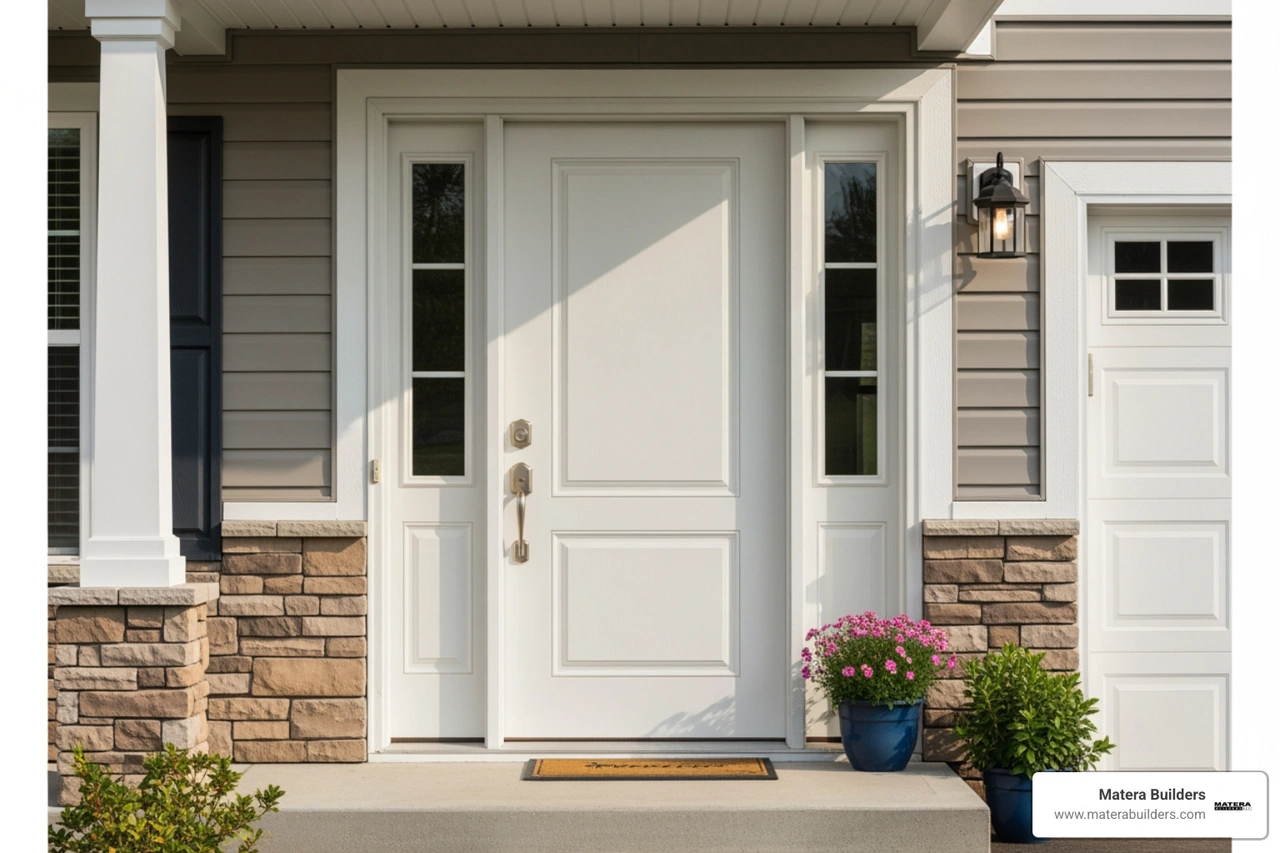
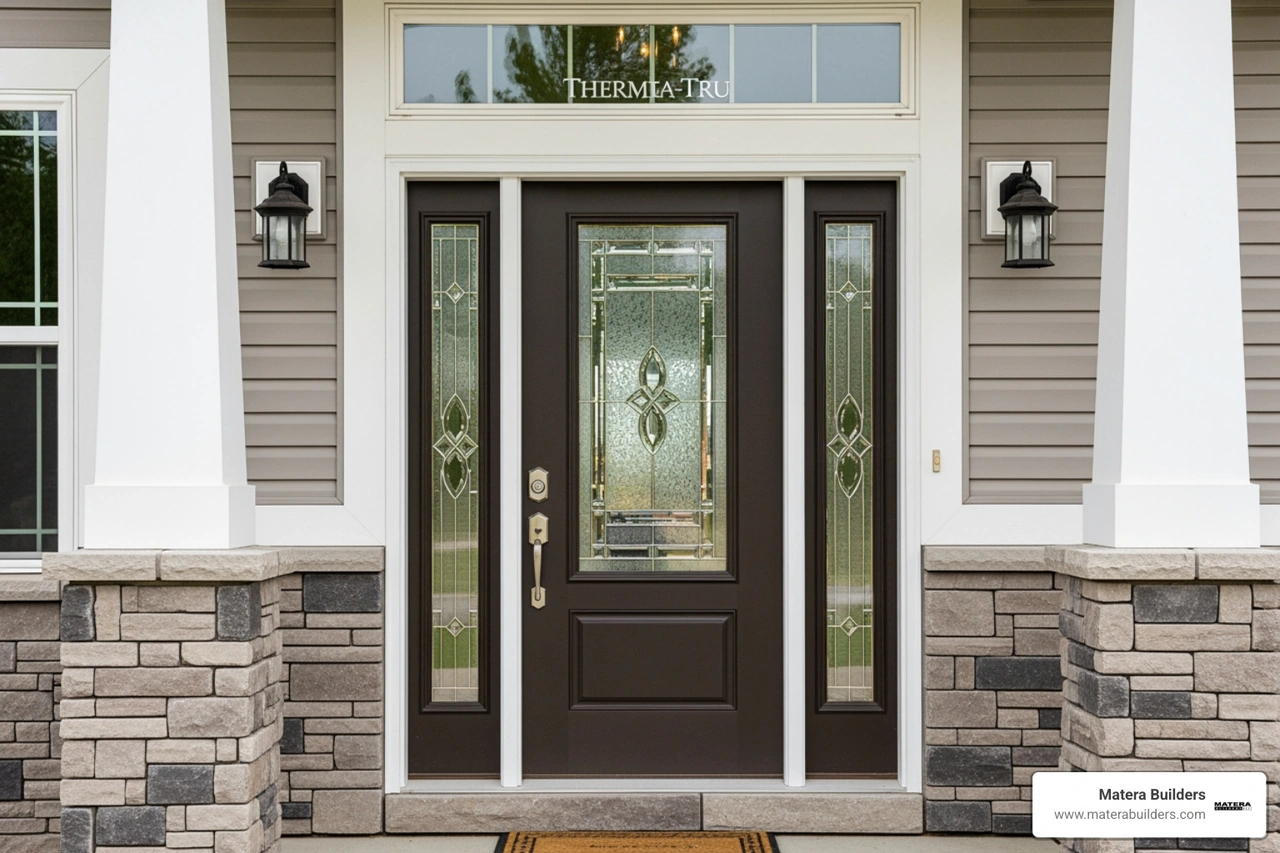
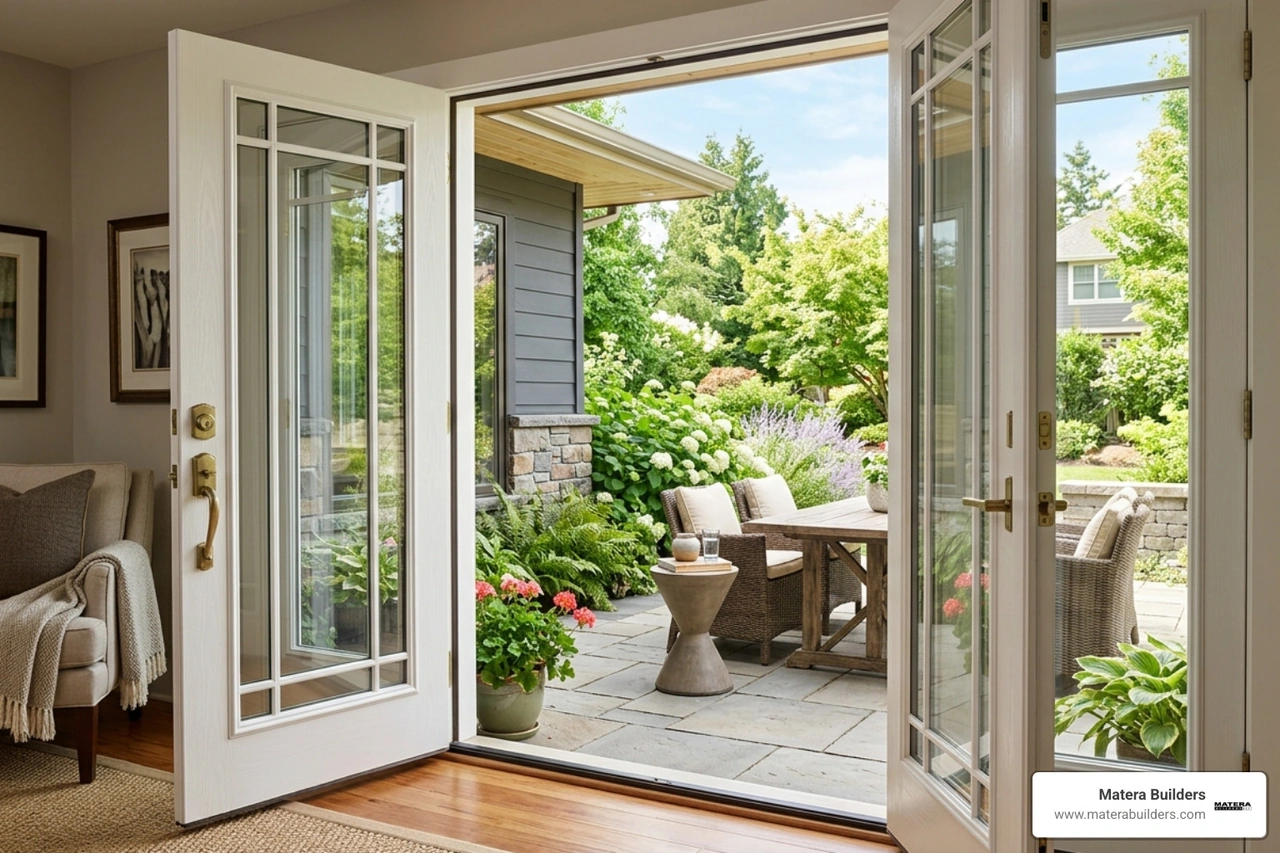
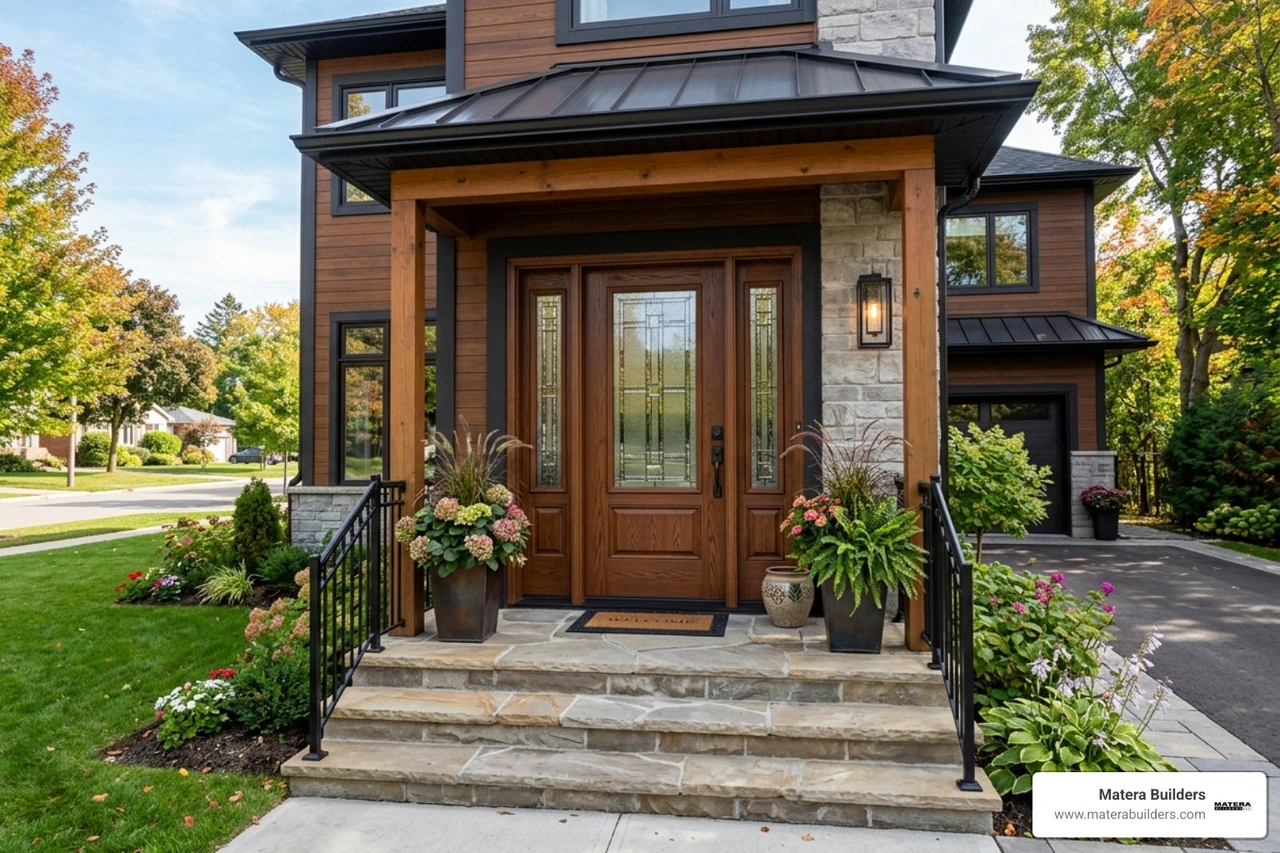
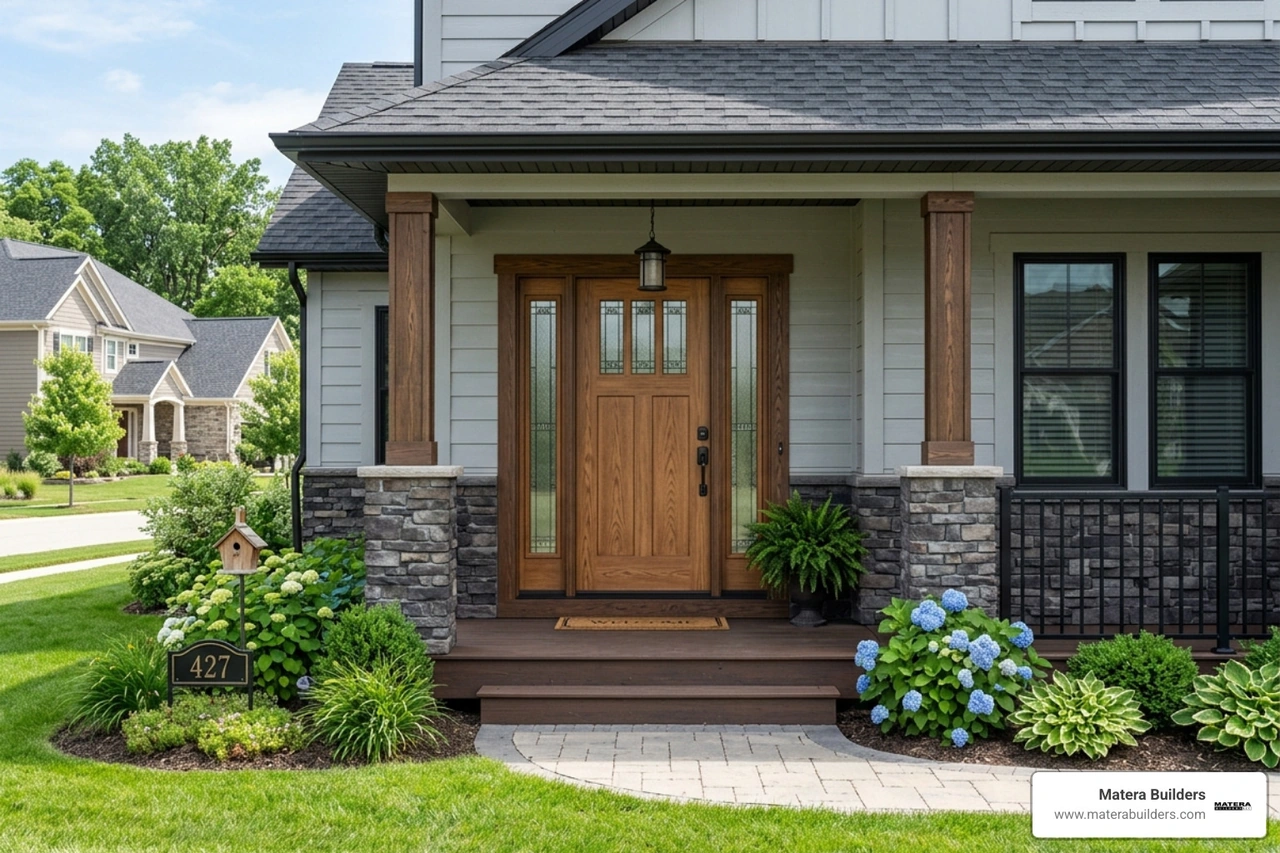
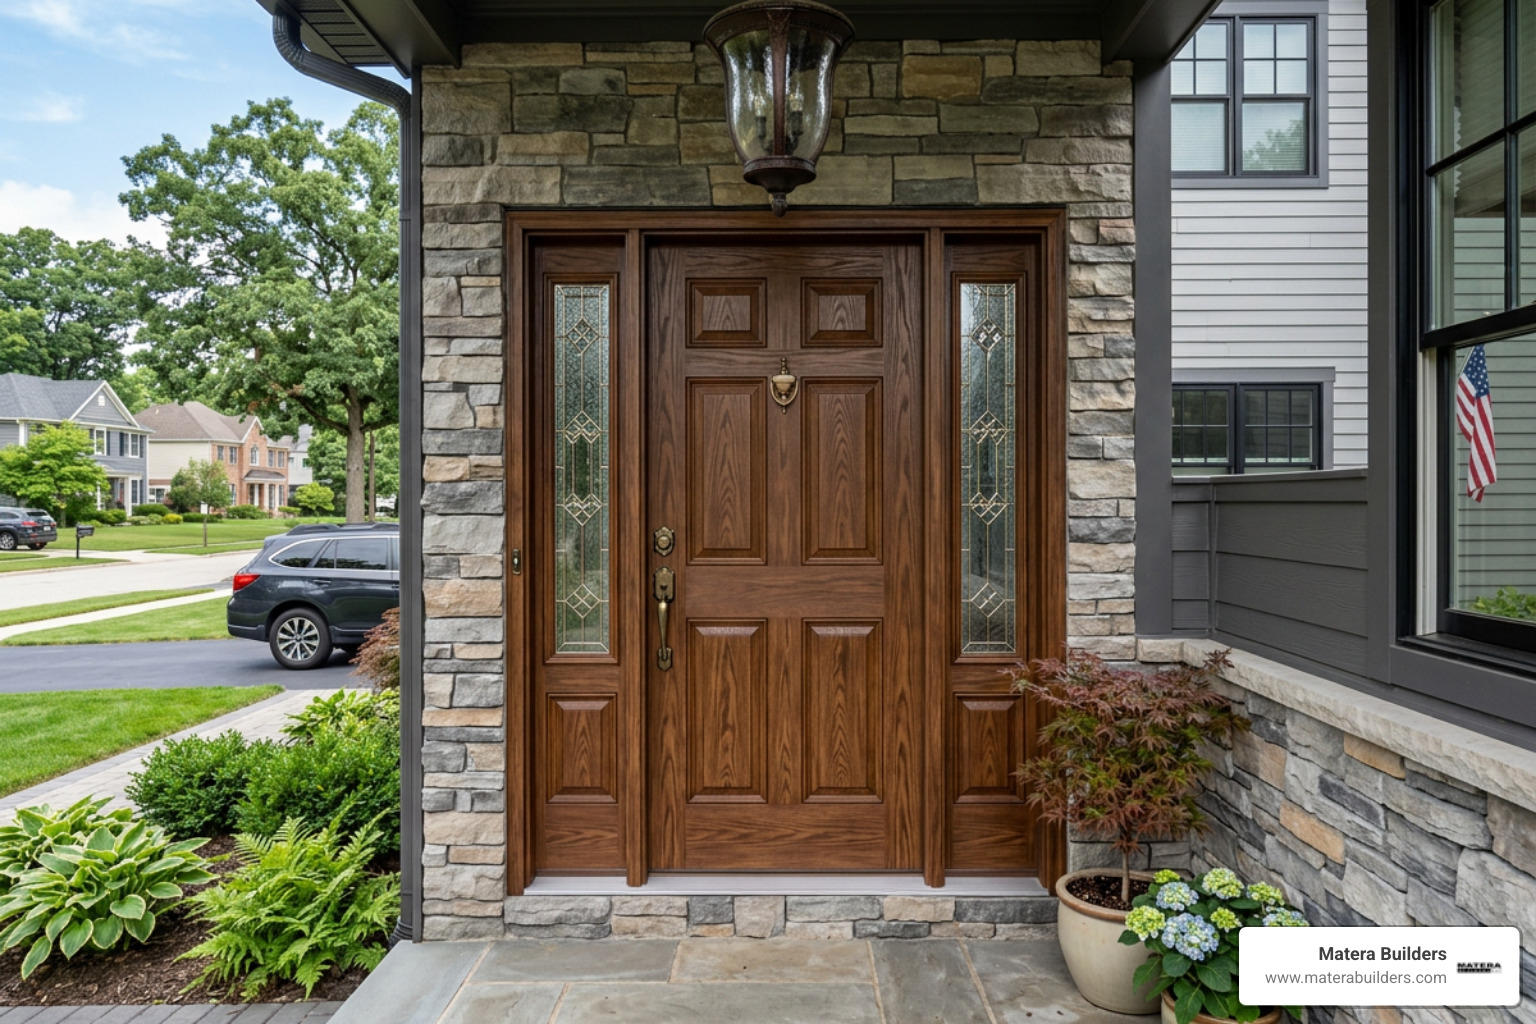
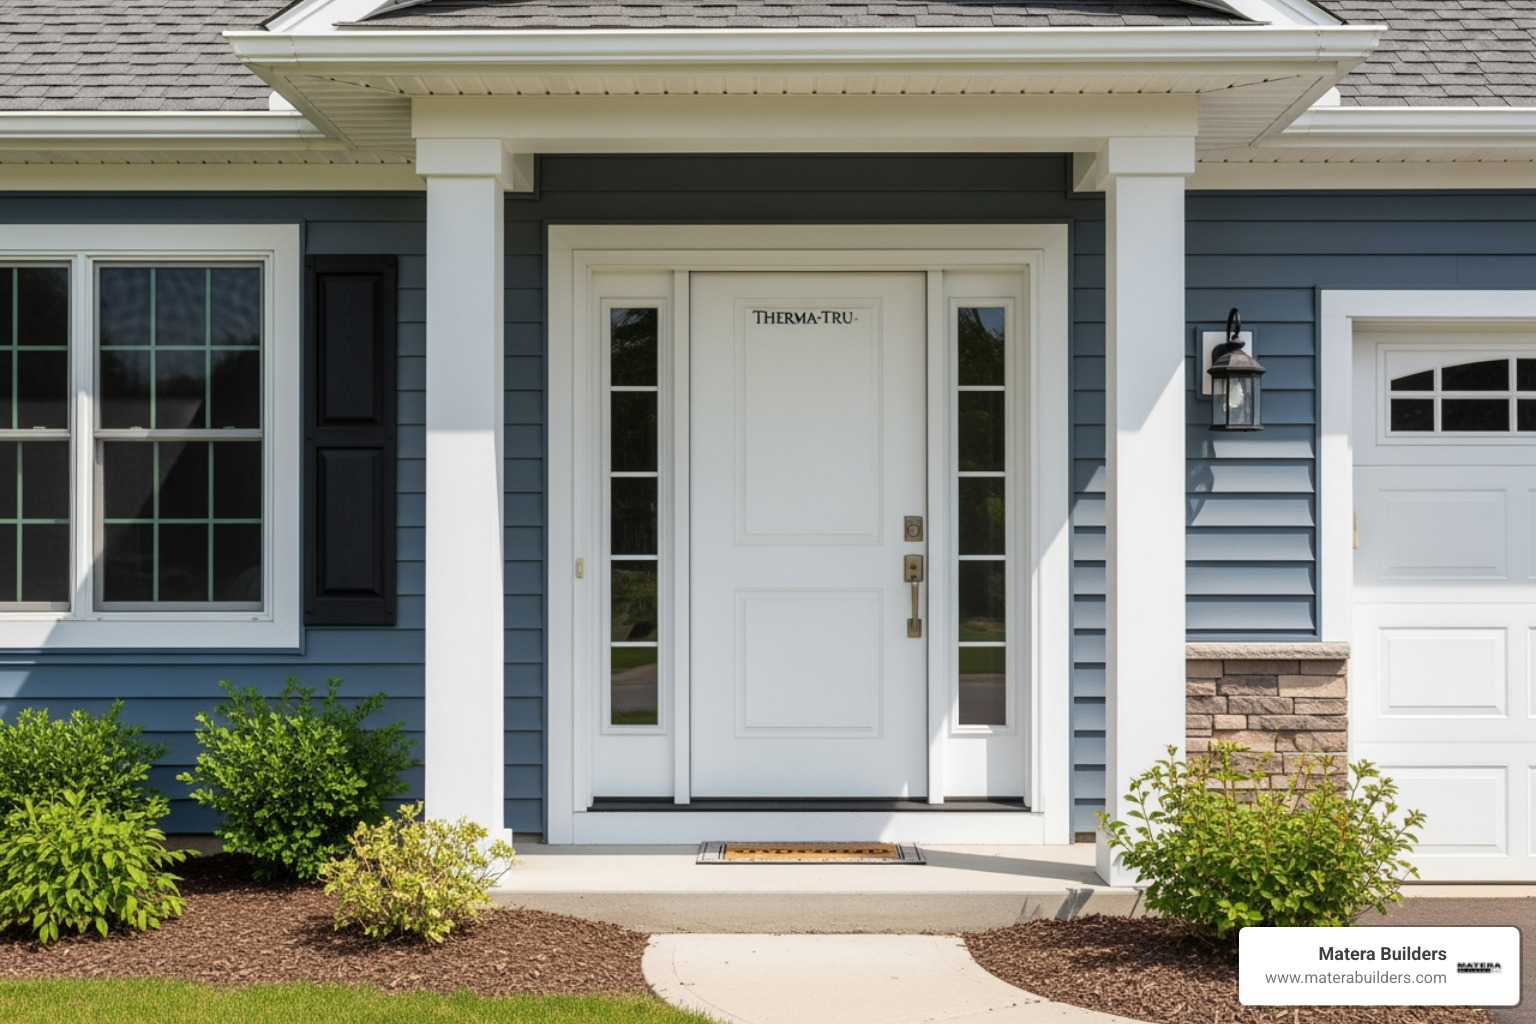
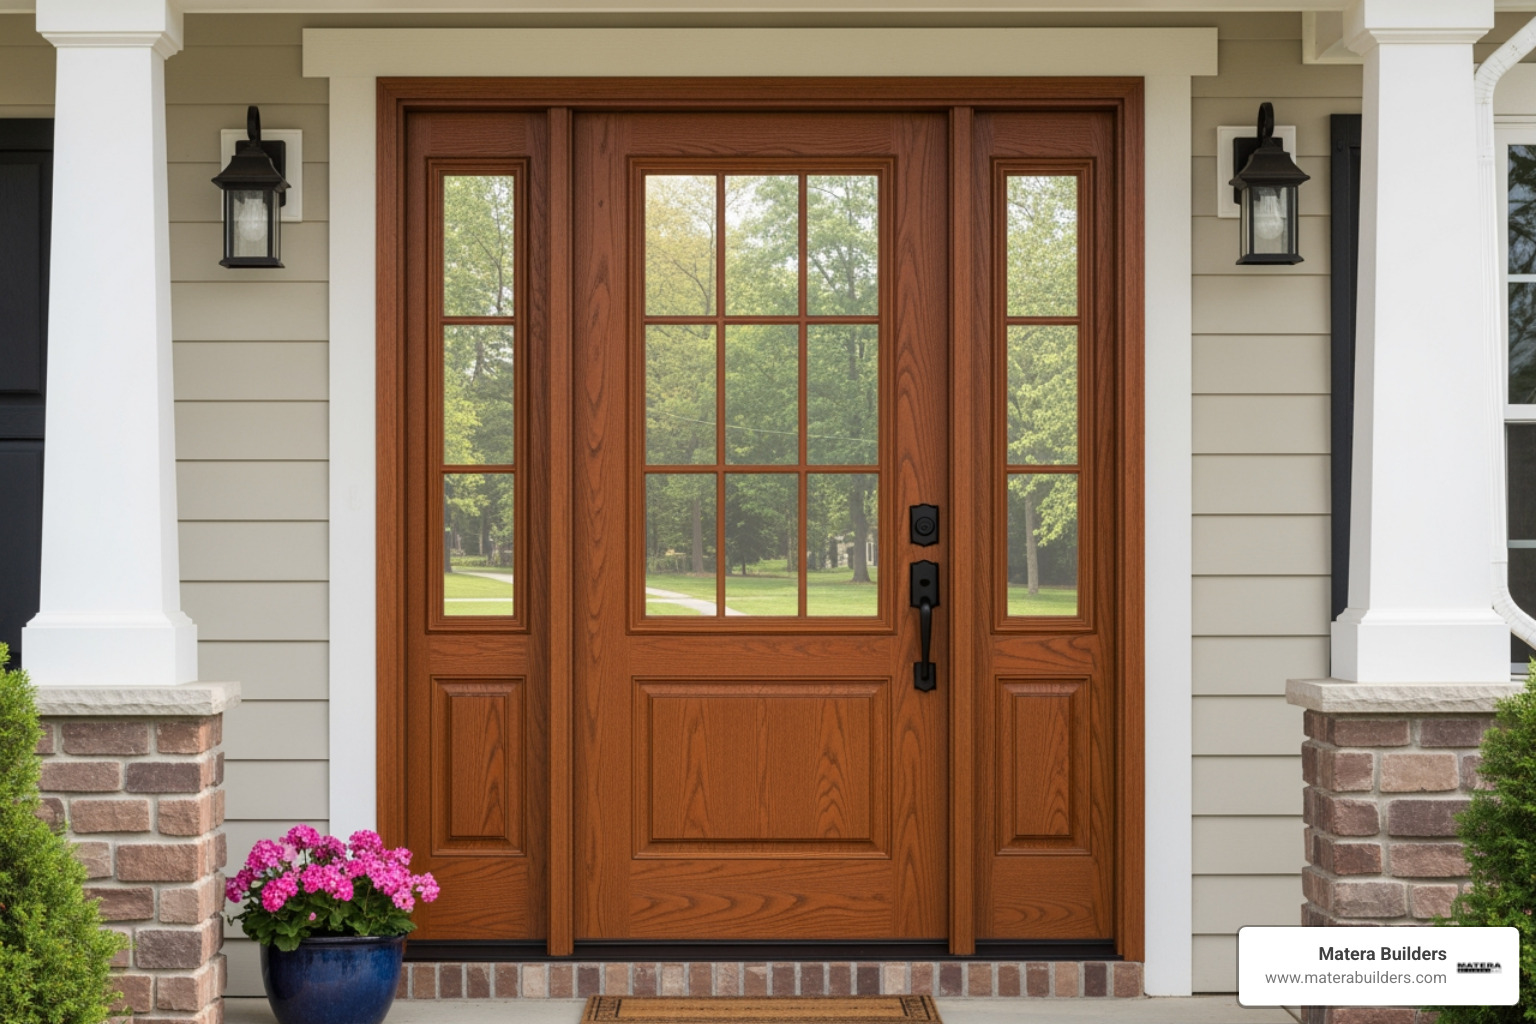
Understanding the Prehung Door Advantage

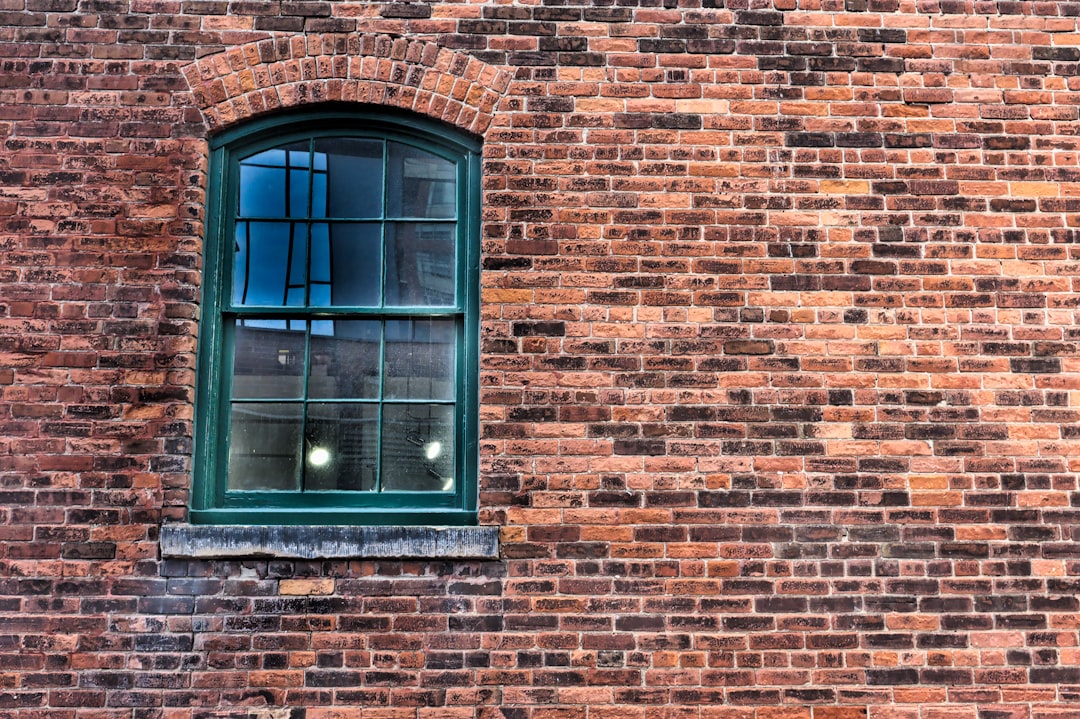
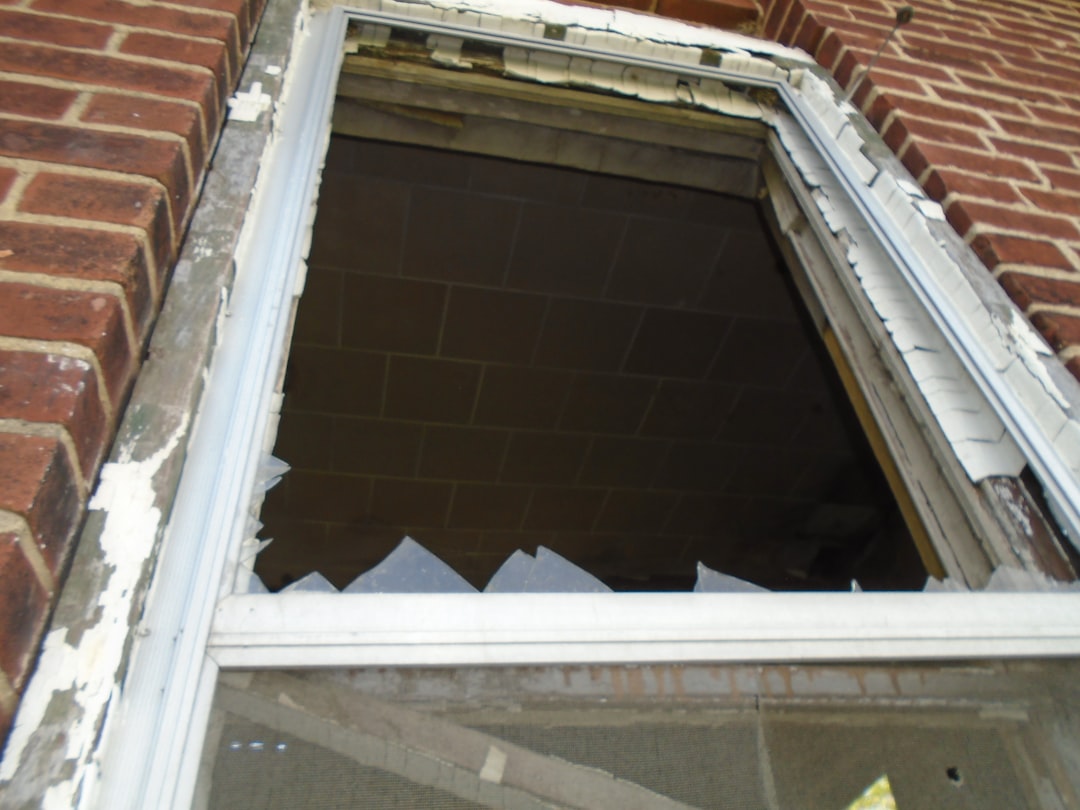
If your front door is drafty, hard to close, or wet around the trim, you are not alone. In coastal areas like the Jersey Shore, salt air and humidity beat up doors fast. Wood can rot. Metal parts can corrode. Wind-driven rain can push water into small gaps.
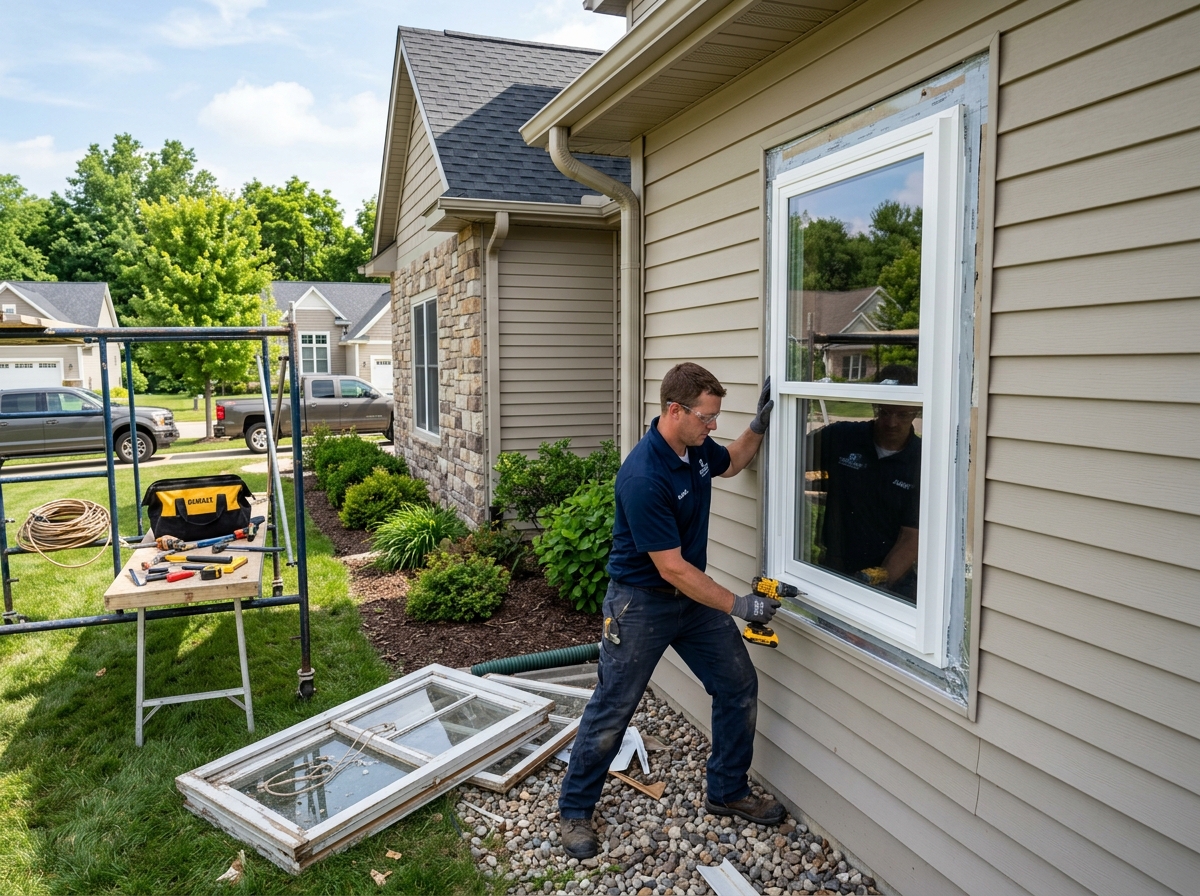
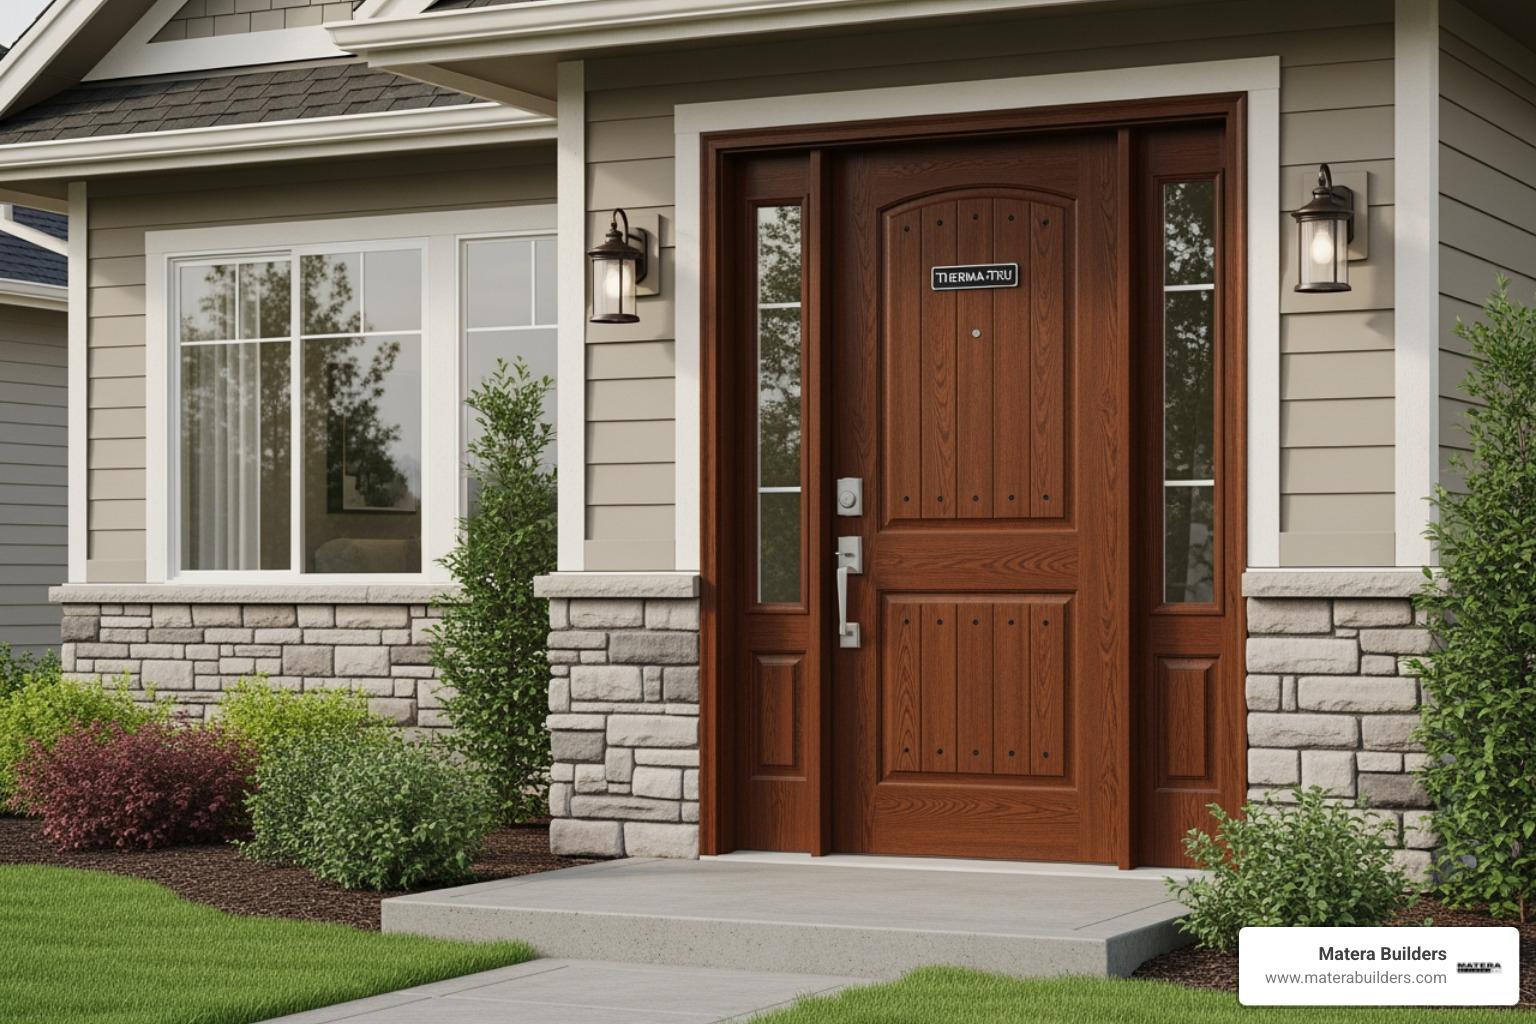
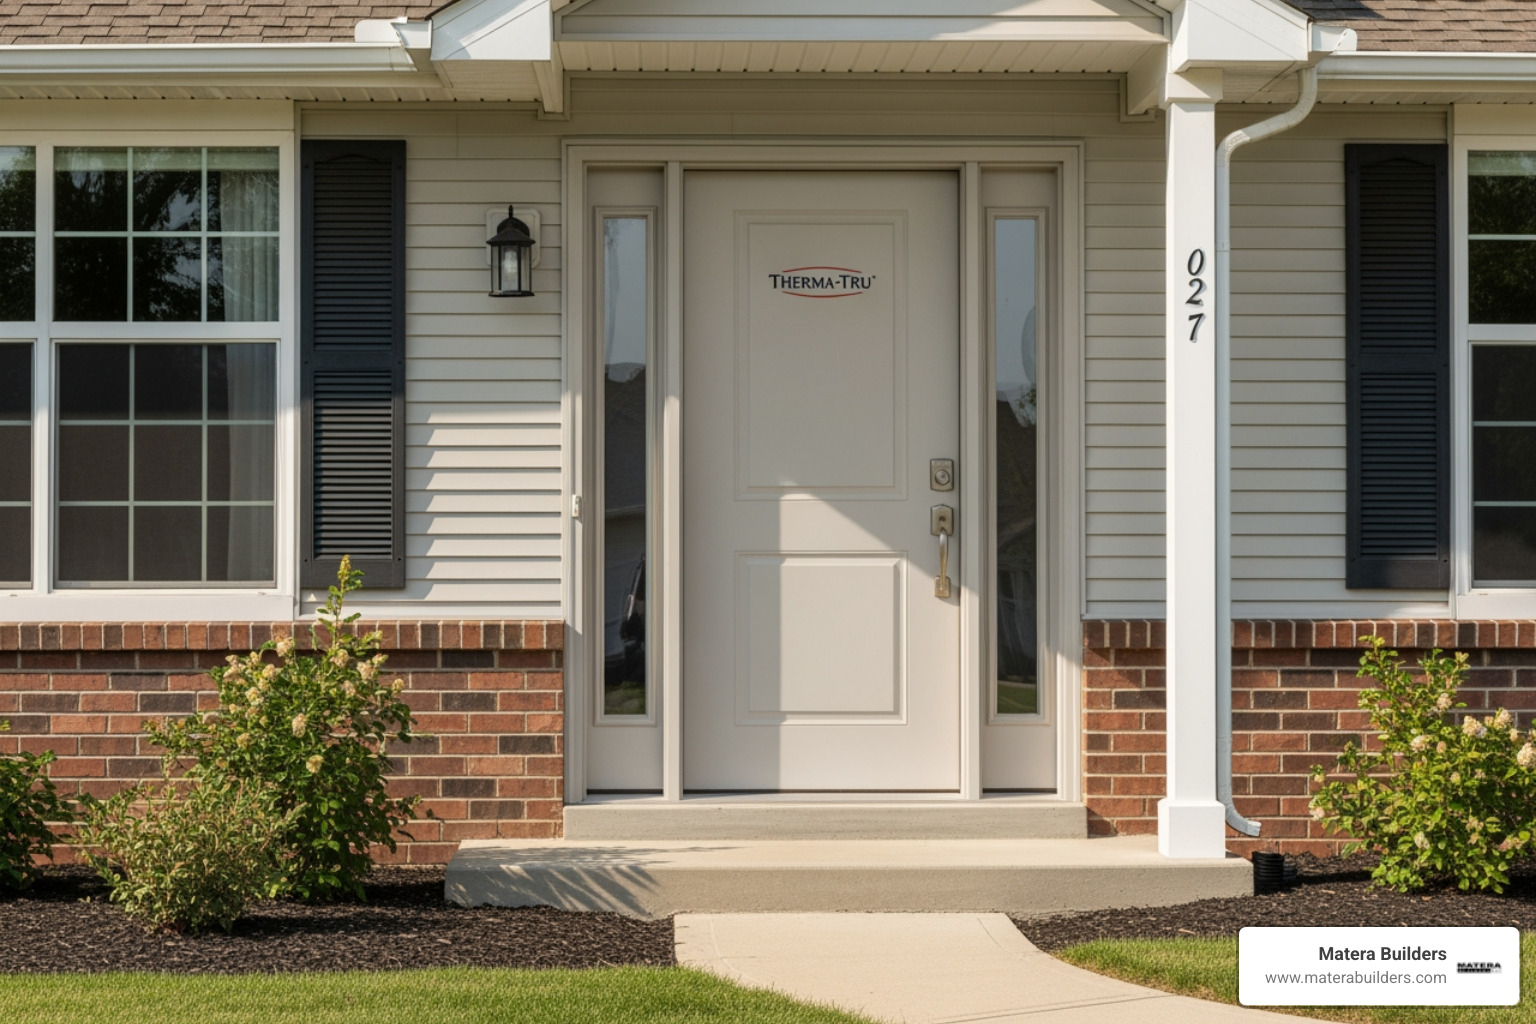
When you decide to install a prehung front door, you are buying a full system. It includes the door, the frame, hinges, weatherstripping, and the threshold. The factory builds it to work together. That matters for energy use and water control.
A slab door is just the door. It depends on your old frame being square and solid. In real homes, old frames are often out of level or soft from water damage. That is why we usually install prehung units on exterior openings.
For coastal homes that need long-term performance, we often recommend Andersen Doors because they seal well and hold up in harsh weather. You can see options here: Andersen doors.
| Feature | Prehung Door | Slab Door |
|---|---|---|
| Components | Door, hinges, and frame | Door only |
| Installation Difficulty | Moderate (heavy but aligned) | High (requires carpentry skills) |
| Best For | New construction or full replacement | Replacing a door in an existing, square frame |
| Weather Resistance | Superior (factory-integrated seals) | Variable (depends on existing frame) |
Is a prehung door right for your DIY skill level?
This is a moderate job. If you can use a level and a drill, you can likely install a prehung front door. Keep these points in mind:
- Physical weight: A solid wood or fiberglass door is heavy. You will need a partner.
- Time: A pro can swap a door in about two hours. A DIYer should plan for five hours. If you find rot, it can take all day.
- Performance risk: This is an exterior opening. A small mistake can cause water leaks, drafts, and swelling. Even premium products can fail with poor shimming and sealing. If you want long-term results, professional installation is often the better ROI.
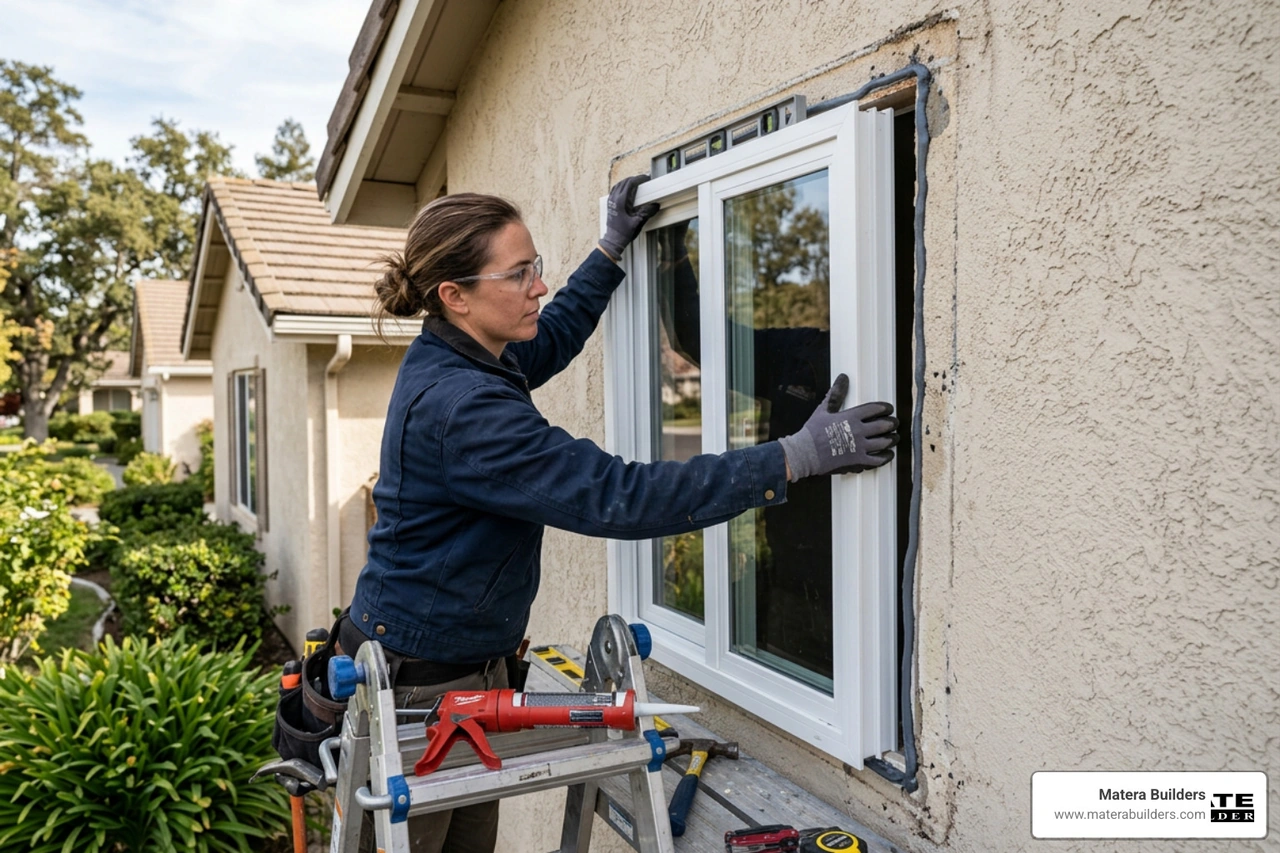
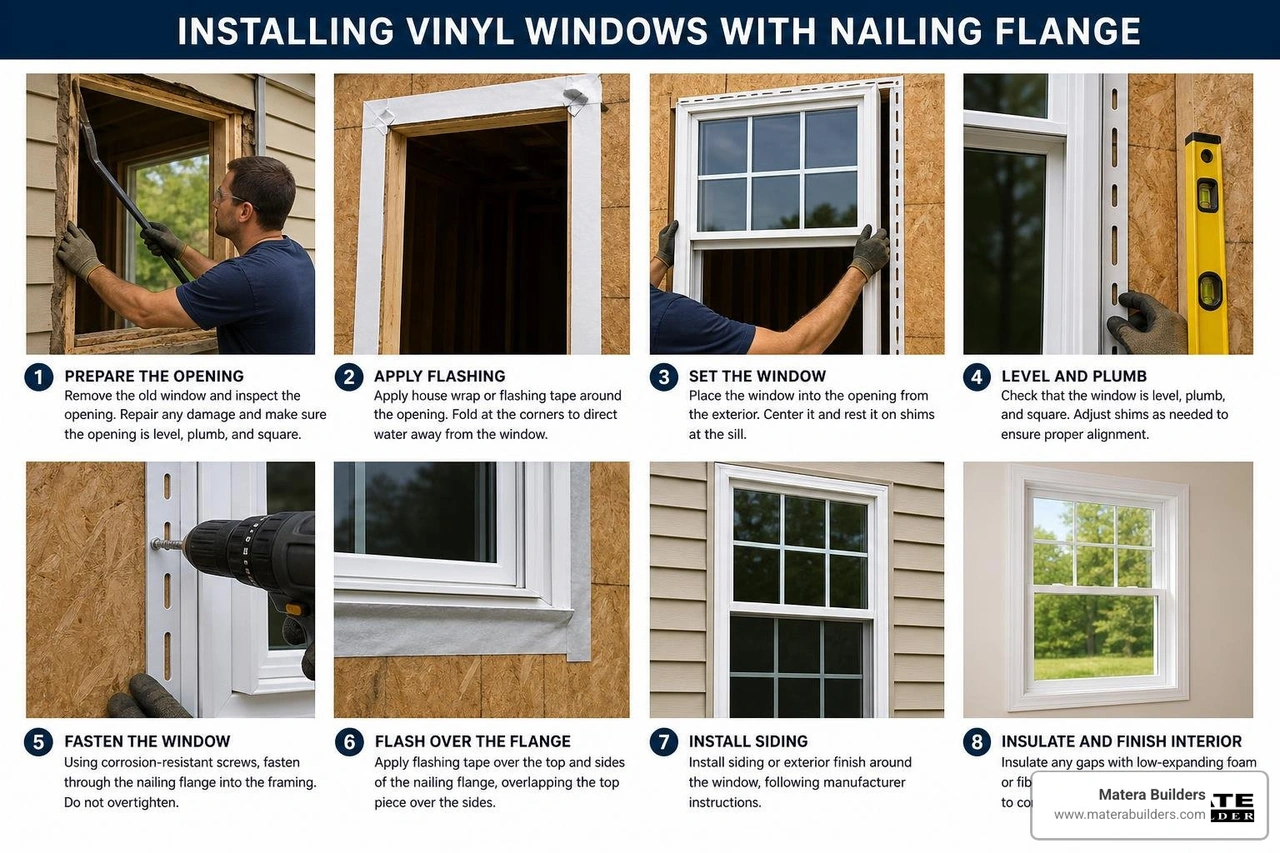
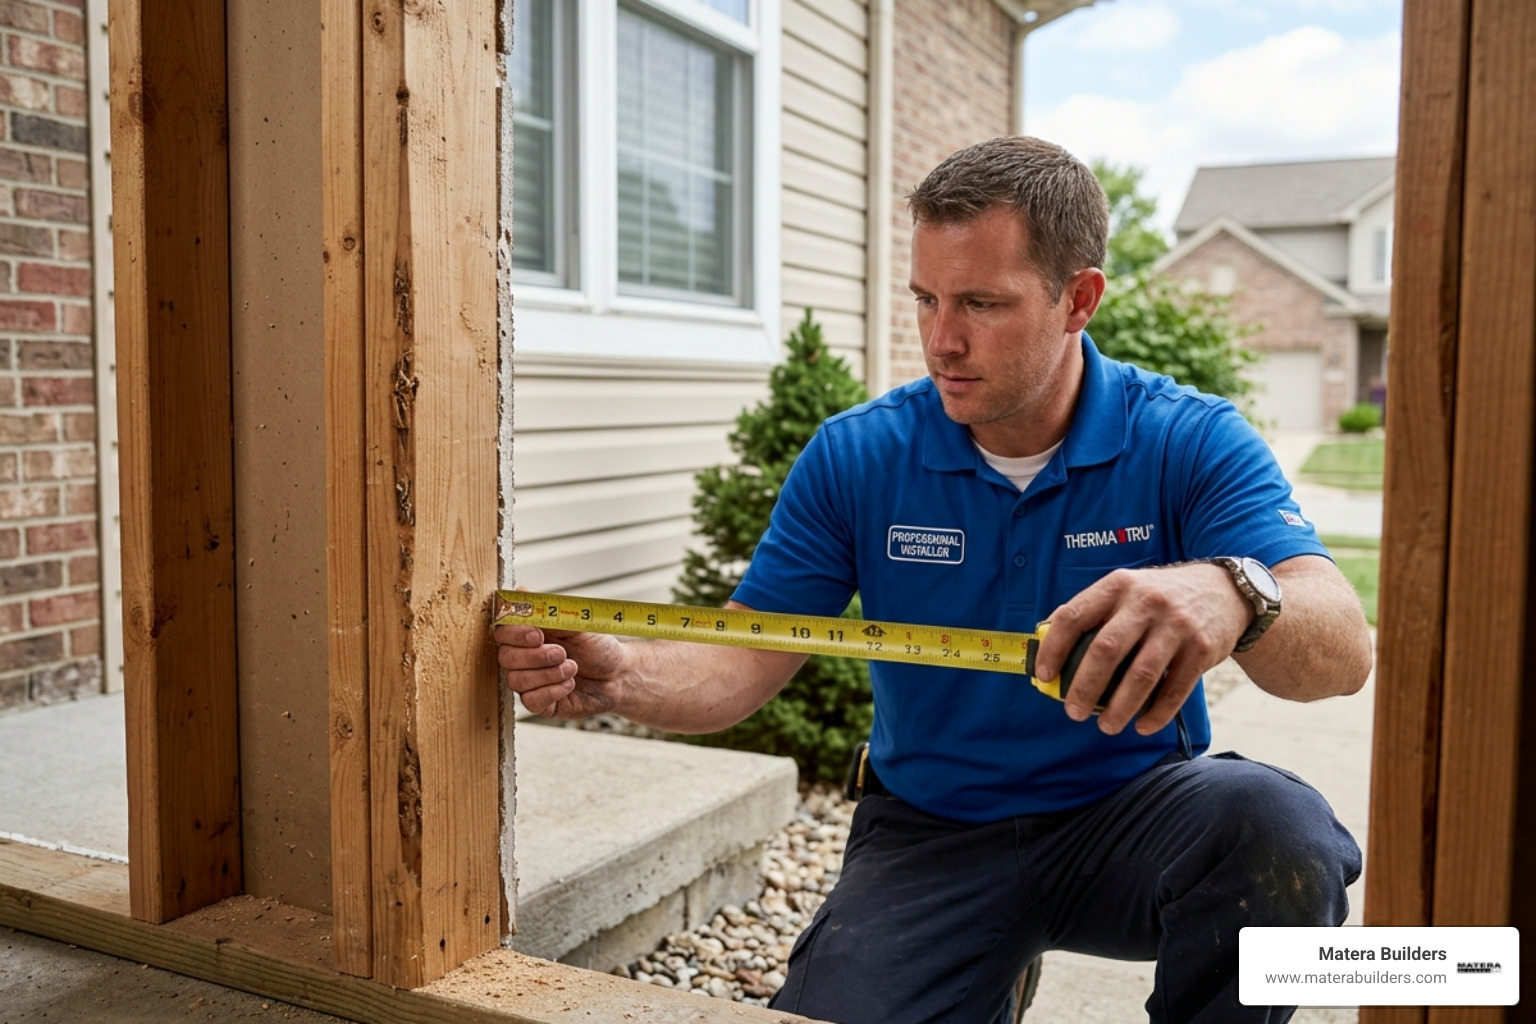
Preparation: Tools, Materials, and Measuring
Before you order a door, you must have the right measurements. In our 37 years at Matera Builders, we see many projects stall because the door does not fit the hole. A door that is not the right size will never be energy efficient.

How to measure for your prehung front door installation
You are measuring the rough opening. This is the wood frame behind the trim.
- Remove the interior trim: Use a pry bar to remove the casing. This lets you see the wall studs.
- Width: Measure the distance between the studs at the top, middle, and bottom. Use the smallest number.
- Height: Measure from the subfloor to the header at the top.
- The 2-Inch Rule: Your opening should be 2 inches wider and 2 inches taller than the door unit. This gives you room to shim the door until it is level.
- Jamb Depth: Measure the thickness of your wall. This ensures your trim will sit flush against the wall.
Essential tools for prehung front door installation
Don't start until you have these tools:
- 6-foot level: A short level is not accurate enough for a full door.
- Hammer and finish nails: For the first steps.
- Drill: For structural screws.
- Wood shims: To make the door level.
- Caulk gun and sealant: To stop leaks.
- Flashing tape: For waterproofing.
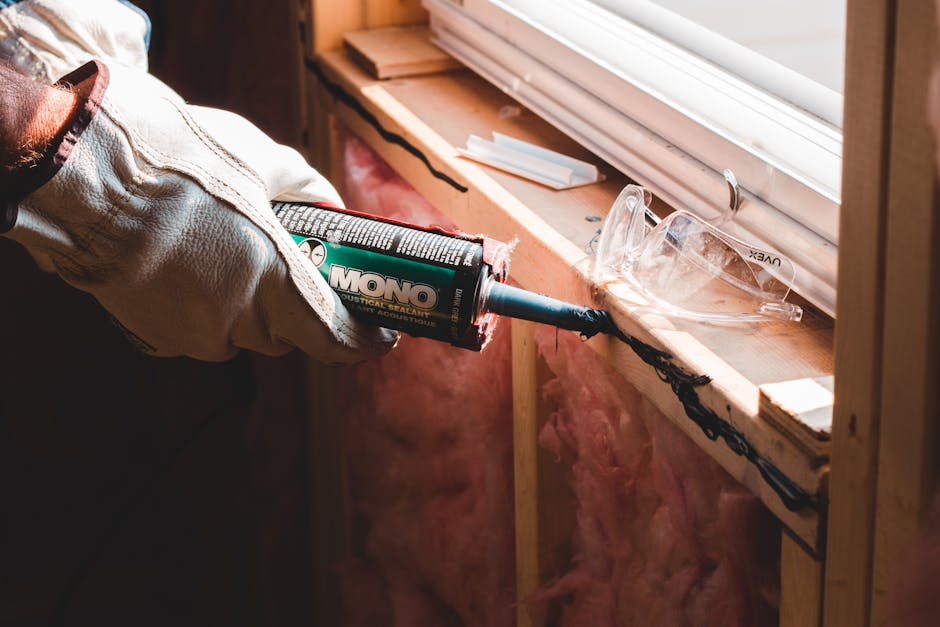
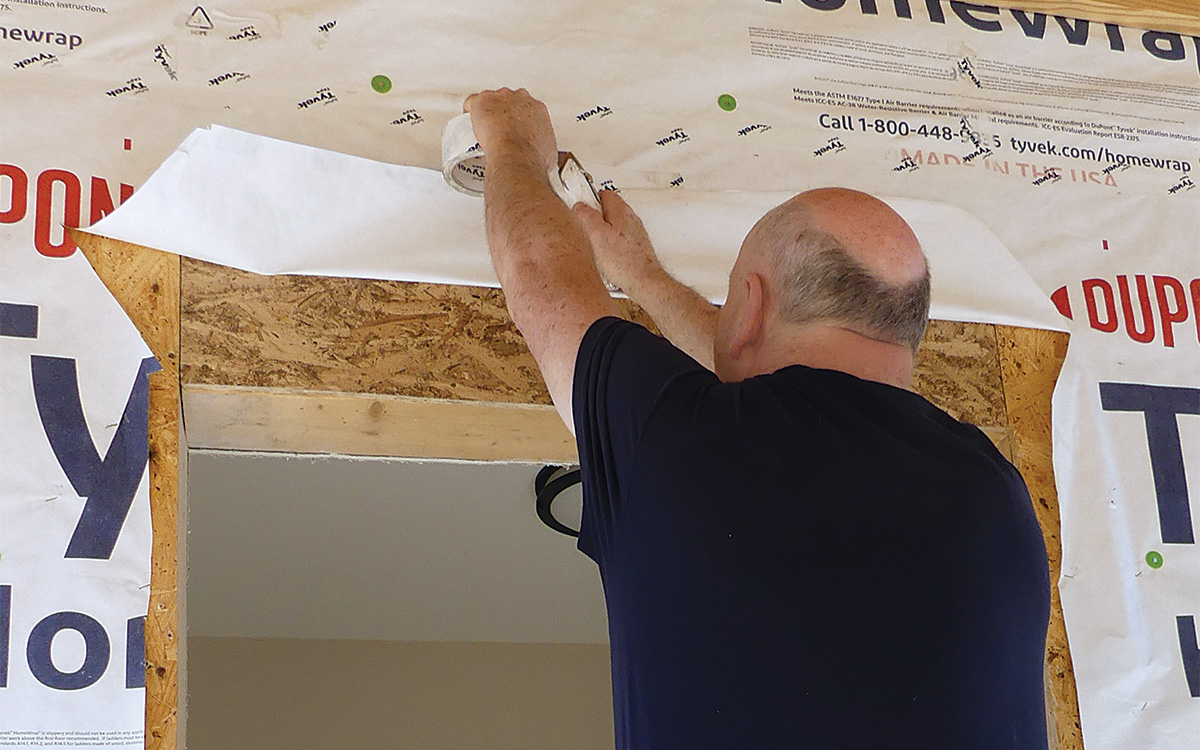
- Low-expansion spray foam: Use foam labeled for windows and doors so the frame does not bow.
For more on professional techniques, you can review latest research on door installation methods which shows why a level floor is so important.
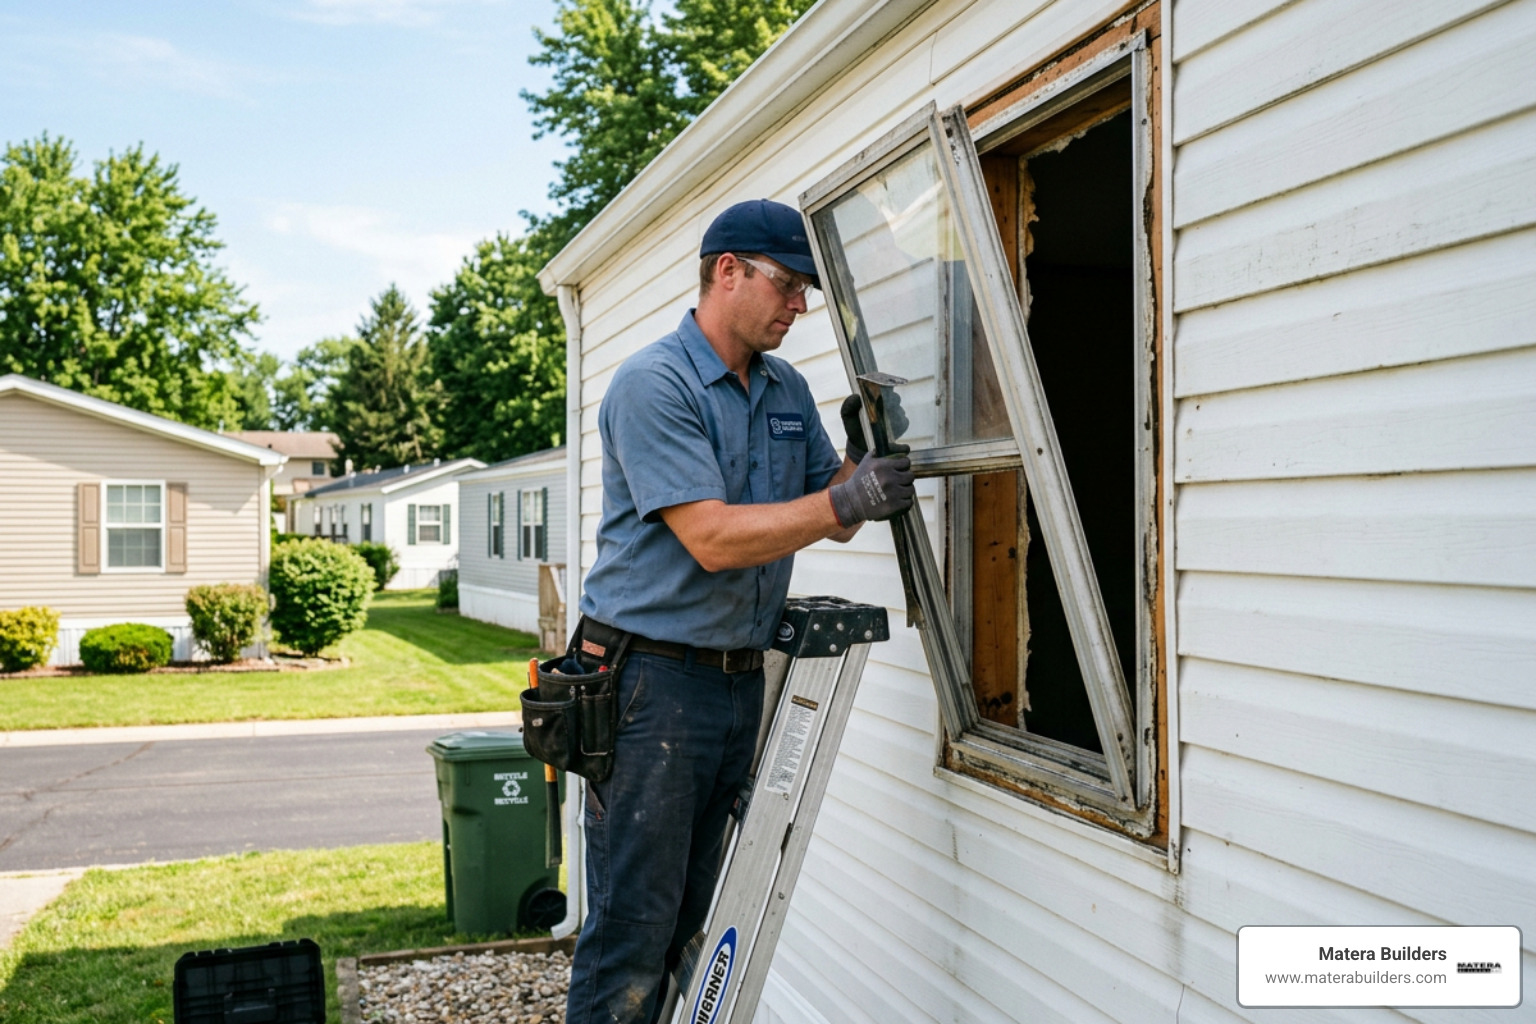
How to Remove Your Old Door and Prepare the Opening
Start early in the day. You do not want to work on an open house after dark.
- Remove the door: Open the door and tap out the hinge pins. Lift the door off.
- Extract the frame: Cut through the nails holding the old frame to the studs. Pry the frame out.
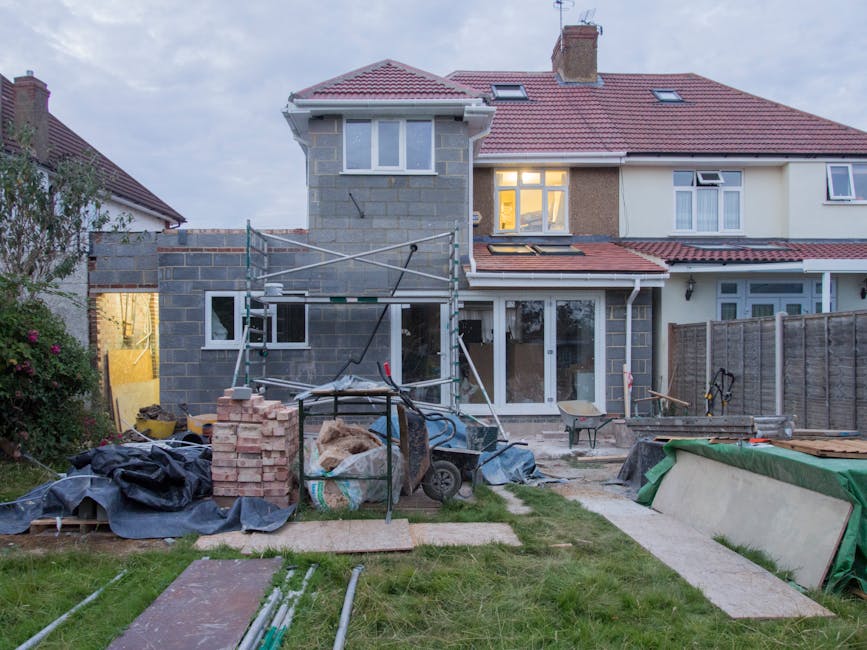
- Inspect the subfloor: This is the most important step. If the wood is soft or black, you have rot. This must be fixed before the new door goes in.
- Level the sill: Use your level to check the floor. If it is not flat, use flashing membrane to level the spot for the new door.
Waterproofing the sill and opening
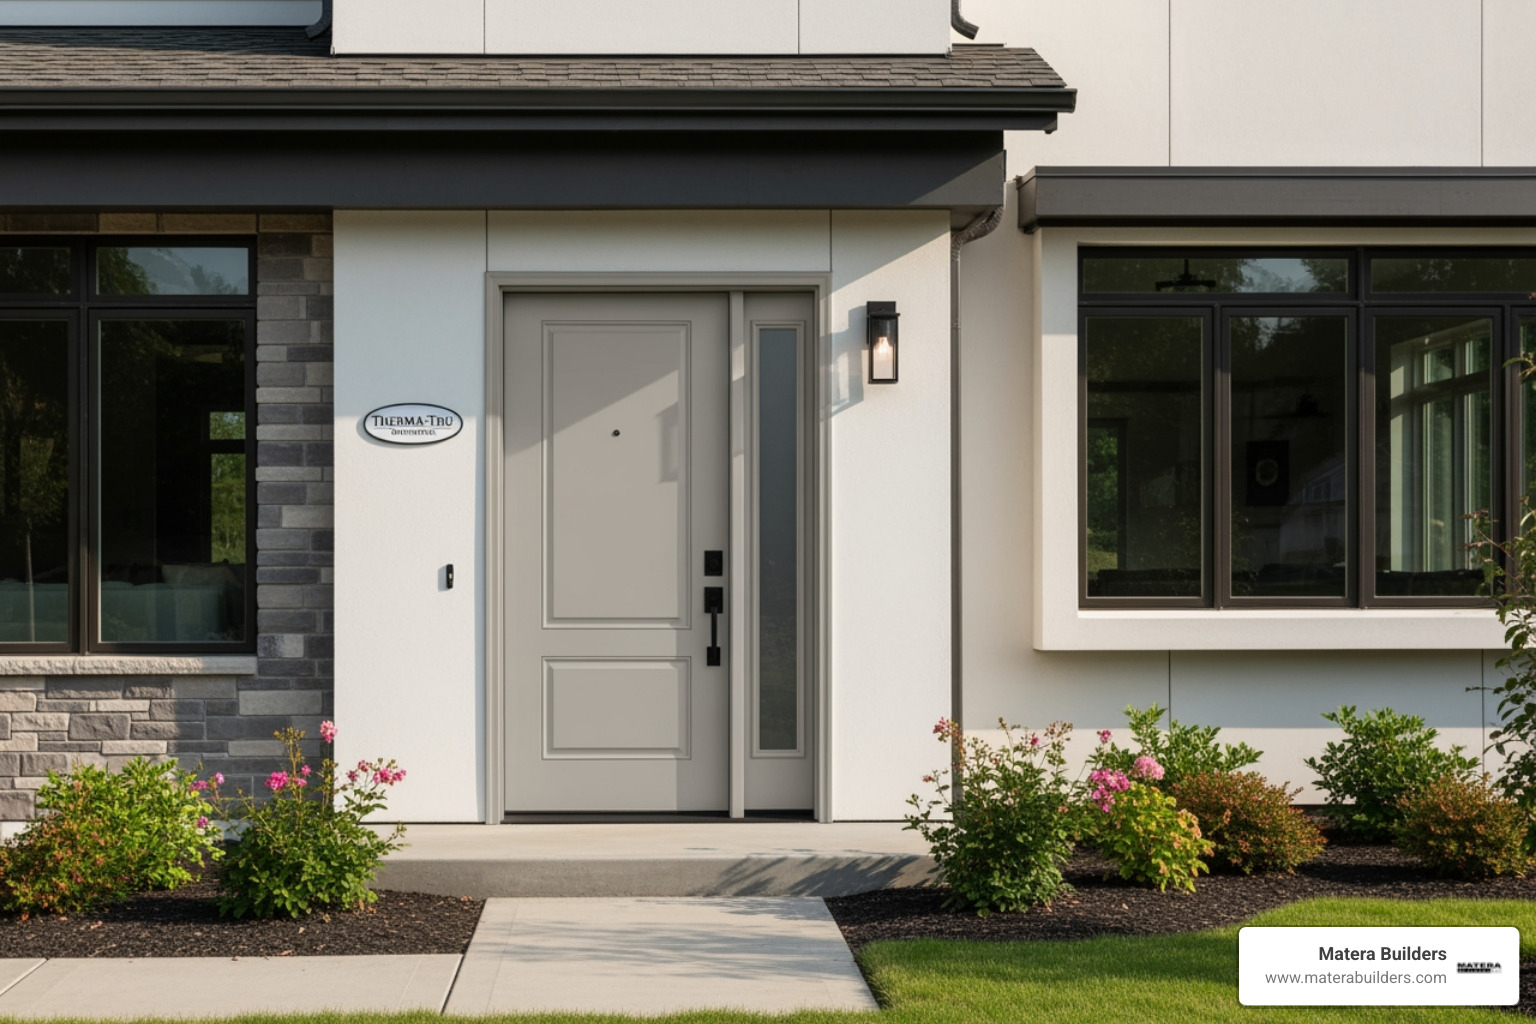
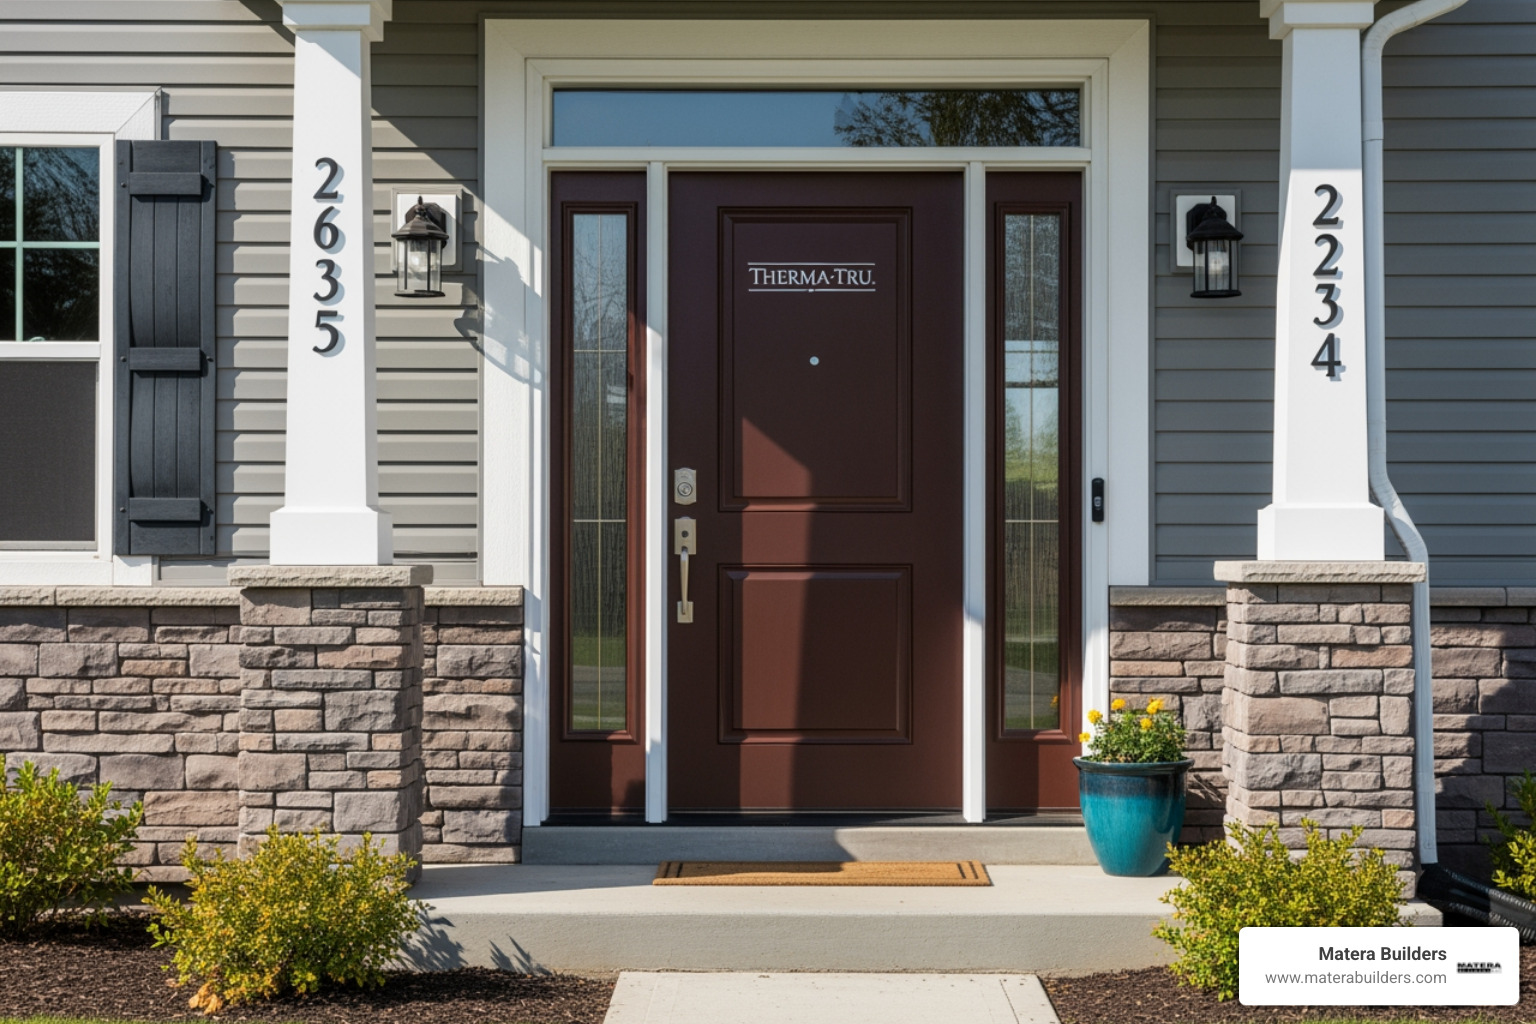
In New Jersey, water is the biggest enemy. Most door failures we see are caused by rot from bad flashing. We suggest using a sill pan. This is a tray that sits on the floor. If water gets past the seals, the pan sends it back outside. Many Therma-Tru entry doors have a better warranty if you use their Therma-Tru rigid flashing systems.
Local codes for exterior doors
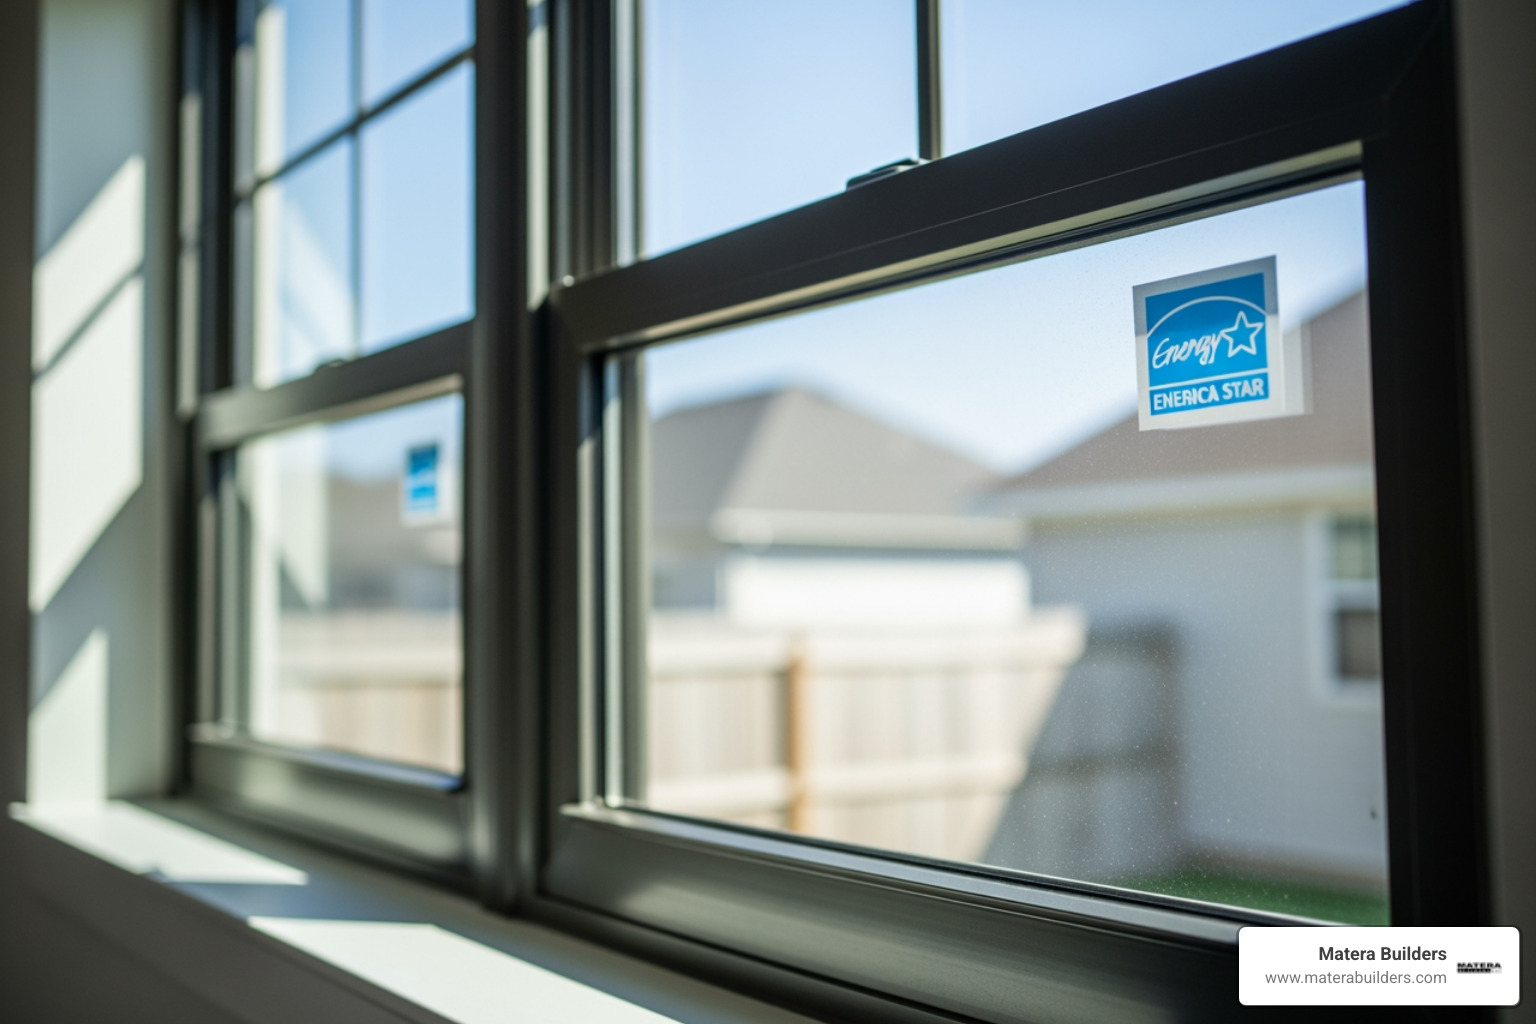
An entry door is part of your home's safety path. Some towns in NJ require a permit. These codes often cover wind load and energy efficiency. New doors must meet standards for heat gain and safety glass. Always check with your local building office before you install a prehung front door.
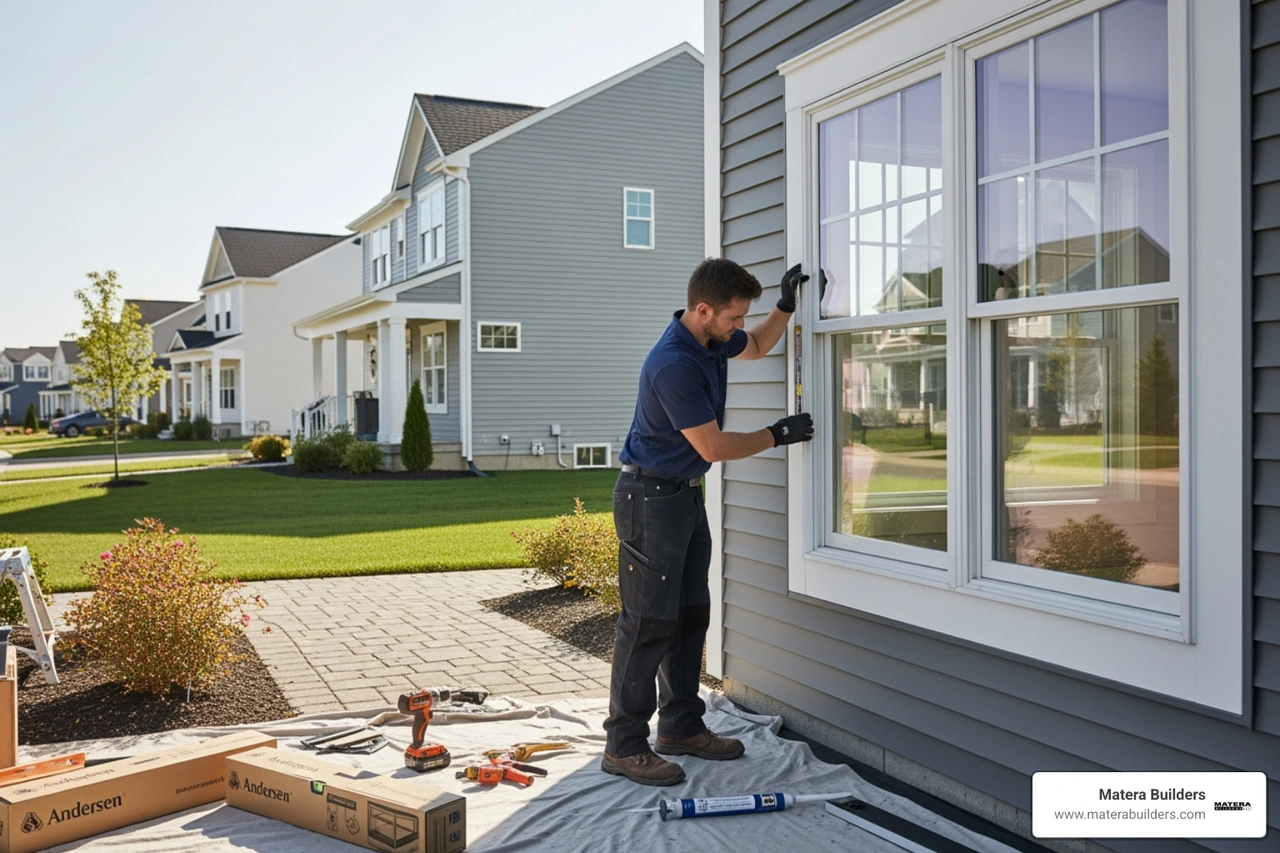
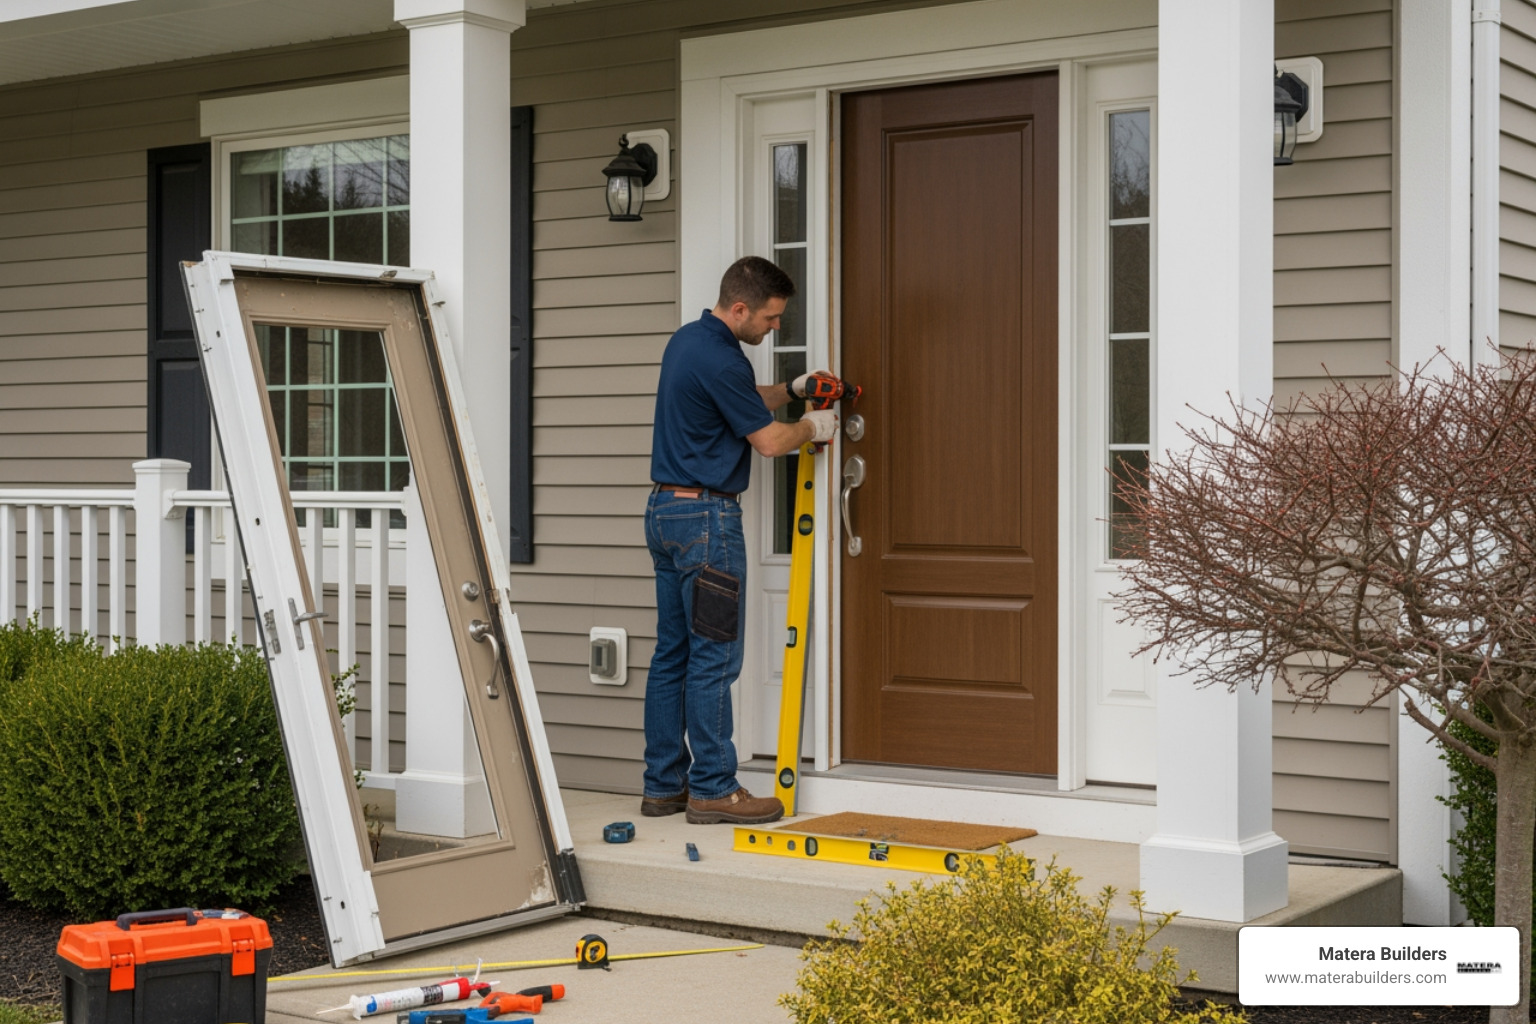
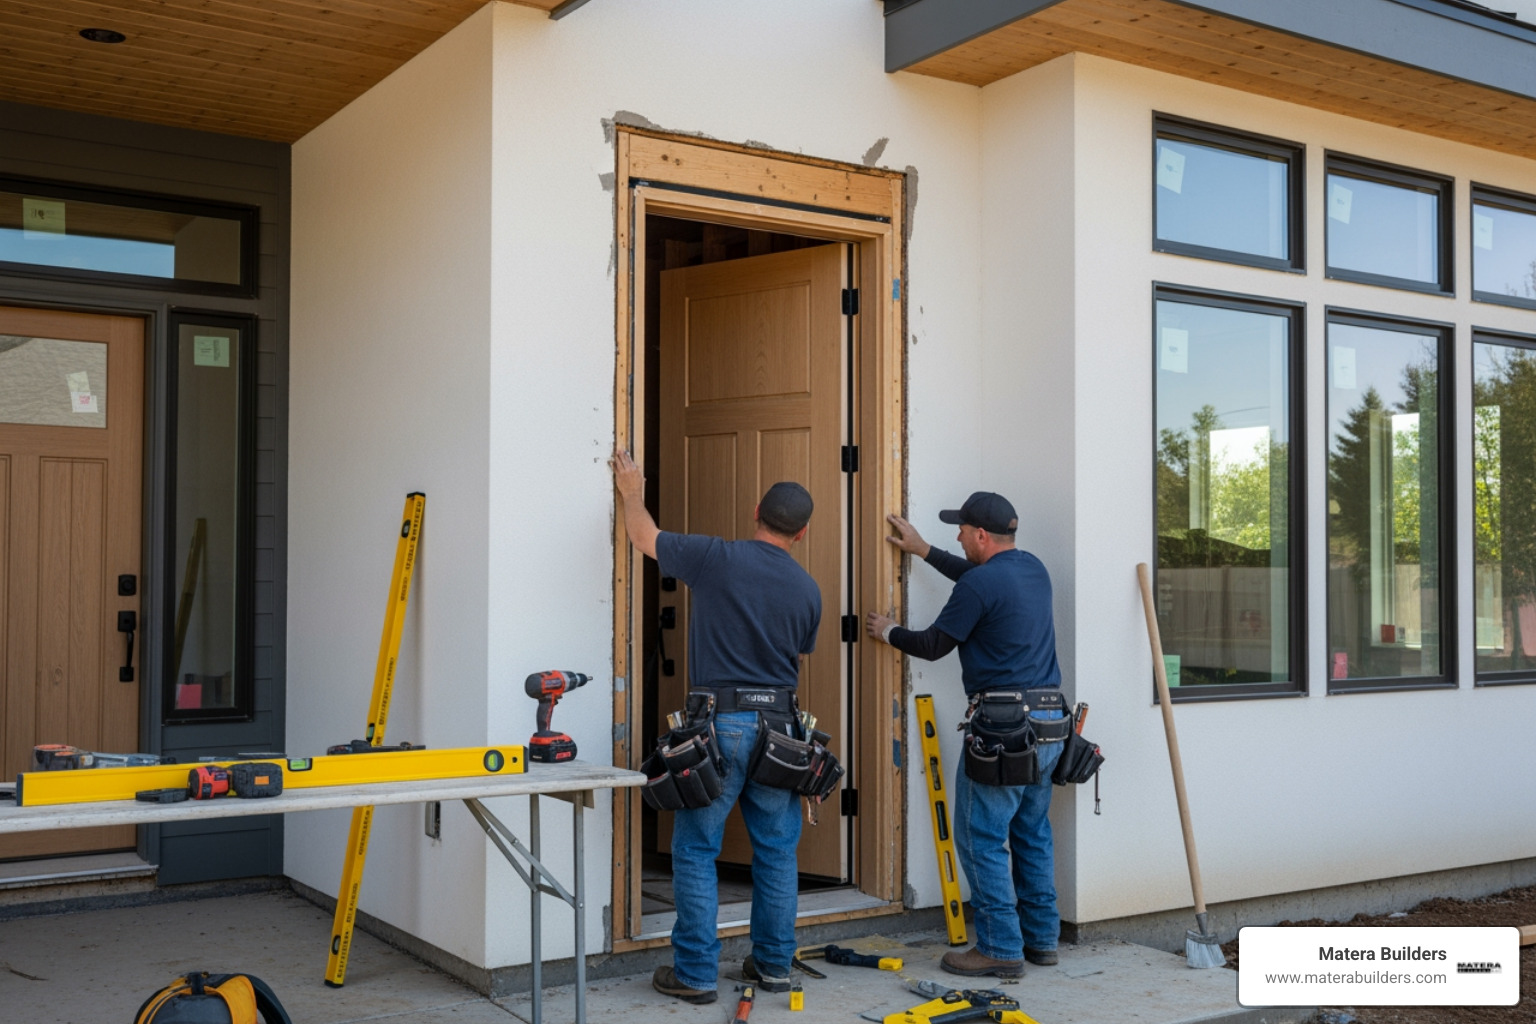
Step-by-Step Guide to Install Prehung Front Door
Now it is time for the heavy lifting.
- Dry Fit: Lift the door into the opening with a partner. Check the fit and then take it back out.
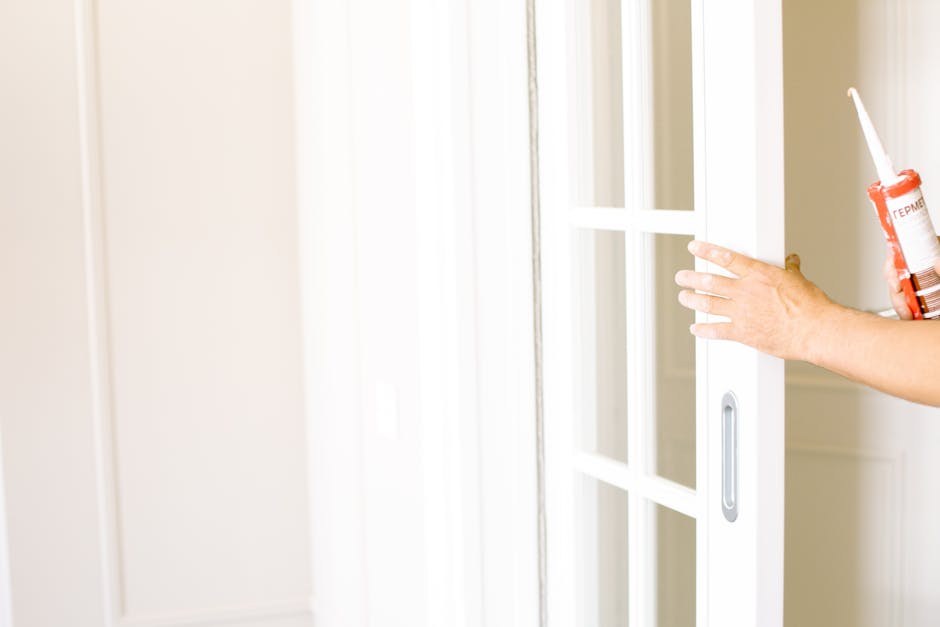
- Apply Sealant: Run thick beads of caulk across the sill and the back of the exterior trim.
- Set the Door: Tilt the door into the hole, bottom first. Center it.
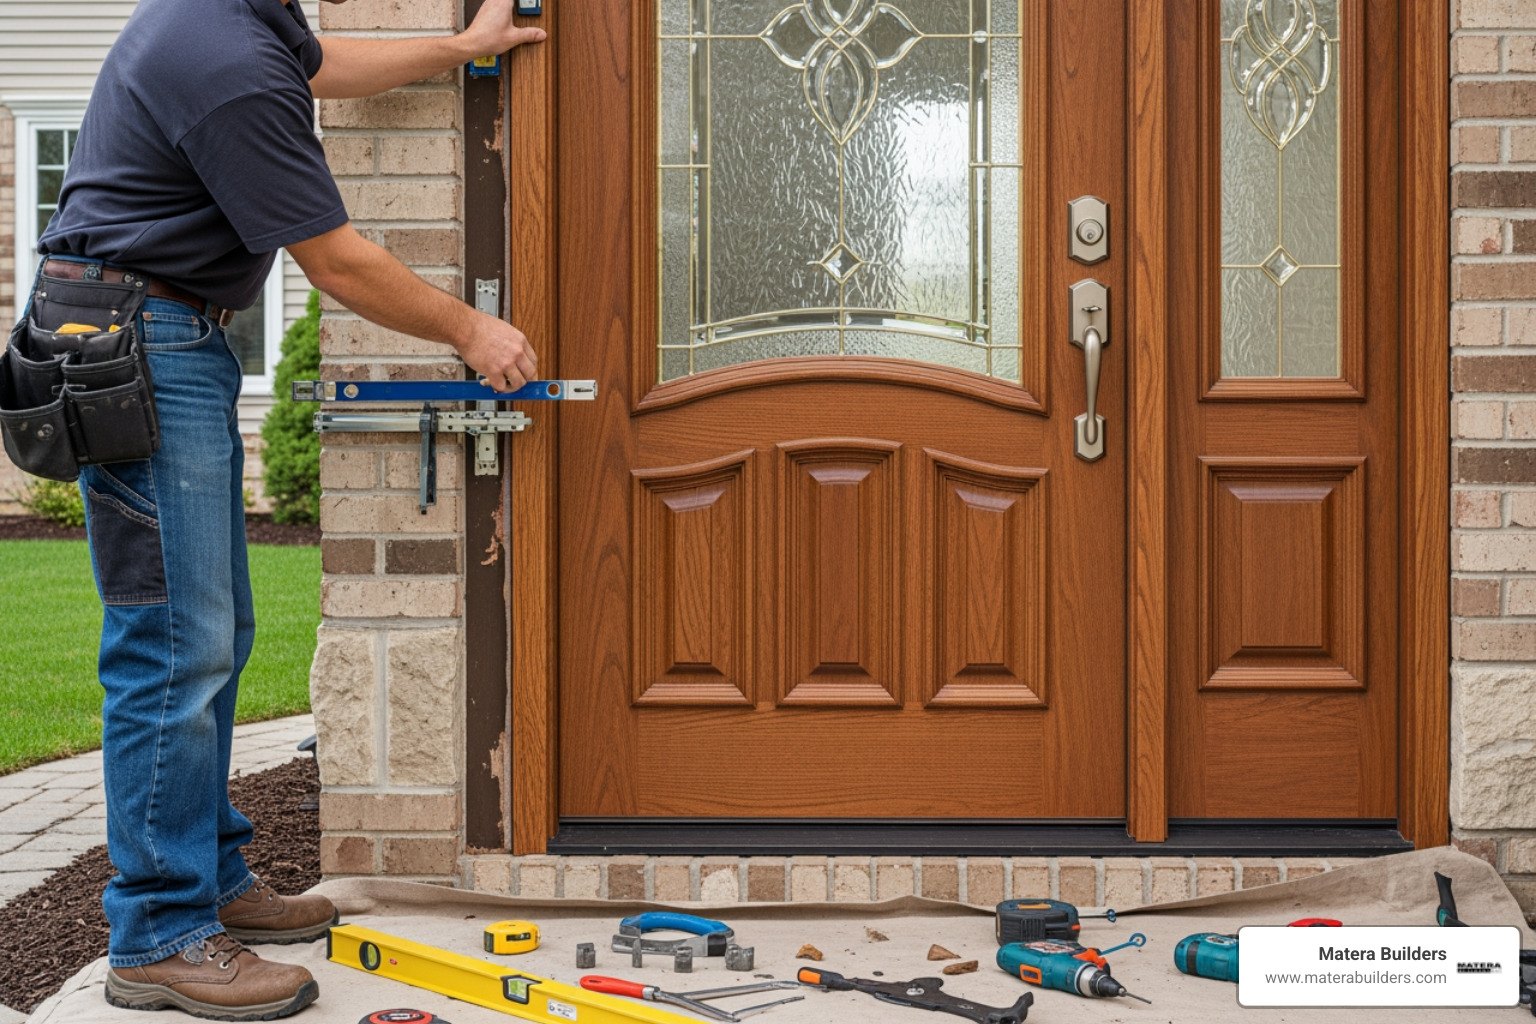
Securing the frame and shimming for stability
Now you must make the door plumb and level.

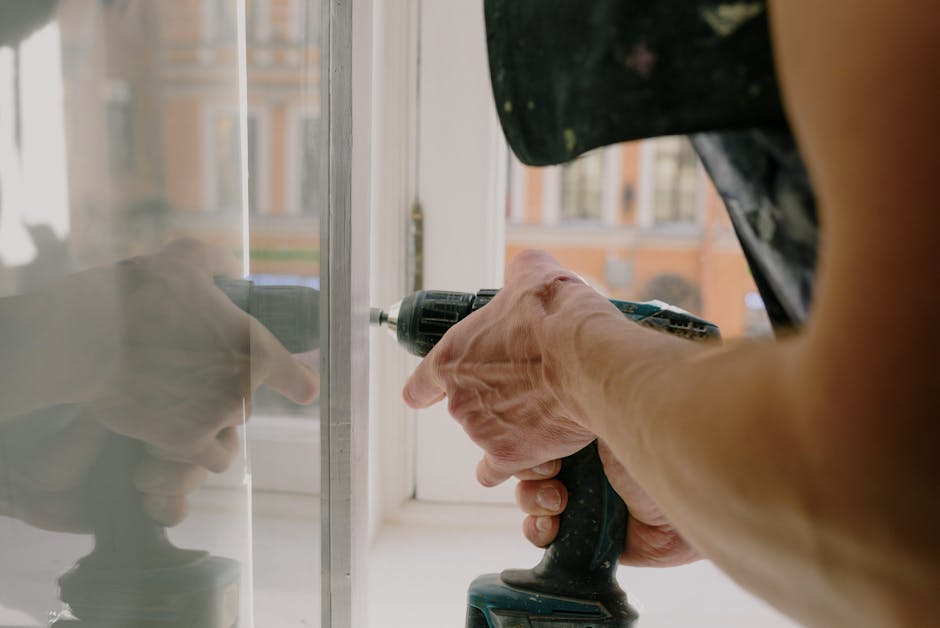
- The Hinge Side: Place your 6-foot level against the hinge side. Put wood shims between the frame and the wall stud. Adjust them until the level shows the door is perfectly vertical.
- Temporary Secure: Drive a nail through the frame and shims into the stud. Do not drive it all the way in yet.
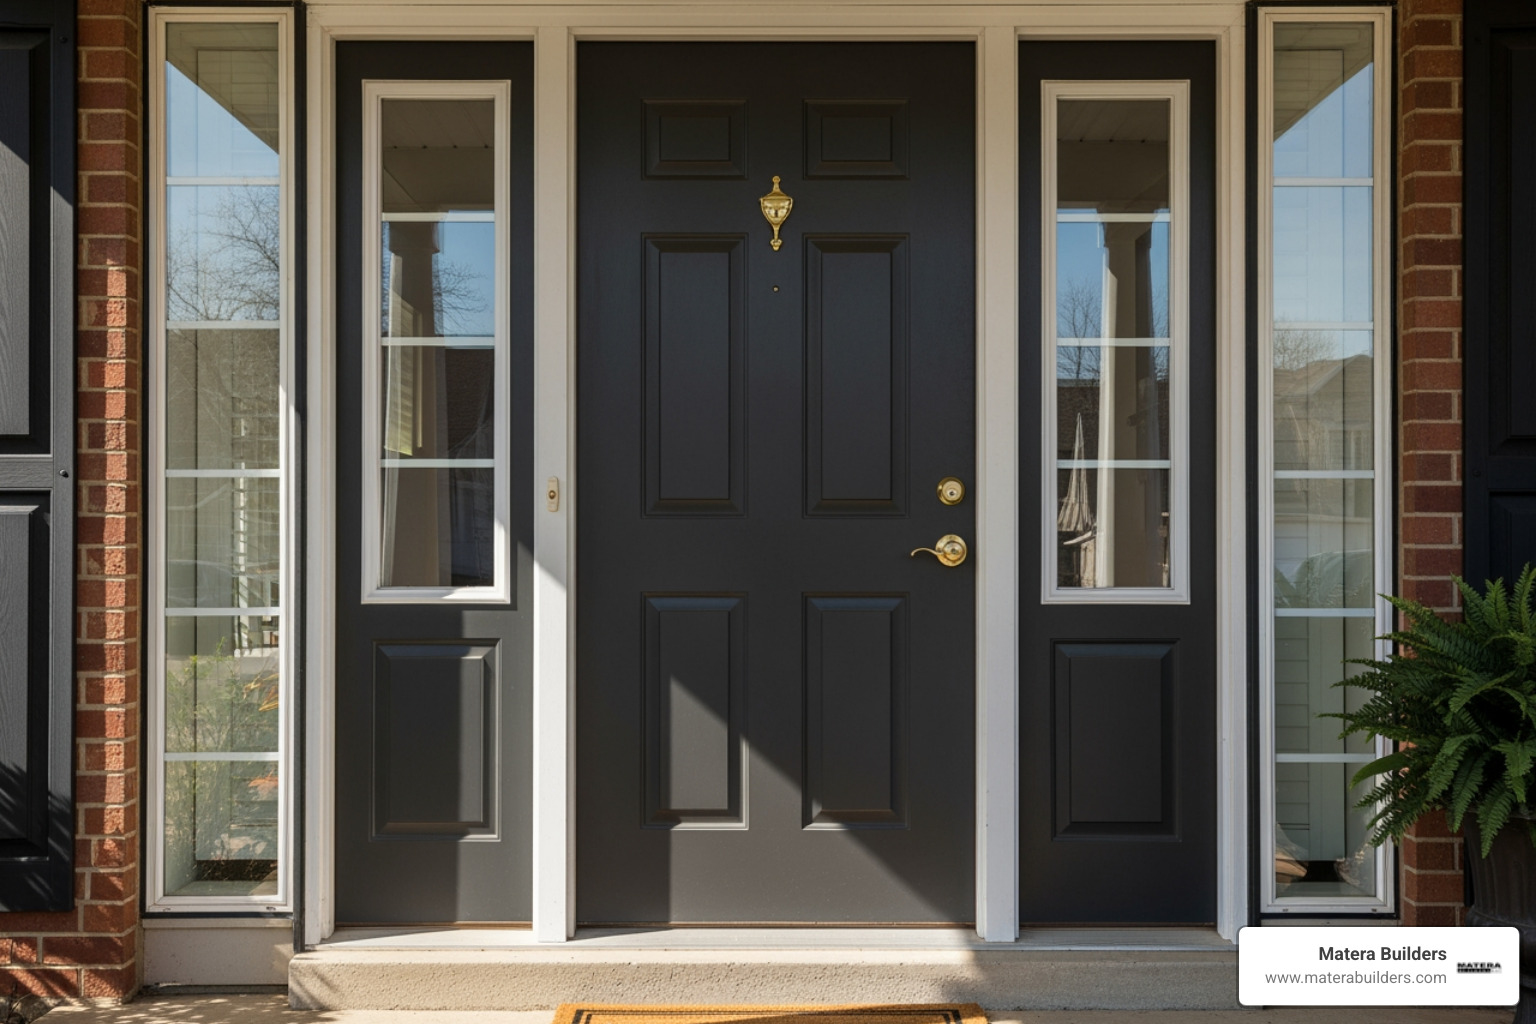
- The Latch Side: Close the door. Look at the gap between the door and the frame. It should be 1/8-inch all the way around. Add shims to the latch side to get this even gap.
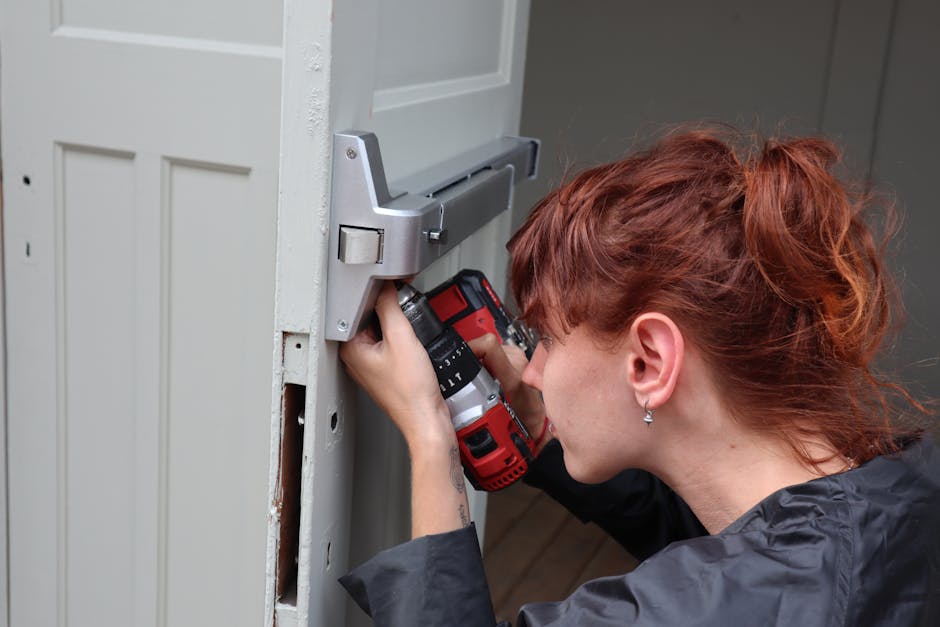
- Reinforce the Hinges: Mike Werner insists on this step. Replace one short screw in each hinge with a 3-inch screw. This screw must go all the way into the wall studs. This stops the door from sagging over time. This is a key part of a proper Andersen Doors replacement.
Troubleshooting and Finishing Your Installation
Once the door operates perfectly, you can finalize the installation.
Troubleshooting common issues
- Door is sticking at the top: Usually means the hinge-side jamb is leaning in. Adjust your shims to pull the top of the frame toward the stud.
- Uneven reveals: If the gap is wide at the top and tight at the bottom, your floor might be out of level. You may need to shim the bottom of one jamb higher.
- Hinge Bind: If the door "springs" back when you try to close it, the hinges might be recessed too deeply or the shims are pushing the jamb too hard against the hinge.
Final sealing and weatherproofing
Don't skip the "invisible" work. It’s what keeps your energy bills low.
- Insulate: Fill the gap between the door frame and the wall studs with low-expansion spray foam. Do not use high-expansion foam, as it can pressure the frame so much that the door won't close.
- Exterior Caulk: Use a high-quality sealant to bead around the entire exterior brickmold.
- Interior Trim: Reinstall your casing (or install new trim) using finish nails.
- Paint/Finish: If your door is wood or needs a topcoat, do it immediately. Unfinished doors can swell with humidity, ruining your hard work.

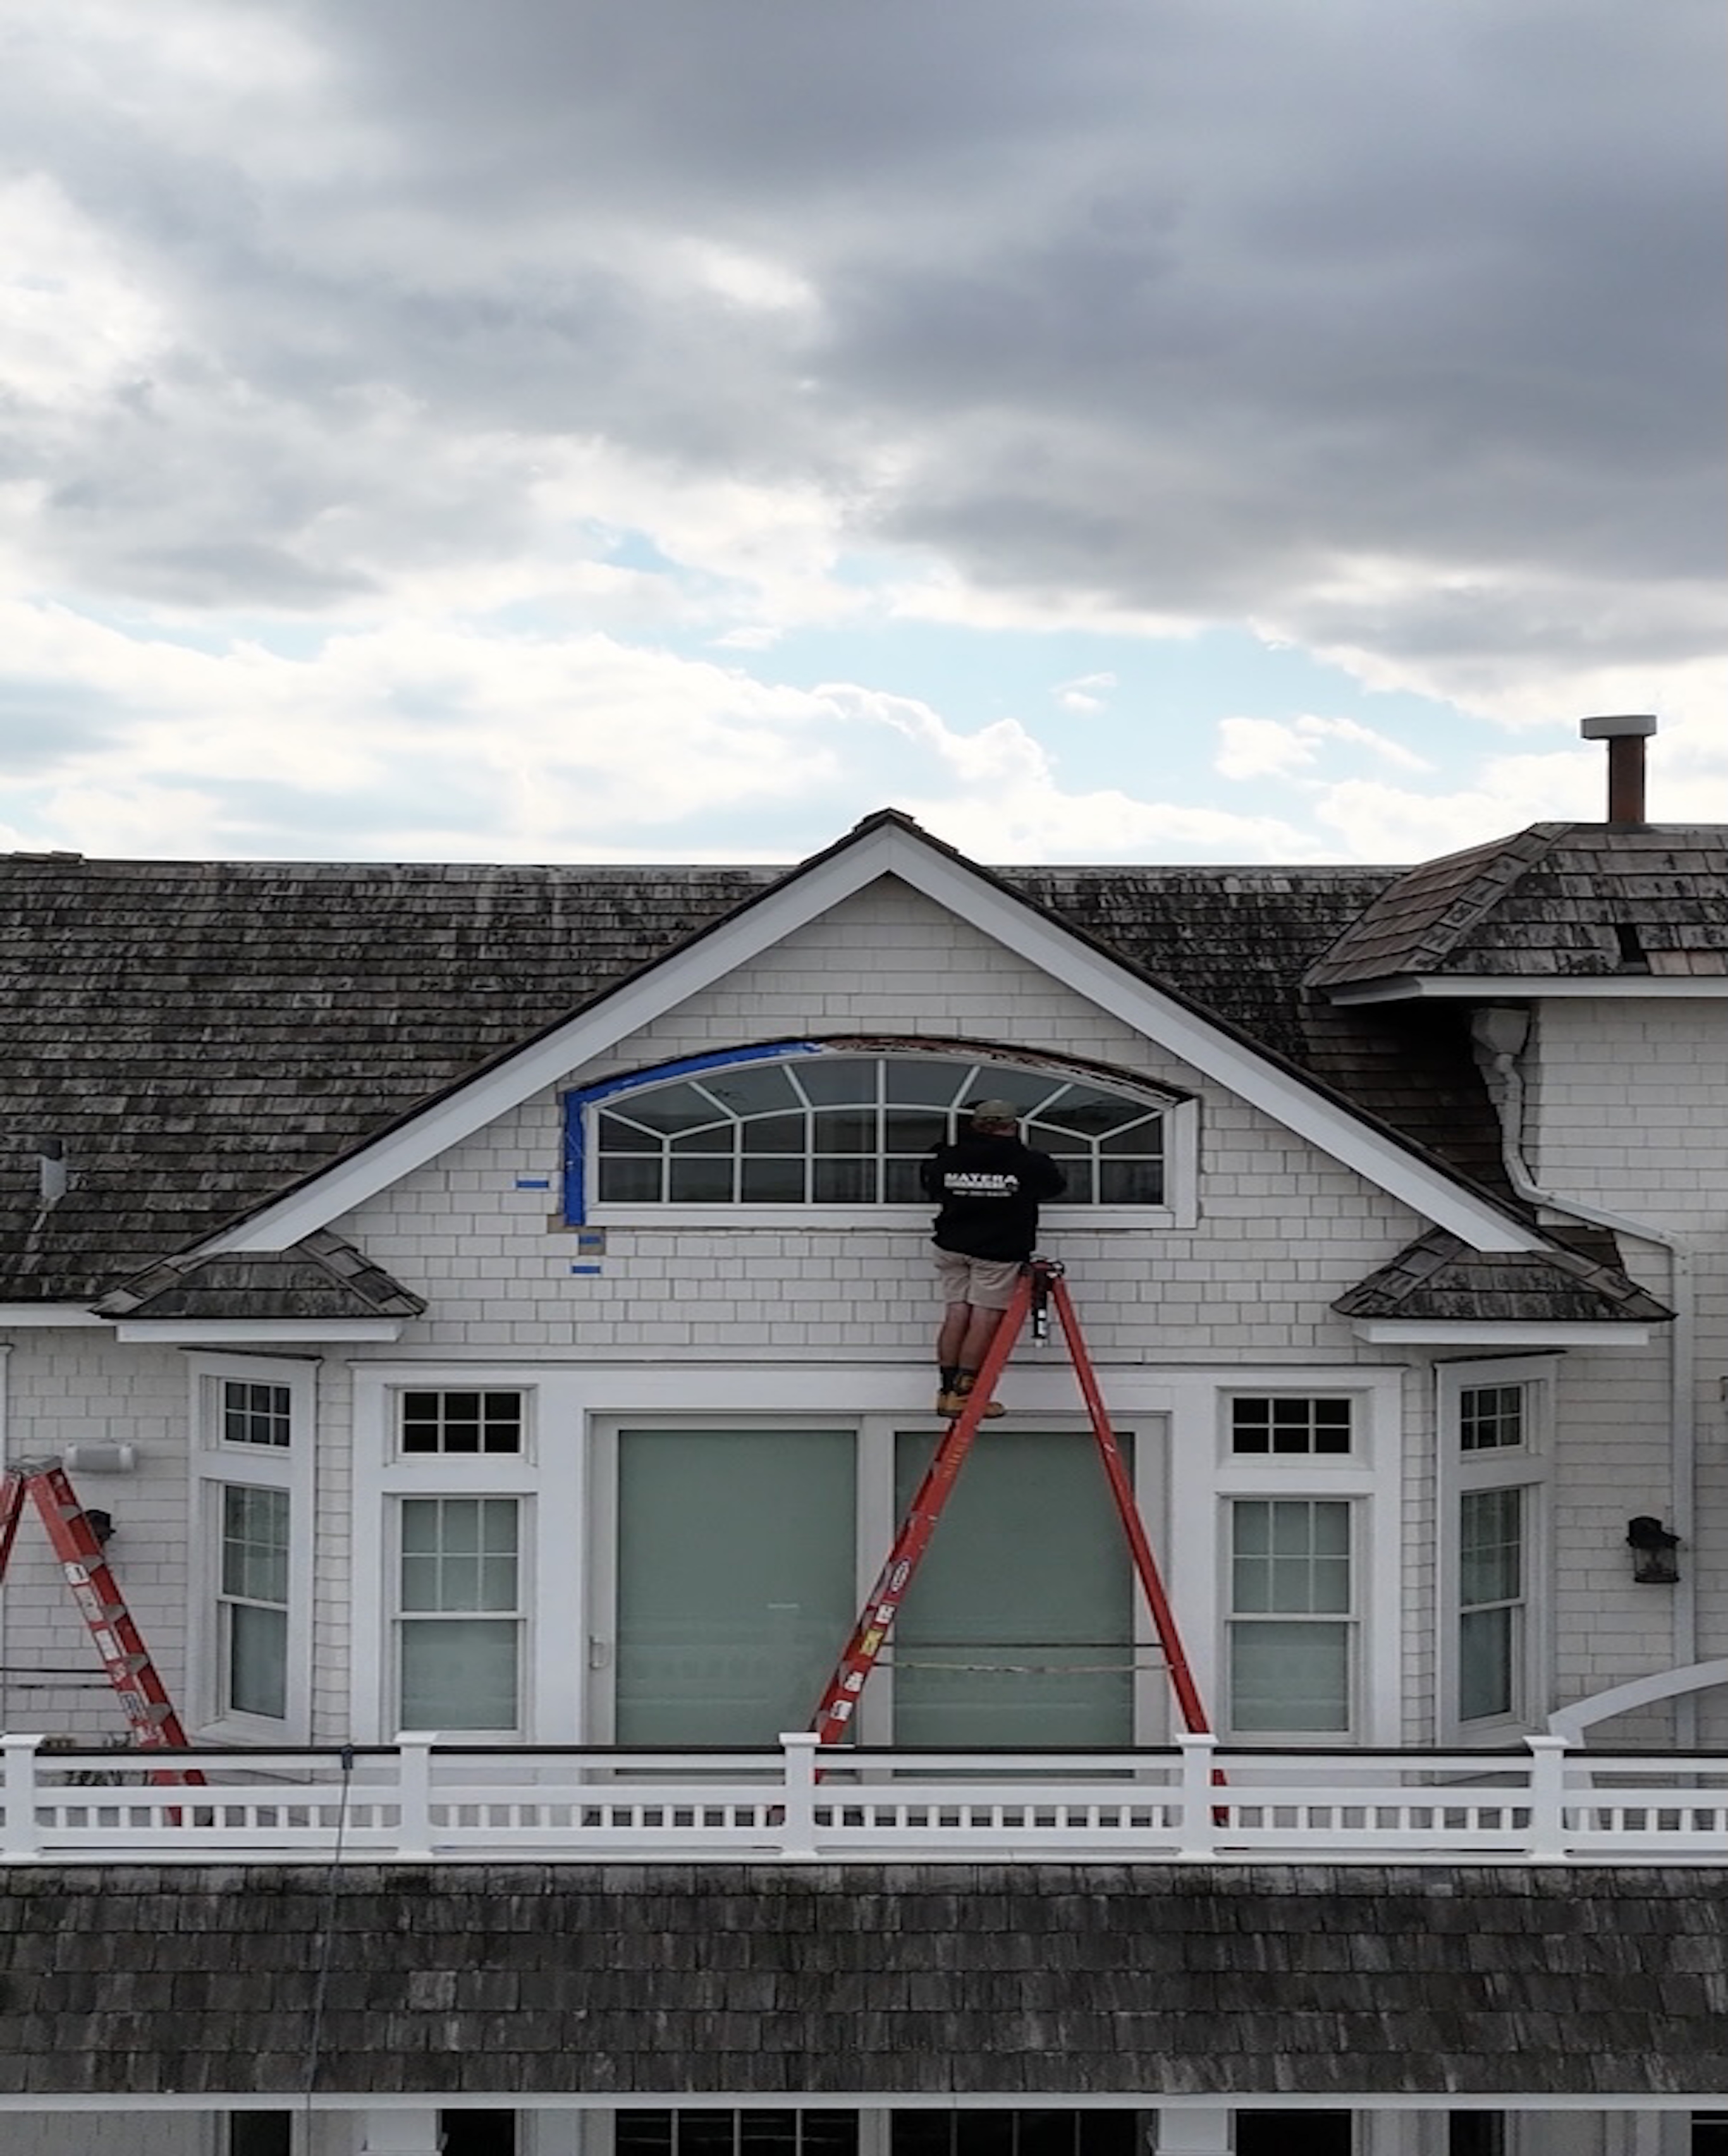
When to Call a Professional for Your Entry Door
Many homeowners can install a prehung front door, but some jobs are best left to a professional team like Matera Builders.
- Structural Rot: If the floor joists or rim board are rotted, you need a structural repair, not just a door swap.
- Masonry Walls: Installing into brick or block requires special tools and moisture barriers.
- Heavy Materials: High-performance fiberglass or oak doors can weigh over 150 pounds. Handling these without damage is hard.
- Warranty: Some brands, like Andersen, require certified installation to keep the full warranty. As a window replacement contractor with decades of experience, we ensure every seal meets factory standards.
Mike Werner oversees every exterior project at Matera Builders. His approach is simple: check the structure first, then install to the manufacturer's specs. That precision is what separates a door that lasts 10 years from one that lasts 30.
DIY work can save money upfront, but professional installation ensures the door performs for decades without drafts or water problems. If you are planning more work, you can find more info about our renovation services.
Frequently Asked Questions about Prehung Doors
Can you put a prehung door in an existing frame?
Technically, no. A prehung door is a frame. If you want to keep your existing frame, you should buy a "slab door." However, it is almost always better to remove the old frame and install the prehung unit to ensure a proper weather seal.
How long does it take to install a prehung front door?
For a first-timer, expect 3 to 5 hours. A professional crew can usually finish the job, including trim and cleanup, in under 2 hours.
What is the difference between a prehung door and a cased opening?
A prehung door is a functional door with hinges and a frame. A "cased opening" is just a finished frame without a door—used for walk-throughs between rooms.
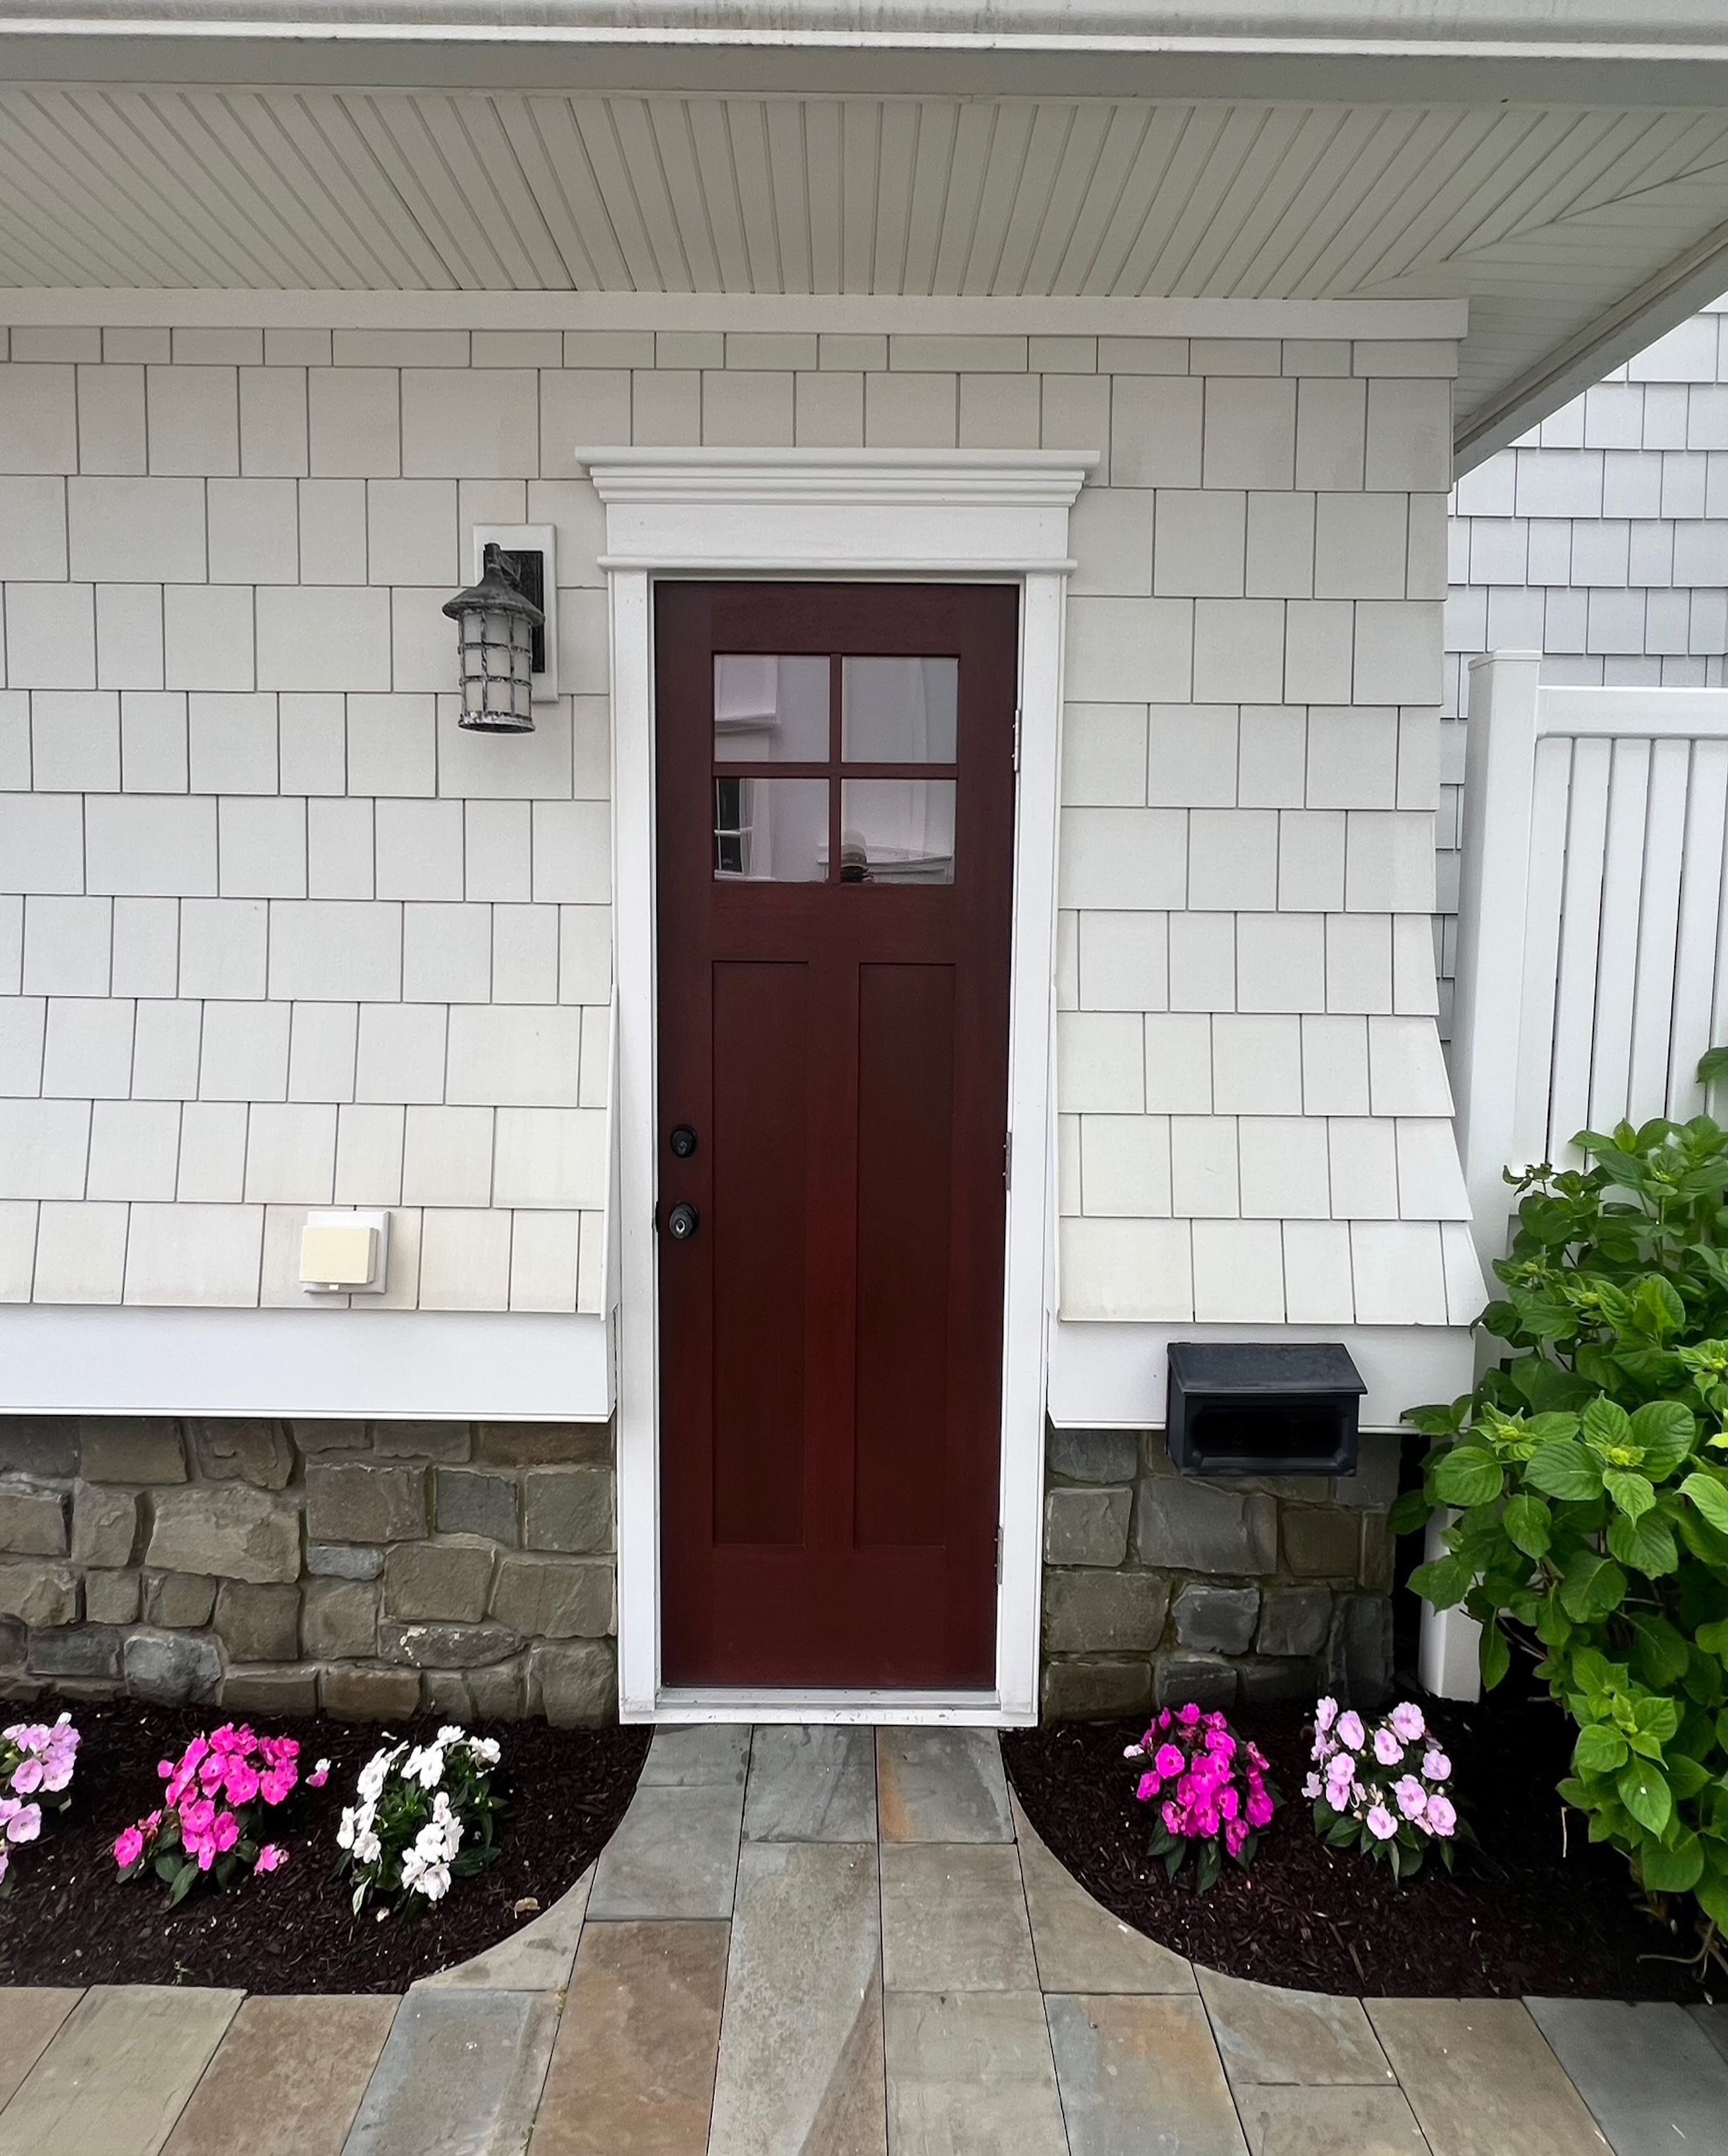
Conclusion
A new front door can improve comfort and help lower drafts. But the door is only part of the result. The installation is what controls water, air leaks, and long-term sagging.
At Matera Builders, Mike Werner oversees exterior projects with the same focus we bring to every Andersen Windows installation and Andersen Doors replacement. We follow clear steps. We check the opening for rot. We level the sill. We shim for straight reveals. We seal and insulate the gap the right way.
If you want help, schedule a consultation with Matera Builders. We can assess your existing windows and doors, explain what is failing, and recommend options that fit your home and your coastal conditions. Start here: Schedule a consultation for your entry door project today.


