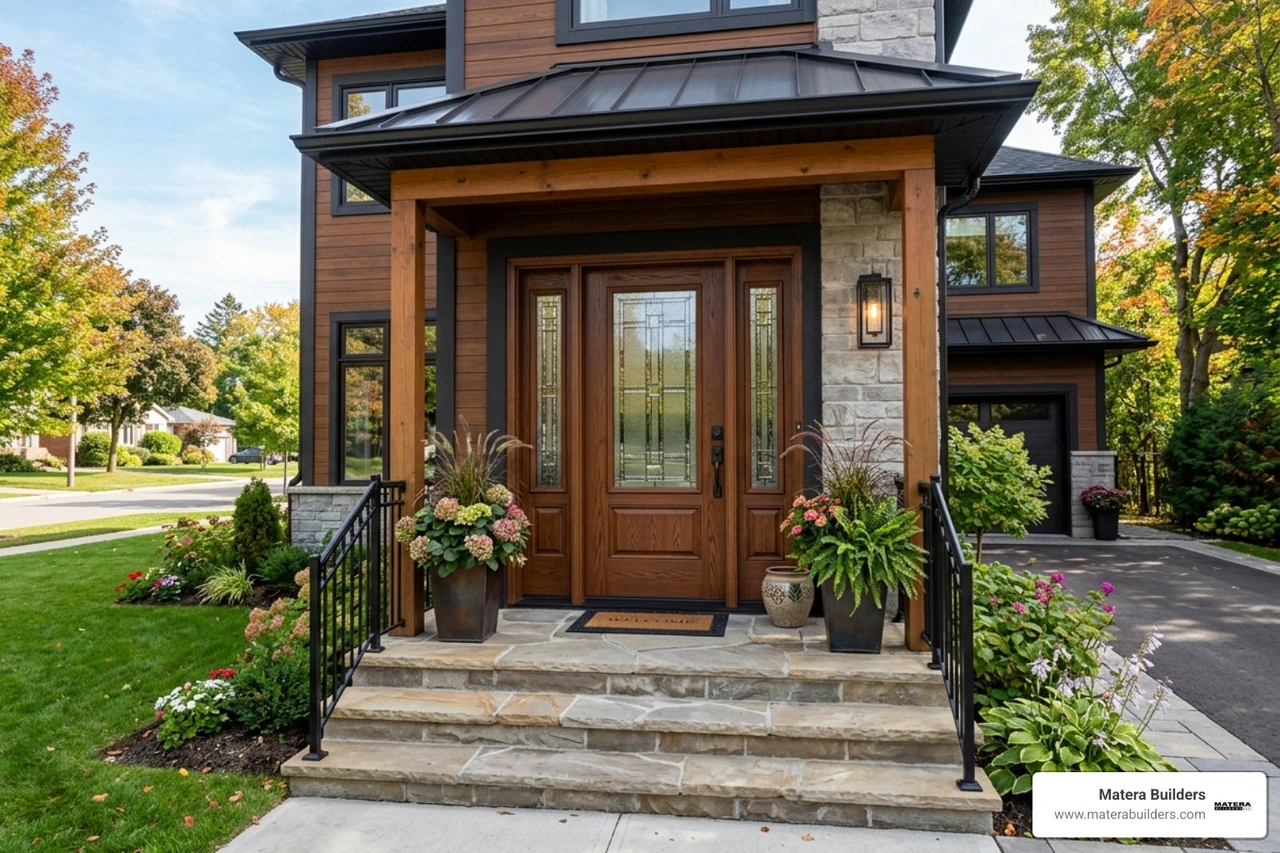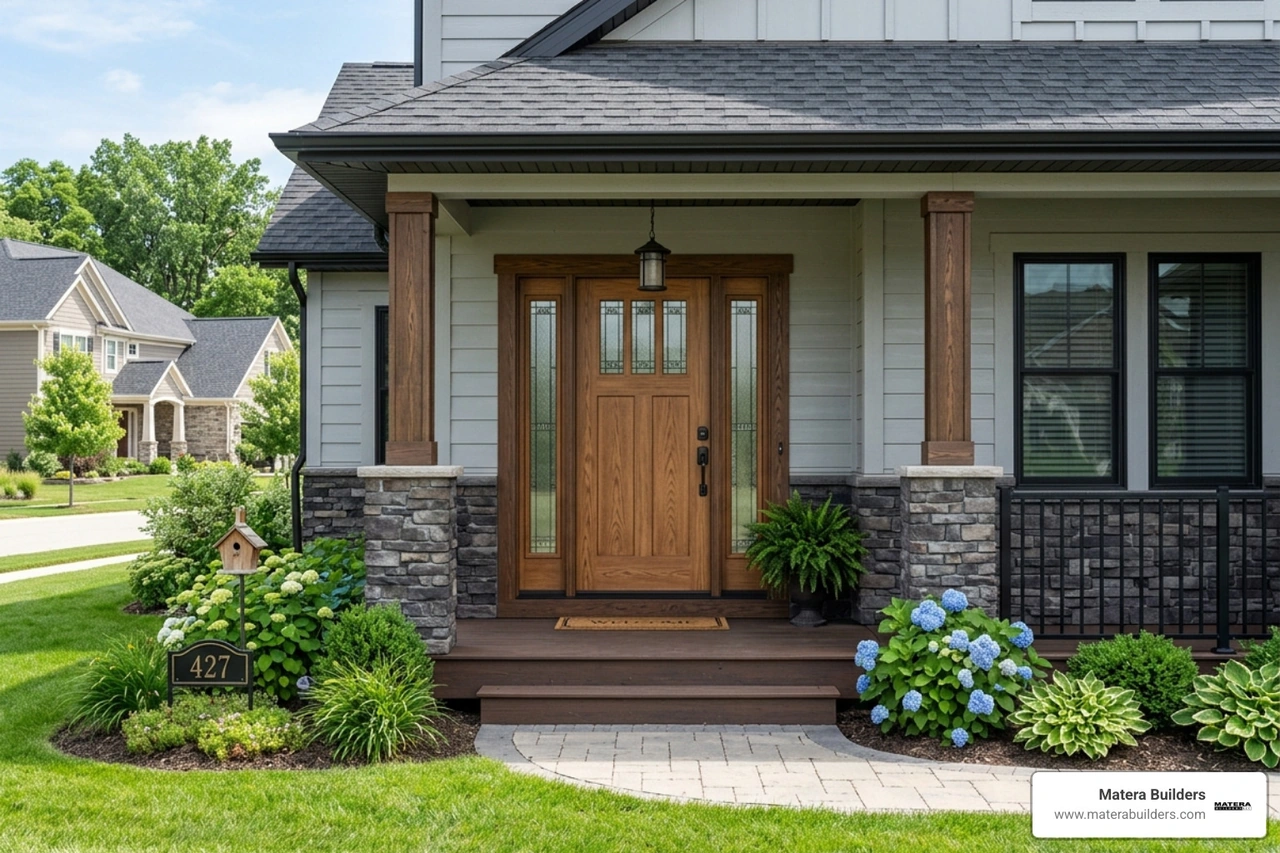

Why Getting Sidelight Door Installation Right Matters for Your Home

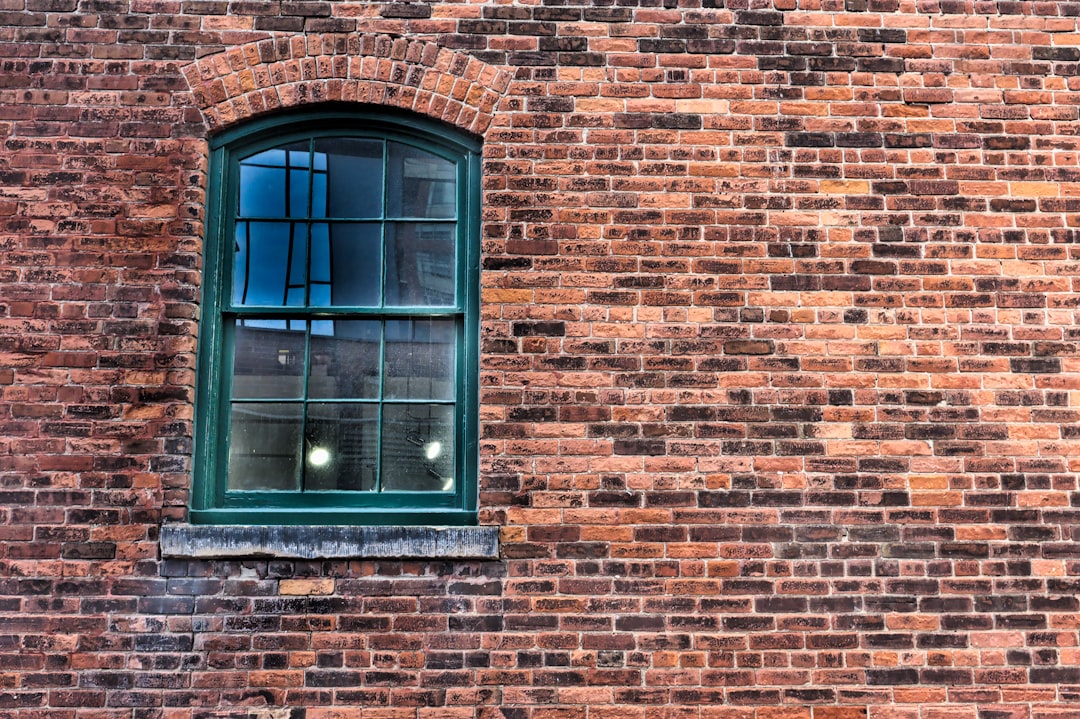
If your front door feels drafty or shows signs of rot, you are not alone. Coastal New Jersey weather is tough on entryways. Salt air and wind-driven rain can ruin a standard door in just a few years. A poor sidelight door installation leads to water damage and high energy bills.
Here is a quick look at a proper installation:
- Measure the opening - It should be 1 to 1.5 inches larger than the door unit.
- Remove the old door and frame - Take out all old materials.
- Prepare the opening - Use building wrap and a sill pan.
- Set and level the new unit - Make sure the frame is straight.
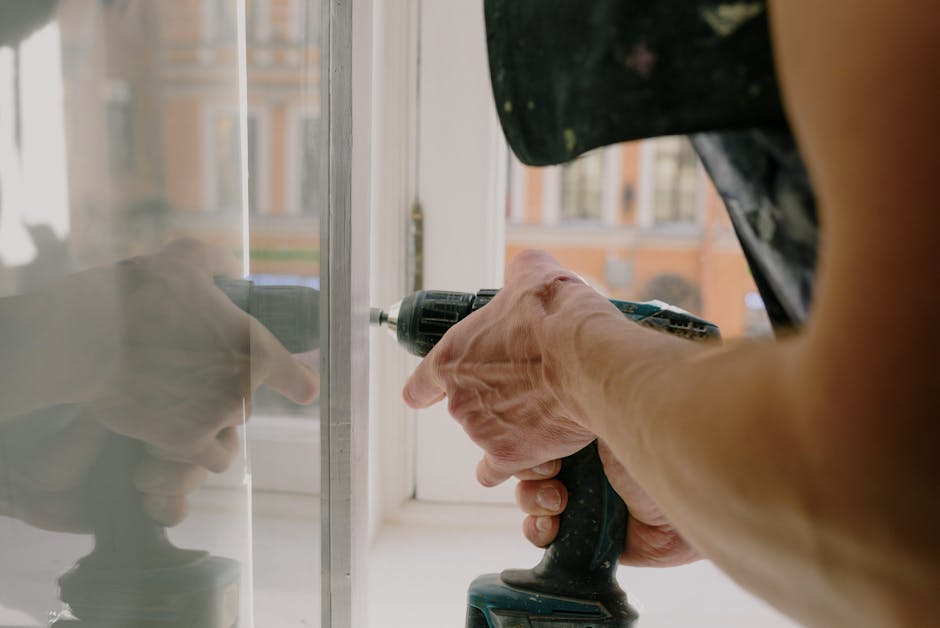
- Secure the unit - Use screws to hold the frame to the house.
- Seal the door - Use foam and caulk to stop air leaks.
- Add trim and hardware - Finish with paint and locks.
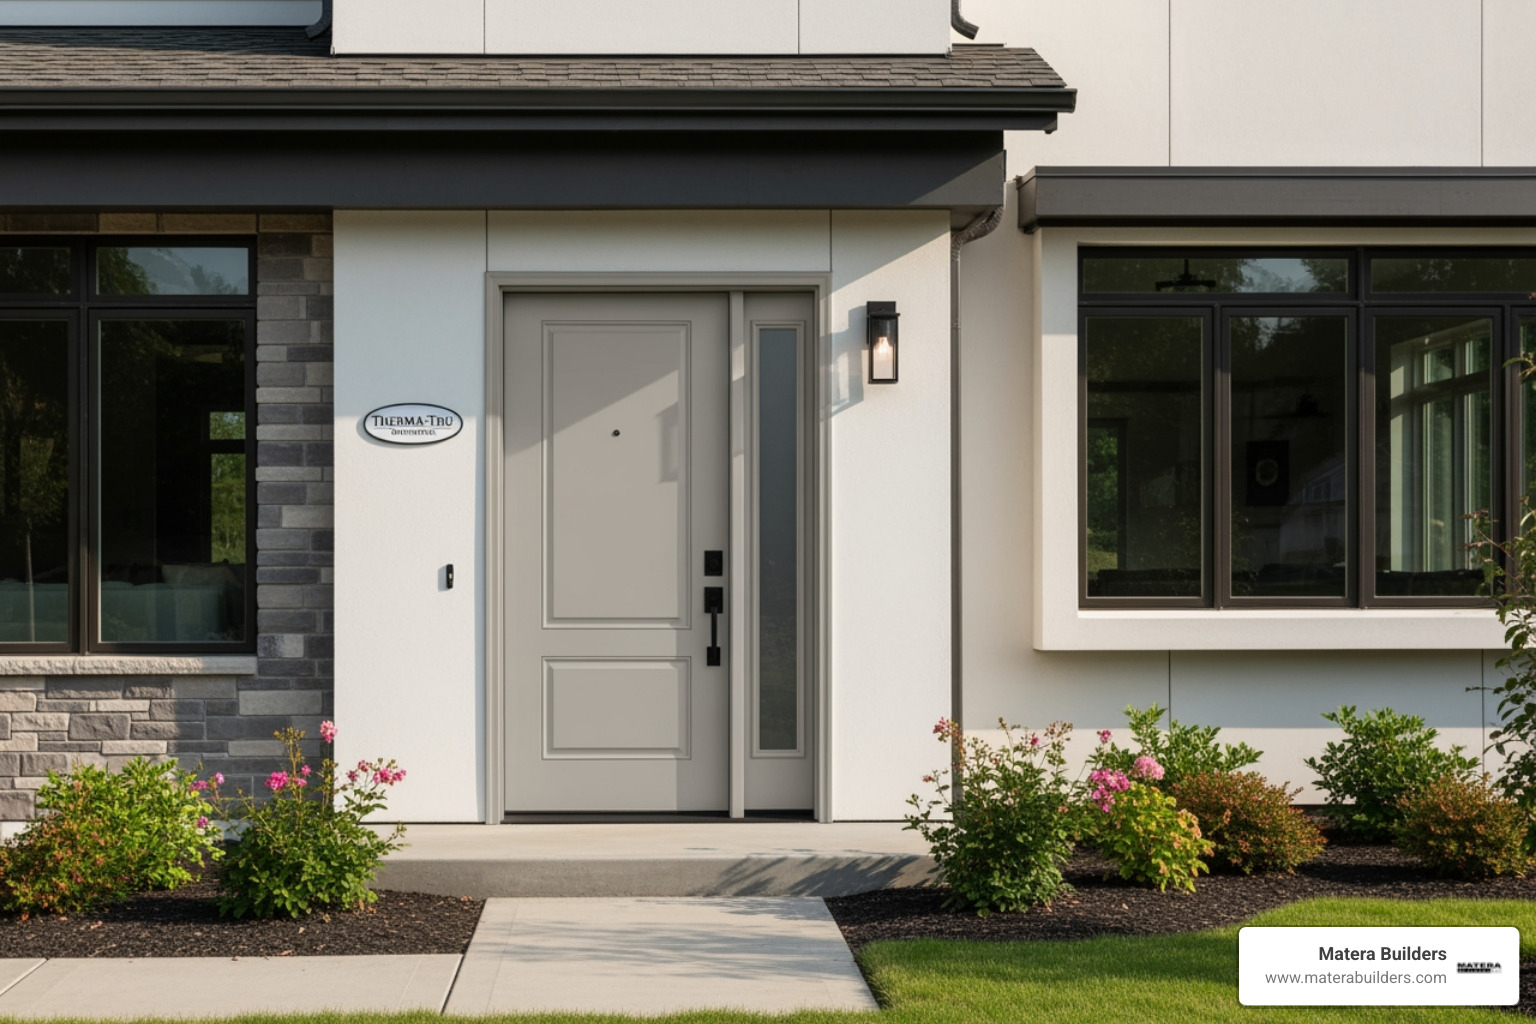
I am Mike Werner, owner of Matera Builders. We specialize in Andersen Doors replacement for coastal homes. We know how to stop moisture and salt air from damaging your house. This guide shows you how we do it right.

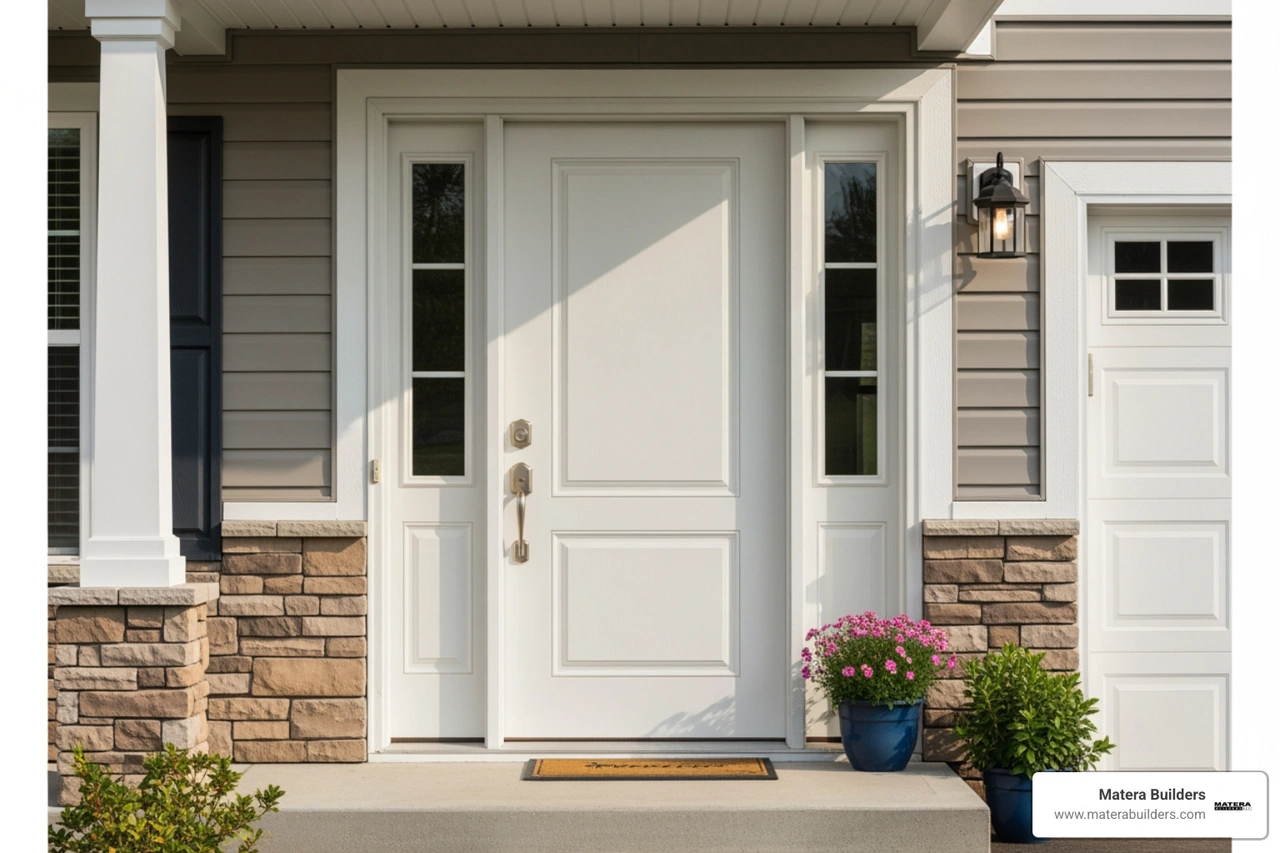
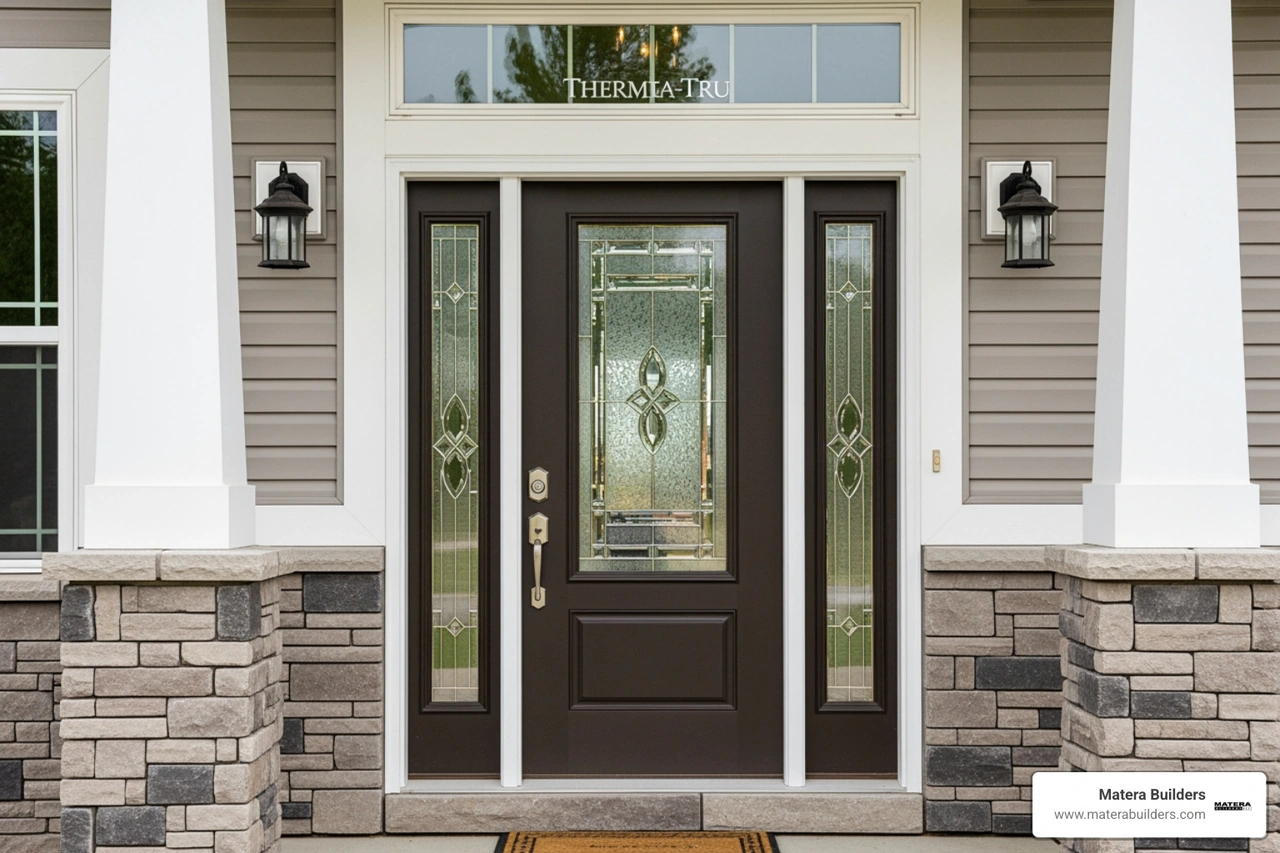
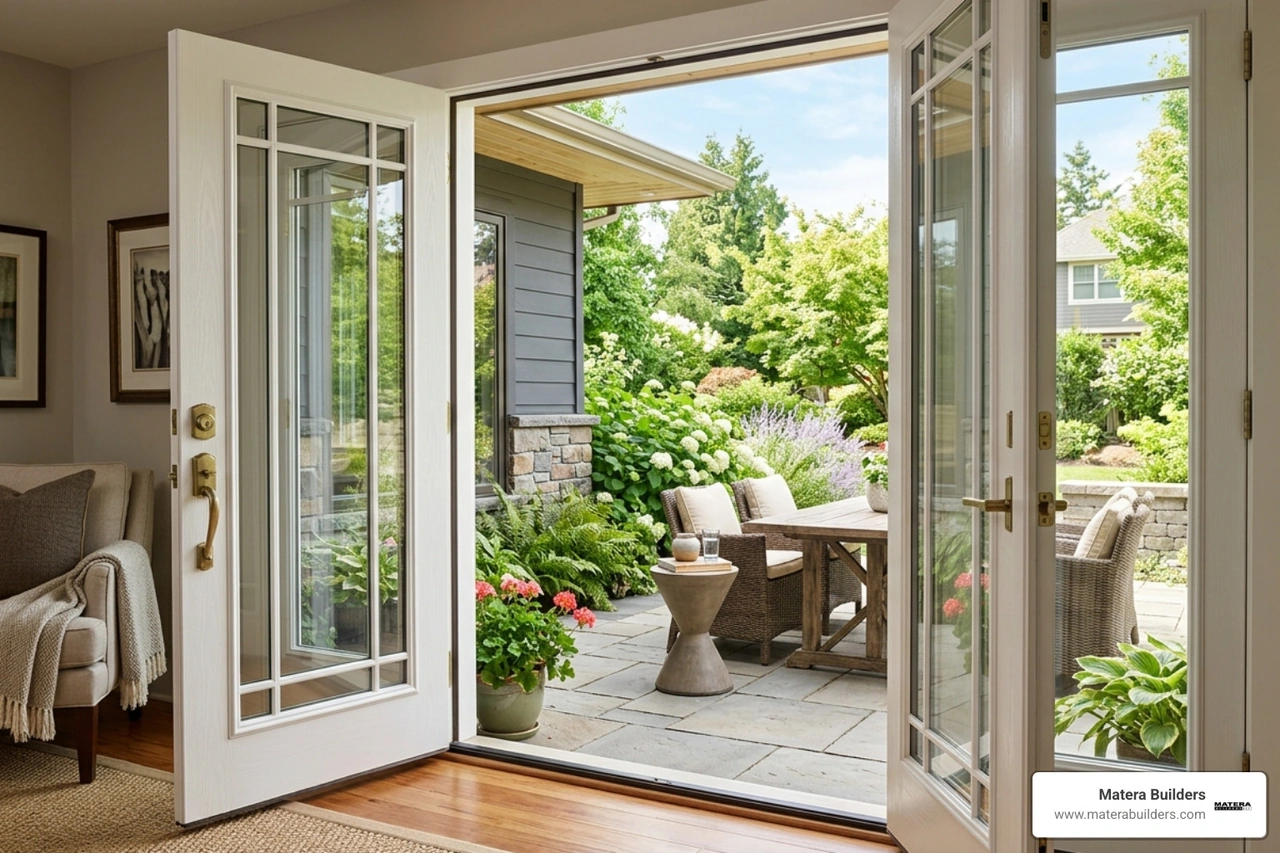
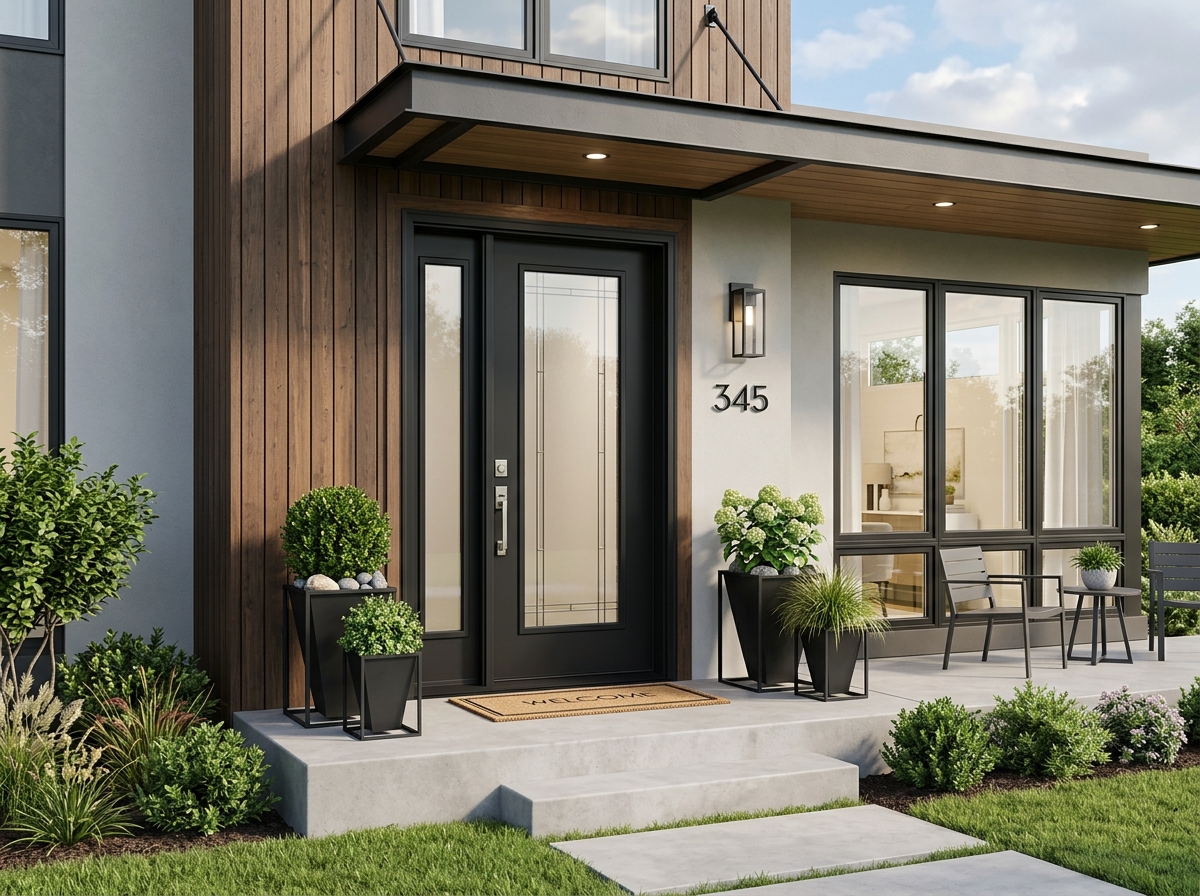
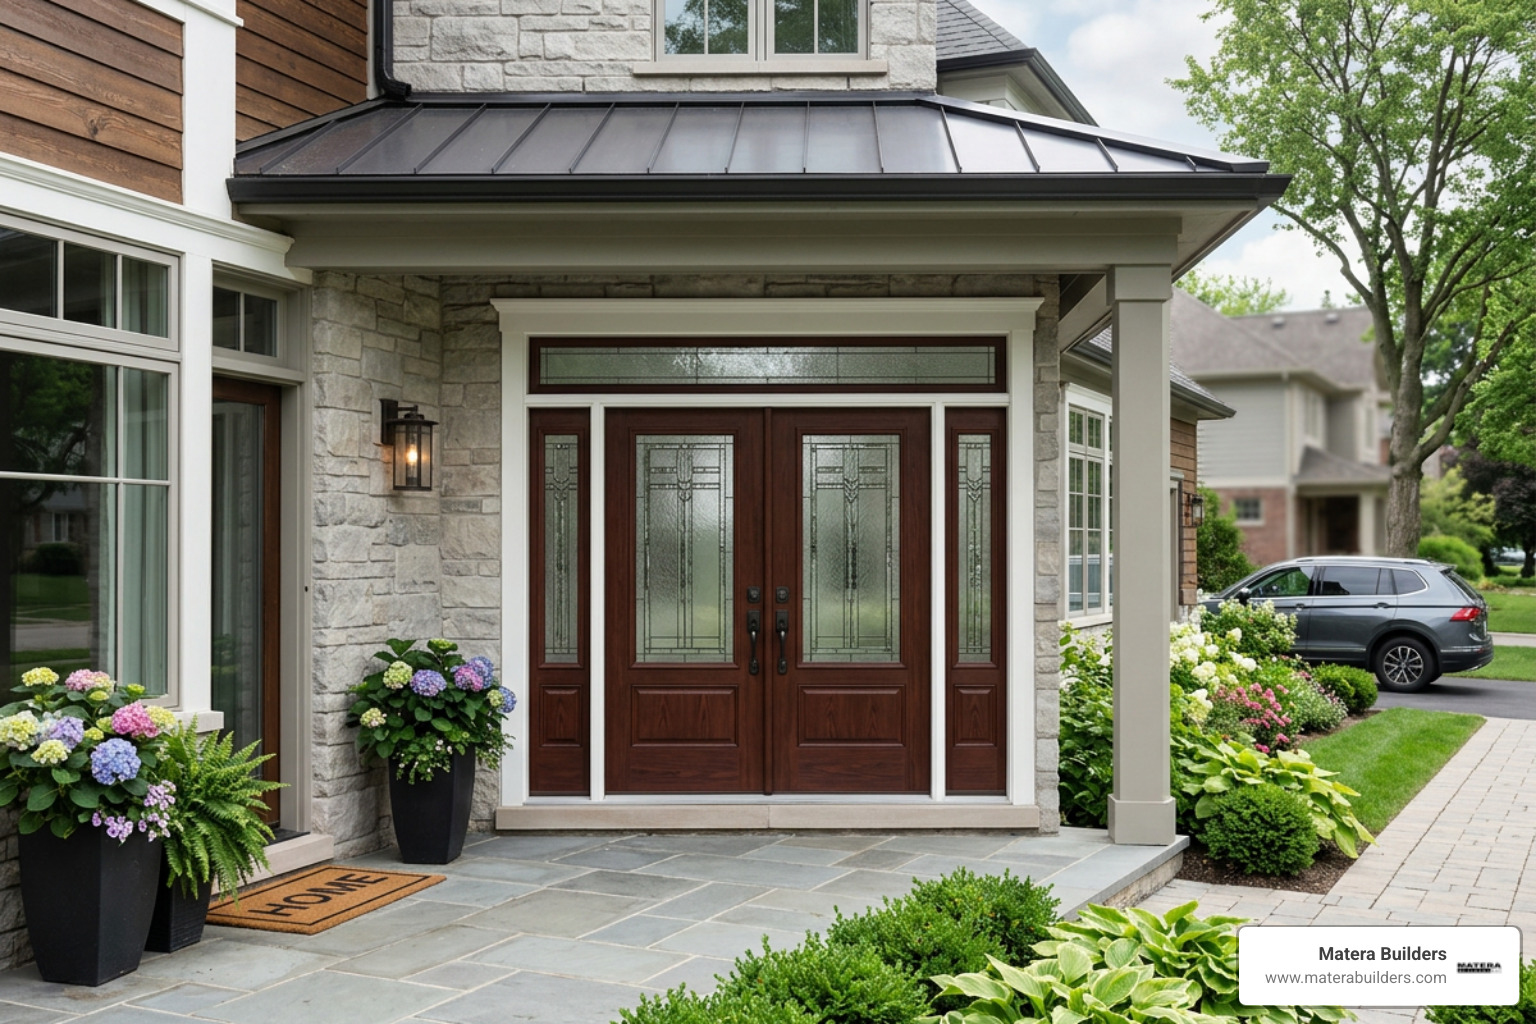
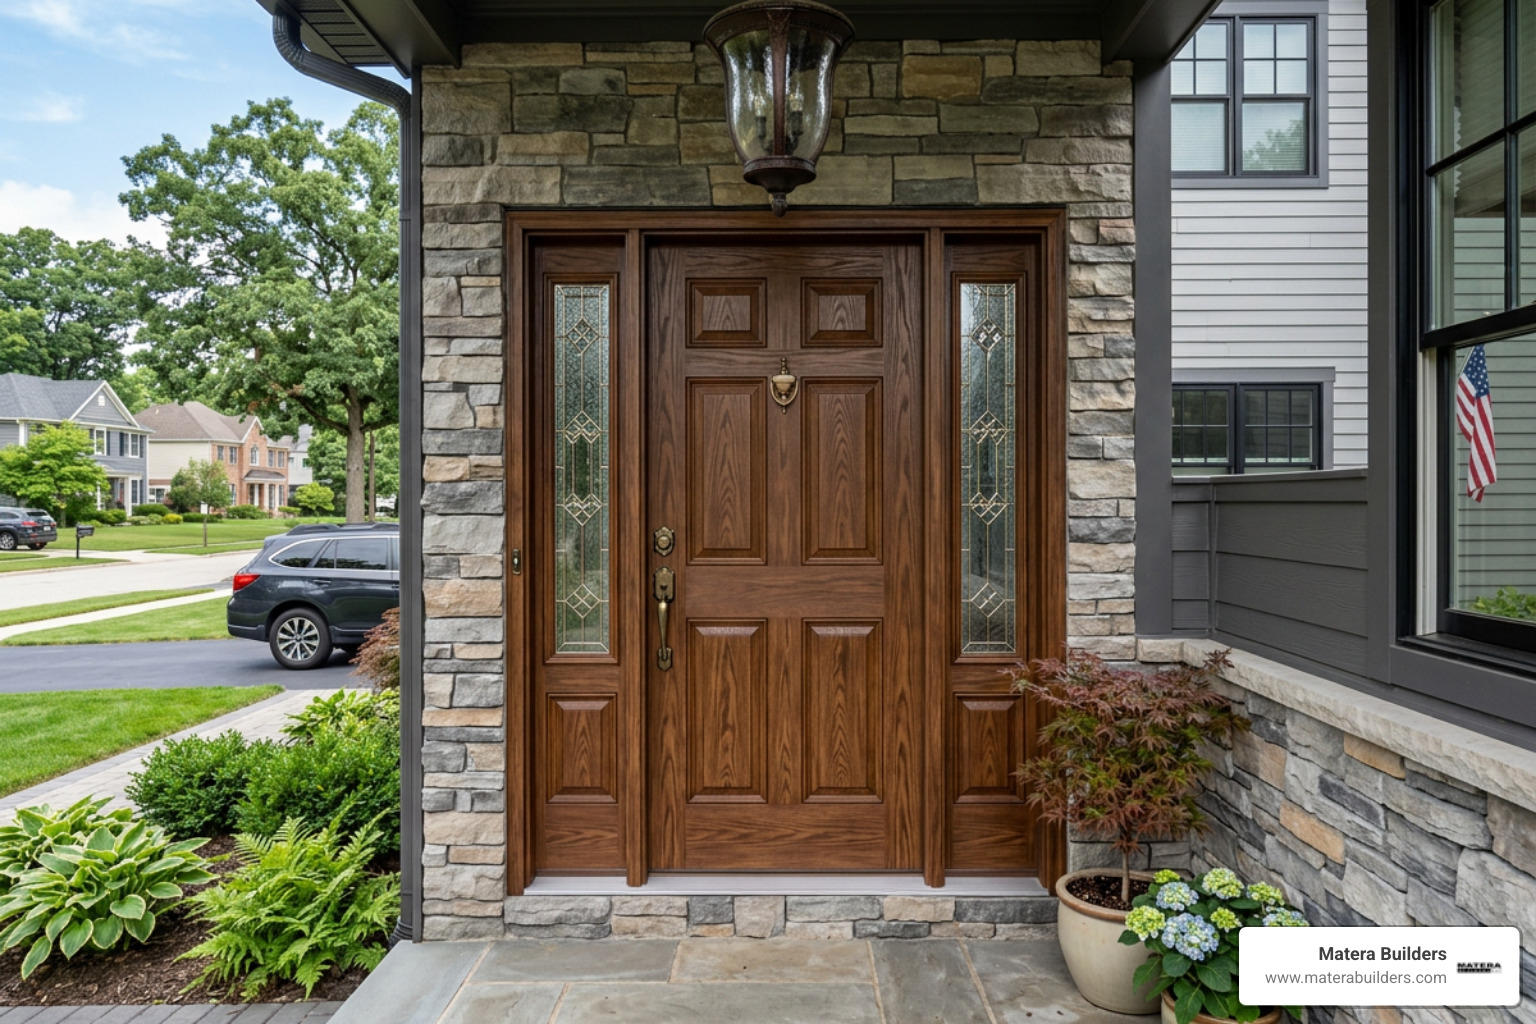
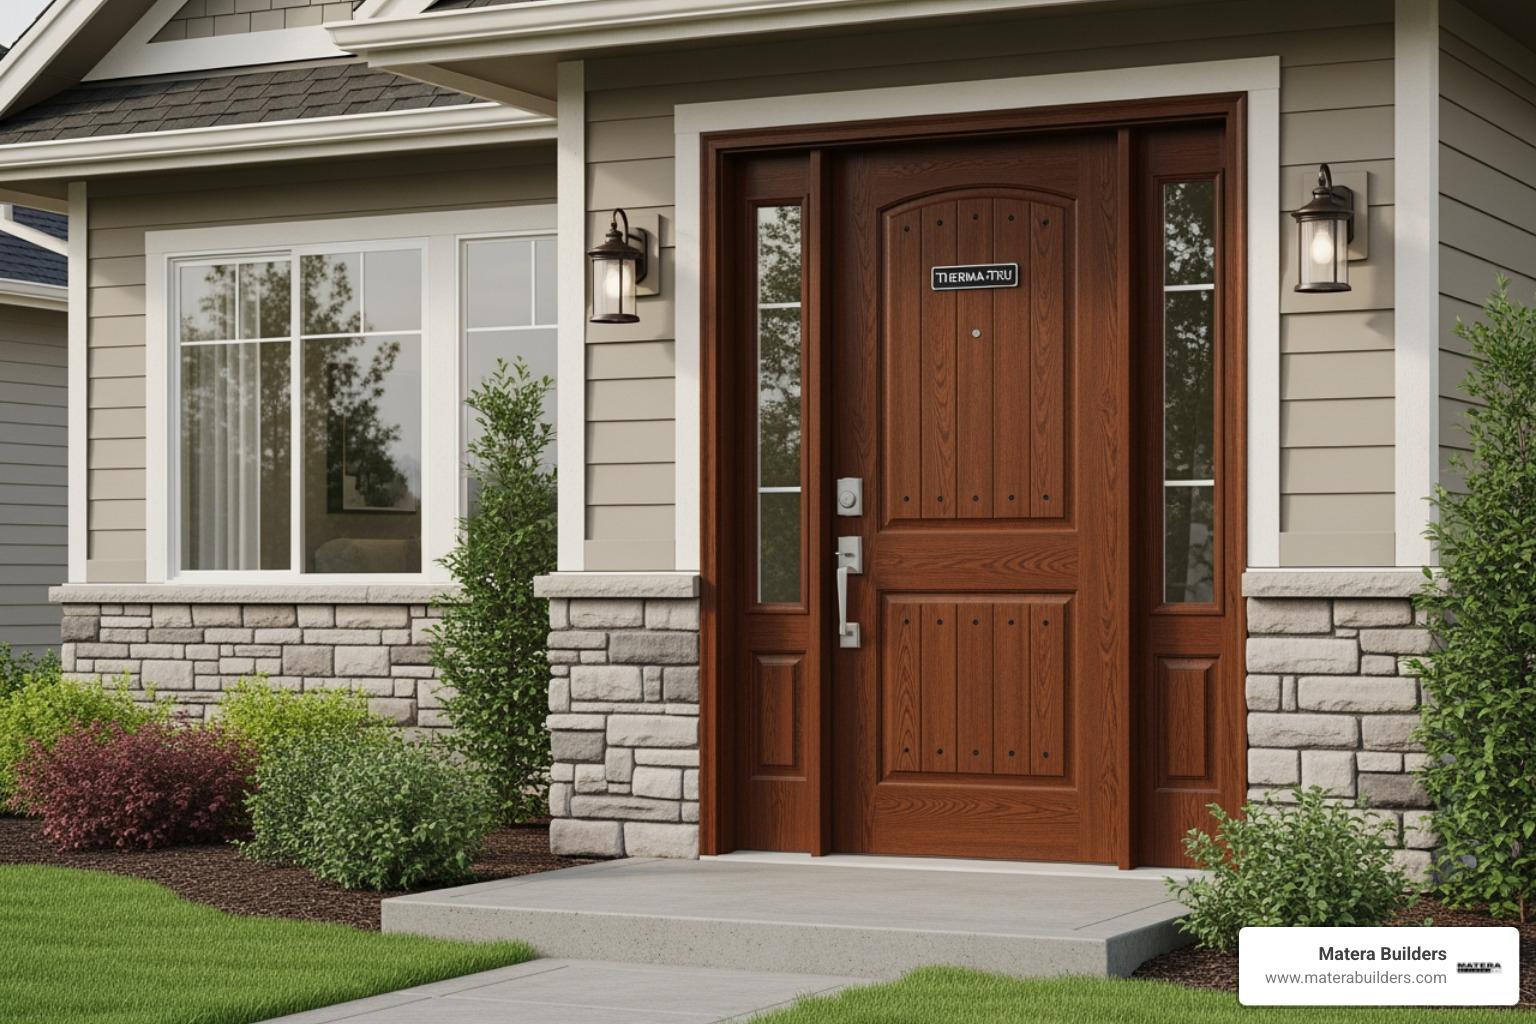
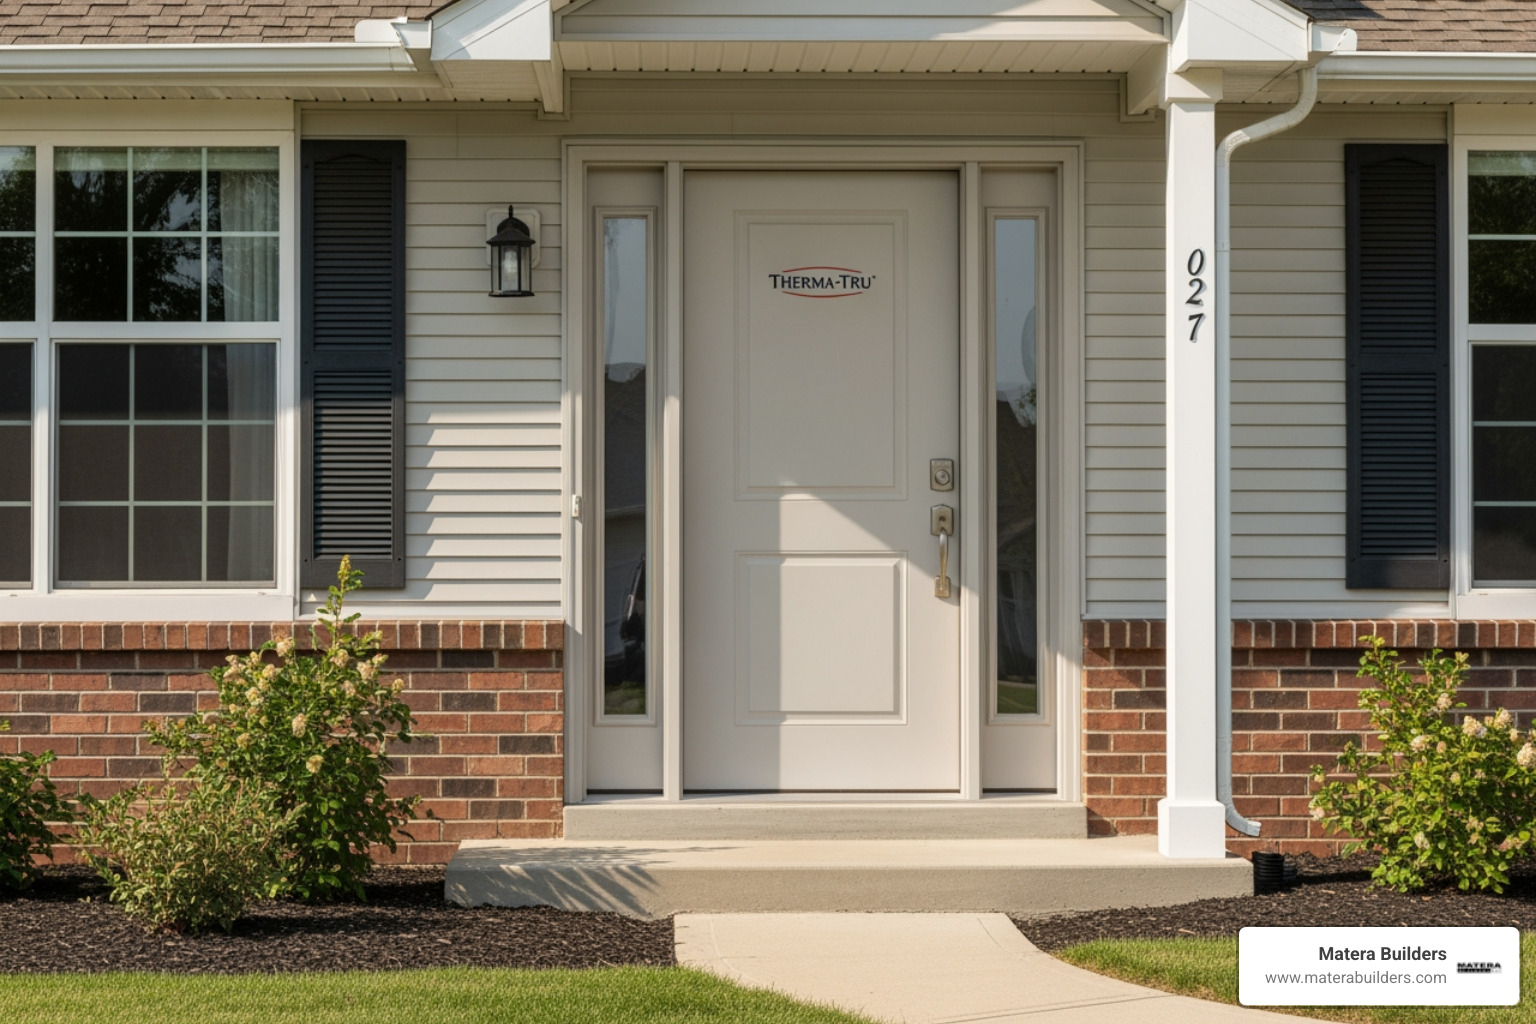
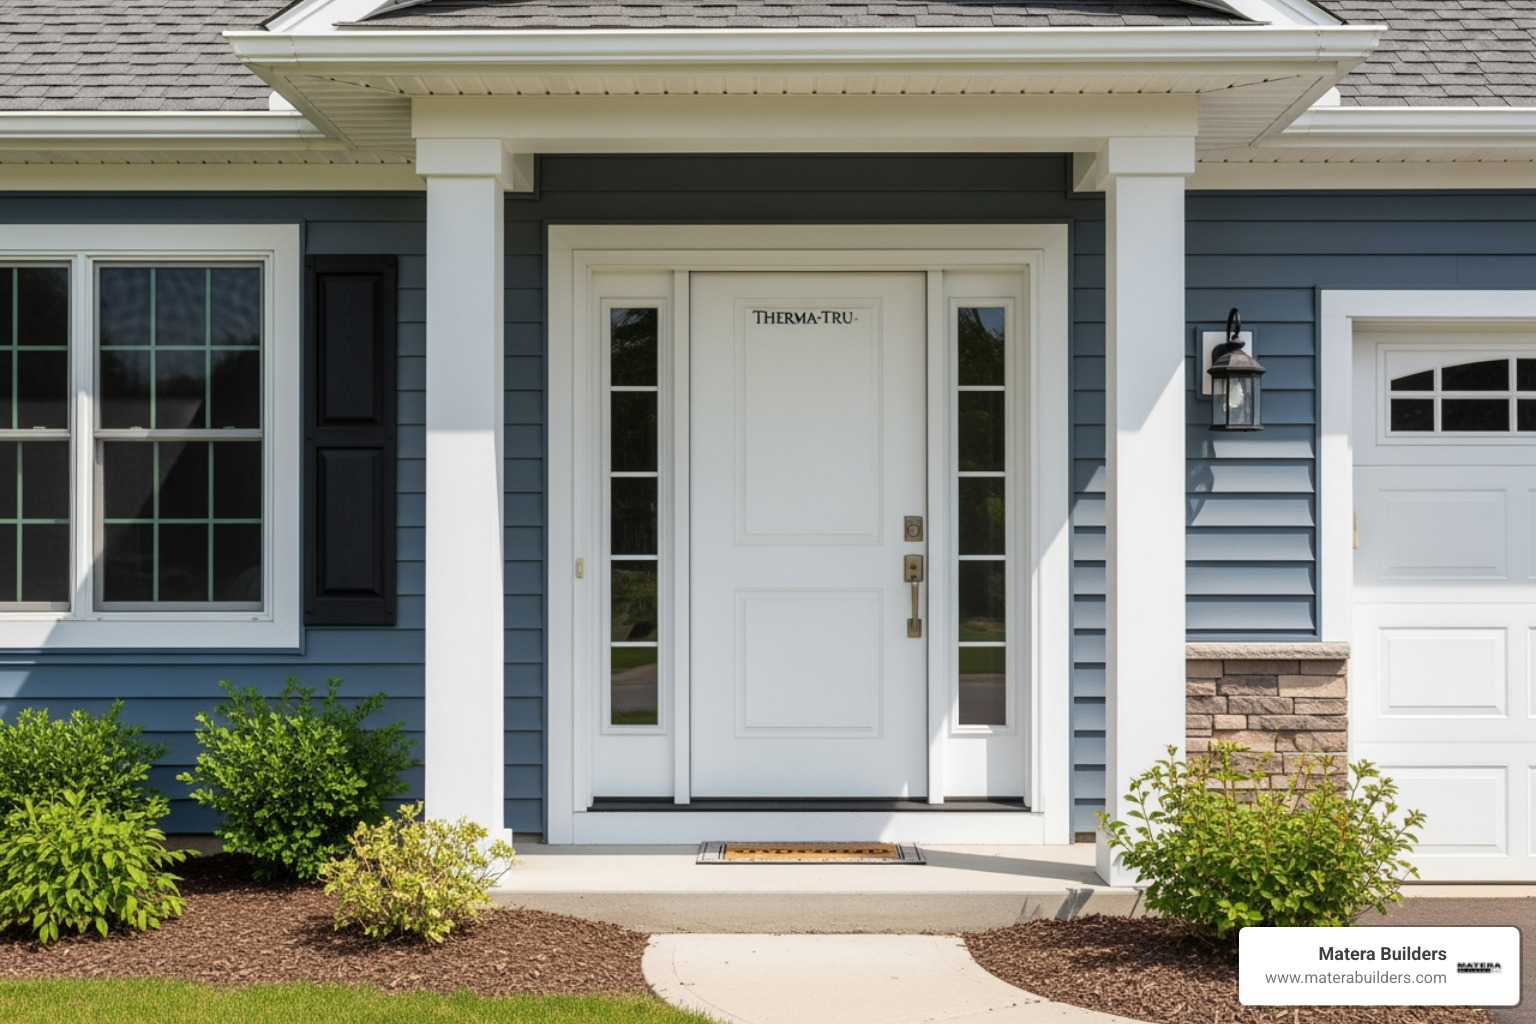
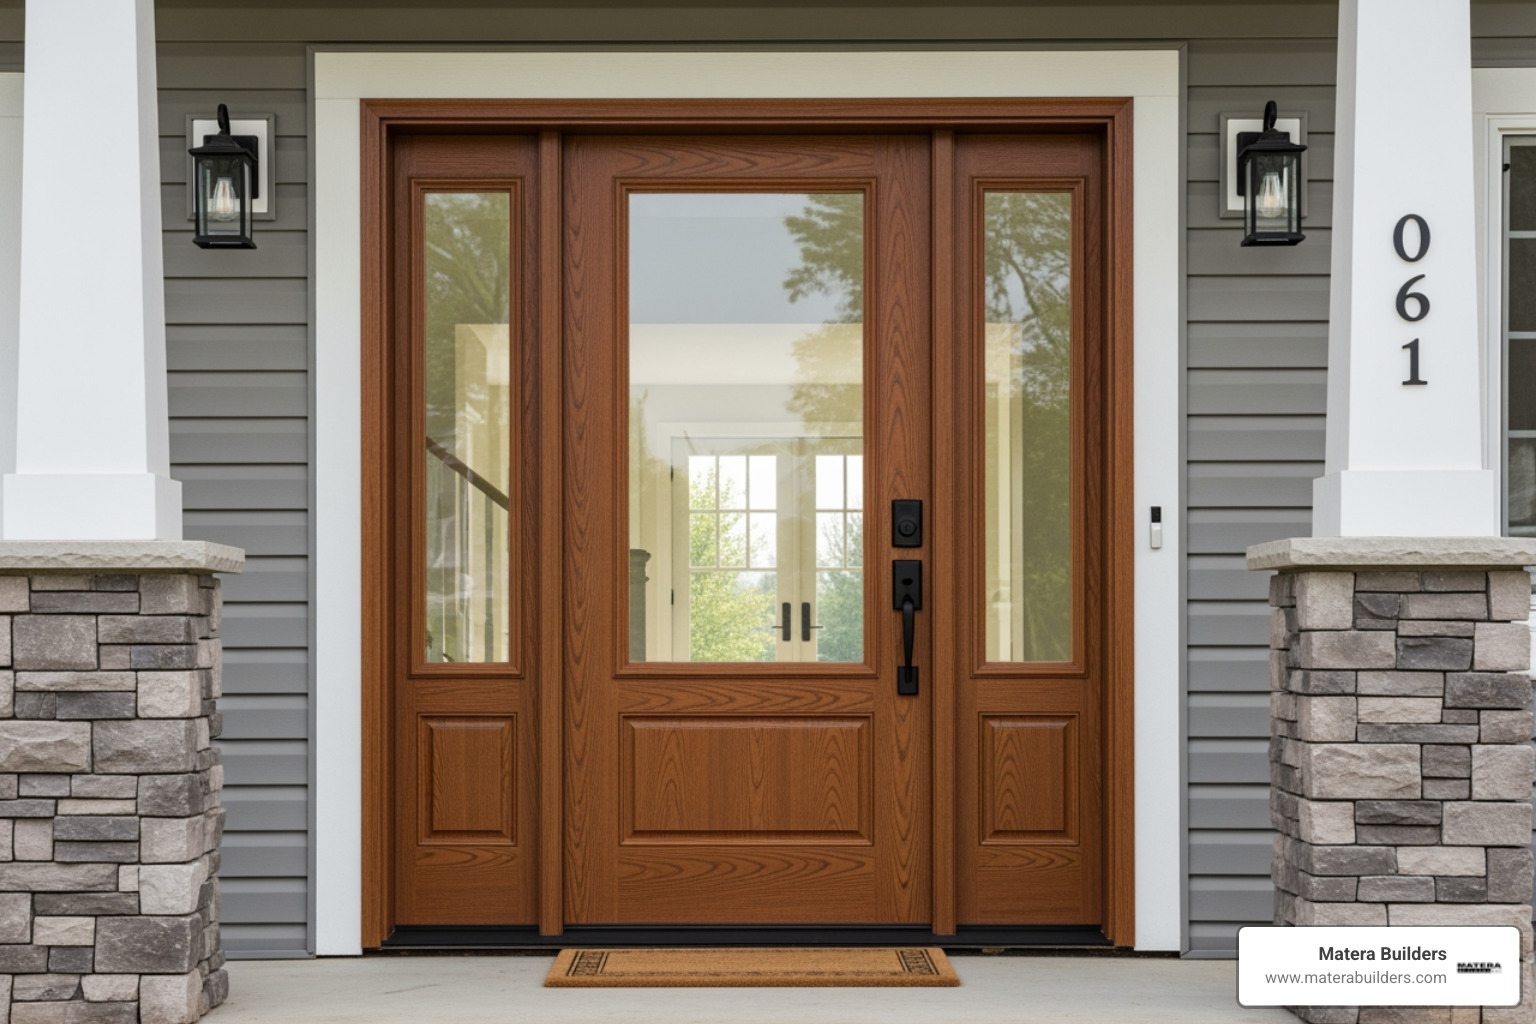
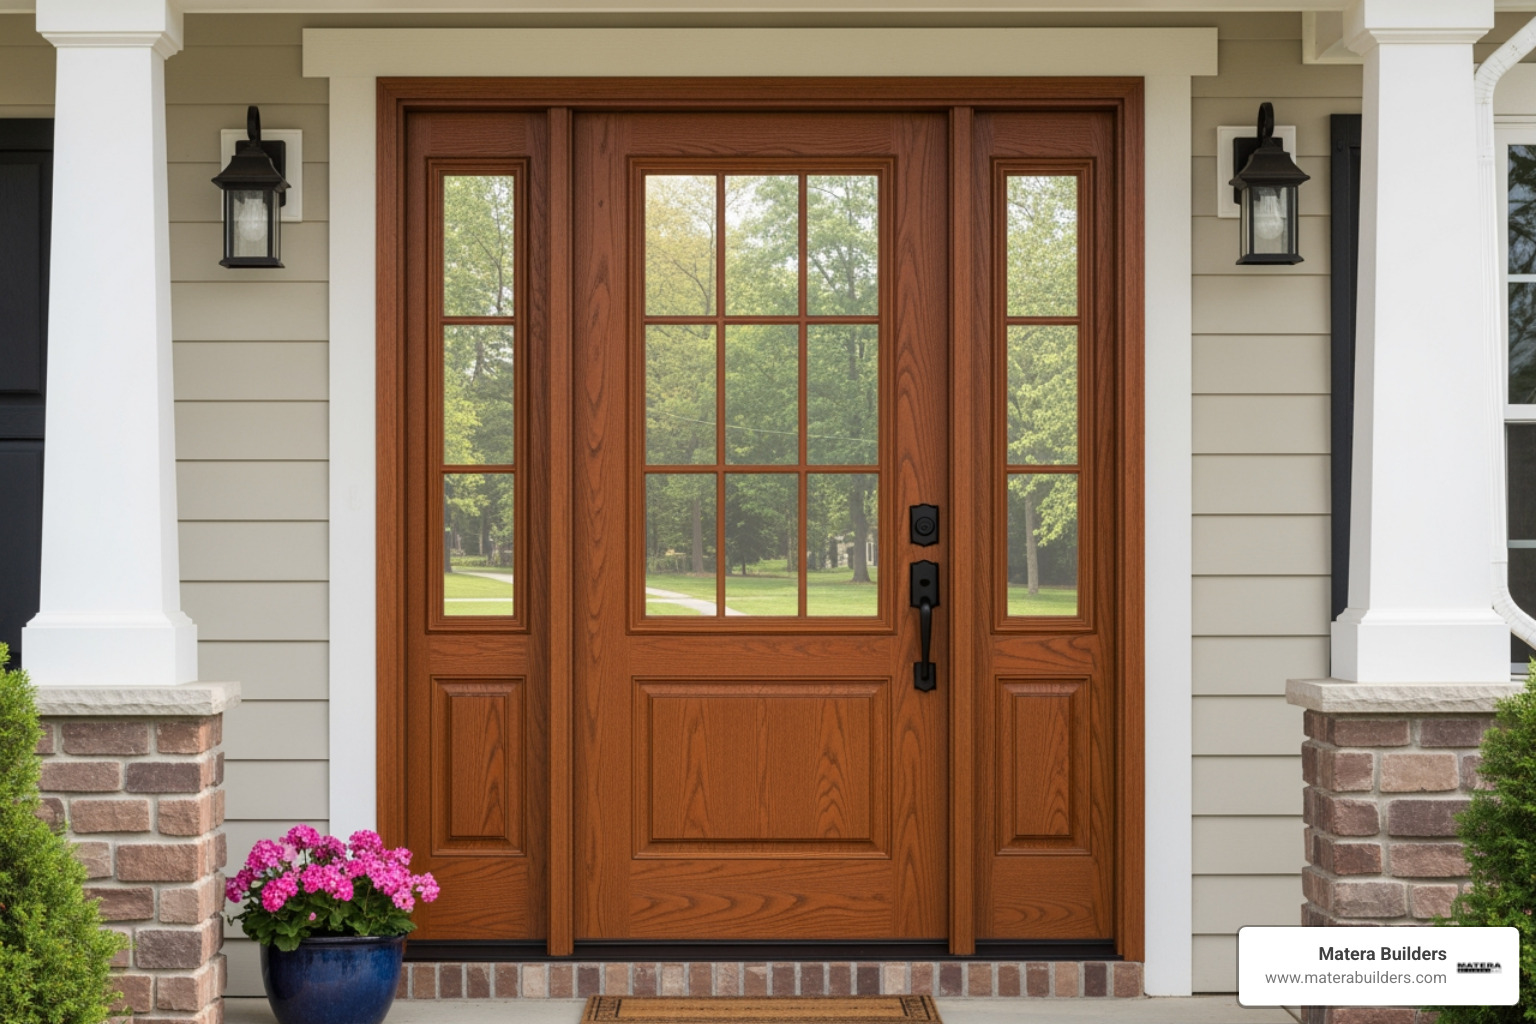
Understanding Sidelight Door Benefits and Matera Builders' Approach
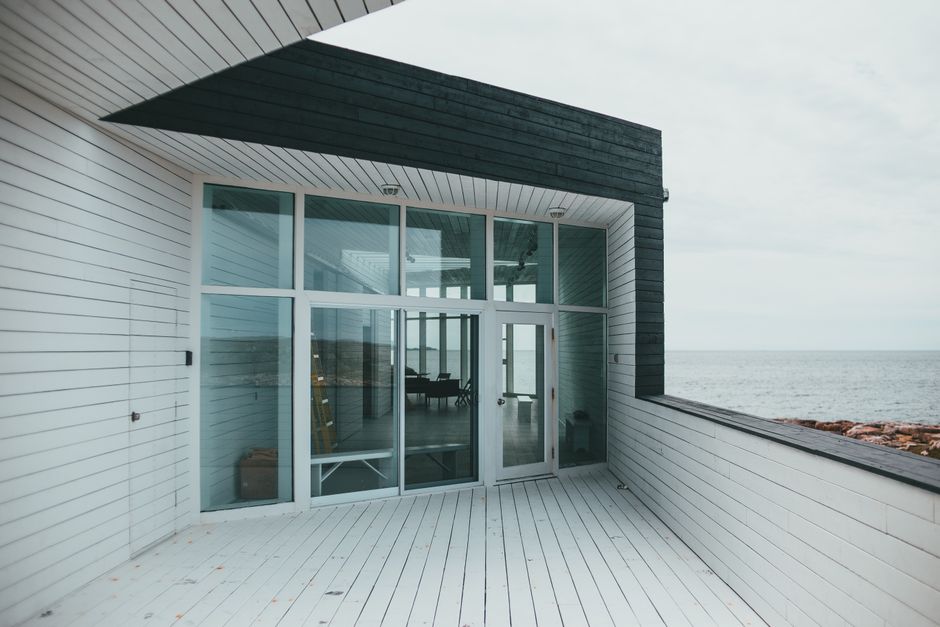
Sidelights do two things right away. They bring natural light into a dark foyer, and they let you see who is at the door without opening it. That matters in winter storms, at night, and any time you want a safer entry.
Safety glass and code basics
Safety is not optional with glass next to a door. Building codes generally require tempered glass in sidelights because it breaks into small cubes instead of sharp shards. In some cases, homeowners also choose laminated glass for added security and storm resistance. It can stay in place even if it cracks.
Comfort and energy use in New Jersey
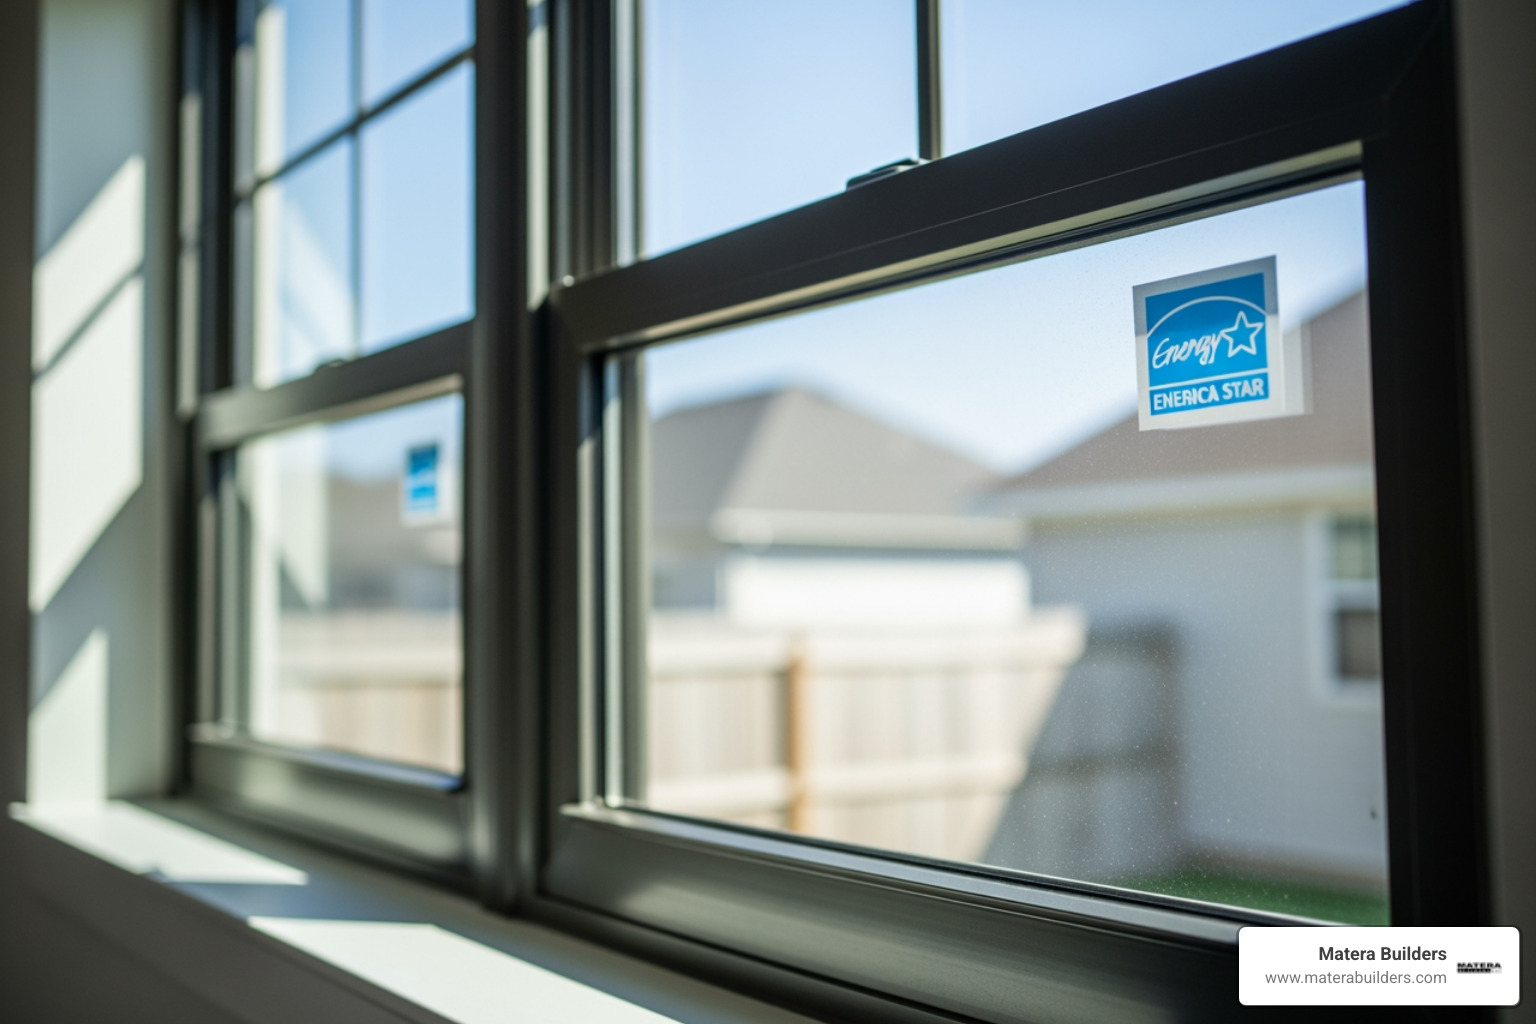
In New Jersey, energy performance is a big deal because we heat in winter and cool in summer. We often recommend ENERGY STAR certified glass packages when they are available for the door system. Low-E coatings reflect heat. That helps keep your home cooler in summer and warmer in winter.
A sidelight unit only performs well if it is installed and sealed right. If the frame is not square, or if flashing is skipped, you can get drafts, fogging, or water stains on the inside trim.
How we help homeowners choose the right system
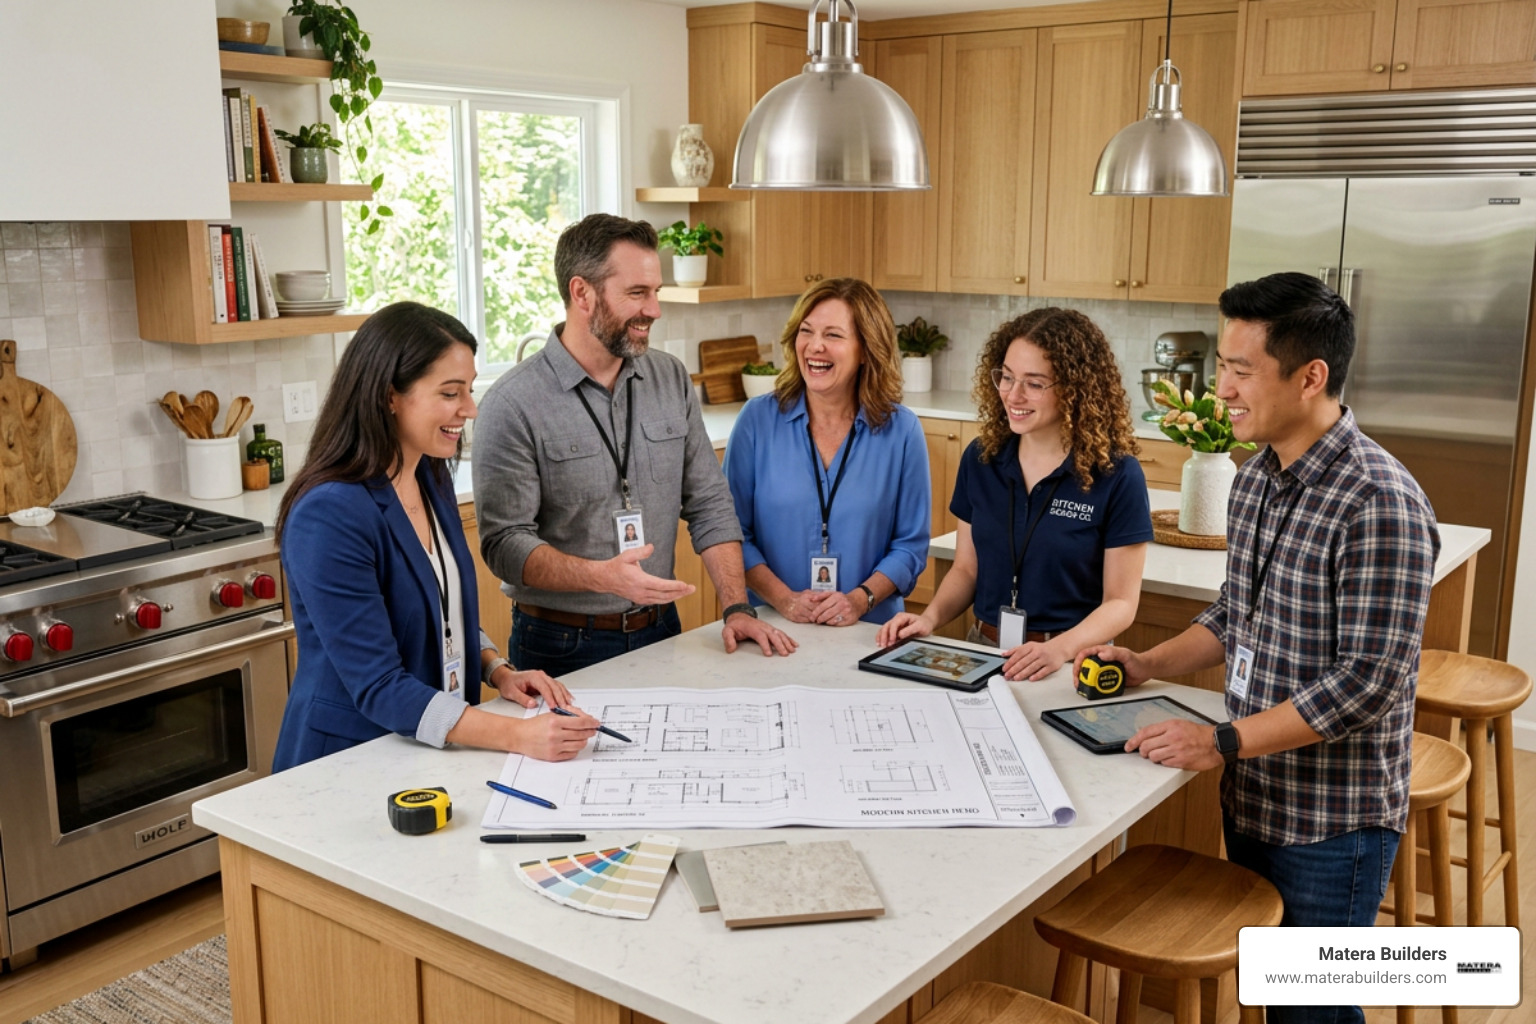
At Matera Builders, we start with how you use the entry. Do you want more light, more privacy, or both? We help you choose:
- Clear or privacy glass levels
- Grille patterns to match the home
- Fiberglass or composite-friendly options for coastal conditions
- Hardware and lock upgrades for daily use
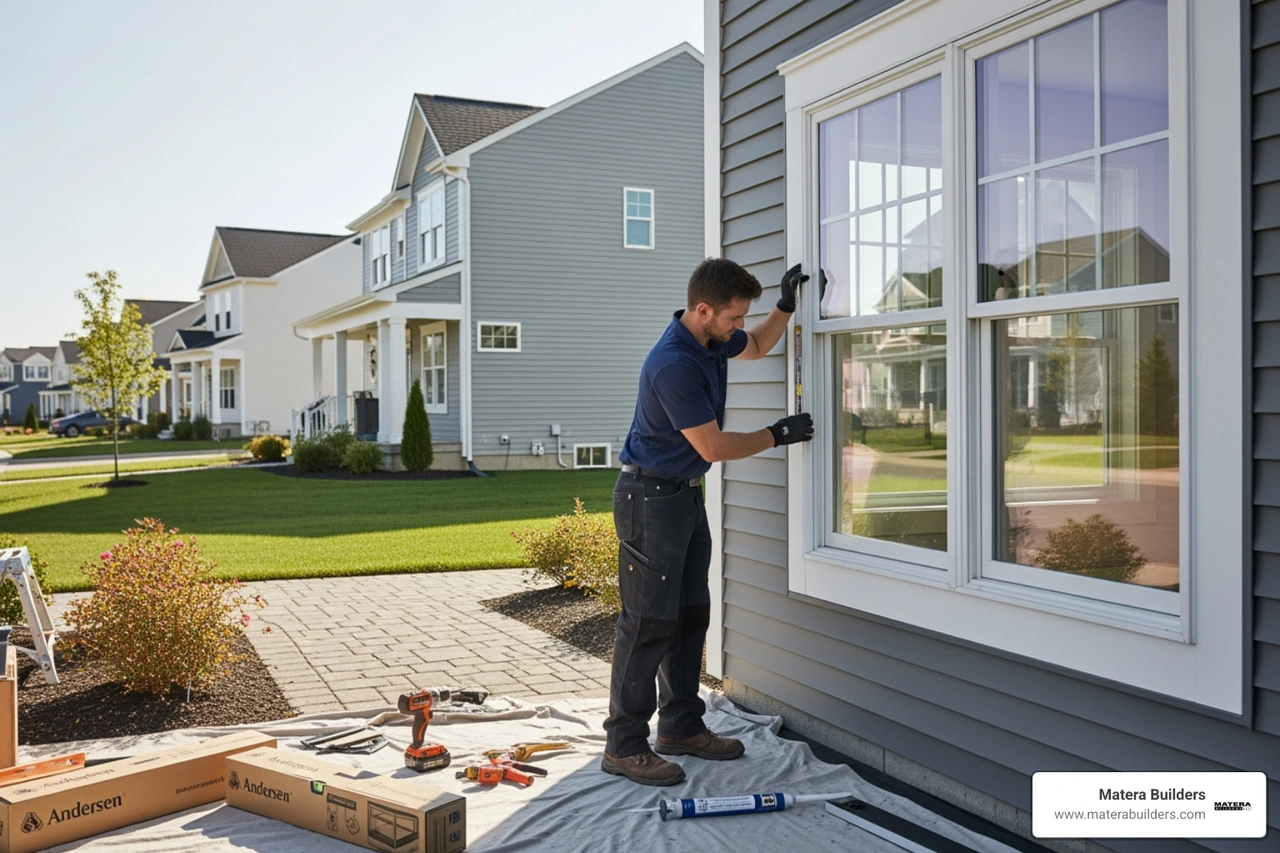
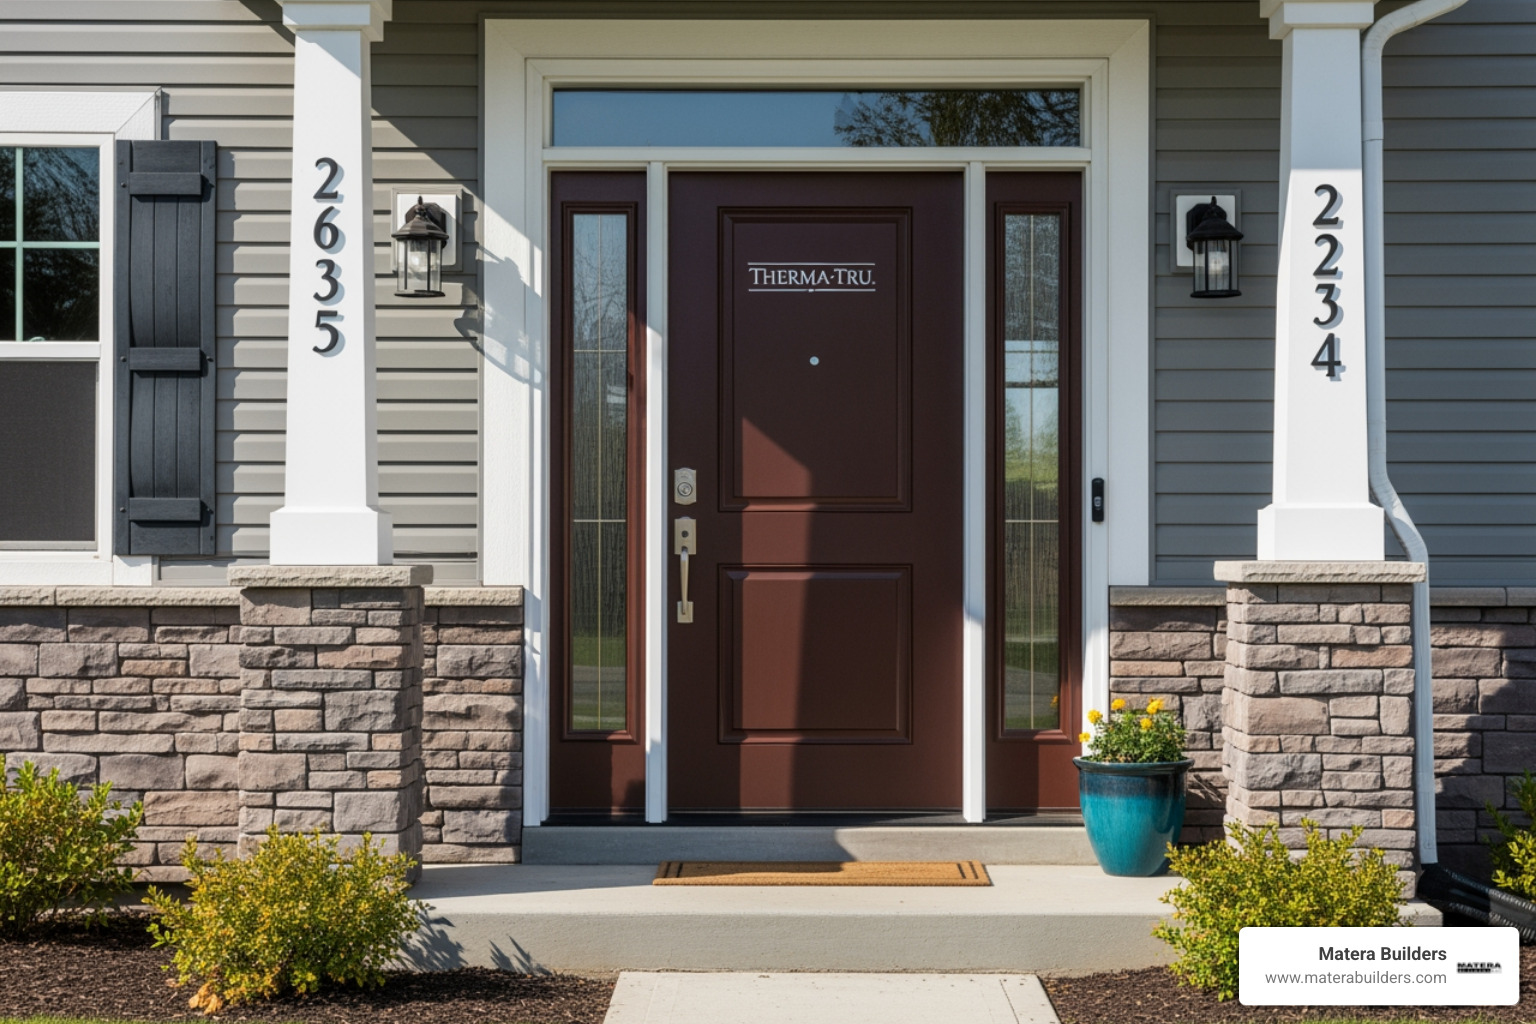
We often use Therma-Tru exterior doors for their strength and stable fiberglass construction. We also install many Andersen Doors. These units handle salt air and high humidity very well. When the project also involves adjacent openings, we can coordinate with an Andersen Windows installation plan so the whole front elevation performs and looks consistent.
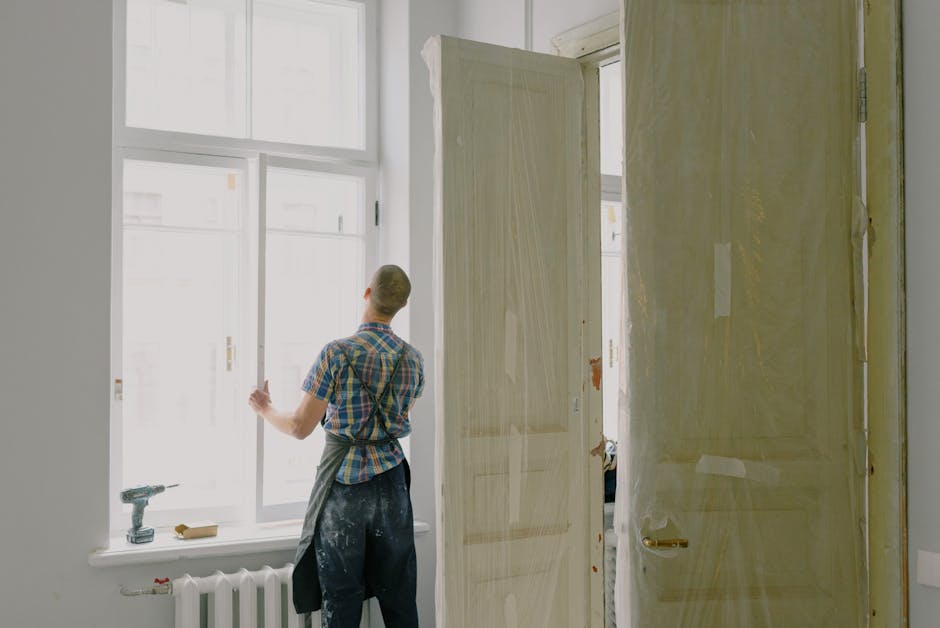
Preparing for Your Sidelight Door Installation
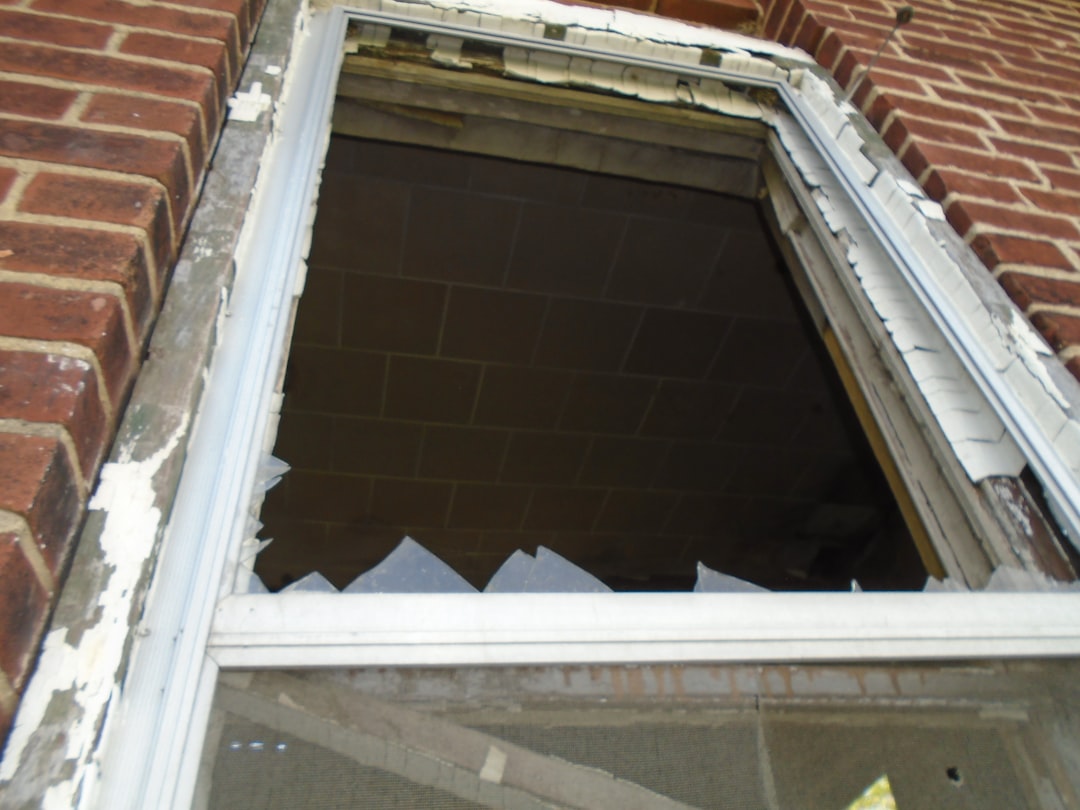
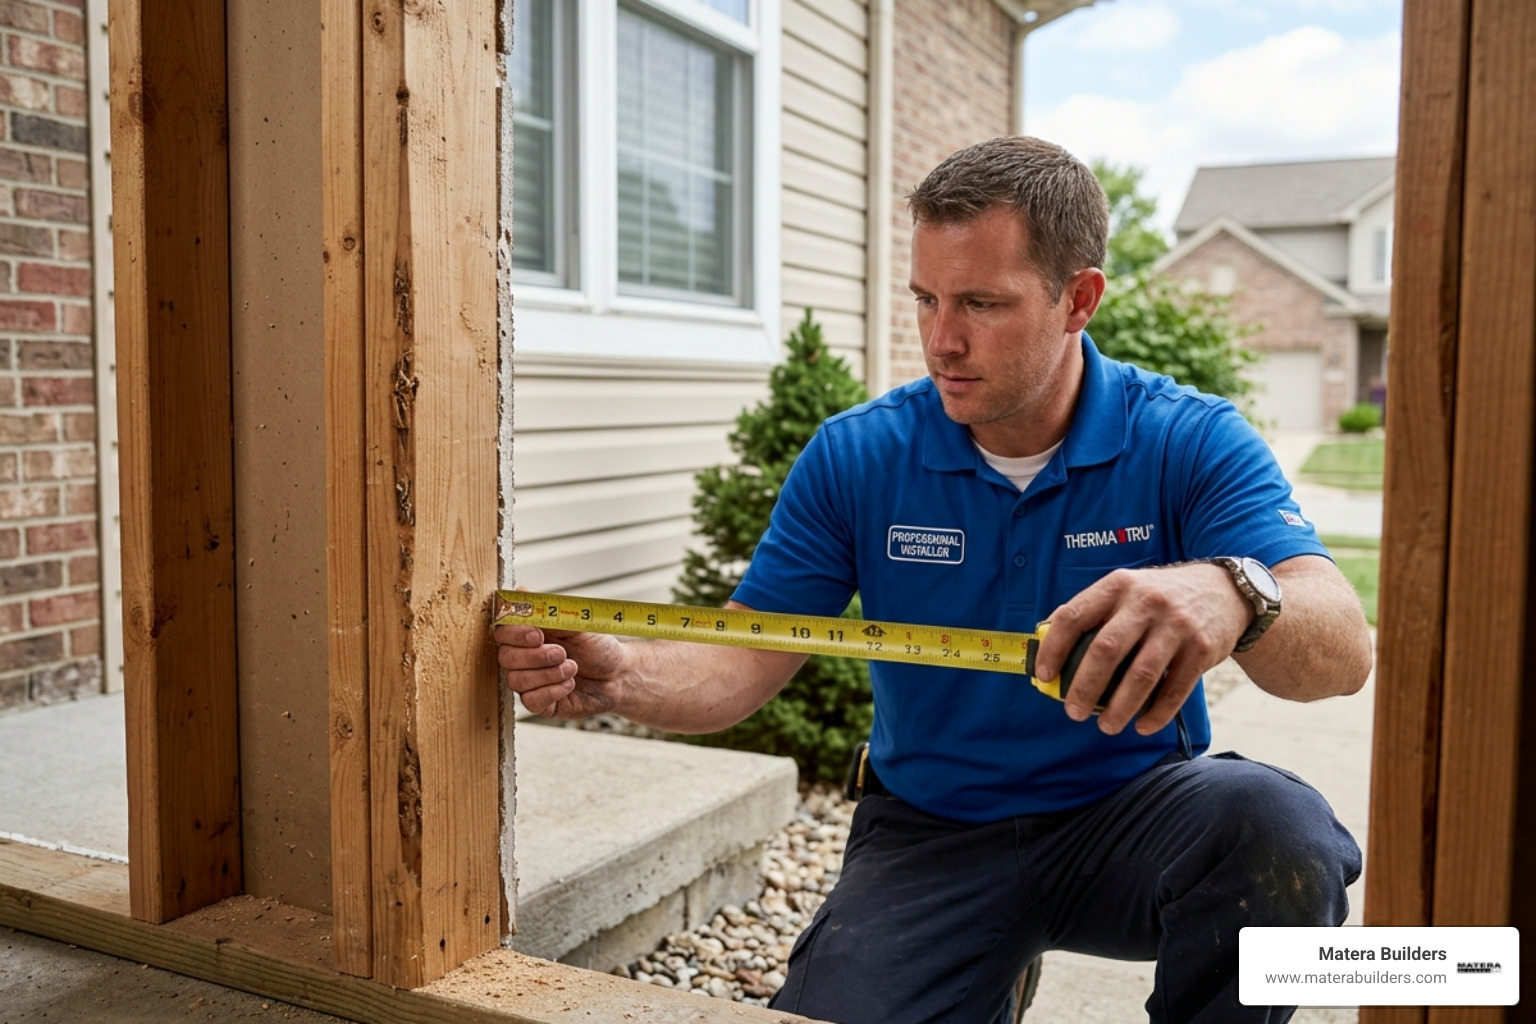
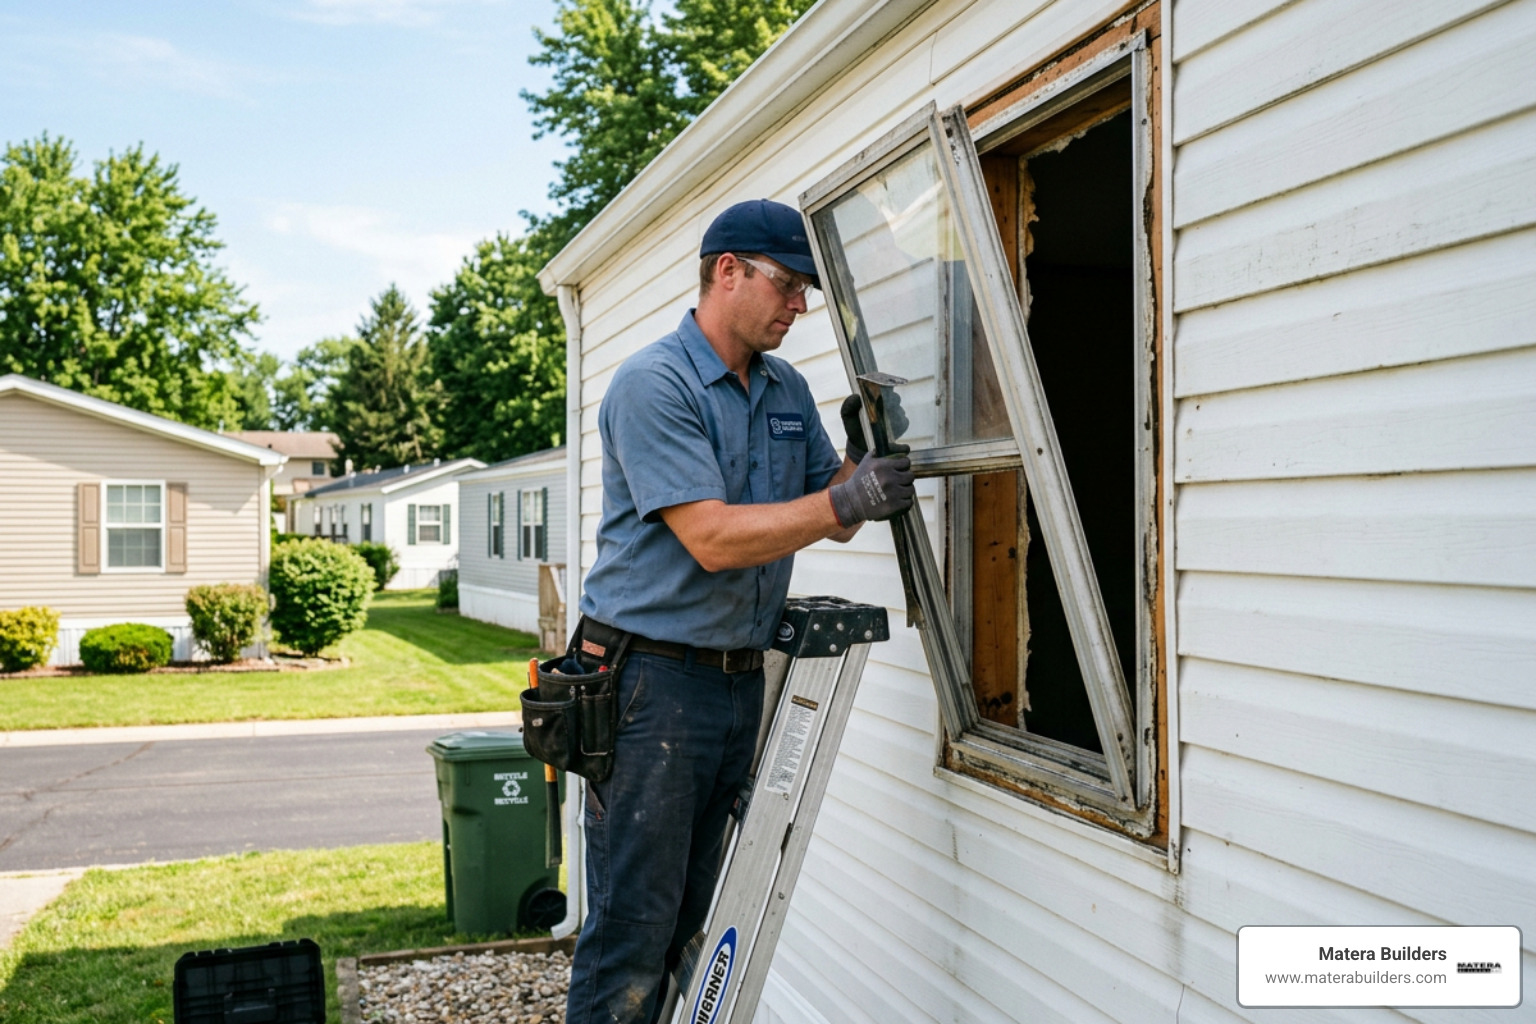
You cannot put a good door in a rotten opening. On the Jersey Shore, we often find hidden rot once the old trim is removed. Wind-driven rain can get behind old brickmold. Salt air can speed up fastener corrosion. If we see soft framing, we fix it before the new unit goes in.
A door with sidelights is wider than a standard entry door. That means the header above it and the framing at the sides must be in good shape. If the opening is not supported correctly, the unit can rack over time. That leads to sticking, air leaks, and cracked interior trim.
We always use a sill pan. This is a piece of flashing that sits under the door. It sends water back outside if a leak happens. We also integrate flashing tape with the housewrap so water cannot get into the wall.
We use Andersen Doors often because they are built to last, and because their details and support documents are clear. That helps keep your warranty protection intact.
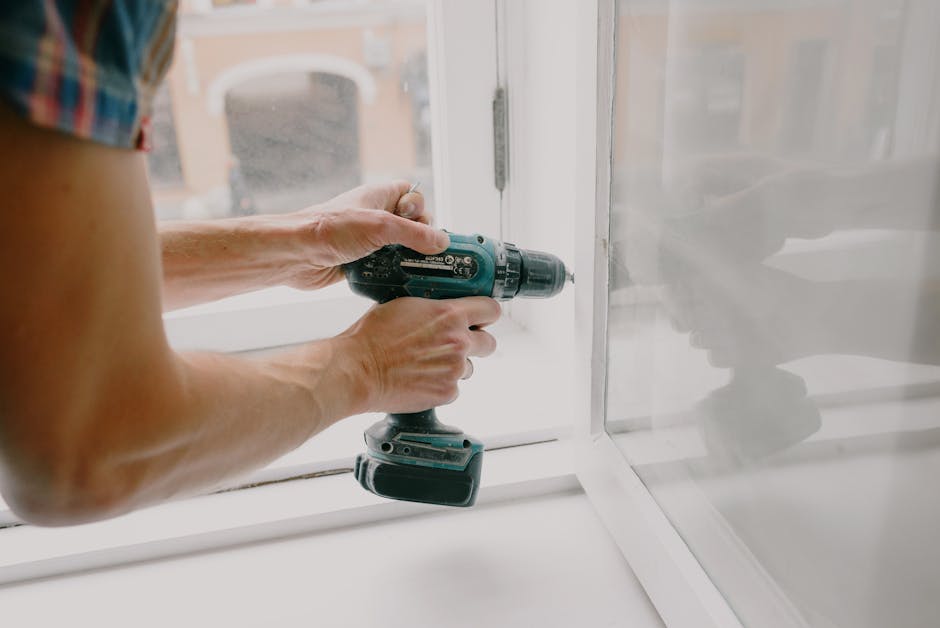
Tools We Use
- 6-foot level
- Drill and driver
- Saw
- Pry bar
- Caulk gun
- Spray foam
- Shims
- Stainless steel screws

Measuring for Your Project
We measure the width and height in three spots. We measure the top, middle, and bottom. We also check the opening for level, plumb, and square. If the measurements are off, the door may look fine on day one but start to bind later.
This is where a trained window replacement contractor adds real value. We are not just measuring the door. We are checking the framing conditions that affect long-term performance.
| Measurement Type | Purpose | Standard |
|---|---|---|
| Width | Space for the unit | 1" to 1.5" wider than the door |
| Height | Vertical space | 1/2" to 1" taller than the door |
| Plumb and Level | Alignment | Within 1/8" over 6 feet |
What we inspect before installation day
Before we set a new prehung door with sidelights, we look at the things that cause most failures in coastal homes:
- Sill condition and subfloor strength at the threshold
- Signs of past leaks, staining, or mold
- Housewrap condition behind the trim
- Existing flashing at the head and sides
- How the exterior finishes will tie back in after the new unit is installed
If we need to repair framing, we do it first. A straight, solid opening gives you a straight, solid door.
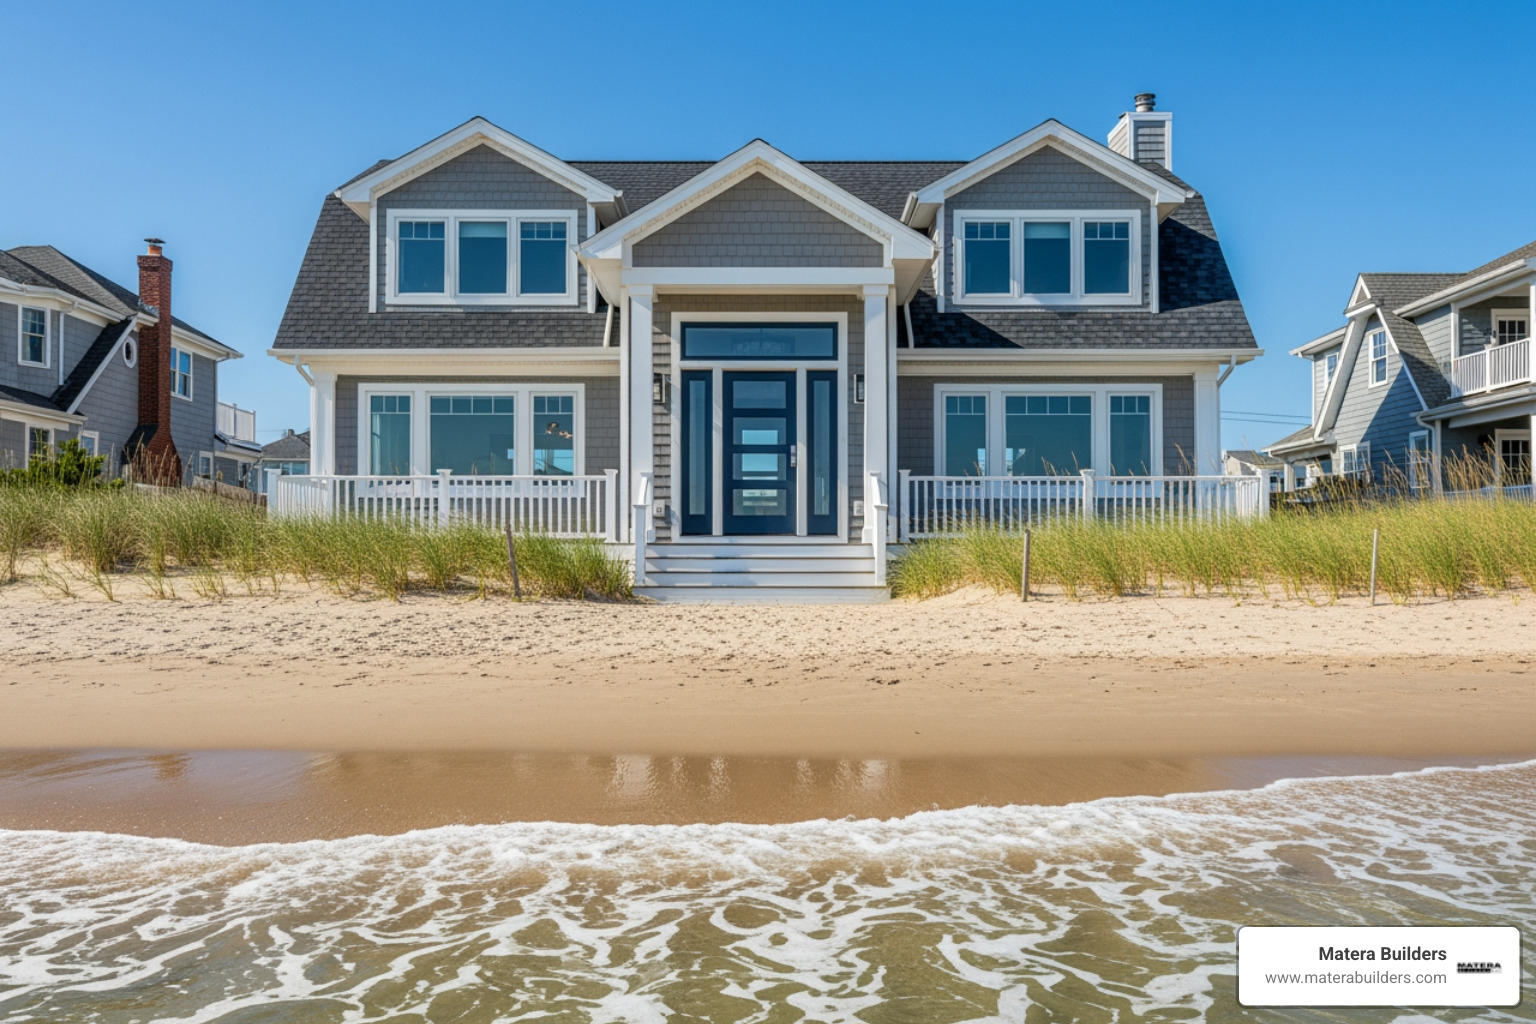
Materials for the Coast
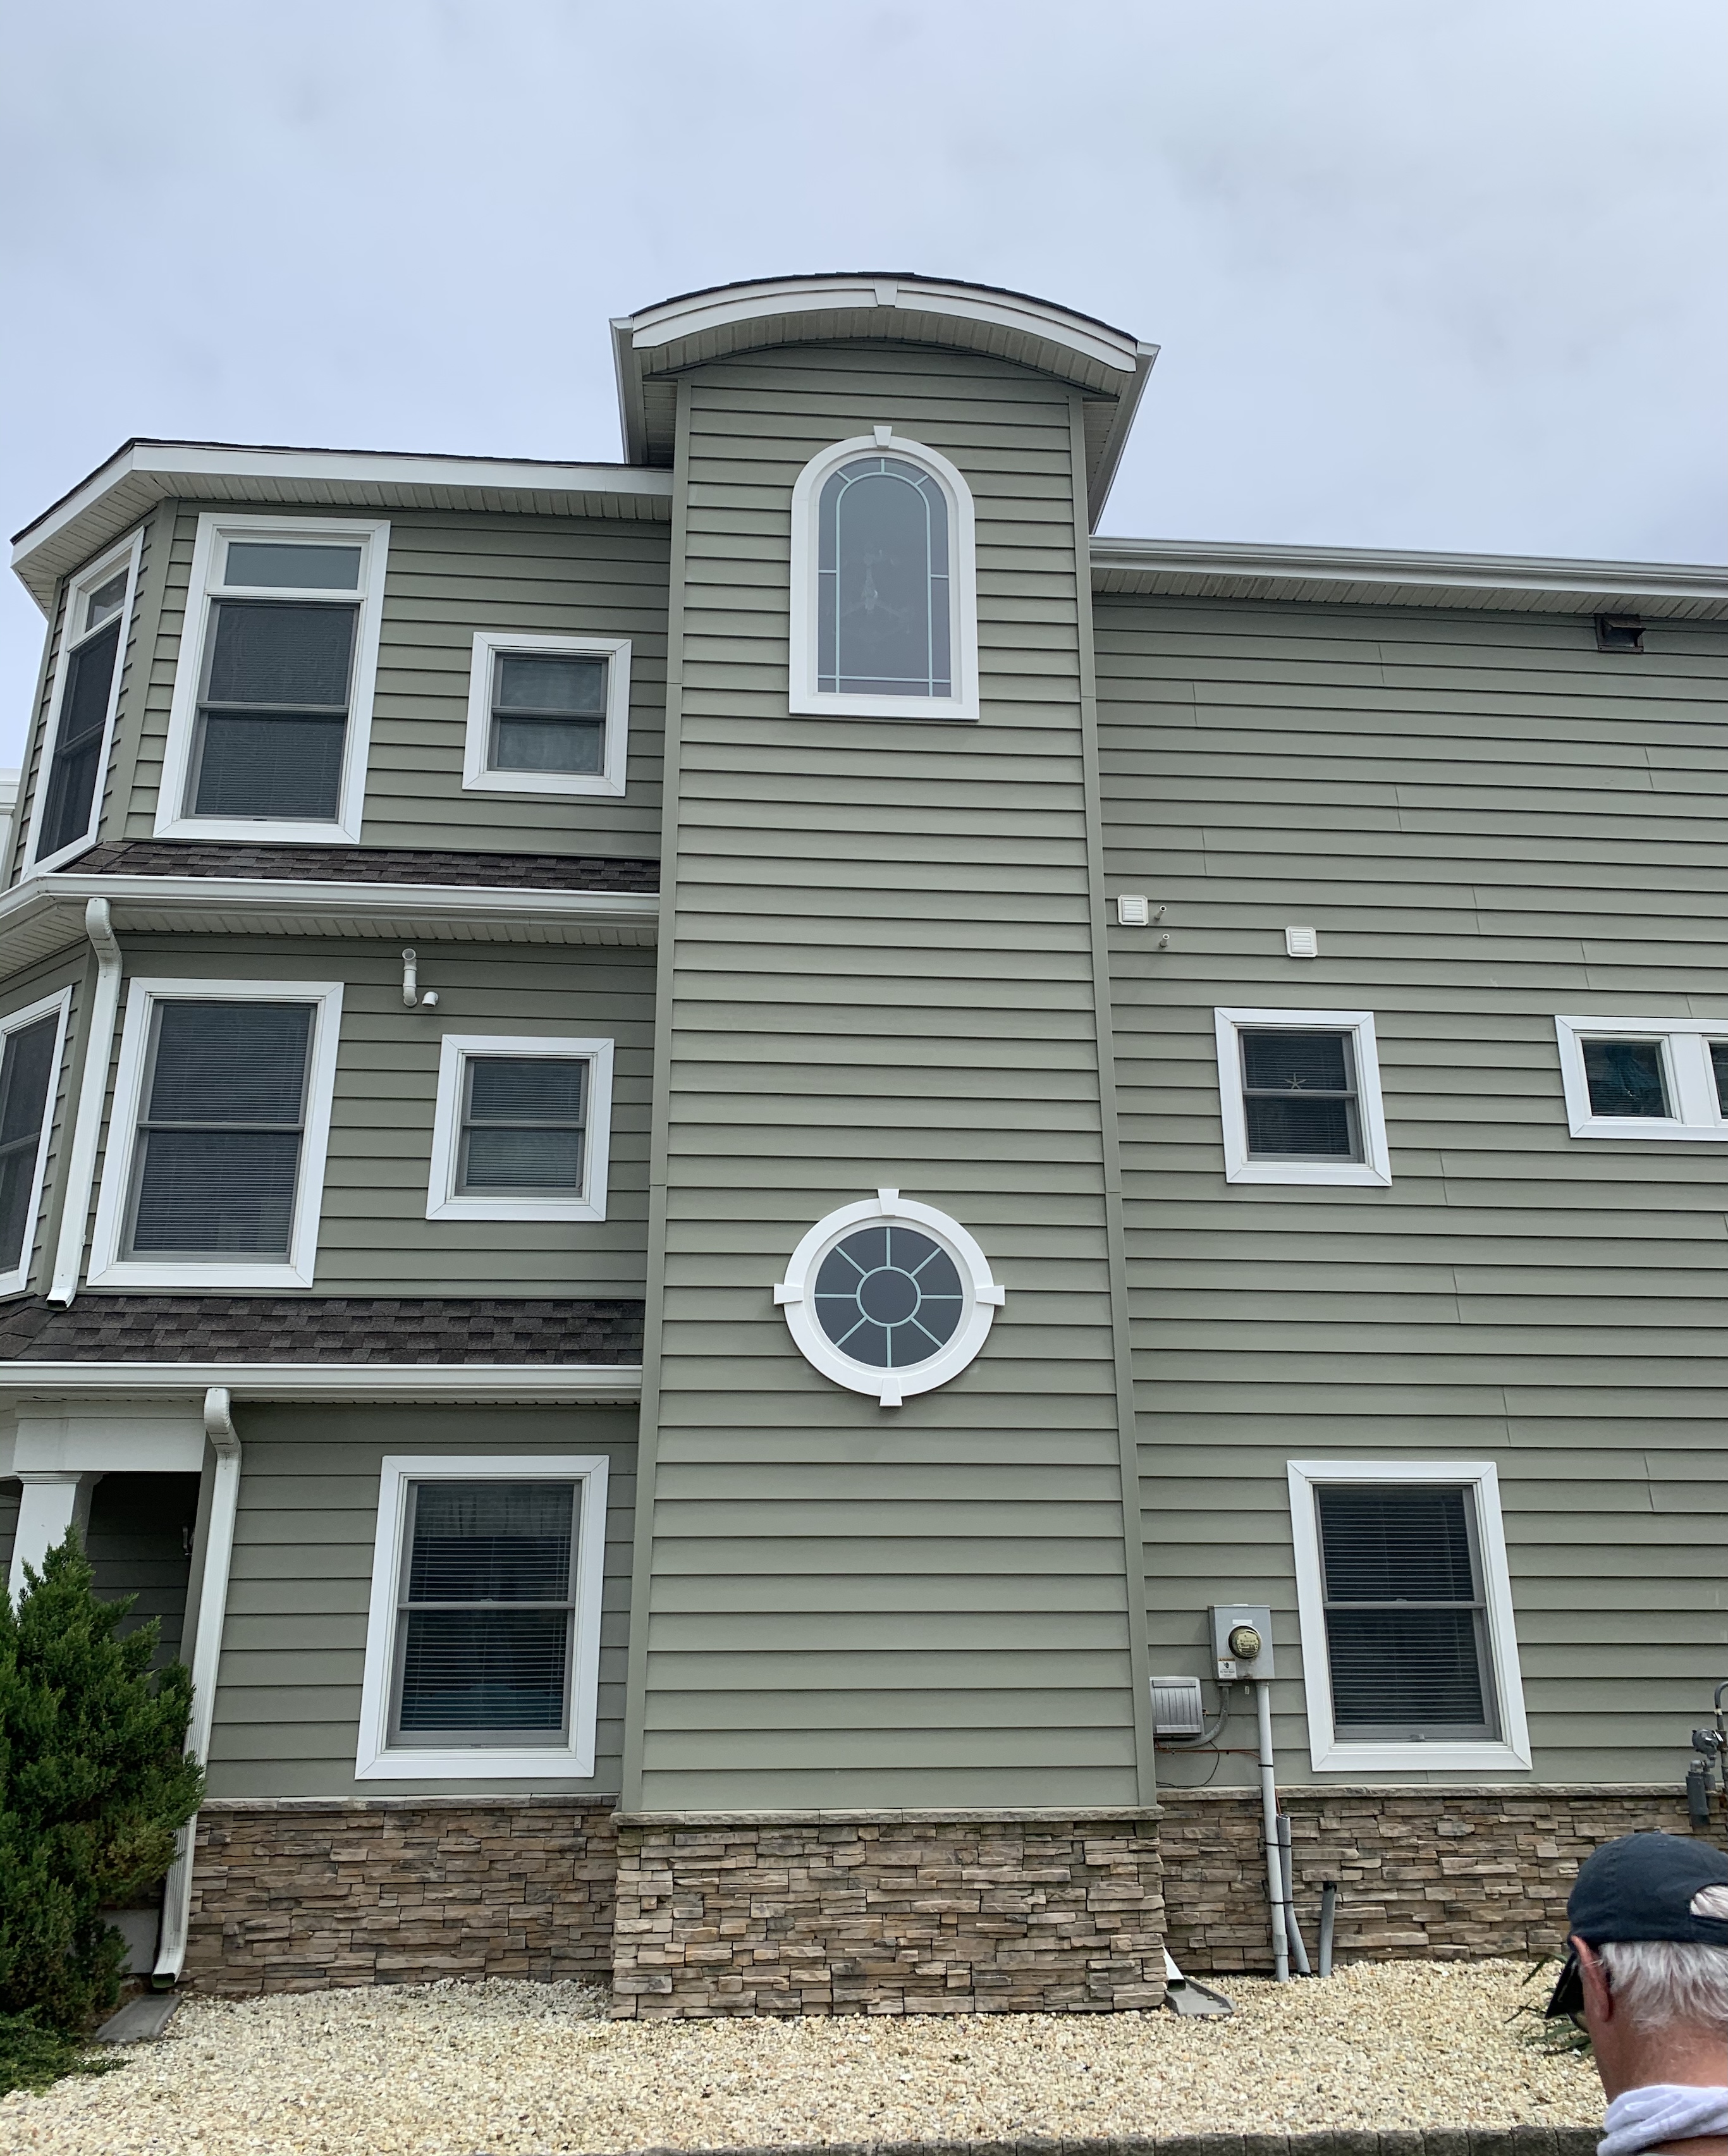
Homes near the Jersey Shore face salt, wind, and high humidity. Wood doors can rot and swell if they are not maintained. For many homes, we suggest fiberglass doors because they are stable and easy to care for.
For frames and trim details, composites can be a smart move. We also like Andersen Windows installation because of Fibrex material. It is a composite that is strong like wood but does not rot. It is a good fit for coastal window replacement and other exterior openings where durability matters.
The goal is simple. Use materials that resist moisture and corrosion, then install them in a way that gives water a path back outside.
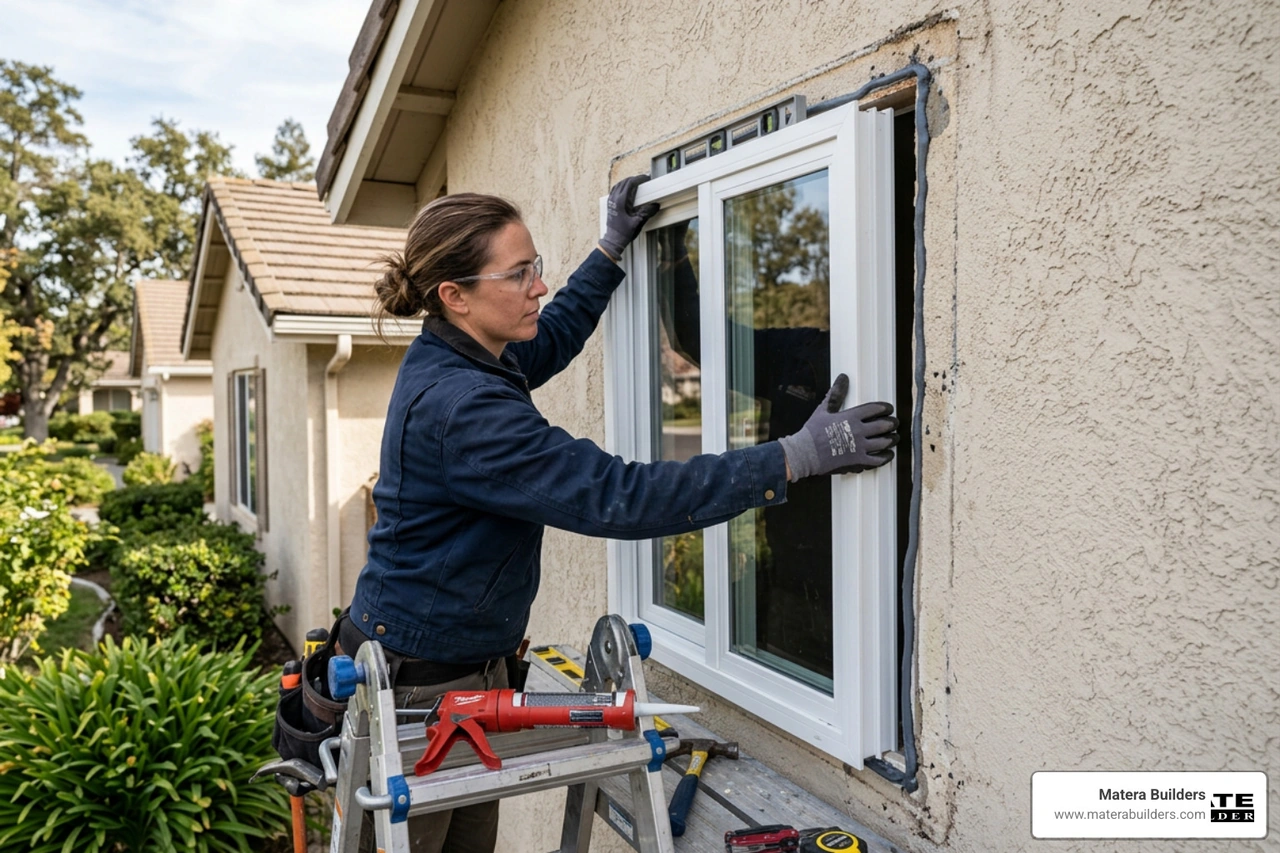
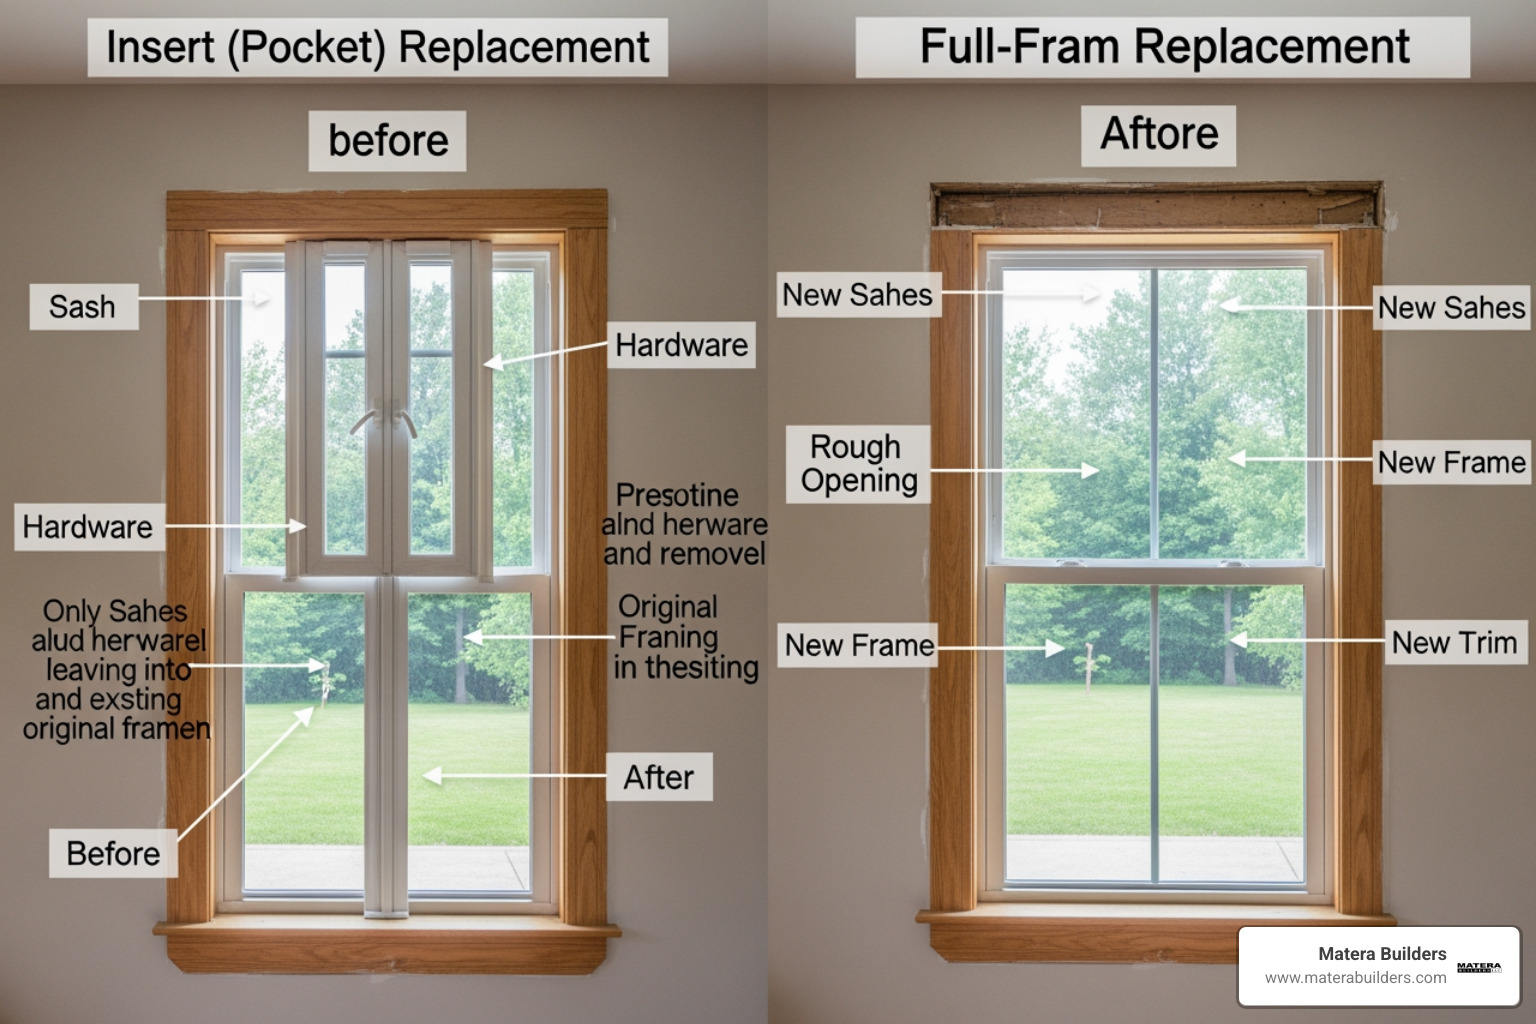
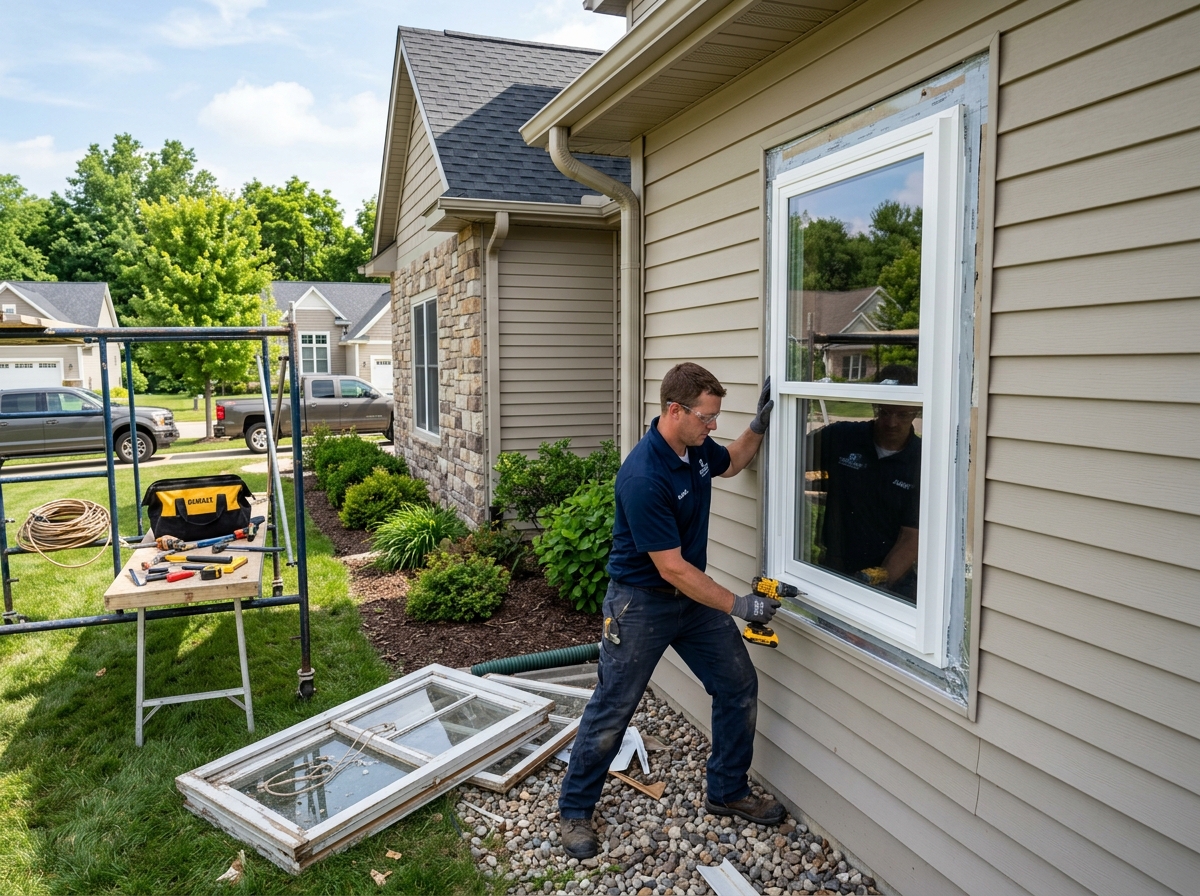
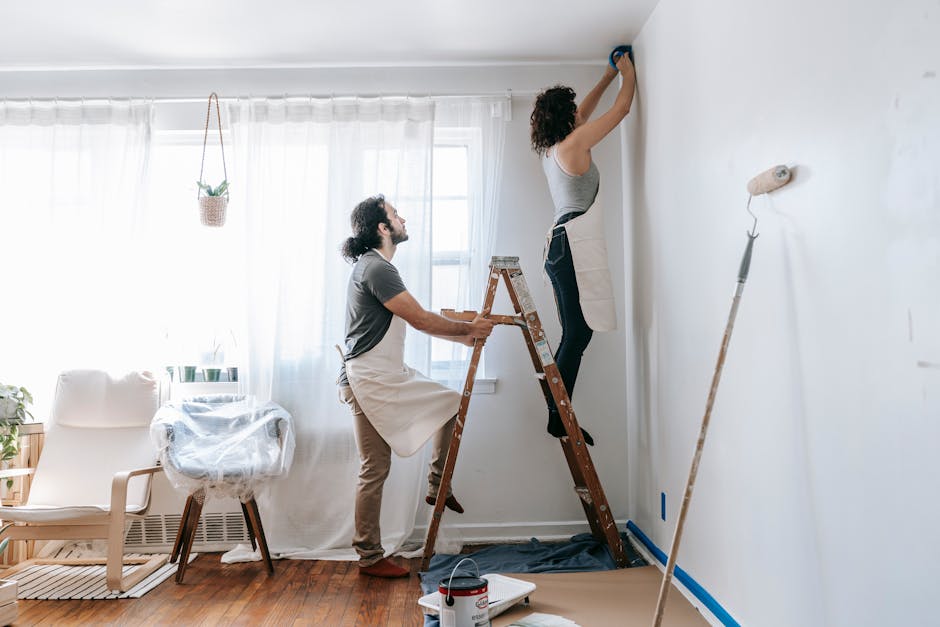
Step-by-Step Installation with Matera Builders' Standards
Installing a sidelight door is not just setting a frame in a hole. The unit has to be straight, supported, and weather-managed. That is what stops drafts and water stains years later.
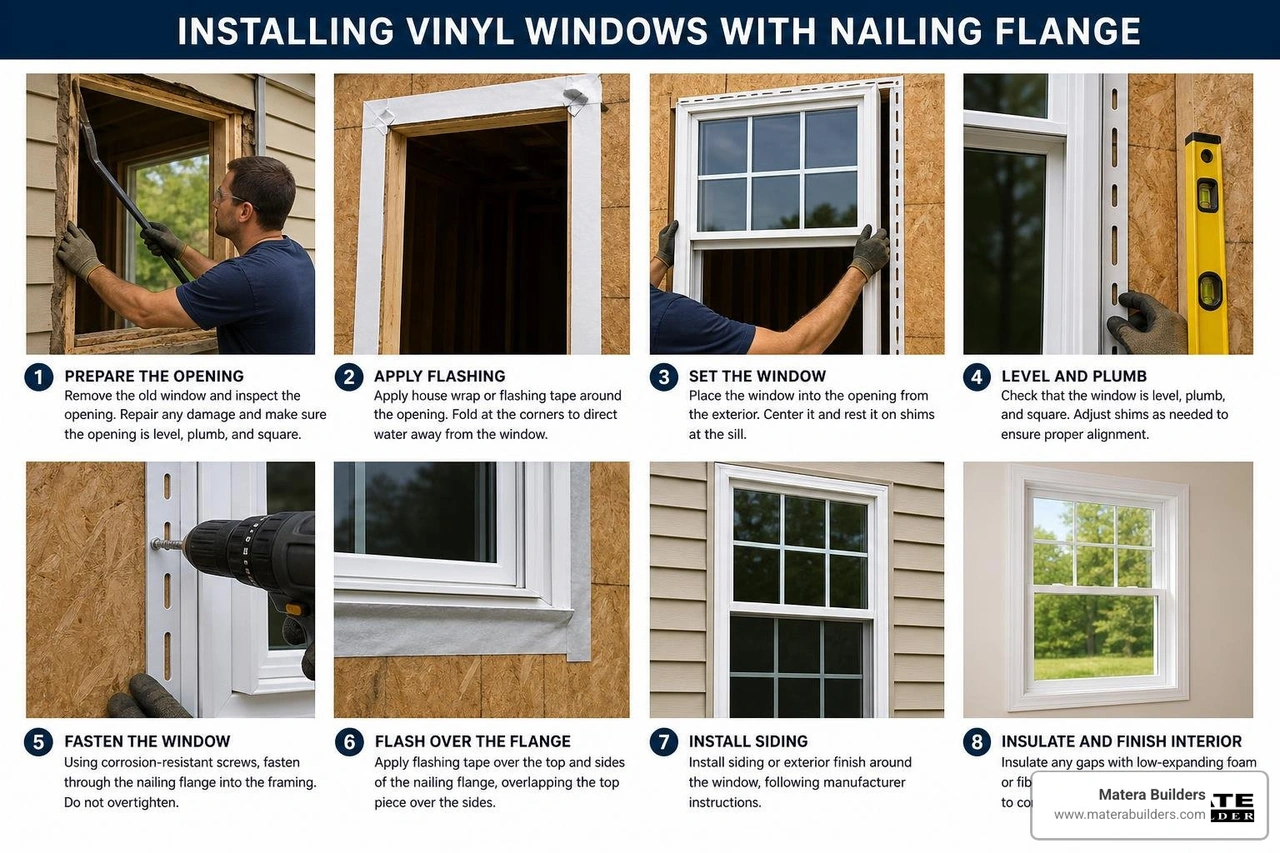
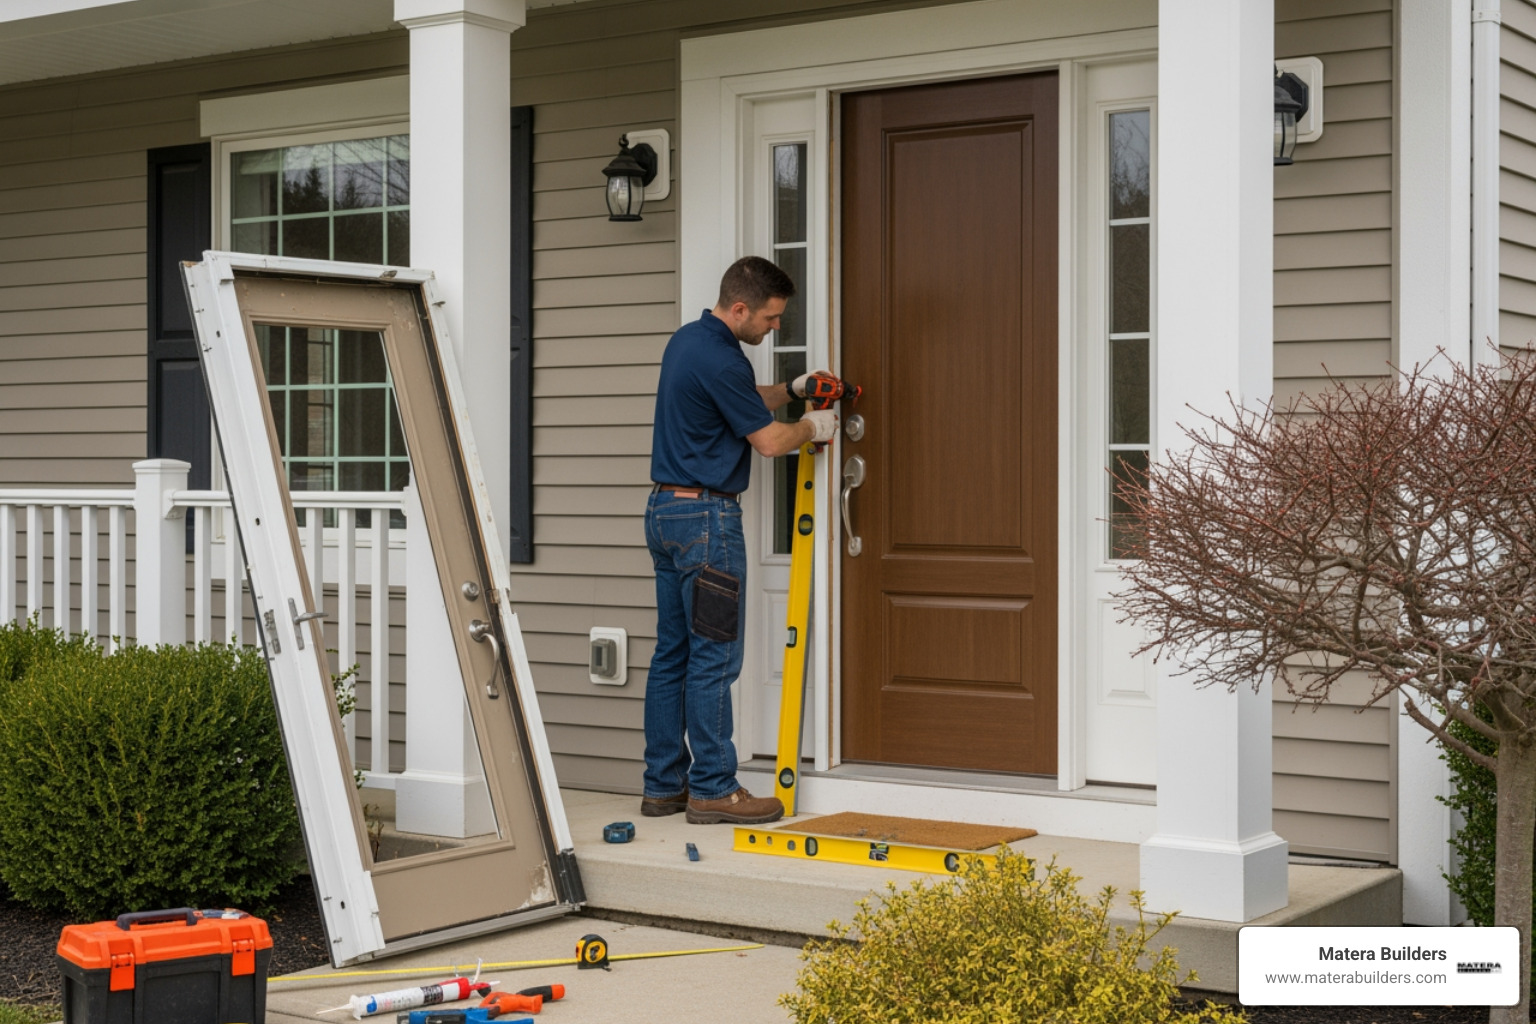
We start by protecting the work area and removing the old door and trim. We cut the old fasteners and pull the frame out. Then we clean the opening so the new flashing and sealants can bond.
Step 1: Prep the rough opening the right way
Before the new unit goes in, we:
- Inspect the sill and framing for rot
- Confirm the opening is close to square
- Install or confirm a sill pan with end dams
- Add flashing tape in a shingle-style sequence so water sheds out
If this step is rushed, the best door can still leak.
Step 2: Dry fit and plan the shim points
We test fit the new door system to confirm clearances and to plan where shims will go. With sidelights, the unit is wide, so you need support across the full span.
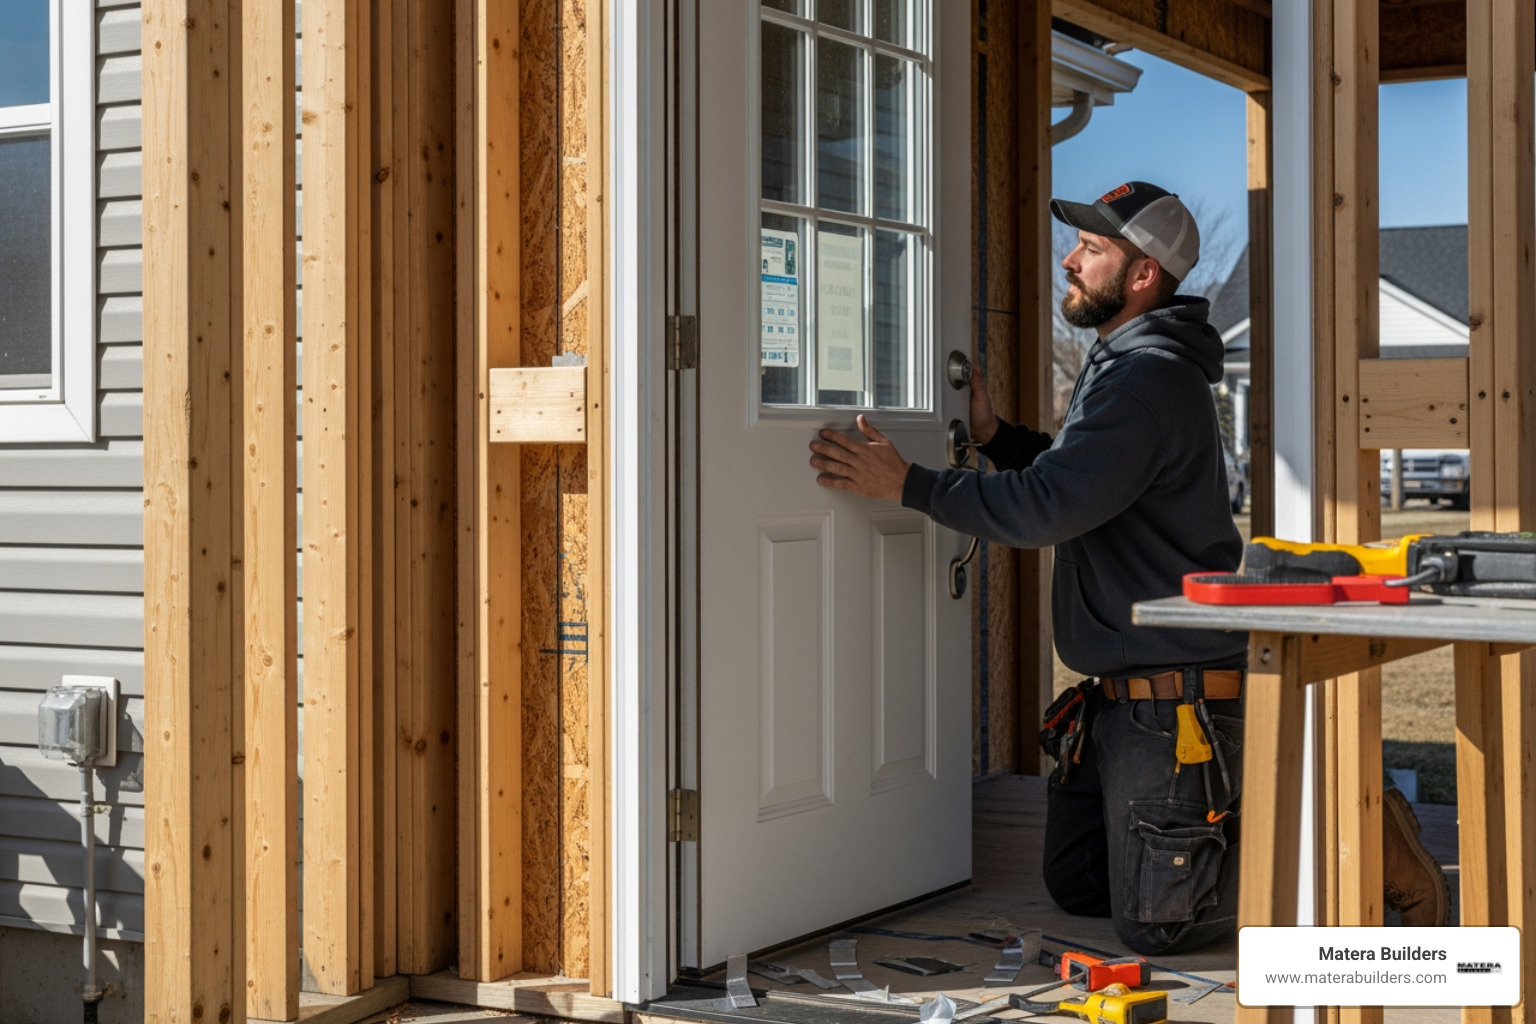
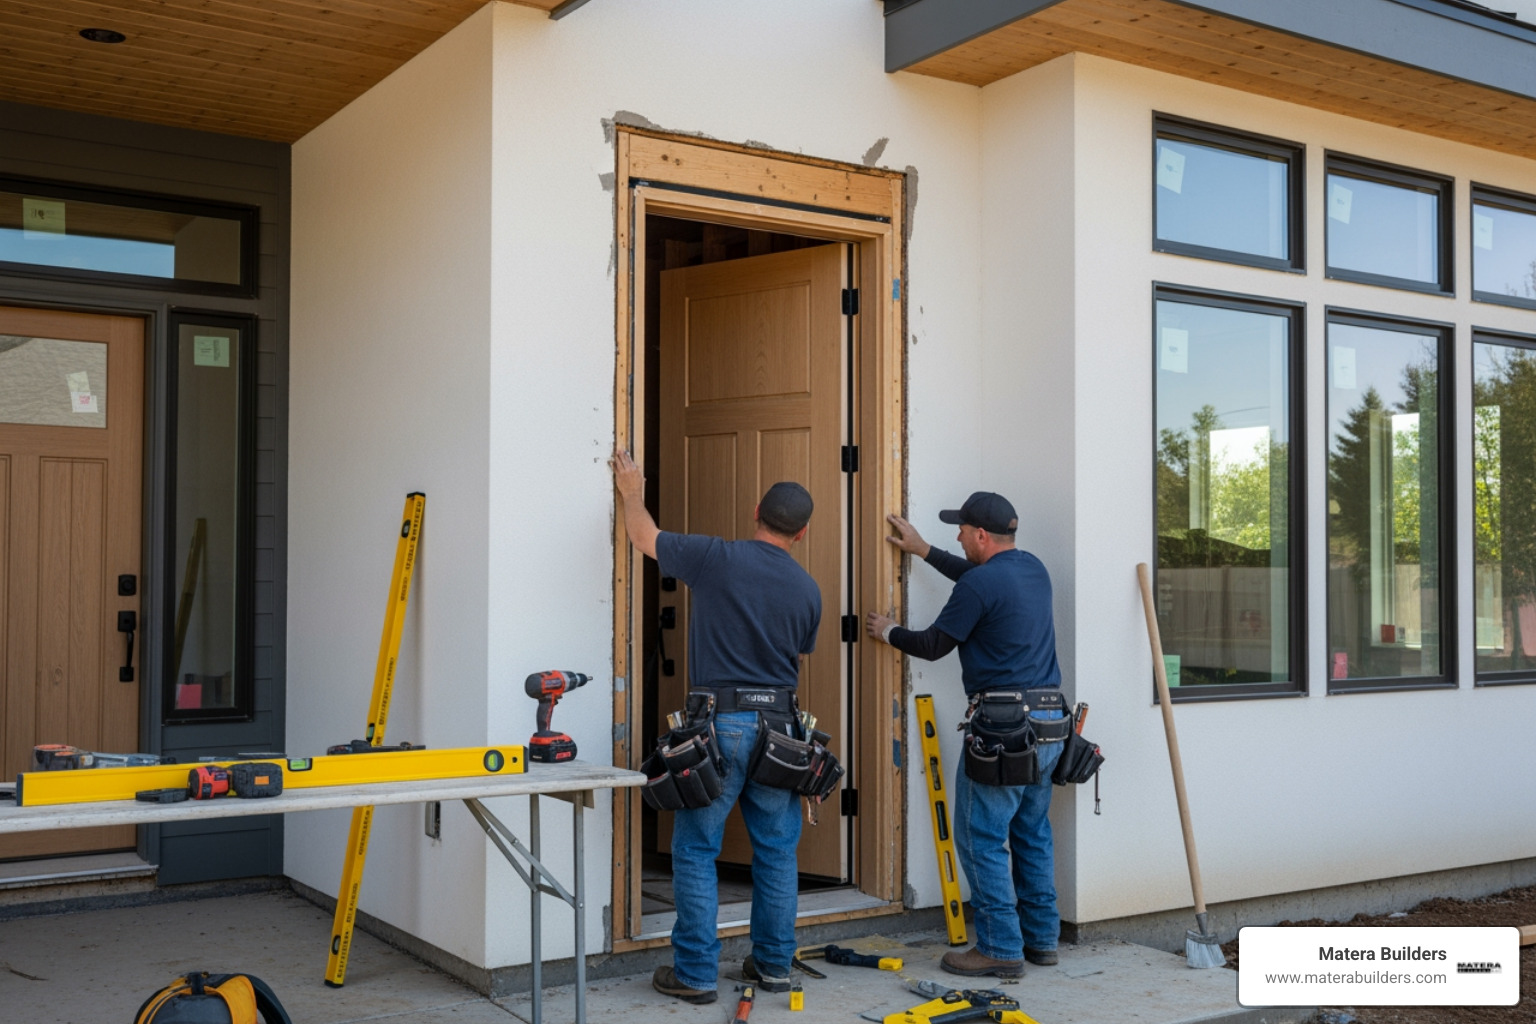
Setting and Securing
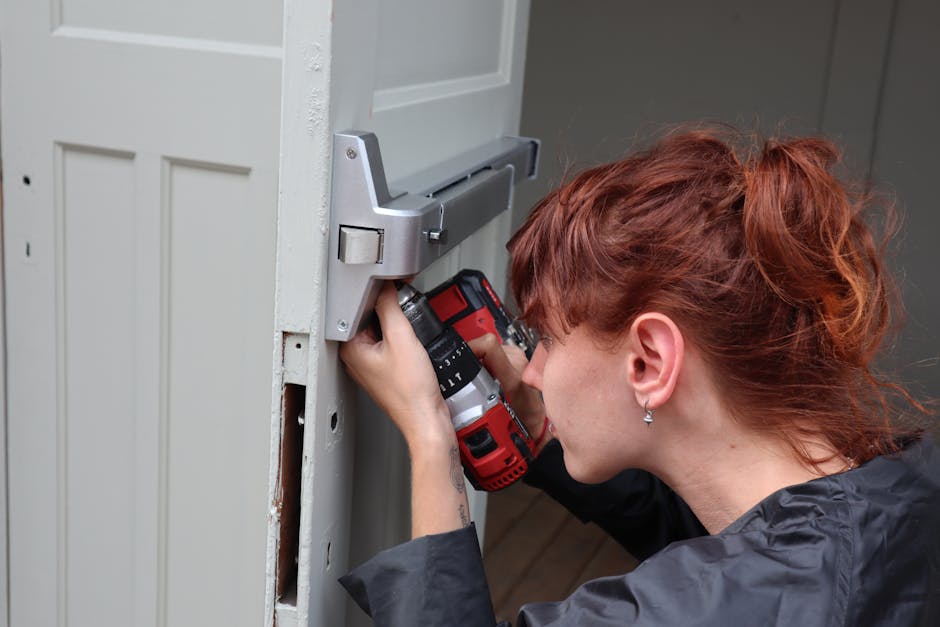
We put caulk on the floor and set the door in place. One person holds the door from the outside. Another person levels and plumbs the frame from the inside. We shim behind the hinges and at key points along the jambs so the unit stays straight.
Then we fasten the unit to the framing. In coastal New Jersey, we pay close attention to corrosion resistance. We use stainless steel screws because they hold up better near salt air.
We also use long screws in the hinges. These screws go deep into the house frame. This helps stop a heavy door from sagging over time.
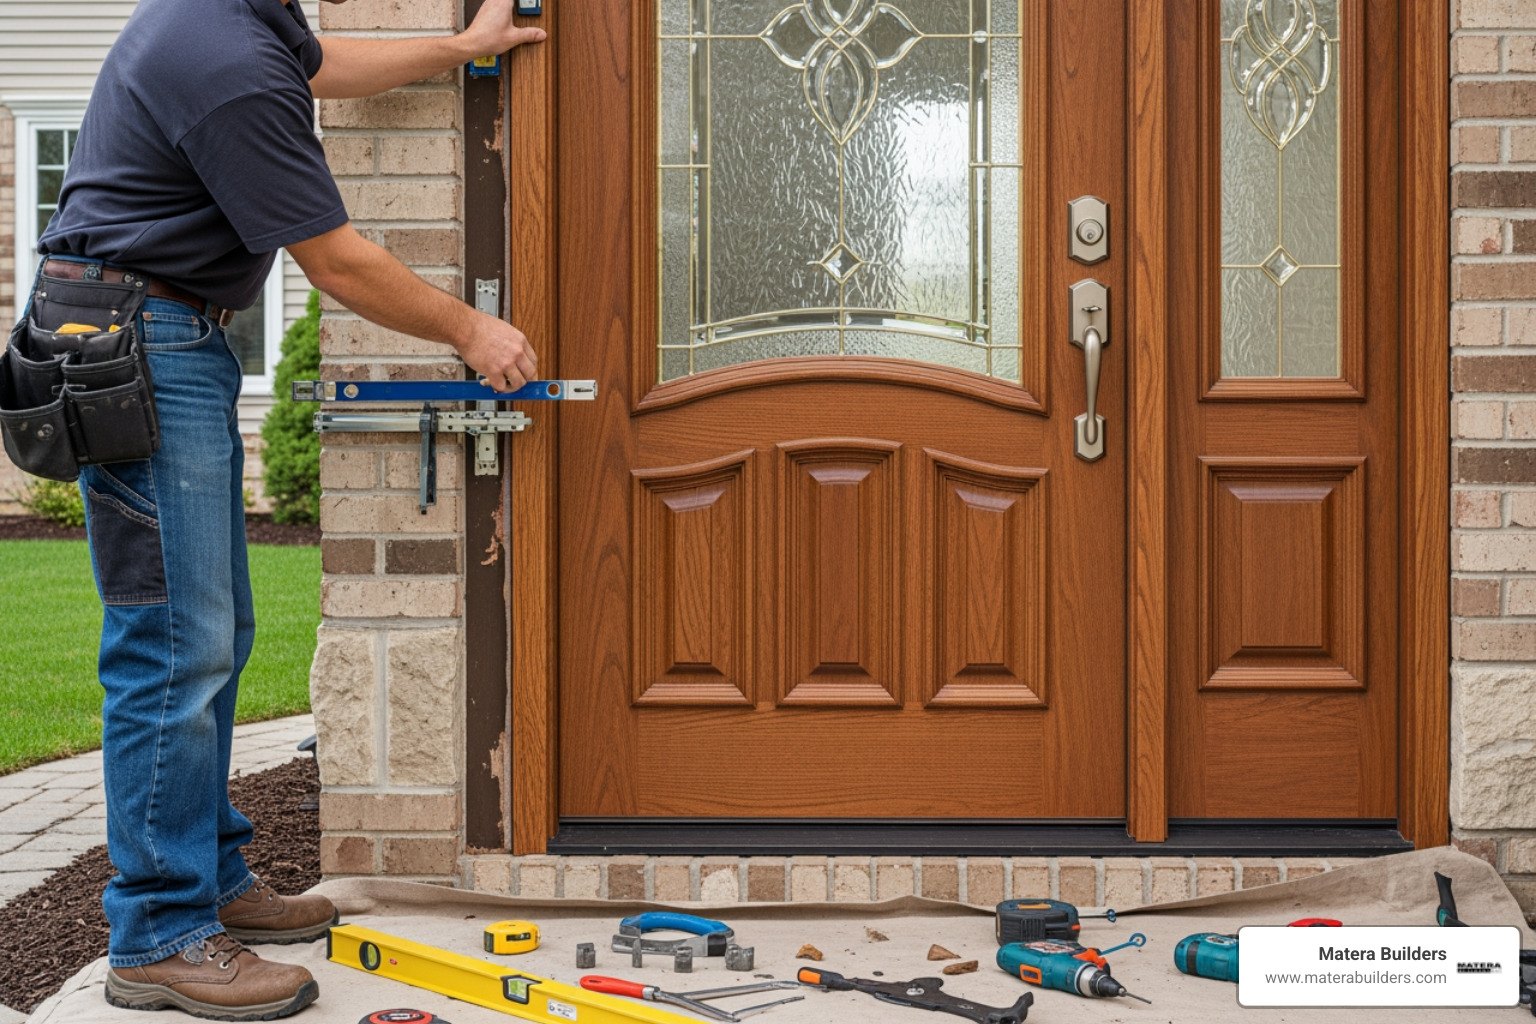
Step 3: Check door operation before sealing
Before foam or trim goes in, we check:
- Even reveal around the door
- Smooth latch engagement
- Door does not self-swing open or closed
- Weatherstrip compression is even
If the unit is not plumb, you will see it in how the door swings.
Common Mistakes
We have fixed many bad jobs over the last 37 years. Here are common errors:
- Using too many shims: This can bend the frame. Then the door will not close.
- Not leveling the floor: The door will not swing right. We always level the floor first.
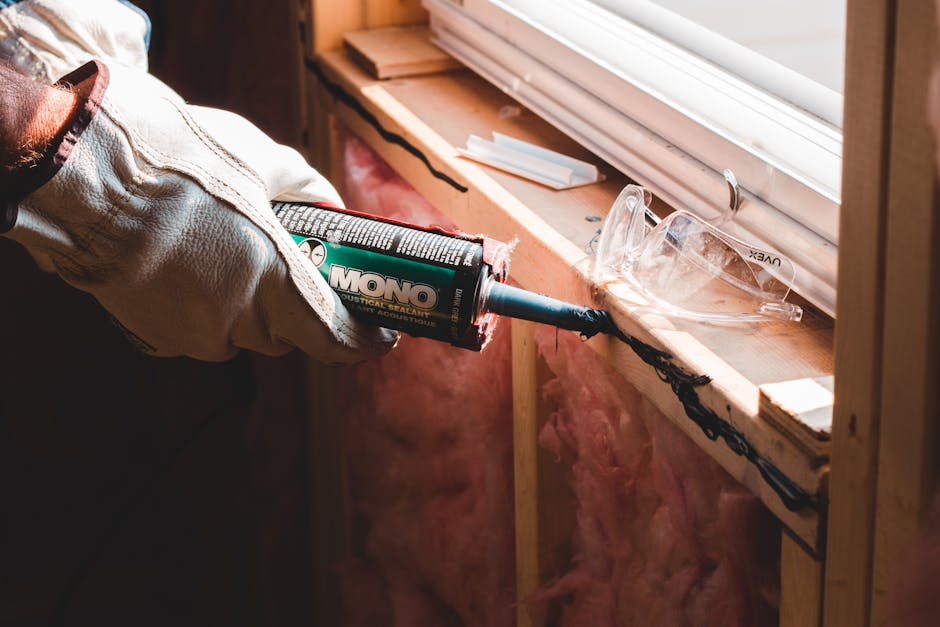
- Using the wrong foam: High-expansion foam can crush the frame. We only use low-expansion foam.
- Skipping the sill pan: Water has nowhere to go if it gets past the threshold.
- The door swings by itself: If the door moves on its own, it is not straight.
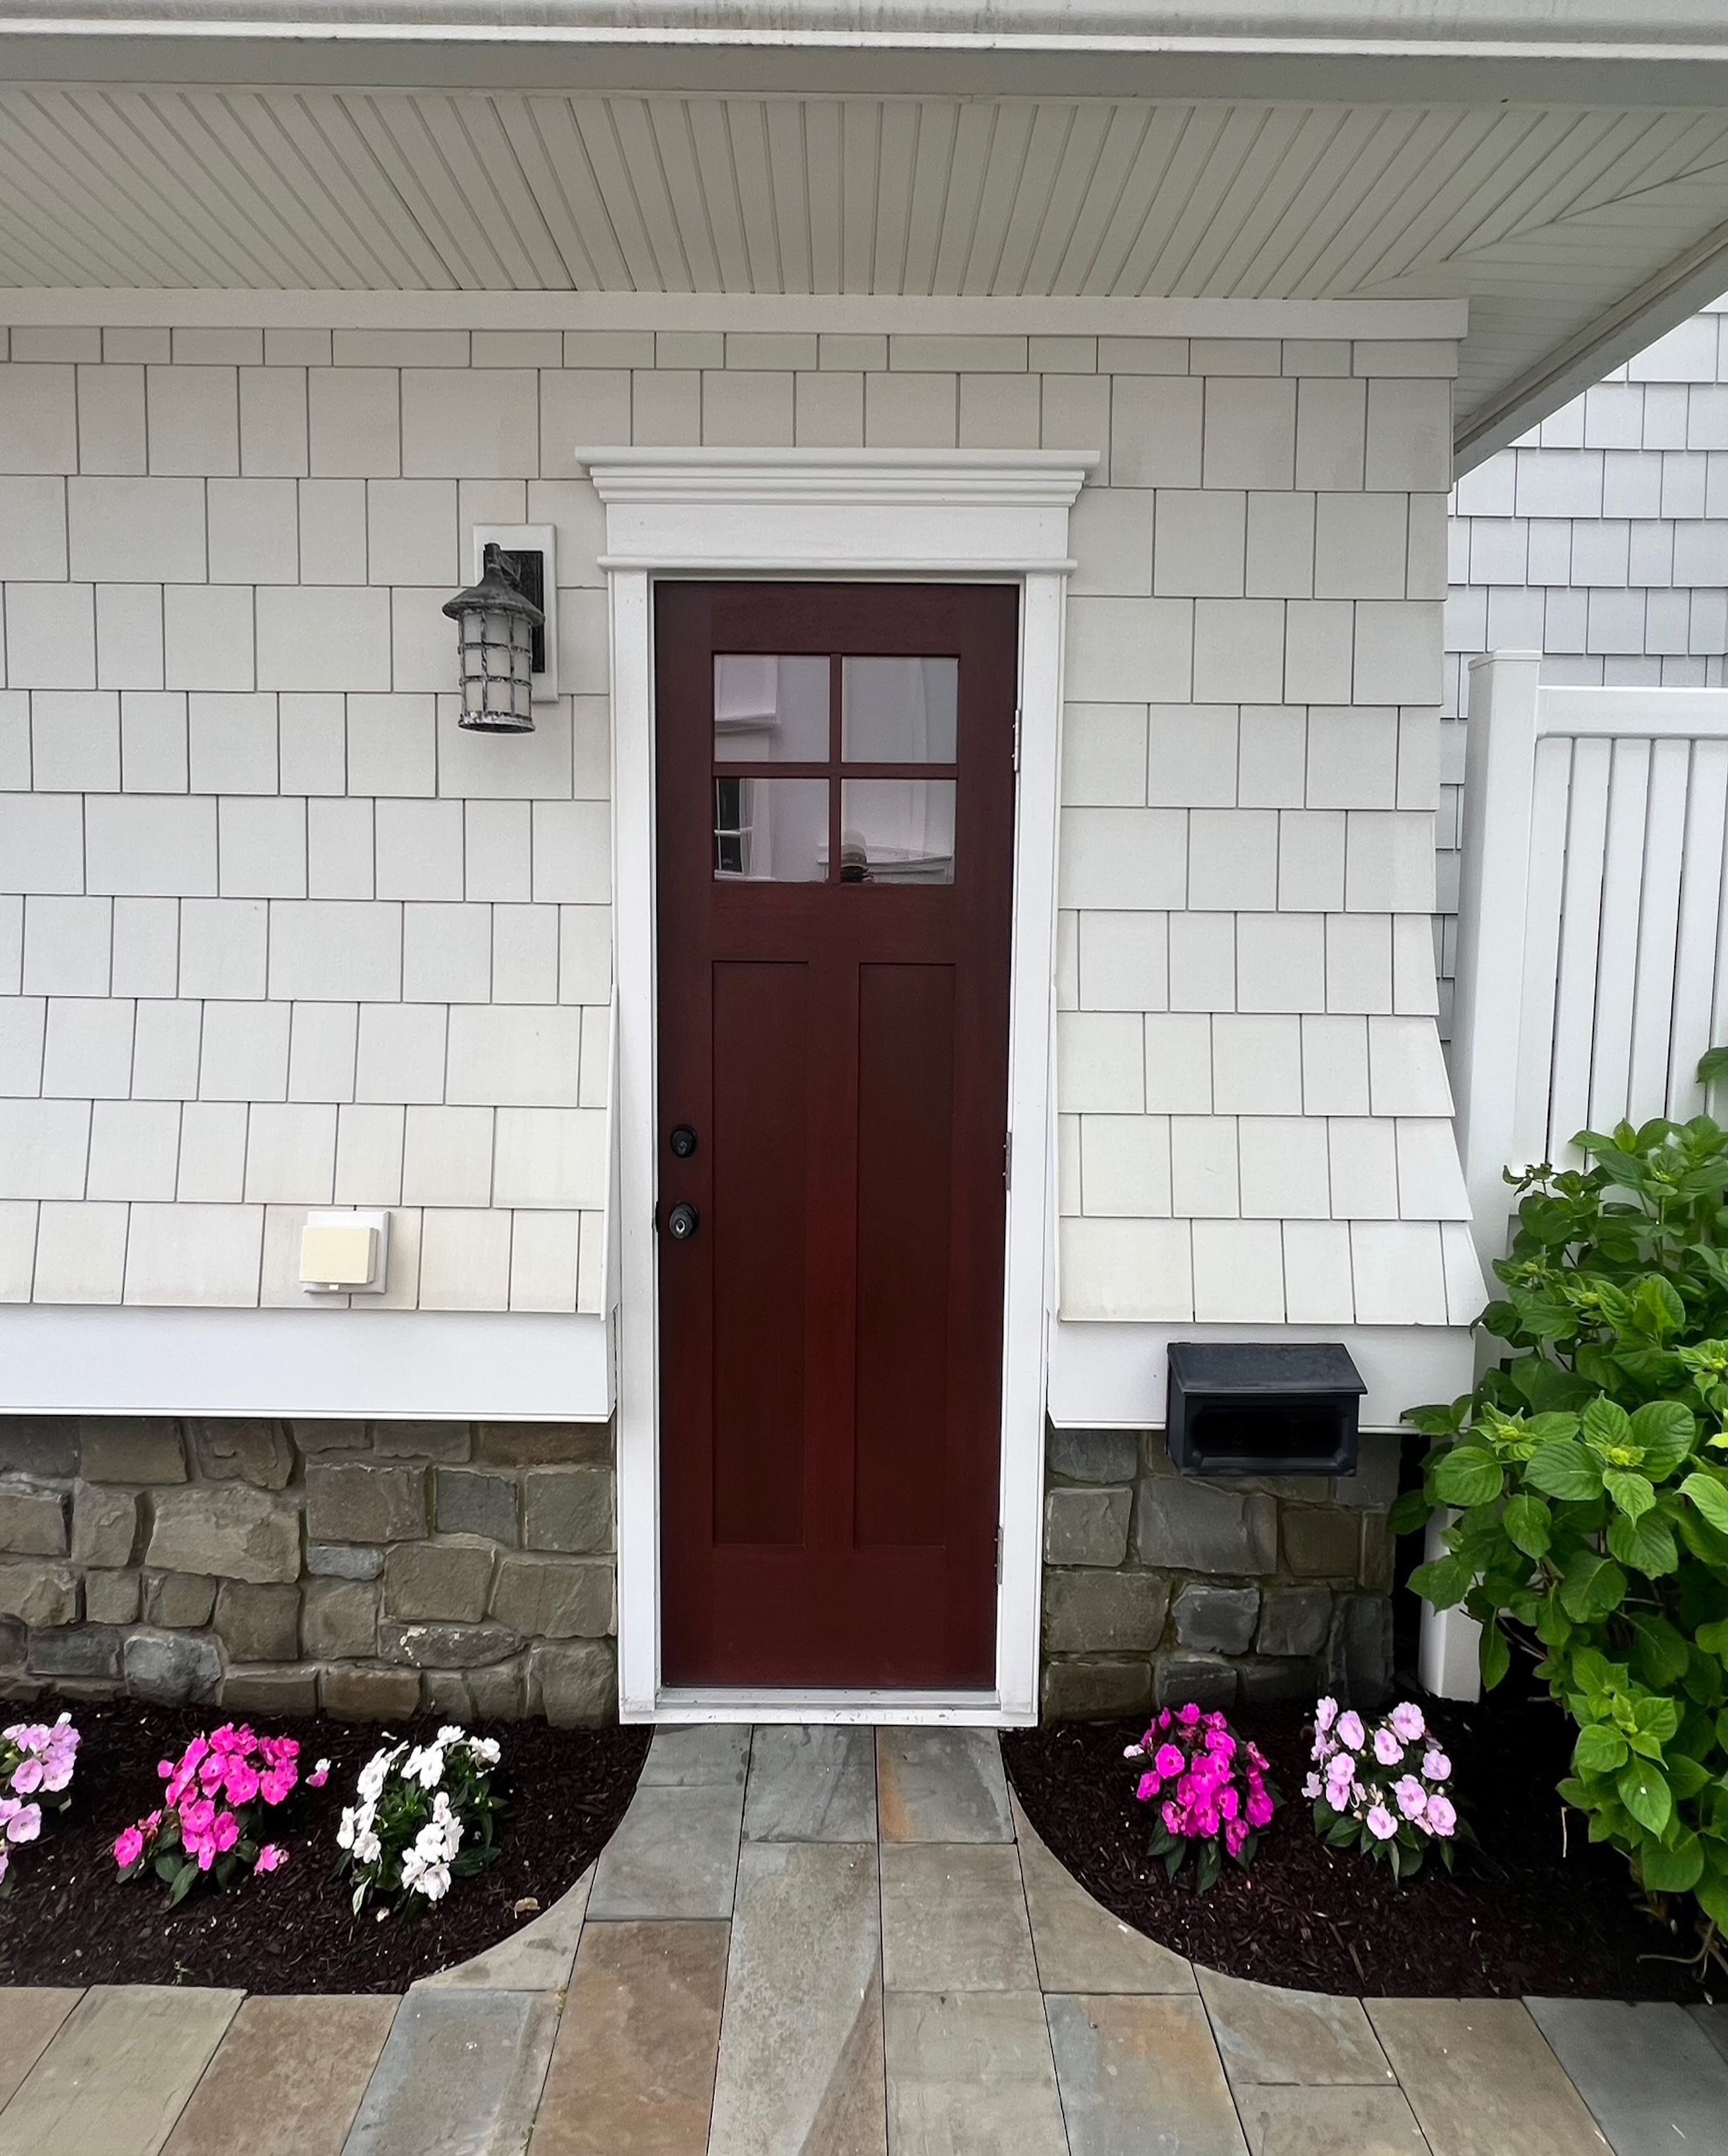
Hinge-Side Sidelights
A sidelight on the hinge side is hard to install. Usually, hinges screw into the wall studs. With a sidelight, the screws can end up only going into a thinner jamb section if the unit is not reinforced correctly.
We address this by using the correct fasteners and by making sure the hinge-side structure is supported and tied back into the framing the right way. This keeps the door from pulling the sidelight out of place and helps the system stay tight long-term. This is a key part of a professional Andersen Doors replacement.
Critical Weatherproofing and Finishing Techniques
A door must have a good seal, but it also needs a good drainage plan. Coastal rain can find tiny gaps. Our job is to block air, manage water, and protect the materials so the system lasts.
Air sealing without bending the frame
After the unit is fastened and operating correctly, we fill the gap between the jamb and framing with low-expansion foam. This stops drafts and helps with energy use. We do not use high-expansion foam because it can bow the frame and create latch problems.
Exterior water control
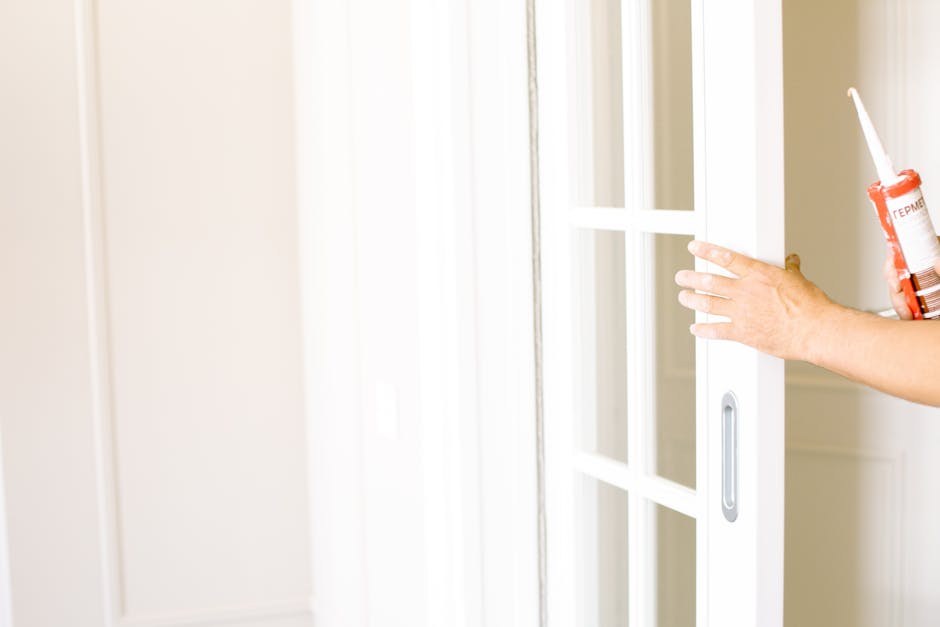
On the outside, we use high-quality exterior caulk at the right joints. We do not caulk places that should drain. Water needs a path out.
We also confirm:
- The drip cap at the top is present and properly lapped
- Flashing tape ties into the surrounding water-resistive barrier
- Trim joints are sealed where they should be sealed
These steps reduce the risk of hidden wall damage, which is one of the most expensive problems we see in coastal renovations.
Interior finish and long-term protection
On the inside, we install the trim clean and tight so it does not telegraph gaps later. Then we finish the door properly. We paint or stain all six sides of the door when required. This includes the top and bottom edges. This helps stop moisture from getting into the door skin and causing warping.
A well-finished unit is not just about looks. It is part of the performance system.
Frequently Asked Questions about Sidelight Door Installation
Is this a DIY project?
A full sidelight door installation is hard. These units weigh over 200 pounds. You need at least two people. If the frame is not square, the door will leak air and water. This can cost a lot to fix later. Most brands have rules for installation. You must follow them to keep the warranty. Hiring a pro is the best way to get a door that lasts.
How much does it cost?
A new door and sidelight unit can cost $2,500 to $10,000. The price depends on the material and the glass. A new front door makes your home worth more. It also saves energy.
Are sidelights safe?
Modern sidelights are very safe. We use tempered glass. We can also use laminated glass. It is like a car windshield. It stays together even if it breaks. When you use Andersen Doors, you get great locks and strong glass.
Conclusion
A new sidelight door makes your home look great. In coastal New Jersey, the installation must be perfect. It decides if the door lasts two years or twenty. Mike Werner and the team at Matera Builders have decades of experience. We build systems that keep the weather out. Whether you need an Andersen Doors replacement or an exterior renovation, we can help. Contact us today to look at your windows and doors. We focus on long-term value for your home.