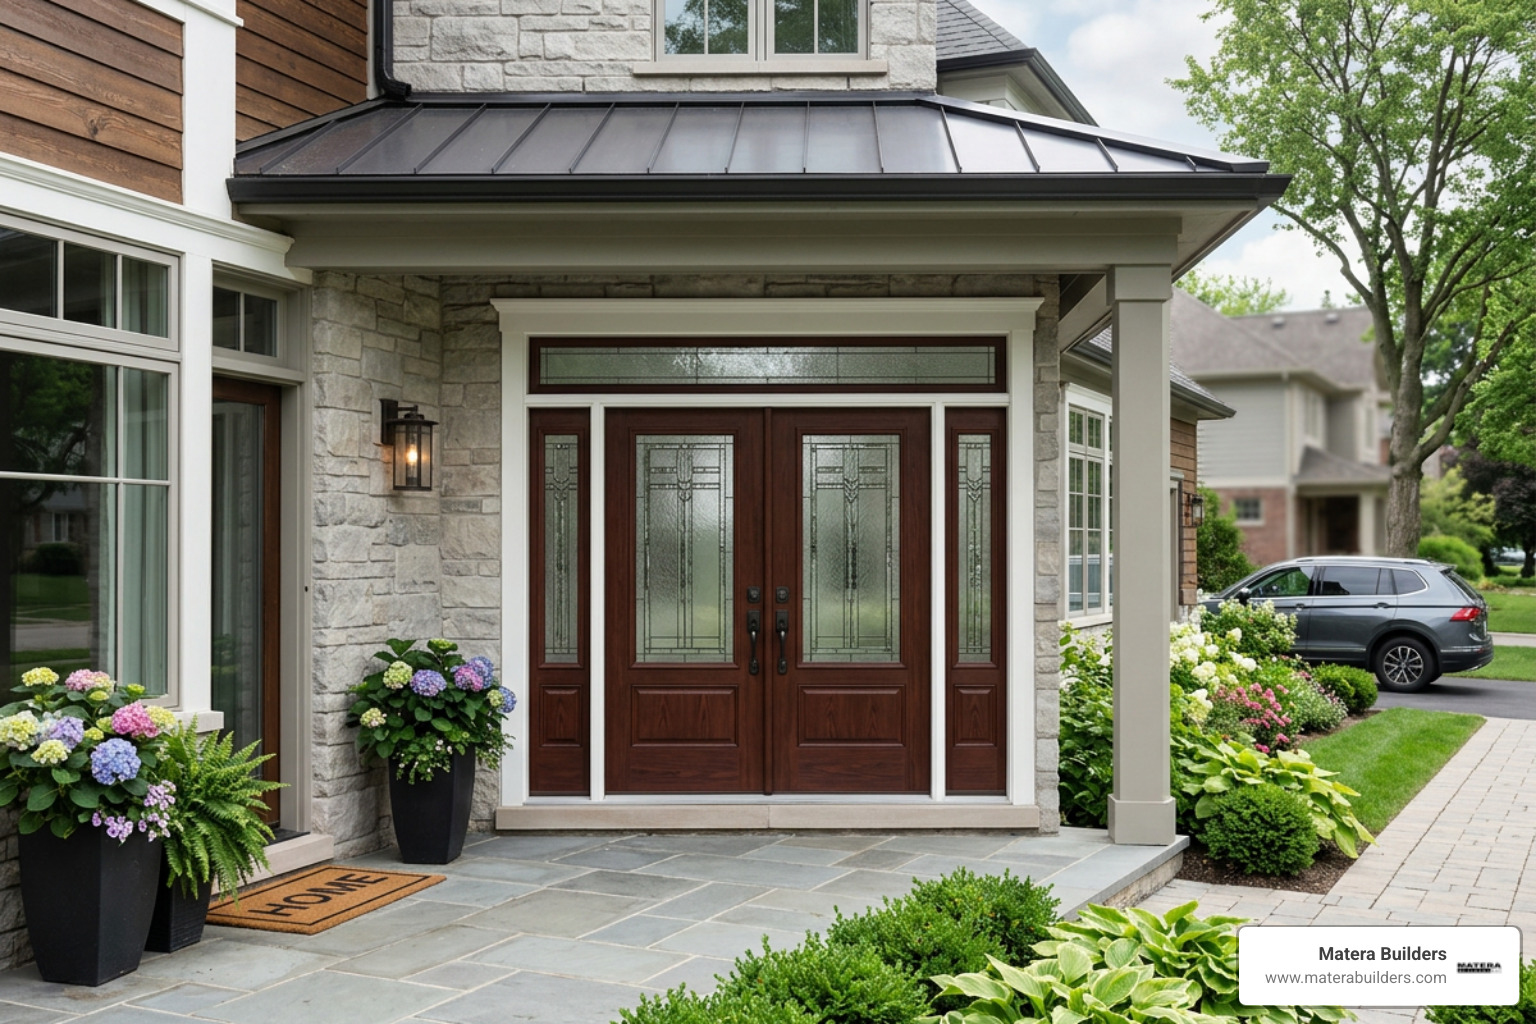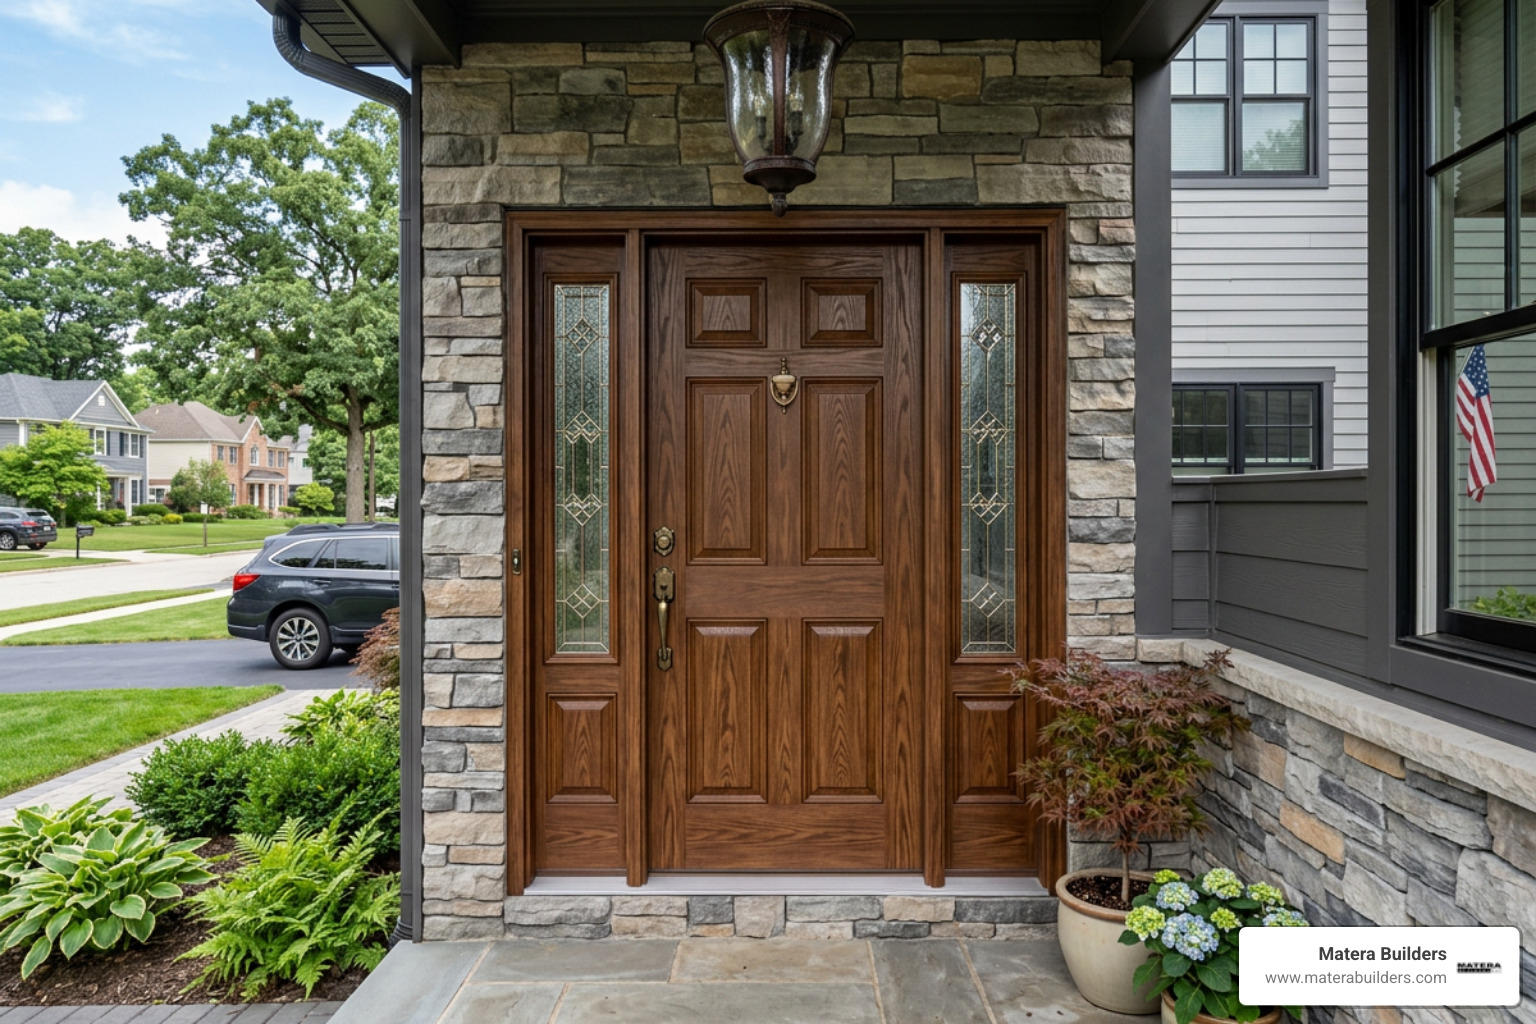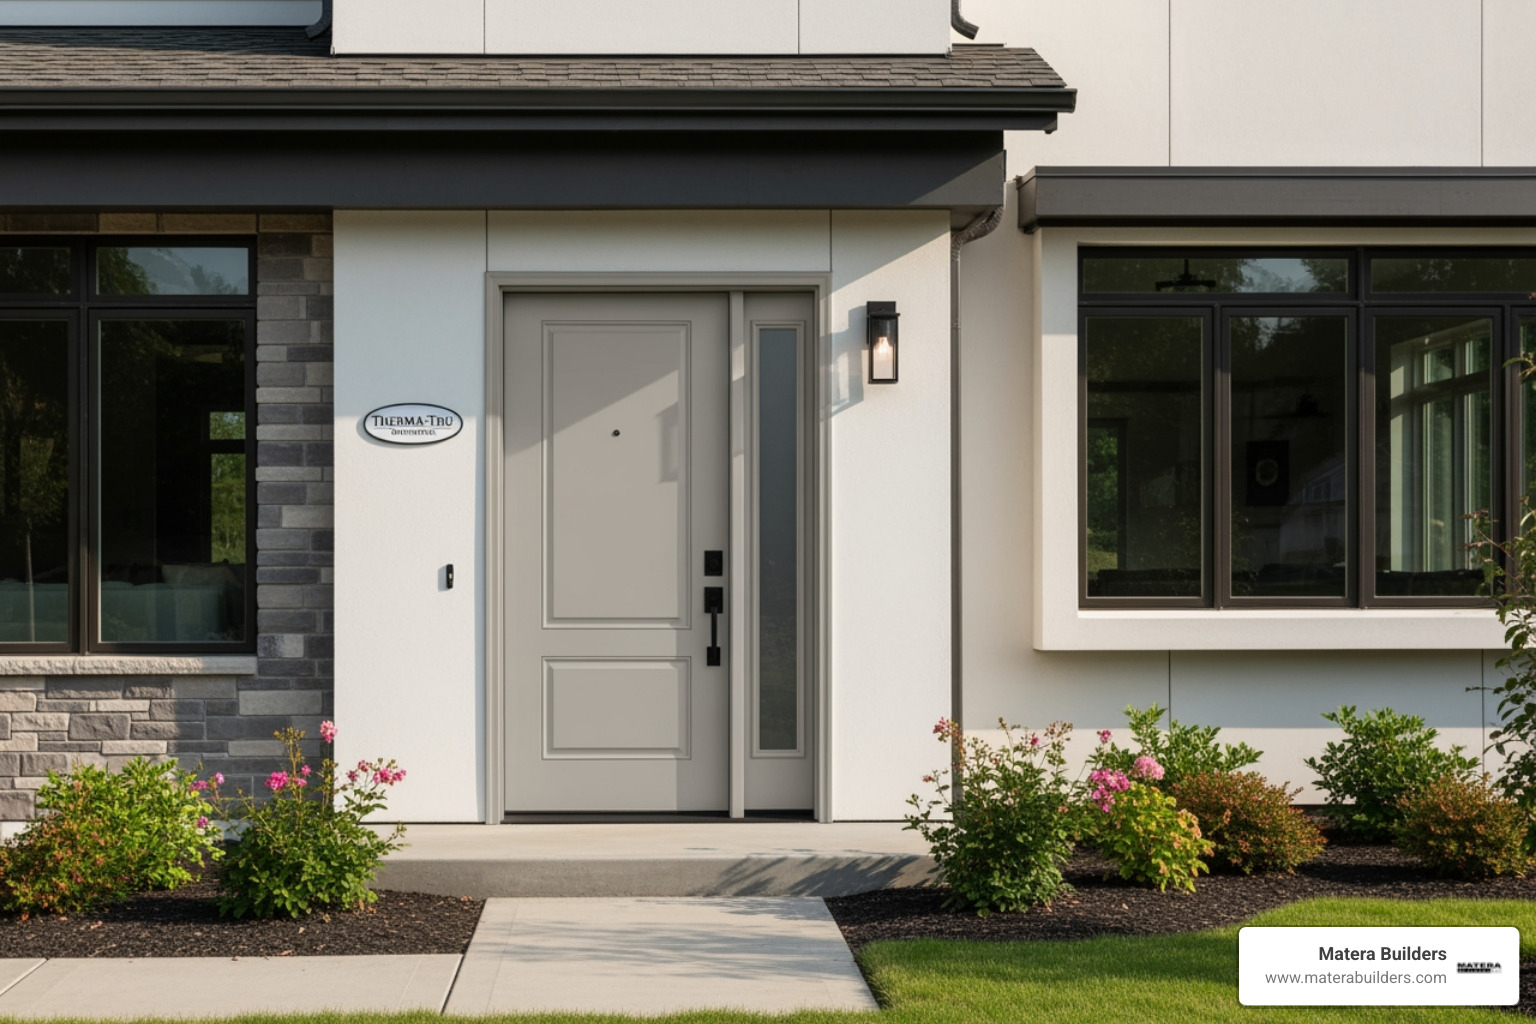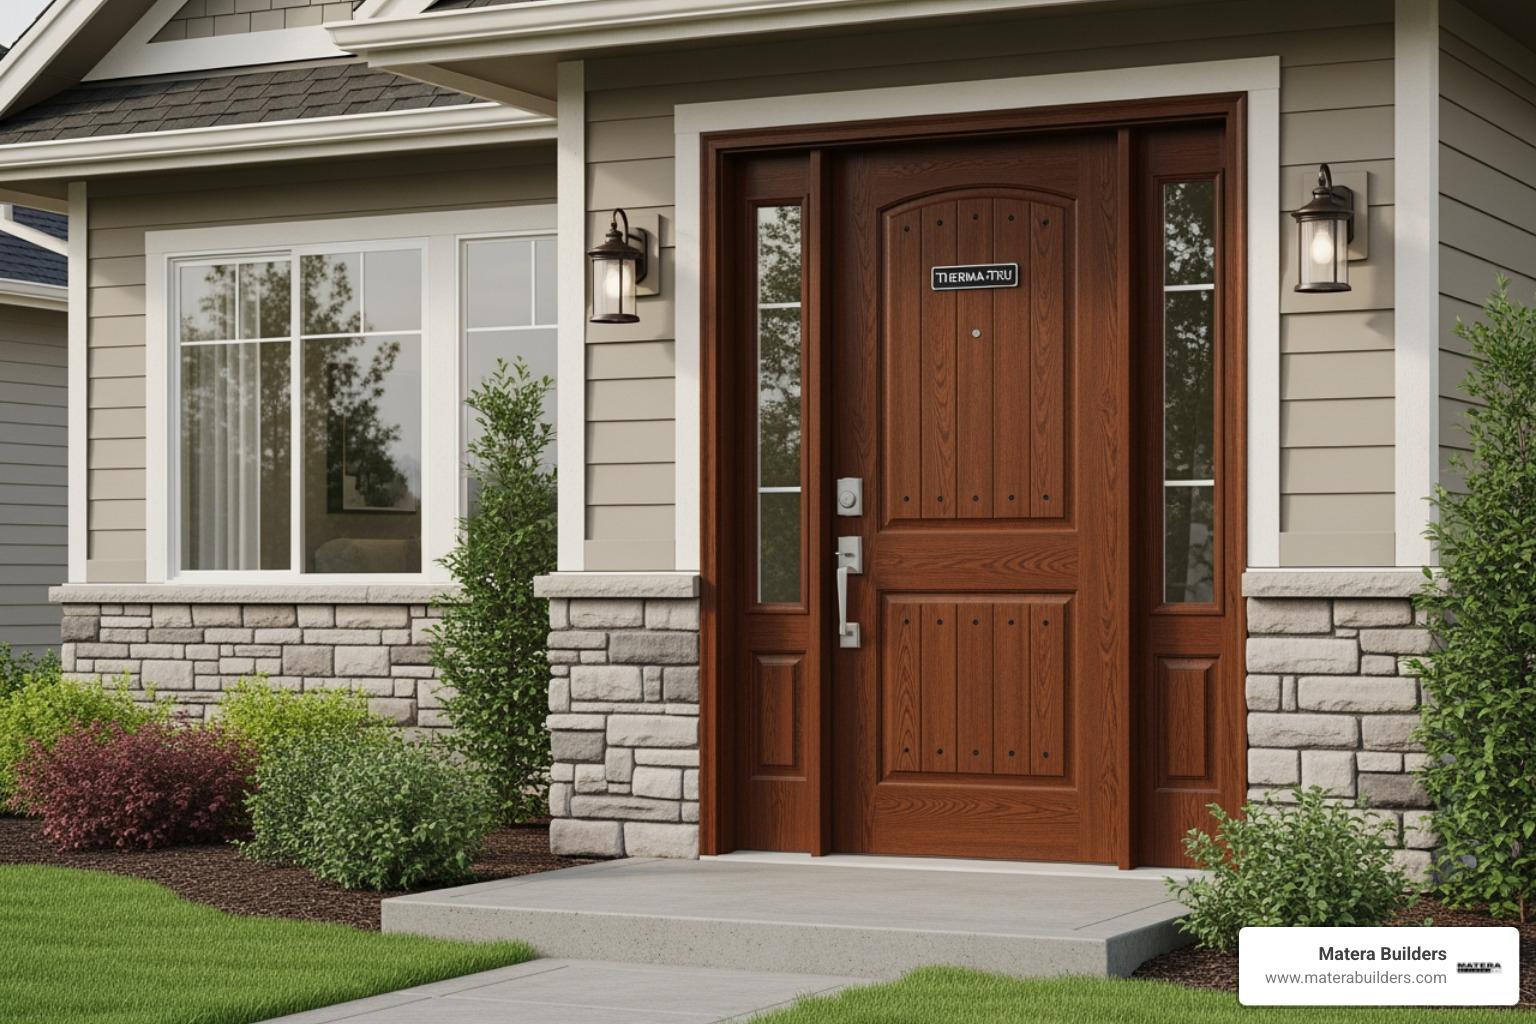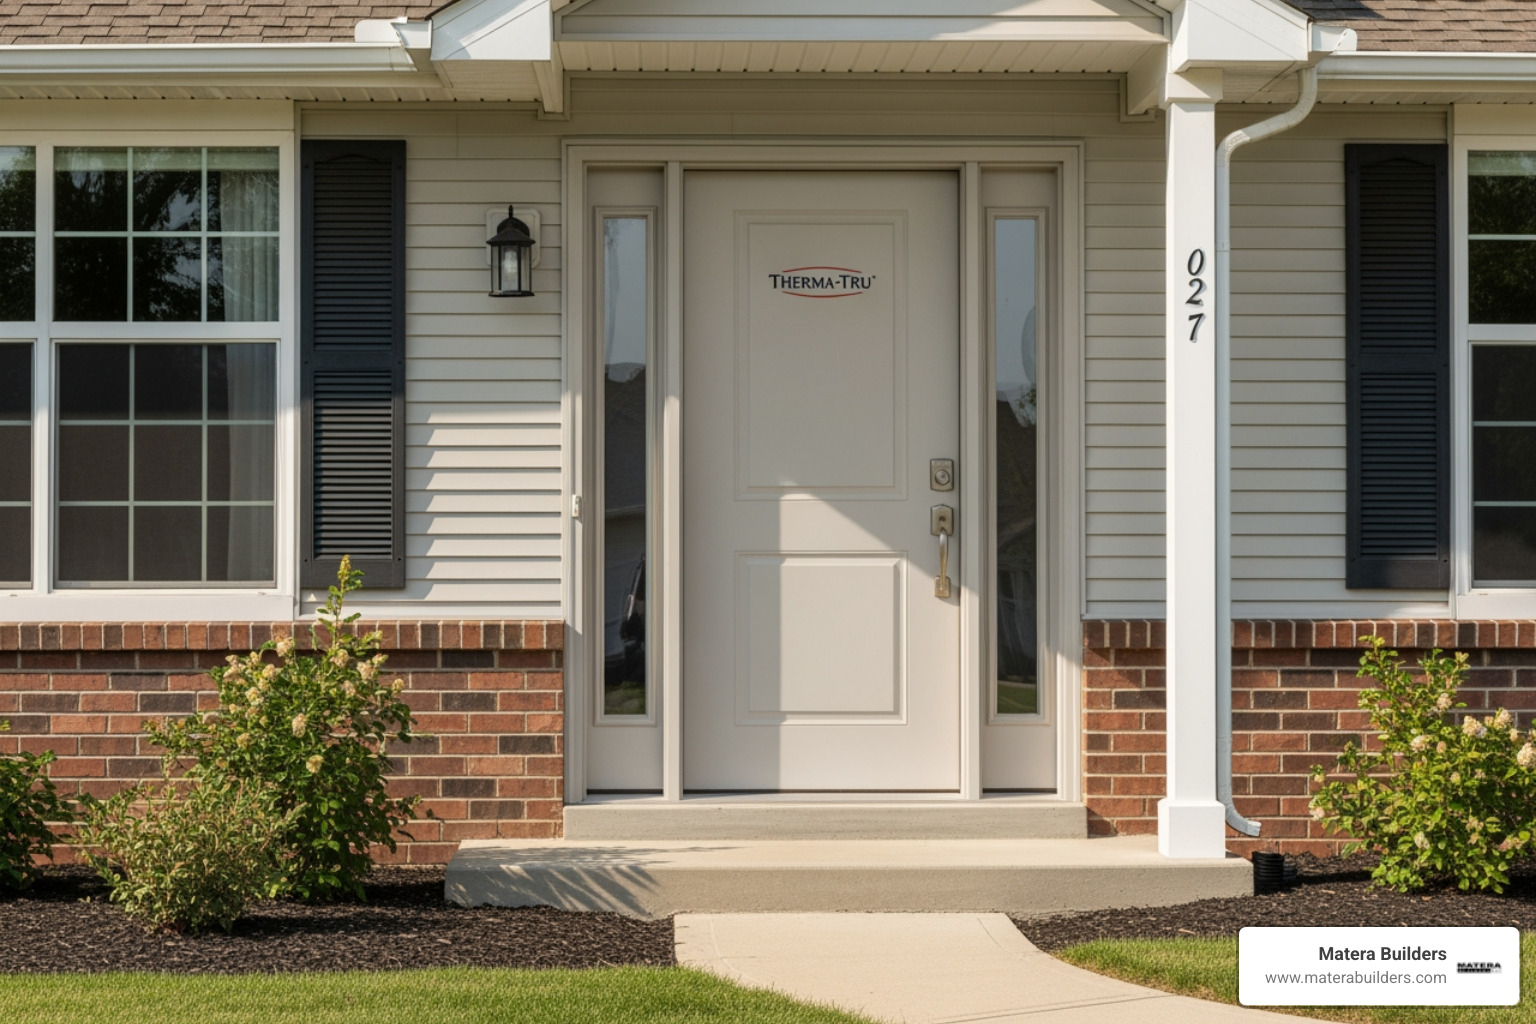

Why Getting a Therma-Tru Door Installation Right Matters From the Start
To install Therma-Tru doors correctly, follow these core steps:
- Measure the rough opening - frame height plus 1/2 inch, frame width plus 1/2 to 3/4 inch
- Check plumb, level, and square - use a 2-foot and 6-foot level plus a framing square
- Prepare the subfloor - confirm it is solid, level, and ready for sealant
- Set the unit - apply elastomeric or polyurethane sealant, then place the pre-hung unit
- Shim and secure the jambs - keep weatherstrip margins even at 3/8 to 1/2 inch
- Weatherproof the perimeter - flash, caulk, and insulate around the full frame
- Finish the door - paint steel doors within days; fiberglass within 6 months to protect warranty
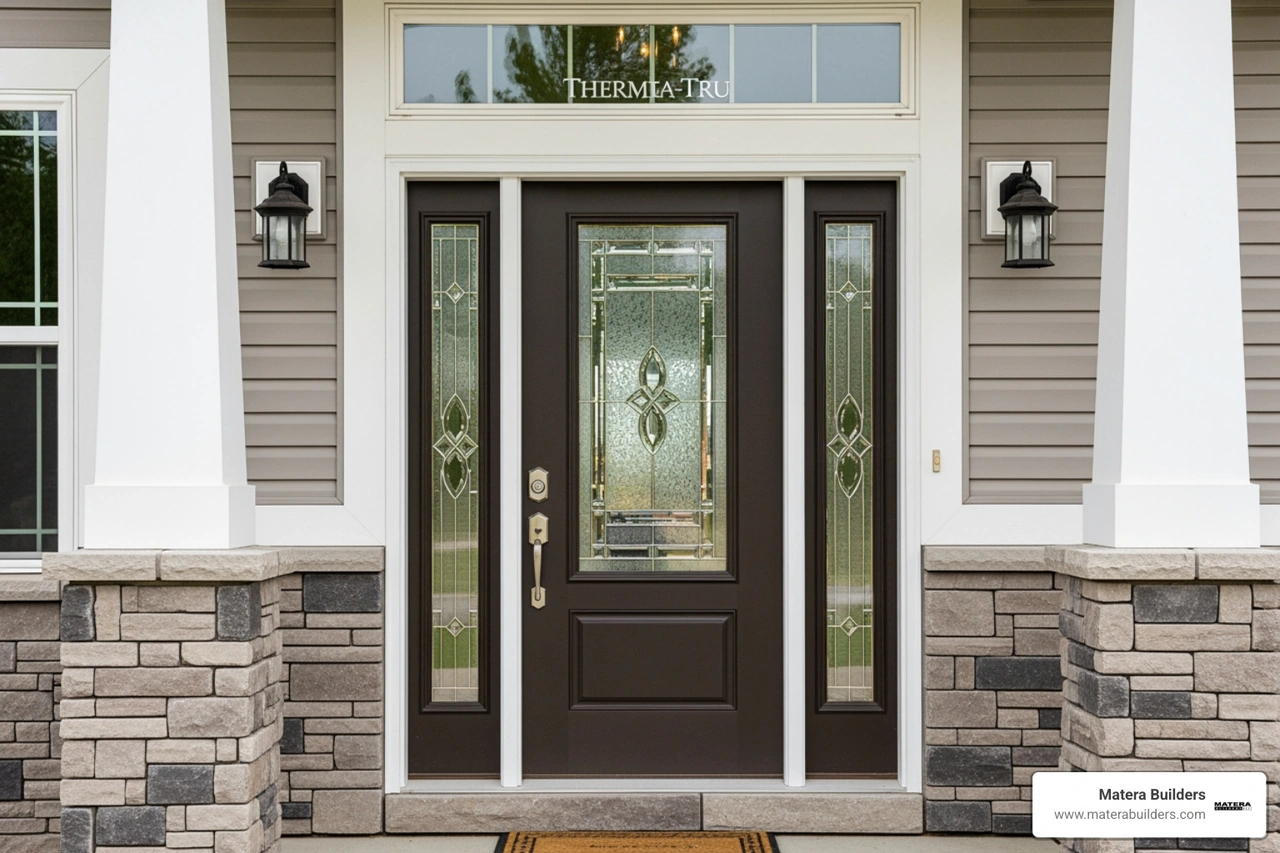
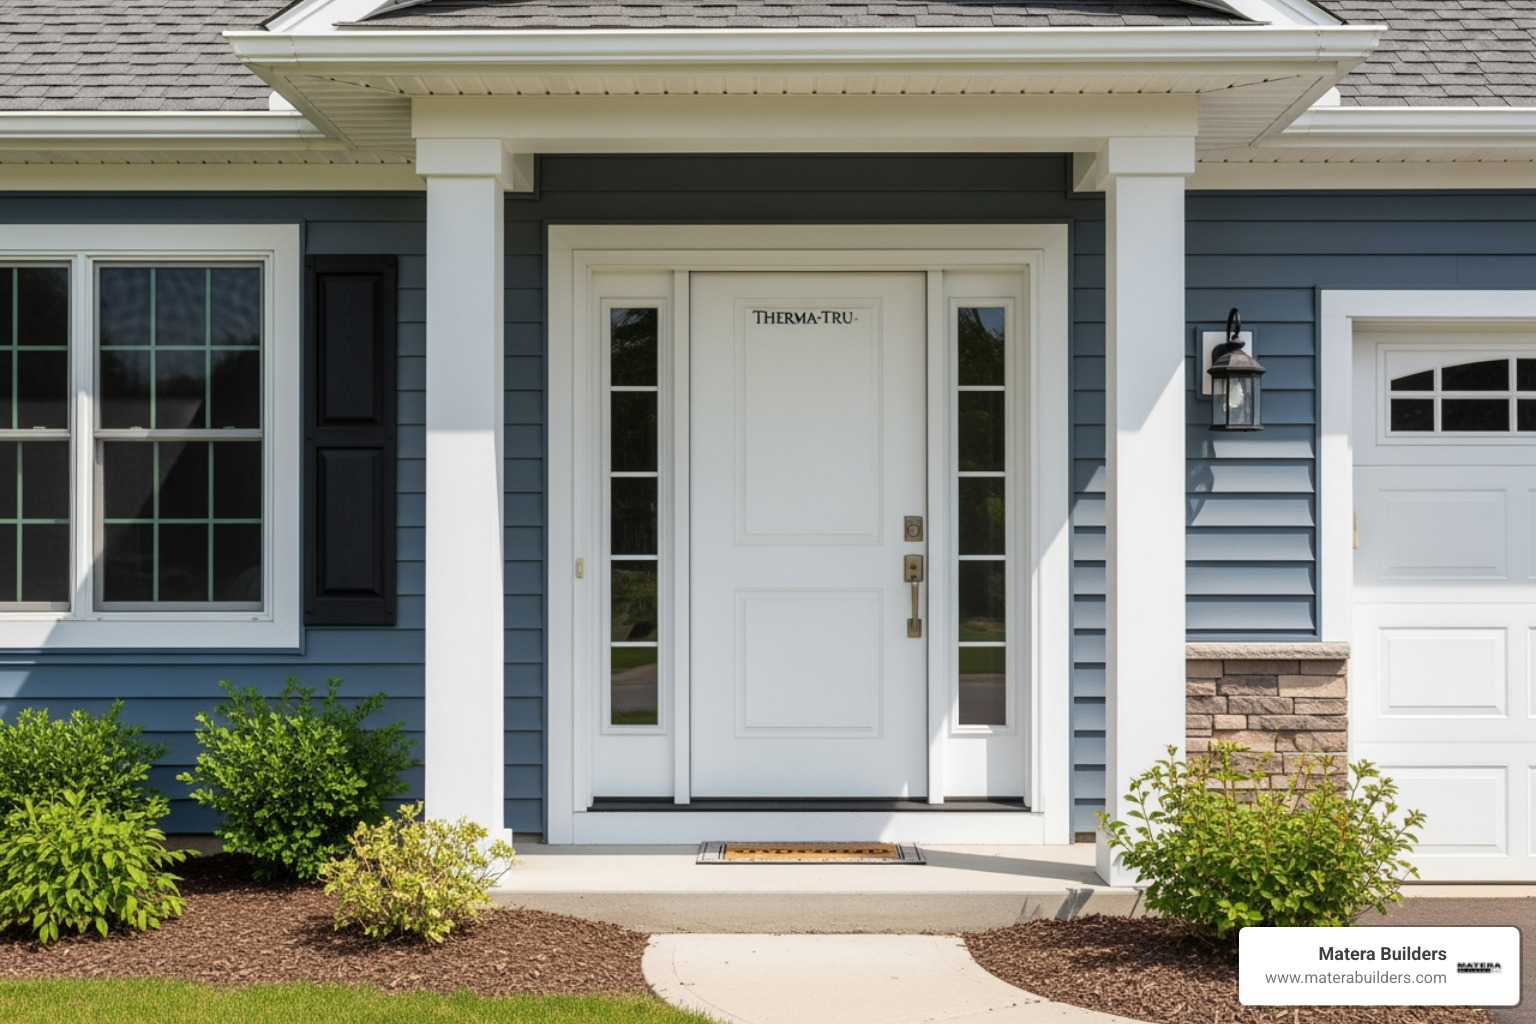
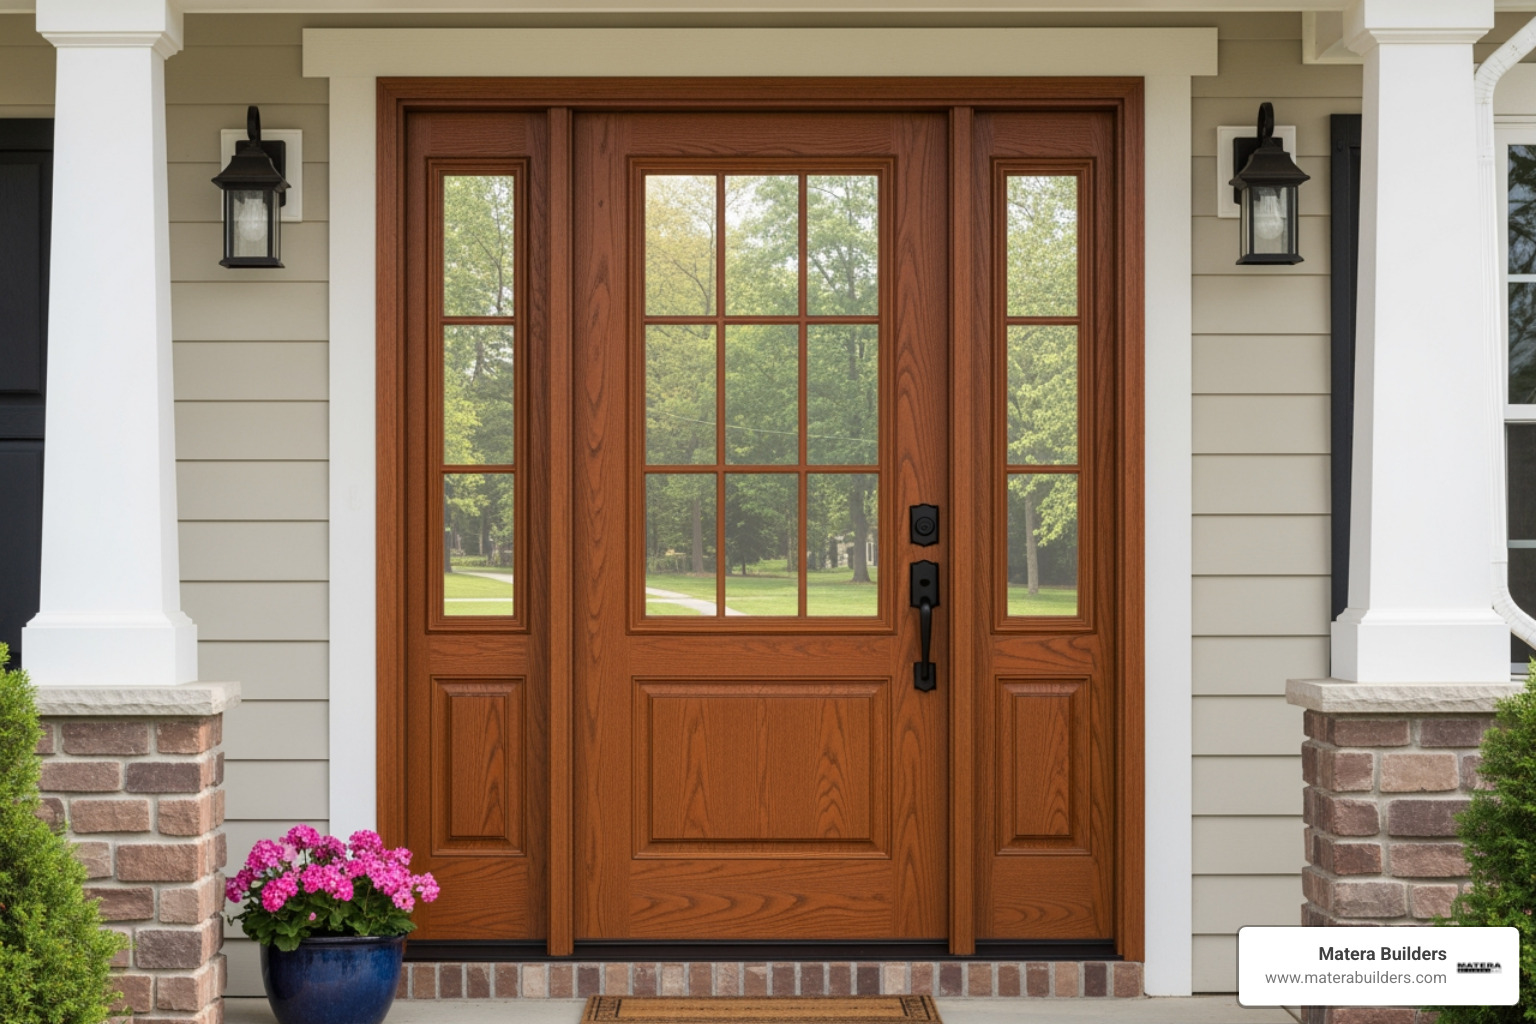
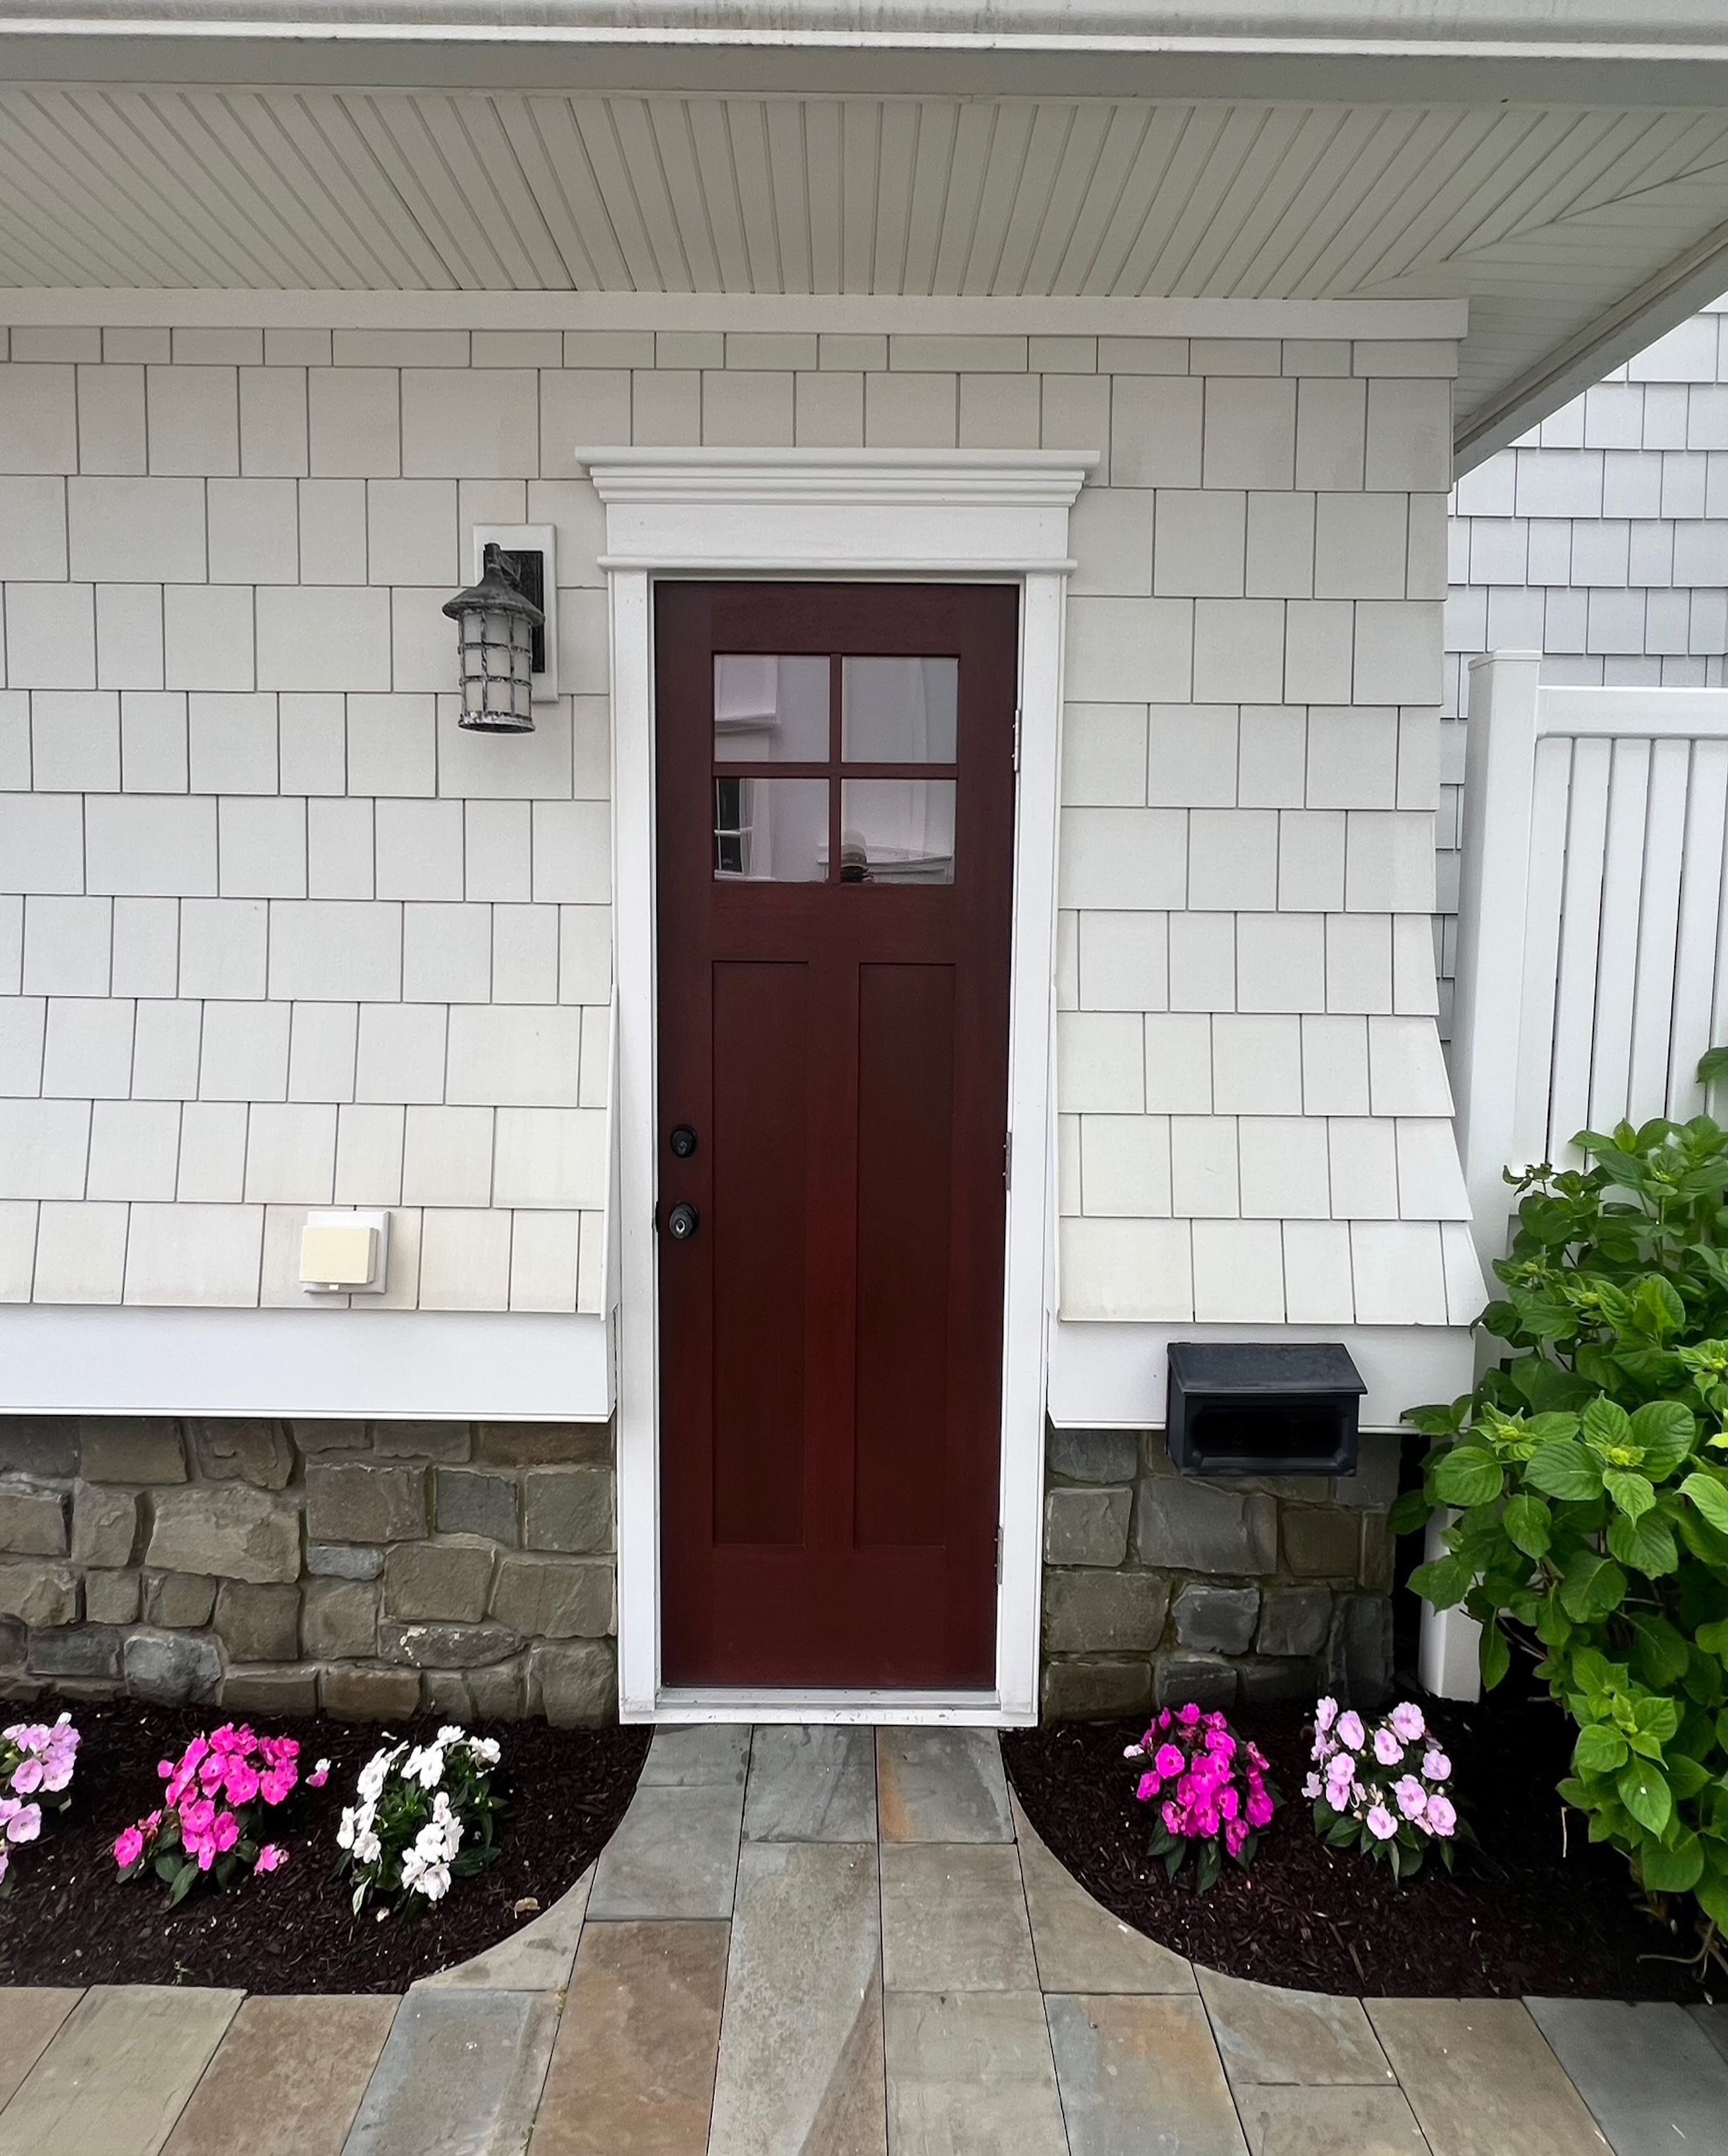
A new Therma-Tru entry door can transform the front of your home. But the installation process is more involved than most homeowners expect.
Drafty frames, water intrusion around the sill, and doors that won't swing properly are all signs of an installation that missed a critical step. Even a high-quality door will underperform if the opening isn't prepared correctly.
Therma-Tru doors are engineered as complete systems. Every component, from the hinges to the sill, is designed to work together. That means the installation process has to be equally precise.
This guide walks you through every stage, from prepping the rough opening to final weatherproofing, so your door performs the way it was built to.
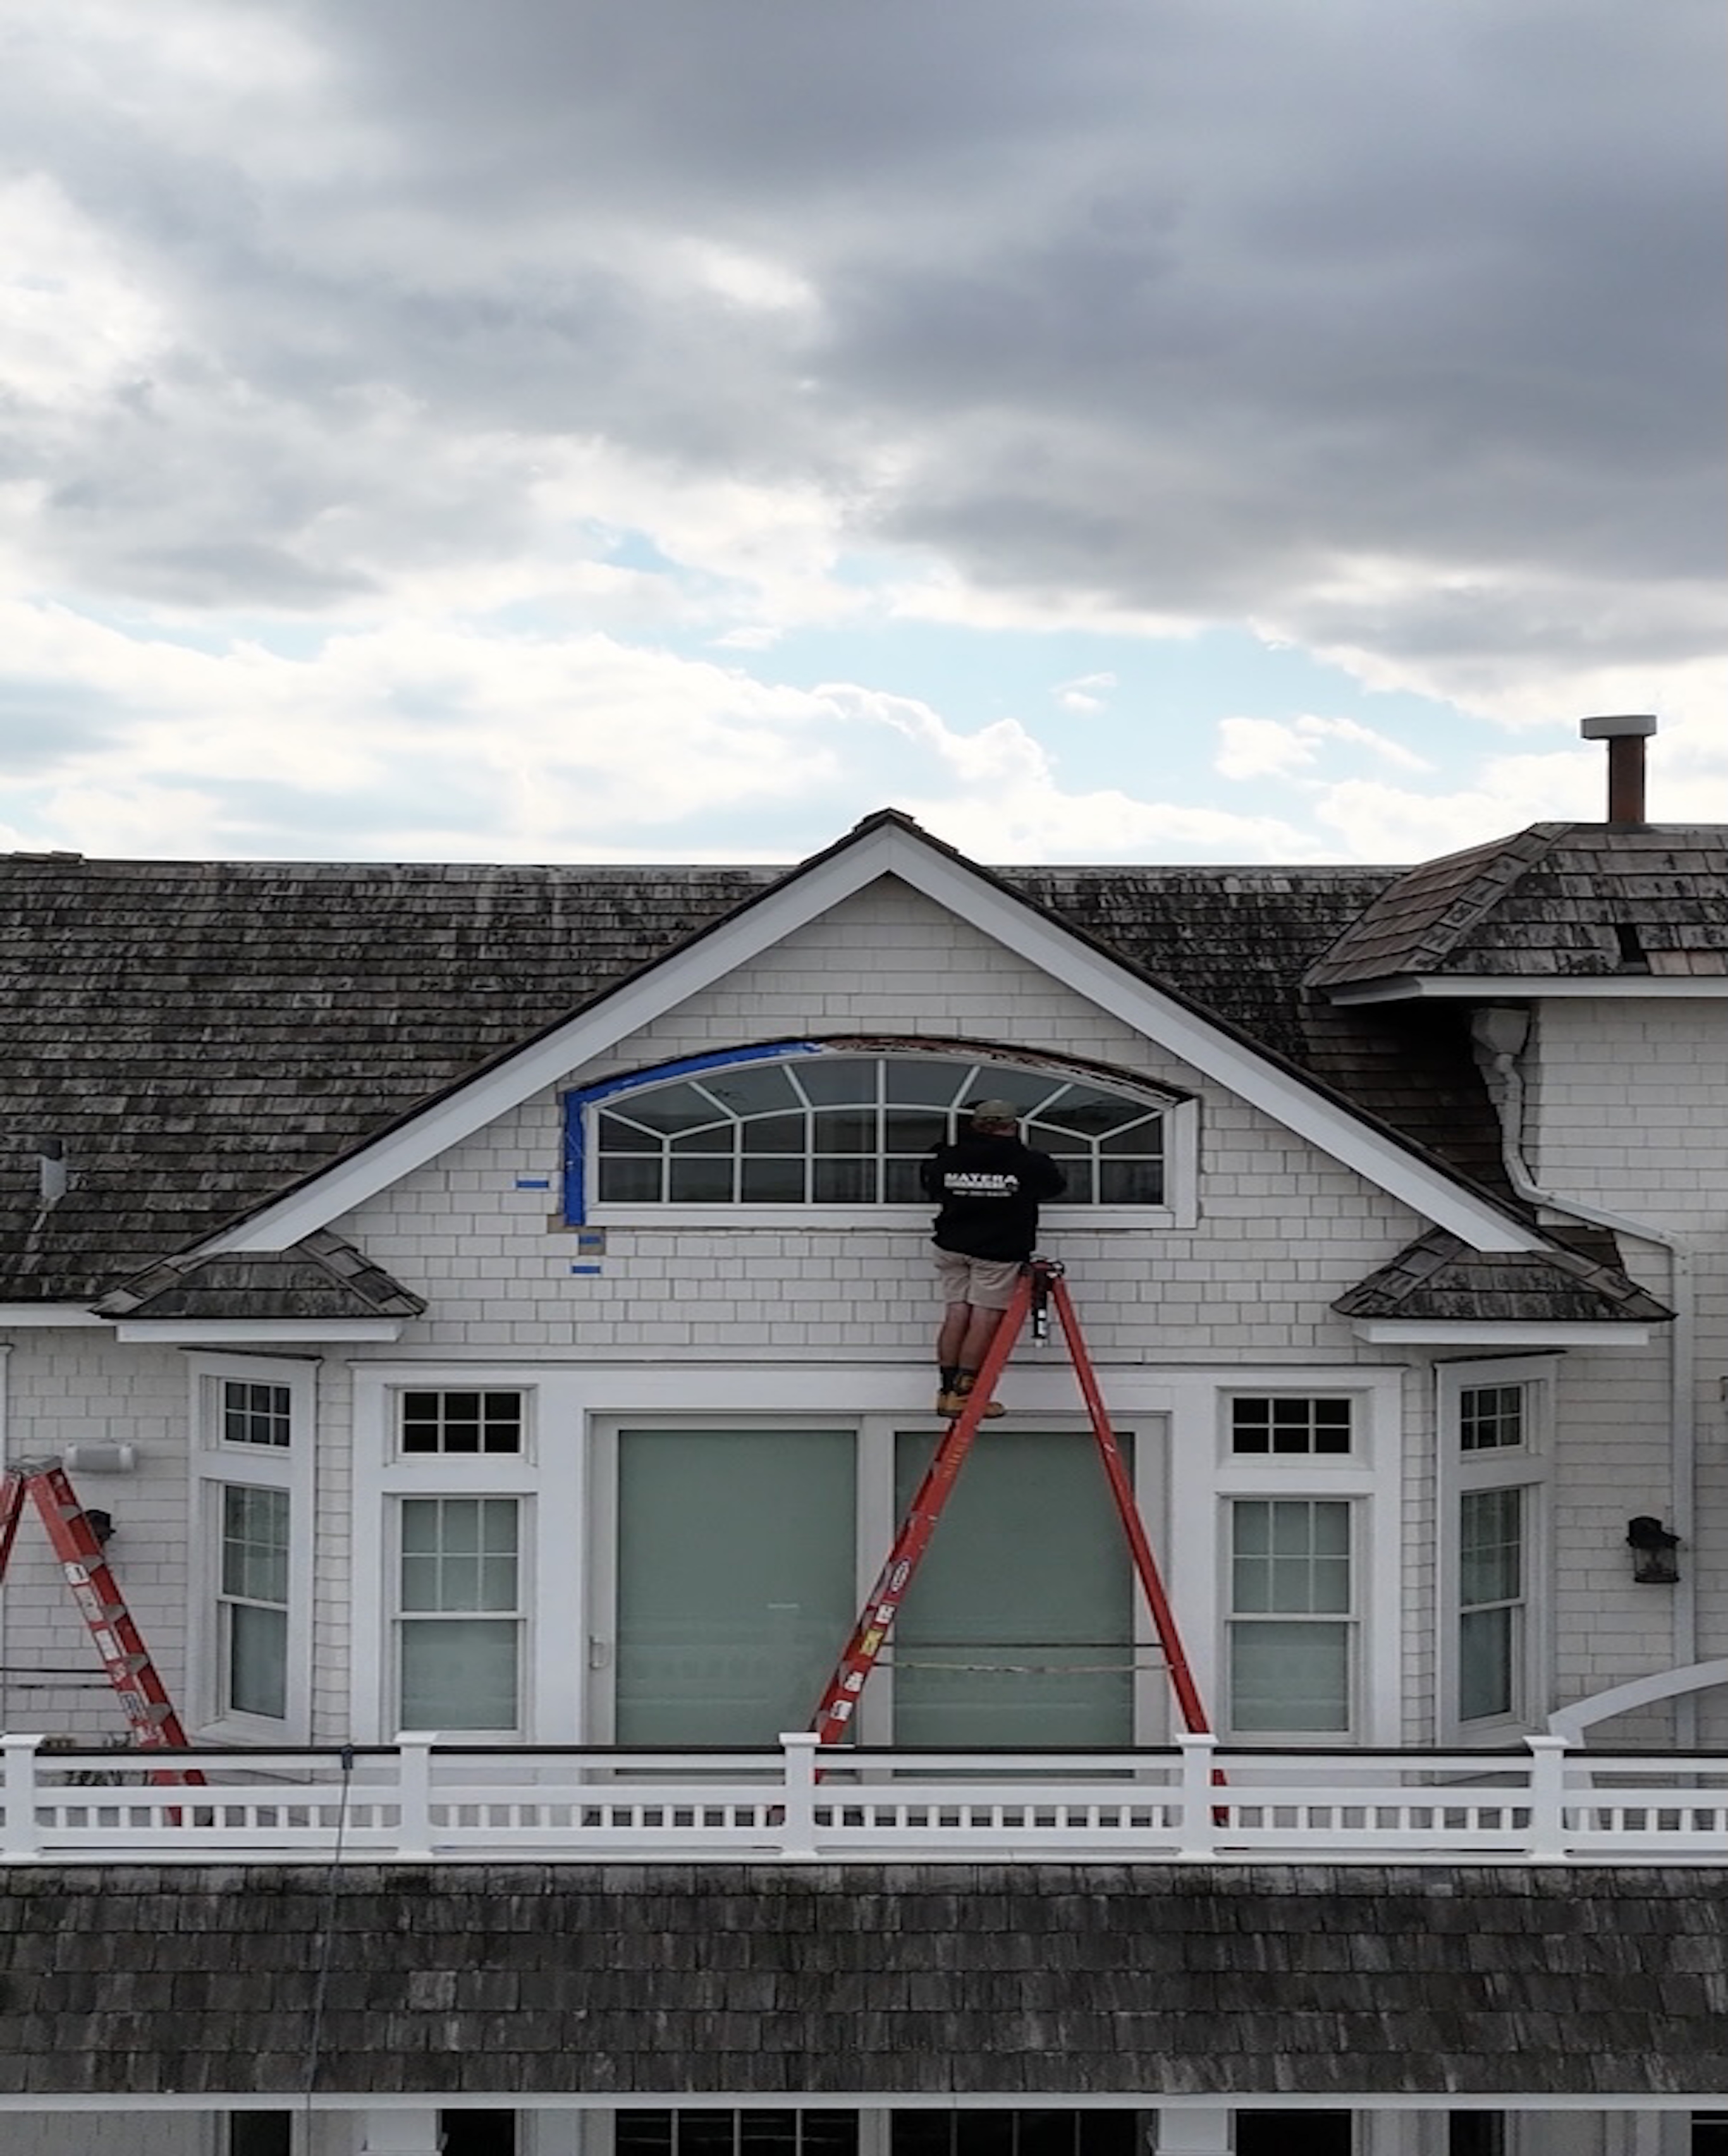
I'm Mike Werner, Owner and CEO of Matera Builders LLC, a residential construction company specializing in premium exterior renovations including high-performance door replacements for New Jersey homeowners. My experience working in coastal markets, where moisture control and long-term durability are non-negotiable, directly shapes how we approach every project, including how we install Therma-Tru doors to meet both manufacturer specs and real-world performance demands.

Basic install therma tru doors vocab:
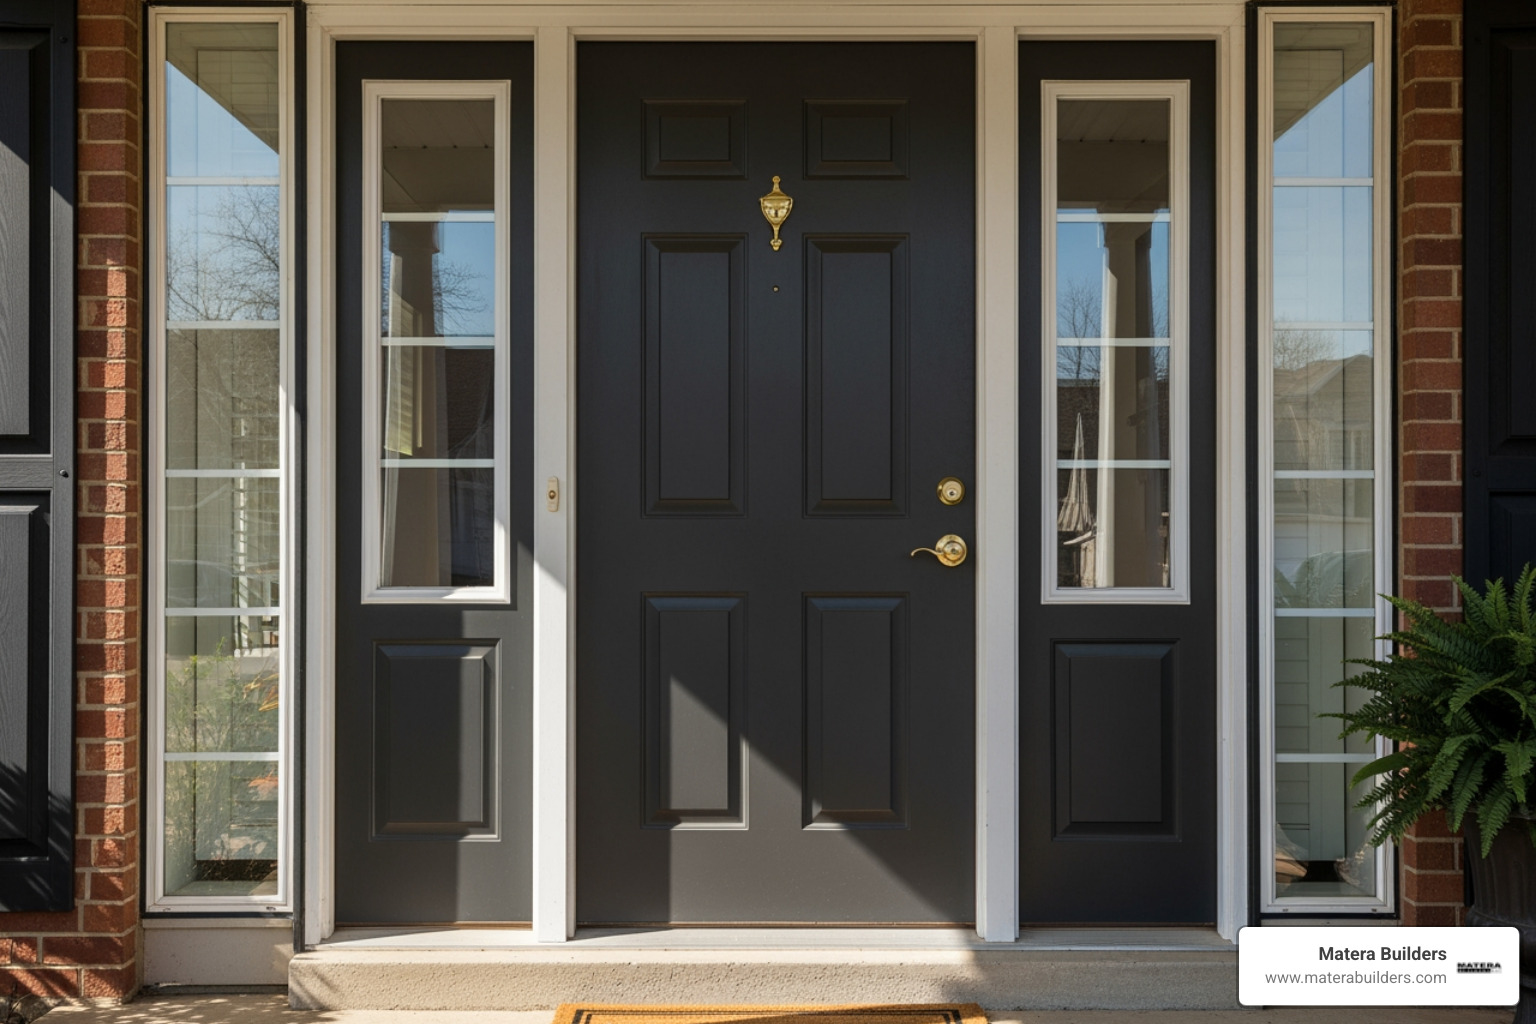
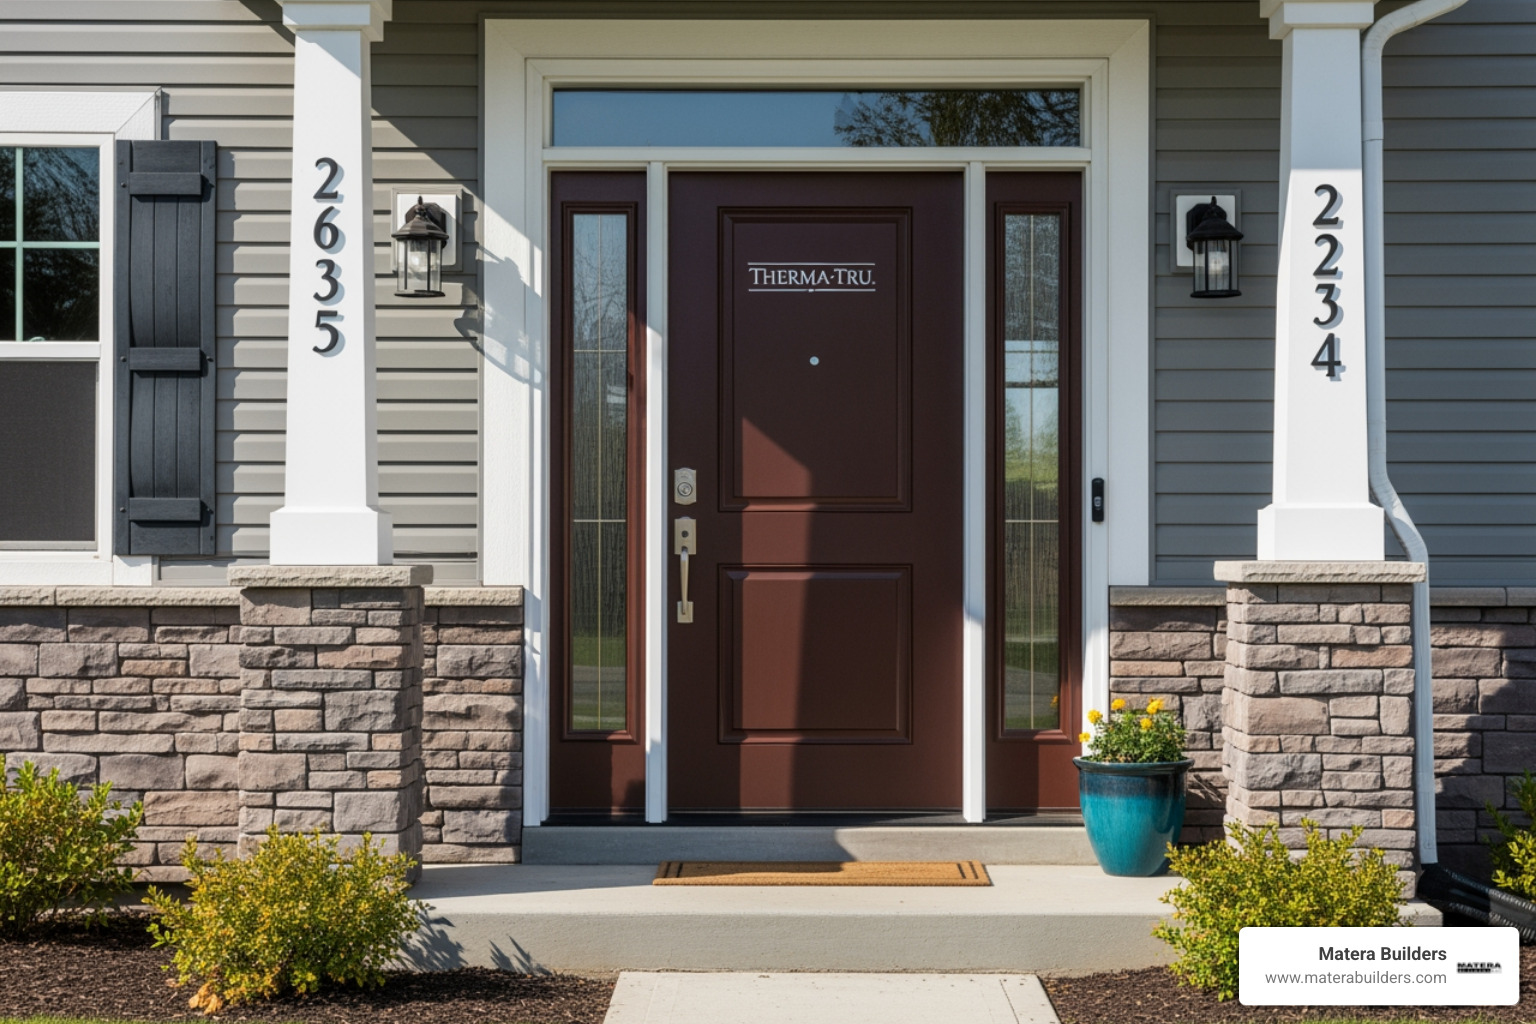
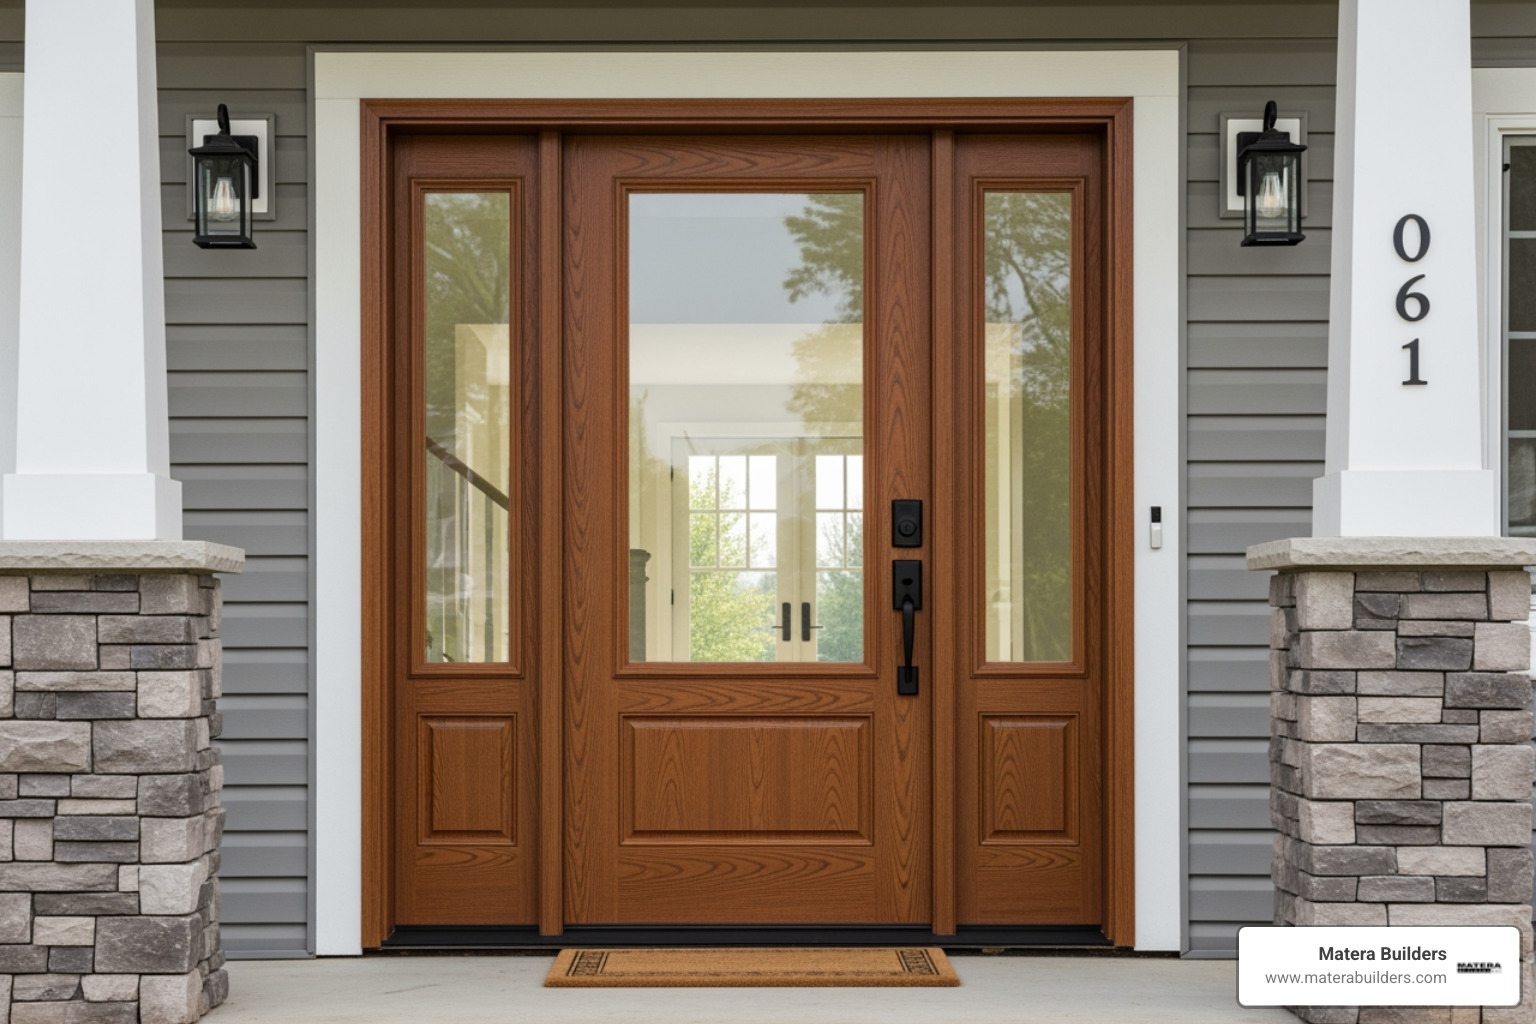
- Therma Tru Benchmark Entry Doors
- Therma Tru Craftsman Door with Sidelights
- Therma Tru Fiberglass Entry Doors
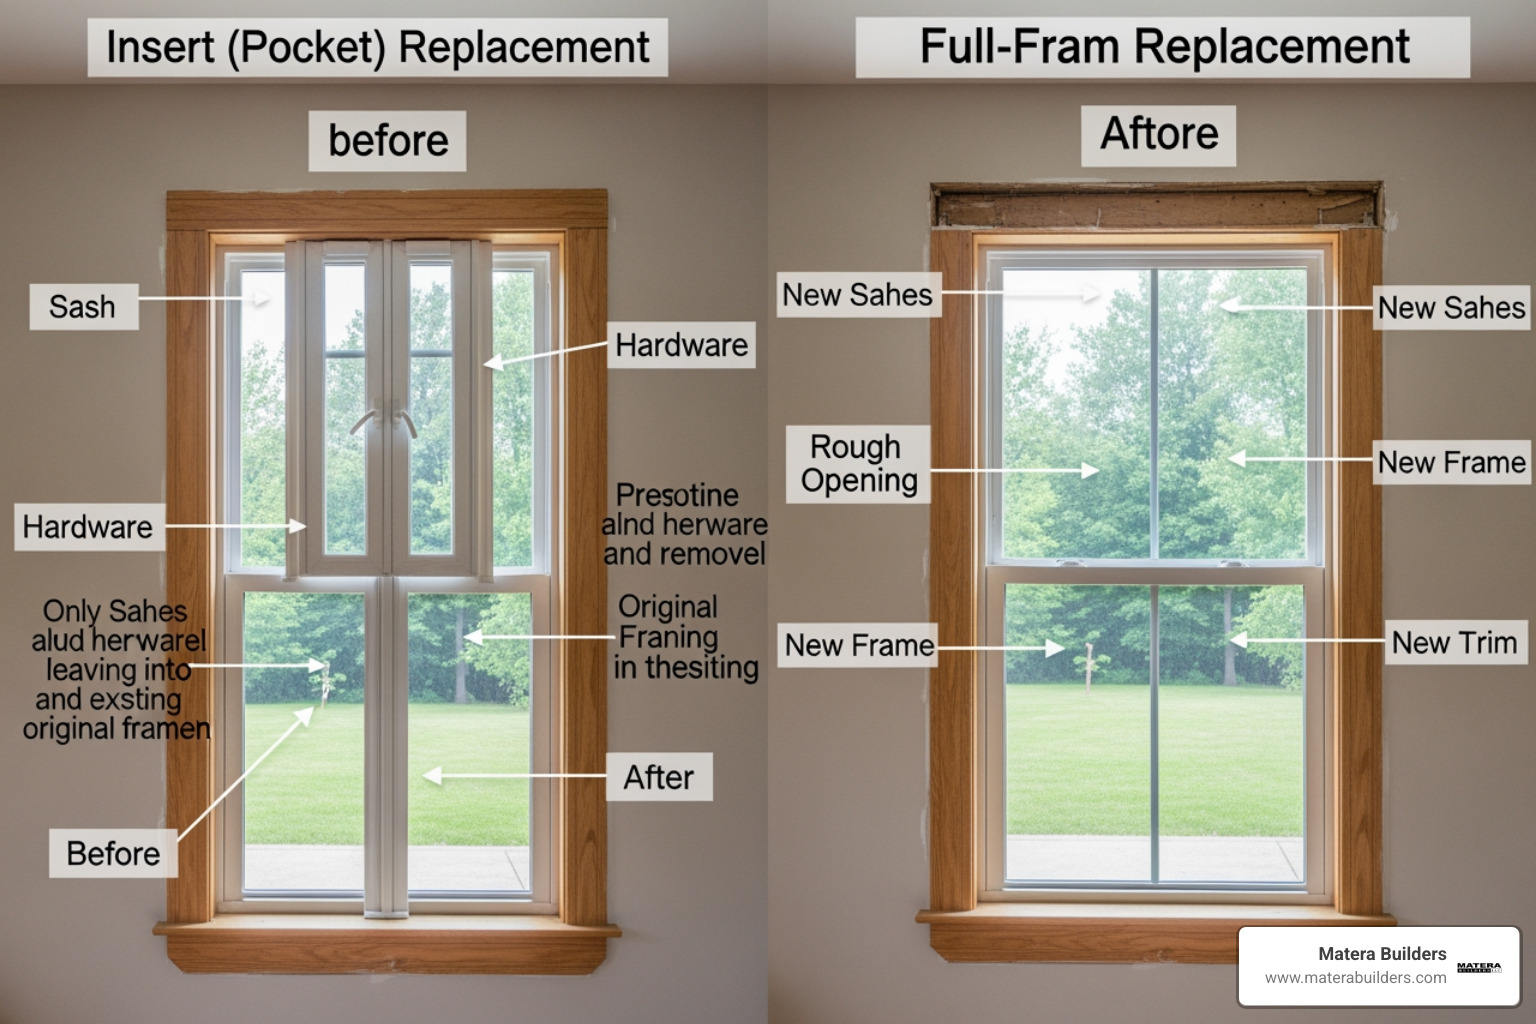
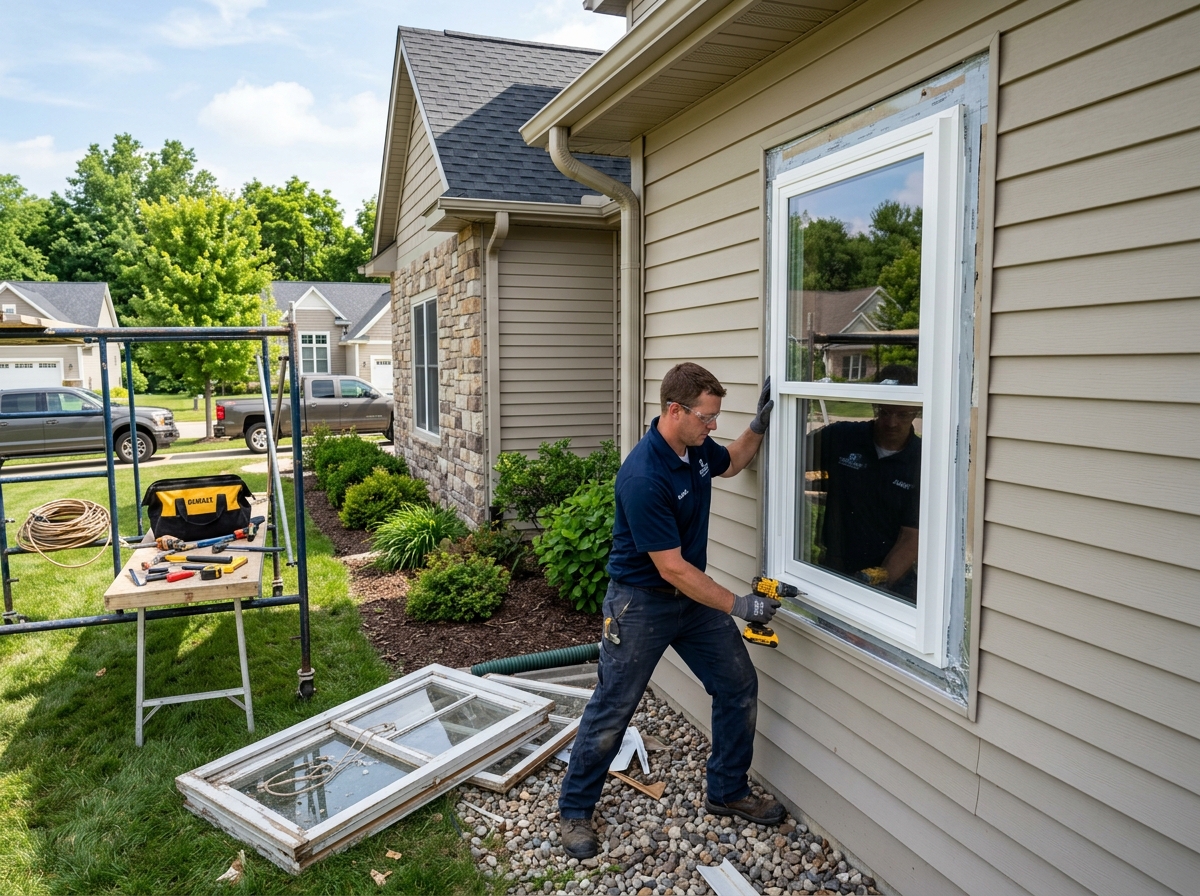
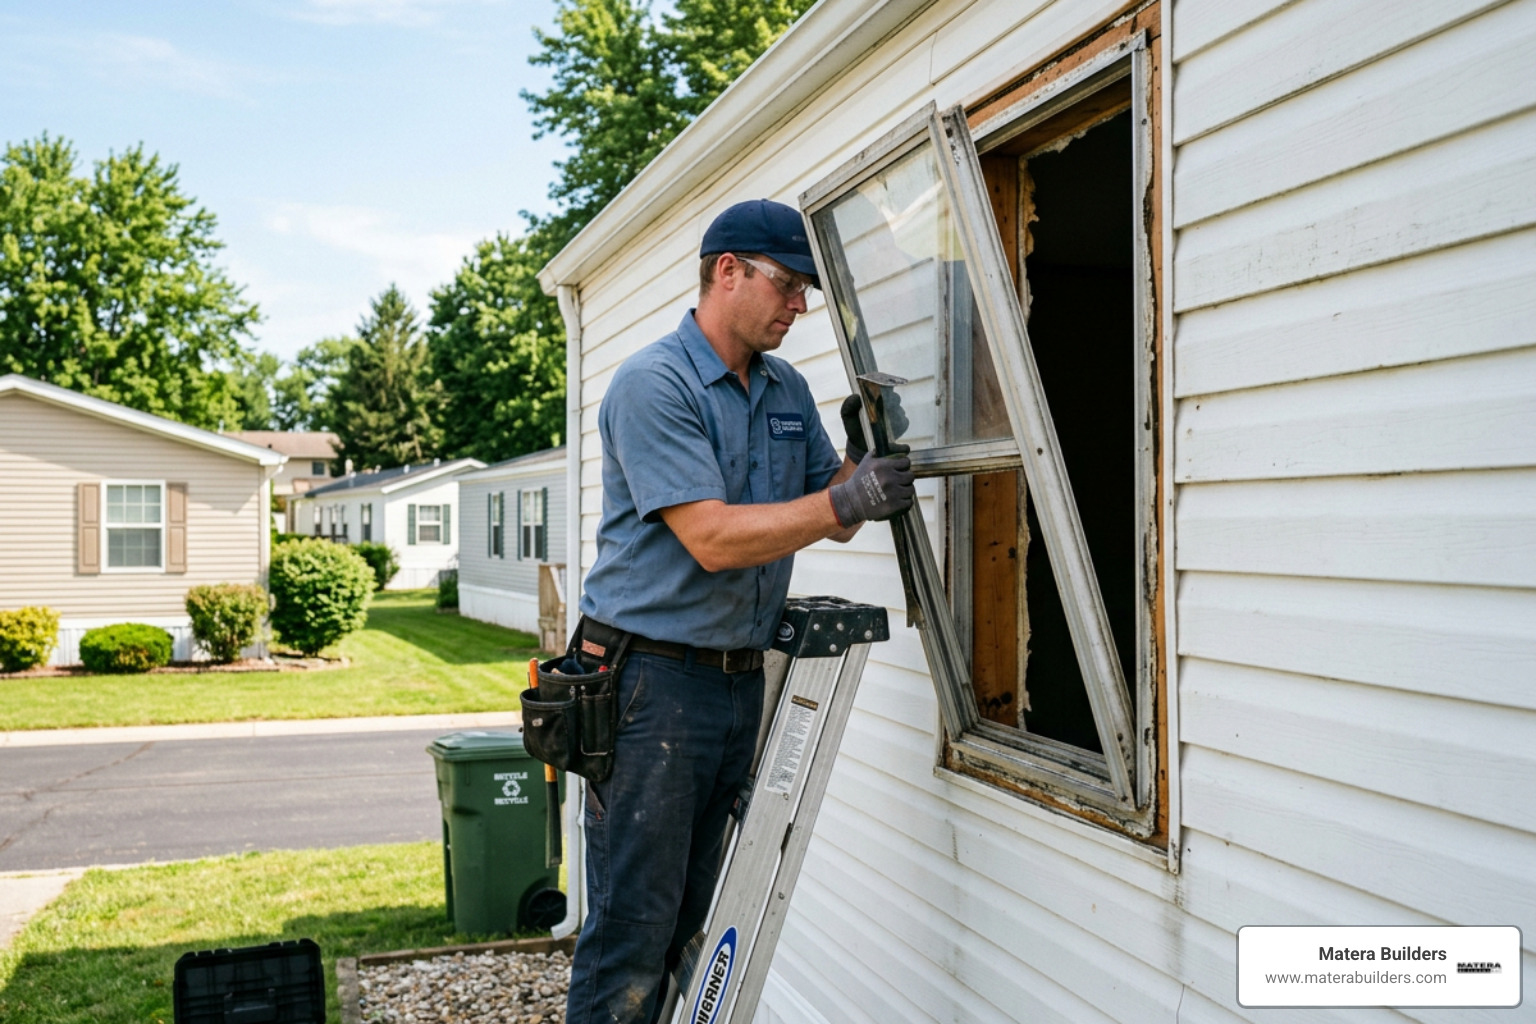
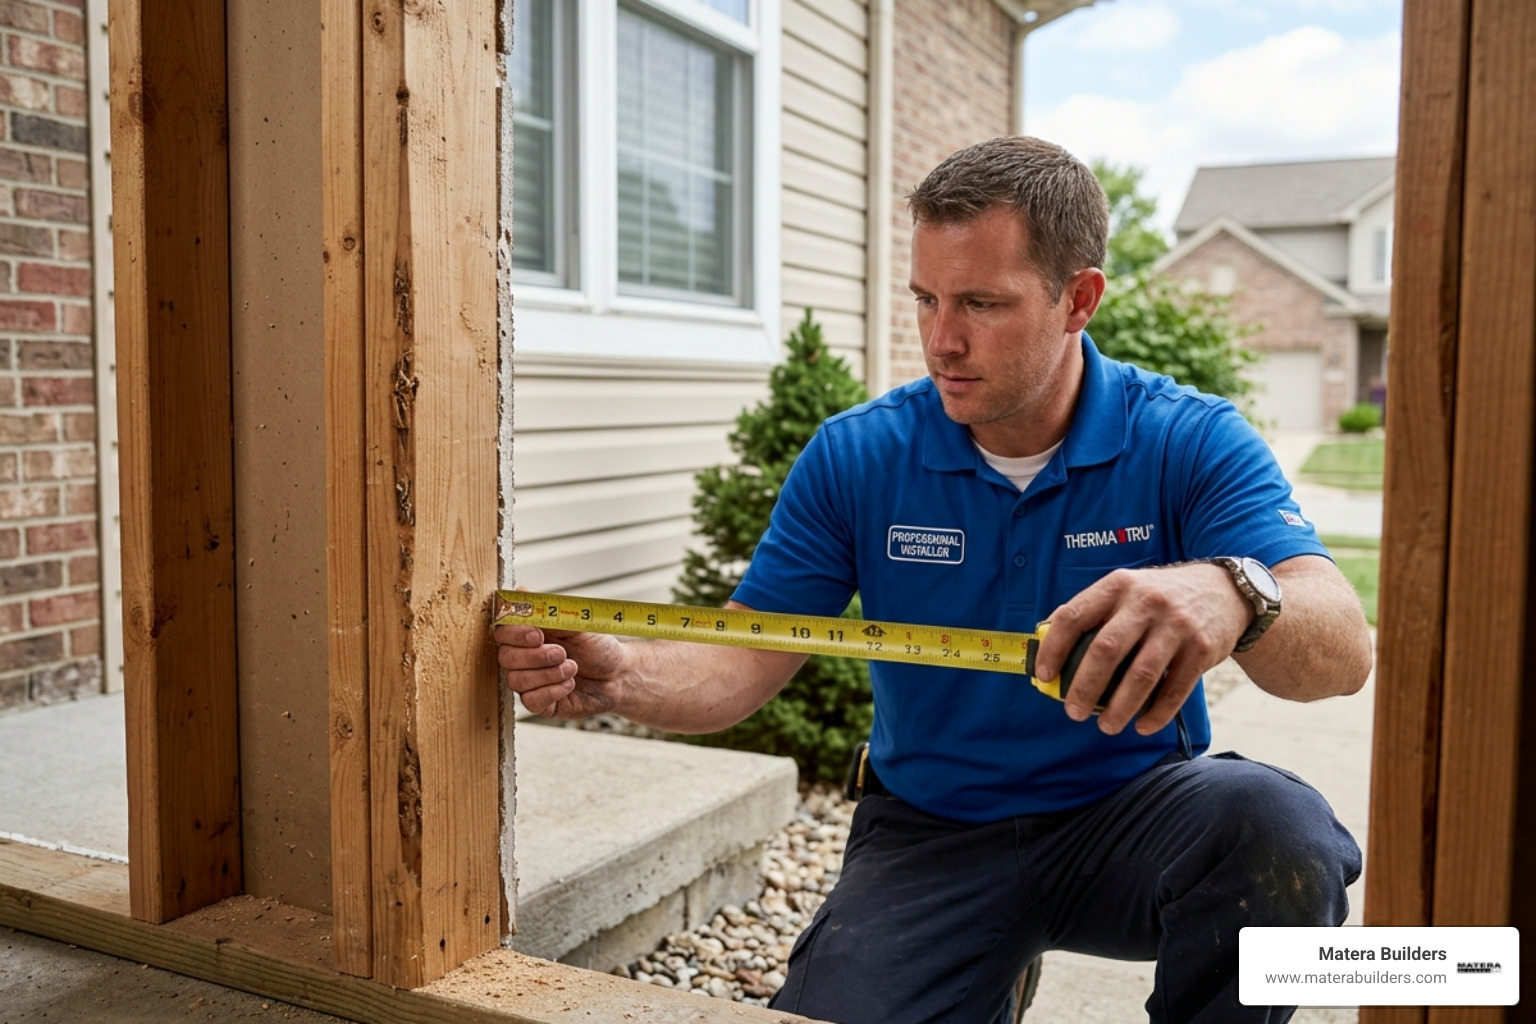
Preparing the Rough Opening to Install Therma-Tru Doors
Before we even think about unboxing the new door, we have to look at the hole it is going into. In our experience across the Jersey Shore, the rough opening is where most installations succeed or fail. If the opening is tilted, twisted, or too small, the door will never seal properly against the salt air and wind.

Getting the Dimensions Right
Therma-Tru has very specific requirements for the rough opening size. If the opening is too tight, you won't have room to shim the door into a perfectly level position. If it is too big, you will struggle to anchor the frame securely.
- Frame Height: The opening should be the frame height plus 1/2 inch.
- Frame Width: The opening should be the frame width plus 1/2 inch to 3/4 inch.
The Plumb, Level, and Square Check
We use a 2-foot and a 6-foot level to check the "plumb" of the walls. Plumb means perfectly vertical. If the wall leans in or out, the door might swing open or shut on its own.
Next, we check if the opening is "square." We use a framing square in the corners, but we also perform a "string test" or measure the diagonals. If the distance from the top-left corner to the bottom-right corner is the same as the top-right to the bottom-left, your opening is square.
The Subfloor
The subfloor must be solid and perfectly level. If the floor is sloped, the entire door system will sit at an angle, causing the weatherstripping to fail. For homeowners considering a full exterior upgrade, you can find More info about Andersen windows and doors to see how we ensure every opening in your home is structural and sound.
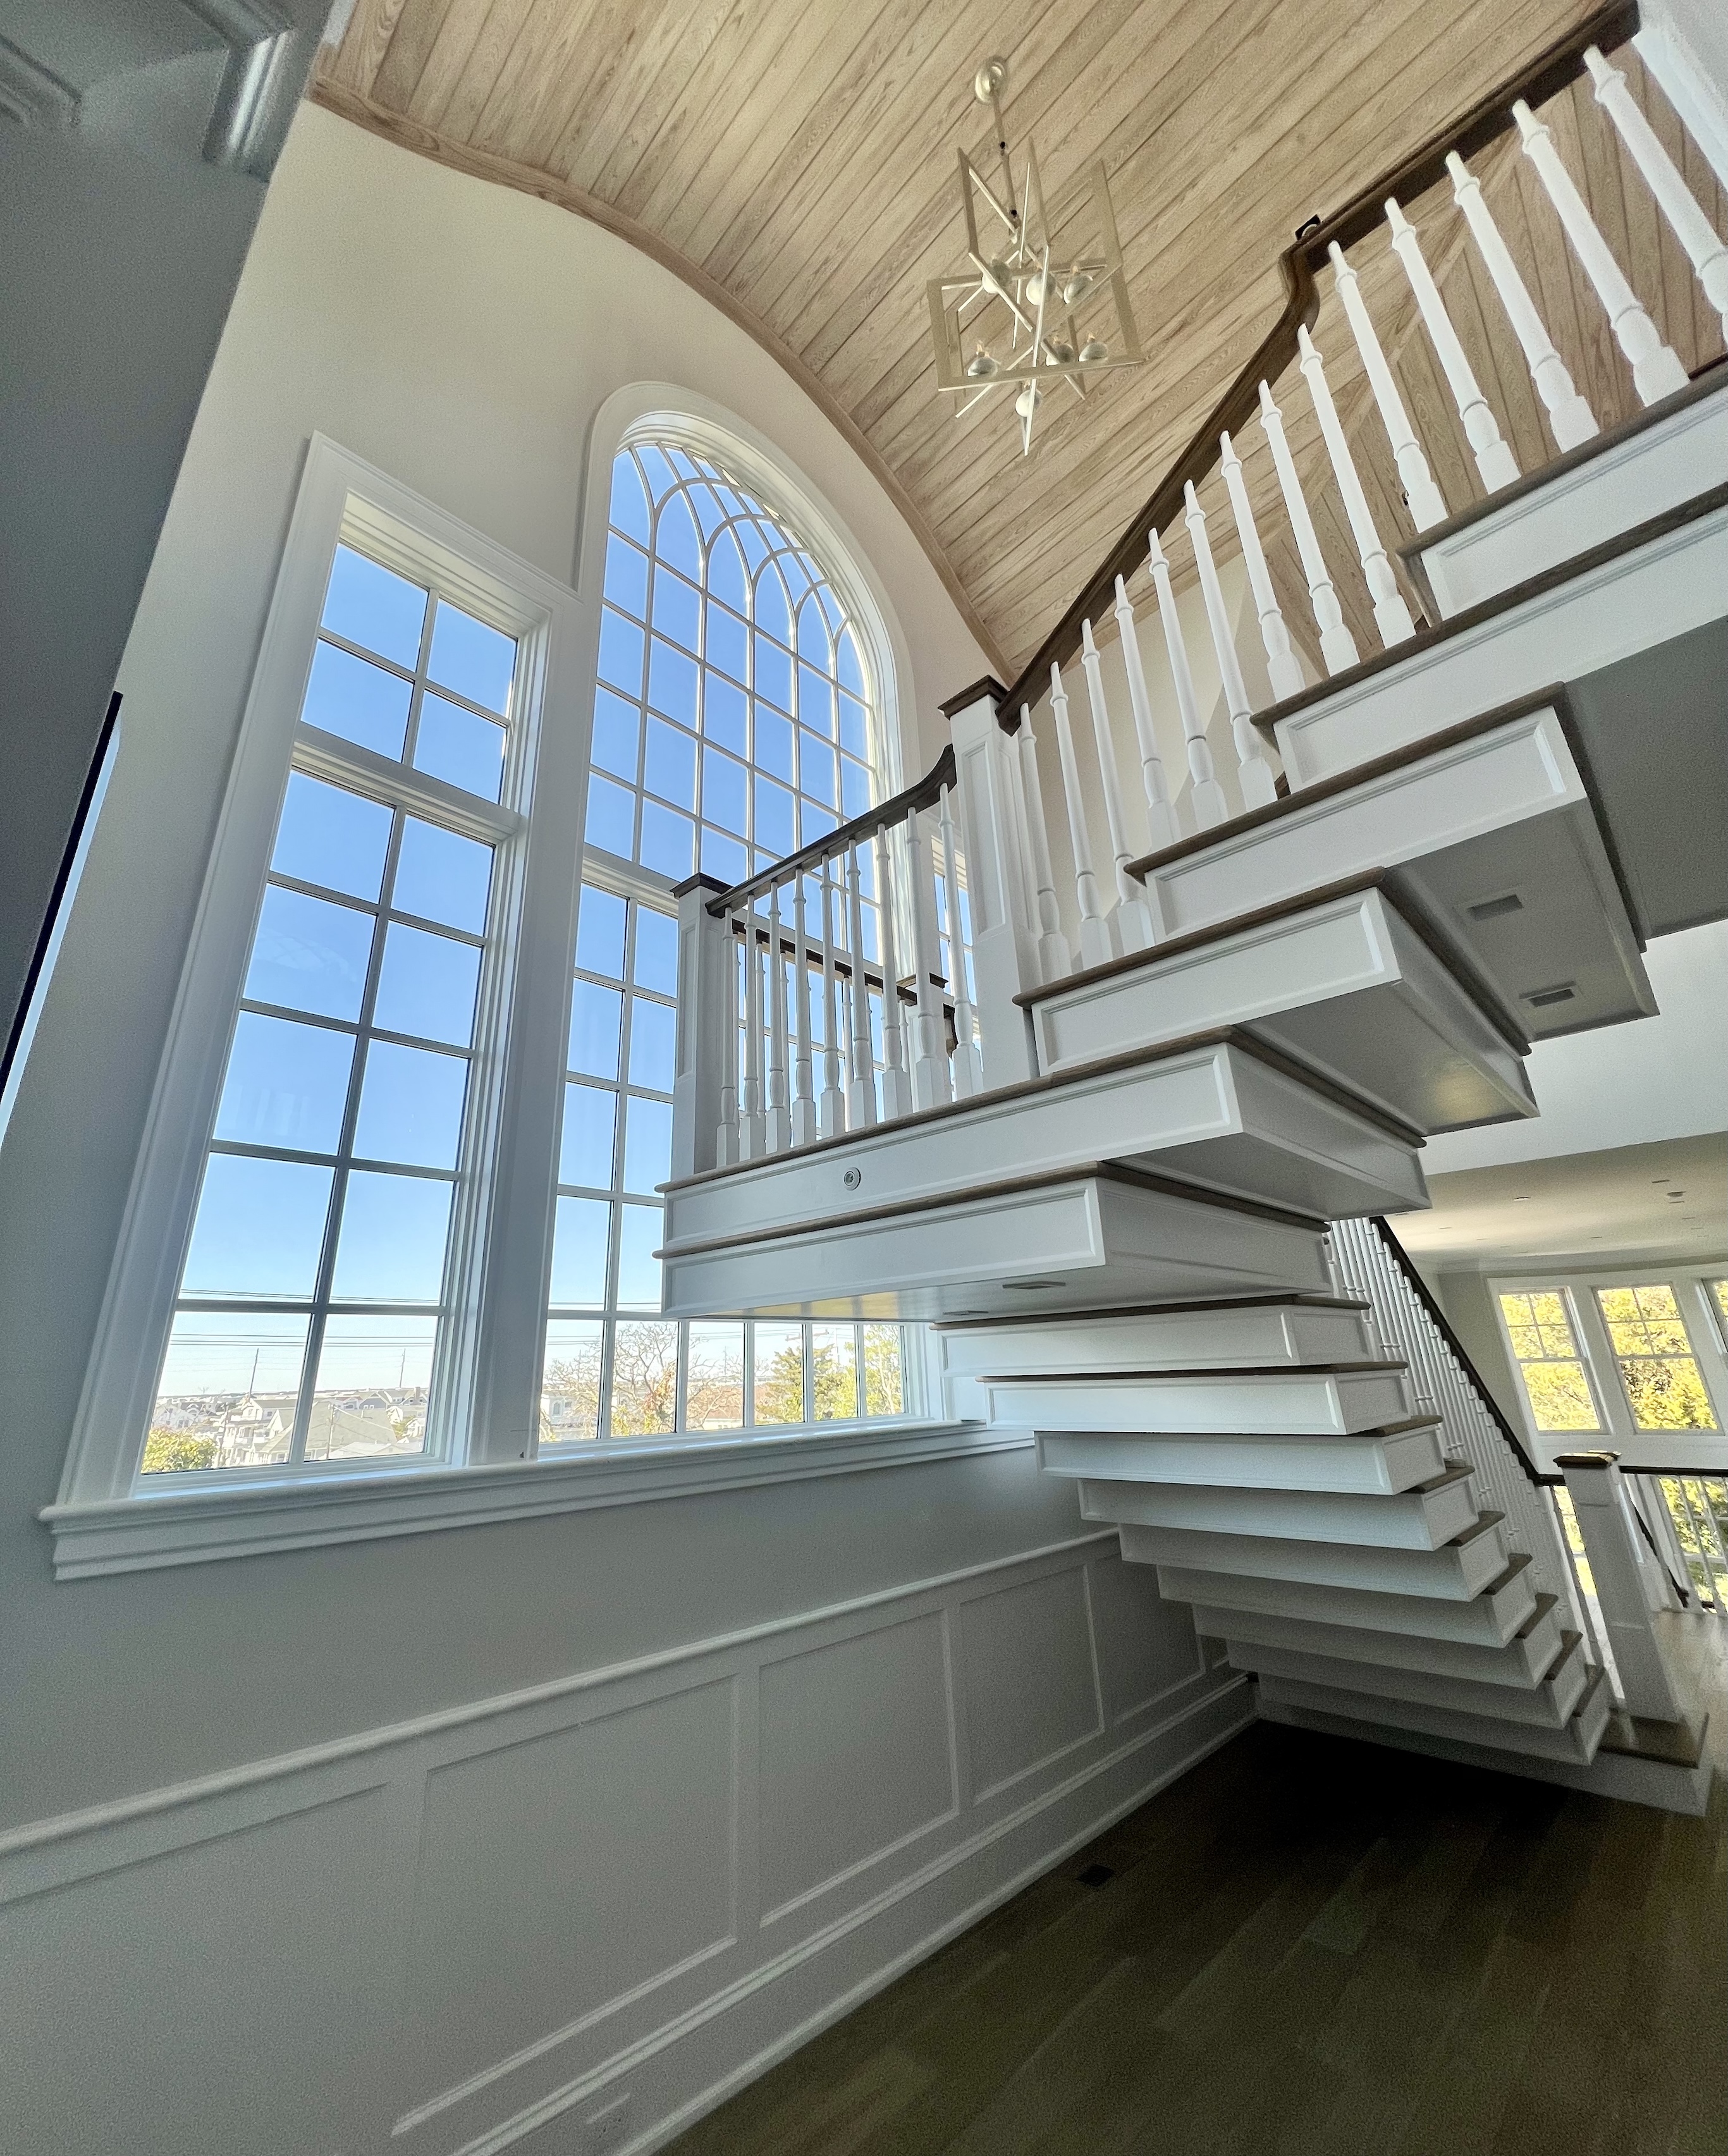
For detailed technical diagrams on these measurements, you can refer to the Therma-Tru - Pre-Hung Unit - Installation Instructions.
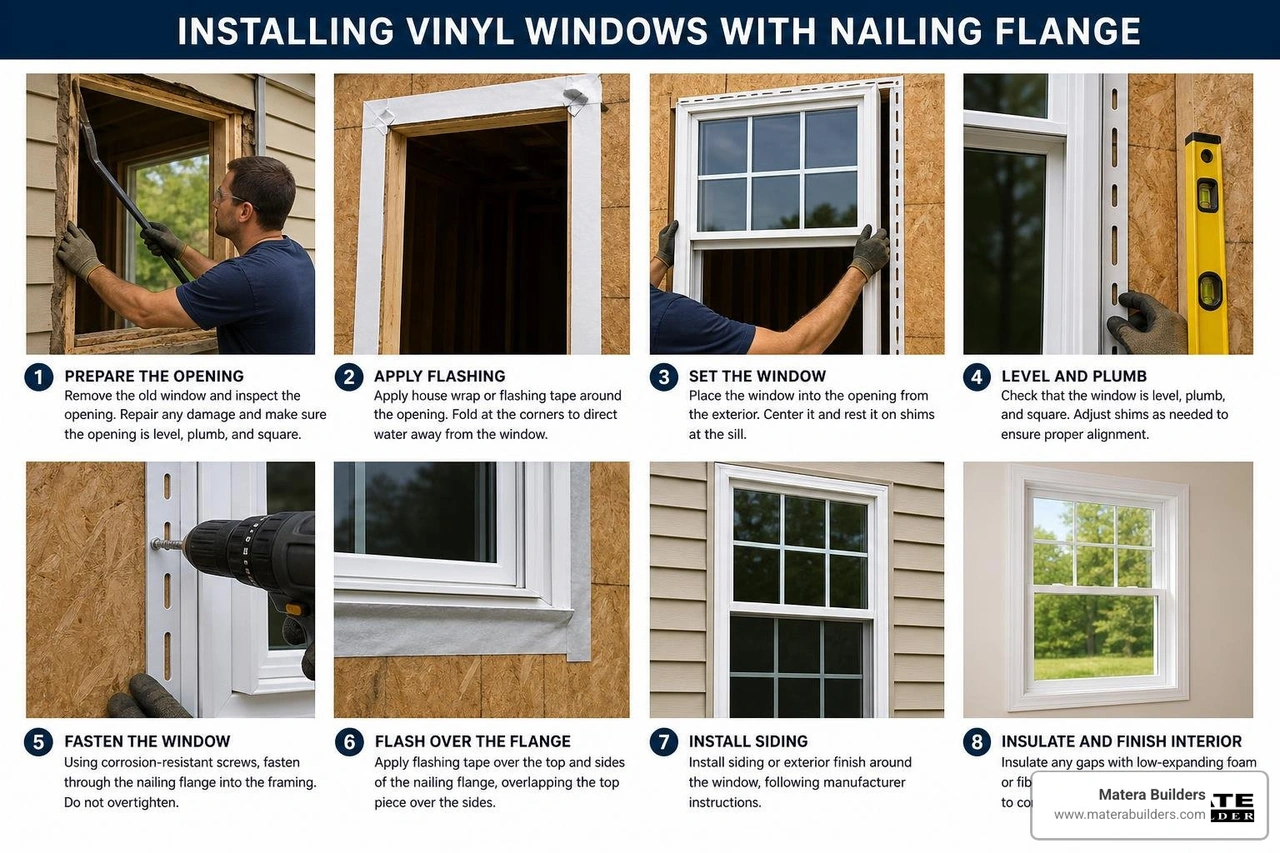
Step-by-Step Guide to a Successful Installation
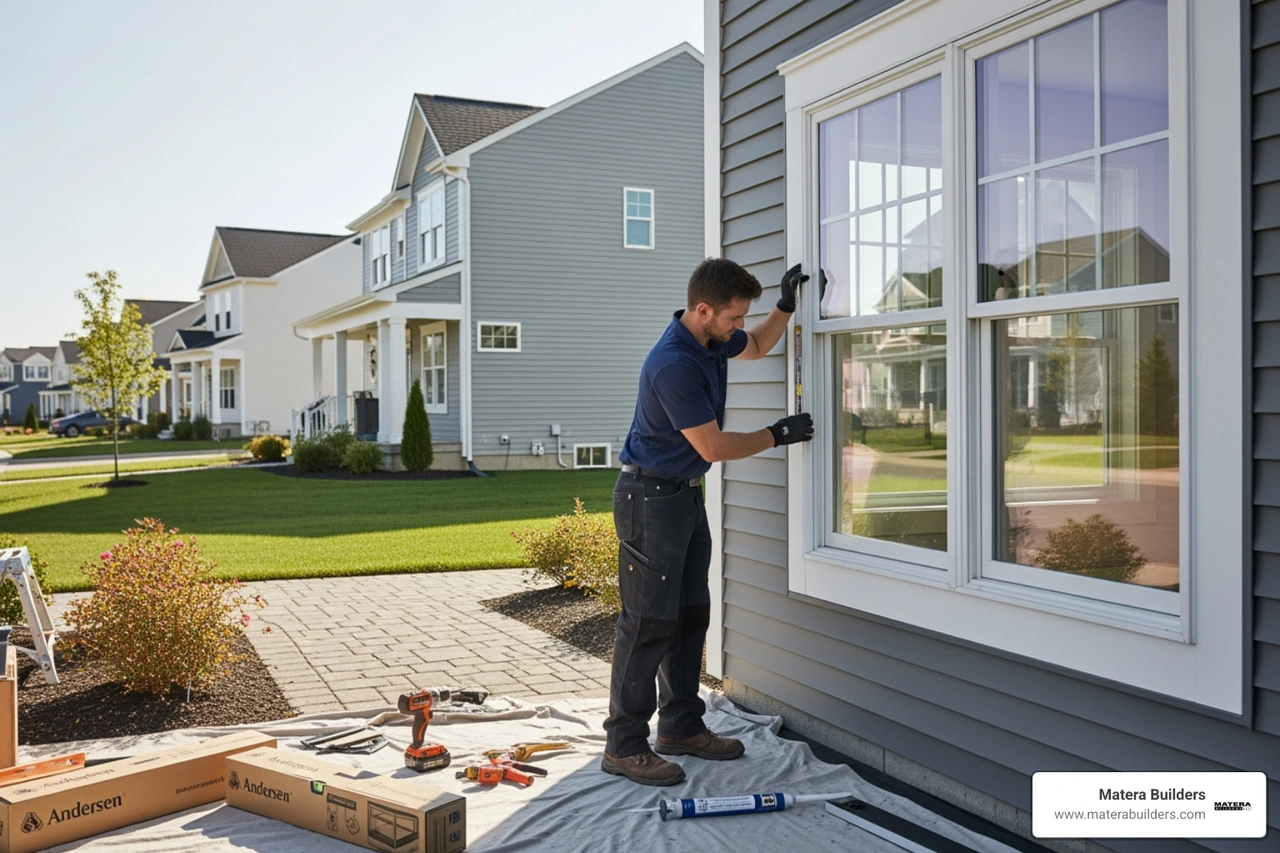
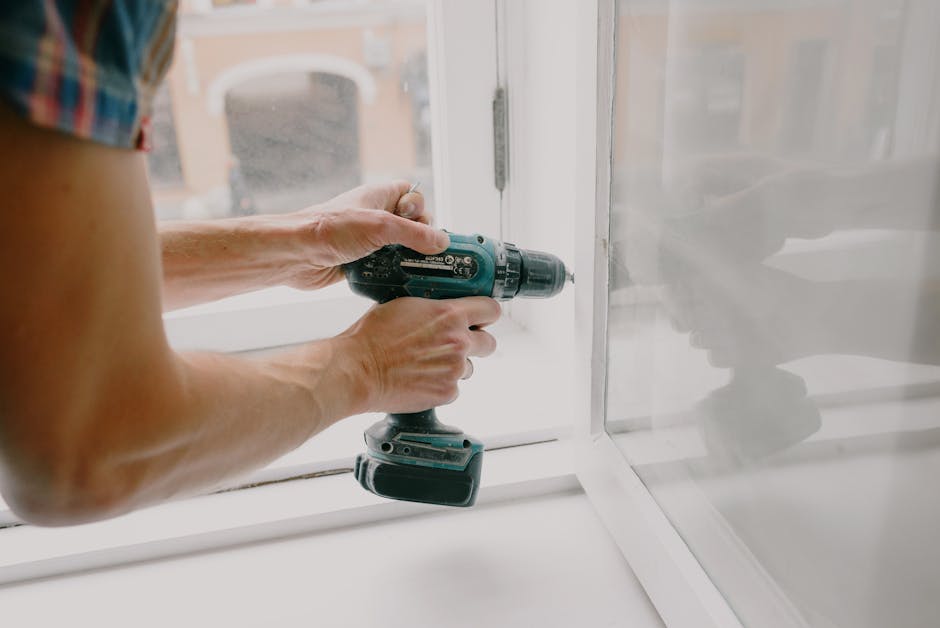
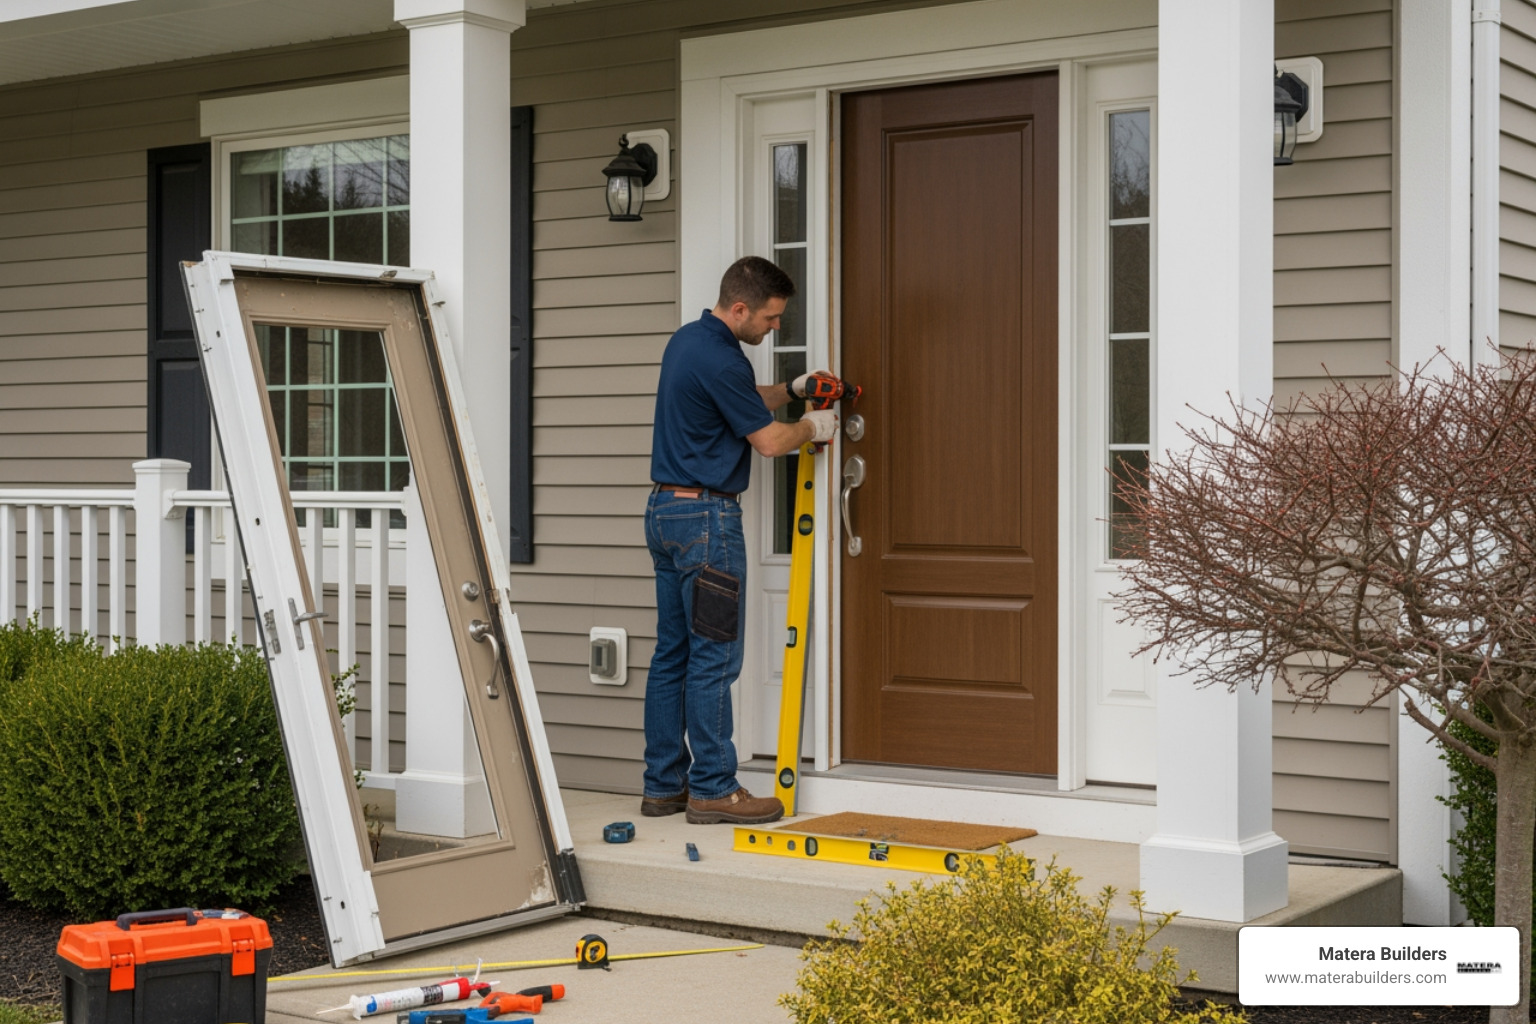
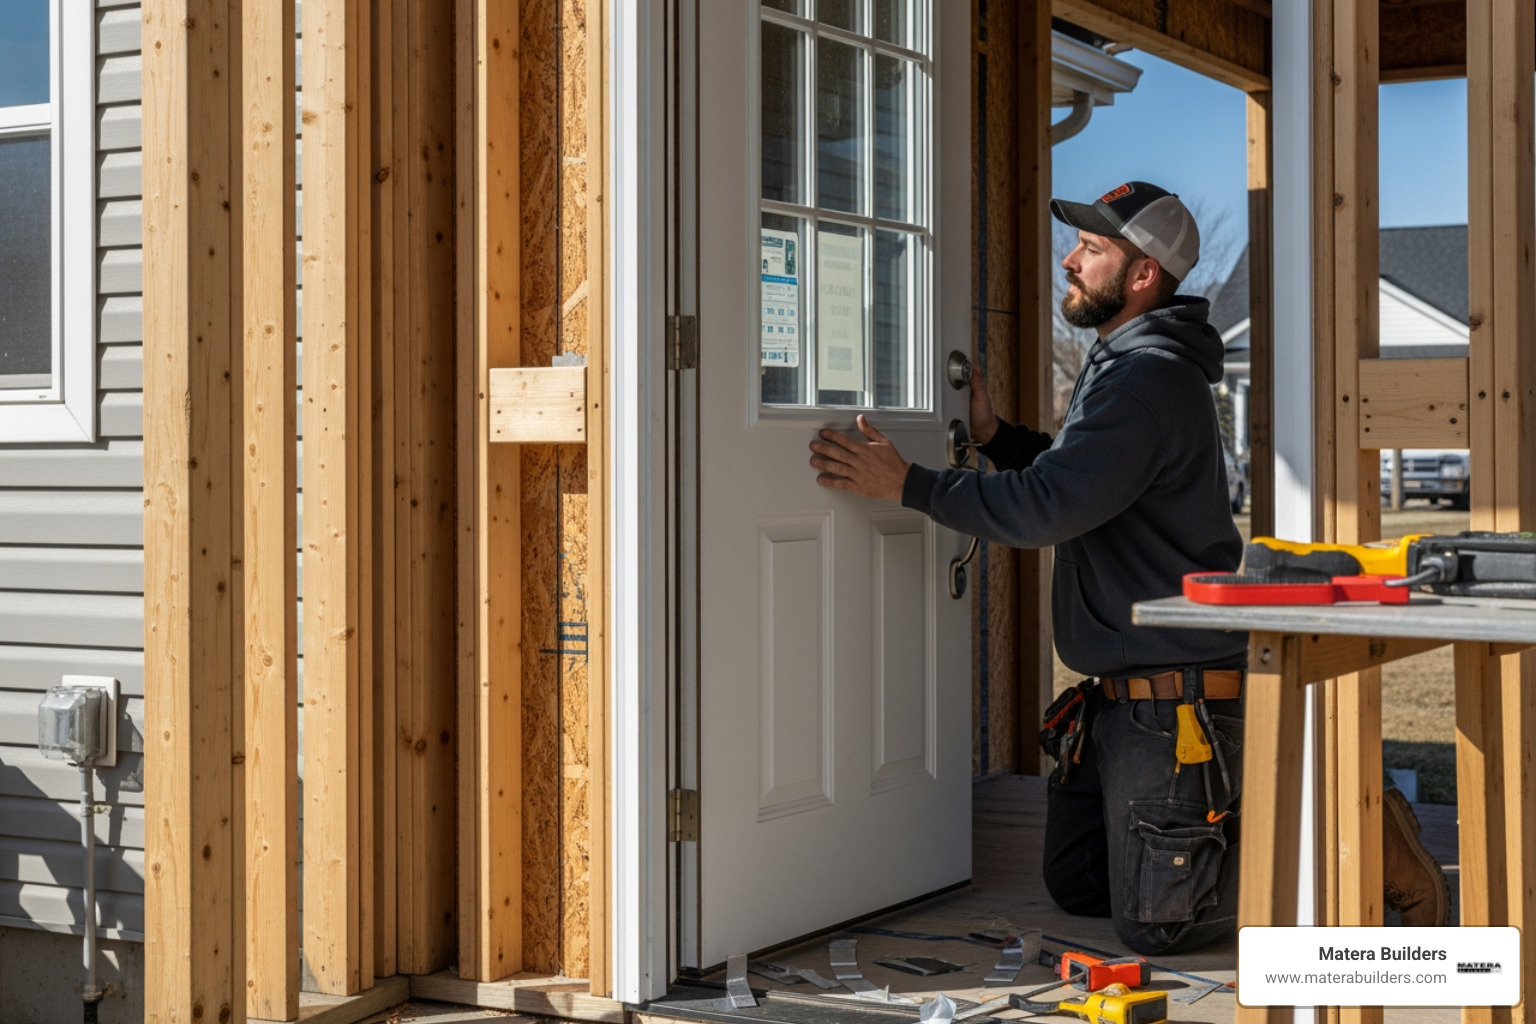
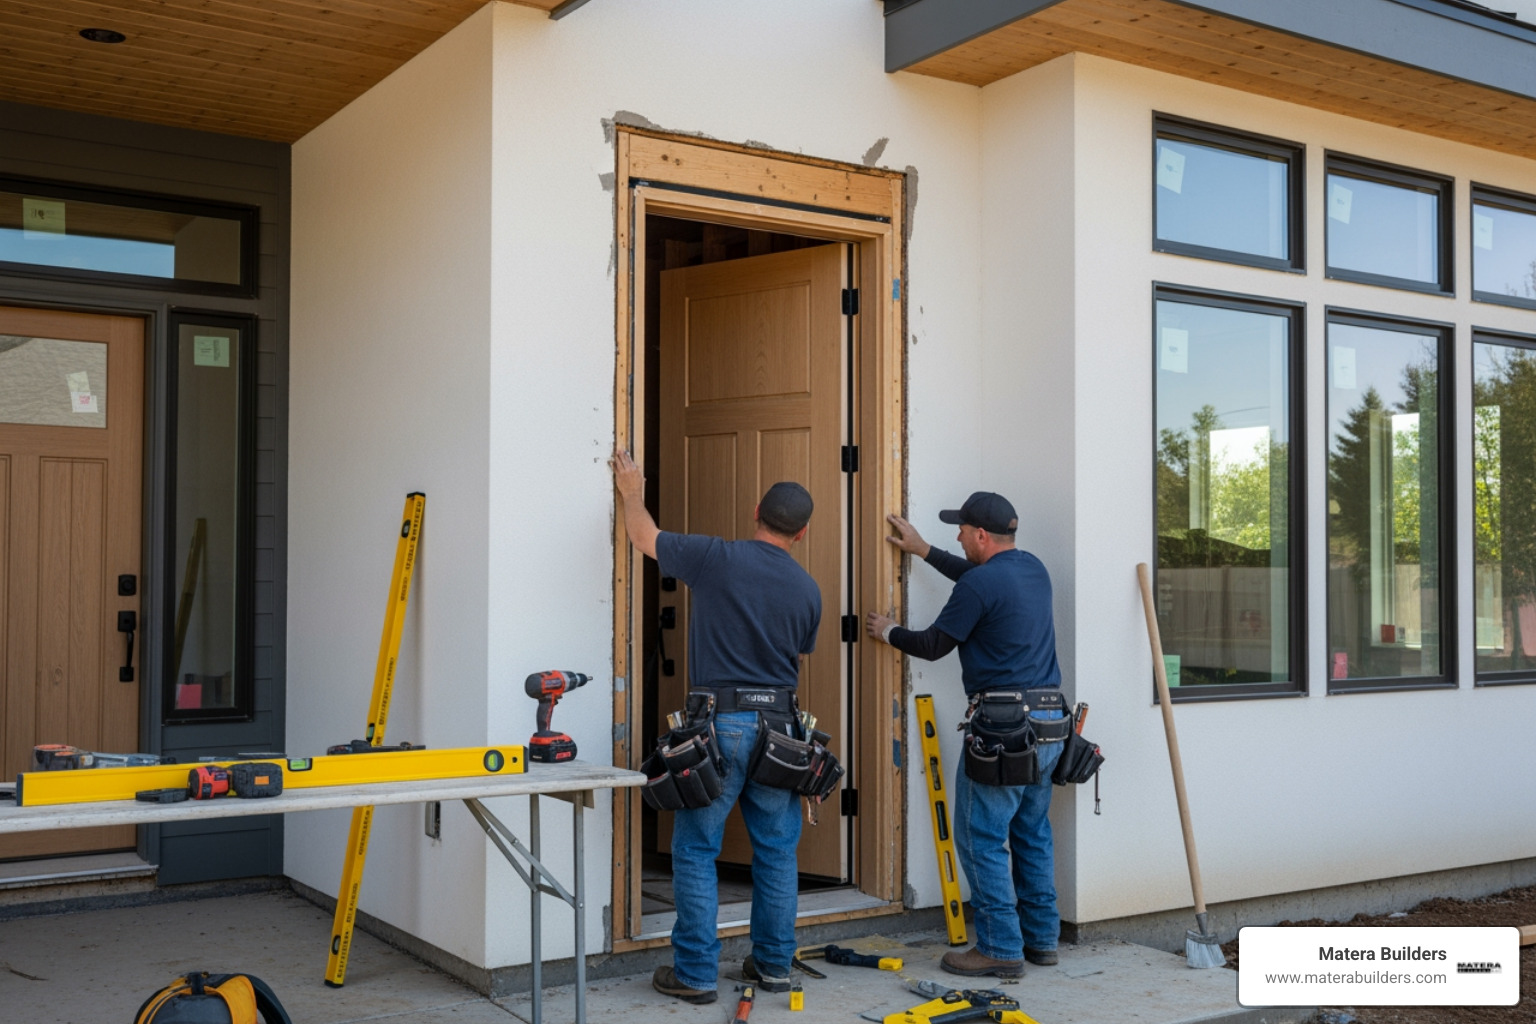
Once the opening is prepped, it is time to install Therma-Tru doors. This is usually a two-person job because these units are heavy, especially the high-performance fiberglass models.
1. The Sill Pan and Sealing
We highly recommend using a sill pan. This is a plastic tray that sits on the subfloor under the door. If water ever gets past the door's outer seals, the sill pan catches it and directs it back outside. We join the sill pan pieces with PVC cement and then apply large beads of elastomeric or polyurethane sealant to the subfloor. Use an entire tube of caulk here; you want a continuous, thick seal to prevent air and water leaks.
2. Placing the Unit
Lift the door unit and place the bottom into the opening first, then tilt the top into place. Important: Do not remove the transport clip (the plastic piece holding the door shut) yet. Keeping the door fastened helps maintain the frame's shape while you secure it.
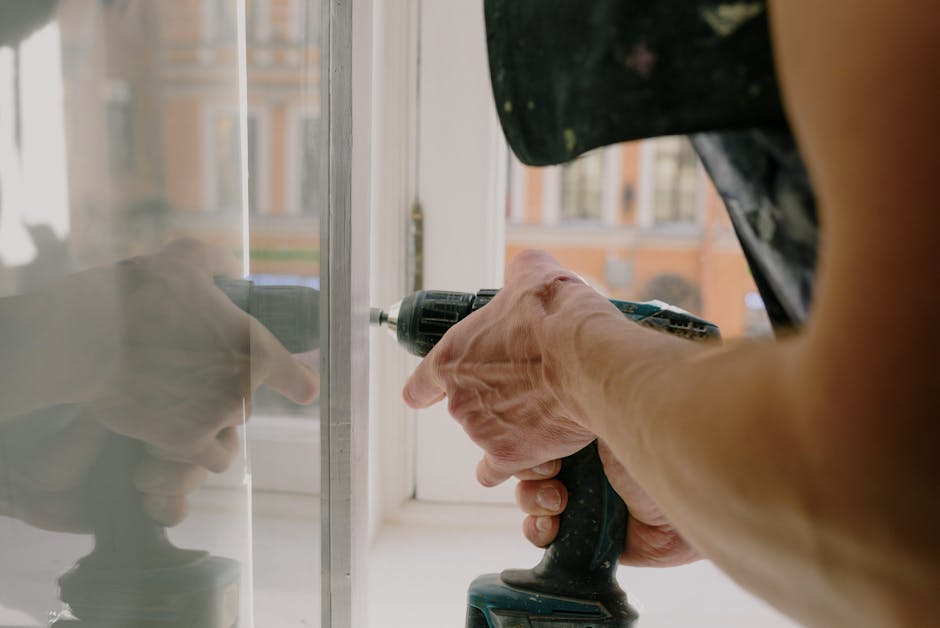
3. Shimming the Jambs
Shimming is an art form. You place thin wood wedges between the door frame (the jamb) and the wall studs.
- Start on the hinge side.
- Place shims behind each hinge point.
- Check for plumb and level constantly.
- Keep your weatherstrip margins even. You are looking for a consistent gap of 3/8 to 1/2 inch between the door slab and the frame.
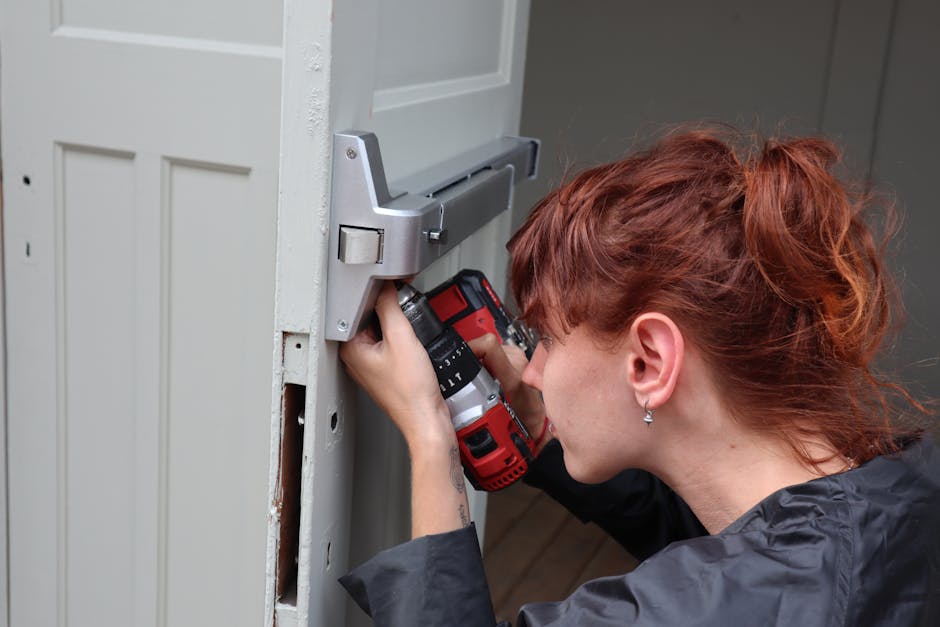
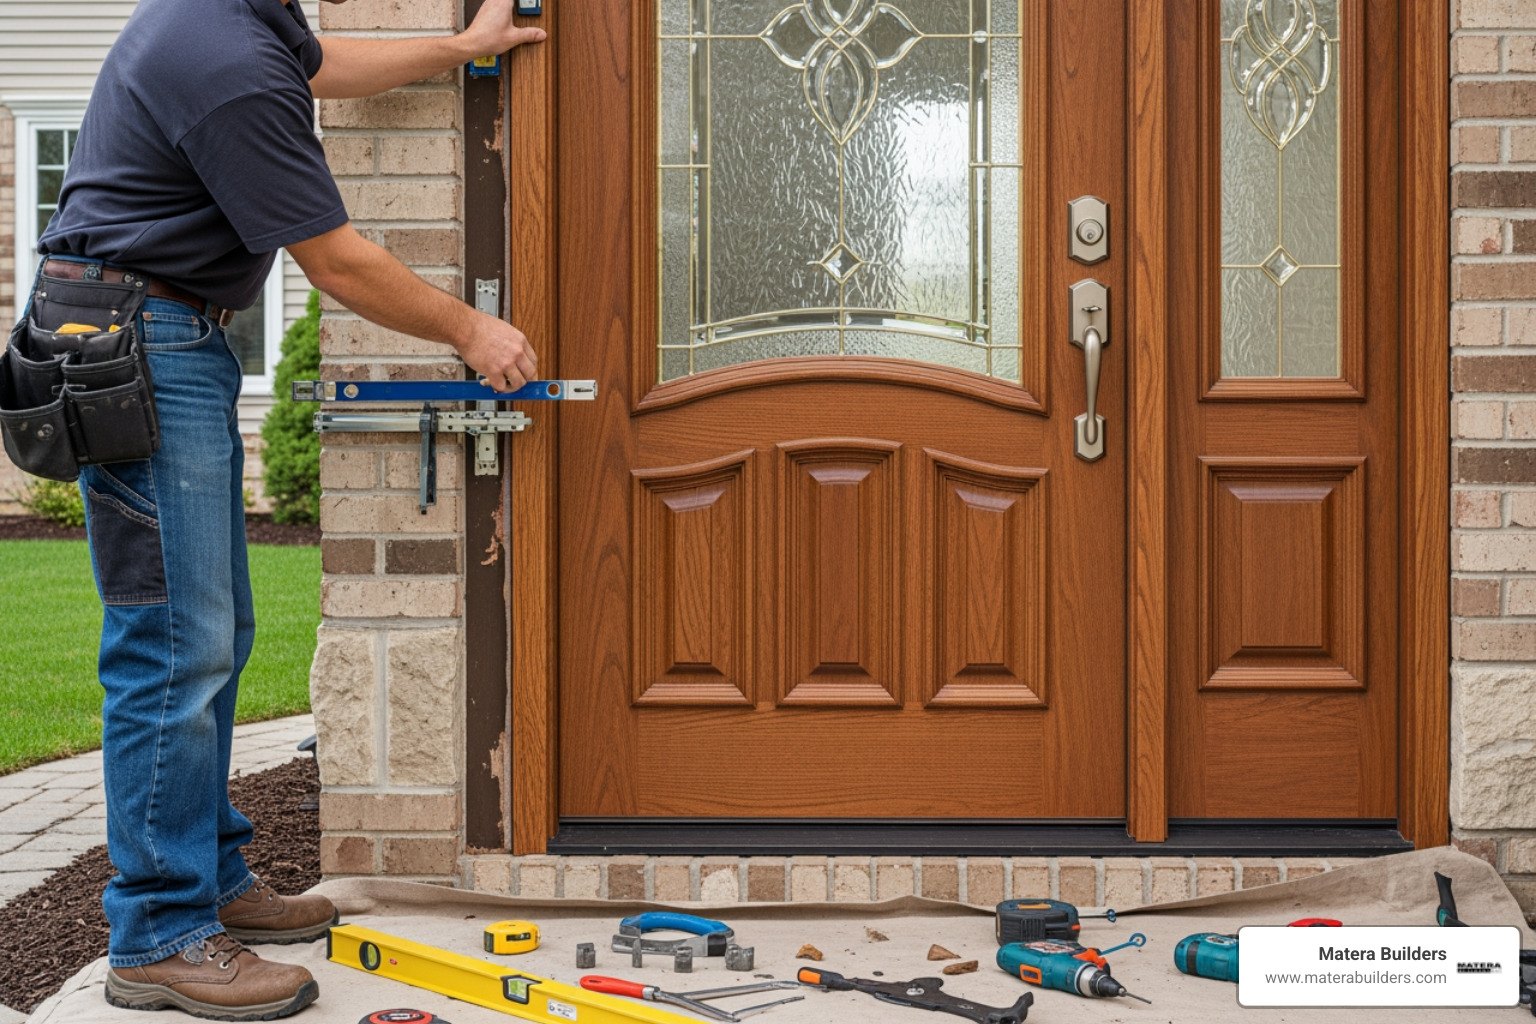
4. Securing with Screws
Once the door is positioned correctly, replace the short factory screws in the hinges with long 3-inch screws that reach all the way into the wall studs. This prevents the door from sagging over time.
5. Threshold Adjustment
Most Therma-Tru sills are adjustable. Turn the screws on the threshold cap until you feel a slight resistance when pulling a dollar bill through the closed door. It should be snug but not so tight that it tears the paper.

How to Install Therma-Tru Doors with Corner Seal Pads
One of the most overlooked parts of the process is the corner seal pads. These are small, inexpensive foam pads that come with your Therma-Tru unit. They are designed to block wind-driven moisture from creeping in at the bottom corners of inswing doors.
To install them, peel off the adhesive backing and tuck them behind the weatherstripping at the bottom of the jamb, just above the sill. This simple step is vital for New Jersey homes facing coastal storms. You can see more about these components at the Product Installation | Therma-Tru Doors page.
Common Mistakes to Avoid When You Install Therma-Tru Doors
Even experienced DIYers make mistakes that can void the warranty or cause long-term damage.
- Over-torquing screws: If you drive the screws too hard, you will bow the jambs, making the door difficult to lock.
- Removing transport clips too early: If you take the clip off before the frame is secured, the door can shift, leading to a crooked installation.
- Ignoring the subfloor: If the floor isn't level and you try to "fix" it by shimming the door, you create a gap under the sill that is nearly impossible to seal.
If you are dealing with larger entryways or sliding systems, you might want to check out More info about big doors for specialized installation tips.
Weatherproofing and Finishing for Warranty Protection
Installing the door is only half the battle. To keep the weather out and the warranty valid, you must finish the unit correctly.
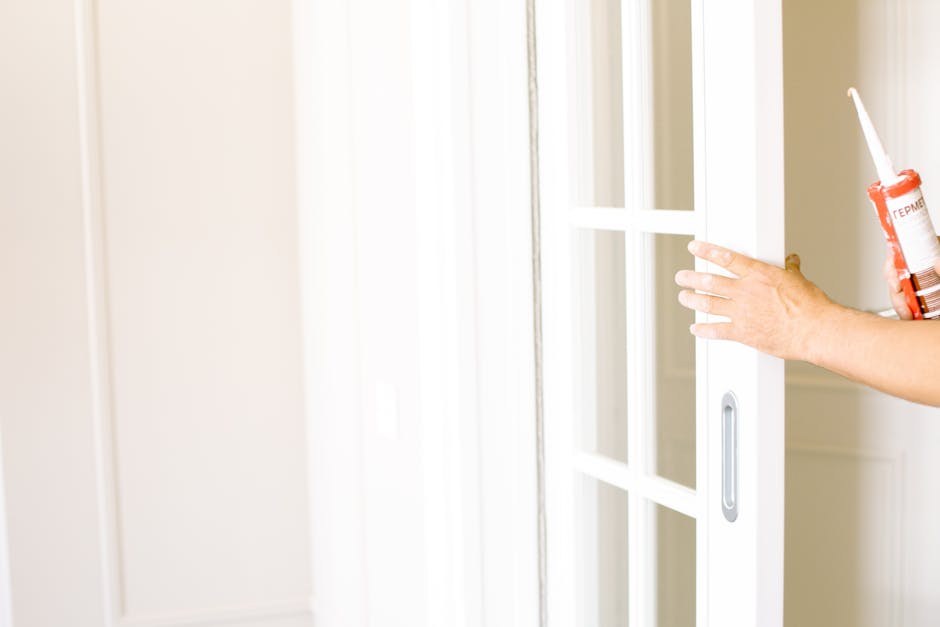
Sealing the Perimeter
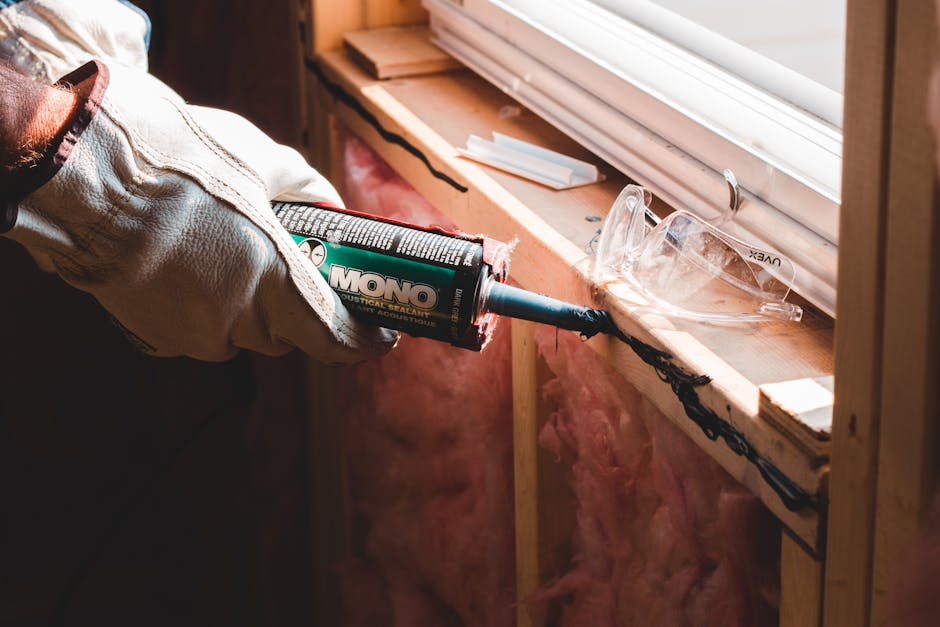
After the door is anchored, we use low-expansion spray foam or backer rod and caulk to insulate the gap between the frame and the rough opening. Then, we apply a 1/2-inch bead of caulk to the back of the brickmould (the exterior trim) before it is nailed to the house. This creates a "primary seal" against rain.
Finishing Requirements
Therma-Tru has strict rules about finishing to maintain your warranty coverage:
- Steel Doors: These must be painted on all six sides (including top and bottom edges) within a few days of installation.
- Fiberglass Doors: These must be finished within 6 months. We recommend the PrismaGuard system for a factory-quality finish.
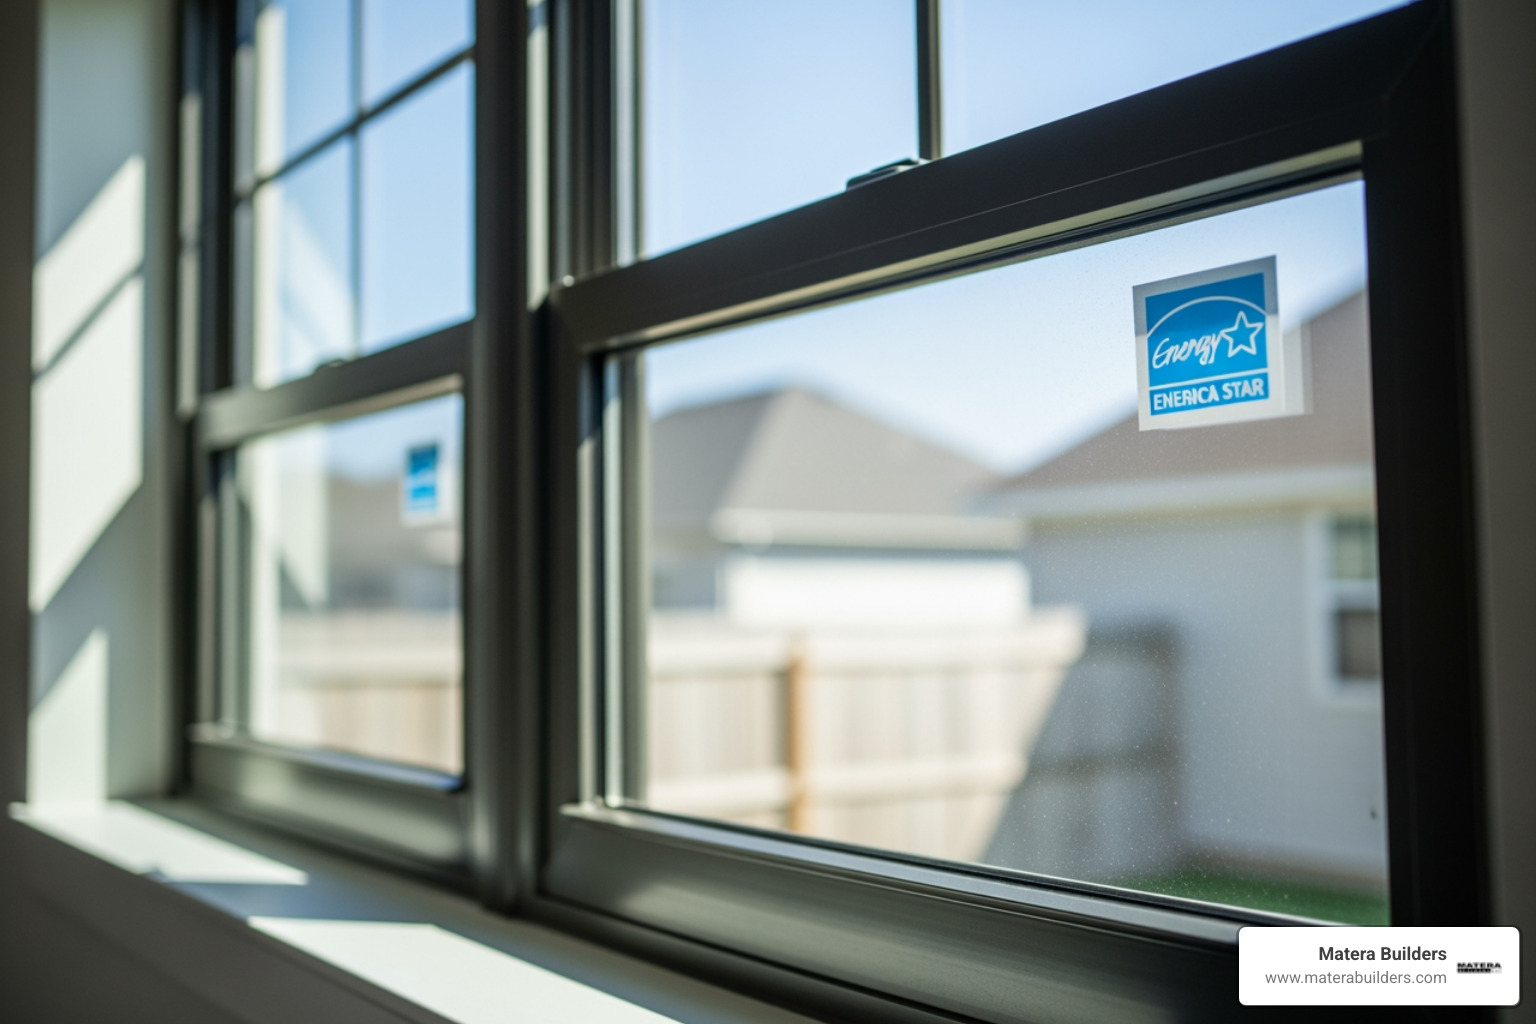
- Conditions: Only paint or stain when temperatures are between 50°F and 90°F and humidity is below 85%. Never finish a door in direct sunlight.
For homeowners looking to refresh their entire home's look, you can find More info about interior and exterior services to coordinate your door installation with other renovations.
When to Hire a Professional Installer in New Jersey
While the steps above provide a roadmap, the reality of New Jersey weather—especially in Ocean City and along the Jersey Shore—makes installation a high-stakes task. Salt air is incredibly corrosive, and coastal wind loads can force water through the smallest gaps.
At Matera Builders, Mike Werner oversees every project to ensure precision. We are Therma-Tru Certified Installers, which means we have completed specific training on how to seal these units for long-lasting performance.
When we install Therma-Tru doors, we aren't just putting a door in a hole. We are protecting your home's ROI. A professional installation ensures that multi-point locks align perfectly, the sill is 100% watertight, and the energy efficiency of the door is actually realized. If you are also considering updates to your home's interior, such as More info about kitchen and bath renovations, we can provide a cohesive plan for your entire property.
Frequently Asked Questions
How do I determine my door's handing and swing?
Stand on the outside of your home facing the door. If the hinges are on the left, it is a left-handed door. If they are on the right, it is right-handed. If the door pushes away from you into the house, it is an "inswing." If it pulls toward you, it is an "outswing."
What size should my rough opening be for a Therma-Tru door?
The general rule is the frame height plus 1/2 inch and the frame width plus 1/2 to 3/4 inch. Always measure the actual door unit you purchased before finalizing your rough opening.
How soon must I finish my door after installation to keep the warranty?
Steel doors need to be painted within a few days. Fiberglass doors can wait up to 6 months, but sooner is always better to protect the material from UV damage and moisture.
Conclusion
Learning how to install Therma-Tru doors is a great way to understand the anatomy of your home. However, the difference between a door that "works" and a door that provides decades of draft-free, secure service often comes down to the details—the exactness of the shims, the quality of the sealant, and the precision of the threshold adjustment.
If you want the peace of mind that comes with expert oversight and a durable, energy-efficient entryway, we are here to help. Whether you are in Ocean City or anywhere across the Jersey Shore, our team brings 37+ years of experience to every threshold.
Ready to upgrade your home's curb appeal and protection? Step-by-Step: Installing Your New Therma-Tru Entry Door is just the beginning. Contact us today to discuss your next project.