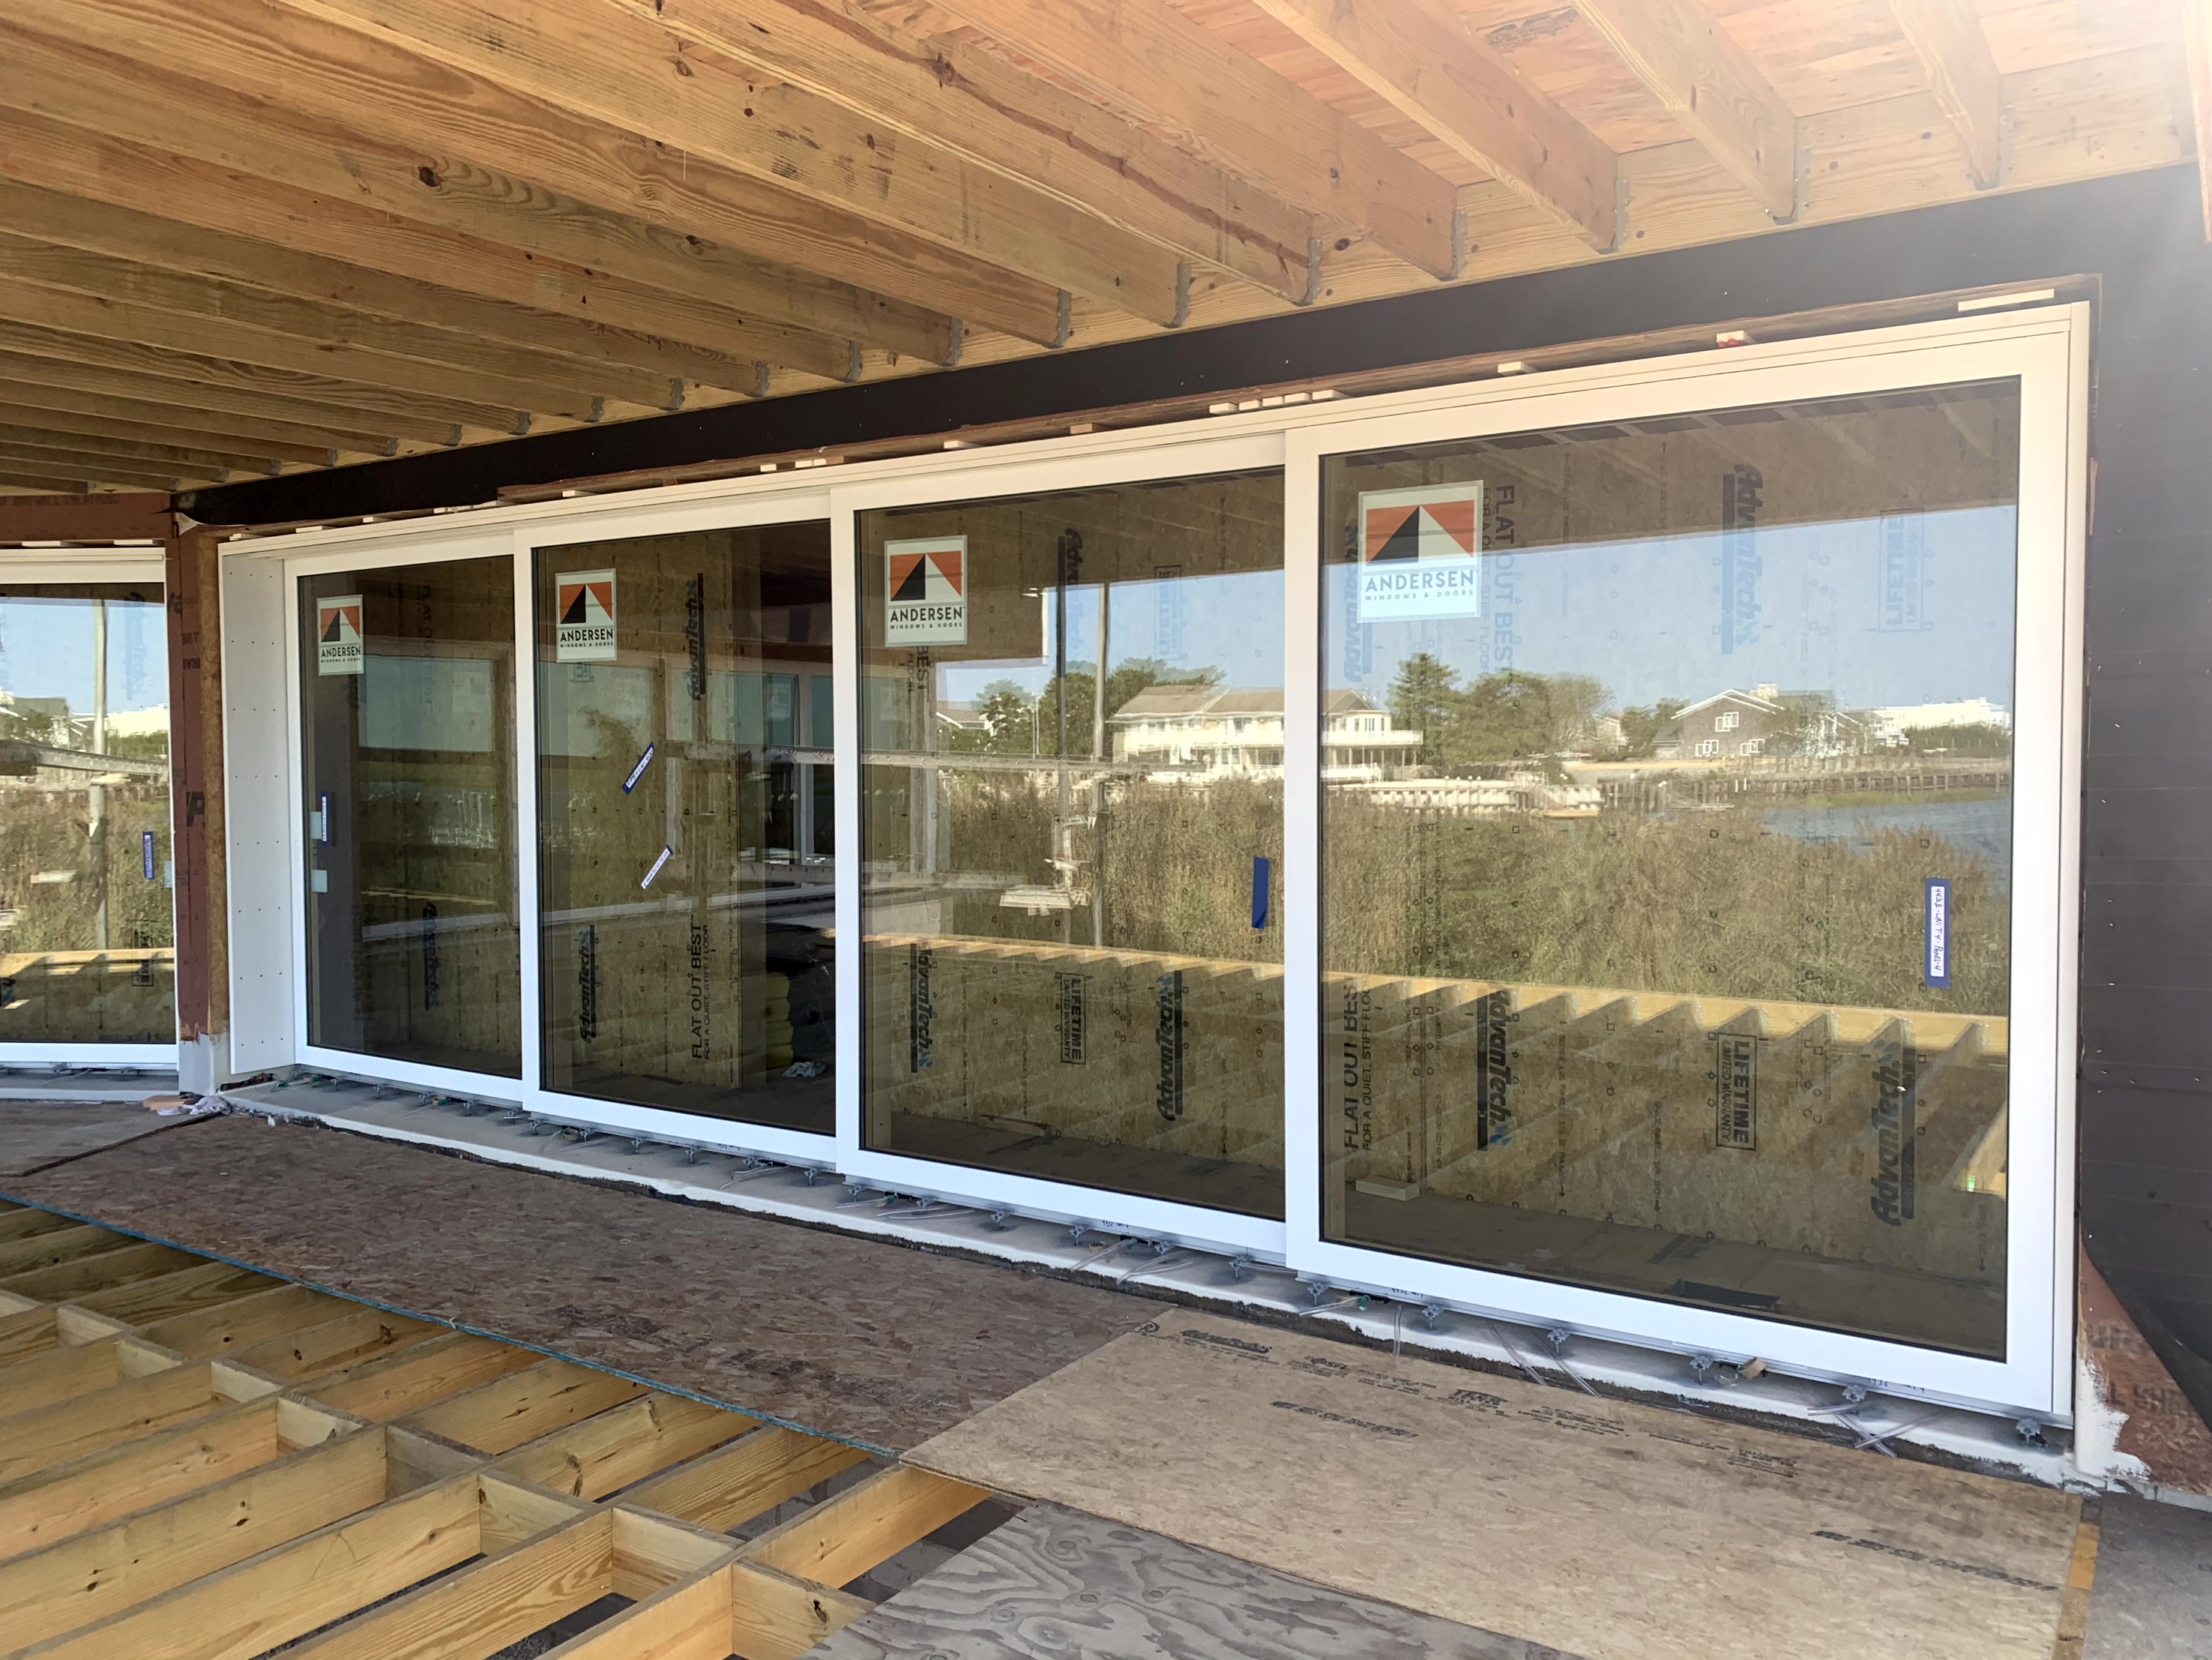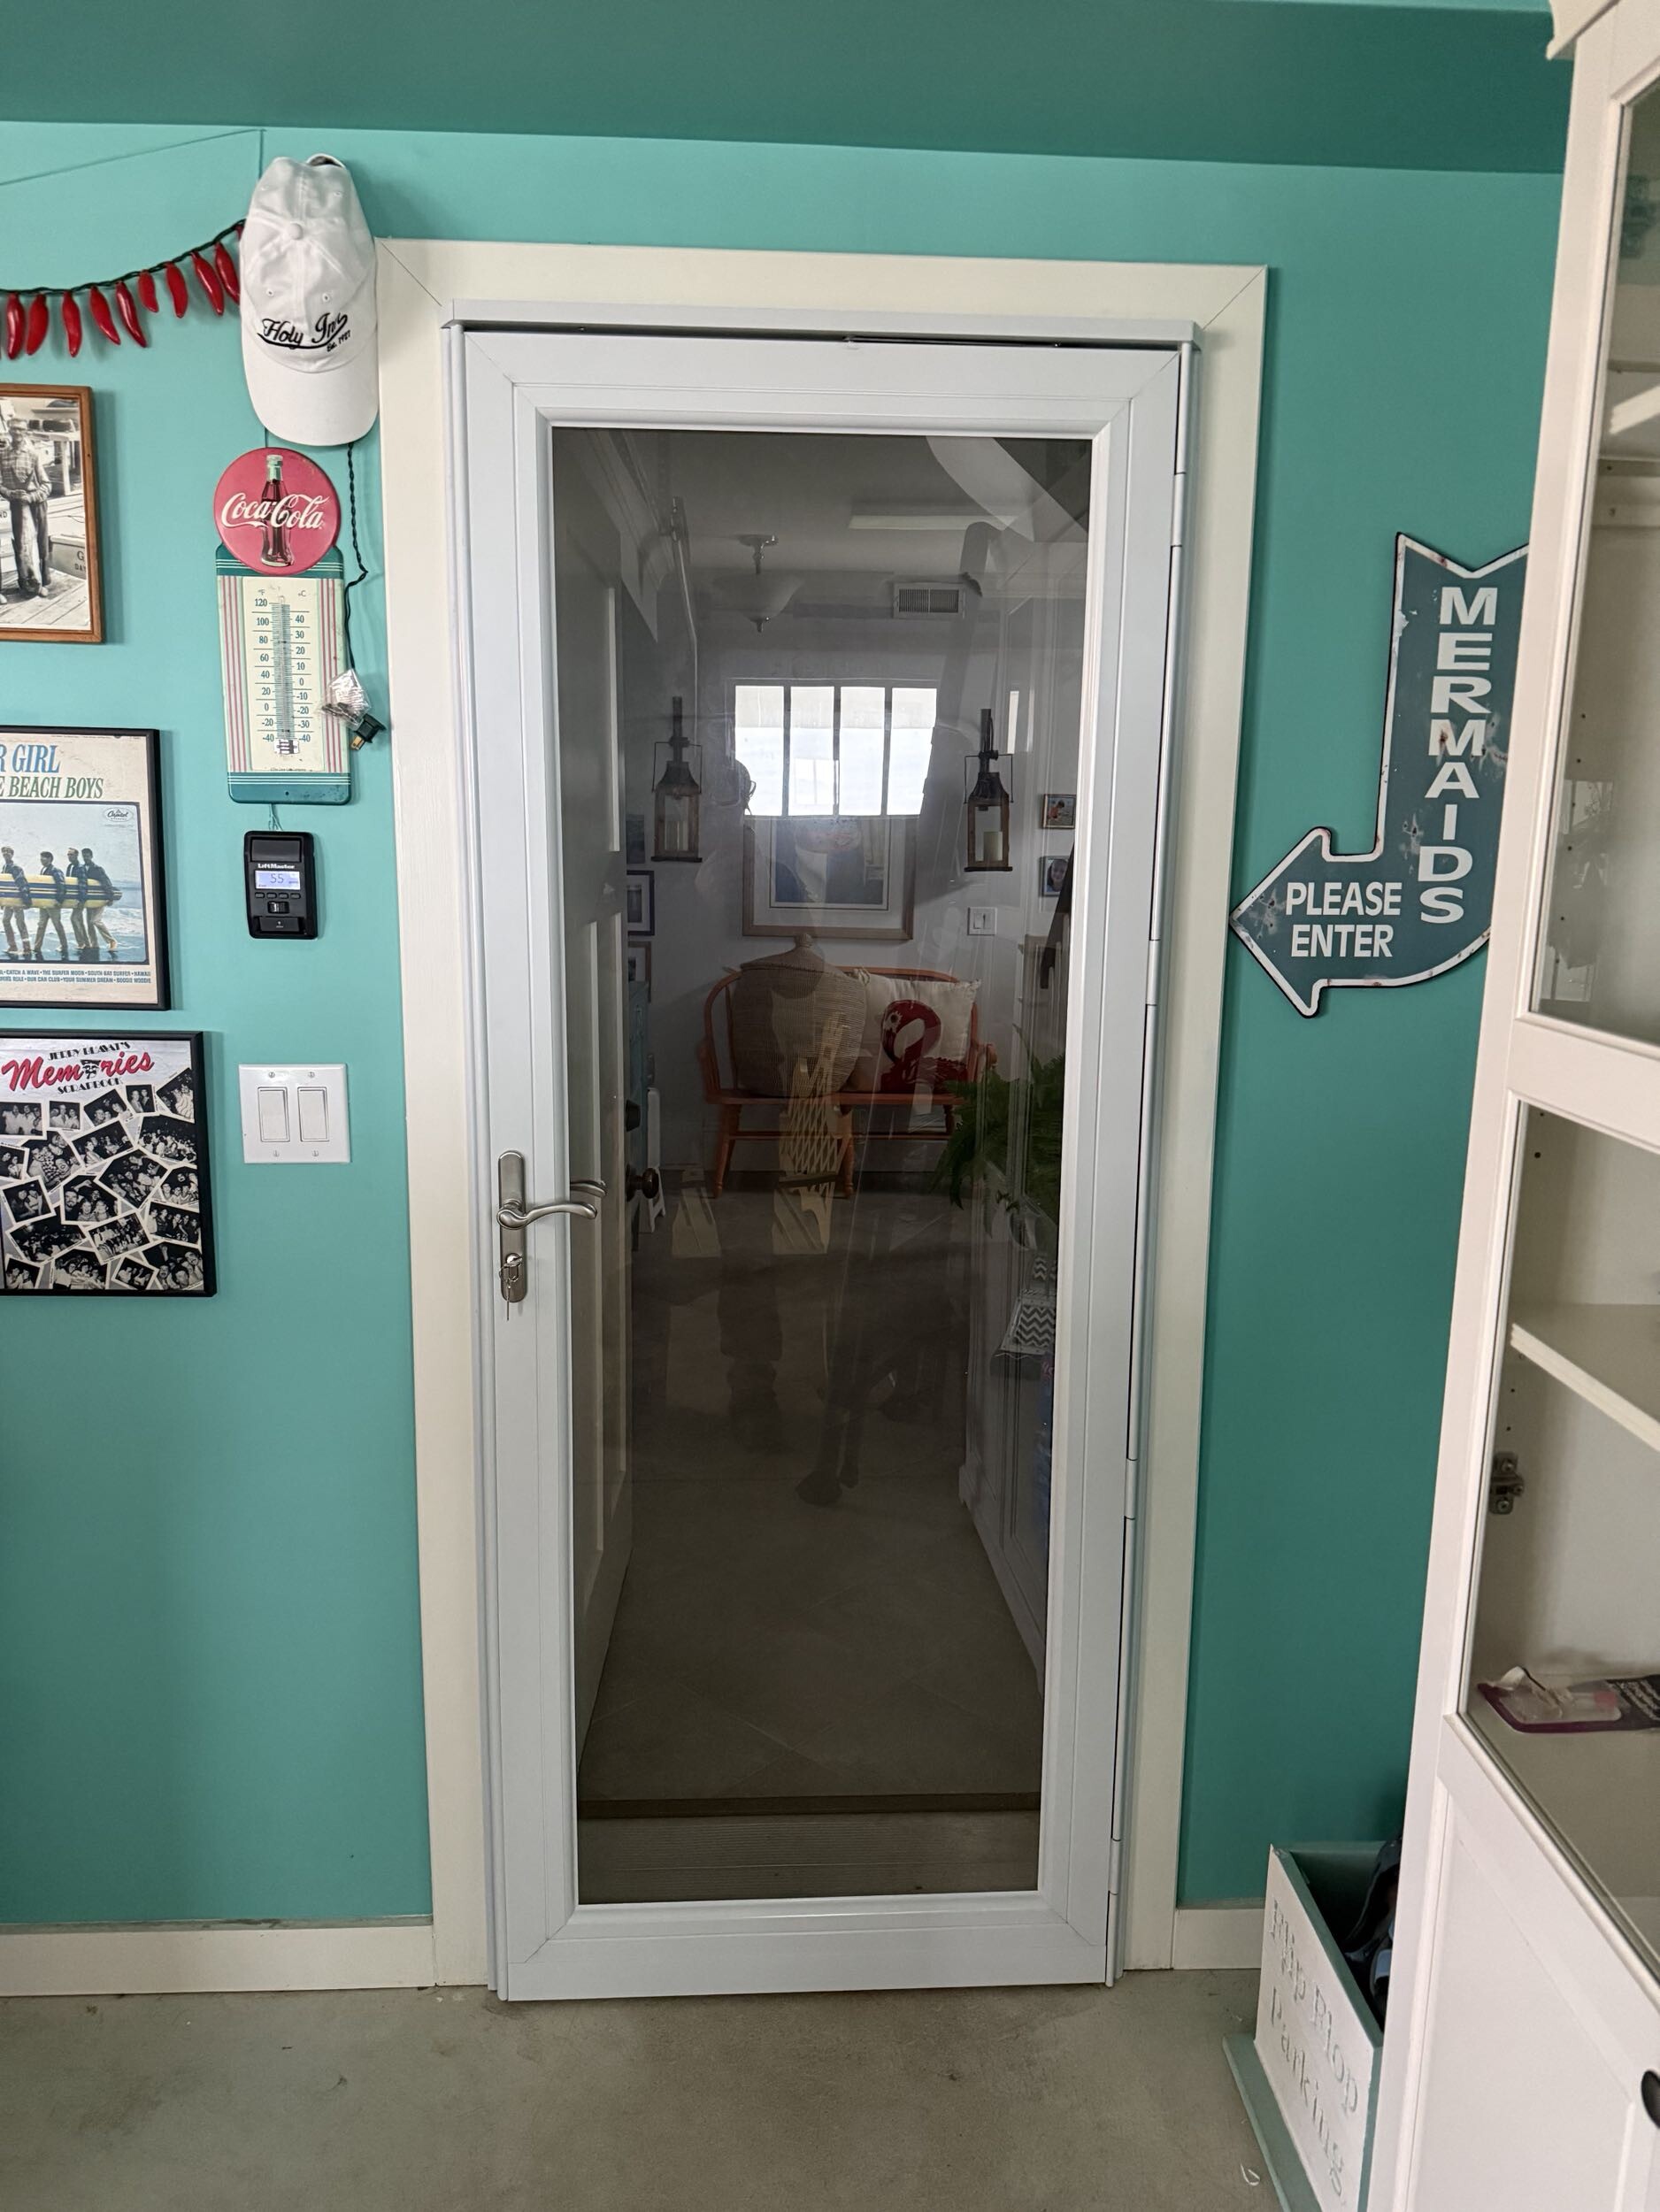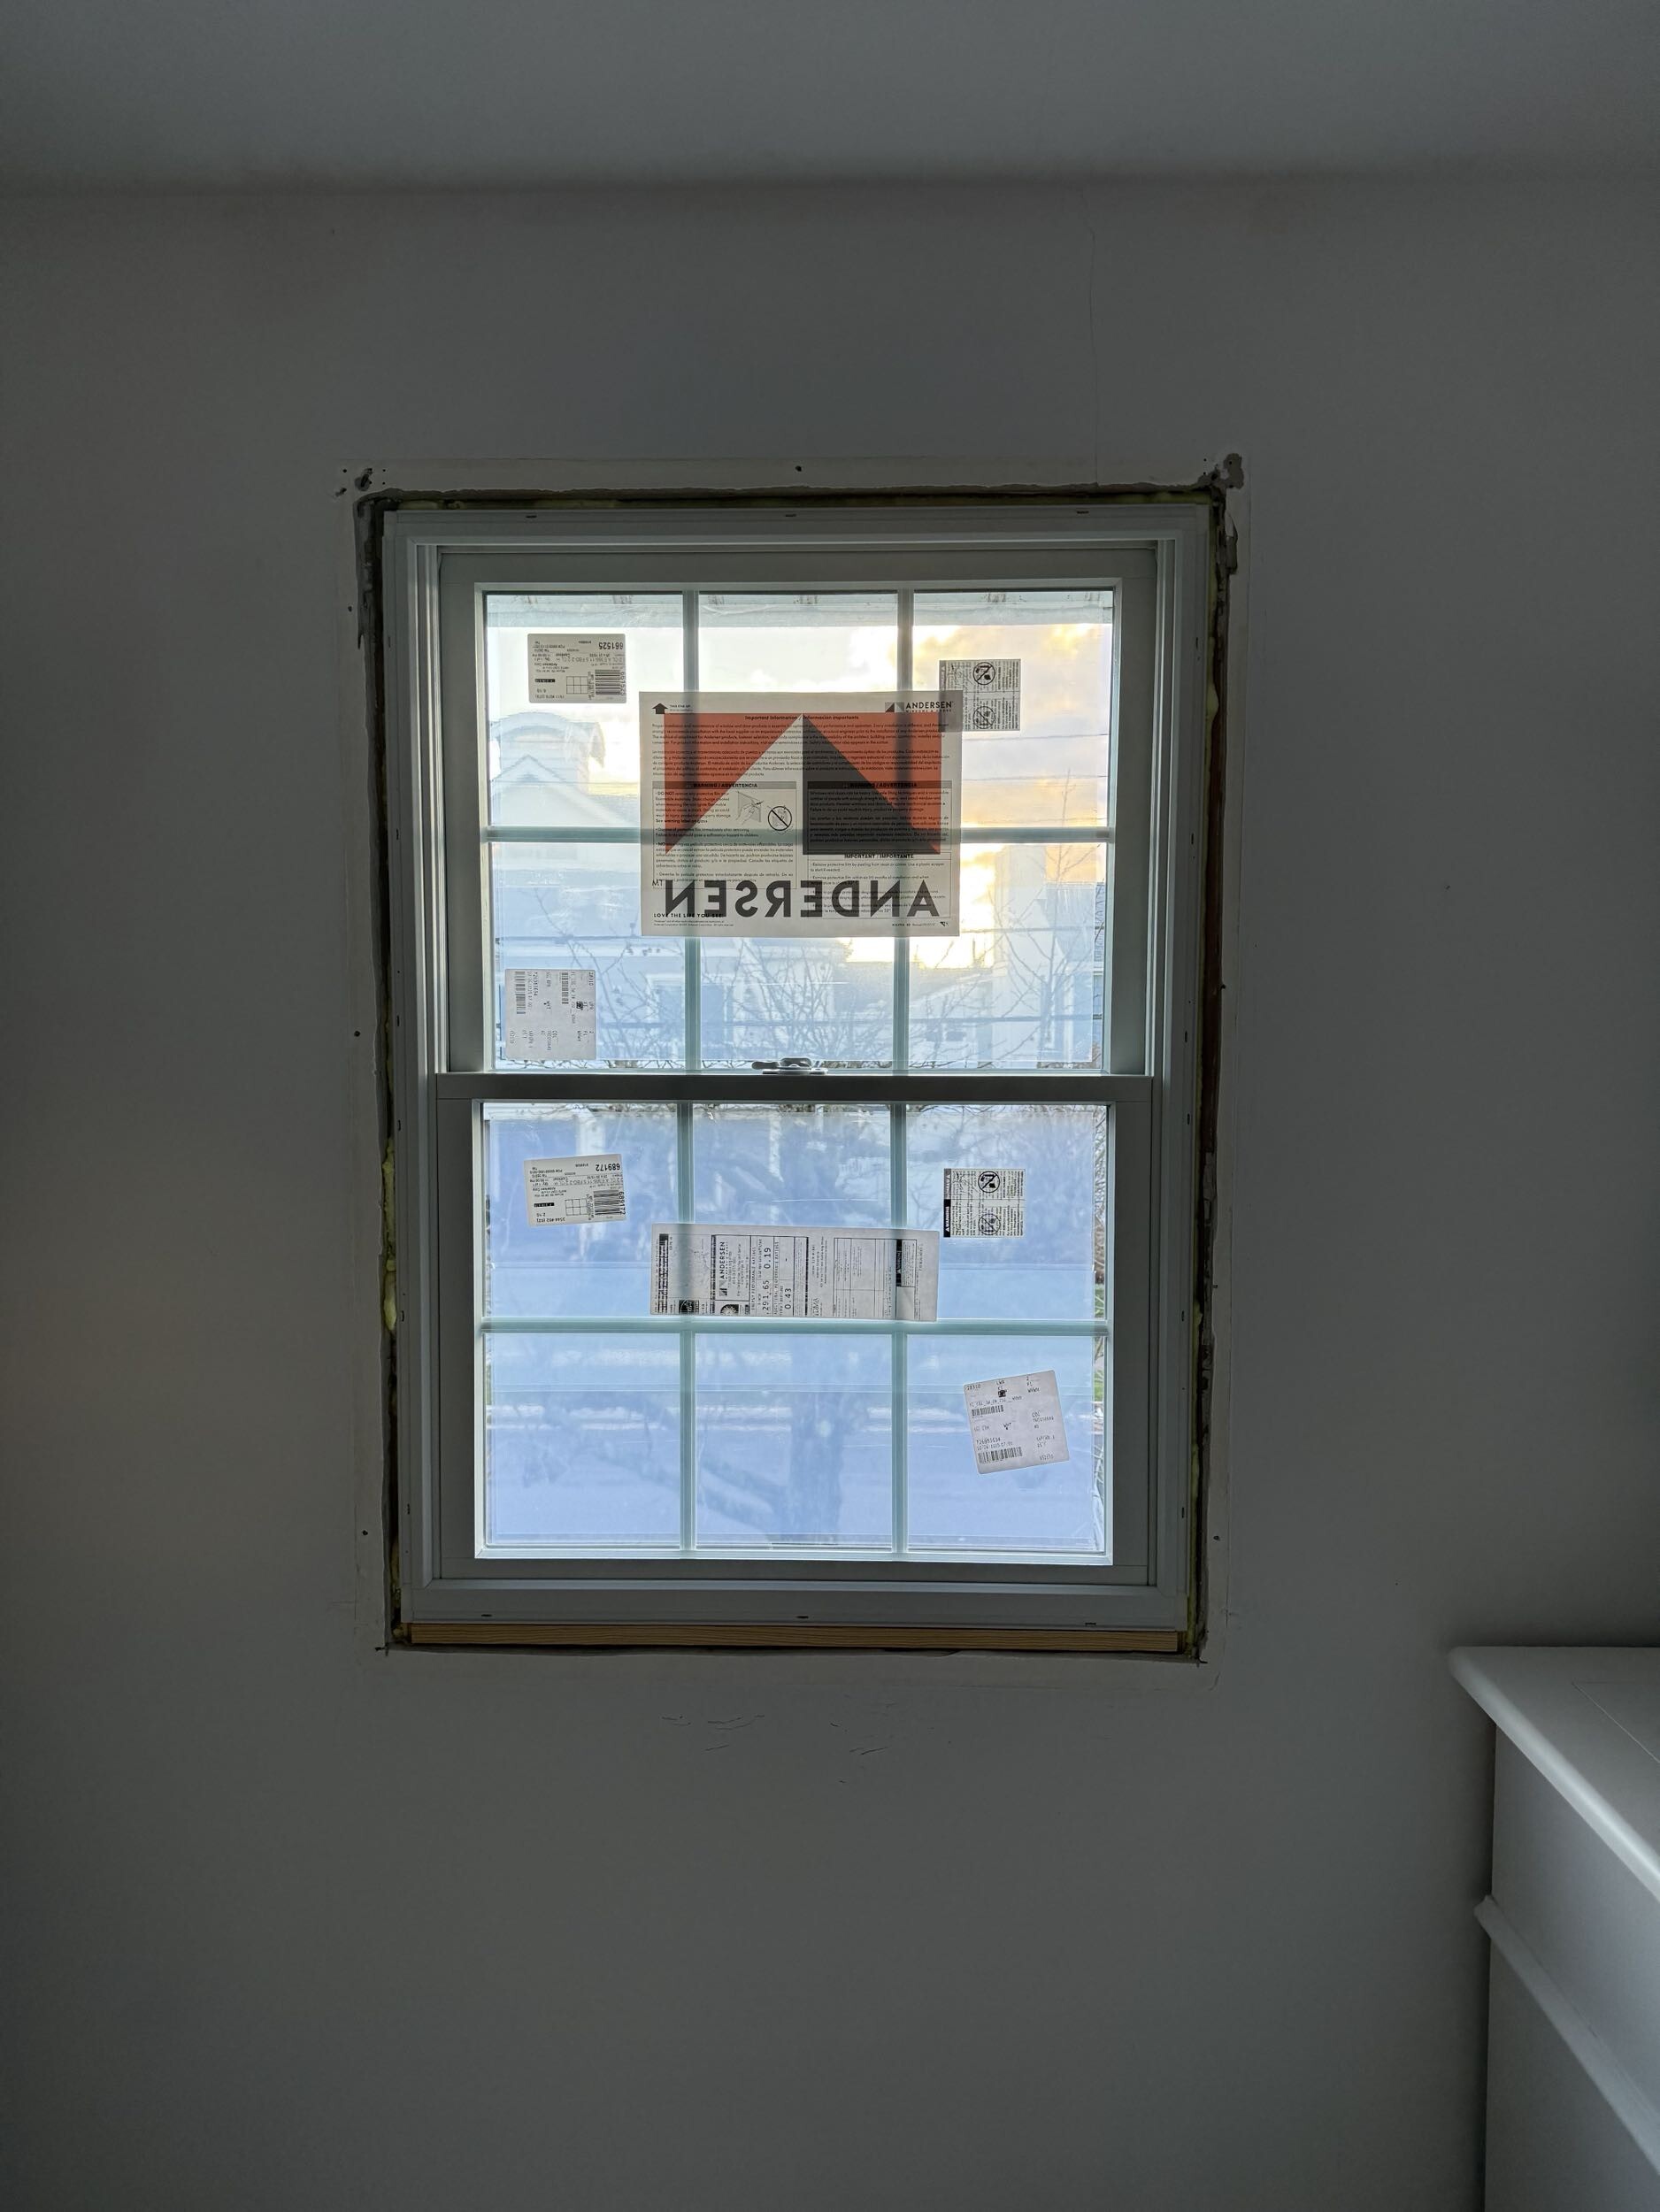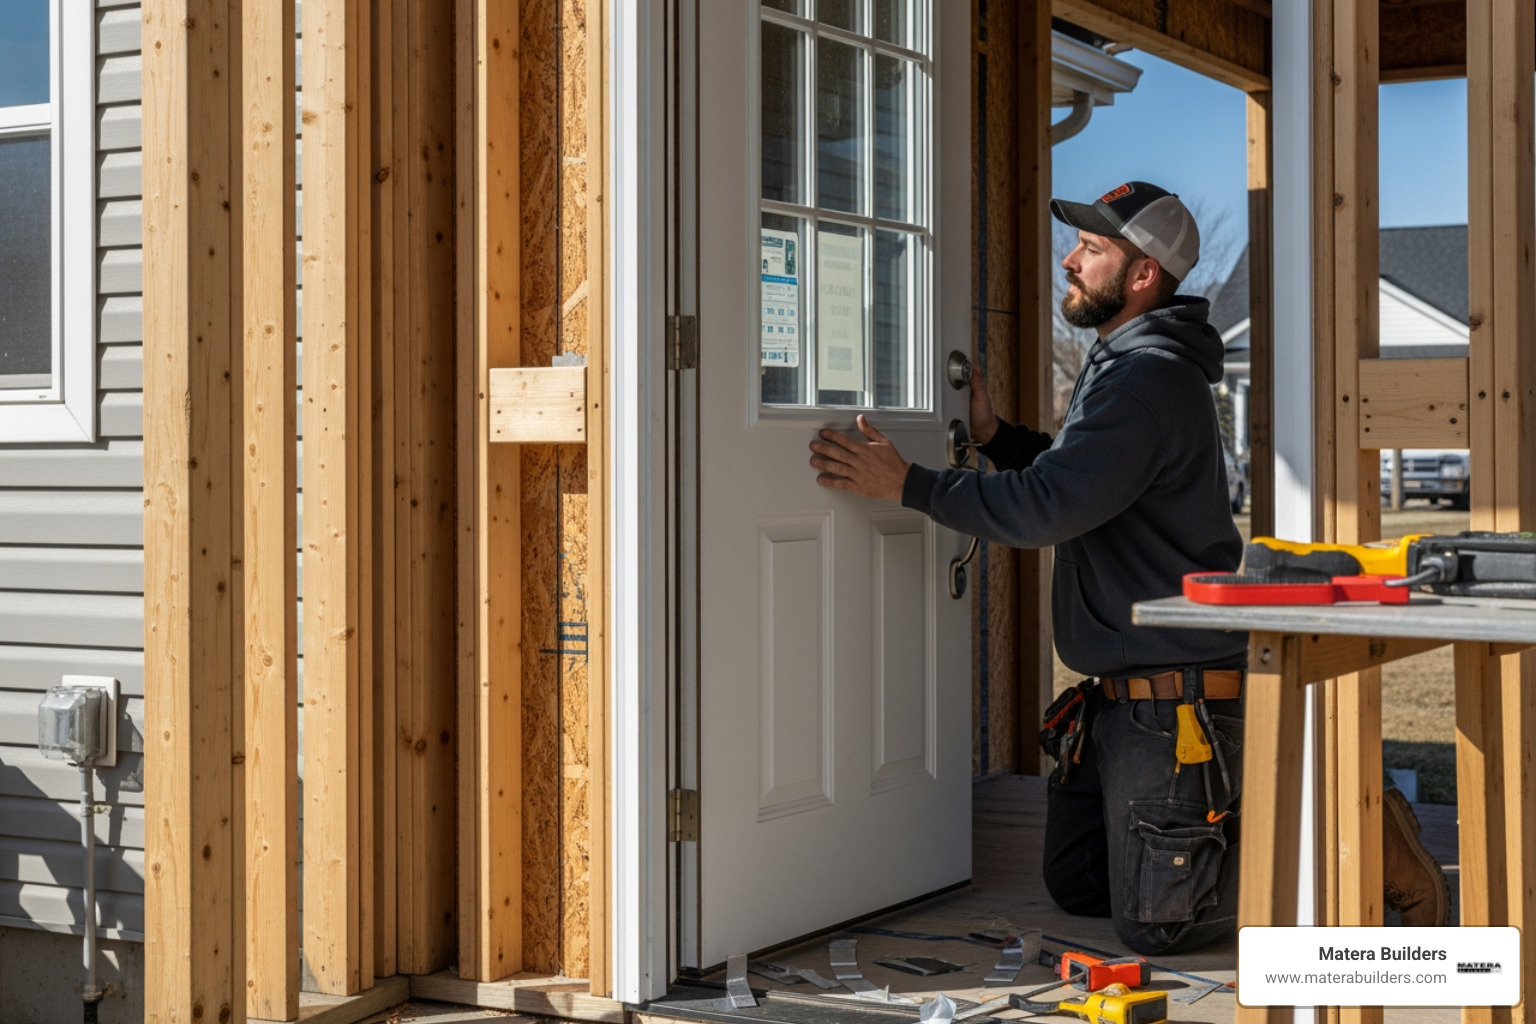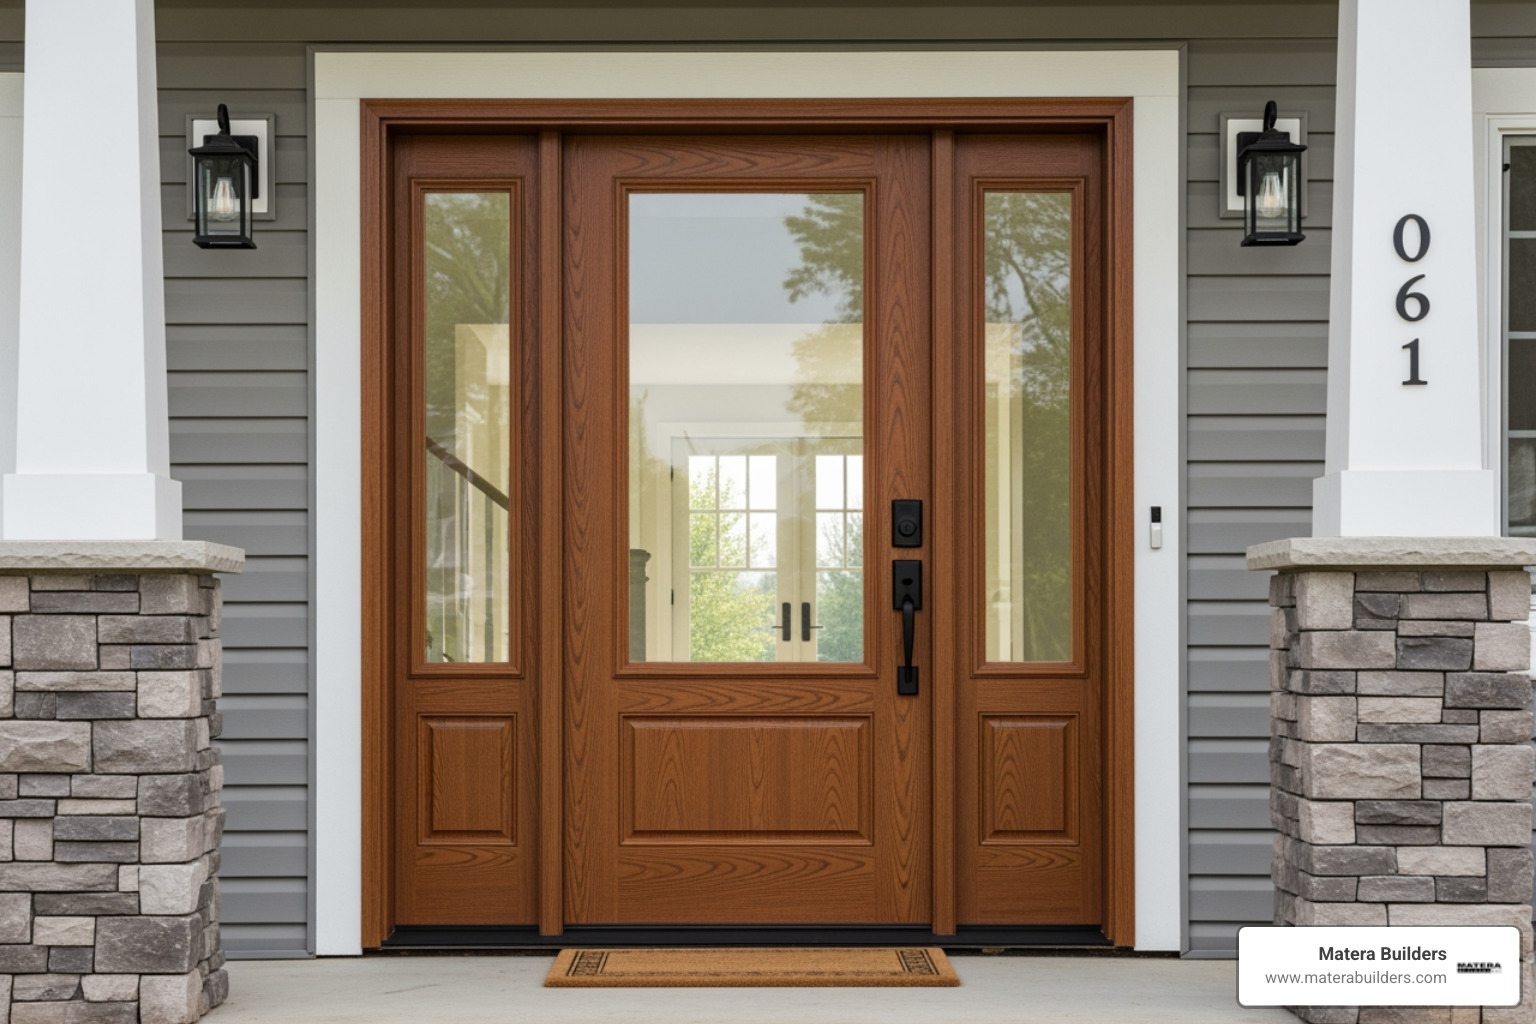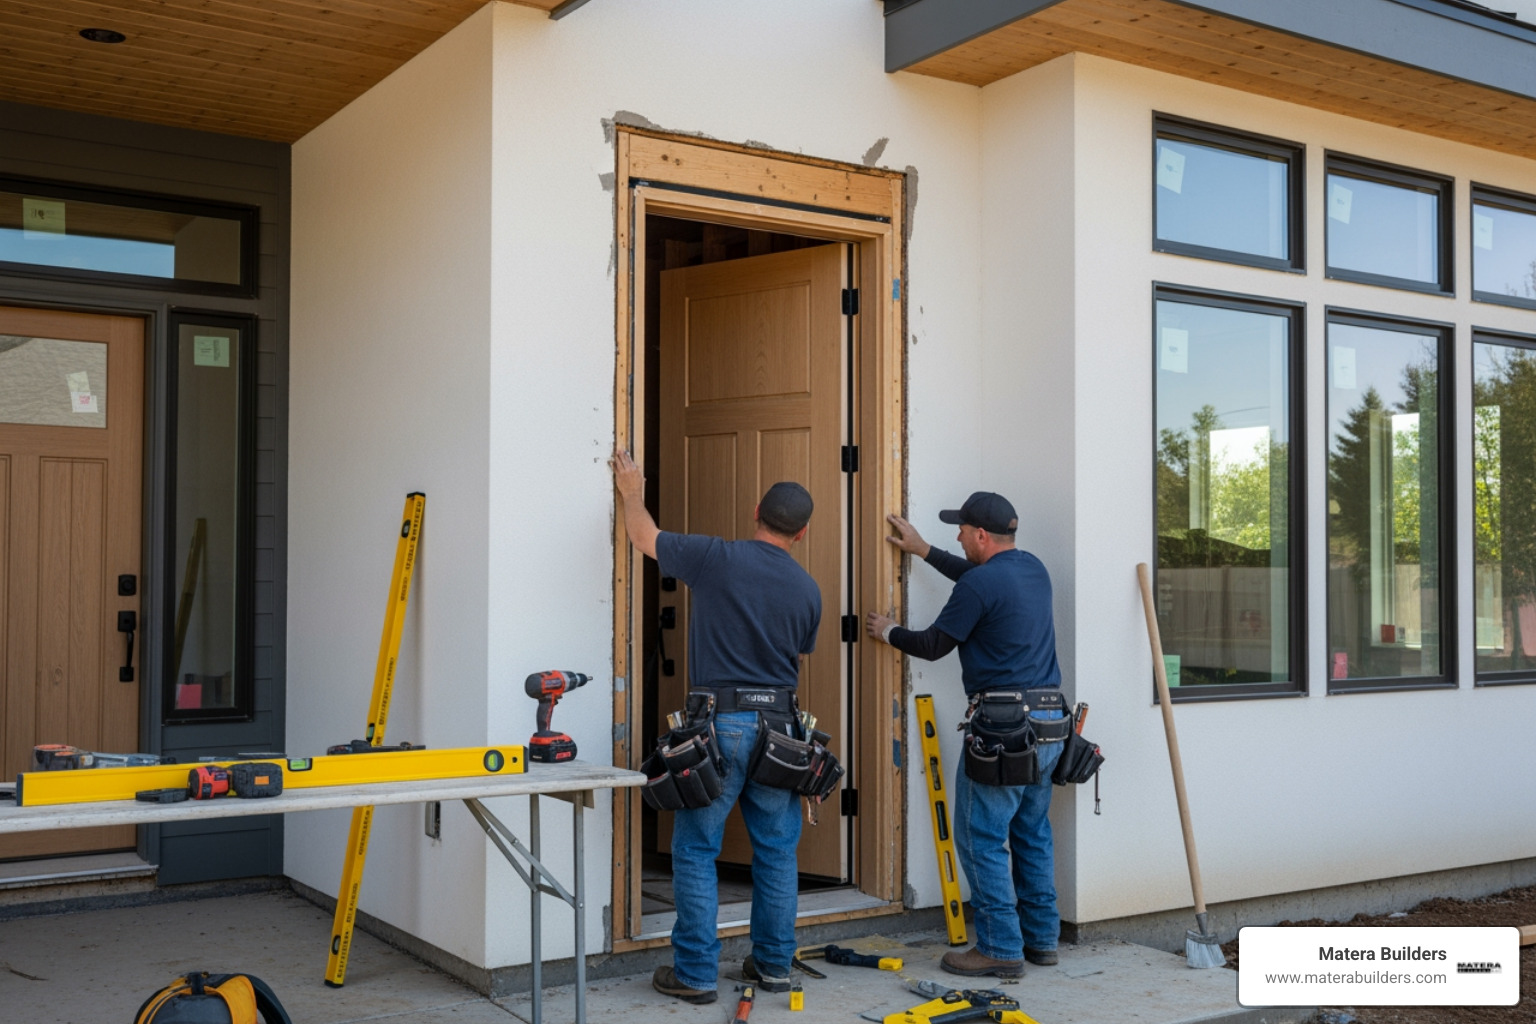



Why Proper Installation Makes or Breaks Your Windows and Doors
Installing windows and doors the right way is the difference between a home that stays dry, comfortable, and energy-efficient -- and one that leaks, drafts, and costs you more every month.
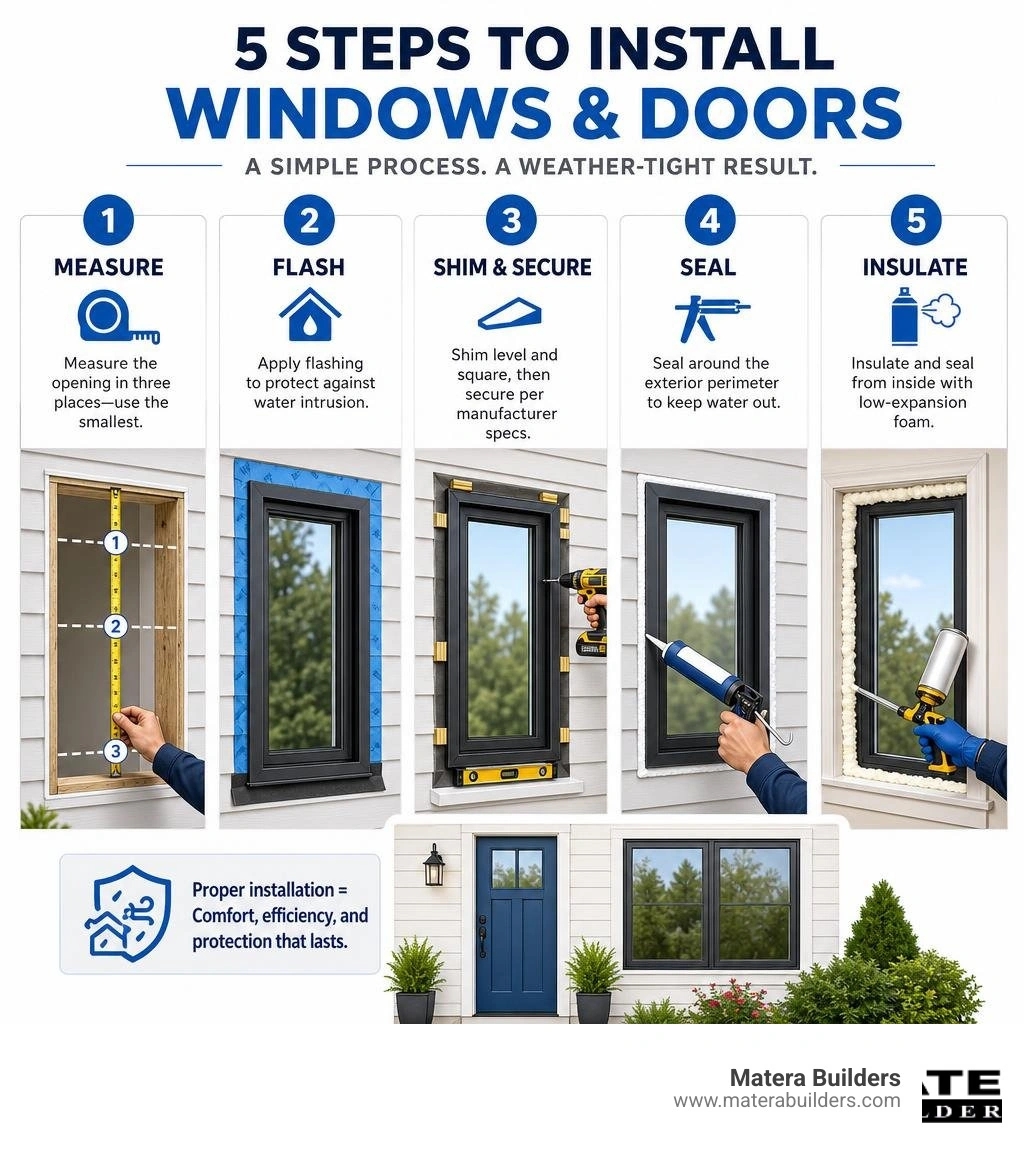
Here is a quick overview of what proper installation involves:
- Choose the right installation type -- new construction, pocket replacement, or full-frame replacement
- Measure accurately -- take three measurements of width and height; use the smallest
- Prepare the rough opening -- check plumb, level, and square before anything goes in
- Apply flashing and sealant -- protect against water intrusion from the outside
- Shim and secure the unit -- keep it square and fastened per manufacturer specs
- Insulate and seal from inside -- use low-expansion foam; never seal weep gaps
- Inspect and clean up -- confirm operation, drainage, and a clean job site
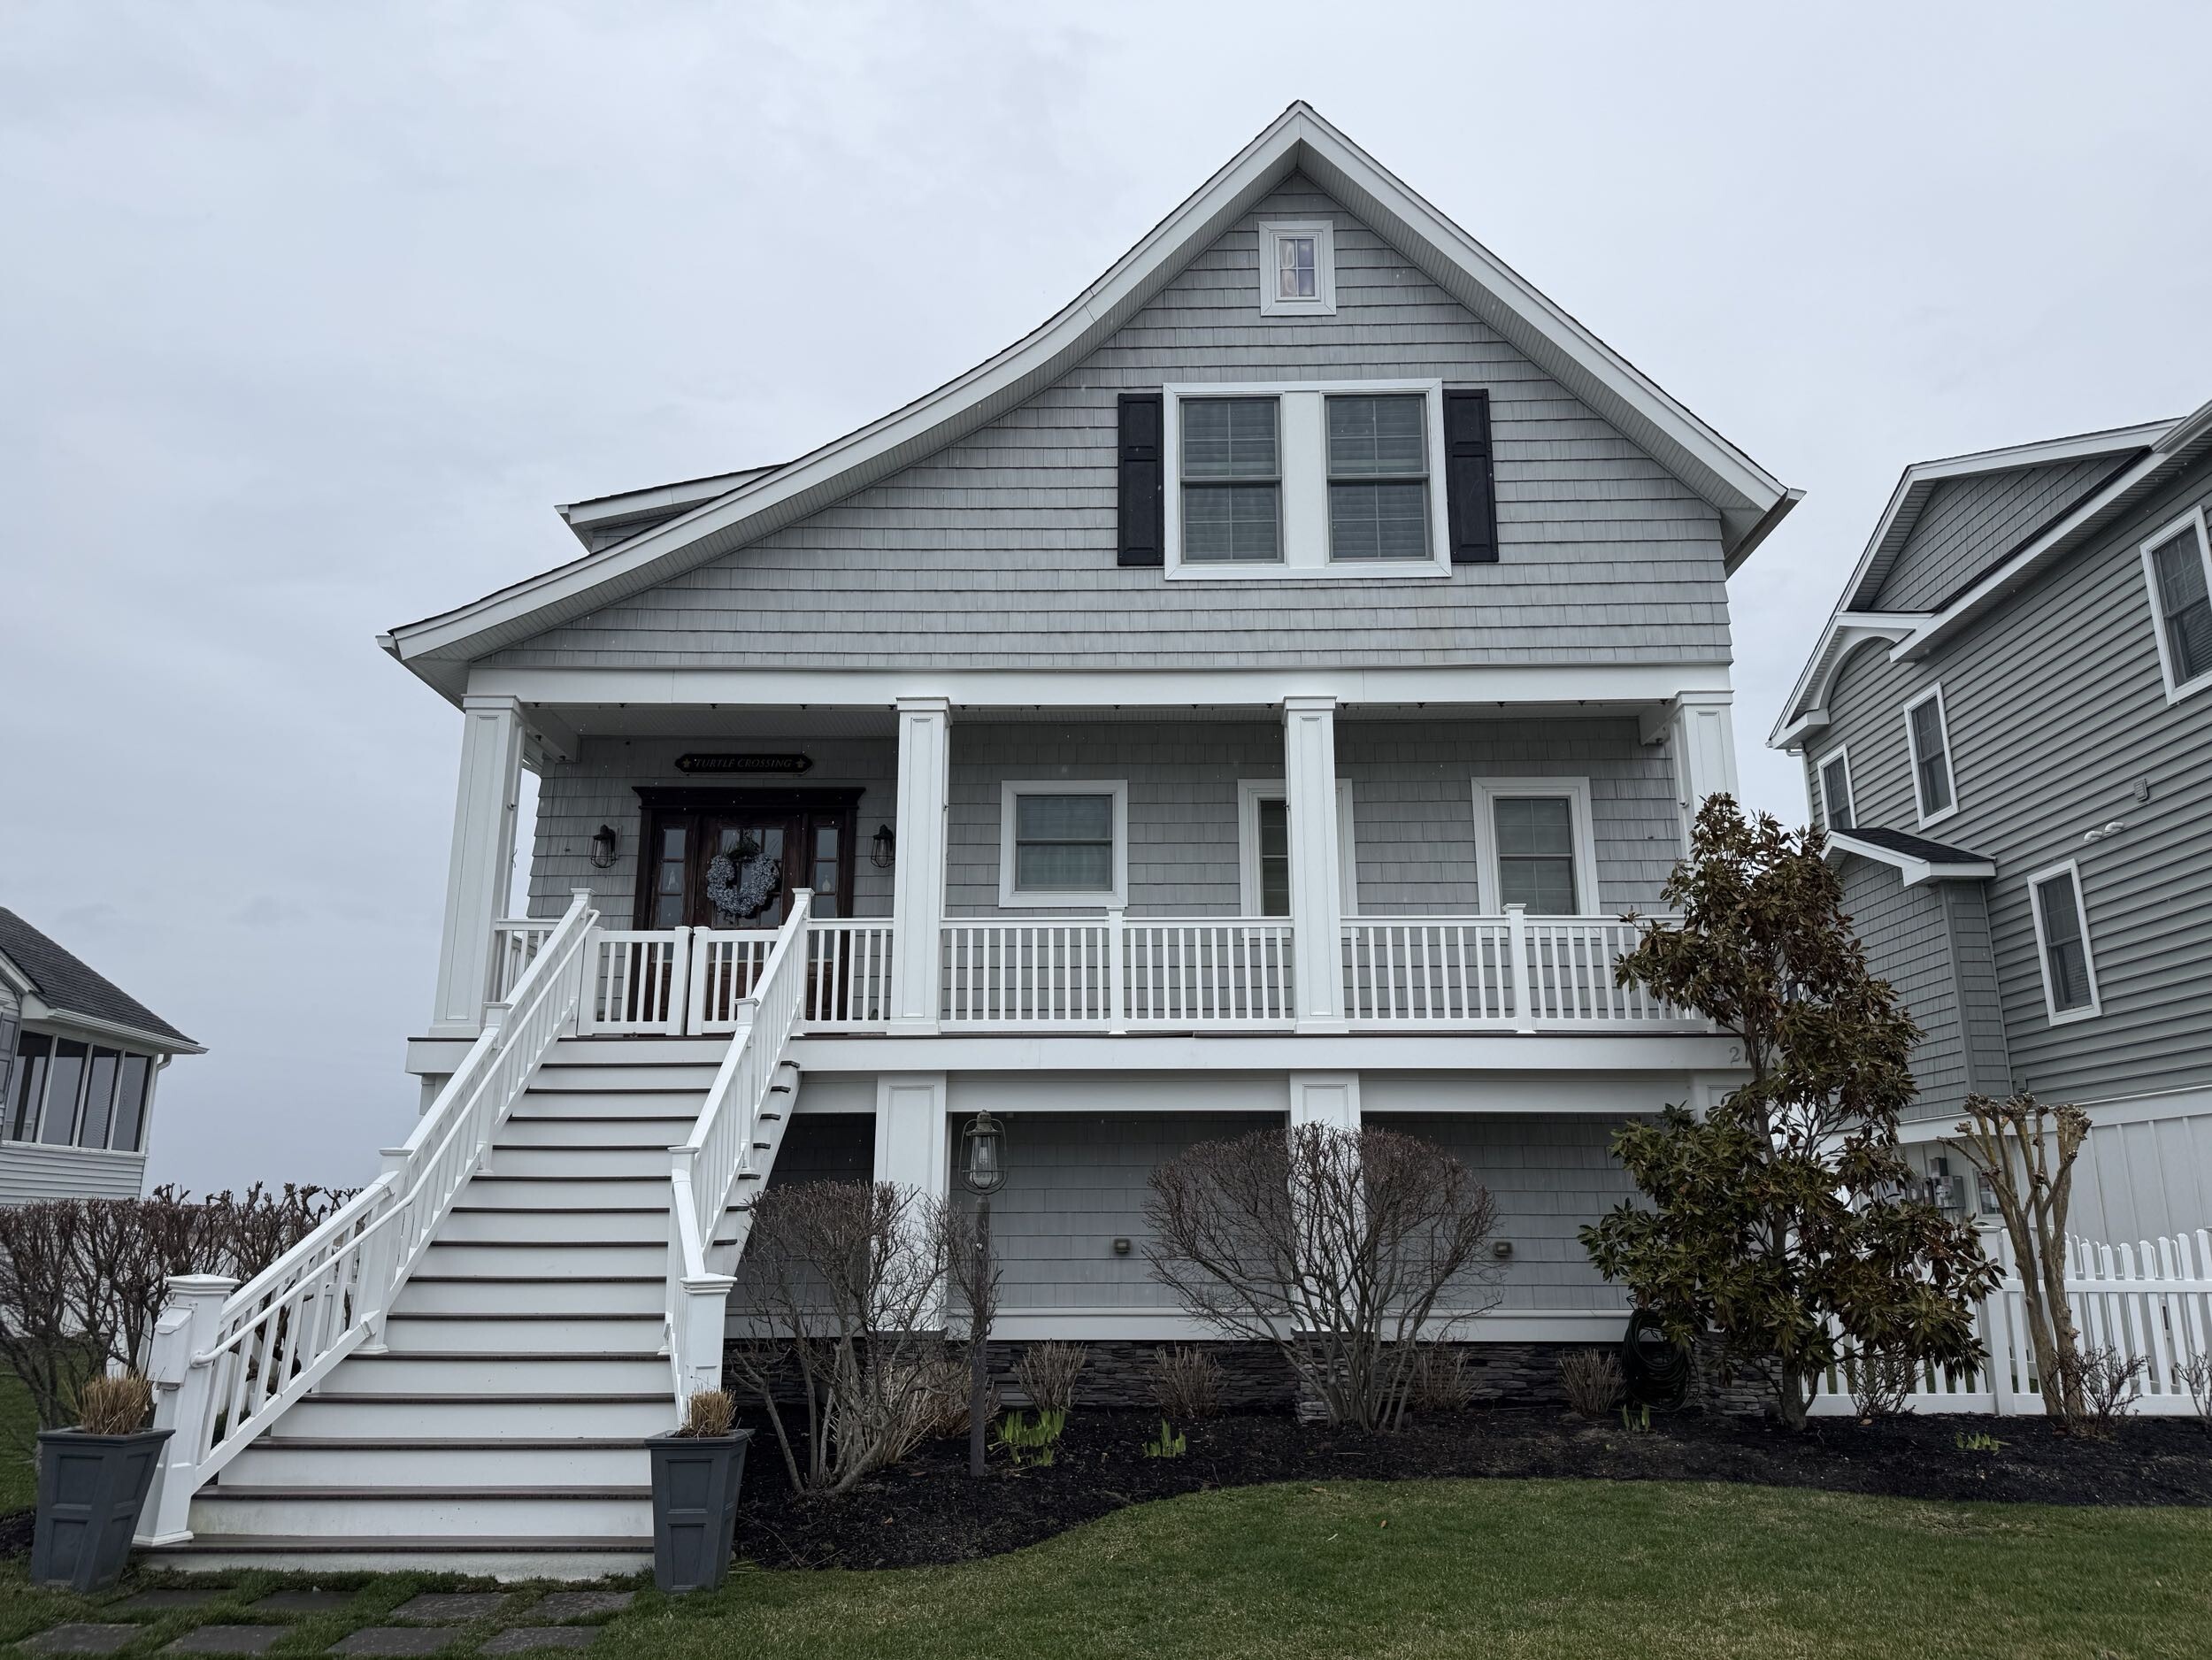
For New Jersey homeowners, the stakes are even higher. Salt air, wind-driven rain, and coastal humidity put real pressure on every seal, every fastener, and every frame. A window or door that looks fine at install can fail within a few seasons if the flashing is wrong or the foam was overapplied.
The good news? Most of these problems are completely preventable with the right process.
I'm Mike Werner, CEO of Matera Builders, a premium exterior renovation contractor with deep experience installing windows and doors in coastal and high-humidity markets along the Jersey Shore. In the sections below, I'll walk you through exactly how we approach installation -- from measuring the rough opening to final weatherproofing -- so you know what quality work actually looks like.
Quick look at installing windows and doors:
- average cost of window replacement per window
- cost of putting in new windows
- energy efficient windows nj
Understanding Window Installation Types: New Construction vs. Replacement
When you plan to upgrade your home, you must first choose the right installation method. There are two primary ways to approach this project.
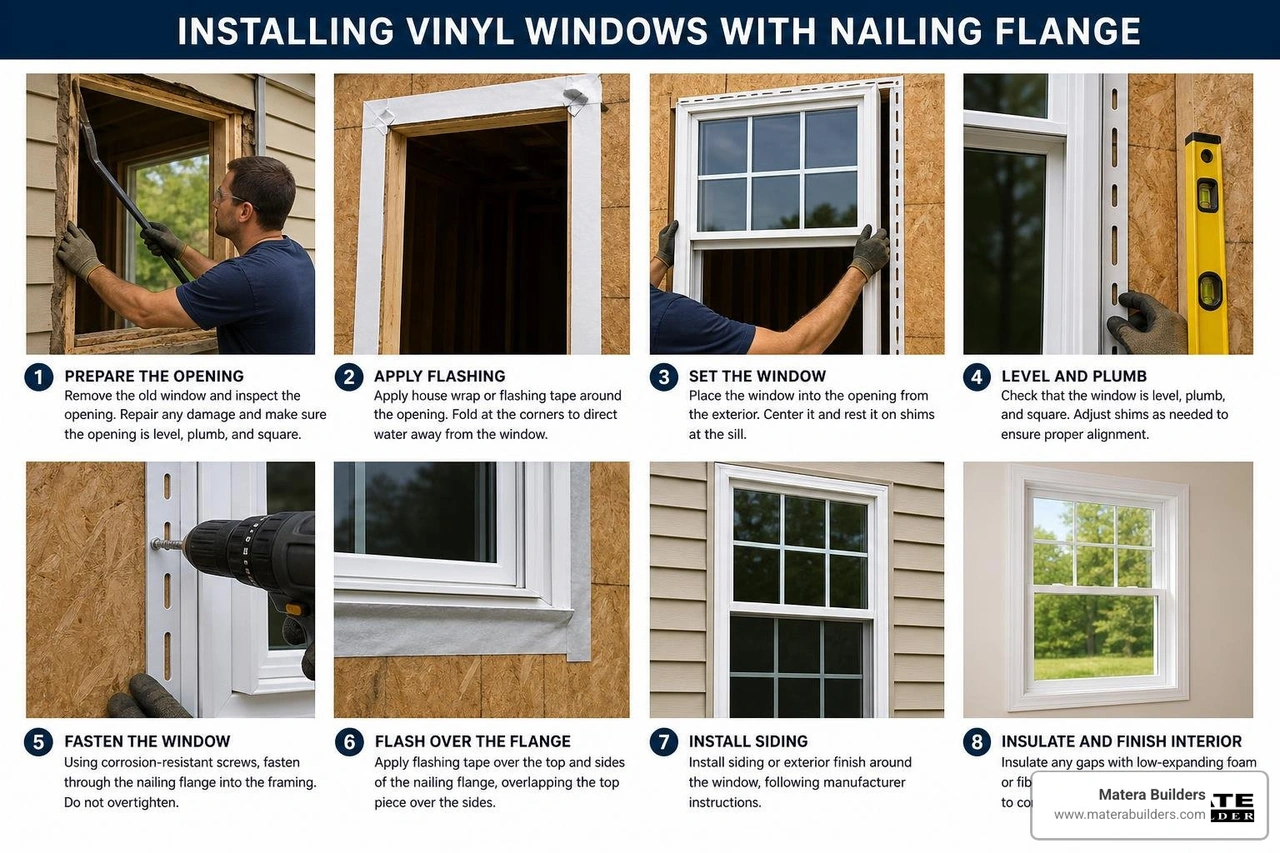
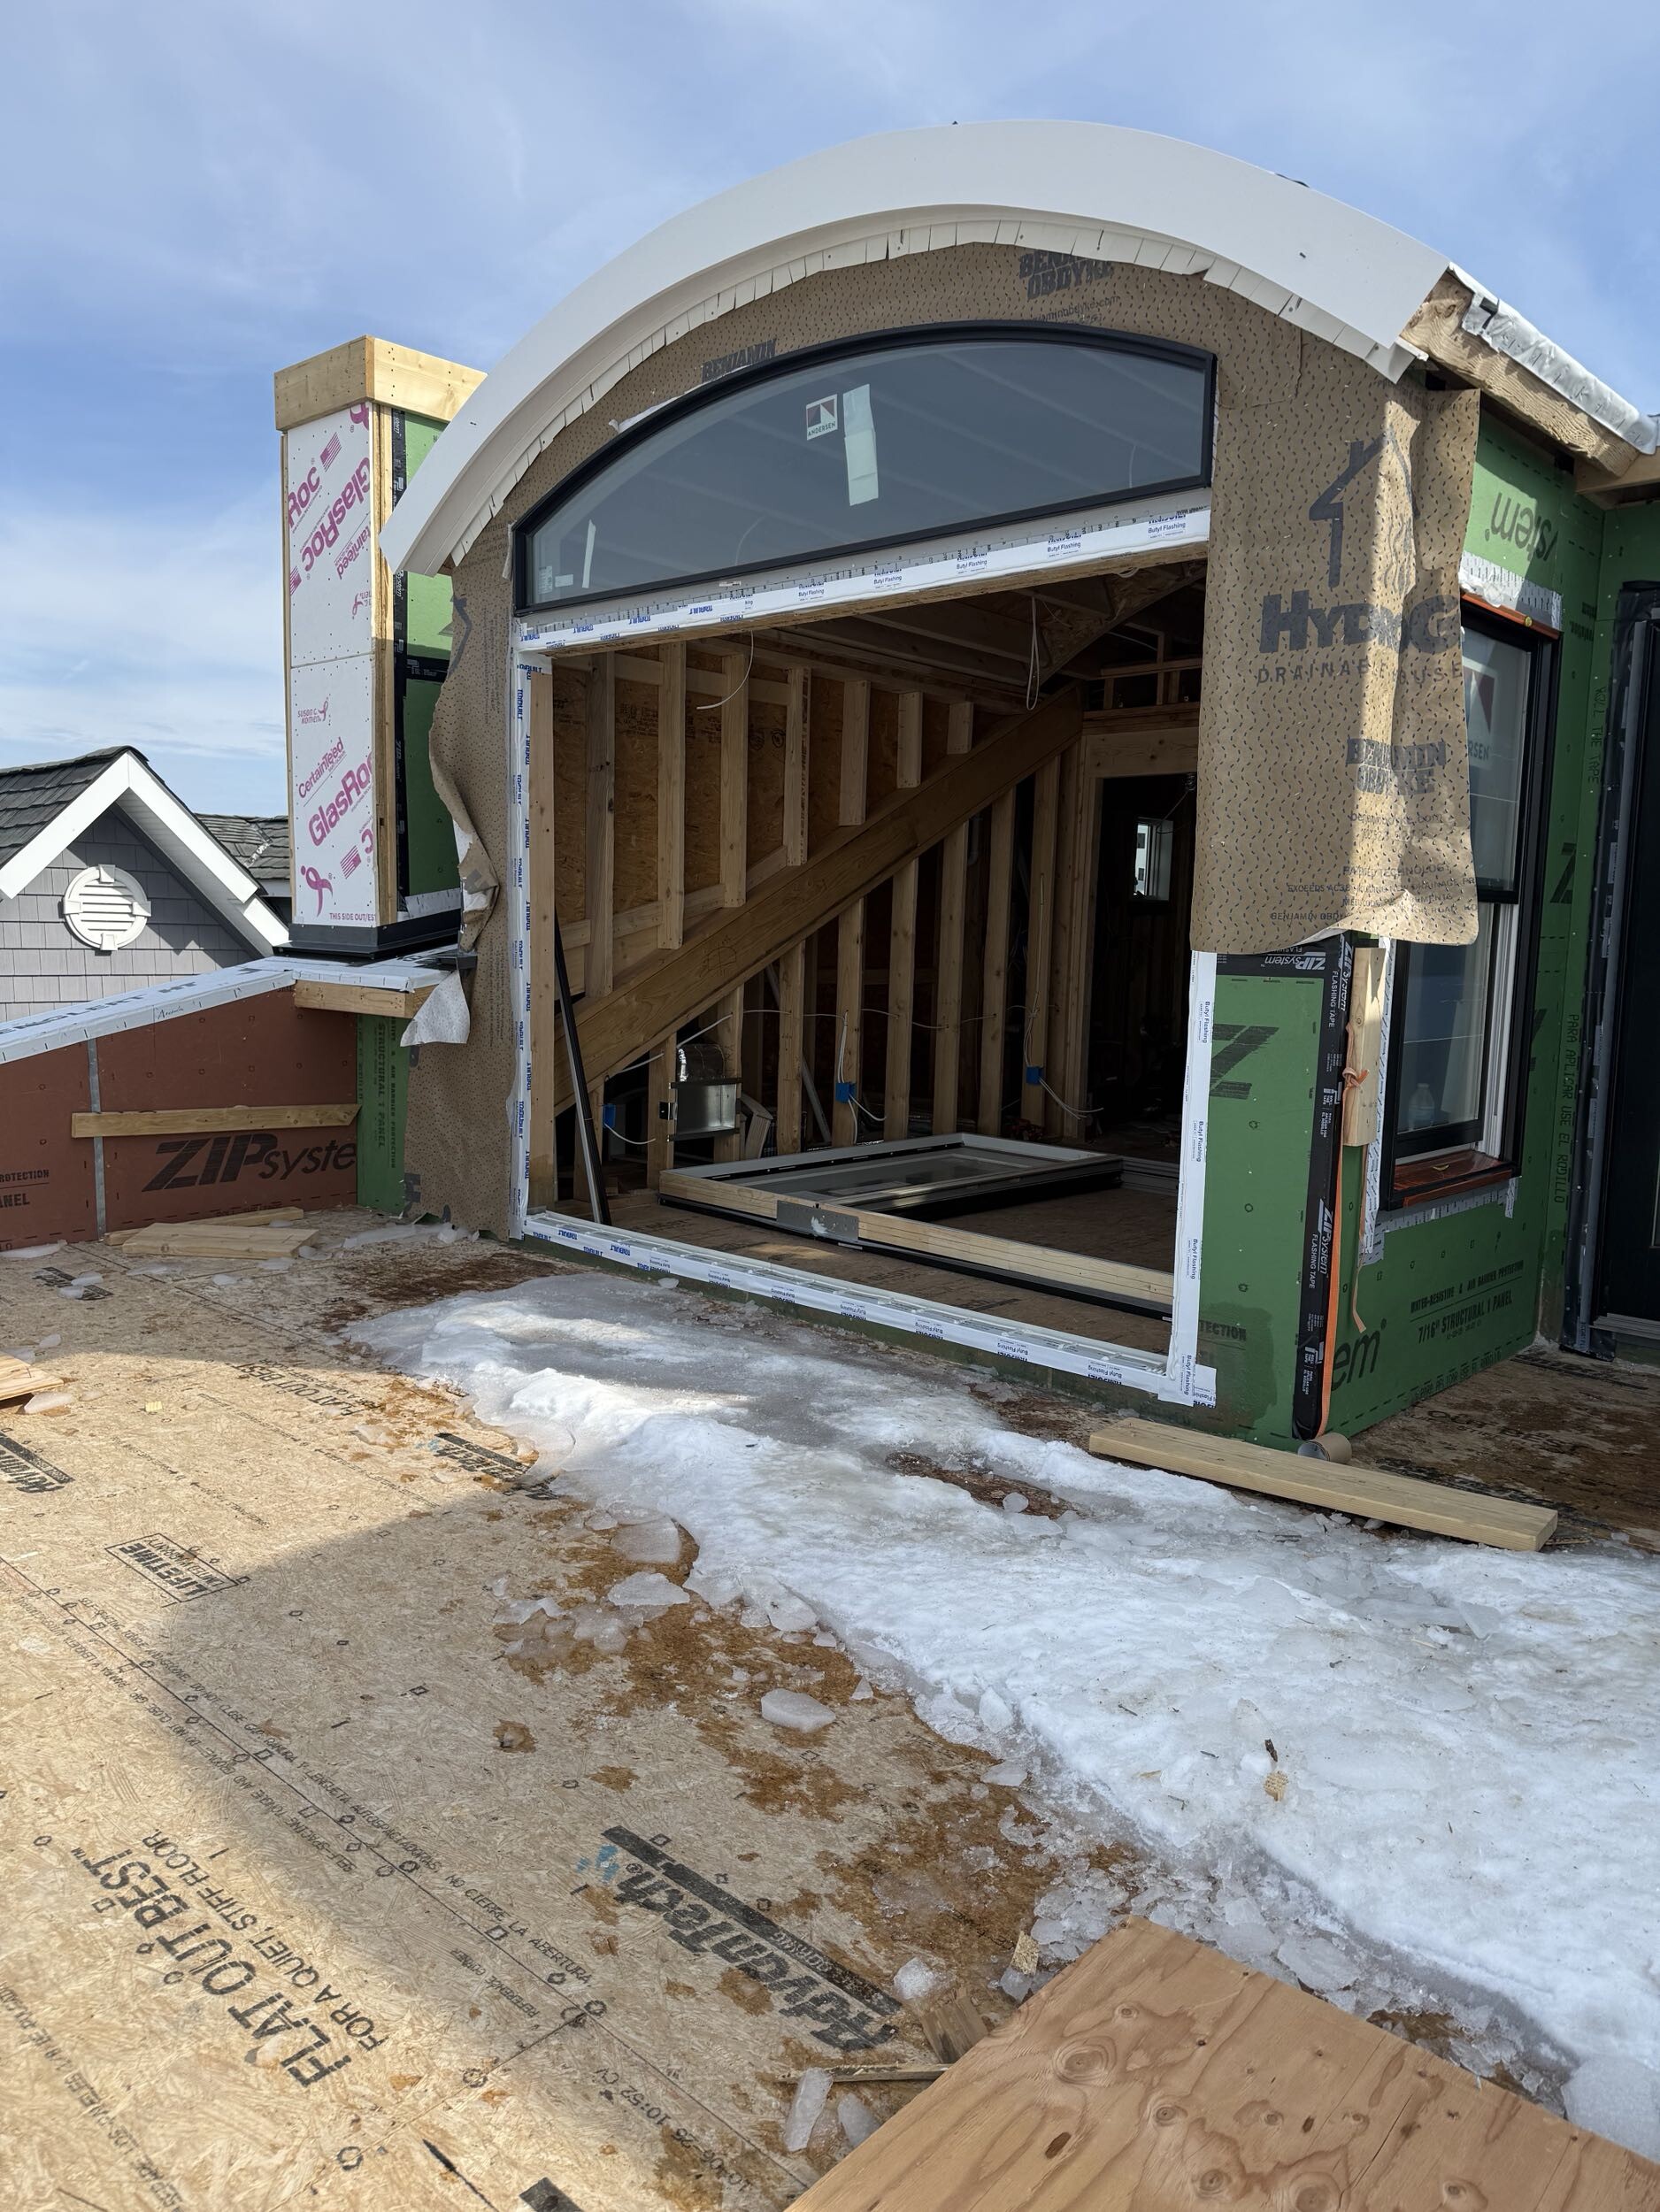
The first is new construction window installation. This method is used when the wood studs of your home are completely exposed. You will see this in brand new homes or during major home renovations where the exterior siding is stripped away. New construction windows have a flat plastic or metal piece around the outside frame. This is called a nailing flange or nailing fin. Installers drive nails or screws through this flange directly into the house framing.
The second method is replacement window installation. This is also called remodel installation. It is the most common path when you want to replace old windows without tearing up your siding or interior plaster. Within replacement installation, you have two choices:
- Pocket Replacement: This is also called insert installation. The new window fits directly inside the existing window frame. We only remove the old glass and operating parts (sashes). The original wood frame and interior trim stay completely in place. This is a great choice if your existing wood frame is still solid and free of rot.
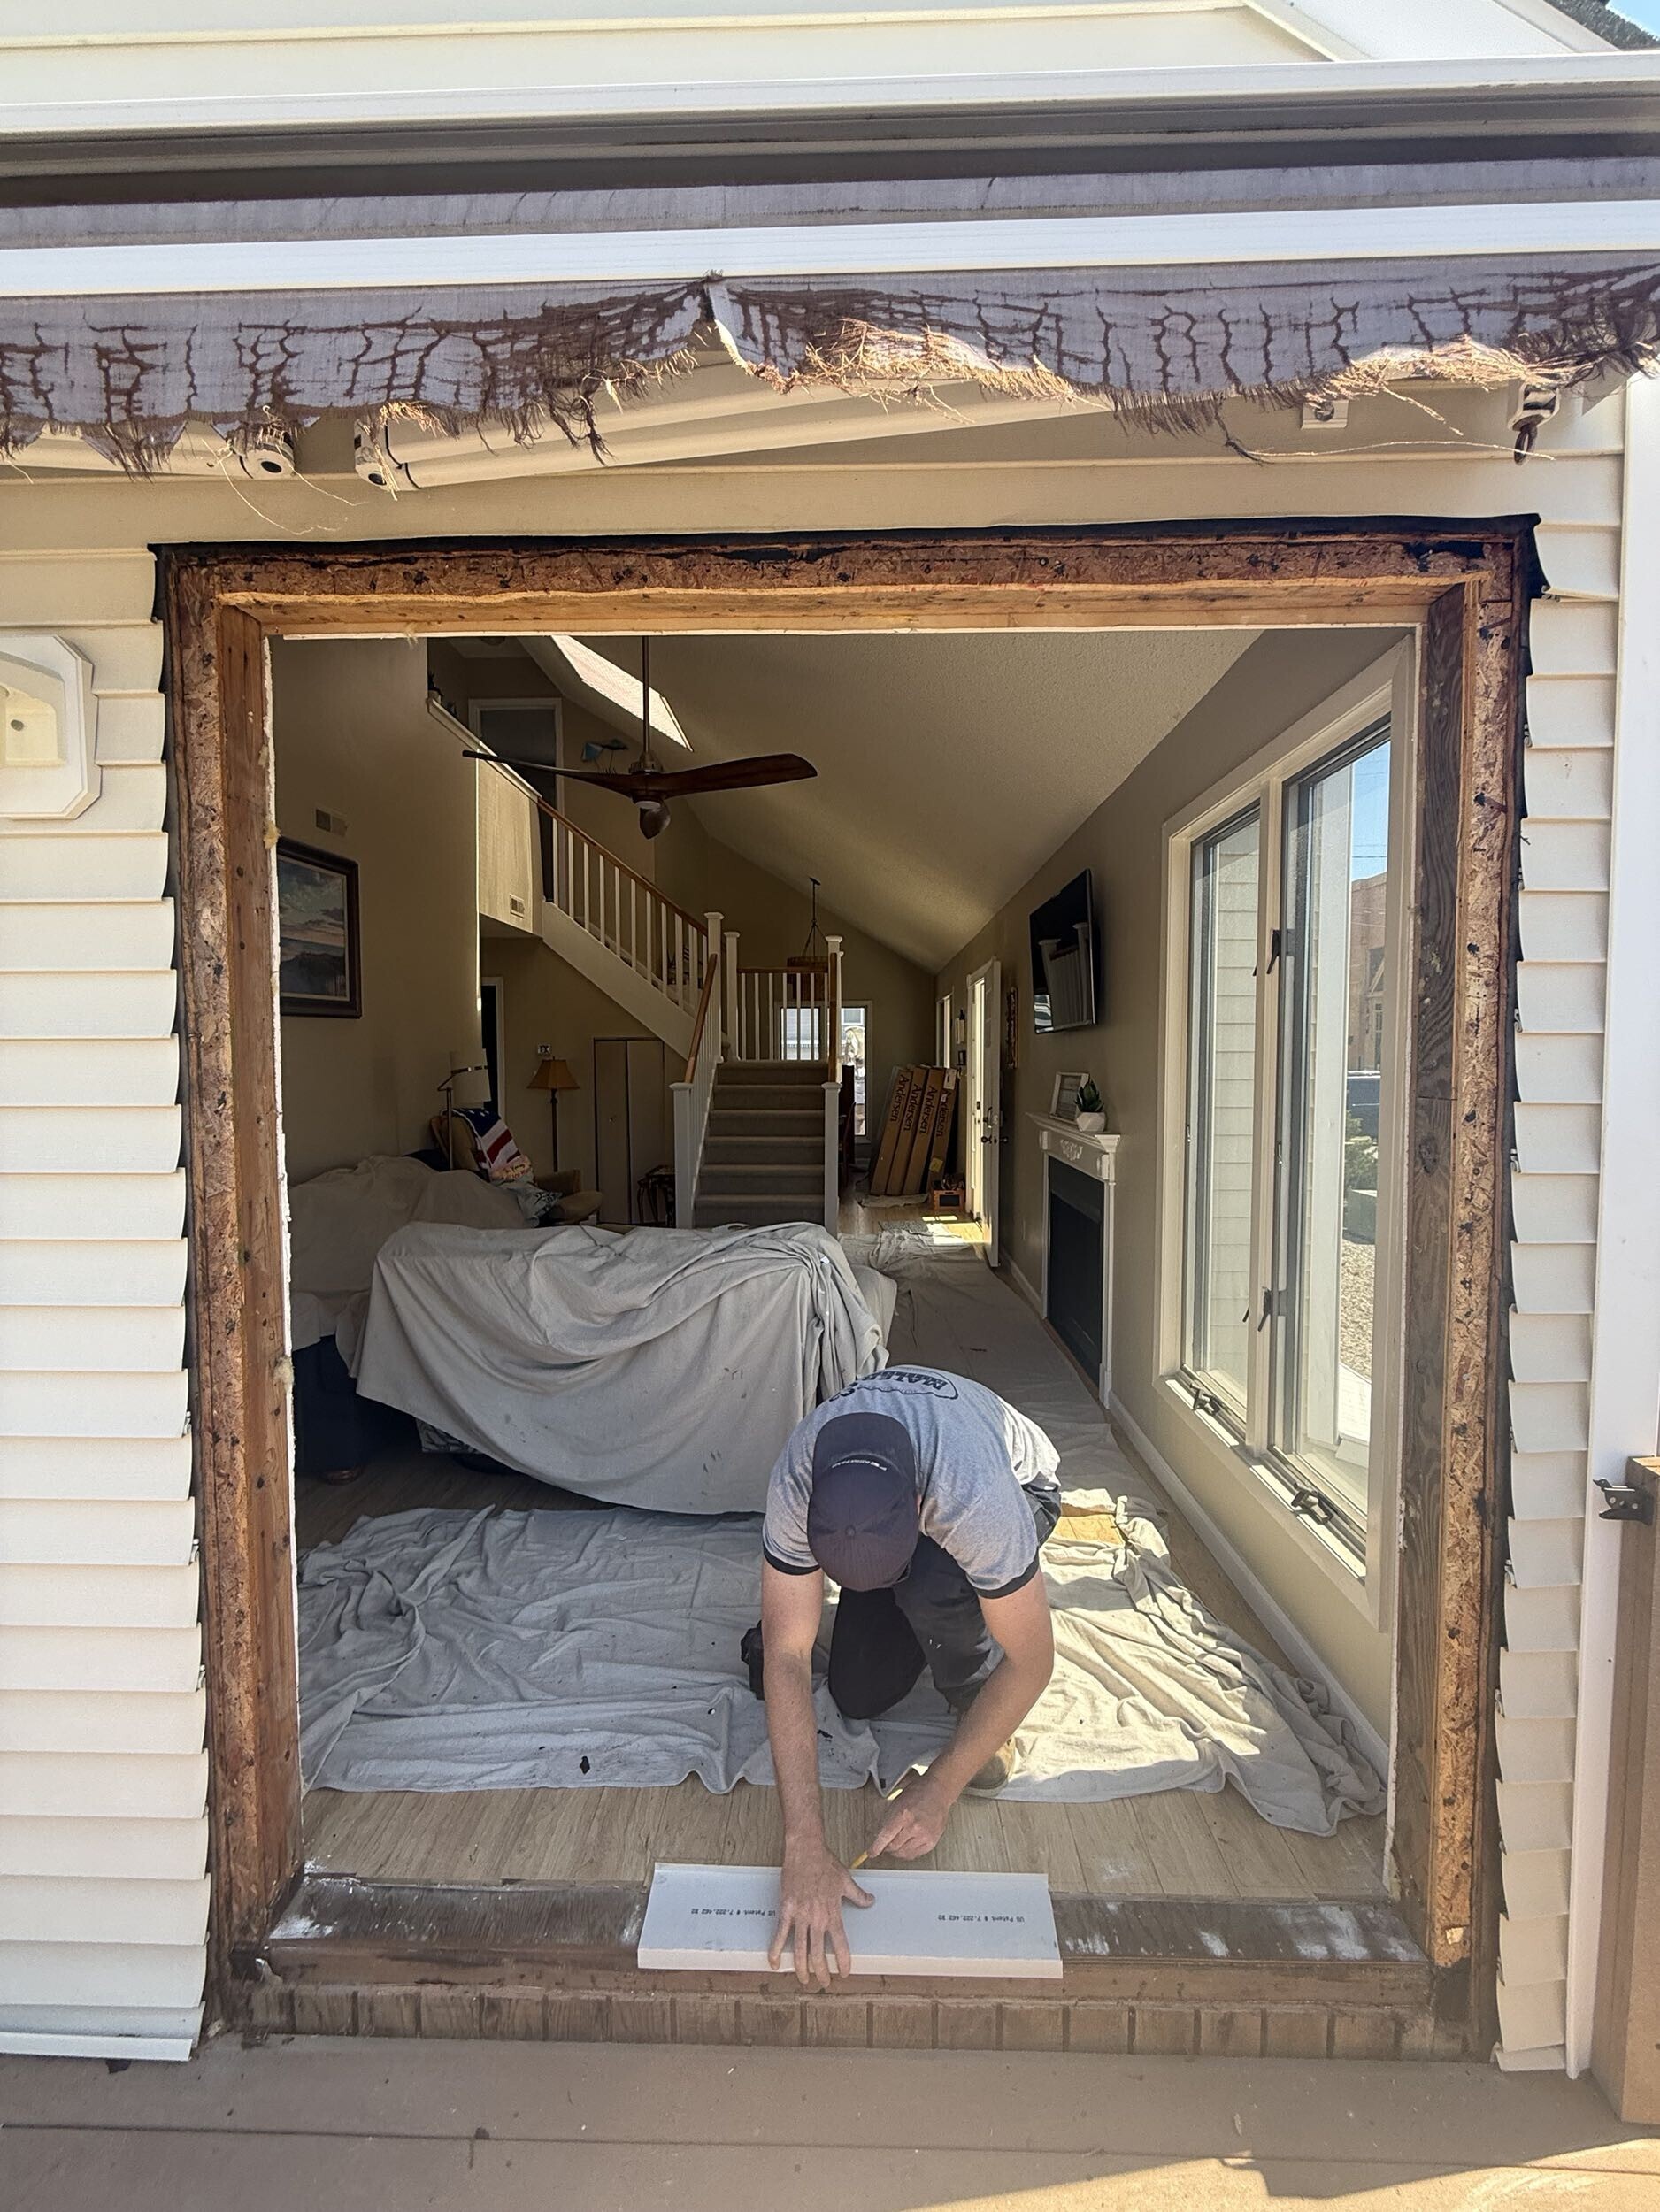
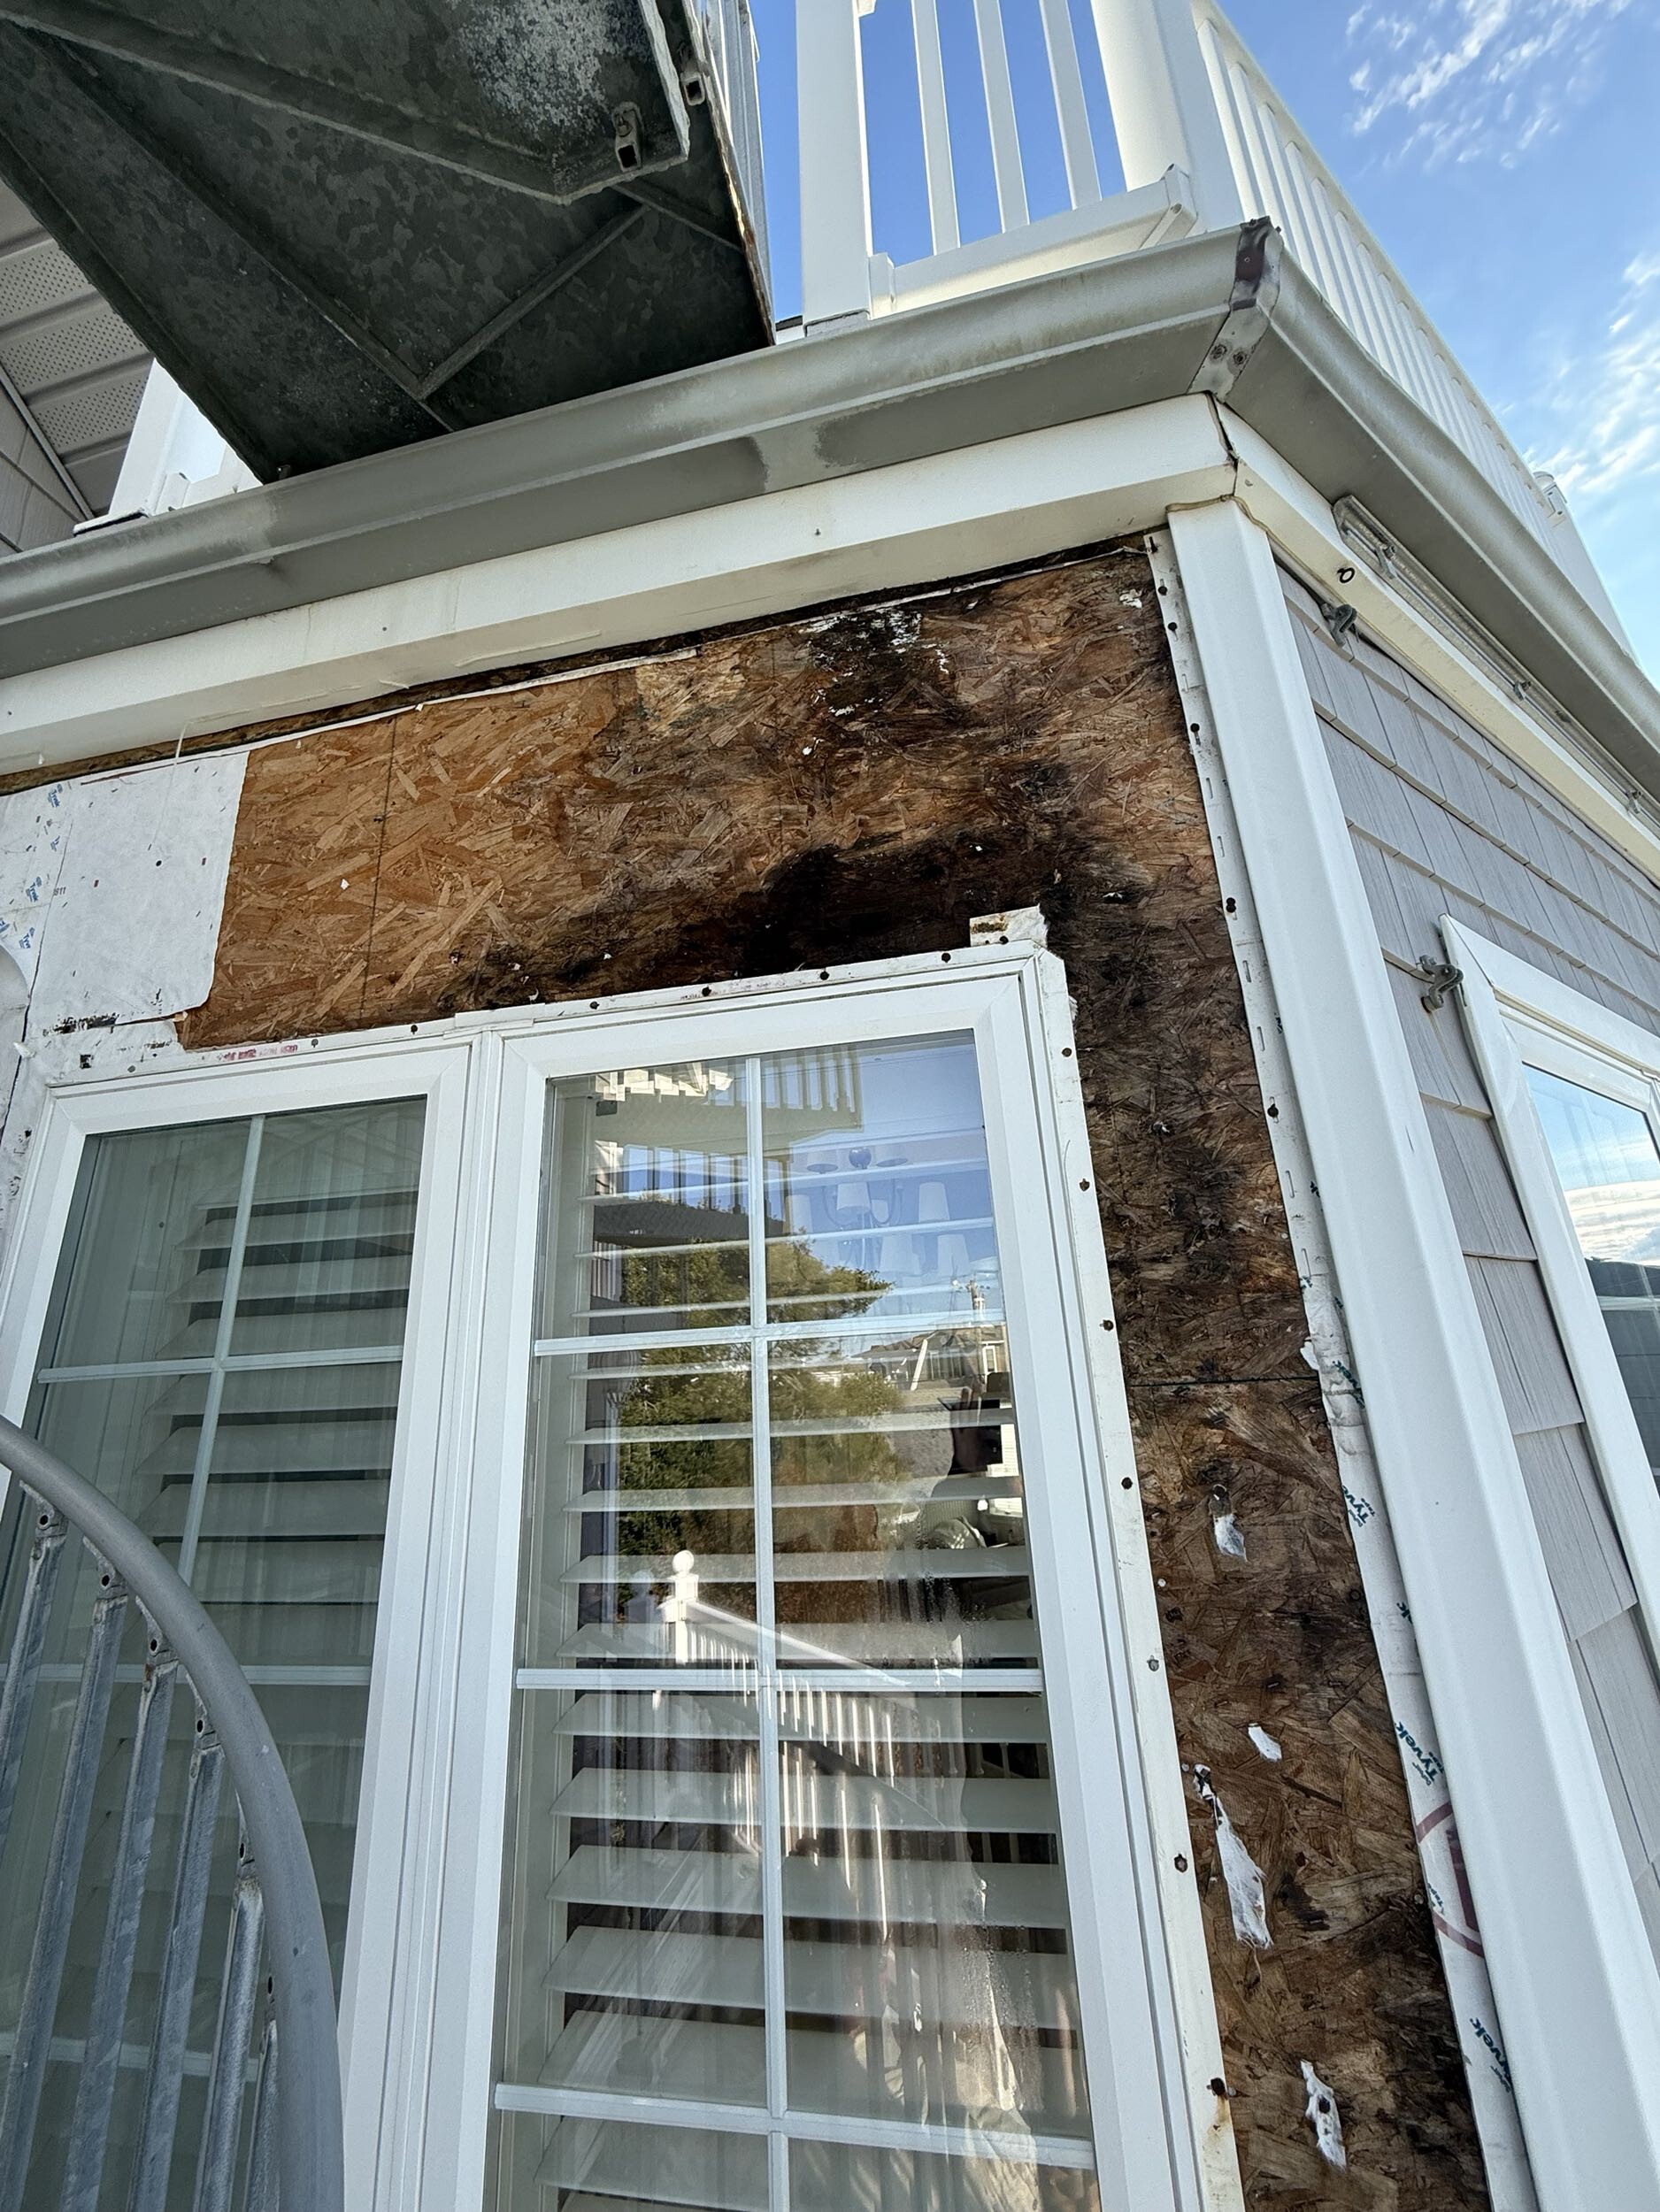
- Full-Frame Replacement: We remove the entire old window, including the frame and trim. This allows us to inspect the rough opening for hidden water damage. It is the best choice if you have rotting wood or want to maximize your glass viewing area.
Choosing the right method is essential for fitting new windows properly. It keeps your home protected from the harsh Jersey Shore weather.
FeatureNew ConstructionPocket ReplacementSiding RemovalRequiredNot RequiredInterior Trim RemovalYes, new trim neededNo, original trim staysNailing FlangeYes, secured to studsNo, secured through frameGlass AreaMaximizedSlightly reducedBest ForNew builds, additions, rotted wallsQuick upgrades, intact frames
Measuring for a Perfect Fit
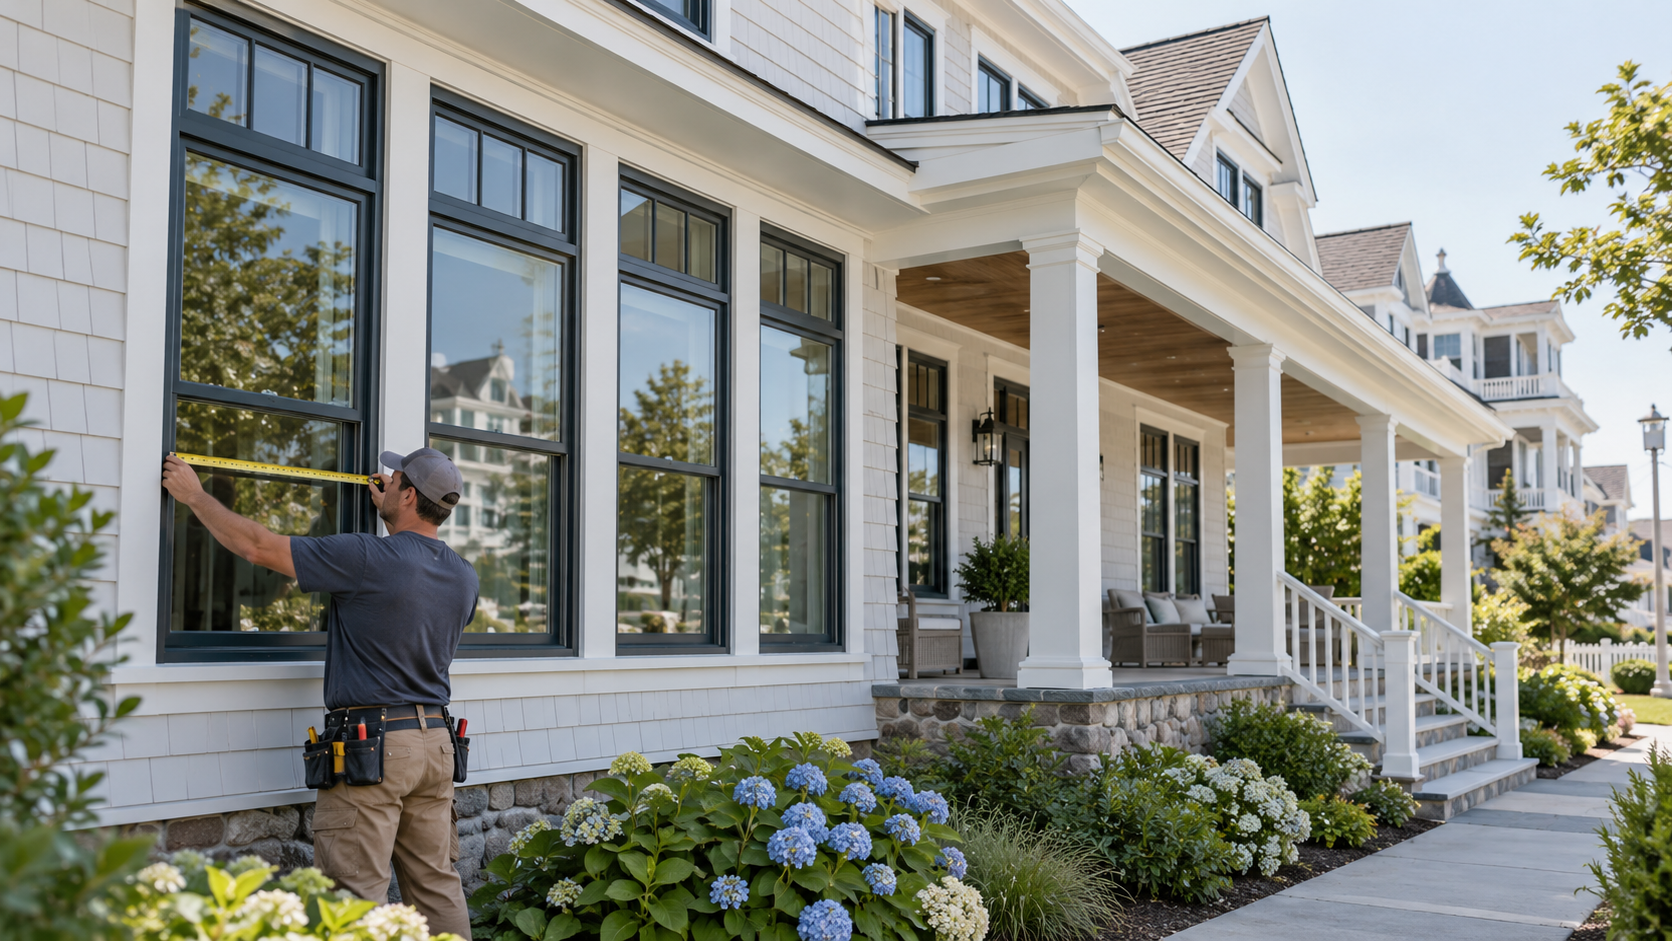
You must measure your window opening correctly before ordering any materials. A replacement window should be approximately 3/4 inches smaller than the existing opening. This clearance gives you enough room to shim, level, and insulate the unit. If the window is too tight, you will not have room to adjust it. If it is too loose, you will have large gaps that are difficult to seal.
To measure for a pocket replacement window, follow these simple steps:
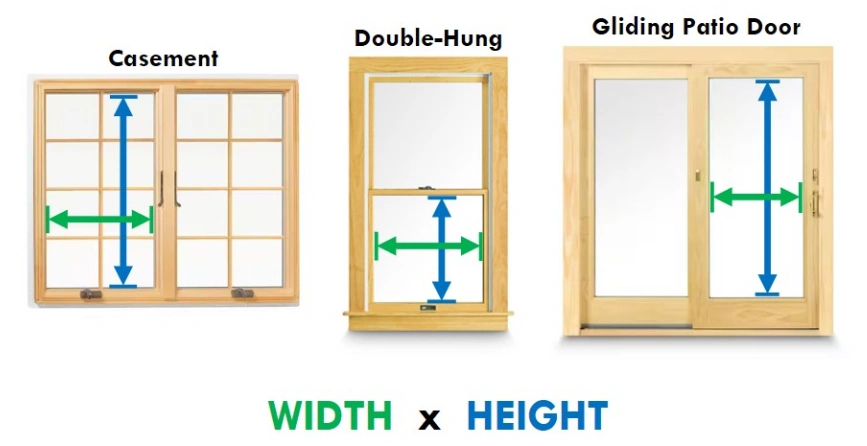
- Measure the Width: Measure the distance between the inside of the window jambs. Take three measurements: one at the top, one at the middle, and one at the bottom. Write down the smallest number.
- Measure the Height: Measure from the high point of the sill to the top of the window opening. Take three measurements: one on the left, one in the middle, and one on the right. Write down the smallest number.
- Check for Squareness: Measure the window diagonally from the top-left corner to the bottom-right corner. Then measure from the top-right corner to the bottom-left corner. If these two diagonal numbers are within 1/8 inch of each other, your opening is square.
Always use the smallest width and height measurements when ordering your windows. This ensures the unit will fit into the opening without binding.
Best Practices for Installing Windows and Doors
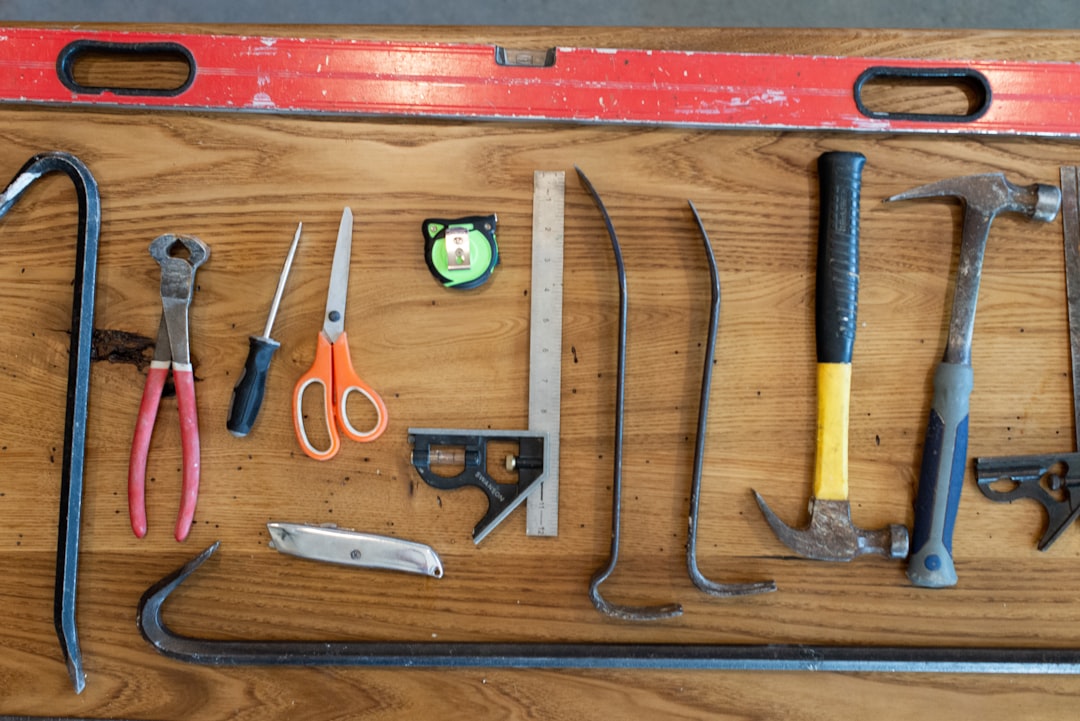
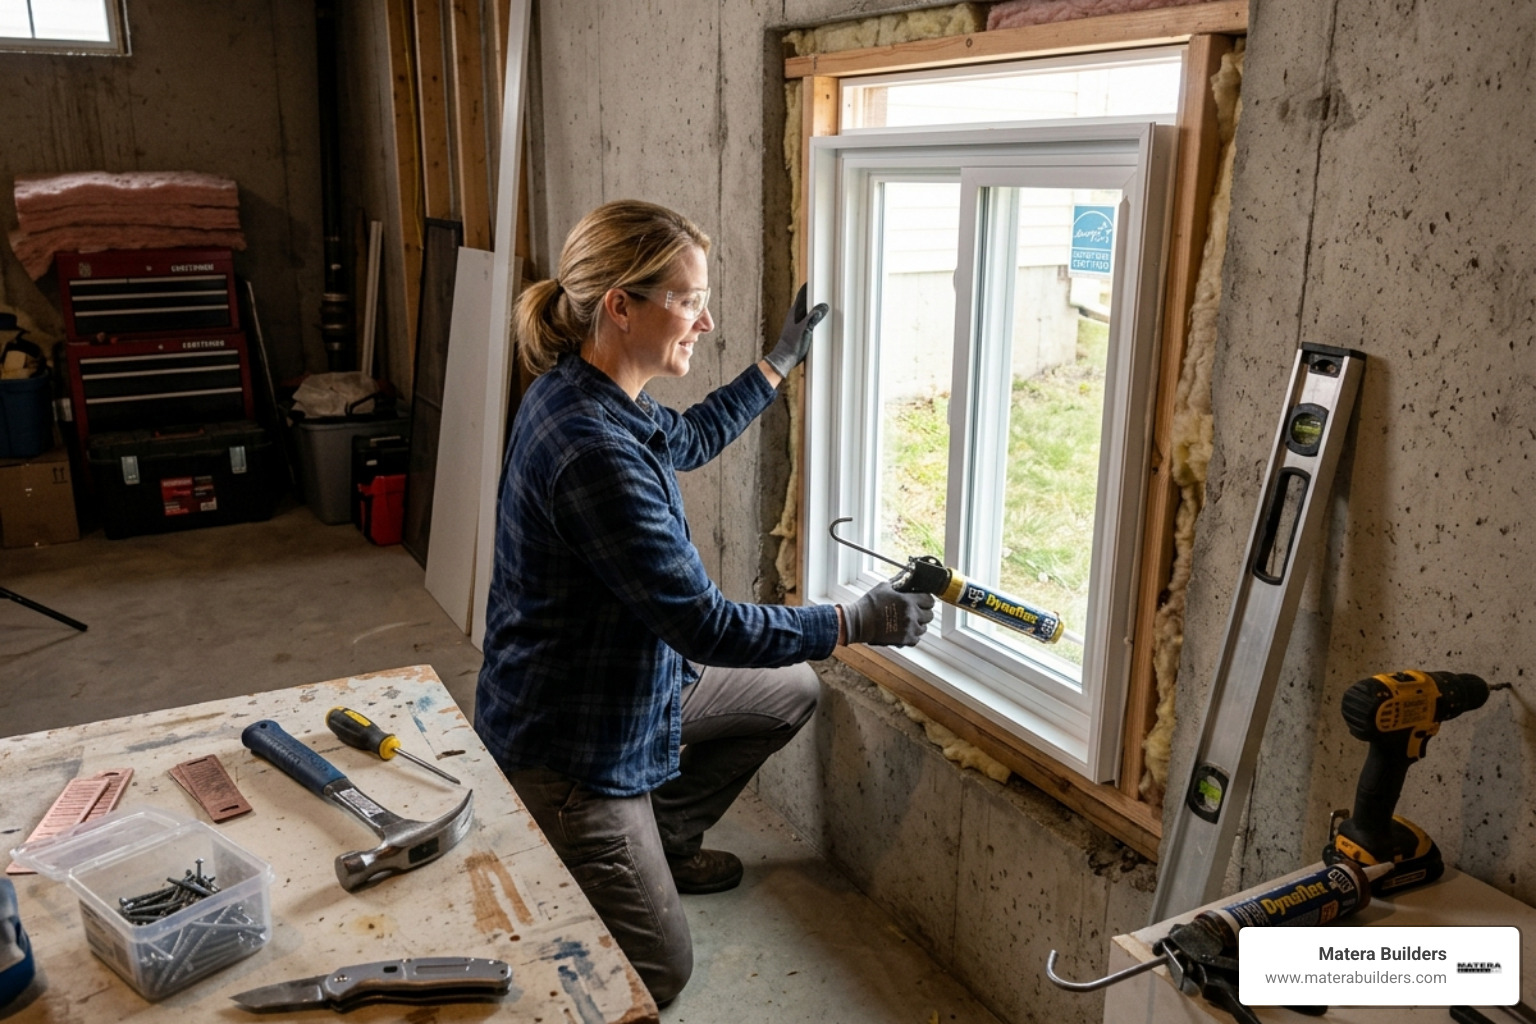
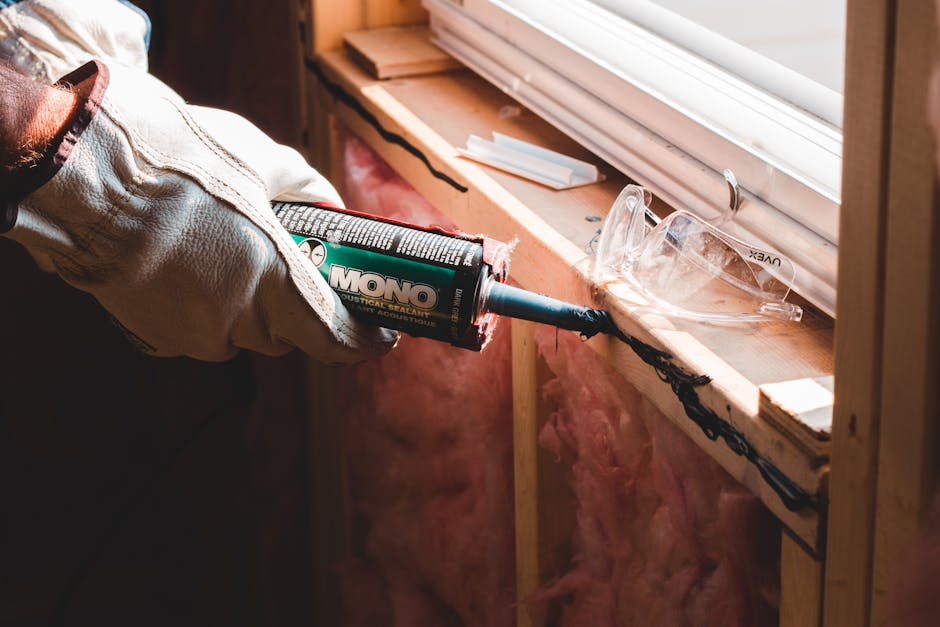
Proper installation requires the right tools, materials, and safety measures. Before you begin, gather your safety glasses, heavy gloves, a tape measure, a level, a caulk gun, composite shims, and a drill.
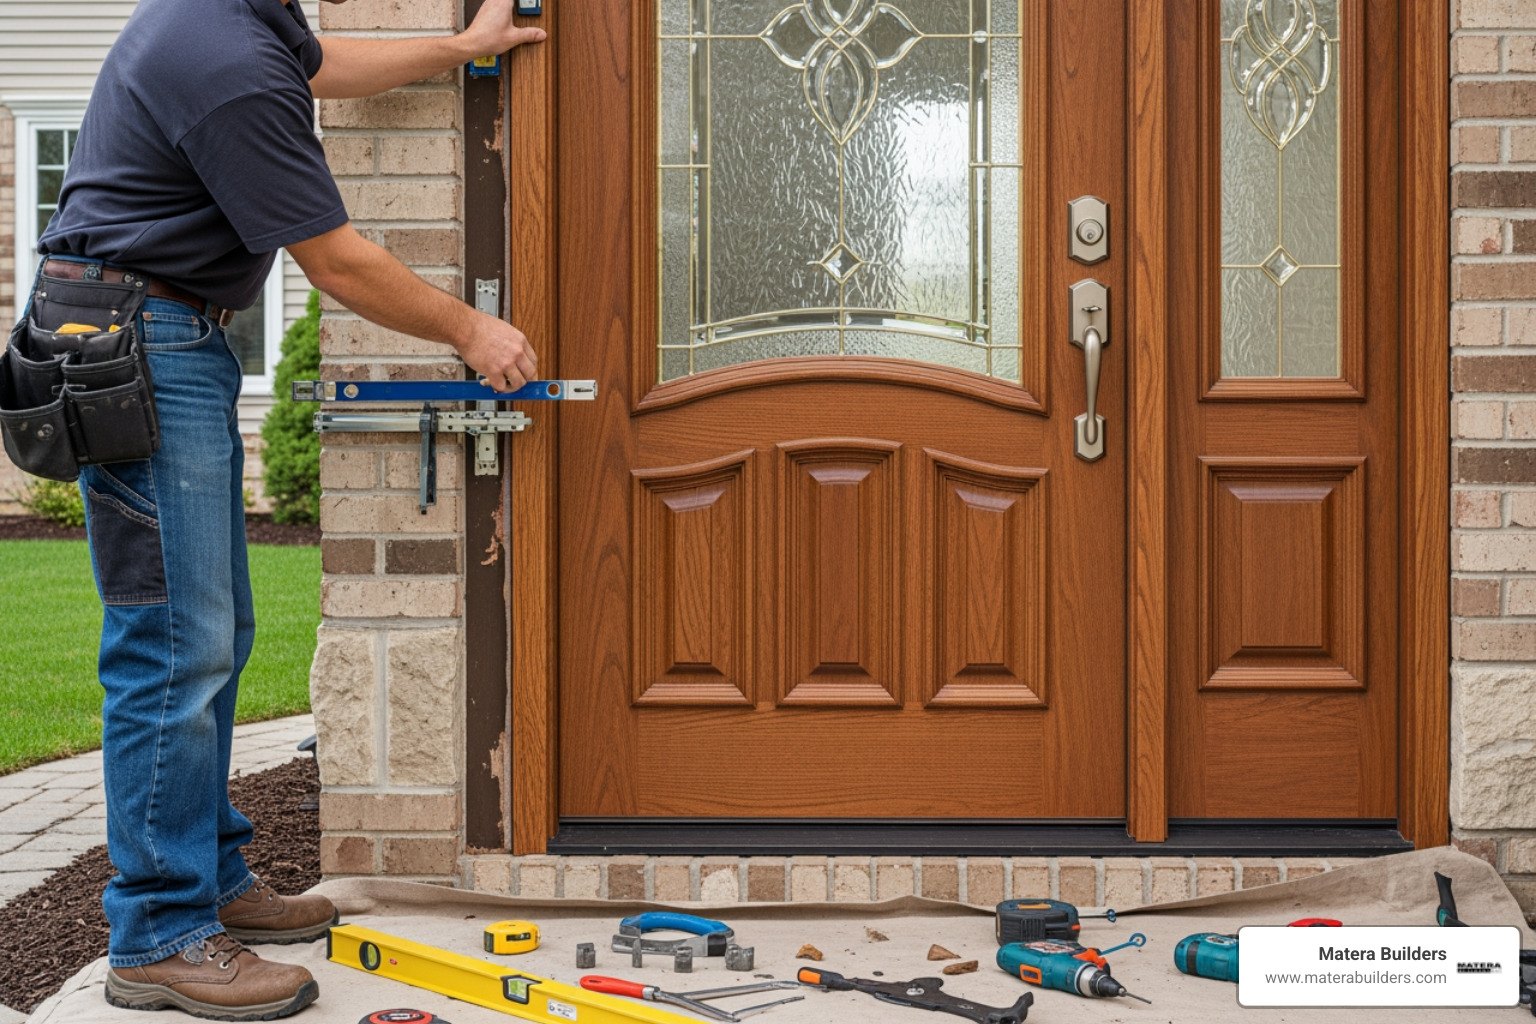
Always review the manufacturer instructions and SAFETY AND HANDLING guidelines before starting. High-quality windows and doors are heavy. Professional installation typically requires two or more people for safety and proper handling. Attempting to lift a large glass unit alone can lead to injury or expensive glass breakage.
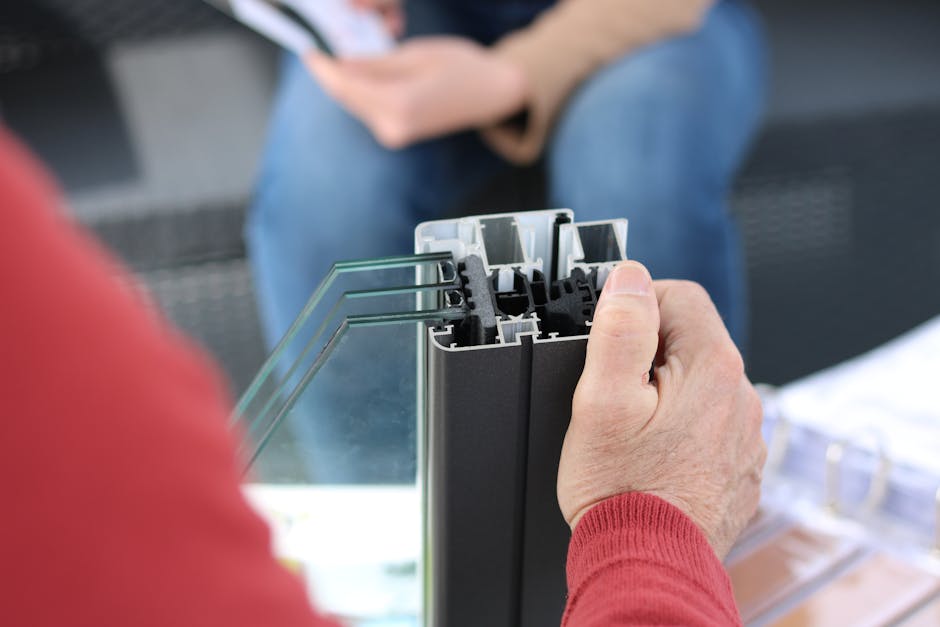
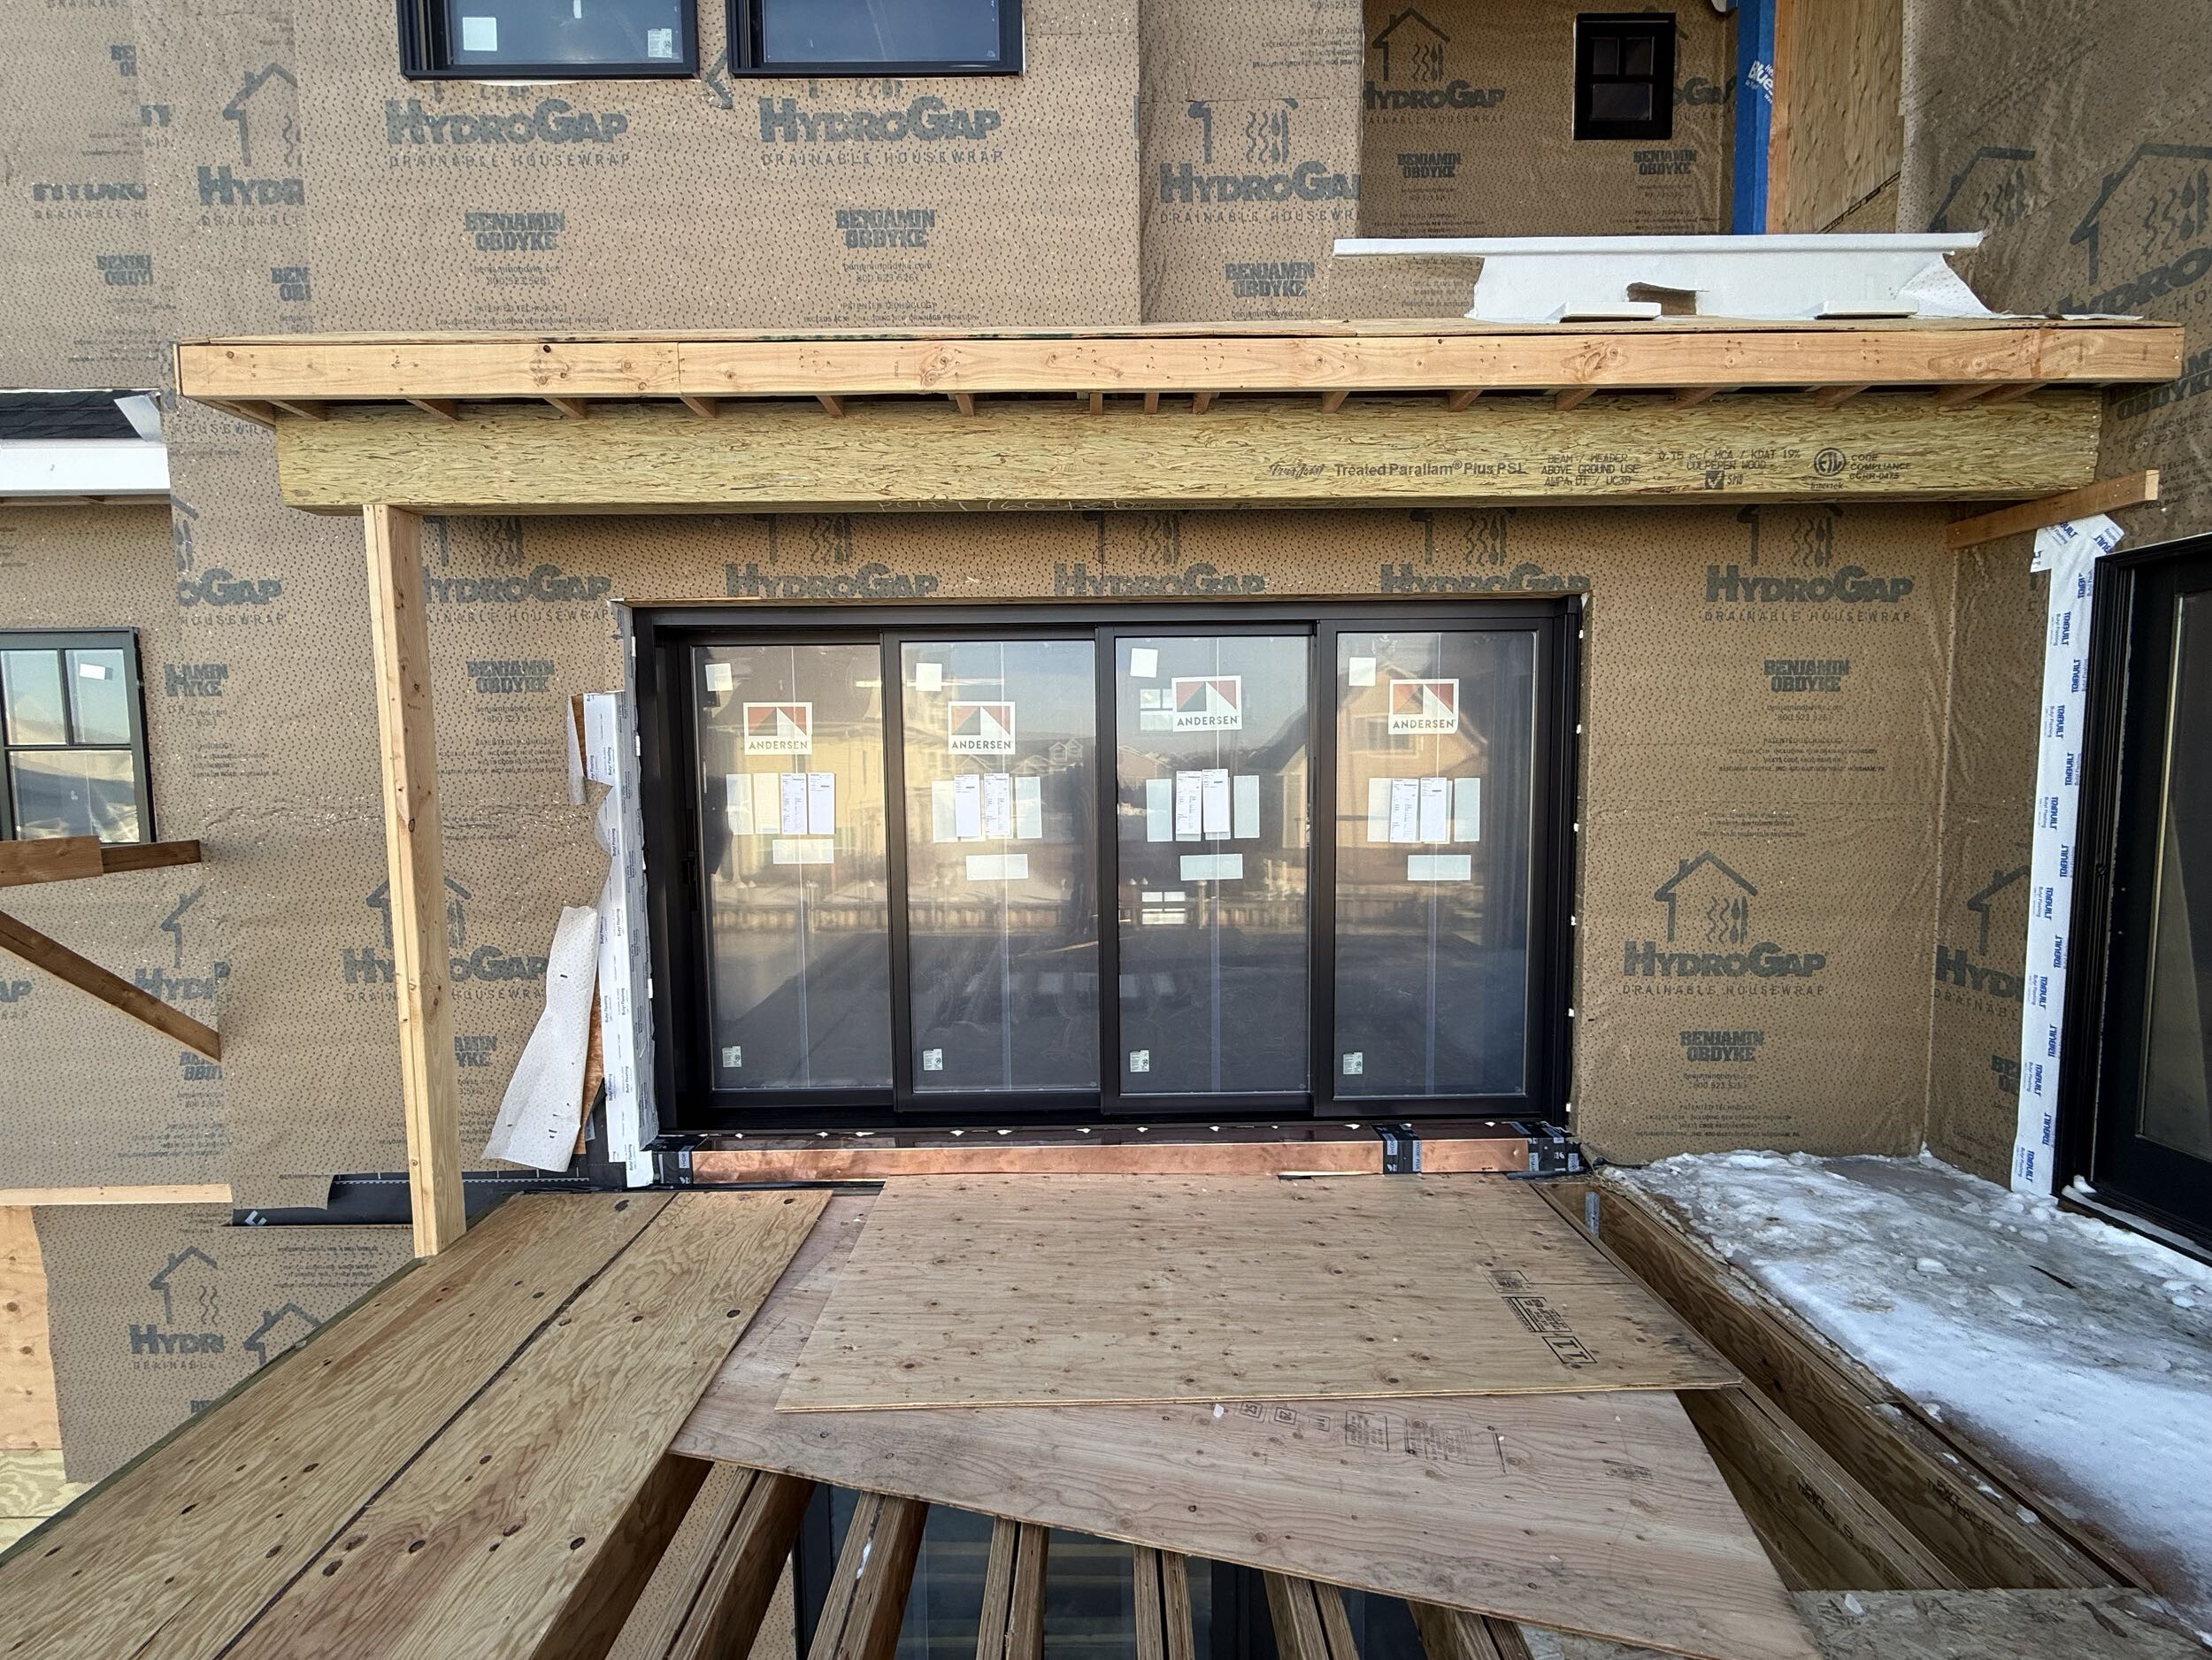
For homes along the Jersey Shore, material selection is critical. Traditional wood windows can rot from the salt air, while cheap vinyl can warp in the summer heat. That is why we recommend premium materials like Fibrex from Andersen. Fibrex is a composite material that combines the strength of wood with the low maintenance of vinyl. It does not rot, warp, or corrode in coastal environments. Investing in quality Andersen Windows Doors ensures your home remains secure and beautiful for decades.
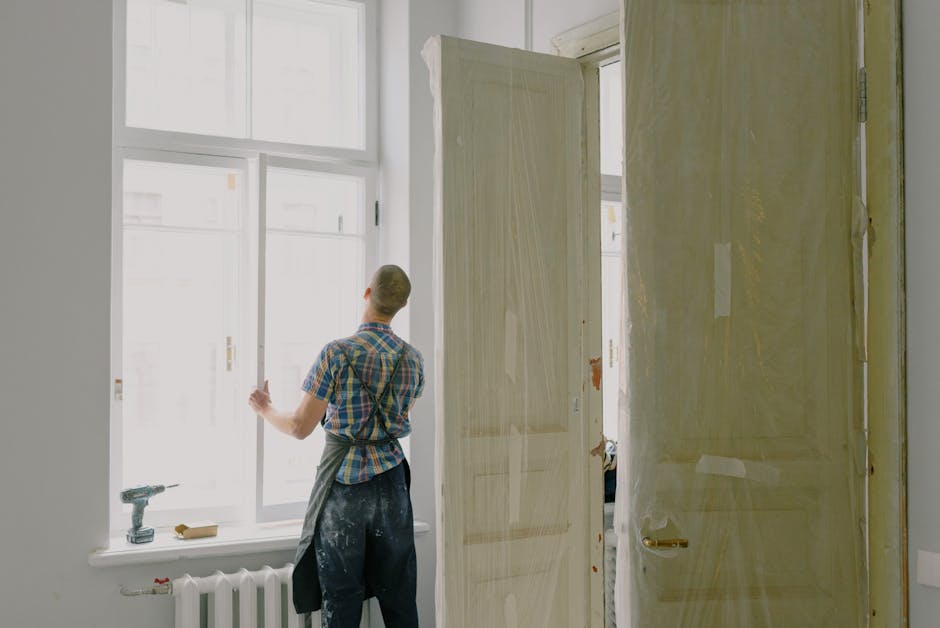
Safely Removing the Old Window
Removing an old window requires patience to avoid damaging your home. Follow these steps to clear the opening safely:
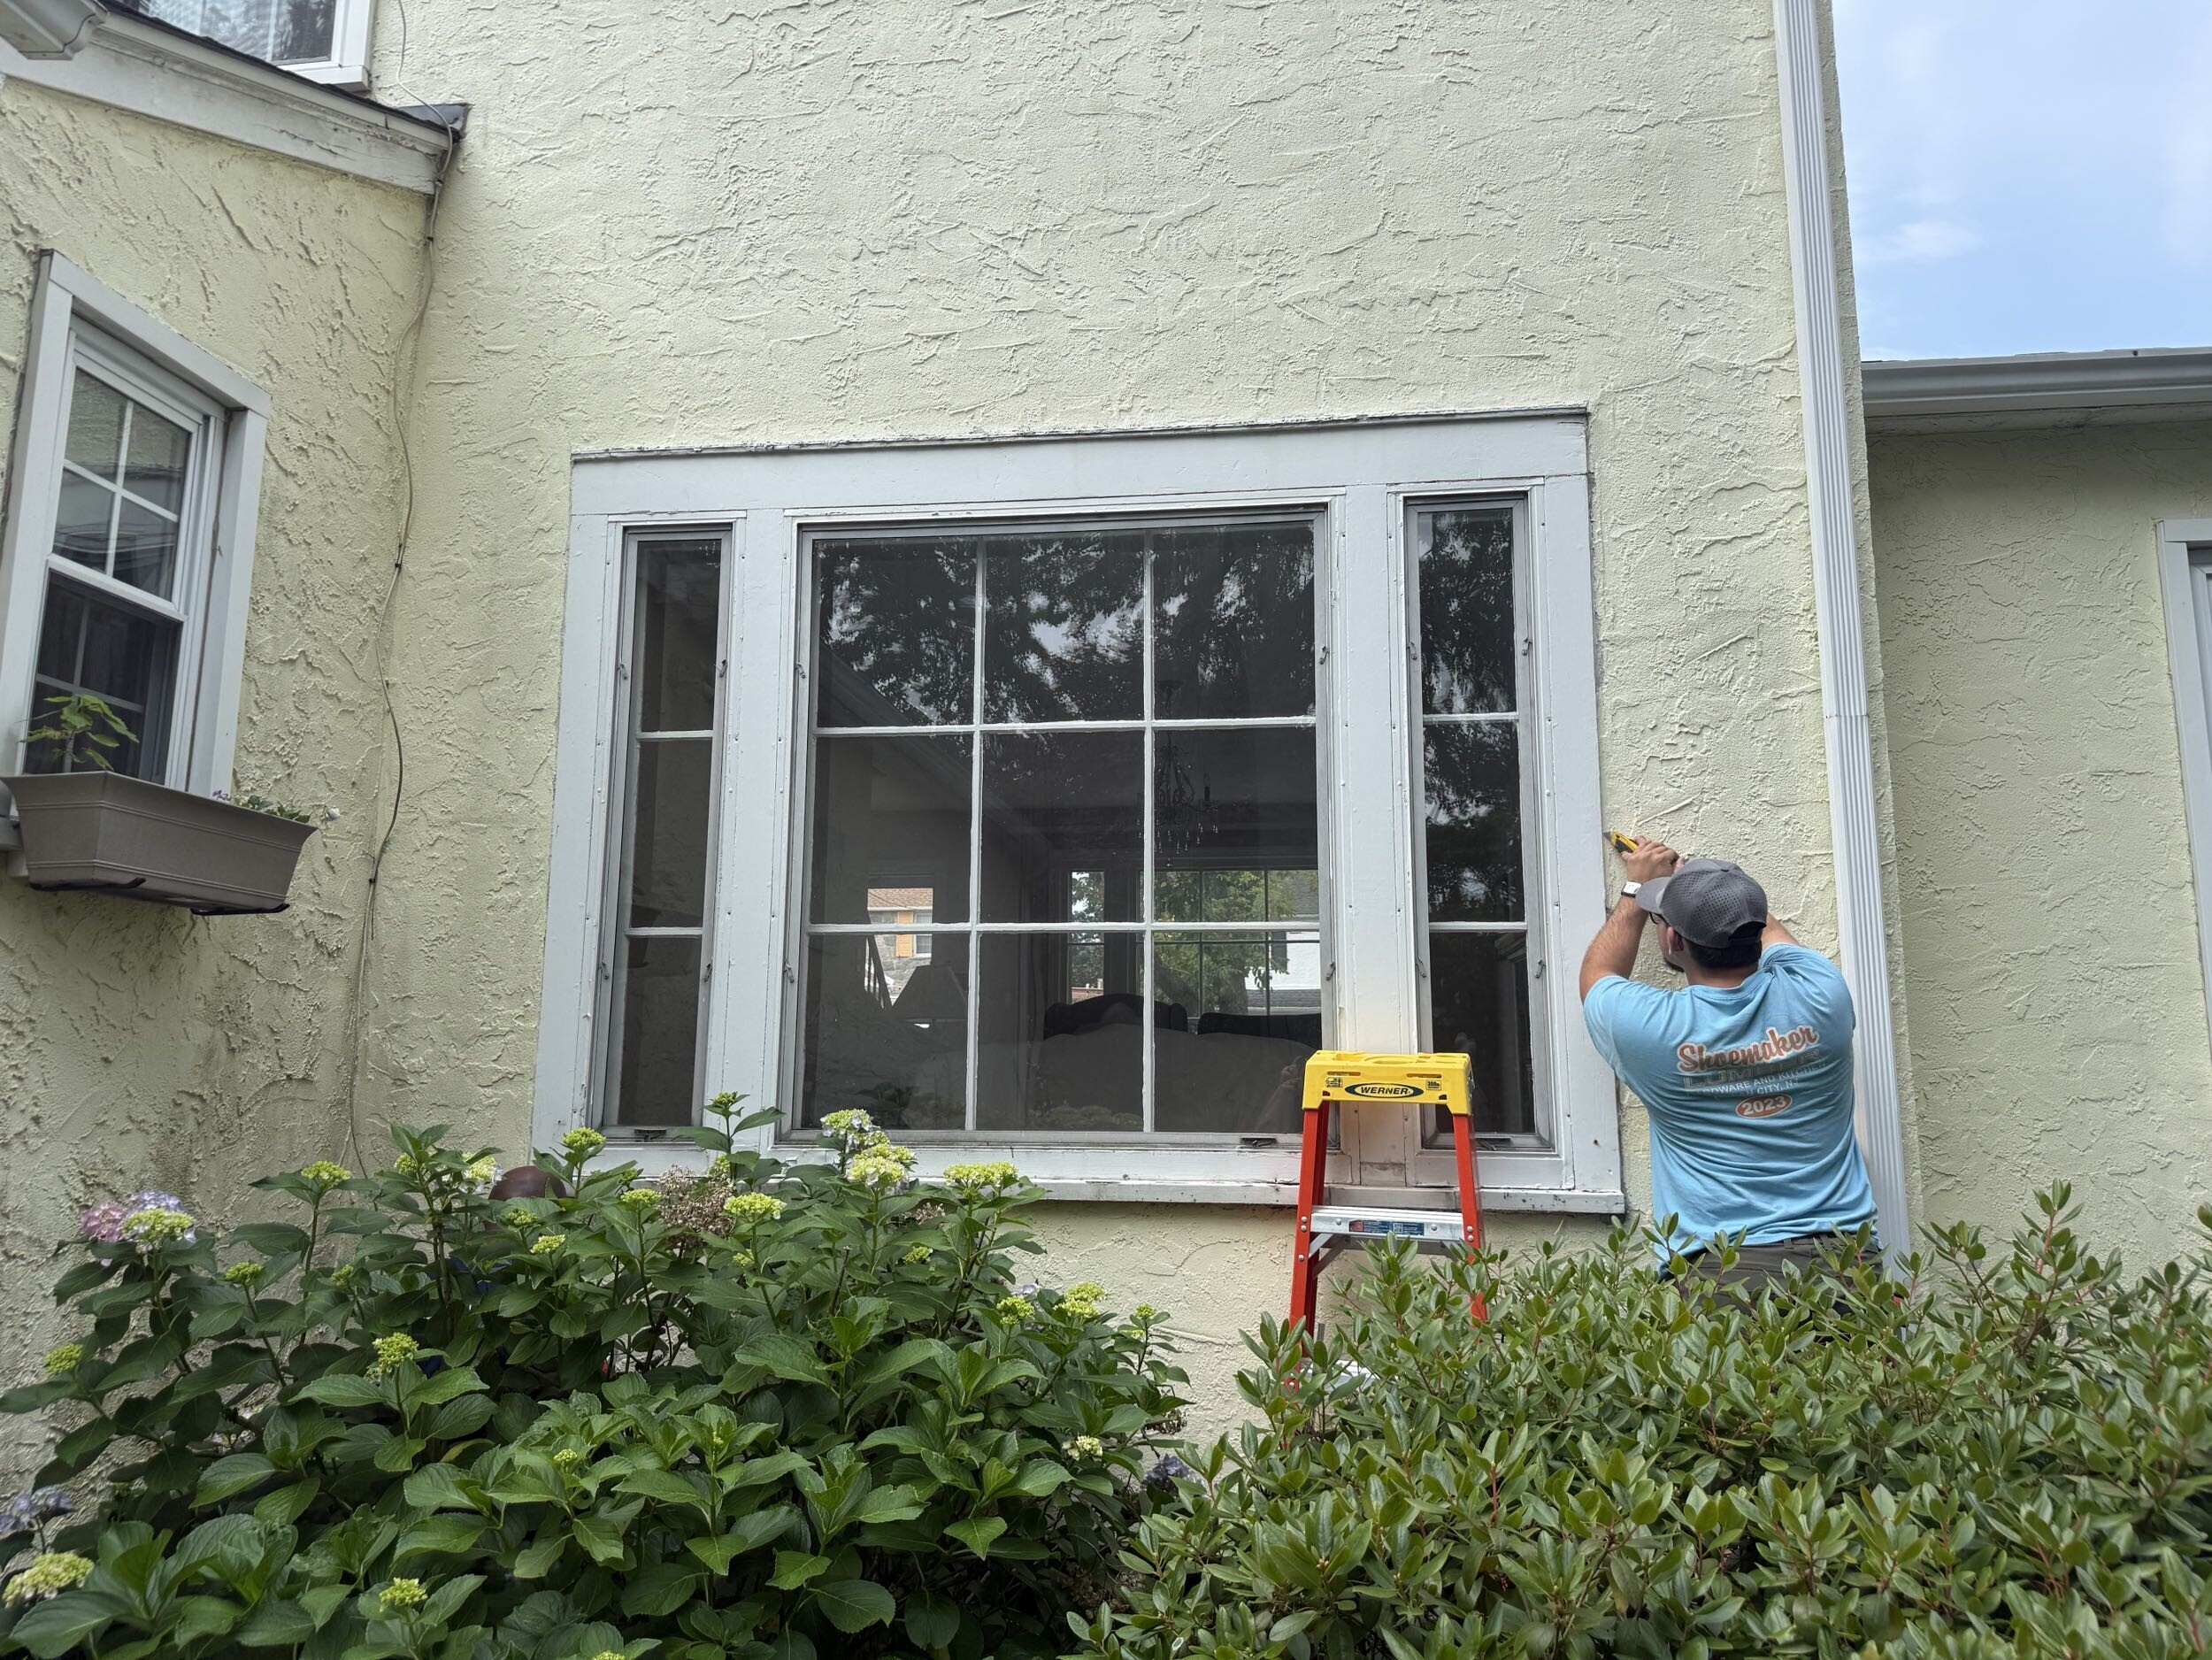
- Cut the Paint and Caulk: Use a sharp utility knife to score the paint or caulk line around the interior stop molding. This prevents the wood from splintering when you remove it.
- Remove the Interior Stops: Gently pry away the wood stop moldings using a flat pry bar. Save these pieces if you plan to reuse them.
- Remove the Sashes: Remove the lower sash first. If your window has sash cords or chains, cut them carefully while holding the sash. Then remove the parting strip to release the upper sash.
- Prepare for Lead Paint: If your home was built before 1978, the paint may contain lead. Use plastic sheeting to catch dust, wear a respirator, and clean up with a HEPA vacuum.
- Clean the Opening: Remove all old nails, screws, and loose insulation. Sweep or vacuum the entire opening so the new sealant can stick properly.
Preparing the Rough Opening Before Installing Windows and Doors
Do not rush to install the new window as soon as the old one is gone. You must prepare the rough opening first:
- Dry Fit the Window: Place the new window into the opening without any sealant. This allows you to verify that the unit fits and has enough room for adjustment.
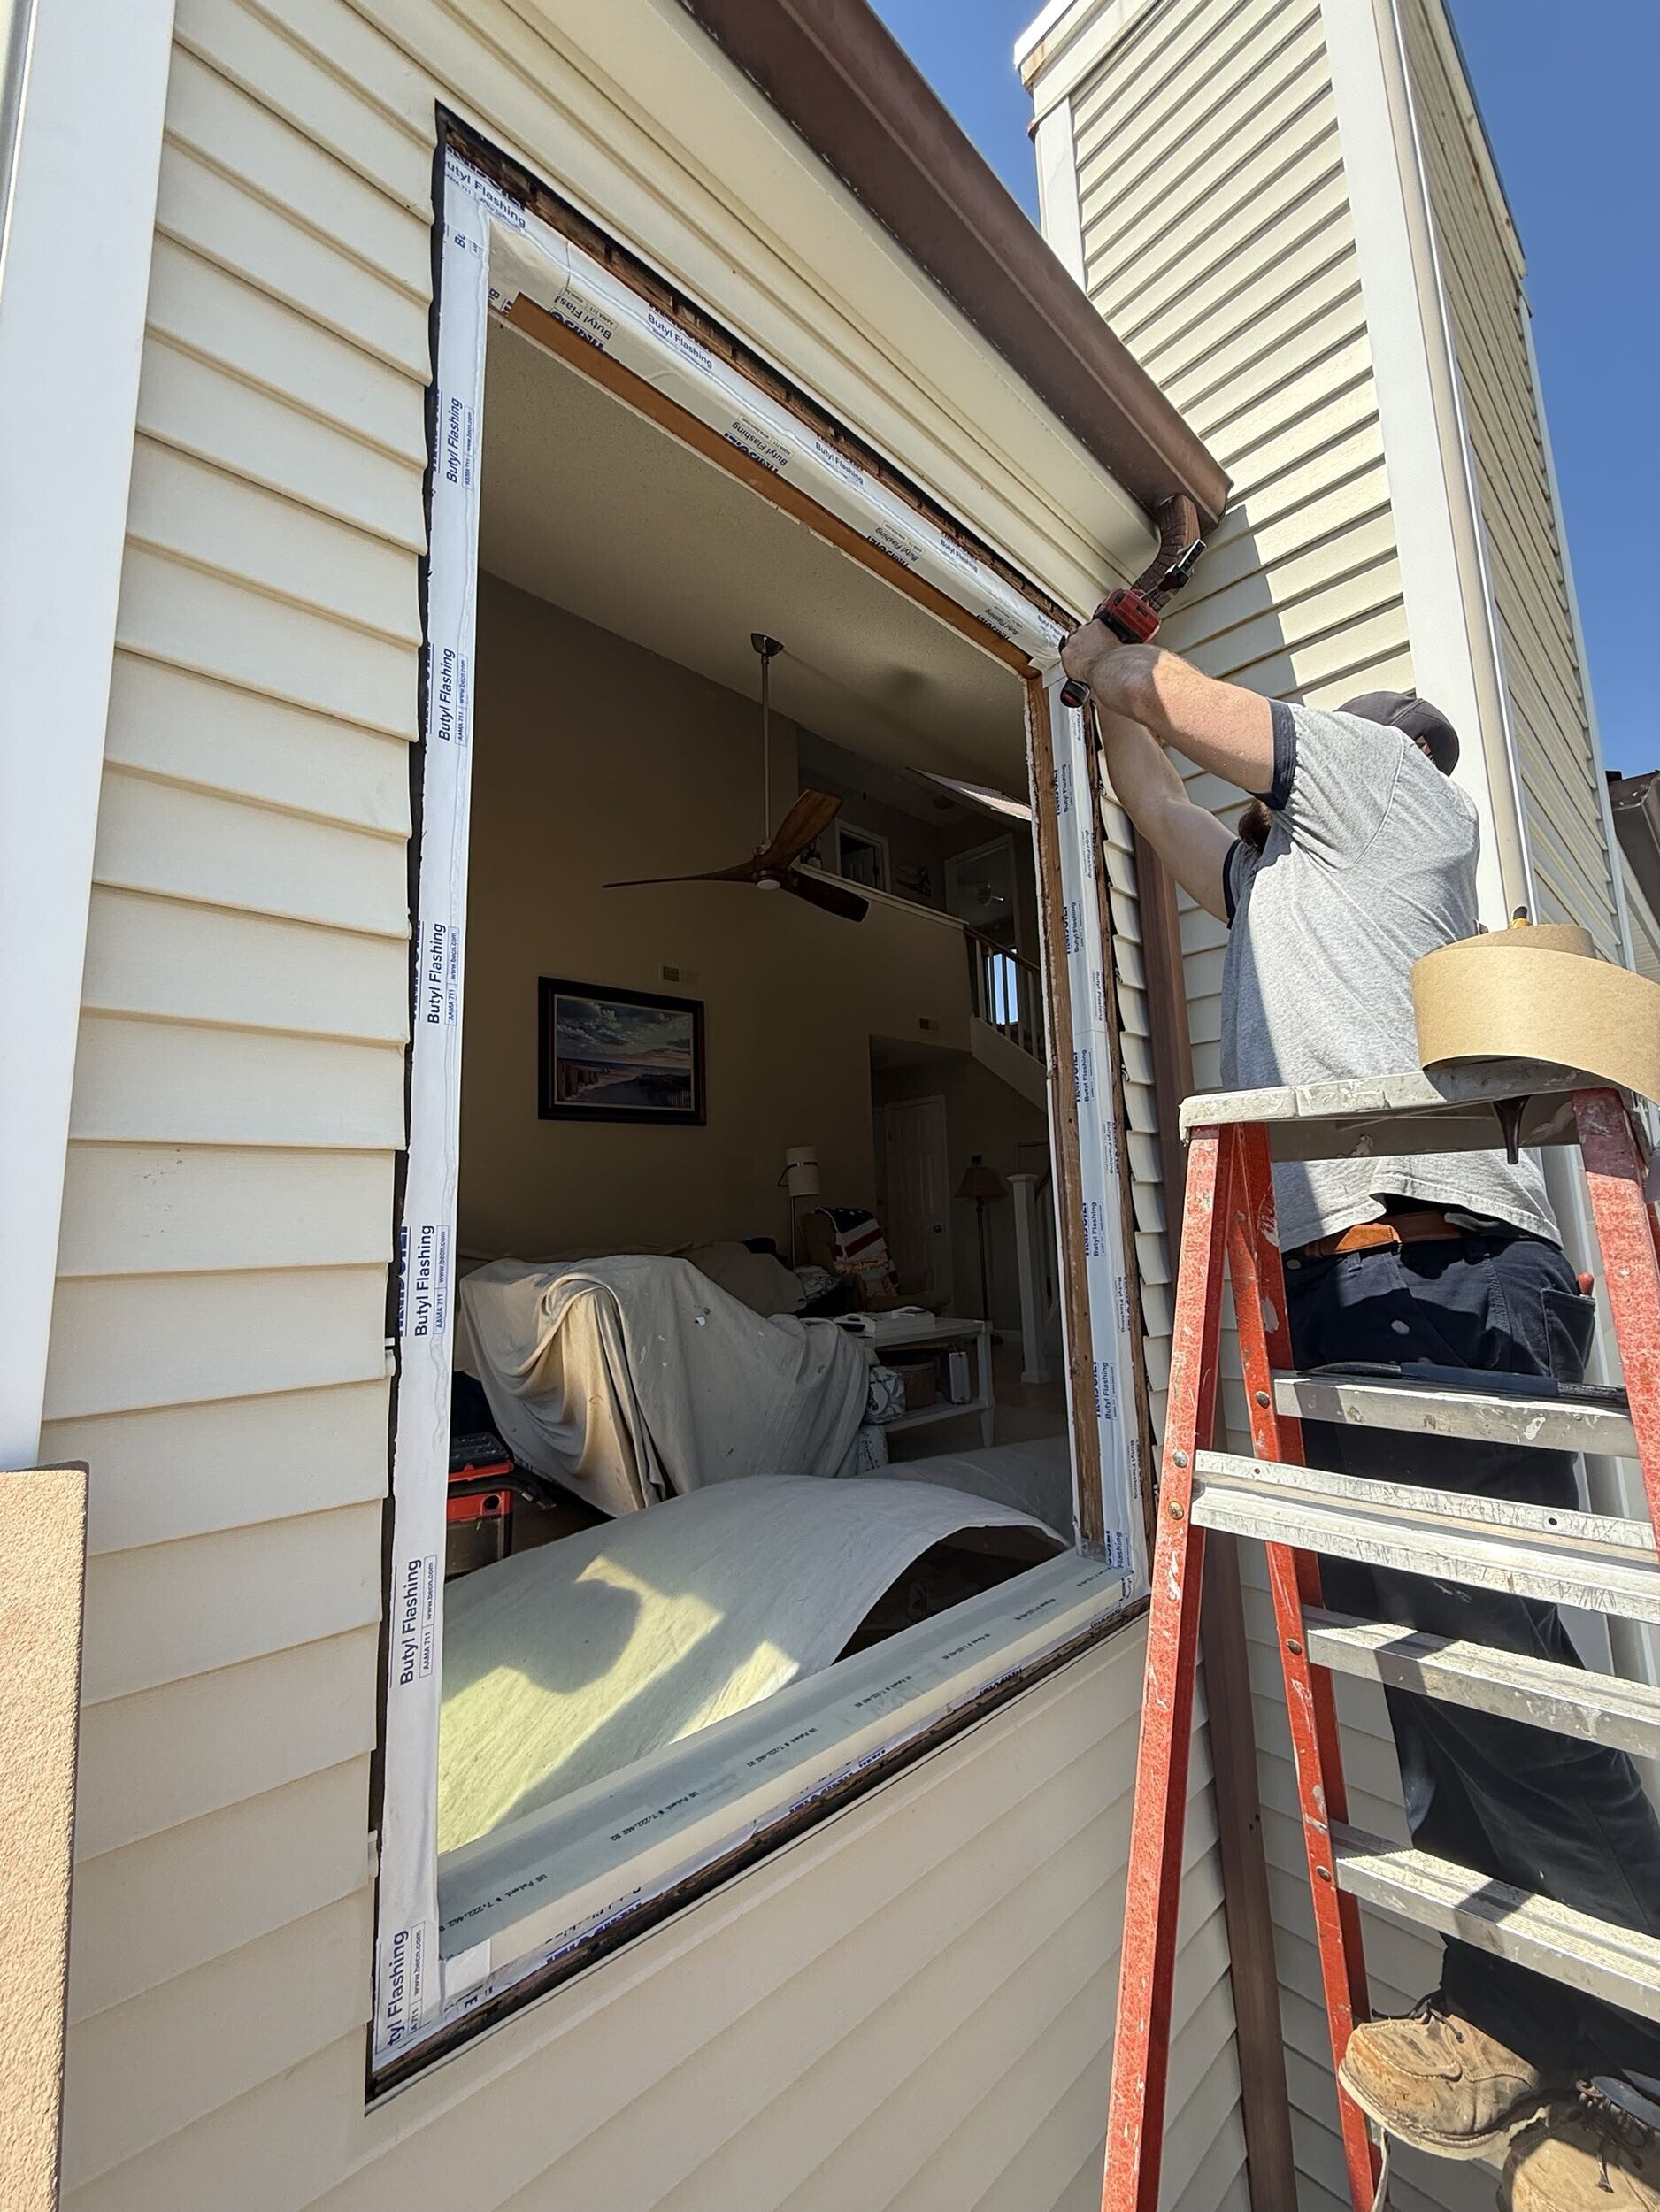
- Install a Sill Pan: Apply a flashing membrane or a pre-formed sill pan along the bottom of the opening. This acts as a water barrier, directing any moisture that gets inside back out to the exterior.
- Shim the Sill: Place composite shims on the sill. Use a level to make sure they are perfectly flat. Shims should be placed about four inches from each end.
- Check Plumb and Level: Use a long level to check the sides (plumb) and top (level) of the opening. Adjust your shims as needed to create a flat, square platform.
For detailed step-by-step diagrams, you can consult the official Andersen Installation Guide.
Securing and Sealing the New Unit
Once the opening is prepped, you are ready to secure and seal the new window:
- Apply Sealant: Apply a continuous 3/8 inch bead of high-quality polyurethane sealant along the interior back side of the blind stop. This is your primary defense against wind and rain.
- Set the Window: Slide the window into the opening. Press it firmly against the sealant bead.
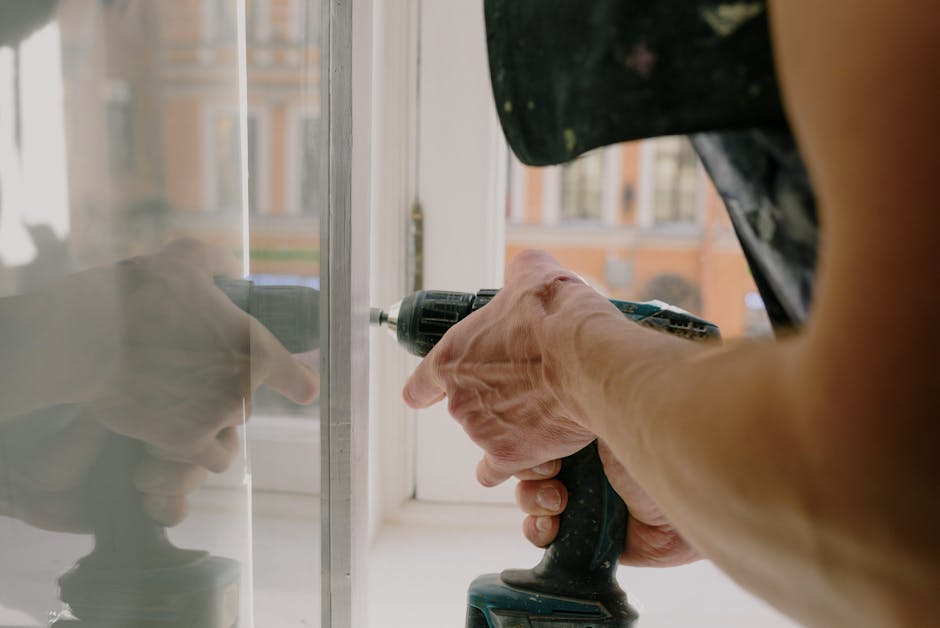
- Secure with Fasteners: Install screws through the pre-drilled holes in the window frame. Do not over-tighten the screws, as this can bow the frame.
- Insulate the Perimeter: Fill the small gaps around the window with low-expansion closed-cell polyurethane foam. Apply a bead from the interior, leaving some room for expansion. Do not use standard high-expansion foam, as it can exert enough pressure to warp the window frame.
- Apply Backer Rod: For gaps wider than 3/8 inch, insert a foam backer rod before applying your exterior sealant. This provides a firm backing for the caulk.
- Keep Weep Gaps Clear: Many windows have small weep holes or gaps at the bottom of the exterior frame. These allow water to drain out. Never seal these gaps with caulk or foam.
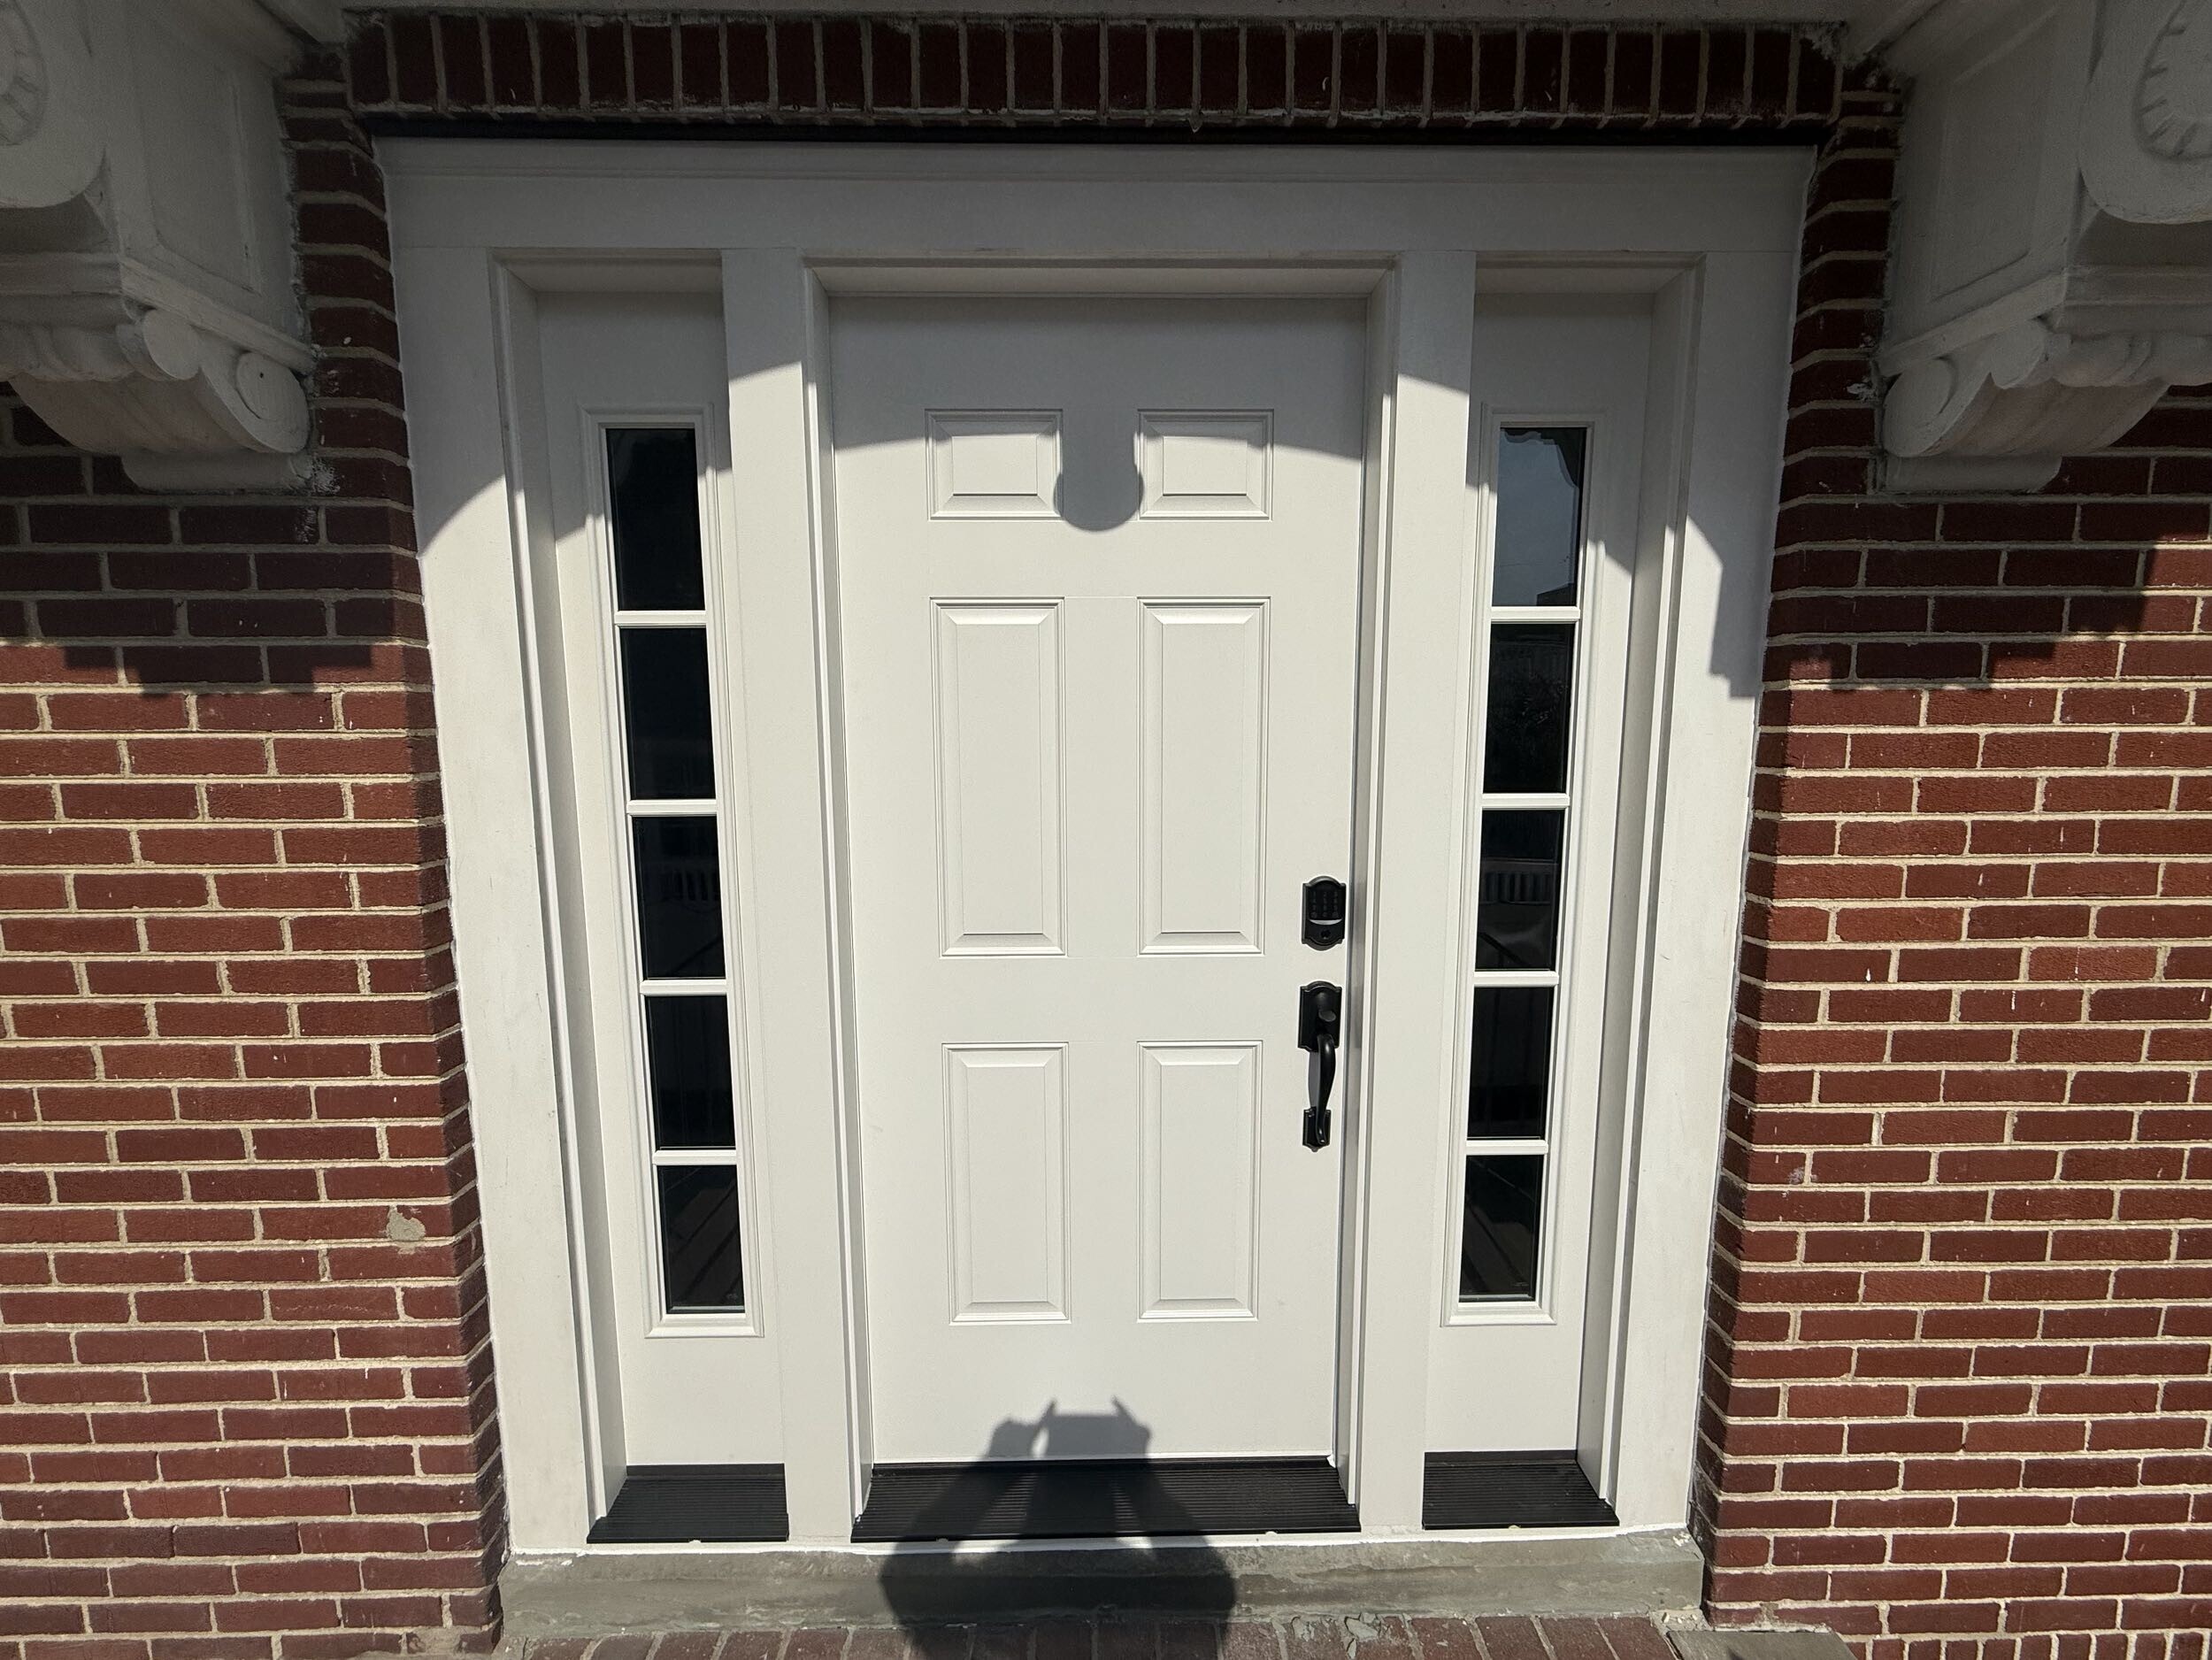
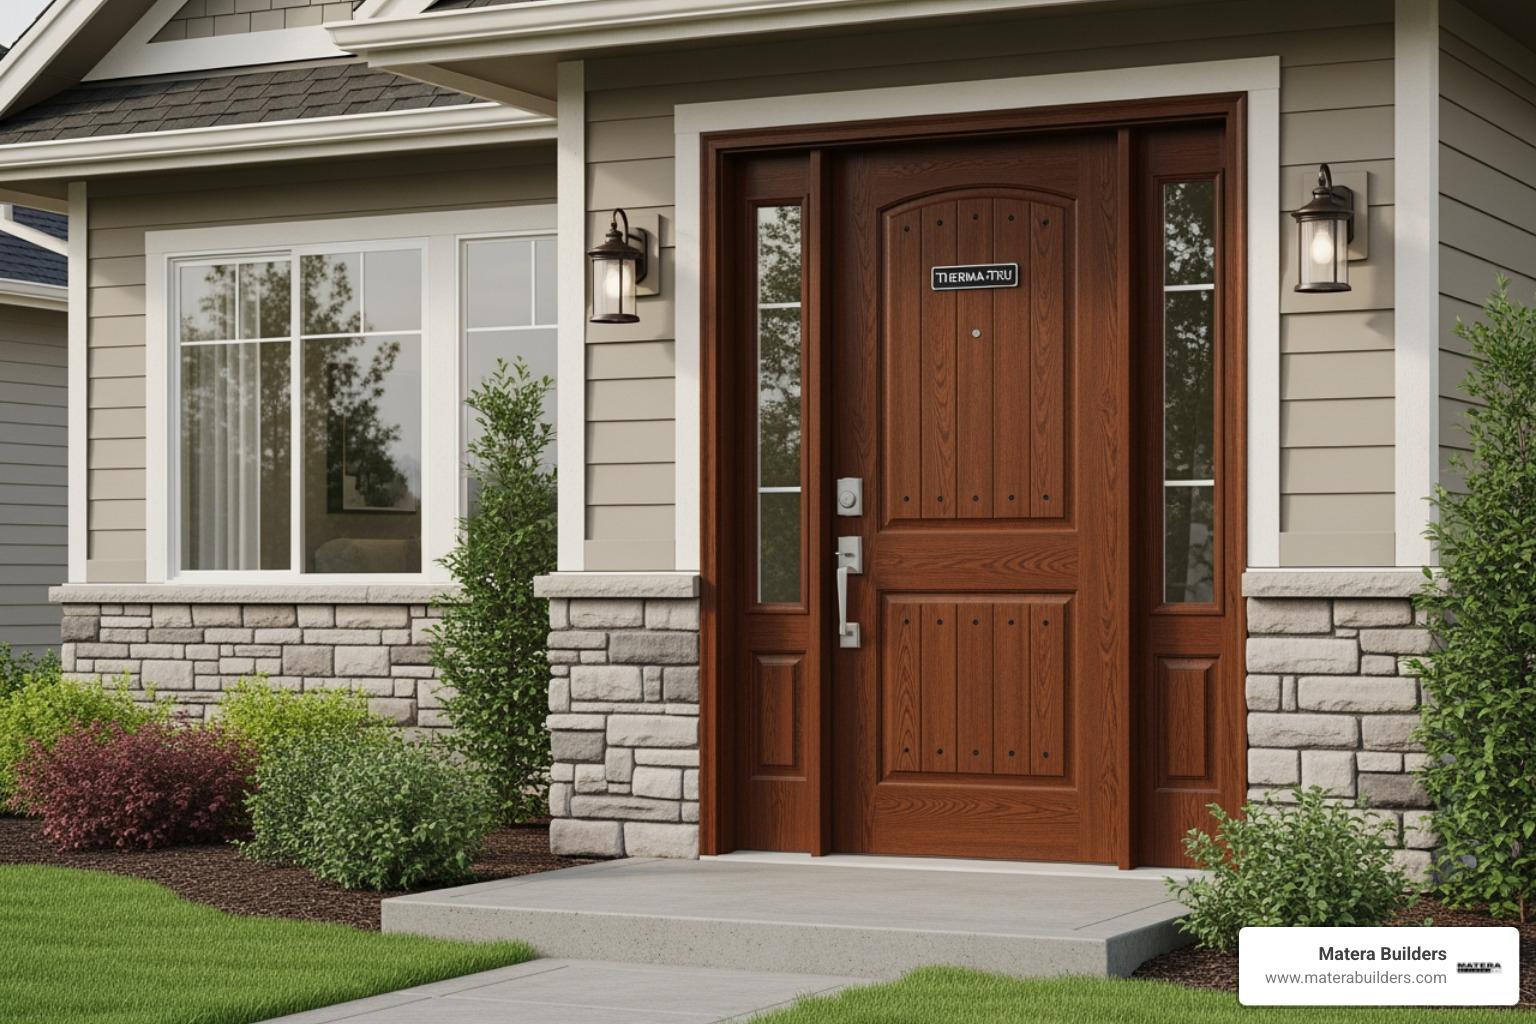
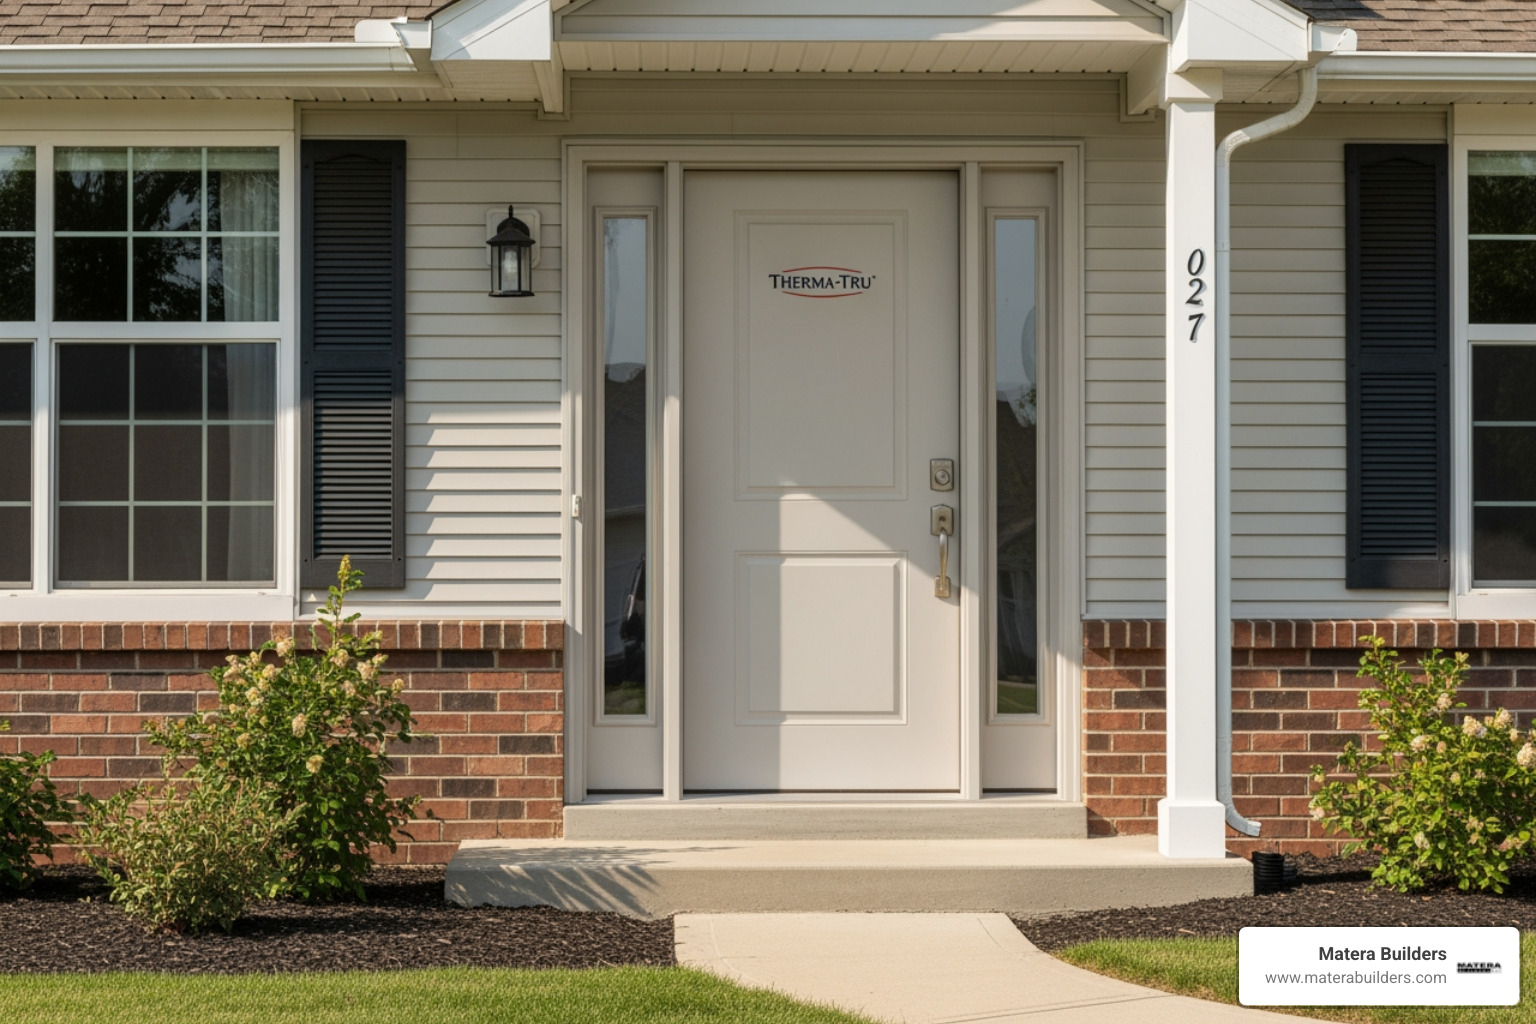
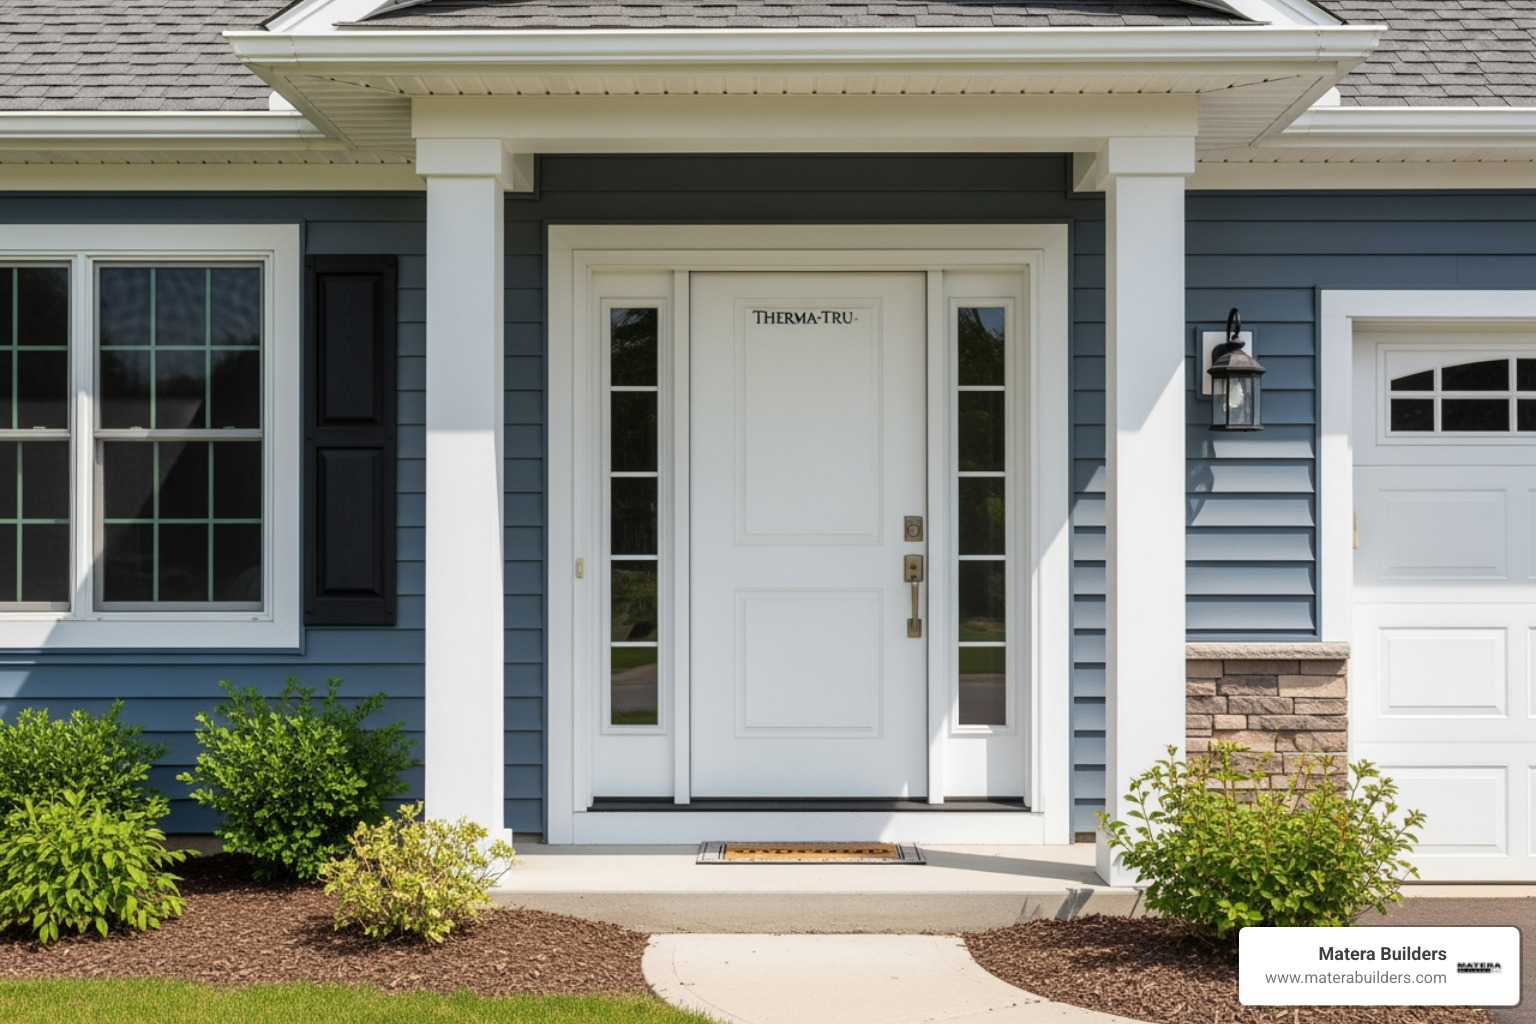
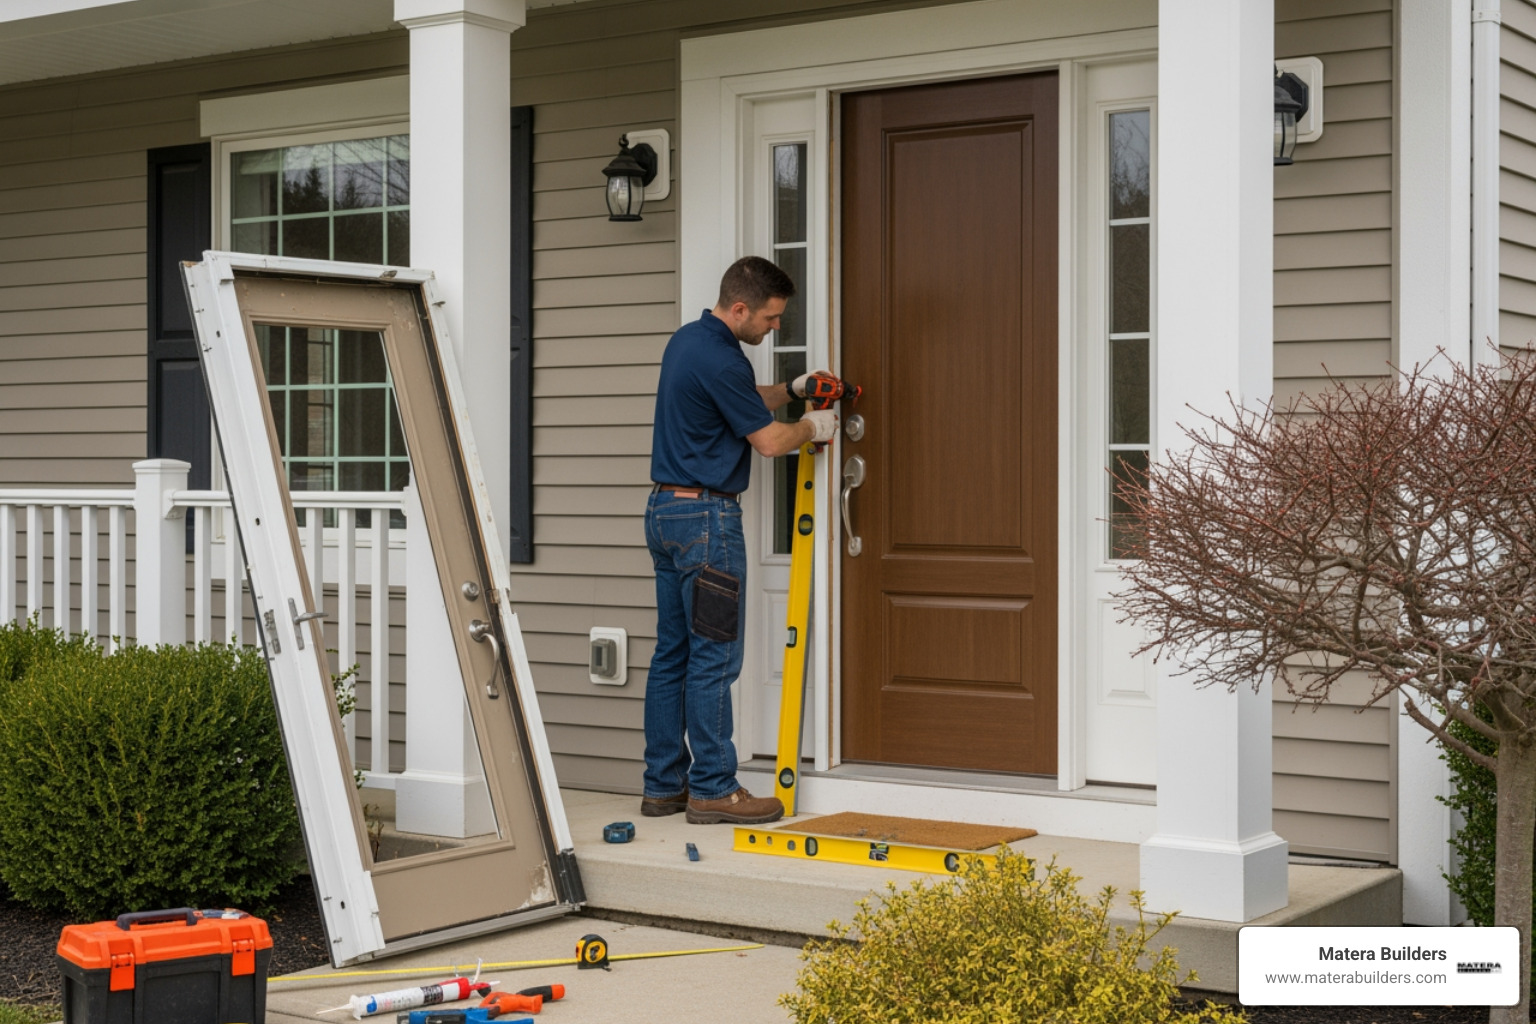
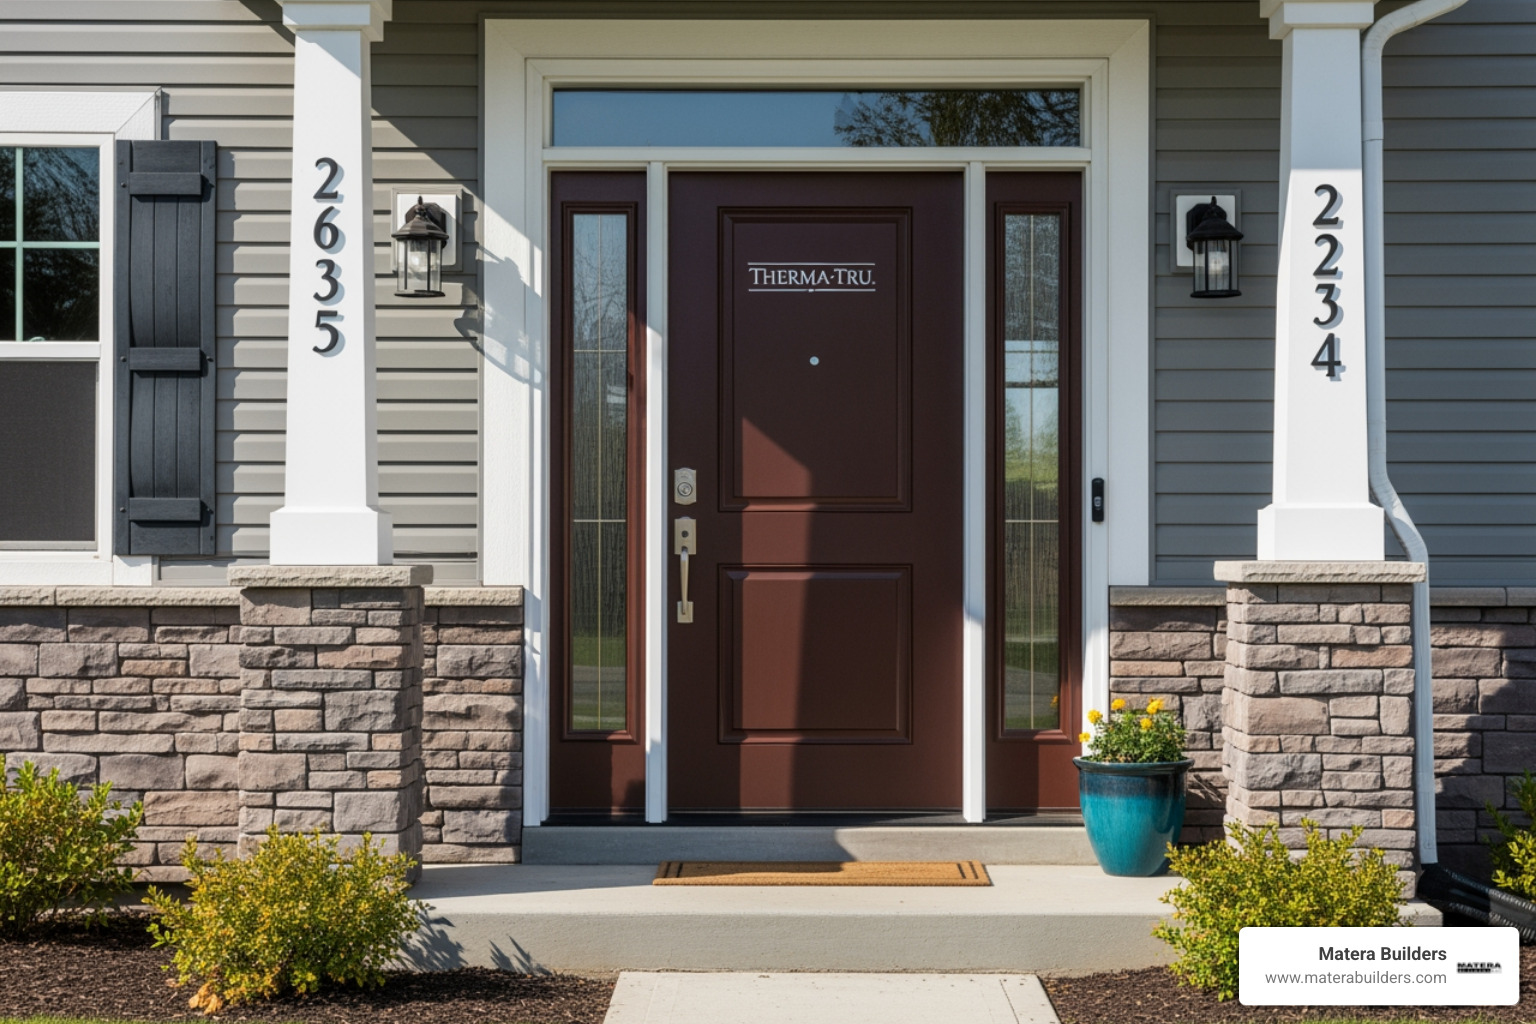
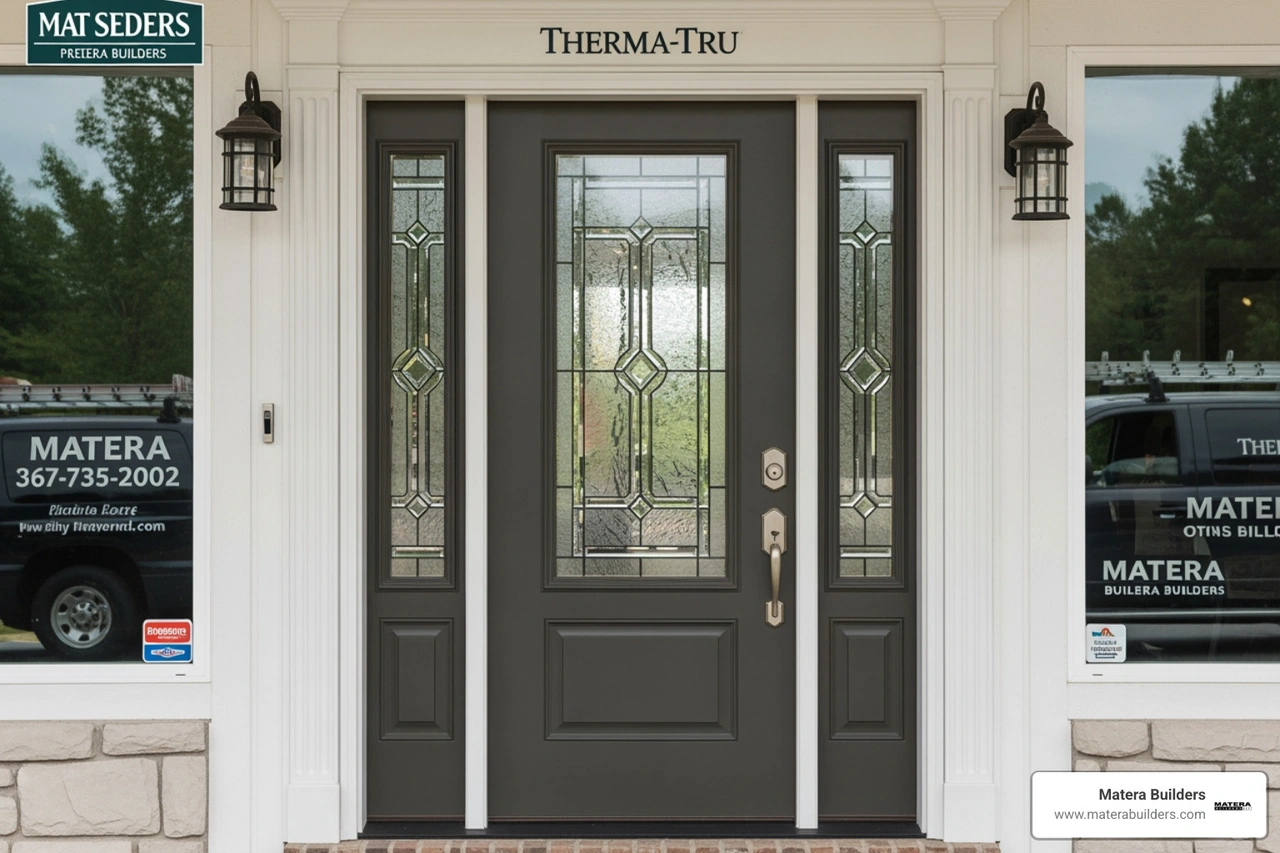
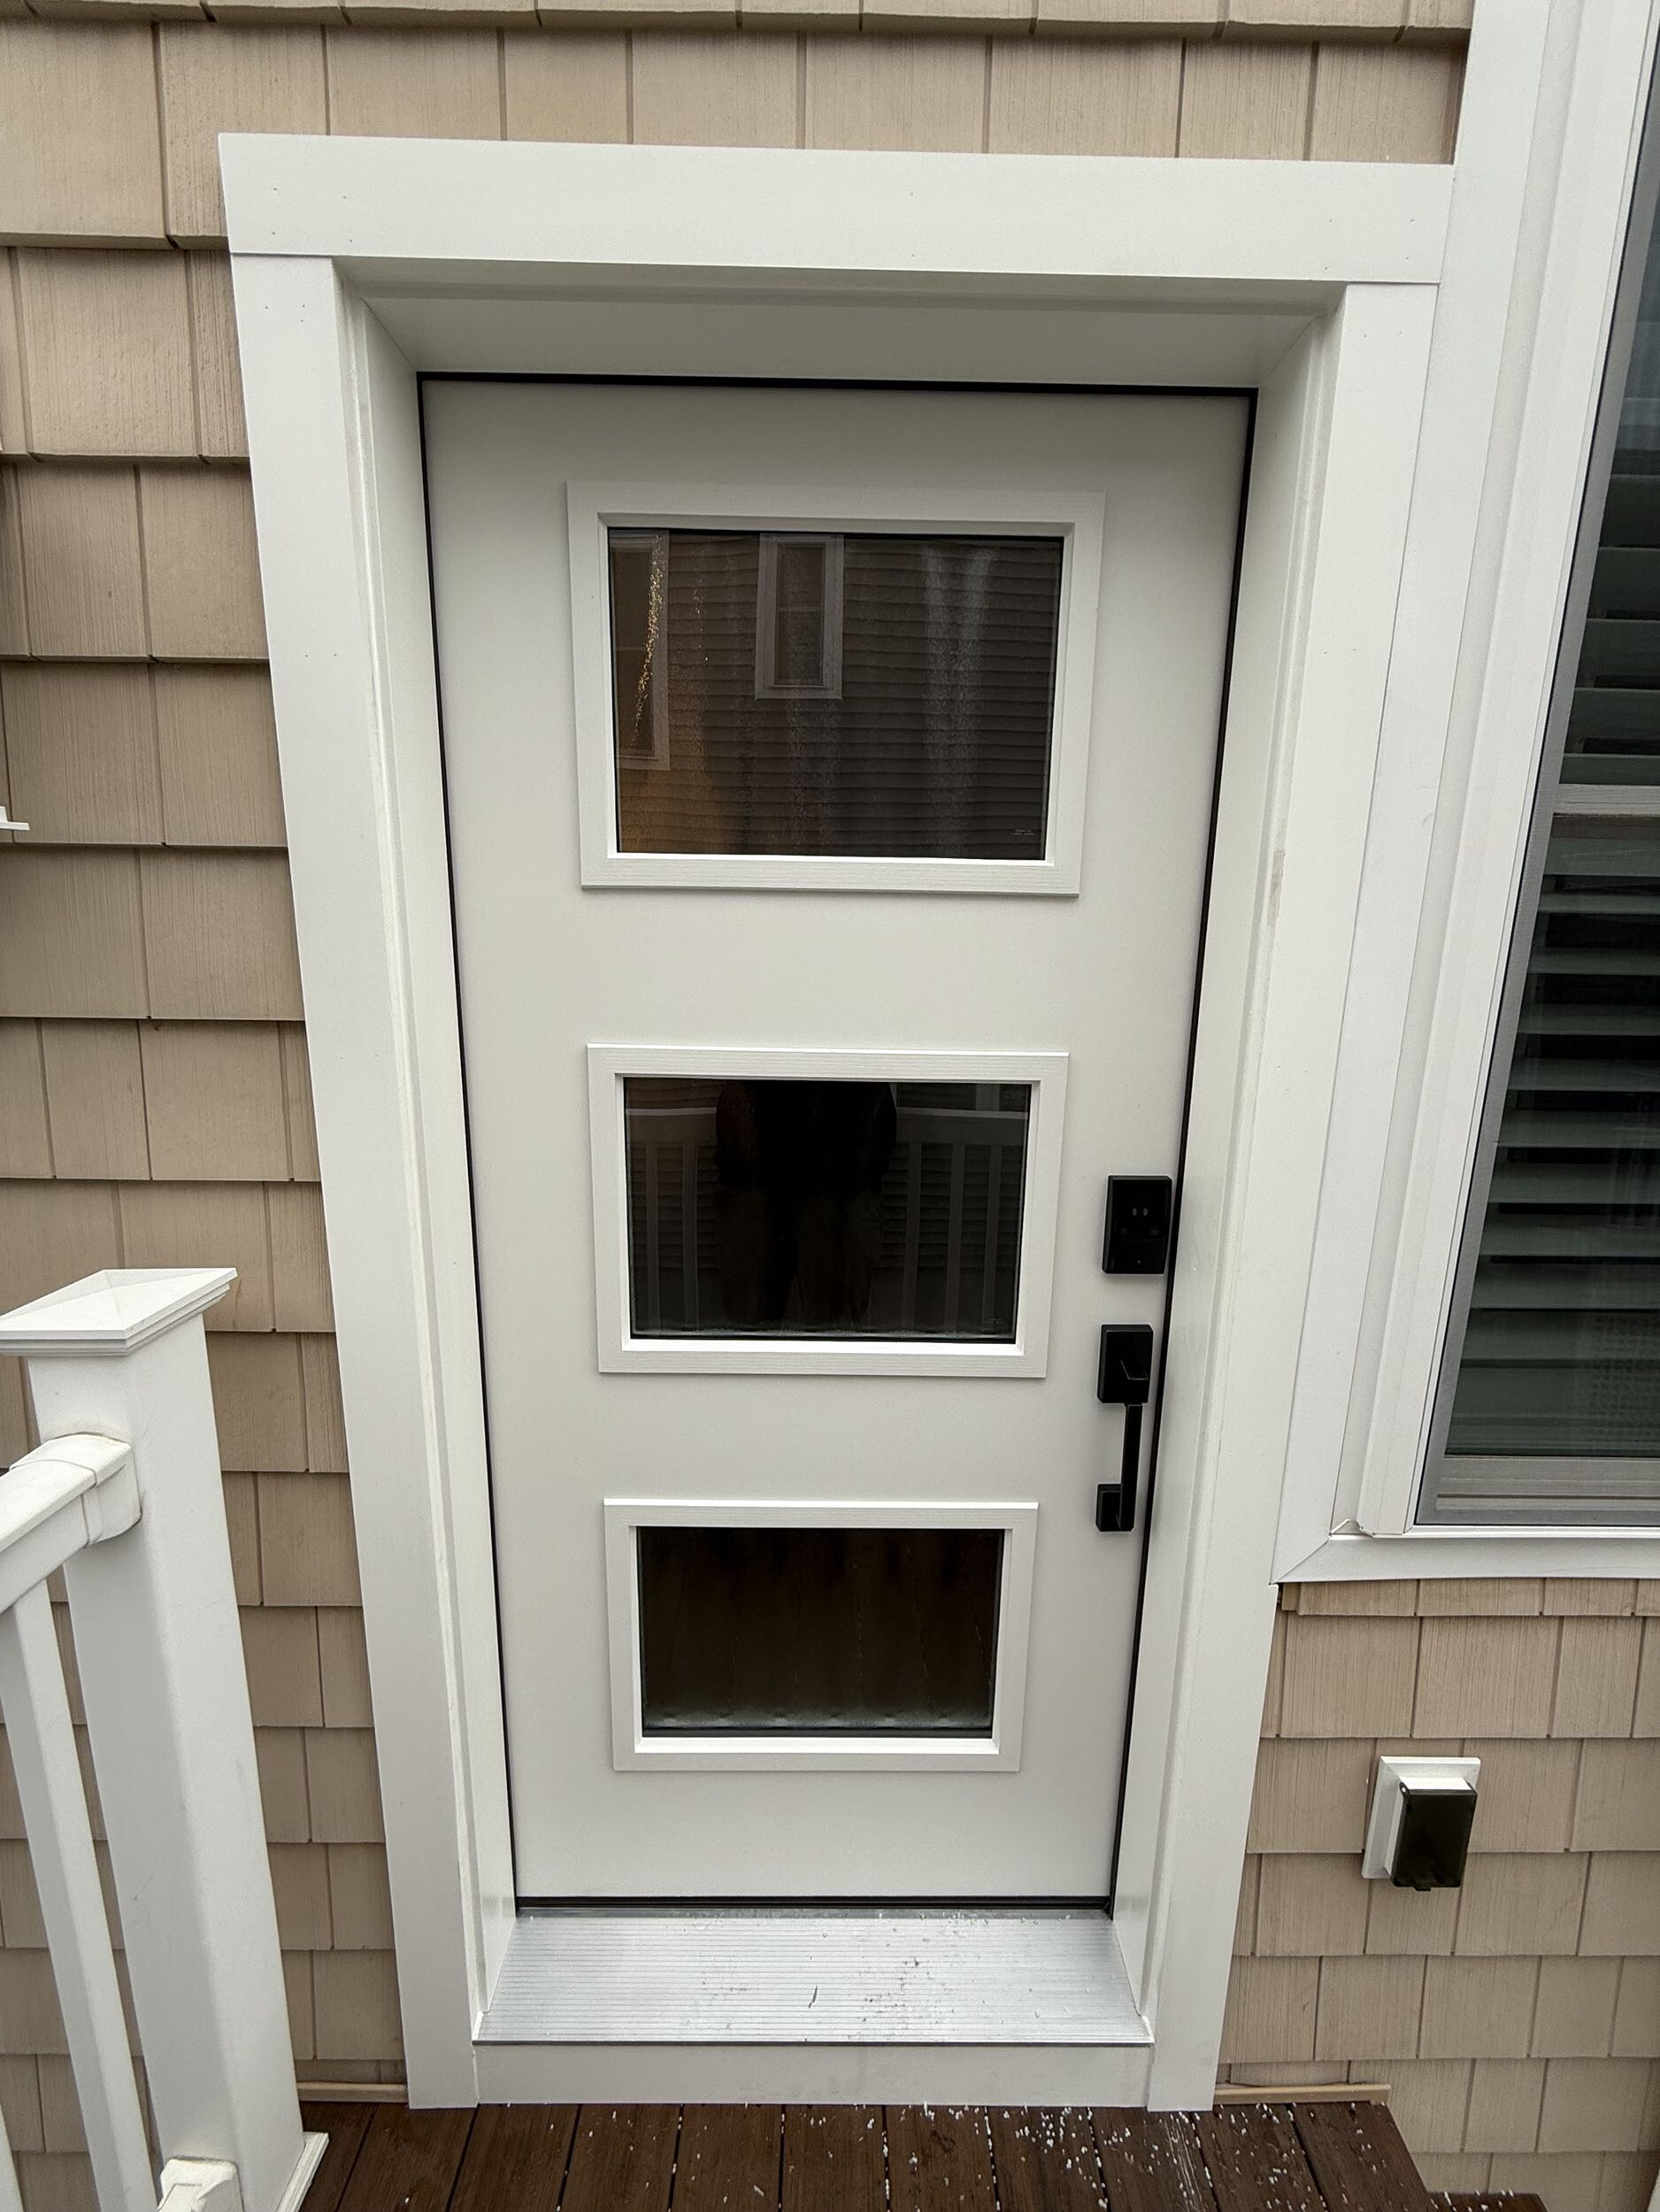
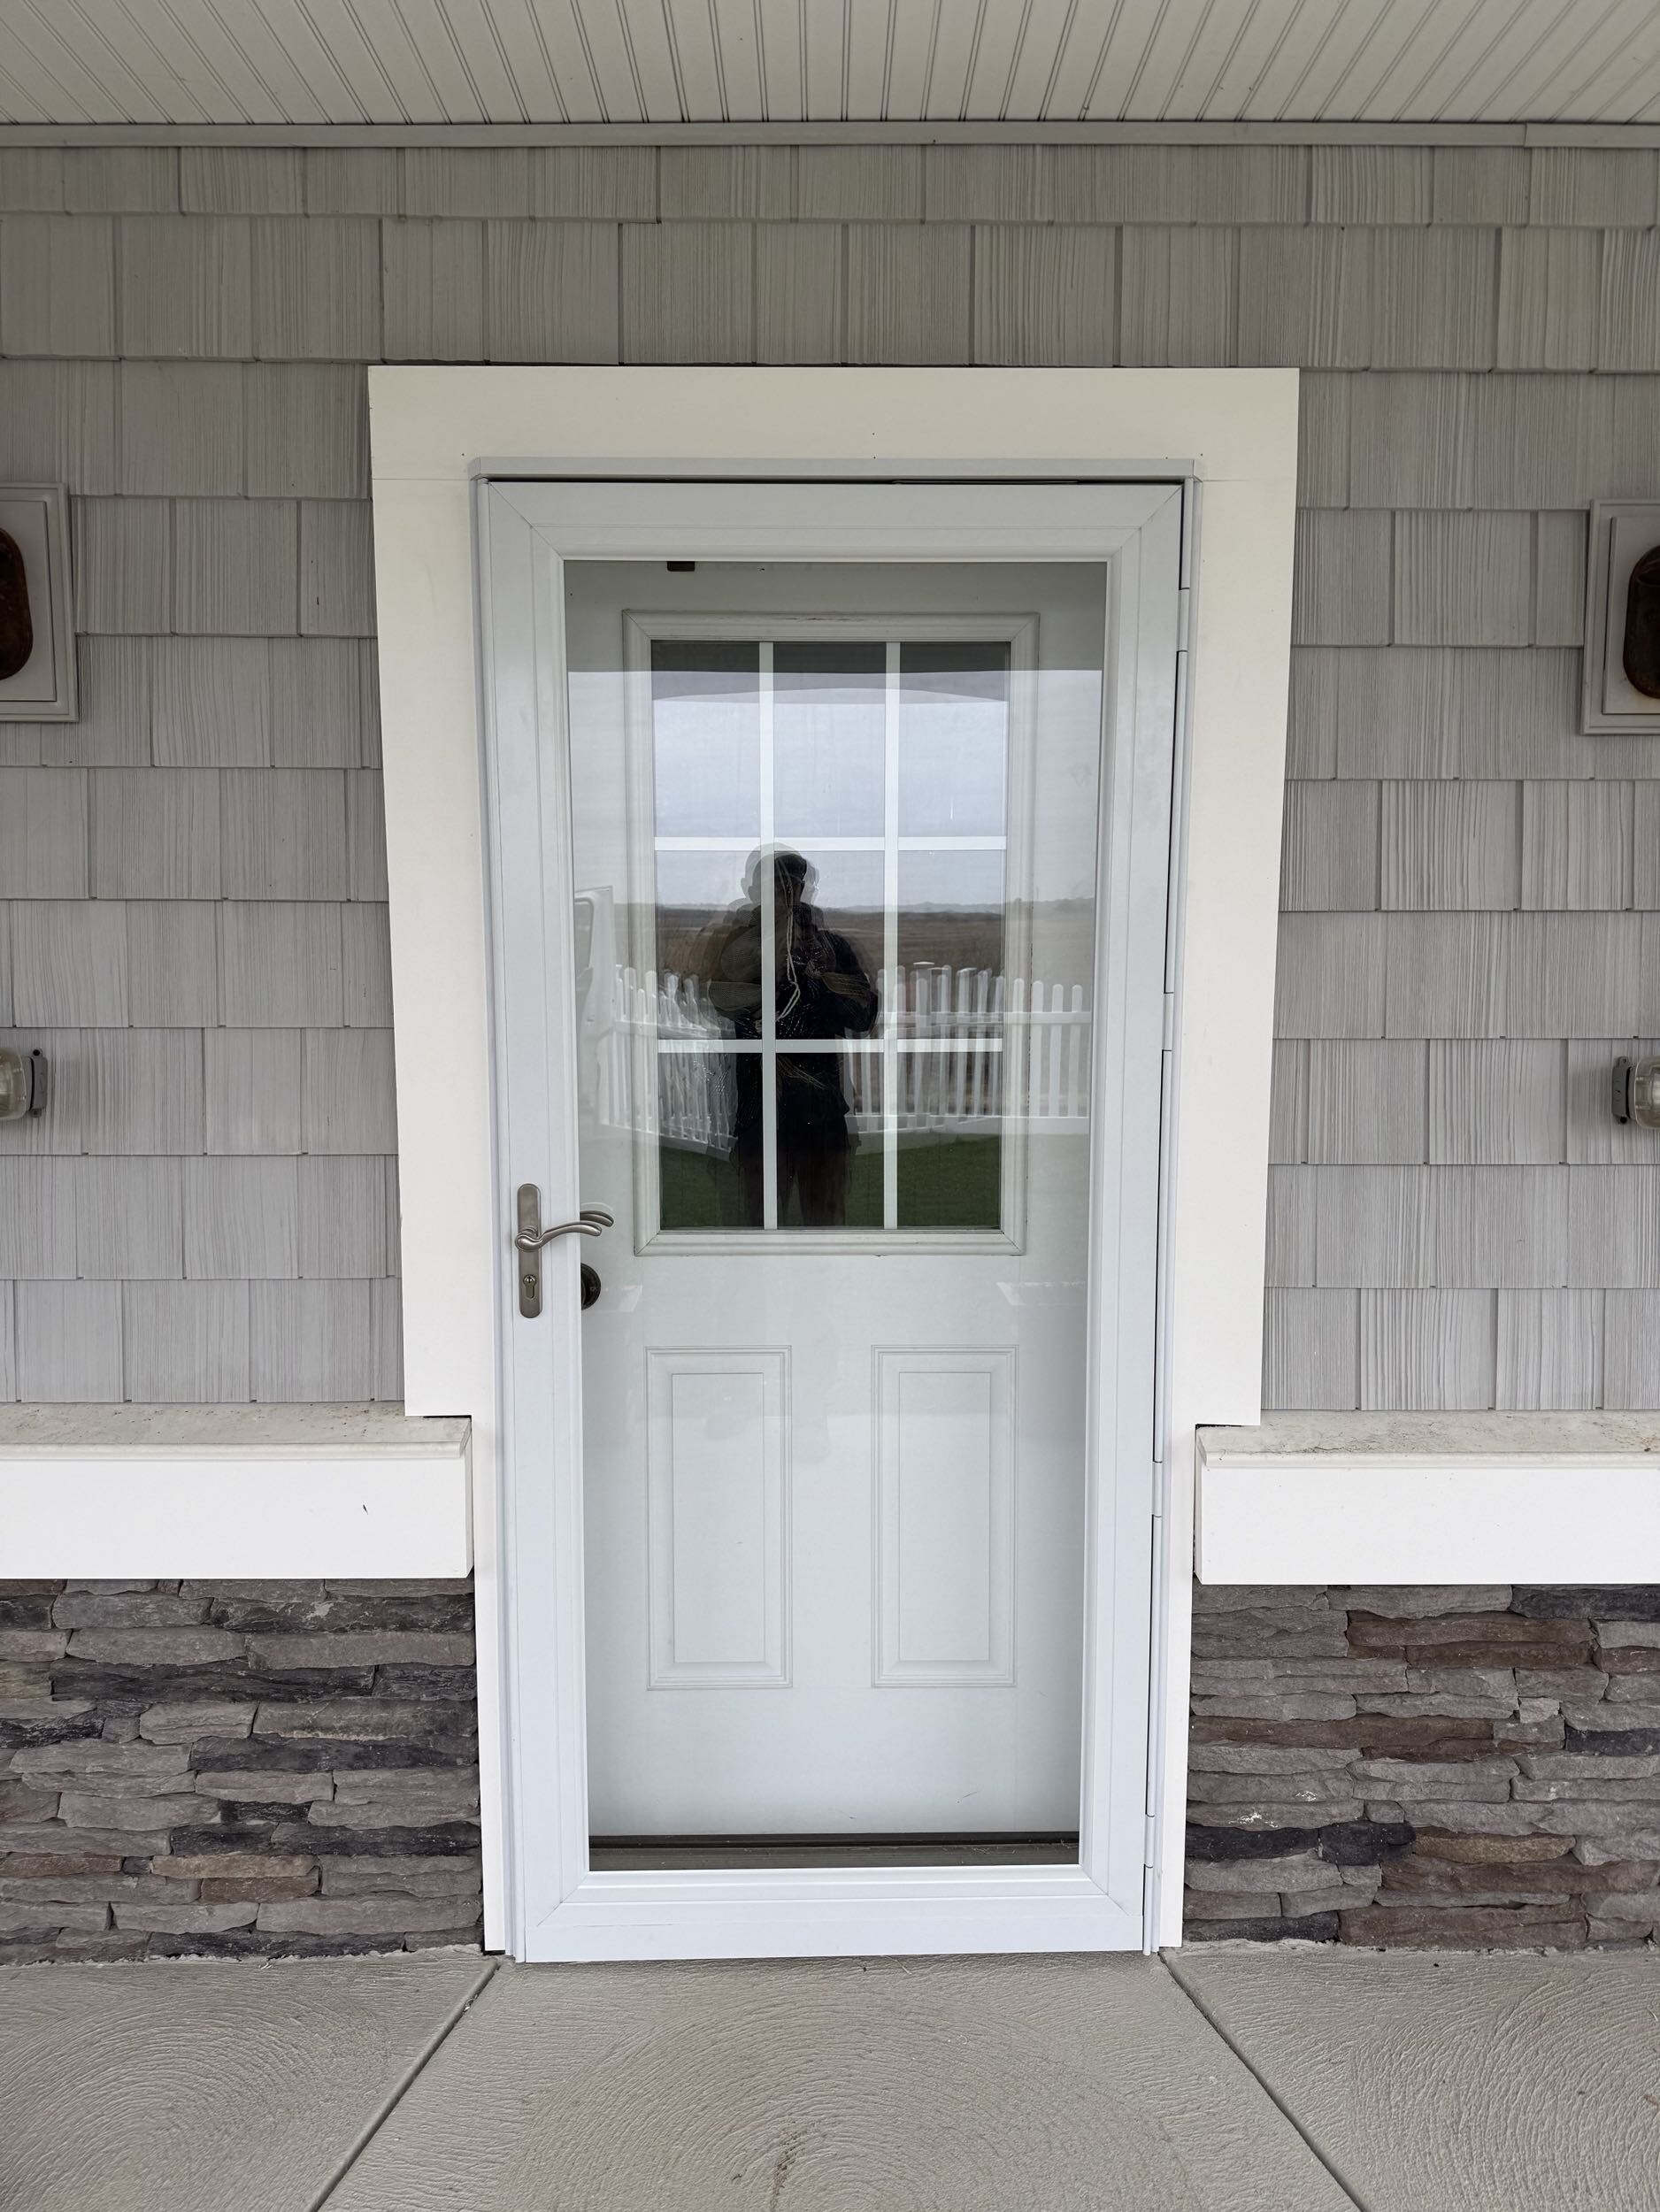
If you are also upgrading your entryway, you can find professional help by searching for exterior door installation near me. For step-by-step guidance on entryways, refer to the Therma-Tru door installation guide 2026.
Weatherproofing, Flashing, and Insulation for Coastal Homes
Coastal homes along the Jersey Shore face extreme weather conditions. High winds can drive rain sideways, forcing water into the smallest gaps around your windows and doors. Standard installation methods are often not enough to prevent leaks in these environments.
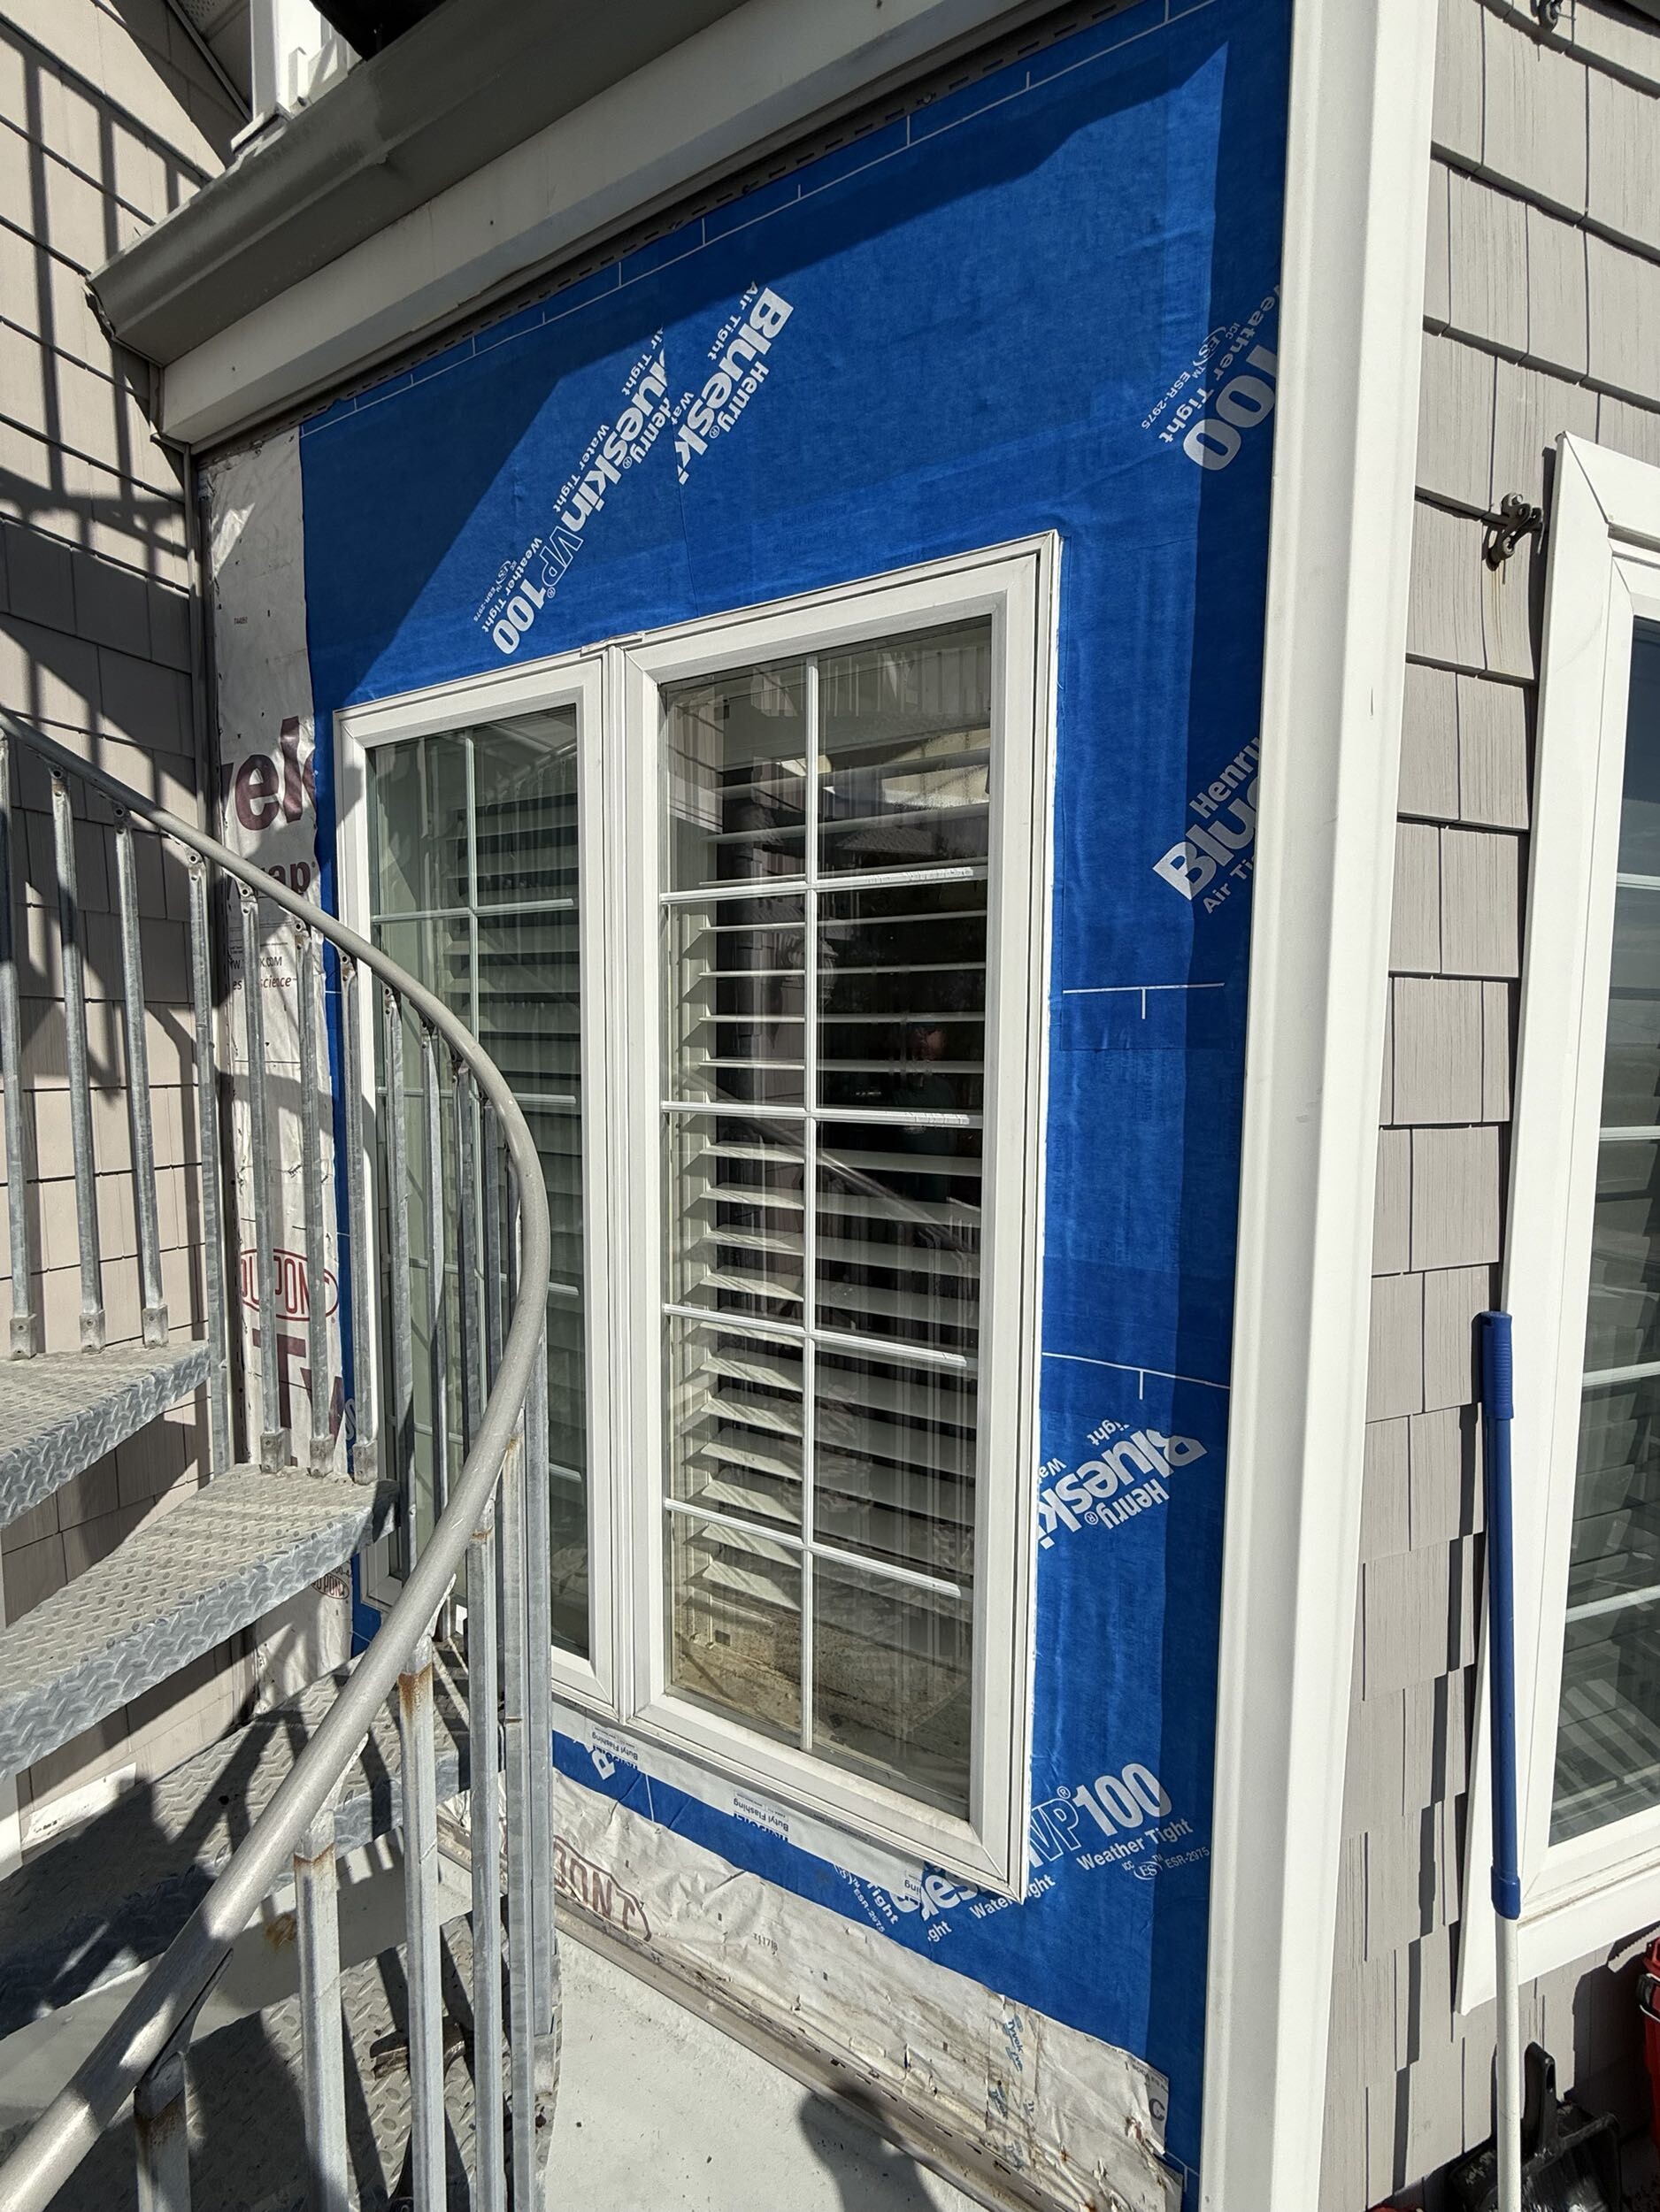
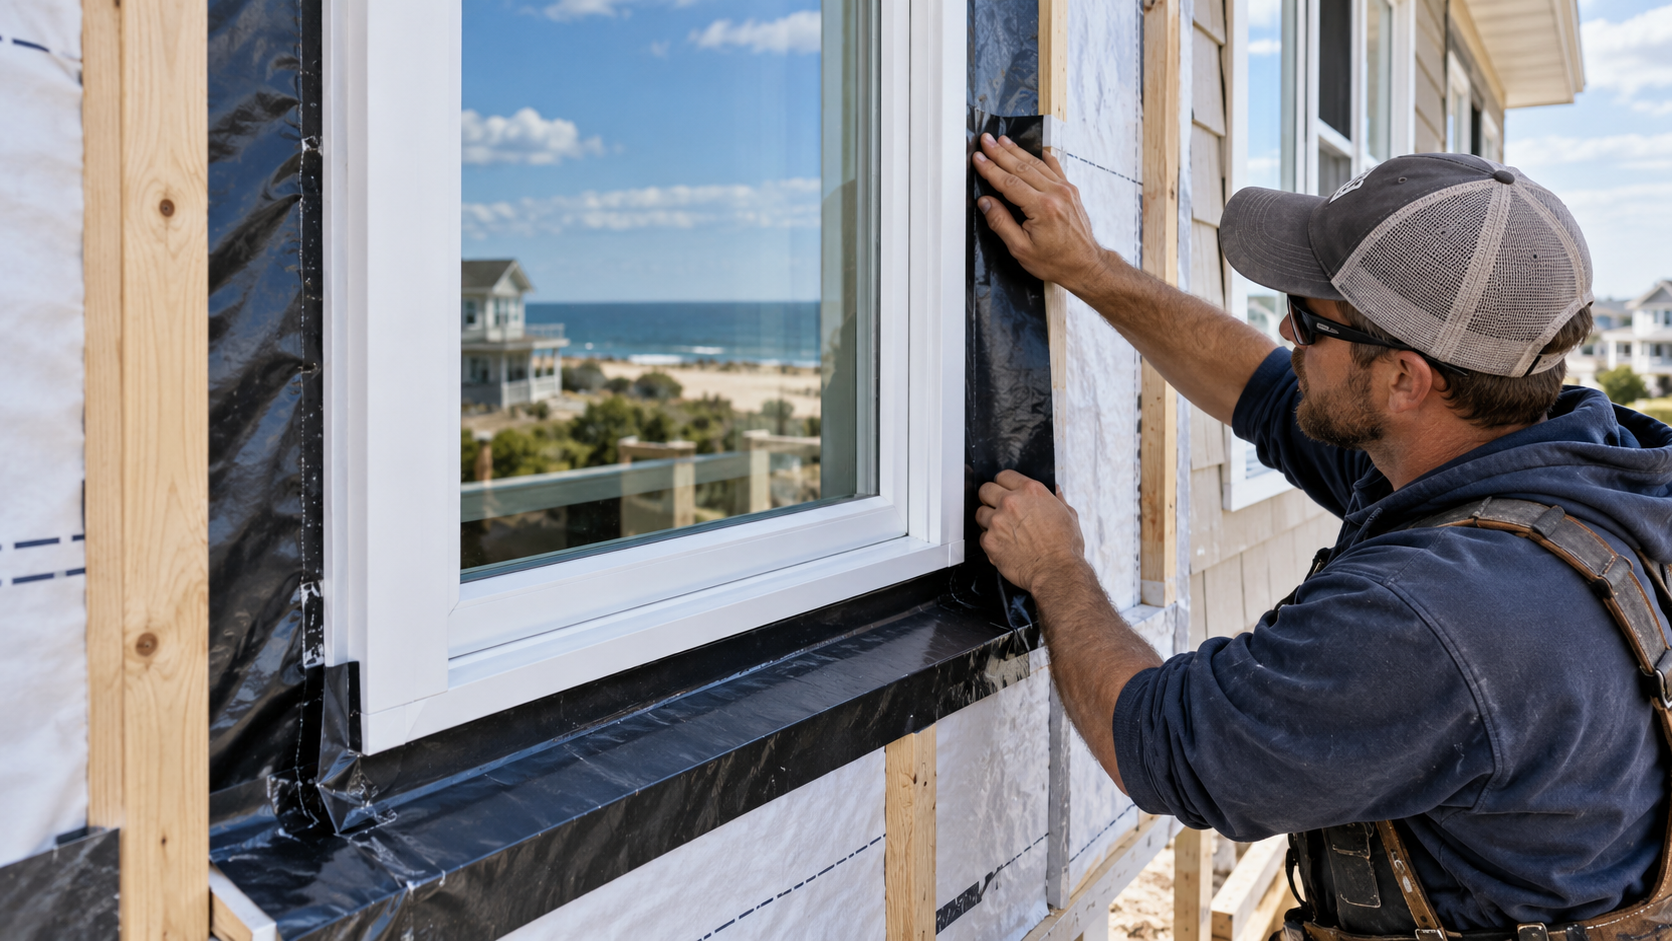
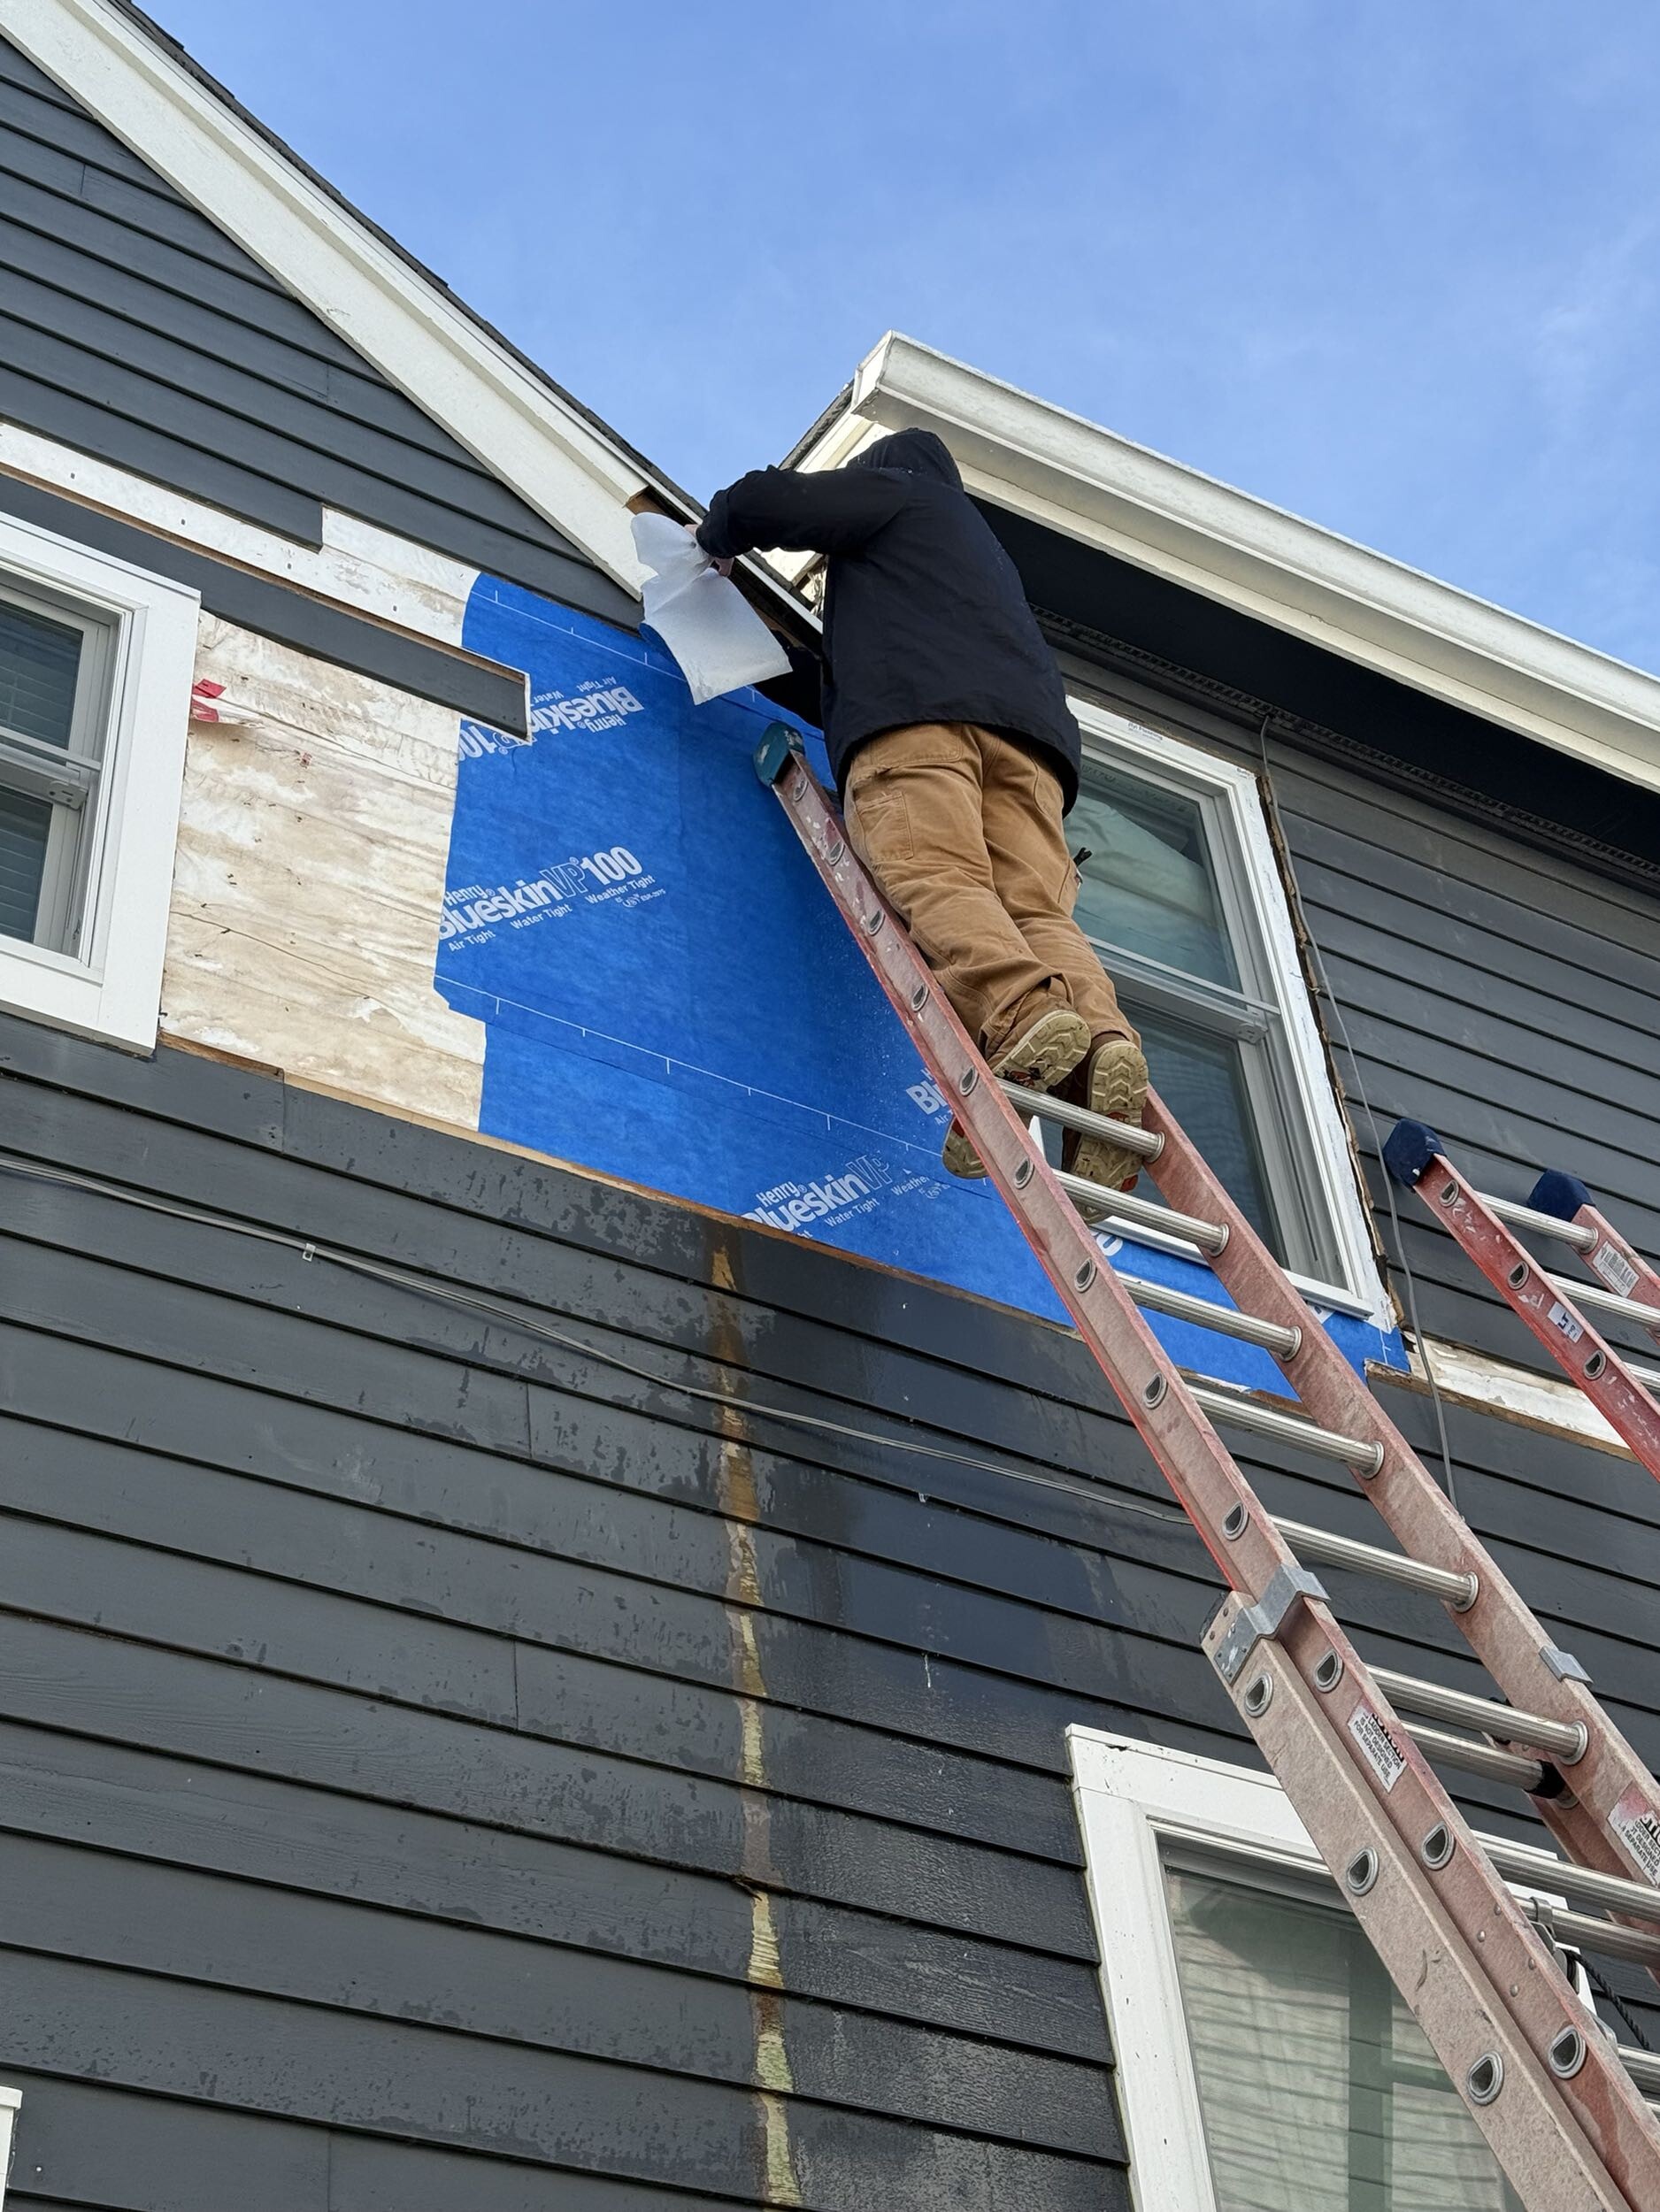
To protect your home, you must use a layered weatherproofing system. This starts with high-quality flashing tape. Apply the flashing tape to the sill first, extending it up the sides of the jambs by at least six inches. Next, apply jamb flashing along the sides, and finish with head flashing across the top. This overlapping pattern works like shingles on a roof, directing water down and away from the wood framing.
Always use a J-roller to press the flashing tape firmly onto the wood. This pressure-sensitive tape requires physical force to activate the adhesive. Rolling it removes air bubbles and ensures a permanent, water-tight bond.
For insulation, we use closed-cell foam around the window frame. Closed-cell foam does not absorb water, making it perfect for damp coastal climates. Properly installed insulation can reduce air infiltration by up to 45% compared to older, poorly sealed windows. This keeps drafts out and lowers your utility bills. Learn more about choosing the right products in our guide on energy efficient windows NJ.
Professional Installation vs. DIY: Making the Right Choice
Many homeowners wonder if they should tackle window and door installation as a DIY project. While installing a single window might seem straightforward, the process is highly technical.
DIY installation carries several risks. If you make a mistake with the flashing, water can slow-leak inside your walls for years. By the time you notice the damage, you may have rotted wood studs and mold growth. Additionally, most premium manufacturers will void your product warranty if the window is installed incorrectly.
Hiring certified professionals protects your investment. Certified installers have the training to handle complex coastal installations. They know how to integrate the window with your specific siding and weather barriers. Plus, professional installation is fast. A professional crew can typically replace all the windows in an average home in just one to two days.
To ensure your peace of mind, work with professional window installers NJ who offer a comprehensive warranty on their labor. You can explore your options through our window replacement services New Jersey.
Avoiding Costly Mistakes When Installing Windows and Doors
Whether you hire a contractor or do it yourself, watch out for these common installation mistakes:
- Improper Flashing: Layering flashing tape incorrectly is the number one cause of window leaks. Always install flashing from the bottom up so the top layers overlap the bottom layers.
- Over-Foaming: Using standard expanding foam can pressure the window frame, causing it to bow. This makes the window difficult or impossible to open and close. Always use low-expansion foam.
- Sealing Weep Holes: Caulking over the weep holes at the bottom of the window traps water inside the frame. This water will eventually leak into your home.
- Installing Out of Square: If the window frame is not perfectly square, level, and plumb, the sashes will not seal correctly. This leads to air drafts and water leaks.
- Skipping the Sill Pan: Skipping a sill pan leaves your wood framing vulnerable if water ever gets past the exterior seal.
Frequently Asked Questions About Window and Door Installation
How much smaller should a replacement window be than the rough opening?
A replacement window should be approximately 3/4 inches smaller than the rough opening. This provides a 3/8 inch clearance on all sides. This gap is necessary to slide the window into place, insert shims to level it, and apply foam insulation around the perimeter.
Can I install a replacement window from the inside?
Yes. Pocket replacement windows can often be installed from either the inside or the outside of your home. Installing from the inside is common for multi-story homes because it eliminates the need for tall ladders or scaffolding. You simply remove the interior stop moldings, slide the old sashes out, and install the new unit from inside the room.
Why is low-expansion foam critical for window installation?
Standard expanding foam expands with great force and can easily bow vinyl or wood window frames. Once a frame bows, the window sashes will stick and fail to operate. Low-expansion polyurethane foam is formulated to fill gaps without exerting high pressure, providing excellent insulation and air-sealing without damaging the window.
Conclusion
Installing windows and doors is a major investment in your home's comfort, value, and storm resilience. In coastal New Jersey, you cannot afford to cut corners on materials or installation quality. A cheap window or a rushed installation will quickly fail under the pressure of salt air and heavy storms.
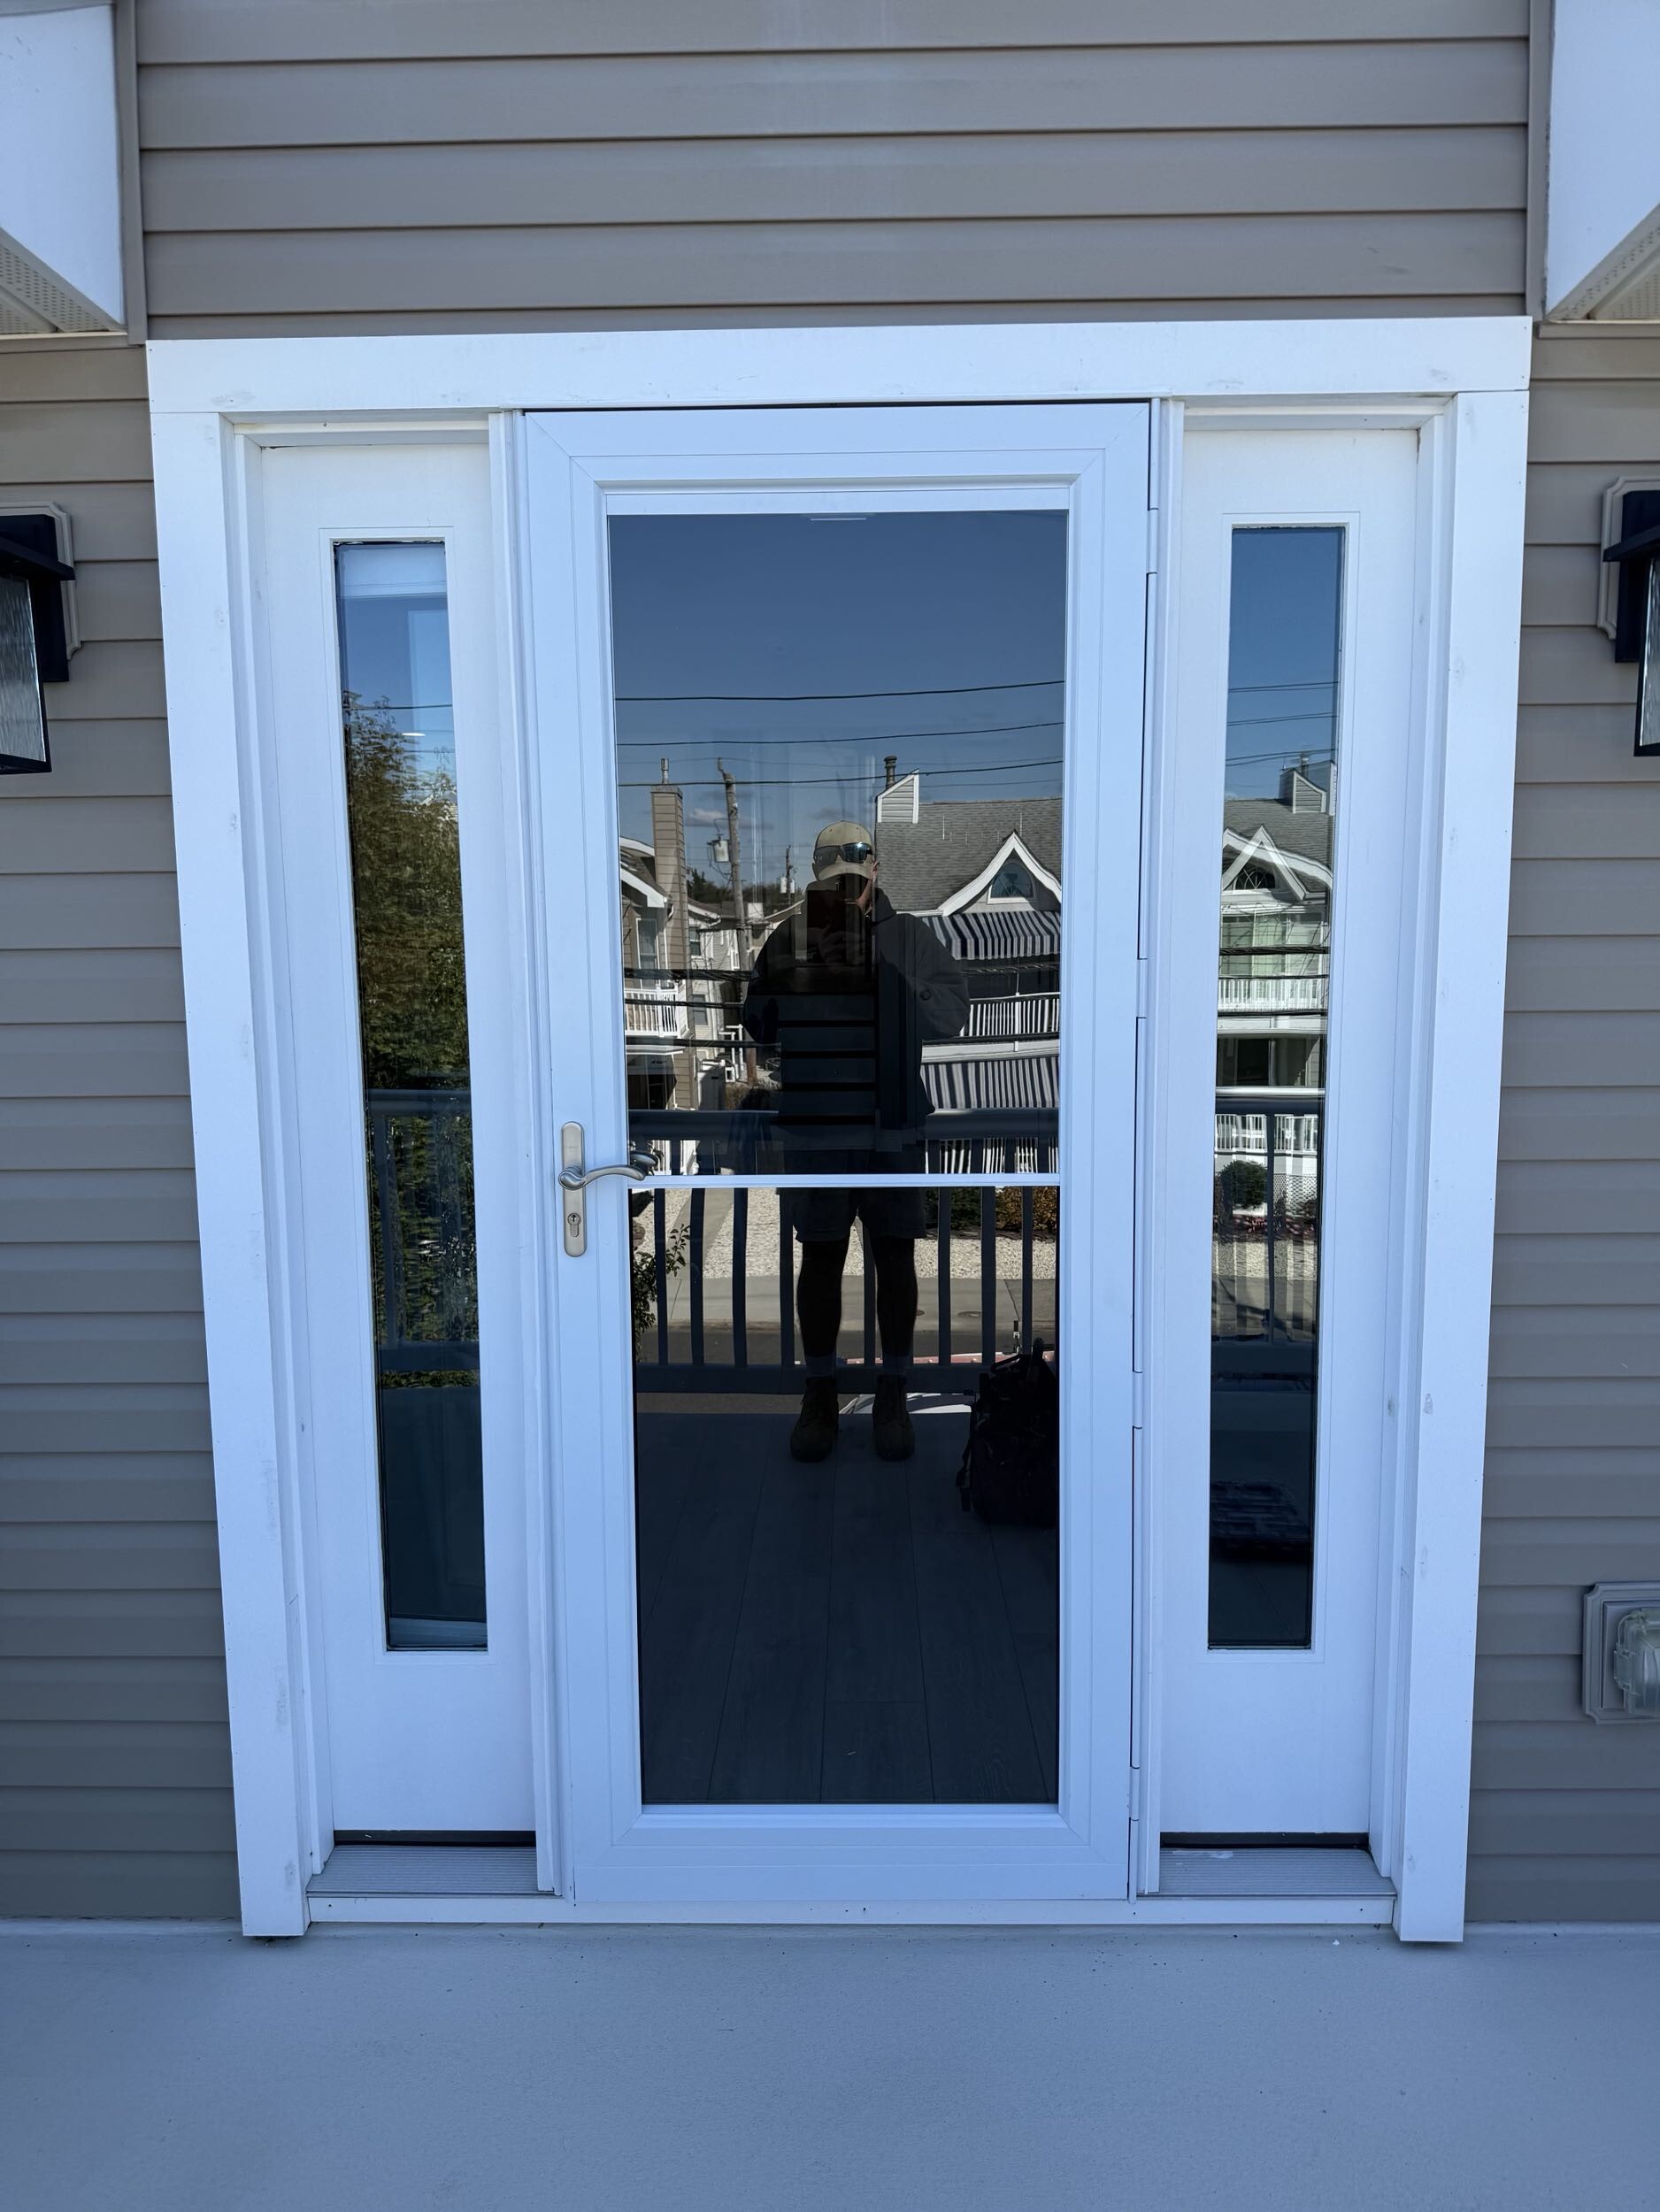
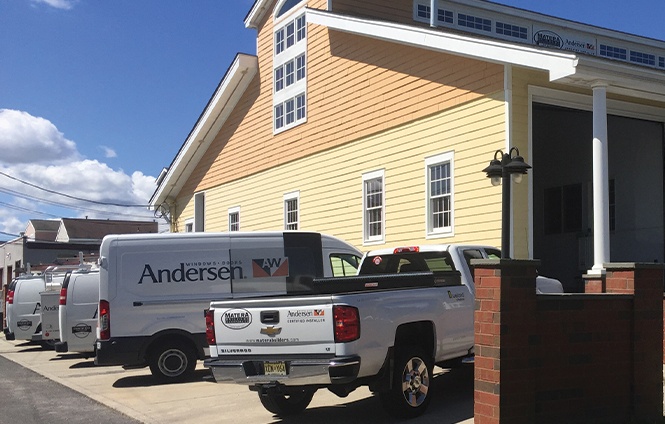
At Matera Builders, we've brought local experience to every project since 1988. Led by Mike Werner, our team an Andersen Elite Certified Contractor and Therma-Tru Certified Installer specializes in fitting durable Andersen windows and Therma-Tru doors.
If you are ready to upgrade your home with high-performance windows and doors built to last, we are here to help. Contact us today to schedule a professional consultation and assessment for your home.
Explore our Windows and Doors Services




.jpg)

.jpg)