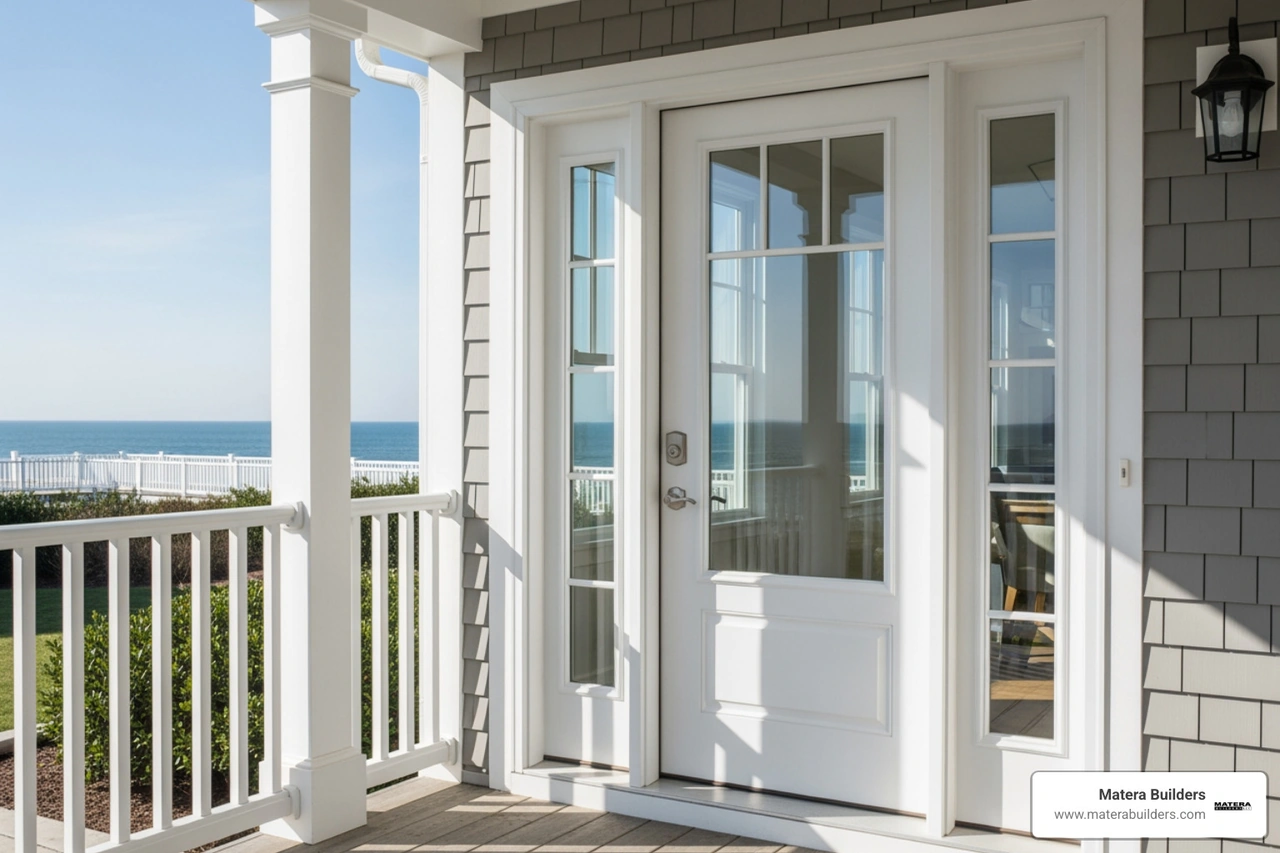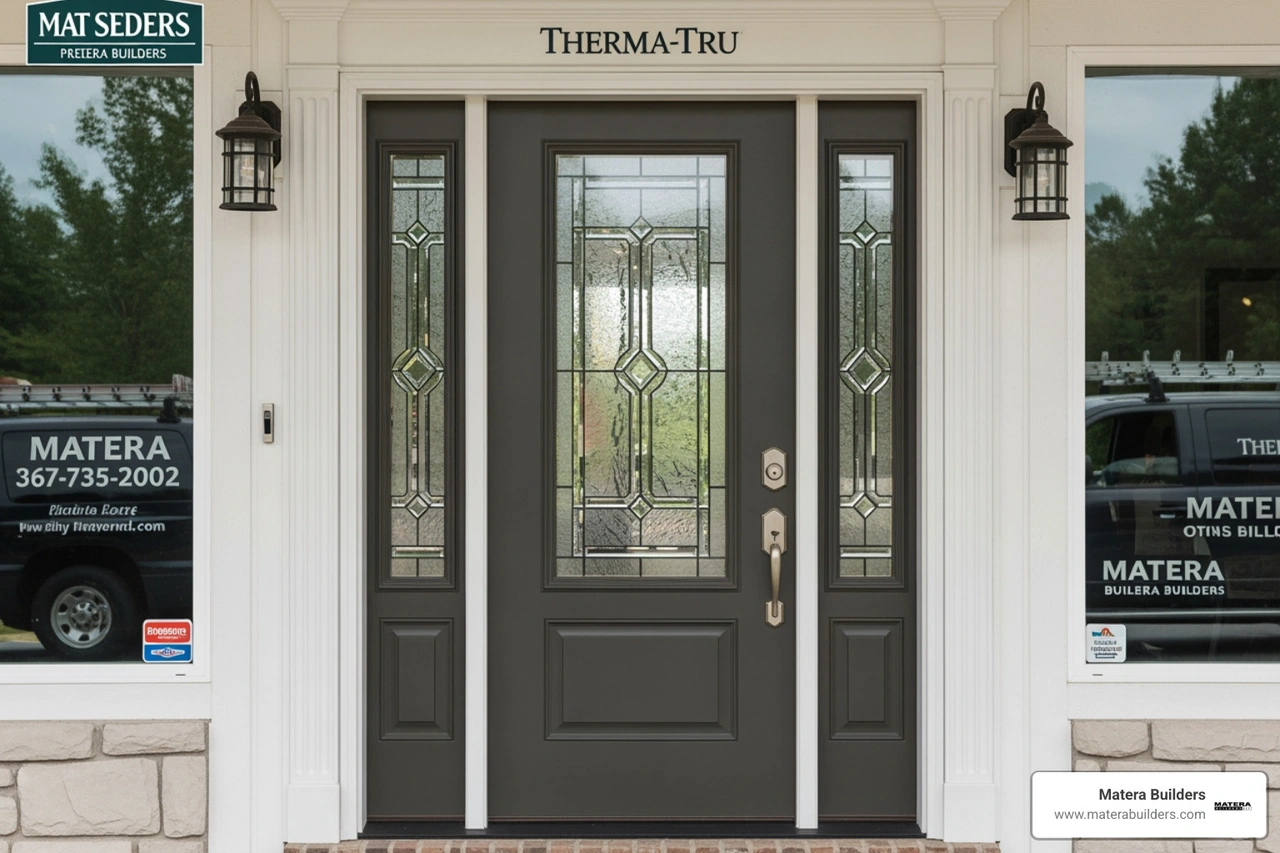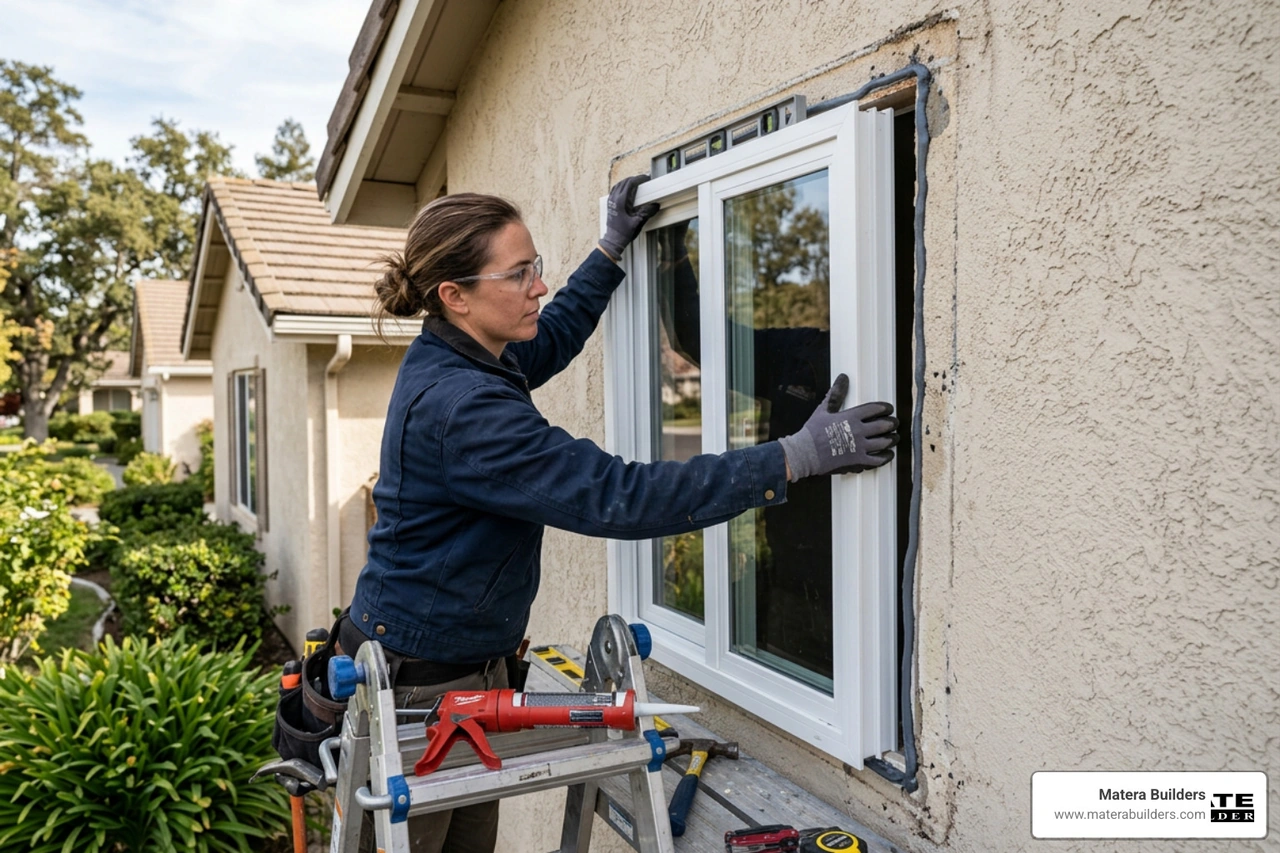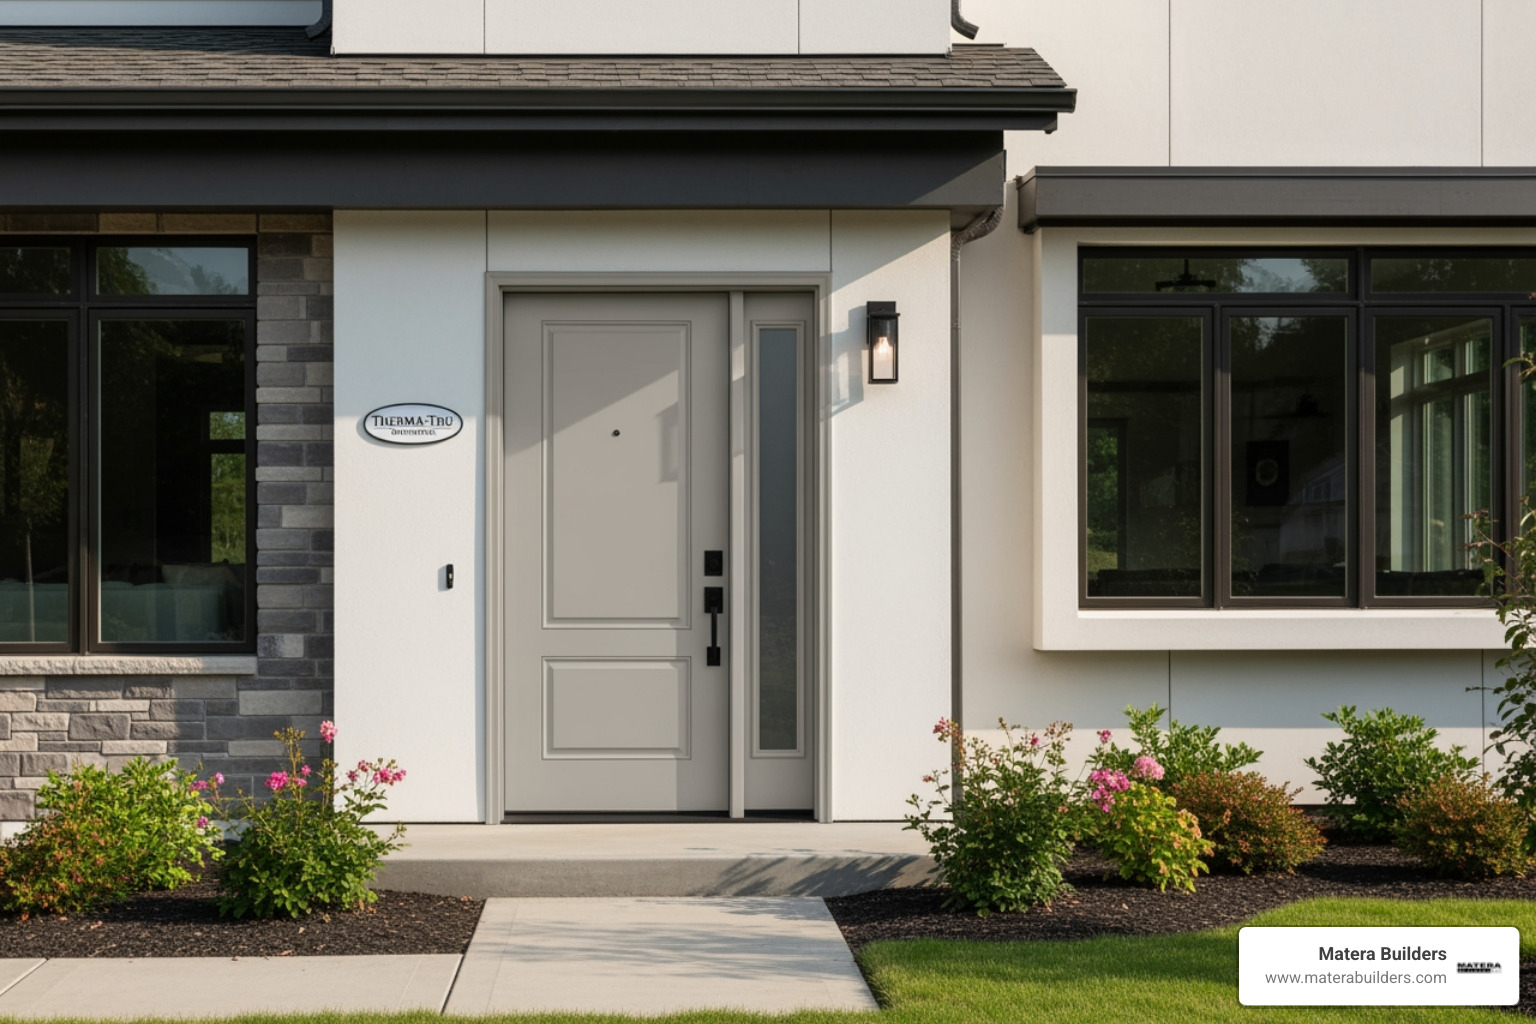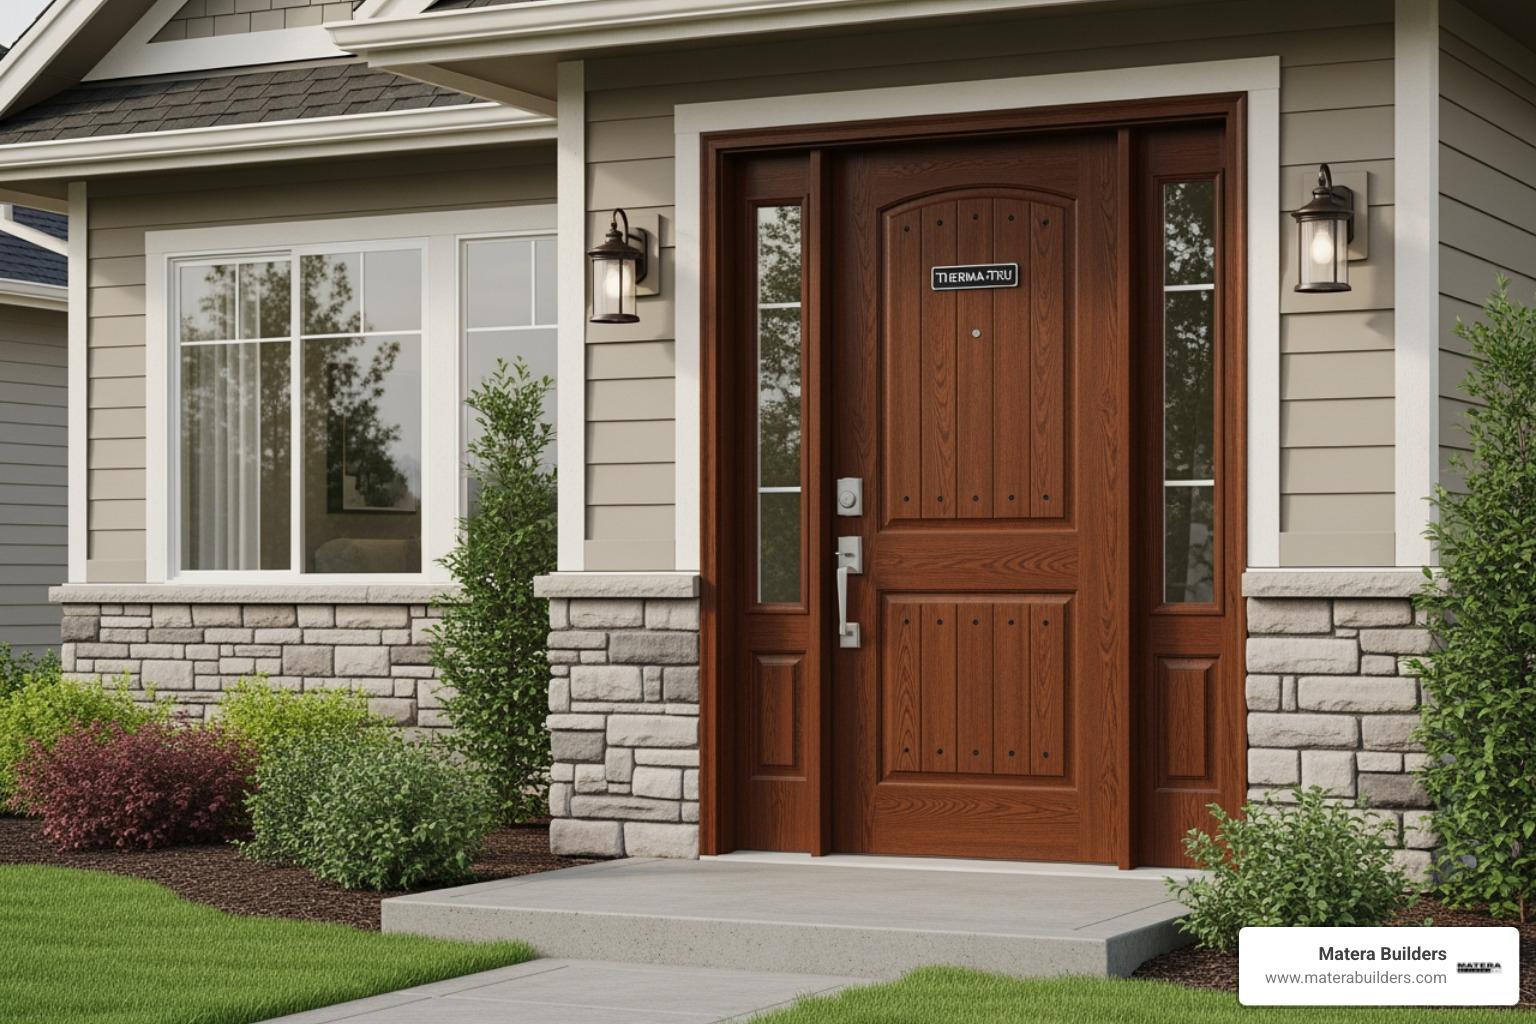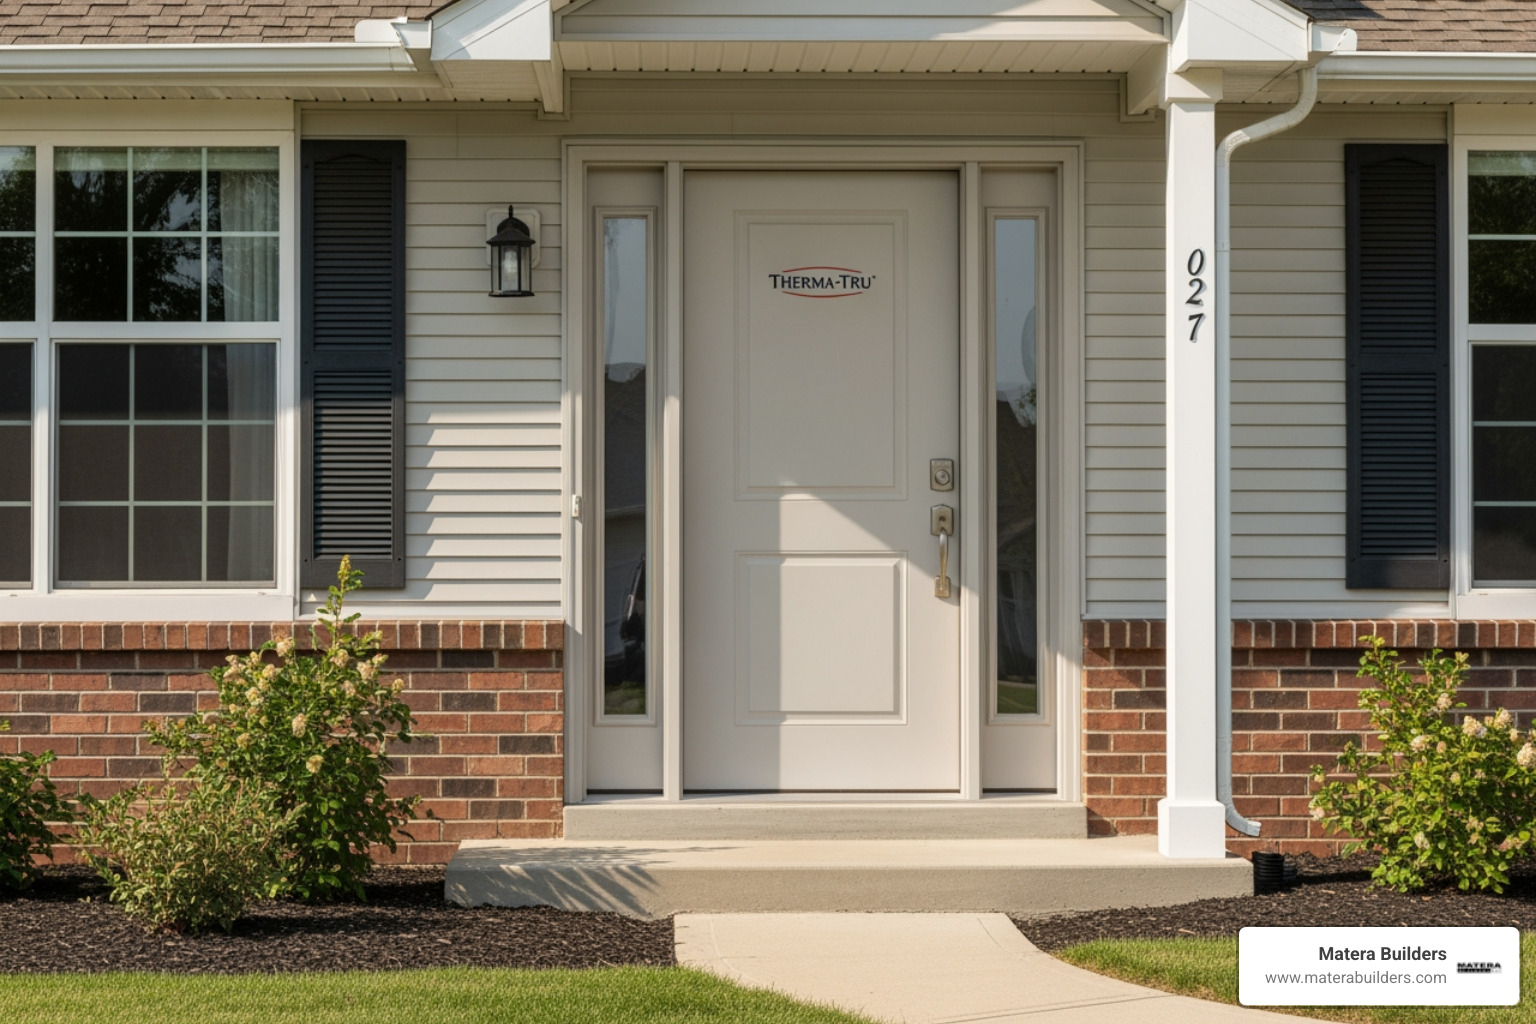

Preparing for Your Therma-Tru Door Installation
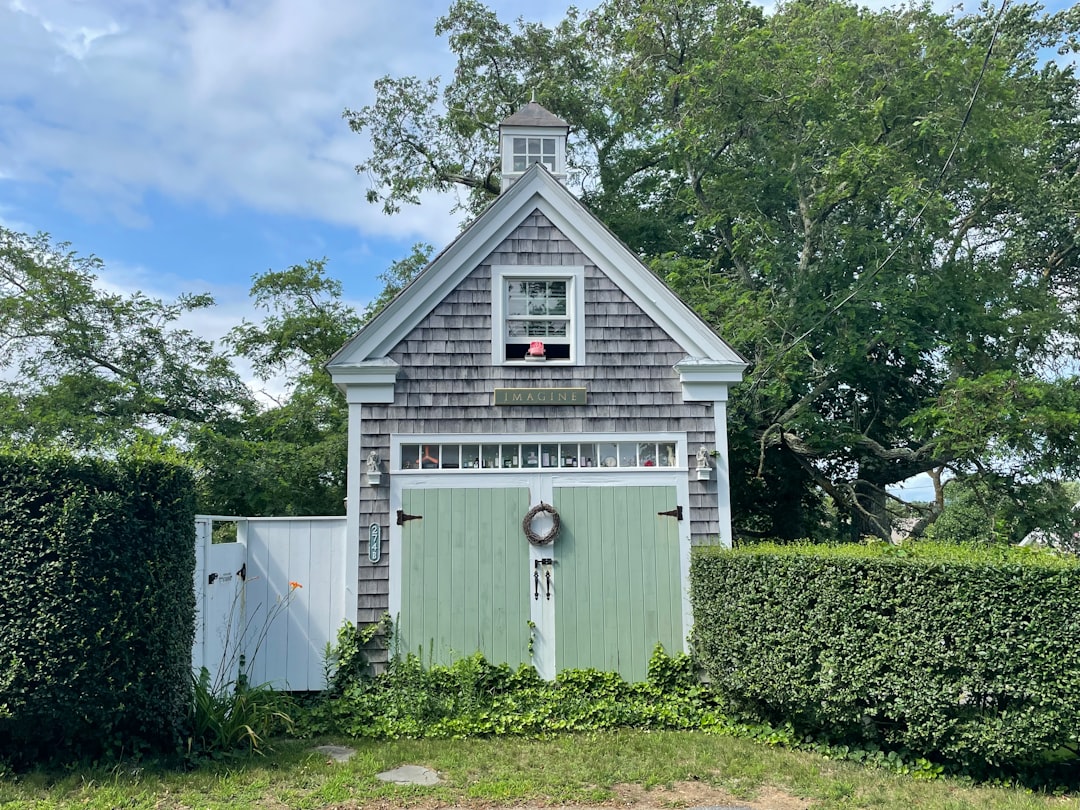
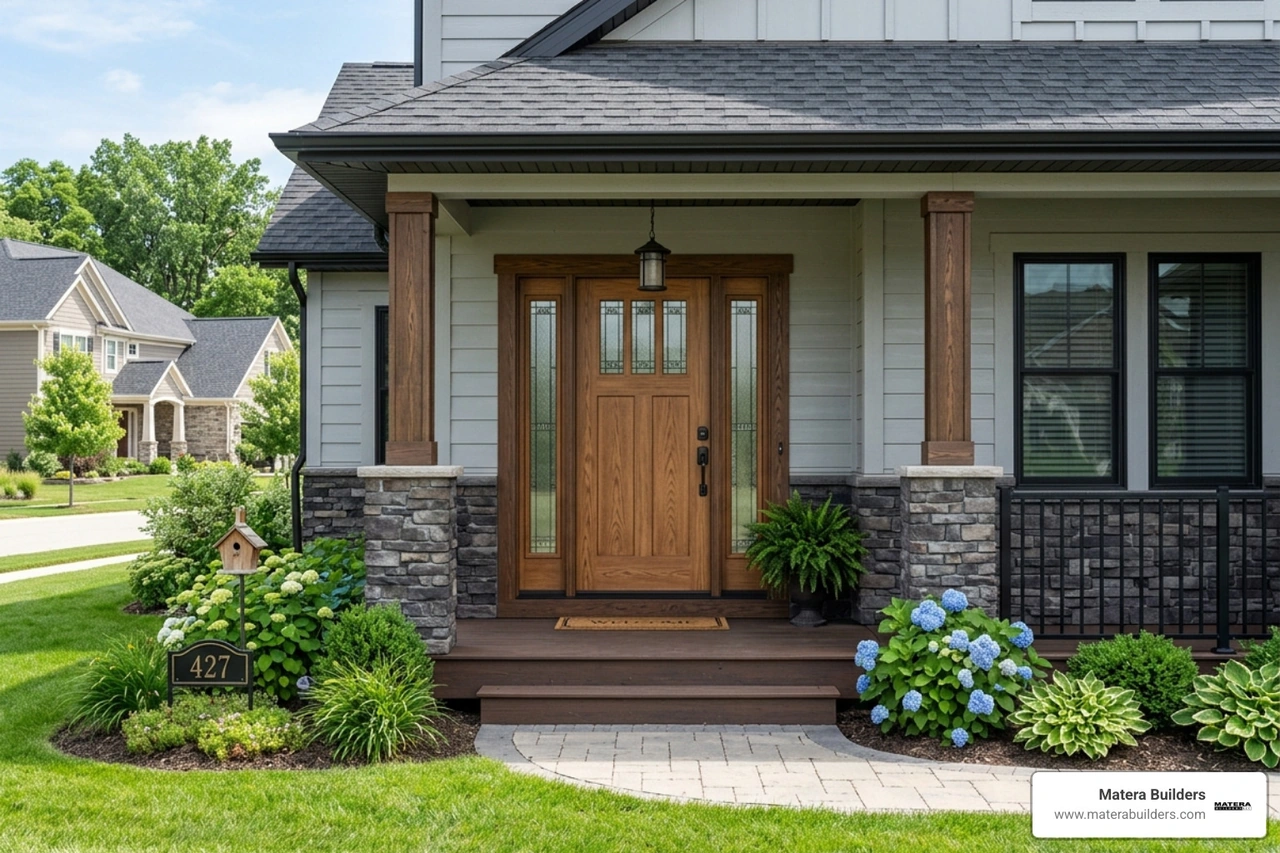
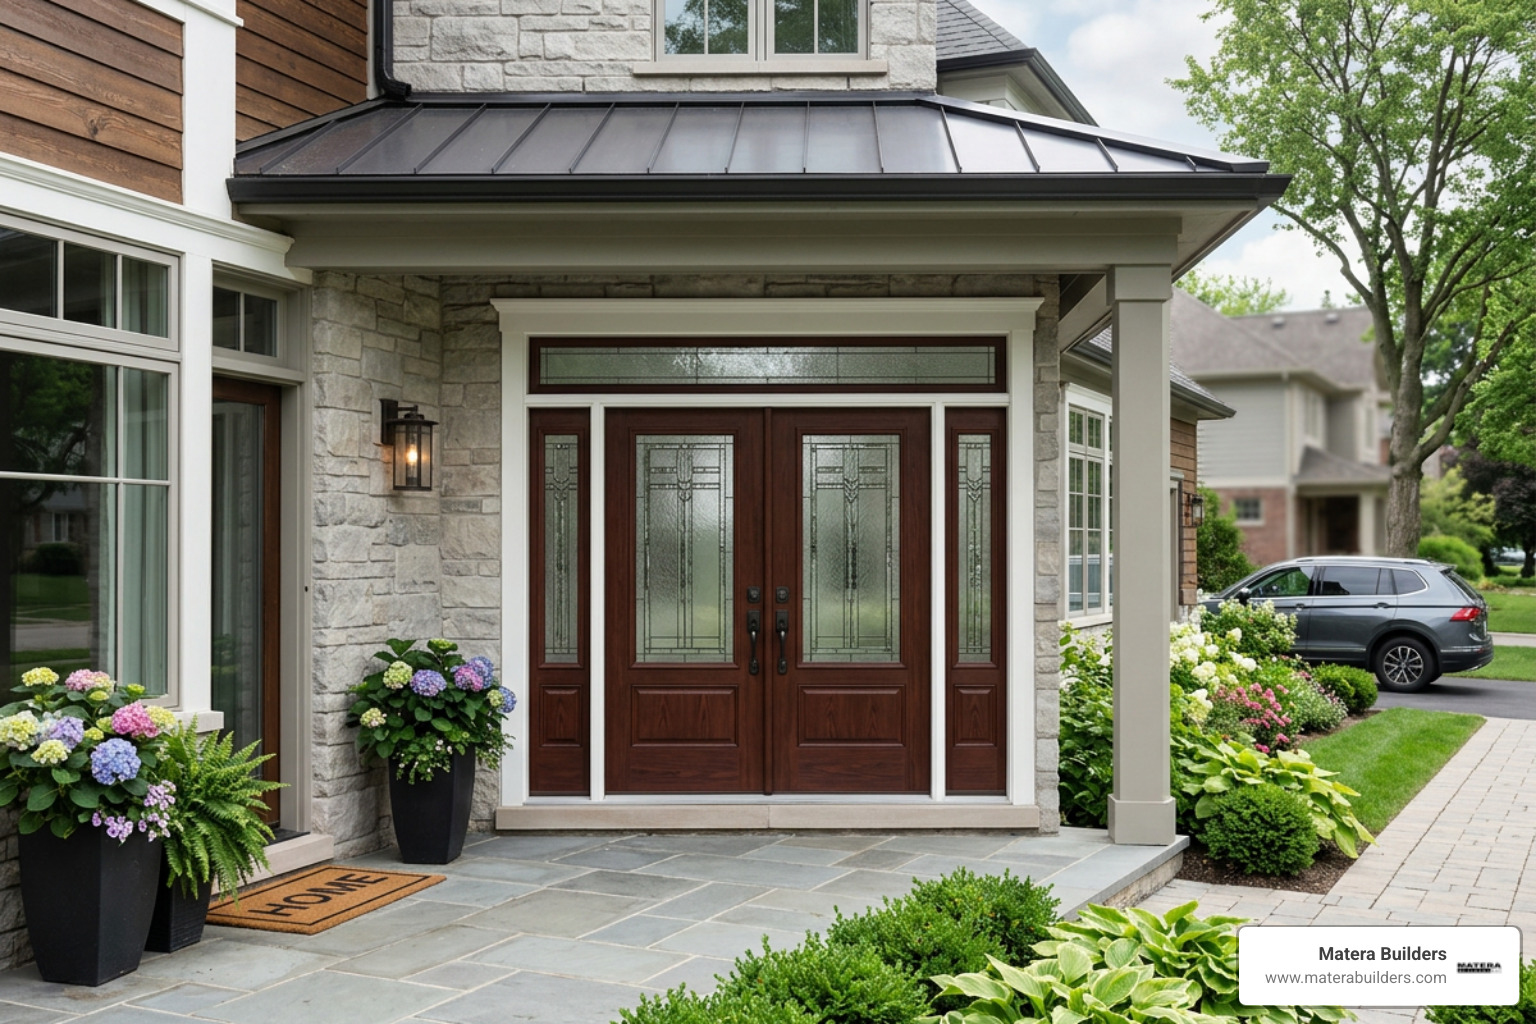
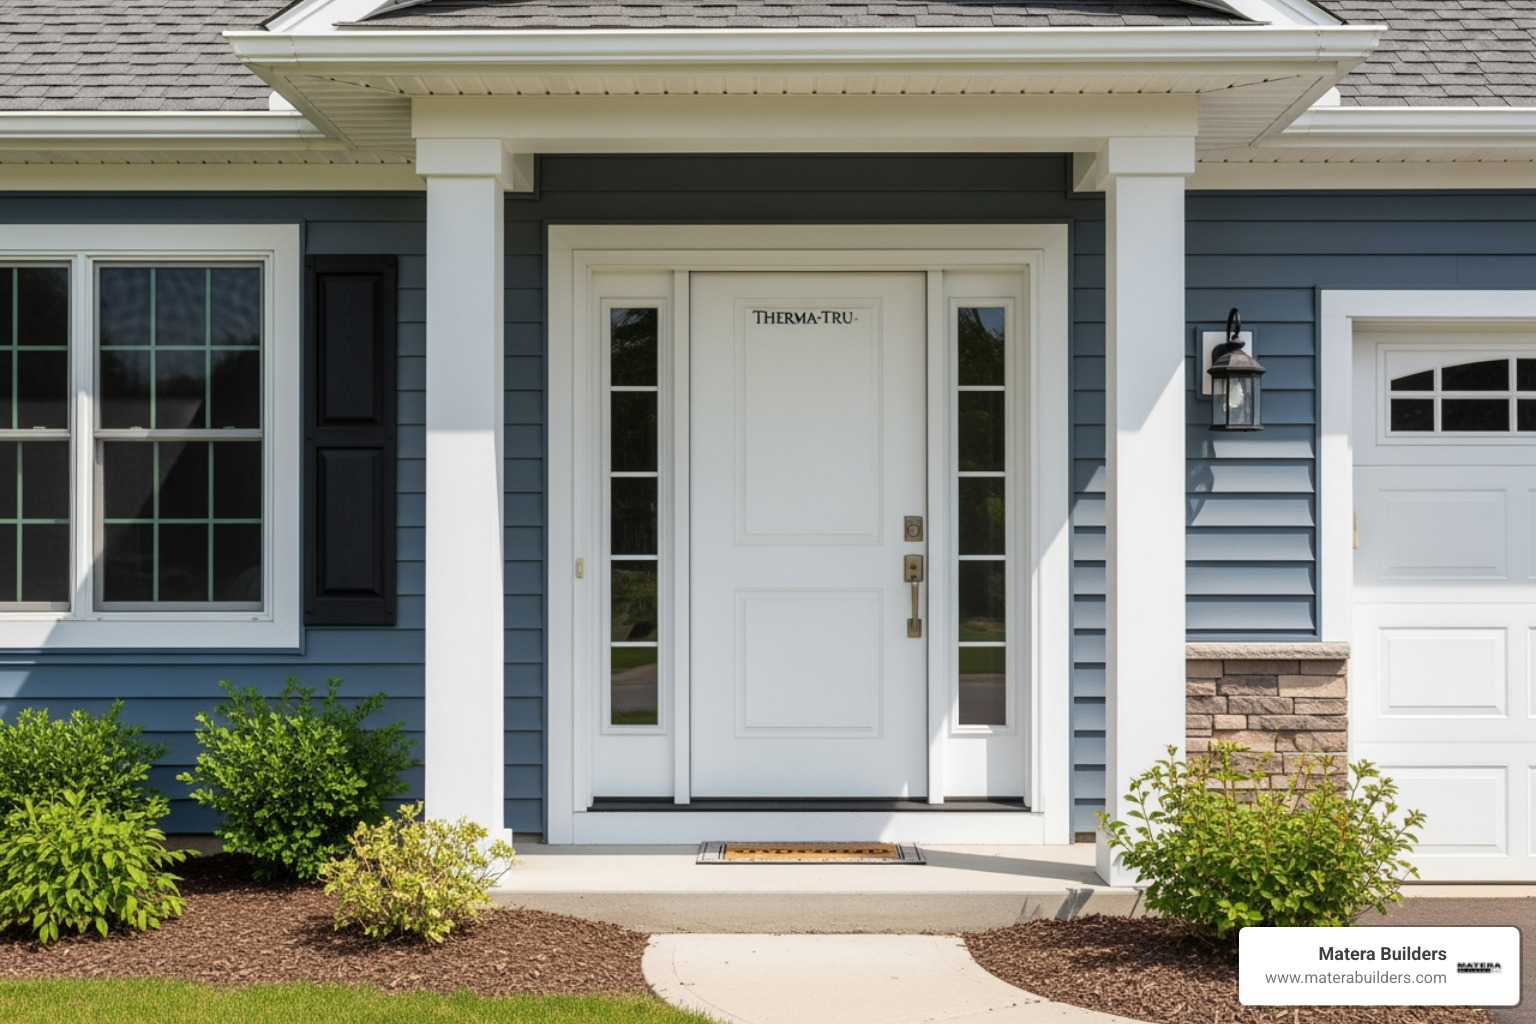
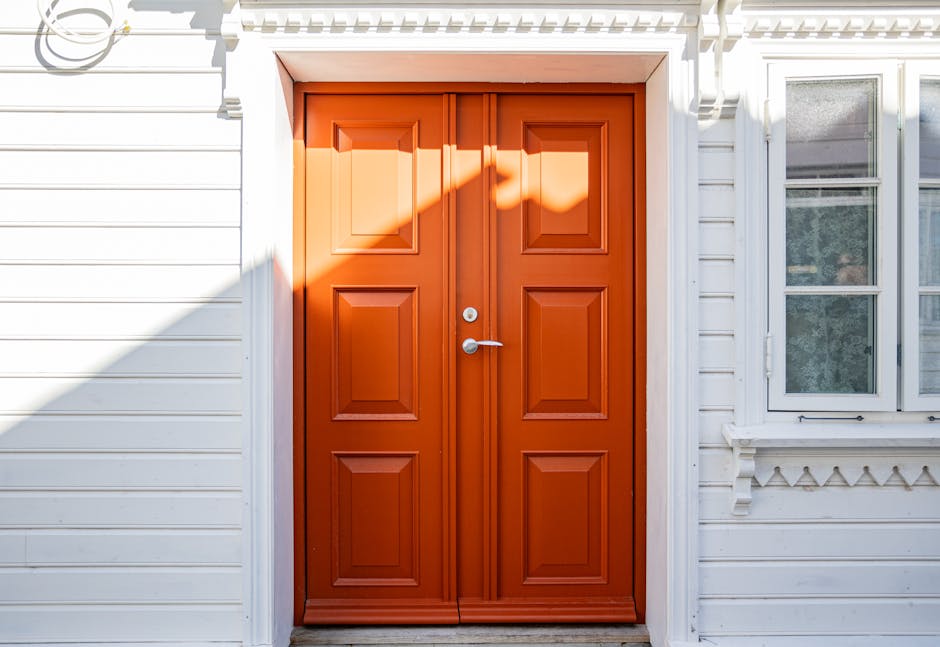
Therma-Tru door installation is one of the most impactful exterior upgrades you can make to your home. Done right, it stops drafts, blocks water intrusion, and cuts energy loss. Done wrong, it leads to leaks, rot, and costly repairs.
Here's what a proper Therma-Tru door installation involves:
- Verify the rough opening is the correct size, plumb, level, and square
- Prepare the subfloor with elastomeric sealant and install a sill pan
- Apply caulk to the back of the brickmould around the full perimeter
- Set the pre-hung unit in the opening and temporarily fasten it
- Plumb the hinge side jamb and shim for even weatherstrip contact
- Install corner seal pads and adjust the threshold for a tight seal
- Apply flashing, insulation, and exterior caulk to weatherproof the unit
- Finish steel or fiberglass surfaces within manufacturer timelines to maintain warranty
Installing a Therma-Tru door looks straightforward on paper. But as Therma-Tru's own installation resources note, there's a lot more to it than most homeowners expect. An out-of-plumb opening alone is one of the most common causes of air and water leaks — and it's a problem that has to be fixed before the door ever goes in.
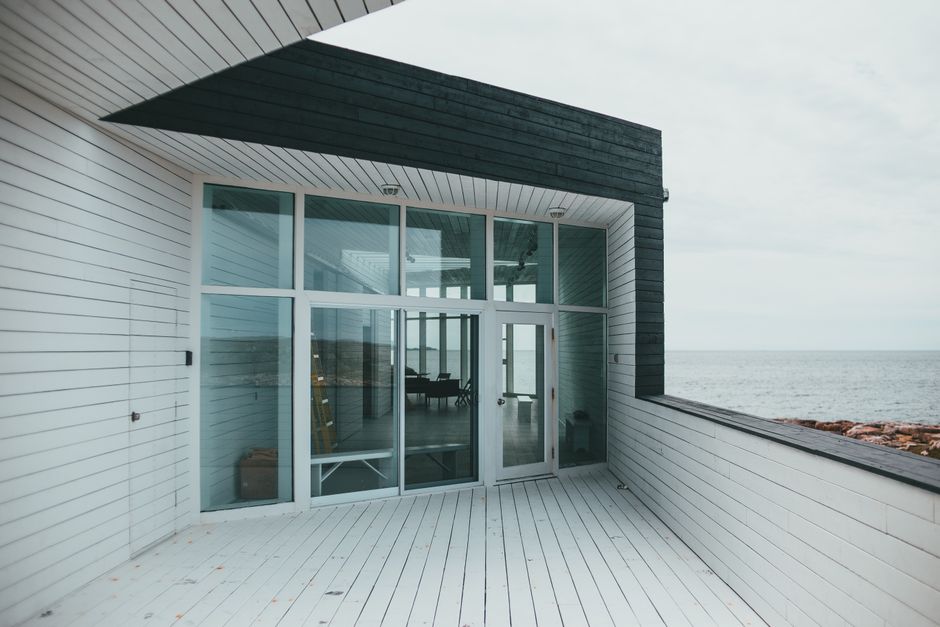
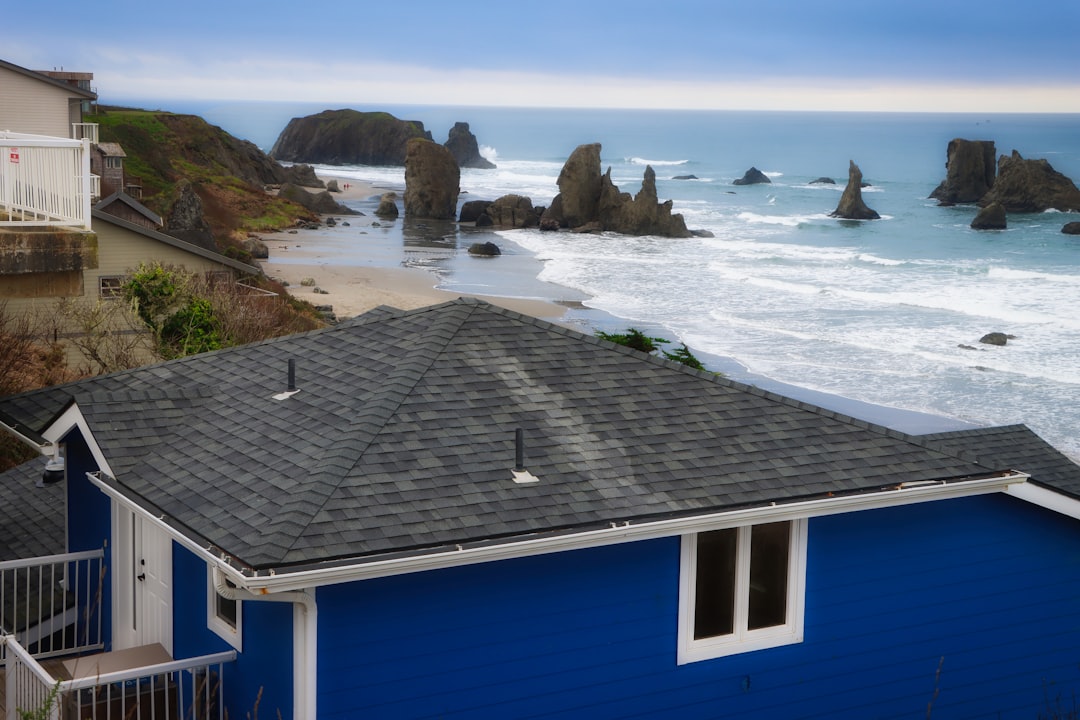
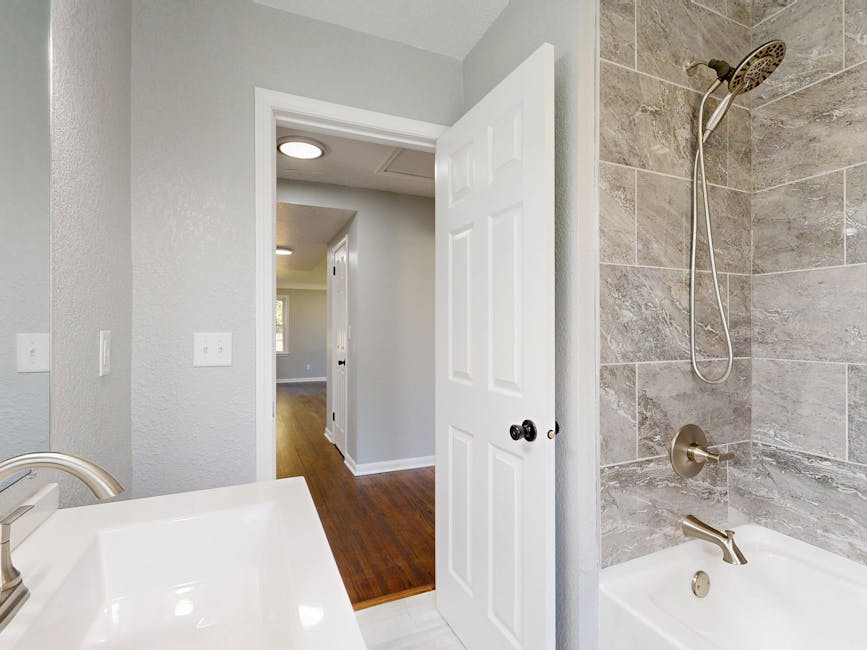
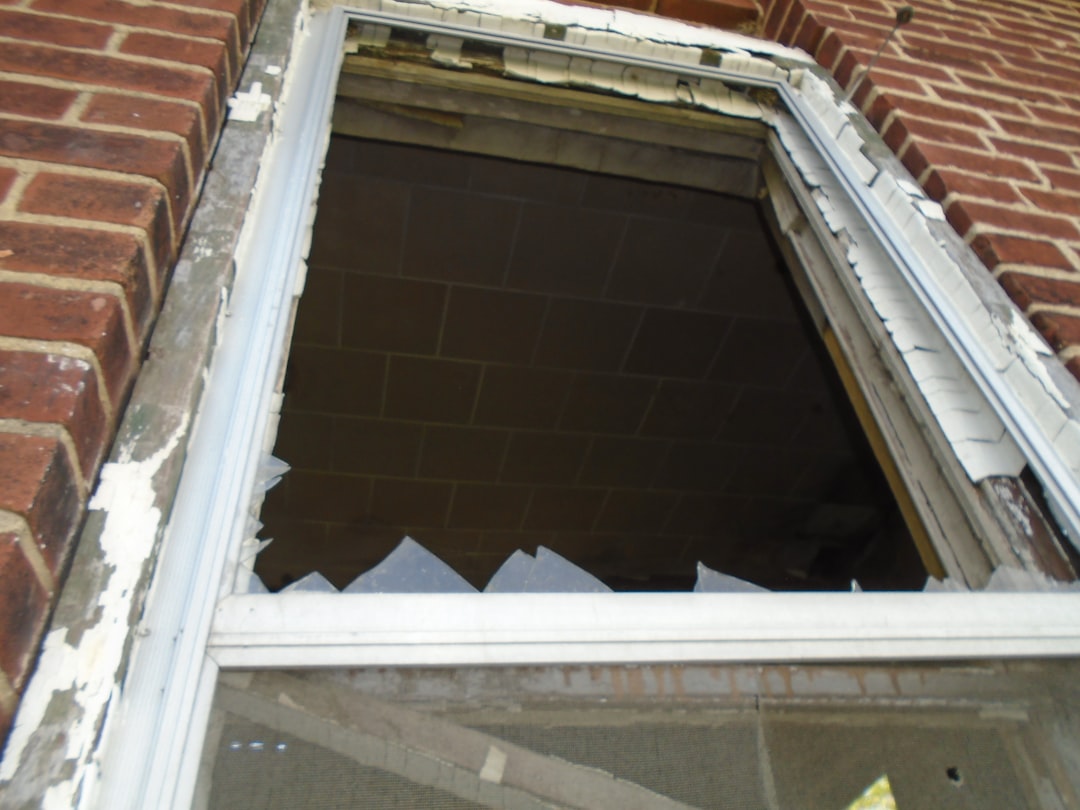
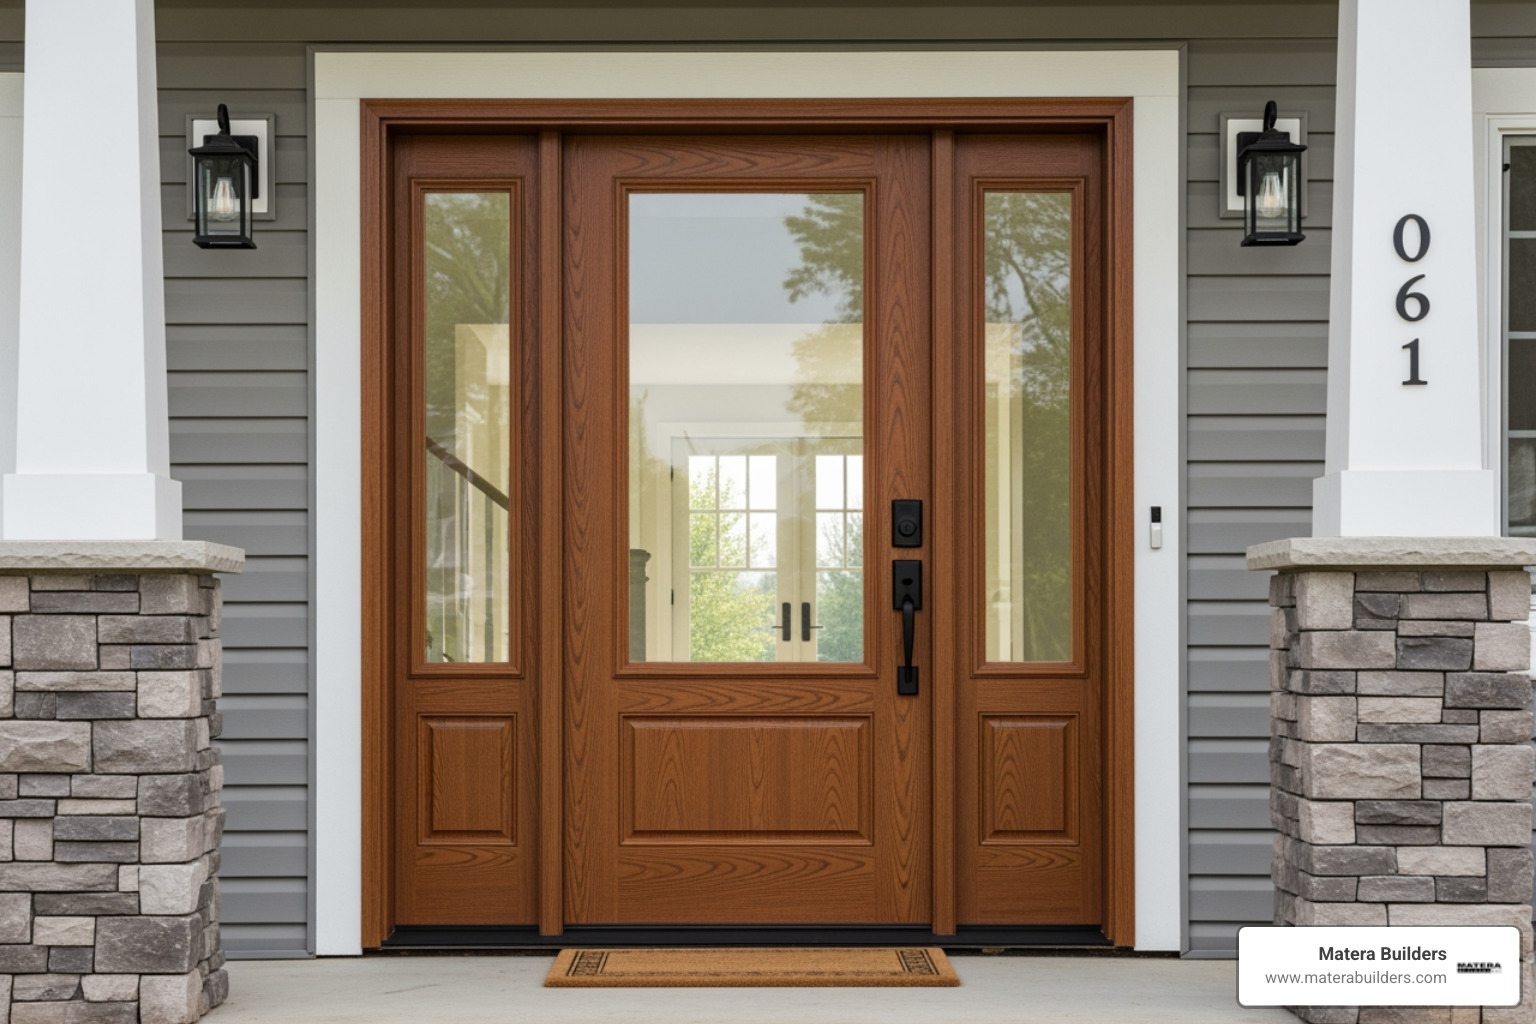
Whether you're dealing with a drafty old frame, water damage around your entry, or salt air wearing down your coastal home's exterior, getting the installation right is just as important as choosing the right door.
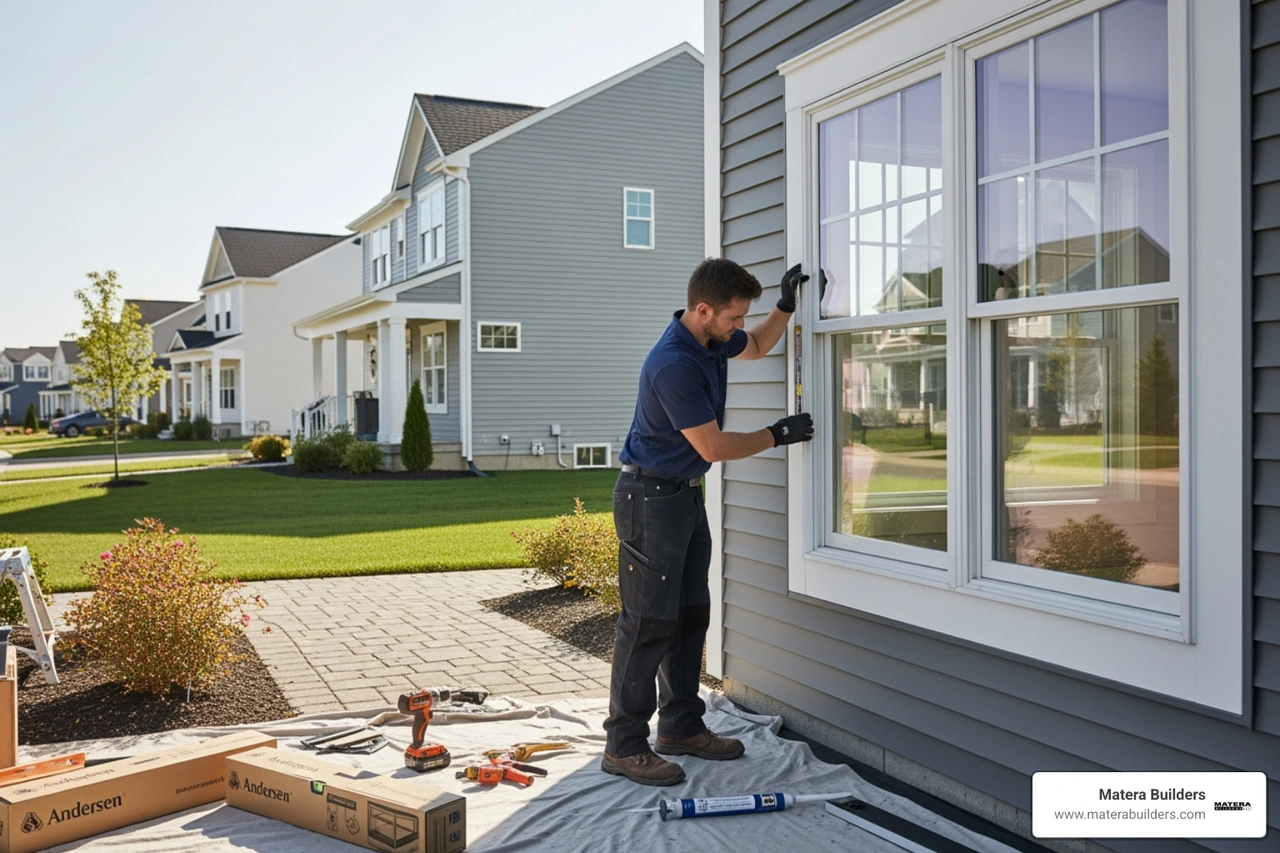
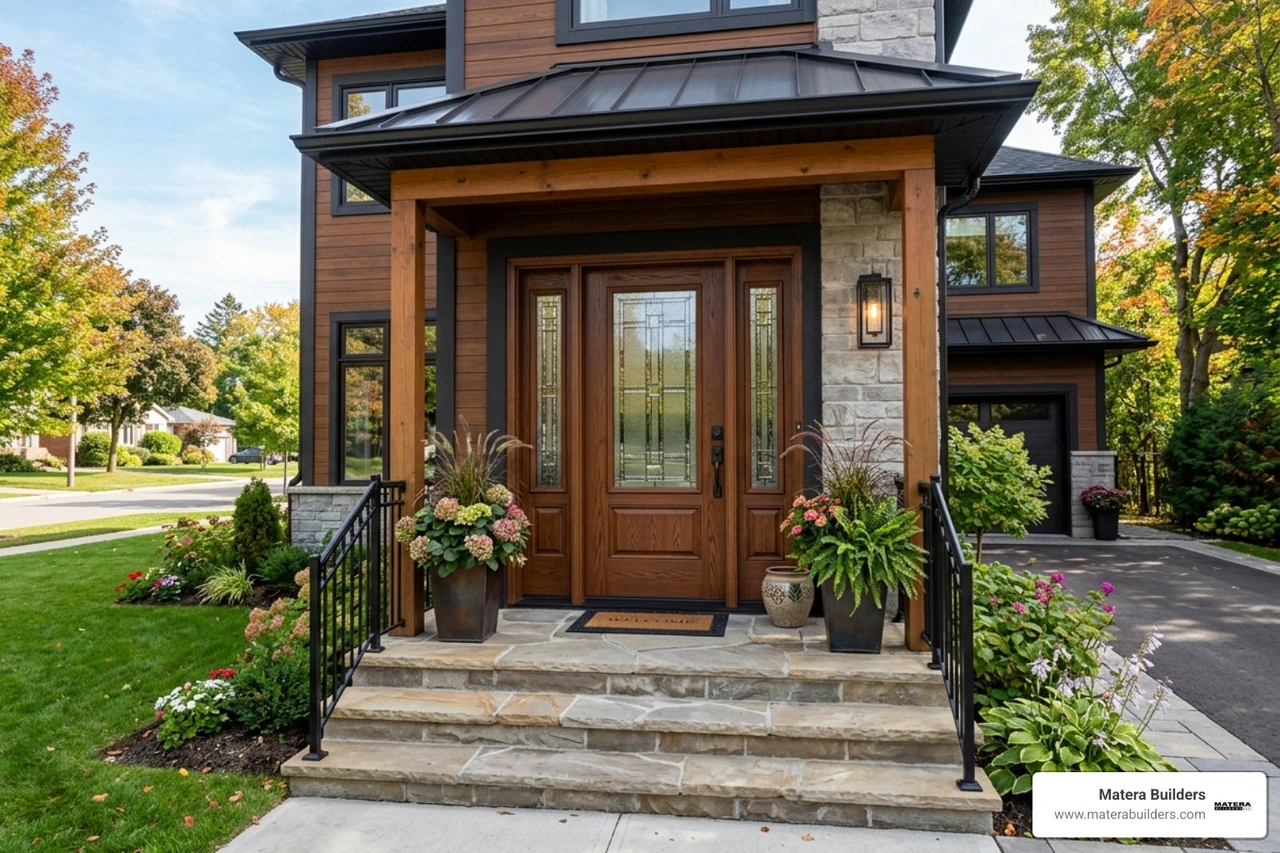
I'm Mike Werner, owner of Matera Builders, a residential exterior renovation company specializing in premium door and window replacements across New Jersey's coastal markets, including Therma-Tru door installation on everything from single-family homes to high-end coastal properties. The steps and guidance in this article reflect the same installation standards we apply on every job.

Discover more about therma tru door installation:
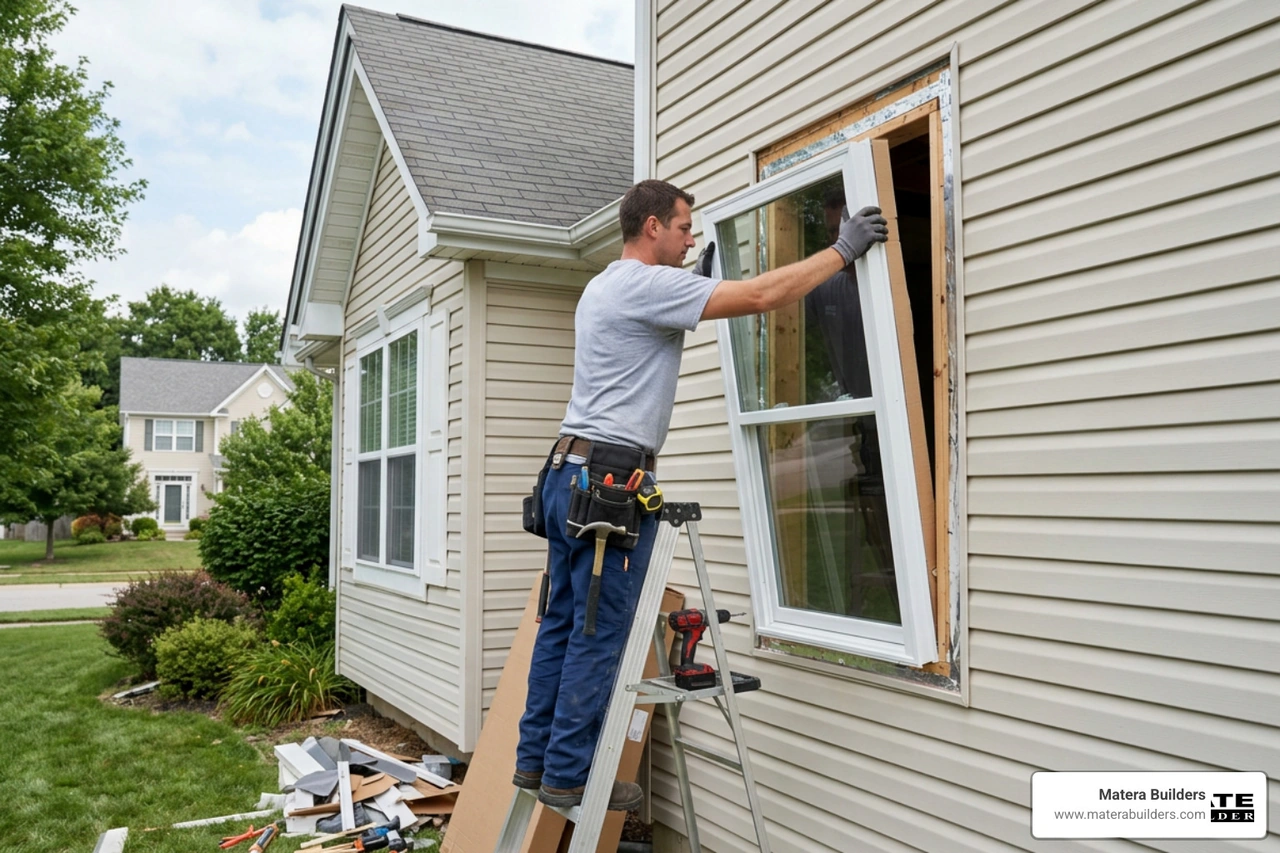
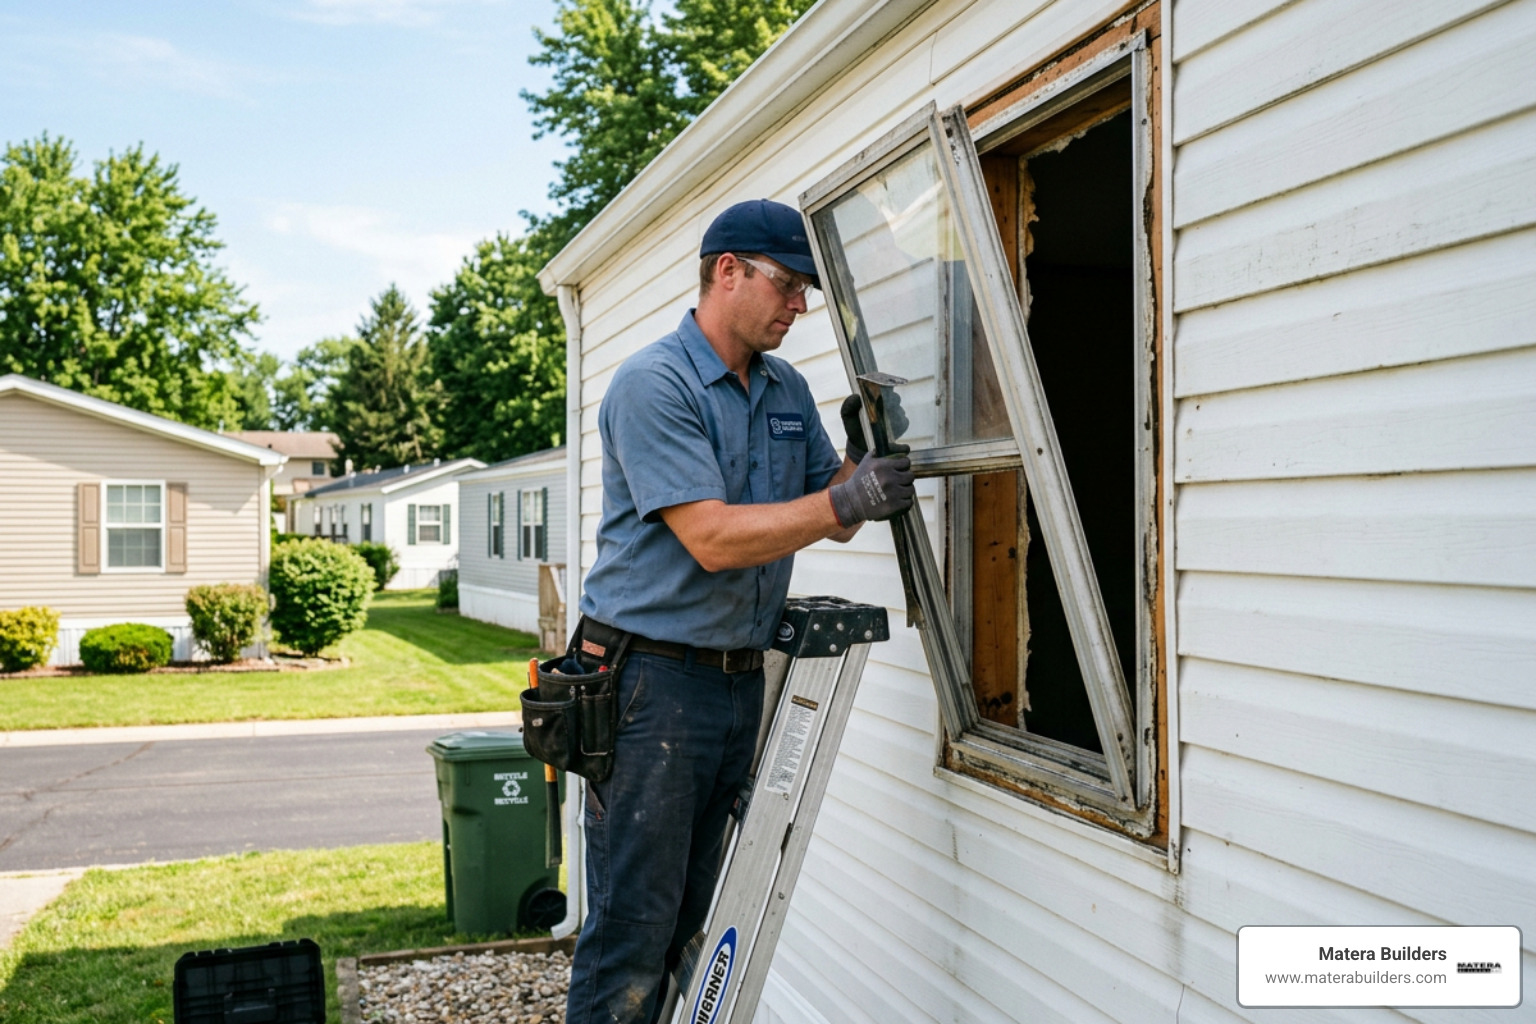
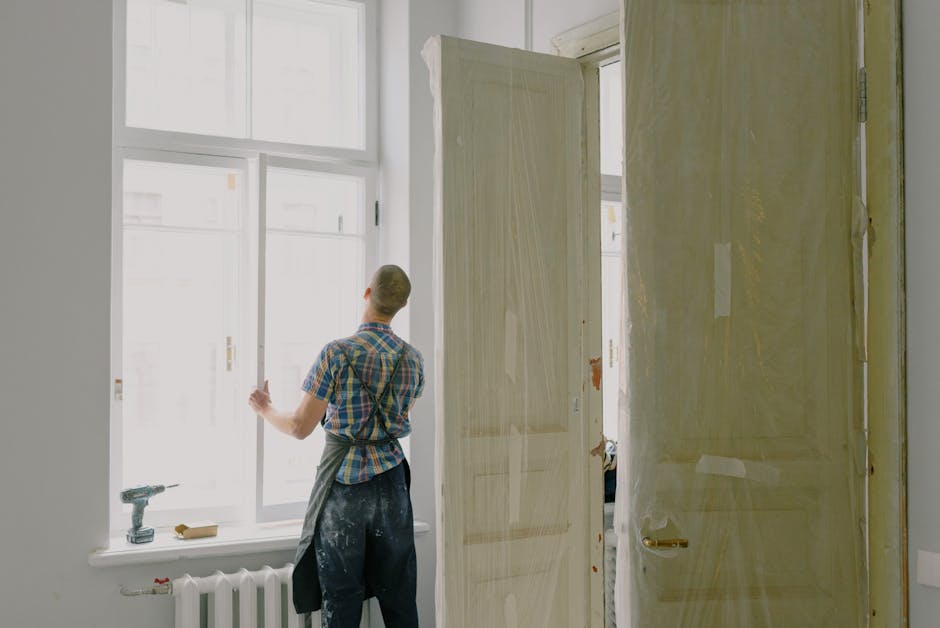
Before we even crack open a tube of sealant, we have to talk about prep. In our 37+ years of experience in New Jersey, we have seen that the most beautiful fiberglass door will fail if the rough opening is a mess.
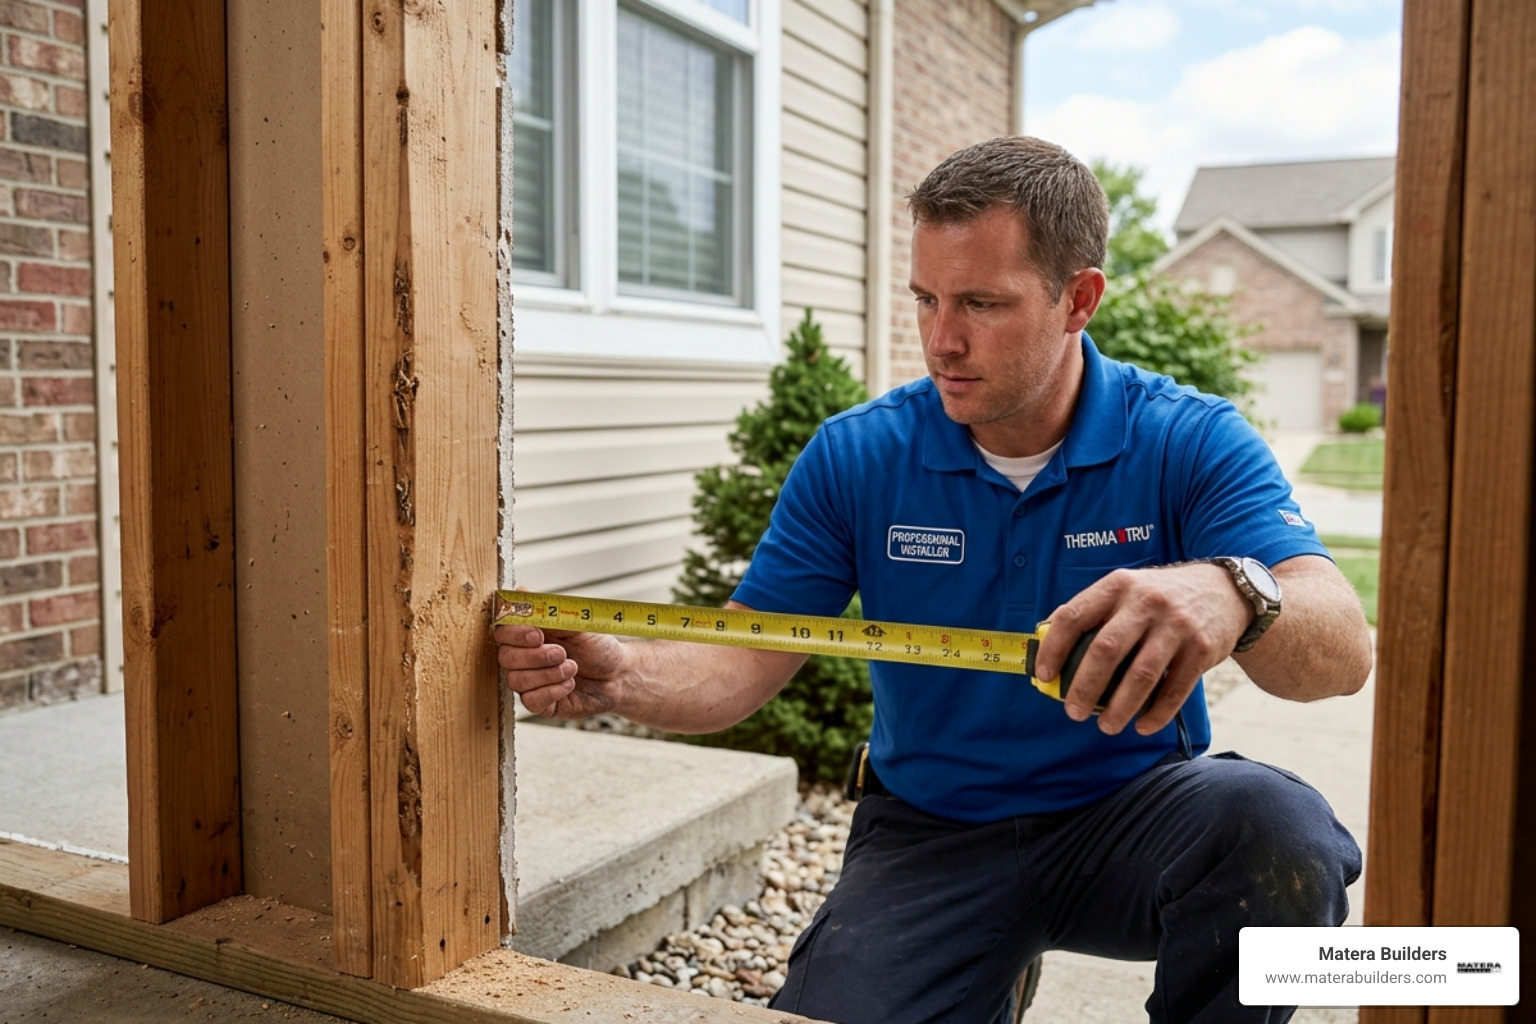
Preparation starts with accurate measurement. For a standard therma tru door installation, your rough opening should generally be the frame height plus 1/2 inch and the frame width plus 1/2 to 3/4 inch. If the opening is too tight, you won't have room for shimming and insulation; if it is too loose, you will struggle to anchor the unit securely.
You also need to determine your door's handing. Stand on the outside of your home. If the hinges are on the left, it is a left-hand door. If they are on the right, it is a right-hand door. Most residential entries are "inswing," meaning they swing into the house, but "outswing" configurations are also common in specific coastal applications.
For a detailed look at the technical specifications, you can refer to the Therma-Tru Doors : Installation Instruction Manual .
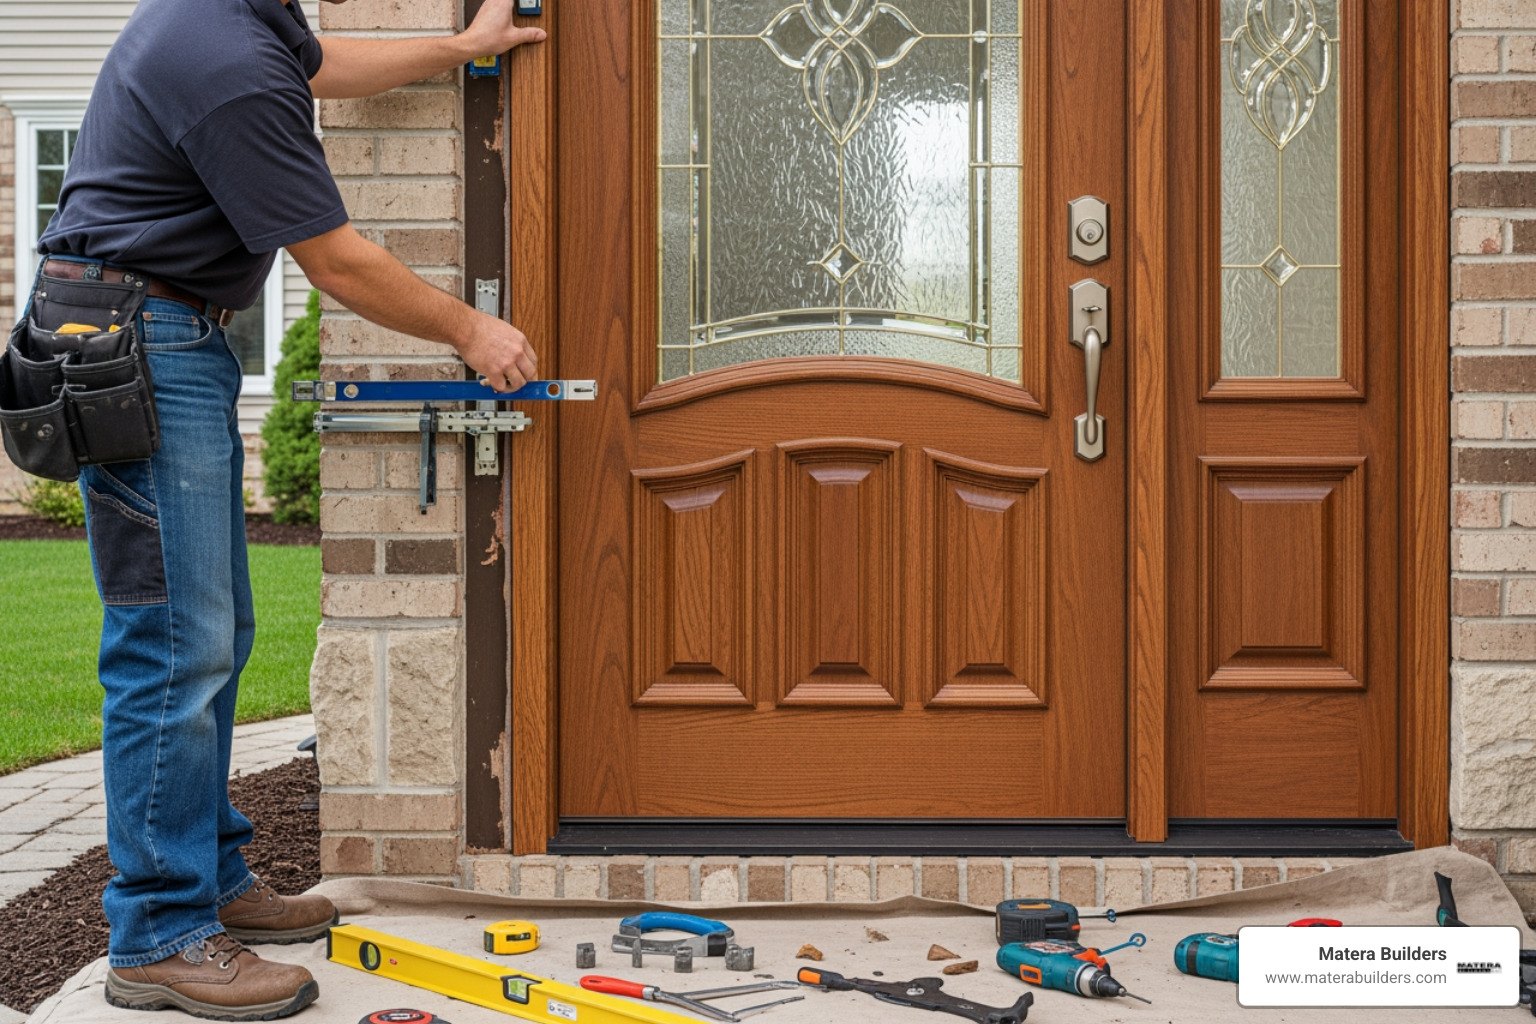
Checking the Rough Opening for Plumb and Square
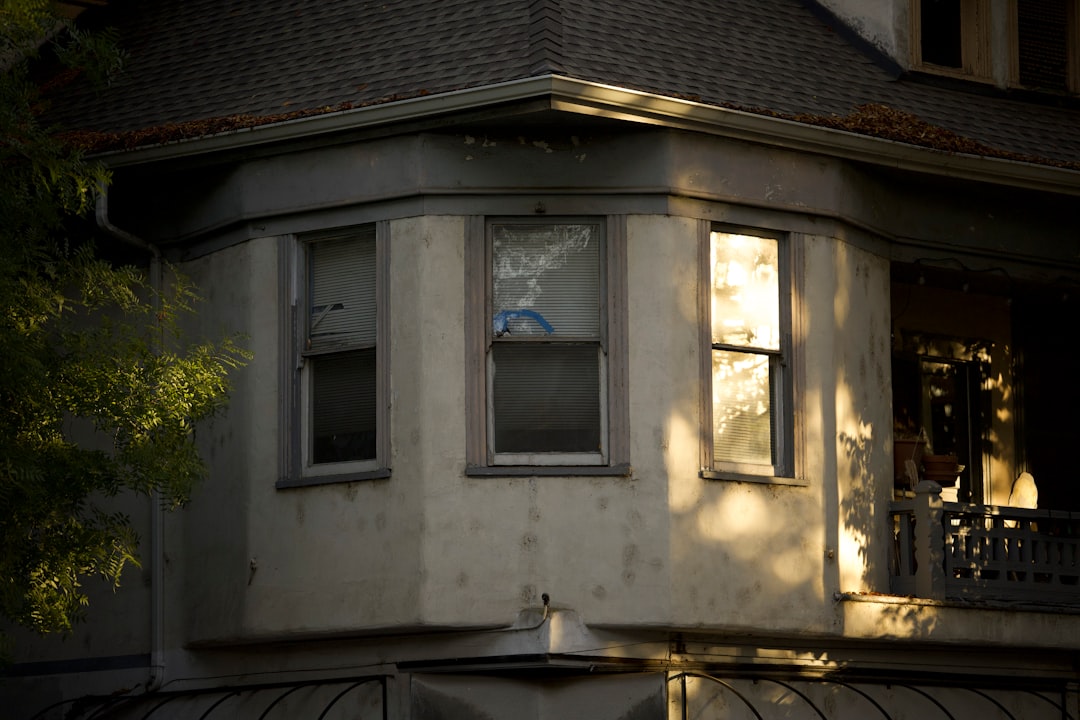
A "plumb" opening means the vertical walls are perfectly straight up and down. A "square" opening means all four corners are exactly 90 degrees. If your home has settled—which is very common in the Jersey Shore area—your opening might be "racked" or out of plumb.
We use a 6-foot level to check the side studs and a 2-foot level for the header and sill. To check for square, use a framing square in every corner. We also recommend a "string test." Attach a string diagonally from the top left to the bottom right, and another from the top right to the bottom left. The strings should lightly touch in the center. If there is a large gap, your walls are not in the same plane, and you will need to correct this before proceeding.
Essential Tools for Therma-Tru Door Installation
Do not start this project with just a hammer and a prayer. To do this right, you need a specific kit:
- Caulk Gun: For applying the heavy beads of sealant.
- High-Quality Shims: Cedar or composite shims are best.
- Drill and Phillips Driver: For securing the frame.
- Safety Glasses and Tape Measure: Non-negotiable basics.
- Elastomeric or Polyurethane Sealant: Never use cheap silicone; you need something that moves with the house.
- Wood Blocks: To help tap the unit into place without damaging the finish.
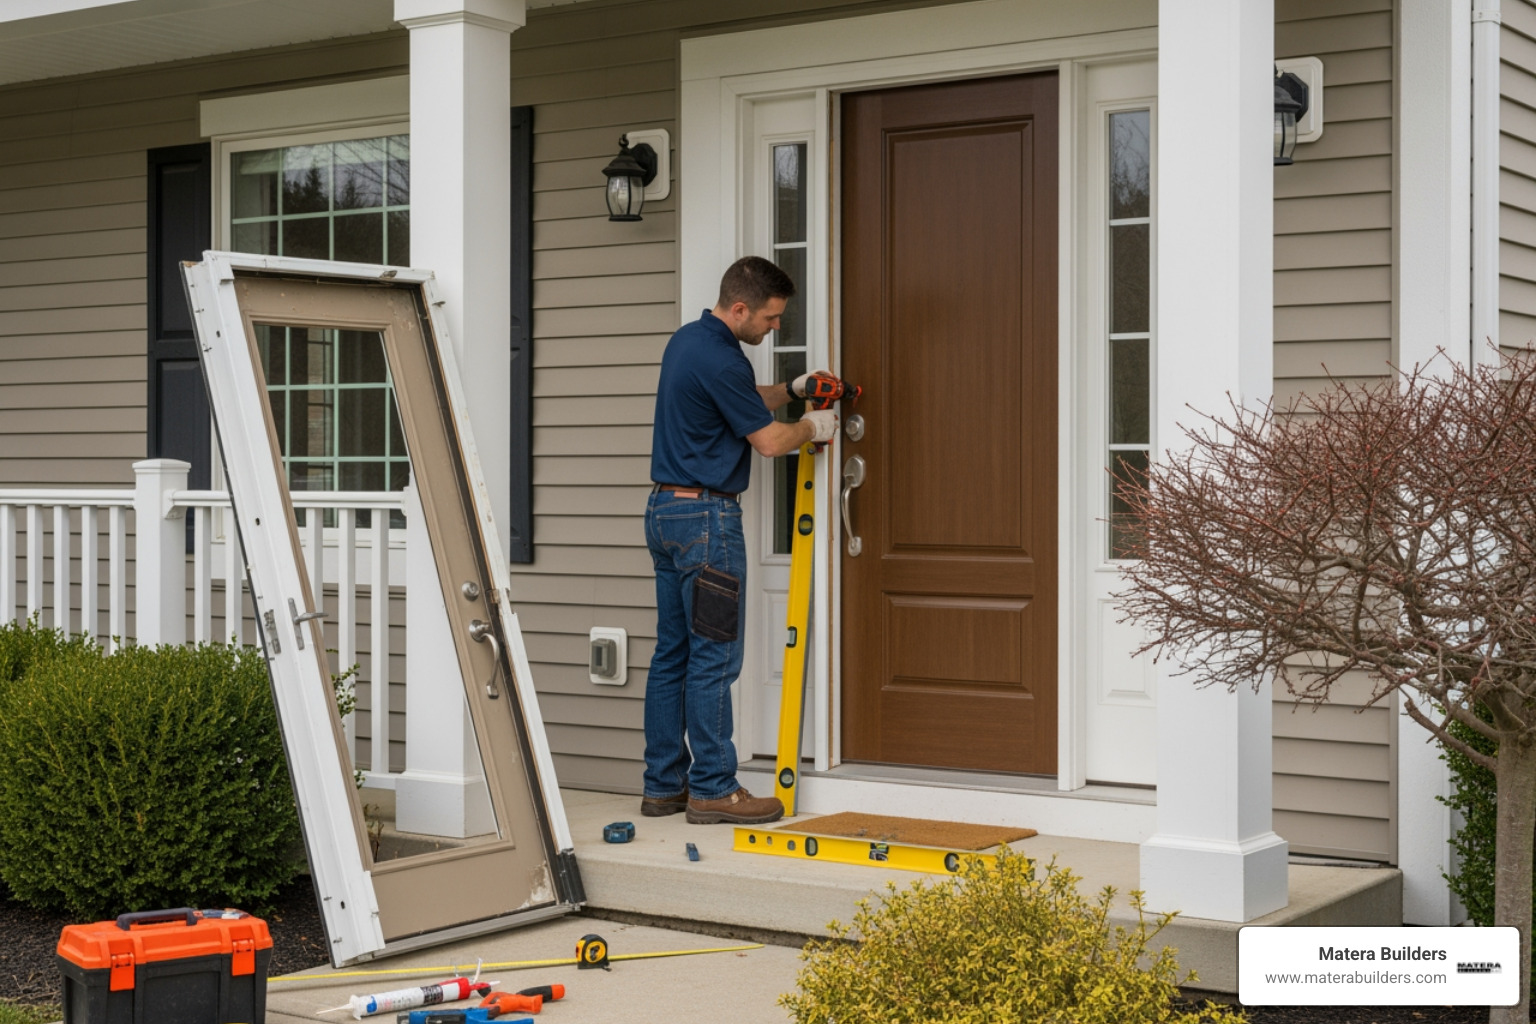
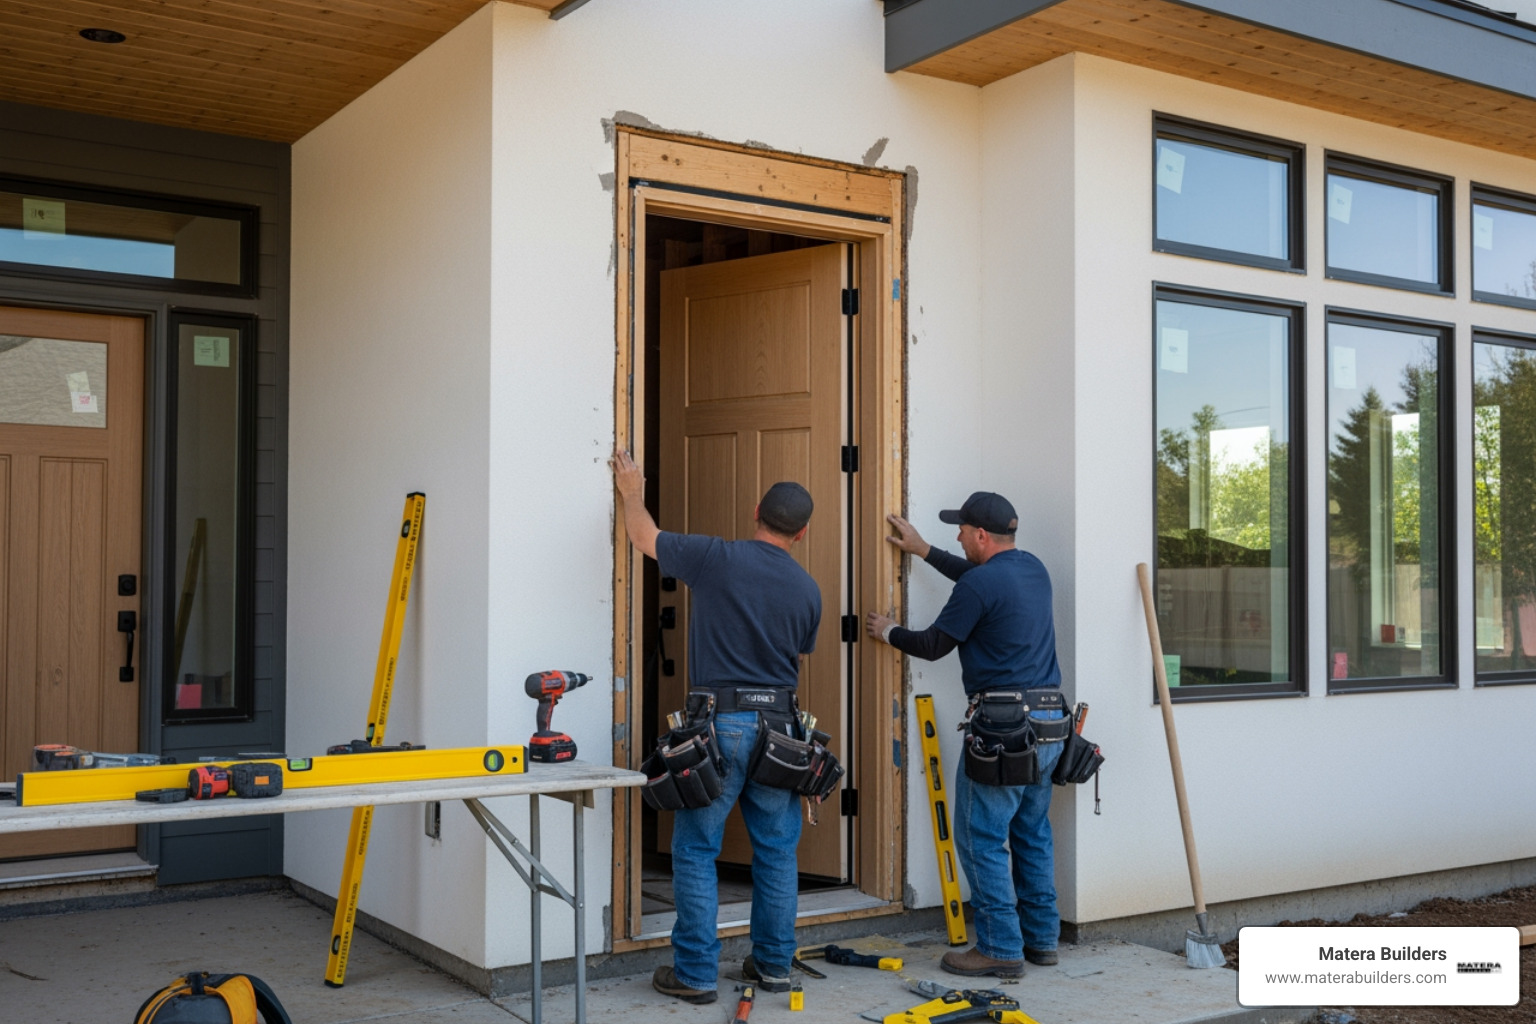
Step-by-Step Guide to Installing the Door Unit
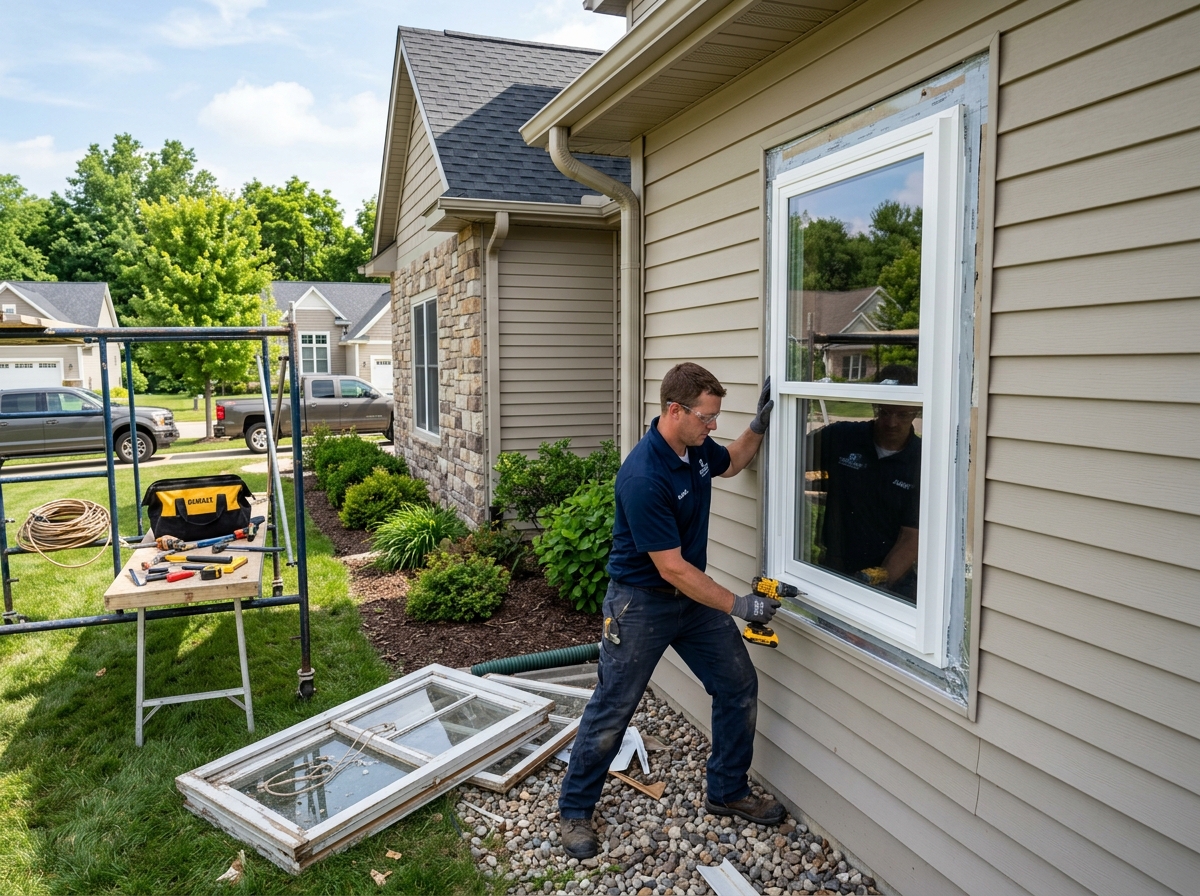
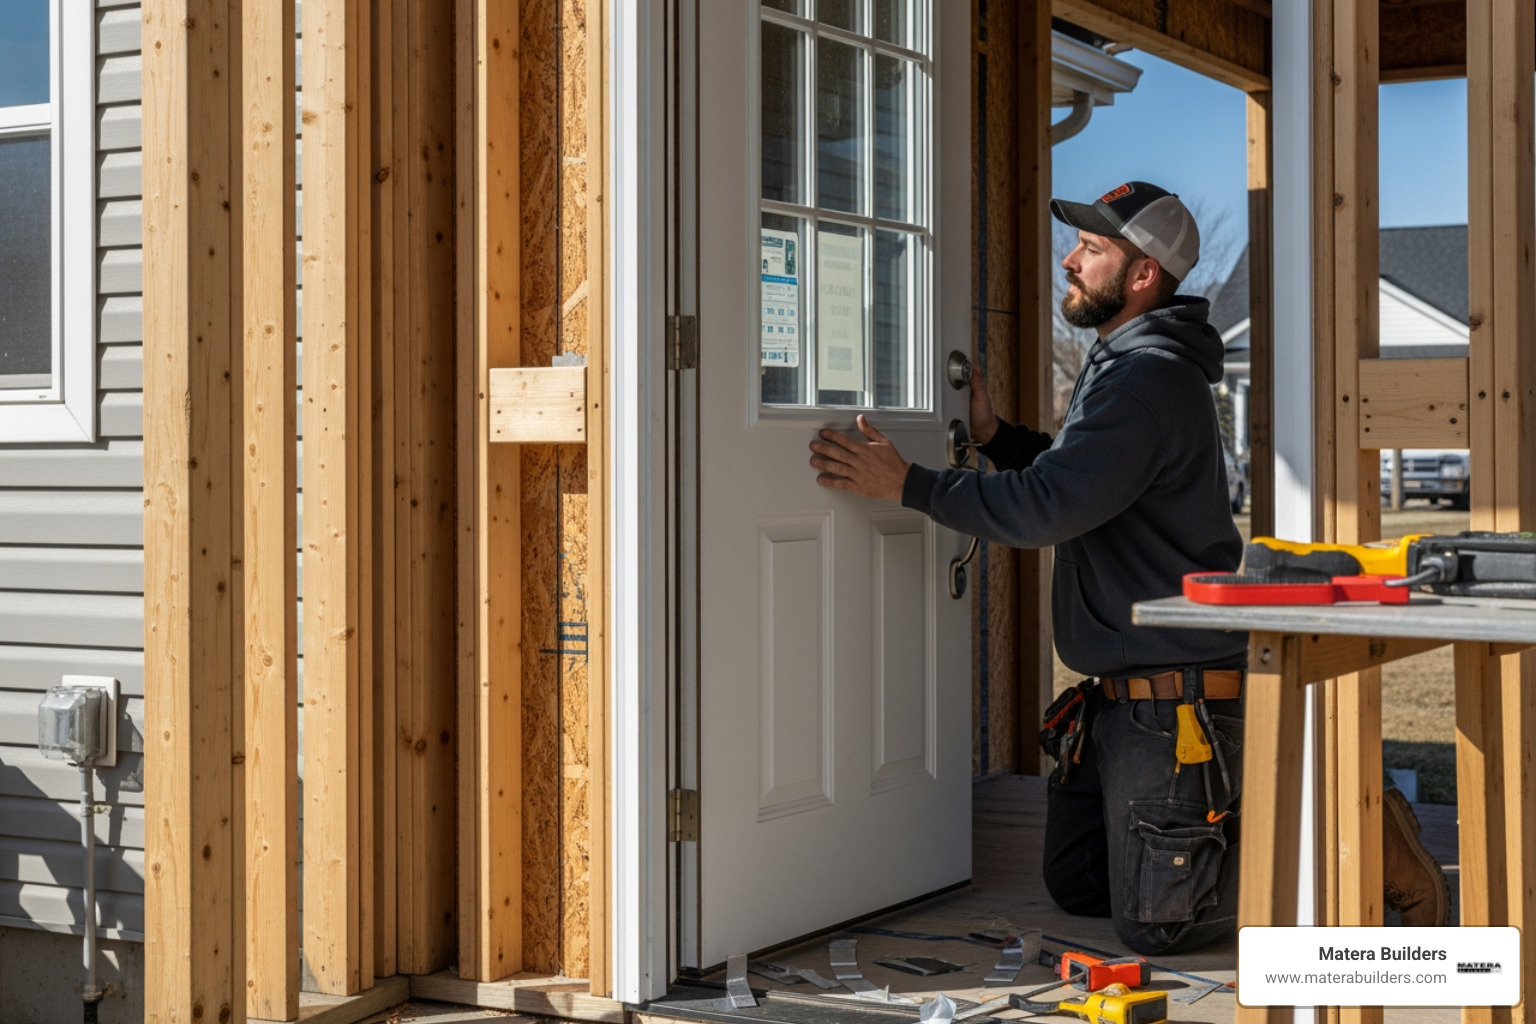
Once the opening is verified, it is time to set the unit. This is where the heavy lifting happens. We always recommend having at least two people for this part. A pre-hung fiberglass door is heavy, and trying to balance it while applying sealant is a recipe for a mess.
For a deep dive into the technicalities of unit placement, check out Pre-hung unit installation | Therma-Tru Doors Installation User Manual | Page 4 / 76 .
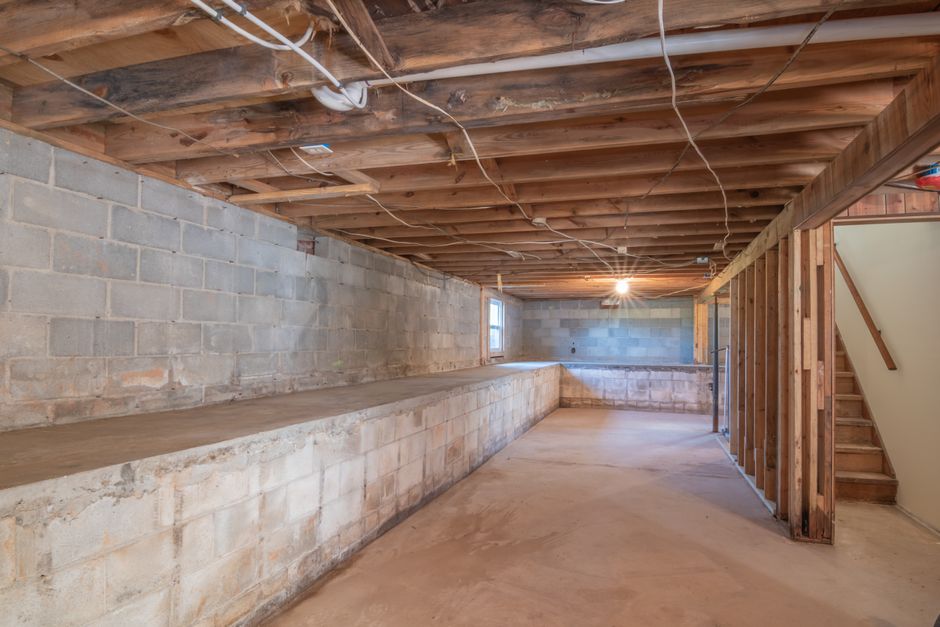
Preparing the Subfloor and Sill Pan
The subfloor is the foundation of your door's weather defense. It must be level. If it isn't, use shims or a self-leveling compound to fix it.
We strongly advocate for the use of a sill pan. A sill pan is a plastic tray that sits on the subfloor under the door sill. If water ever gets past the door's outer defenses, the sill pan catches it and directs it back outside.
- Use PVC cement to join the sill pan pieces.
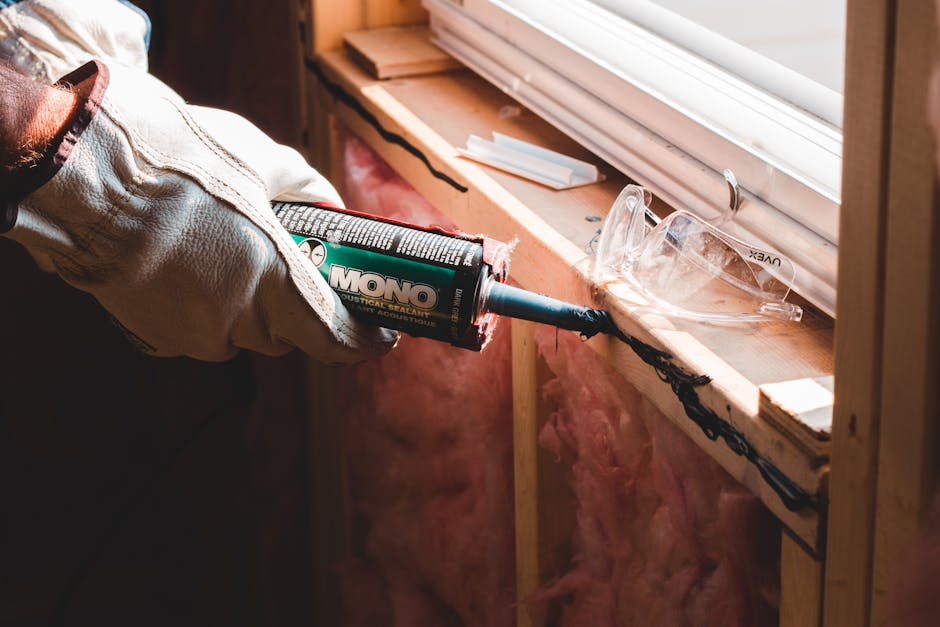
- Apply three large beads of elastomeric sealant across the full width of the subfloor.
- Place the sill pan into the sealant.
- Apply more sealant to the top of the sill pan where the door sill will rest.
Securing the Pre-Hung Therma-Tru Door Installation
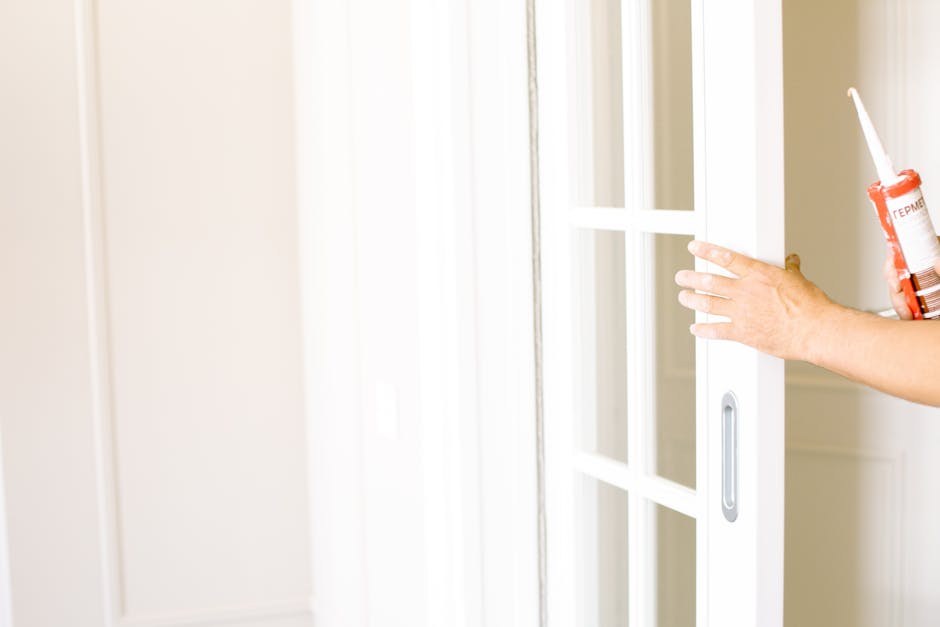
Before lifting the door into place, apply a 1/2-inch to 5/8-inch bead of caulk to the back side of the brickmould (the exterior trim) around the entire perimeter. This creates the primary seal against the house.
Now, tilt the unit into the opening, sill first. Keep the transport clip (the plastic piece holding the door shut) in place for now.
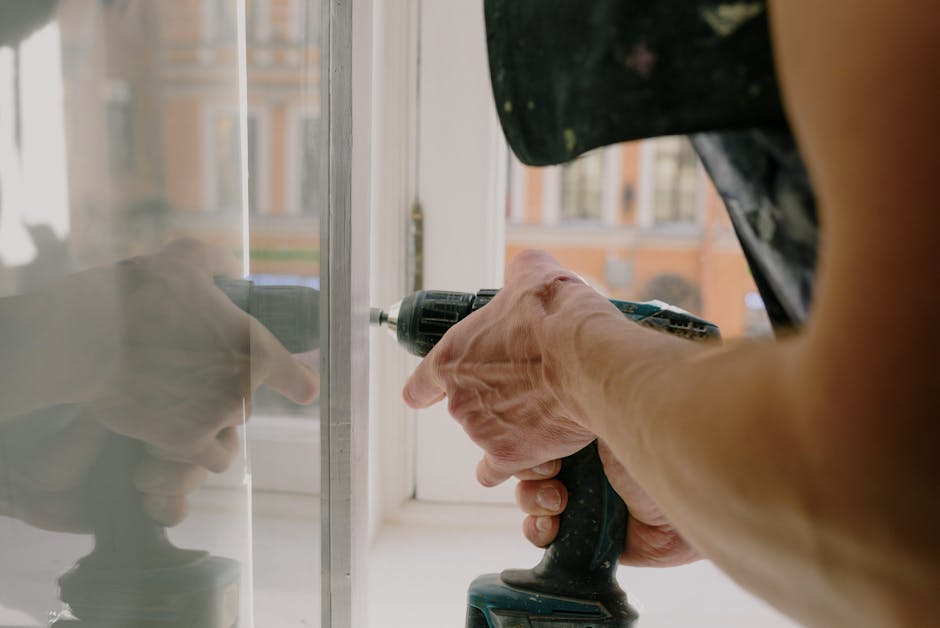
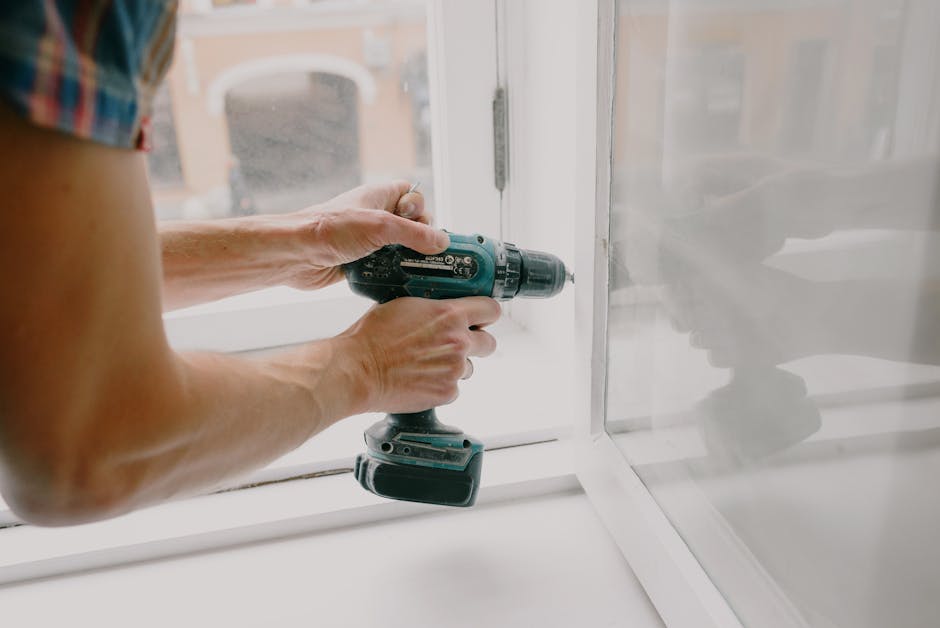
- Temporary Fastening: Pre-drill 1/8-inch holes through the hinge side jamb and drive #8 x 2-1/2 inch or 3-inch screws, but don't tighten them all the way.
- Plumbing the Hinge Side: Use your 6-foot level to ensure the hinge side jamb is perfectly plumb. Place shims behind each hinge location.
- Finishing the Fastening: Once the hinge side is plumb, remove the transport clip and open the door. Drive long screws through the hinges into the house framing to provide structural support.
Weatherproofing and Final Adjustments
With the door hanging, we move from structural work to performance work. In New Jersey's coastal environment, wind-driven rain is a constant threat. We have to ensure every gap is sealed.

| Feature | Inswing Door | Outswing Door |
|---|---|---|
| Sill Type | Adjustable threshold cap | Fixed bumper sill |
| Corner Protection | Requires corner seal pads | Built-in gasket system |
| Weatherstrip | Compressed against face | Compressed against stop |
| Water Drainage | Weep holes in sill | Sloped sill design |
Adjusting the Threshold for a Tight Seal
Most Therma-Tru doors come with an adjustable threshold. If you see light under the door or feel a draft, you need to raise the threshold cap.
- Turn the adjustment screws on the sill cap clockwise to raise it.
- Use the "dollar bill test." Close the door on a dollar bill. When you pull it out, there should be slight resistance. If it slides out easily, the seal is too loose. If it tears, it is too tight.
- Ensure the threshold height doesn't interfere with the smooth operation of the door.
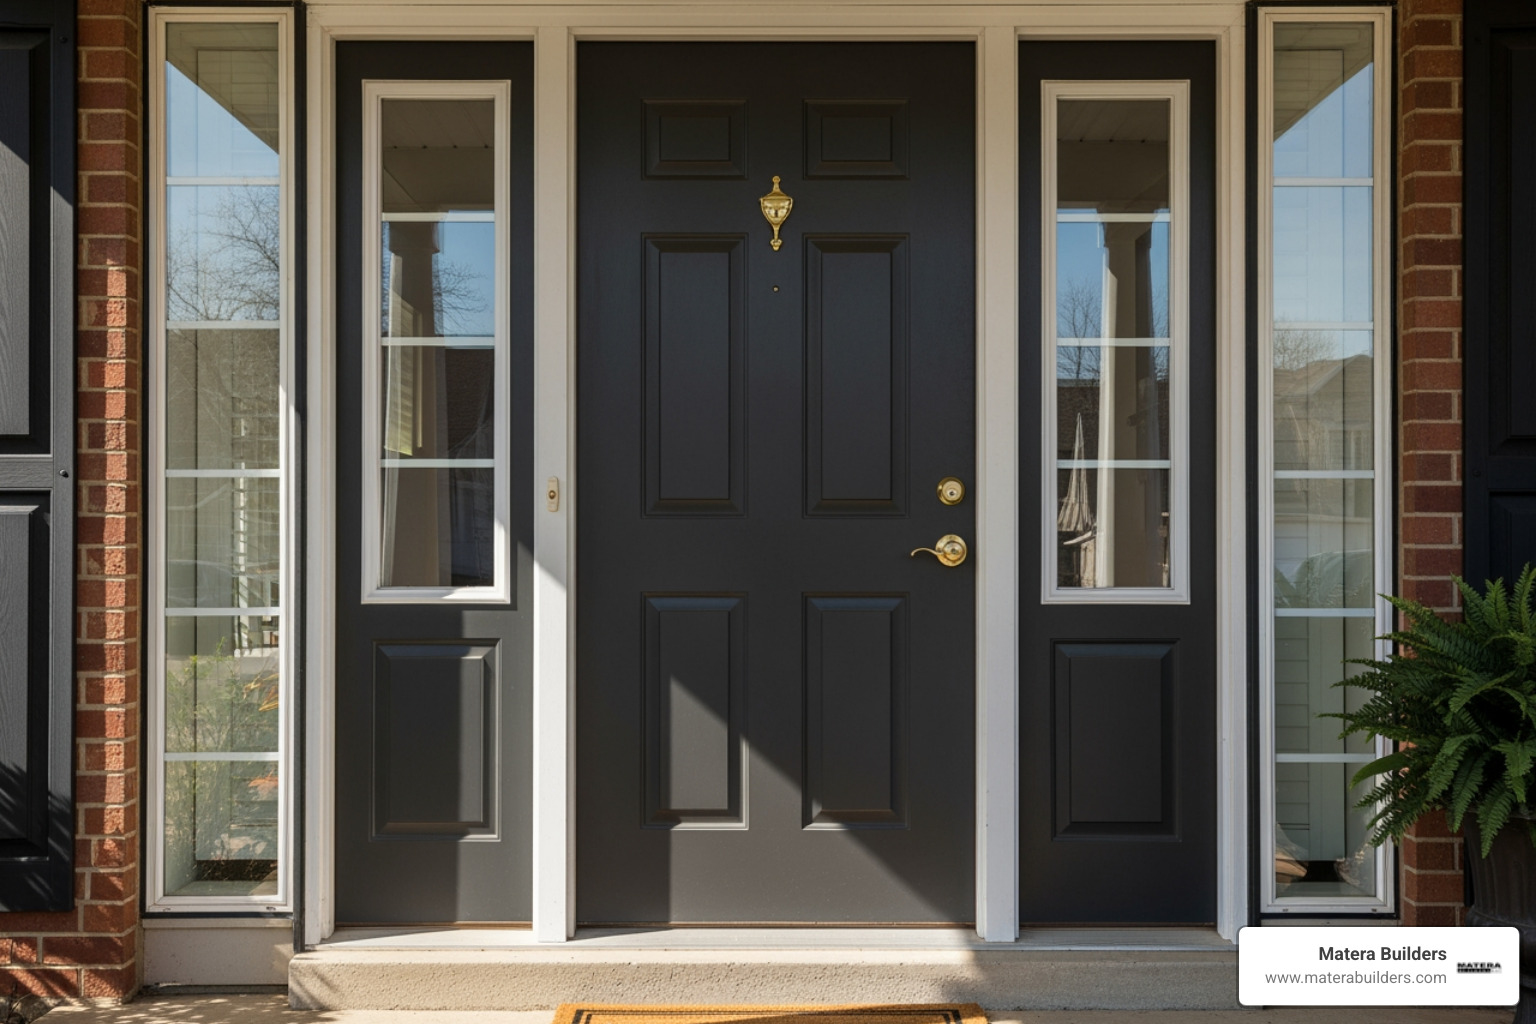
Anchoring Sidelites and Double Doors
If you are installing a patio unit, double door, or a door with sidelites, the anchoring process is more intense. These units have more "flex" and require additional fastening through the head jamb and the sill into the floor.
For double doors, the "astragal" (the vertical strip where the two doors meet) must be perfectly aligned. We often use "shootbolts"—metal rods that lock into the top and bottom of the frame—to provide the structural integrity needed for coastal wind loads.
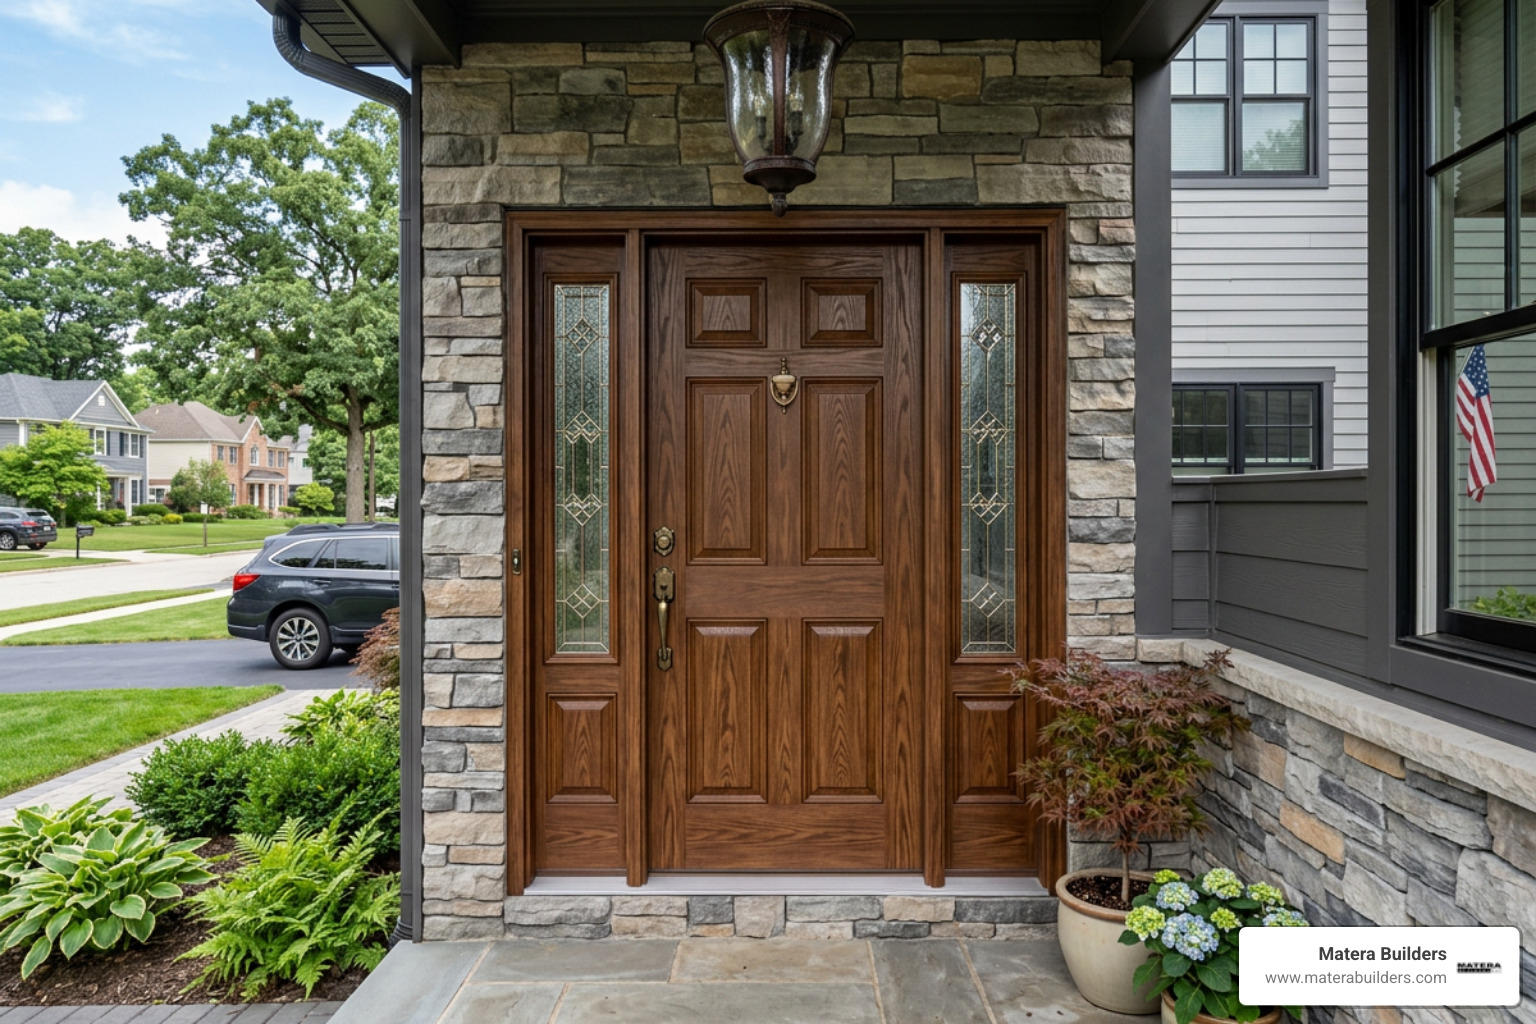
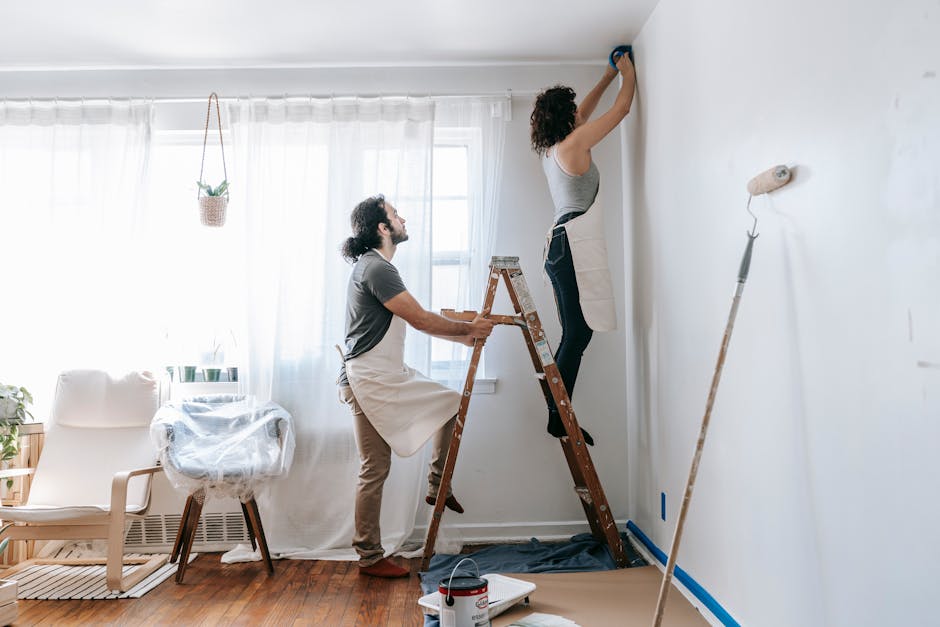
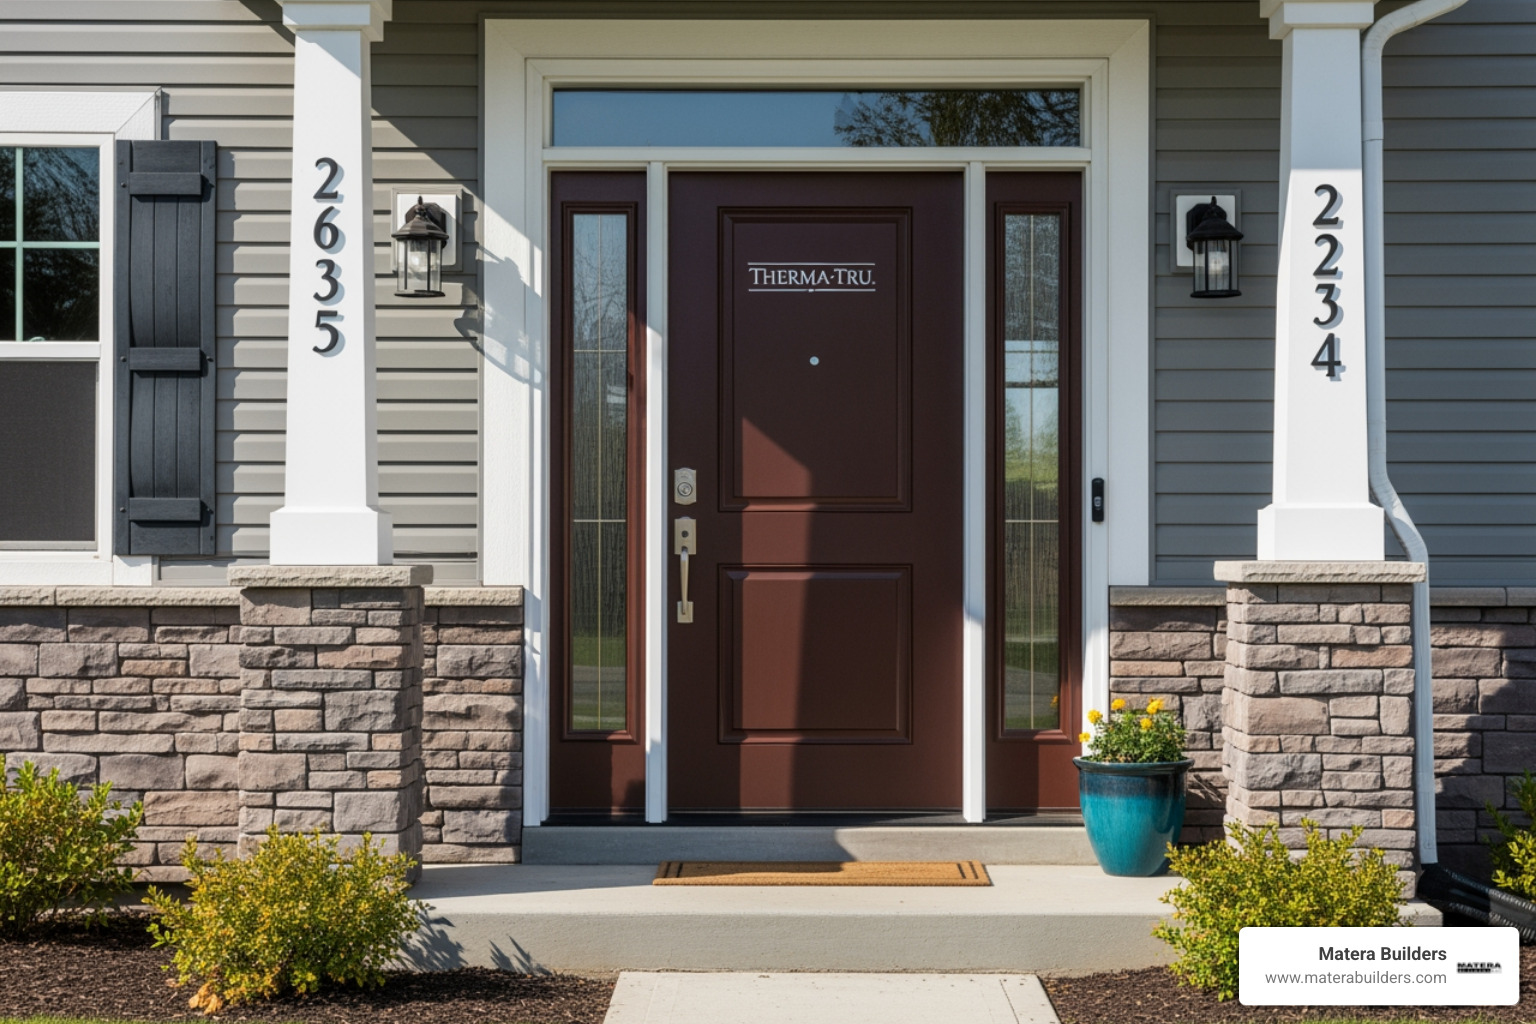
Finishing Requirements and Warranty Compliance
A therma tru door installation isn't finished until it's painted or stained. This isn't just about looks; it is a warranty requirement.
- Steel Doors: Must be finished within a few days of installation.
- Fiberglass Doors: Must be finished within 6 months.
We recommend the PrismaGuard finishing system for the best results, but if you are doing it yourself, use a high-quality acrylic, water-based exterior paint. Never paint the weatherstripping, and keep the door open until the paint is bone-dry to avoid sticking. You can find more tips at the Project Center | Therma-Tru Doors .
Maintaining Your Therma-Tru Door Installation
To keep your warranty intact and your door looking great, perform an annual inspection. Clean the surface with mild soap and water. Check the caulking around the exterior trim; if it is cracking, scrape it out and apply fresh elastomeric sealant. In our high-humidity NJ climate, keeping an eye on the finish is key to long-term durability.
Frequently Asked Questions about Therma-Tru Doors
When should I hire a certified installer?
While DIY is possible for a handy homeowner, there are times when you should call in the pros. If you are dealing with a structural issue in the rough opening, installing a complex multi-panel patio unit, or if you want the added protection of the Tru-Defense Warranty Rider, a certified installer is the way to go.
Therma-Tru's Certified Installers undergo rigorous training. In fact, the Certified Installer | Therma-Tru Doors program ensures that the person putting in your door knows the "installation science" behind the product. Plus, using a certified installer for a Tru-Defense system can double your warranty reimbursement should an issue arise.
What are the most common installation mistakes?
The biggest mistake we see in New Jersey is ignoring an out-of-plumb opening. If the frame is crooked, the door will never seal properly, no matter how much caulk you use. Other common errors include:
- Missing the Sill Pan: Leading to subfloor rot.
- Using Cheap Sealant: Which cracks after one winter.
- Over-tightening Screws: Which bows the jambs and prevents the door from closing.
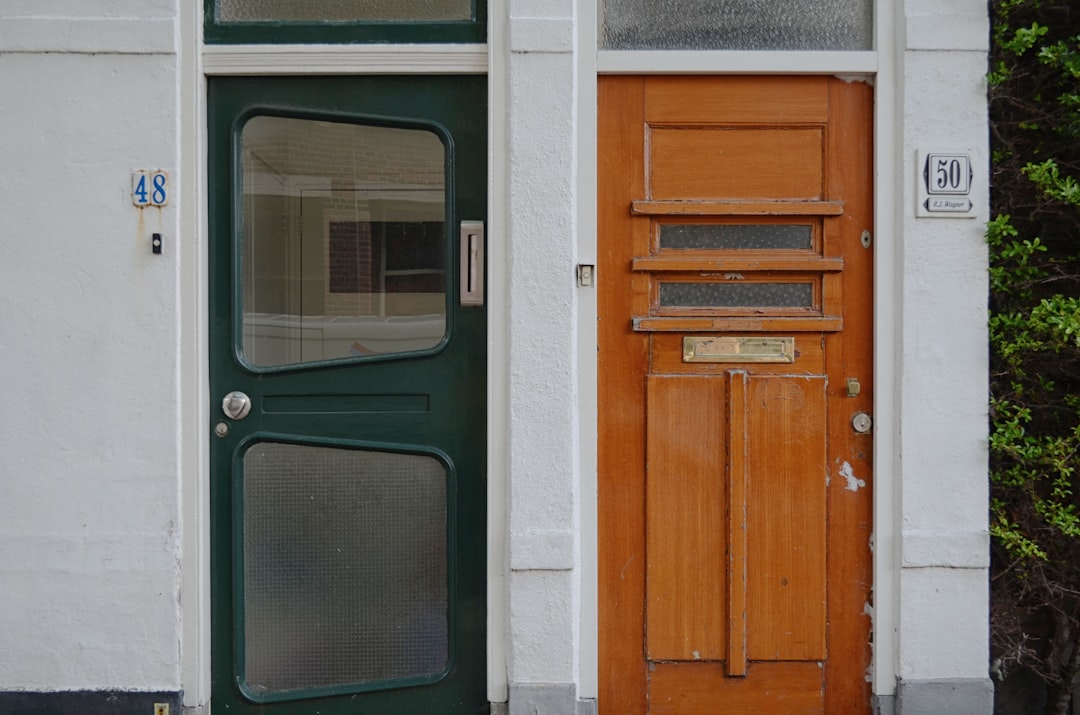
How do I determine door handing?
Stand outside. If the hinges are on the right, it's a right-hand door. If they're on the left, it's a left-hand door. For replacement measuring, always measure the "width" of the actual door slab and the "height" of the opening from the subfloor to the header.
Conclusion
A therma tru door installation is a serious investment in your home's curb appeal and energy efficiency. By following these steps—from the string test to the final threshold adjustment—you ensure that your entry remains a barrier against the elements rather than a source of drafts.
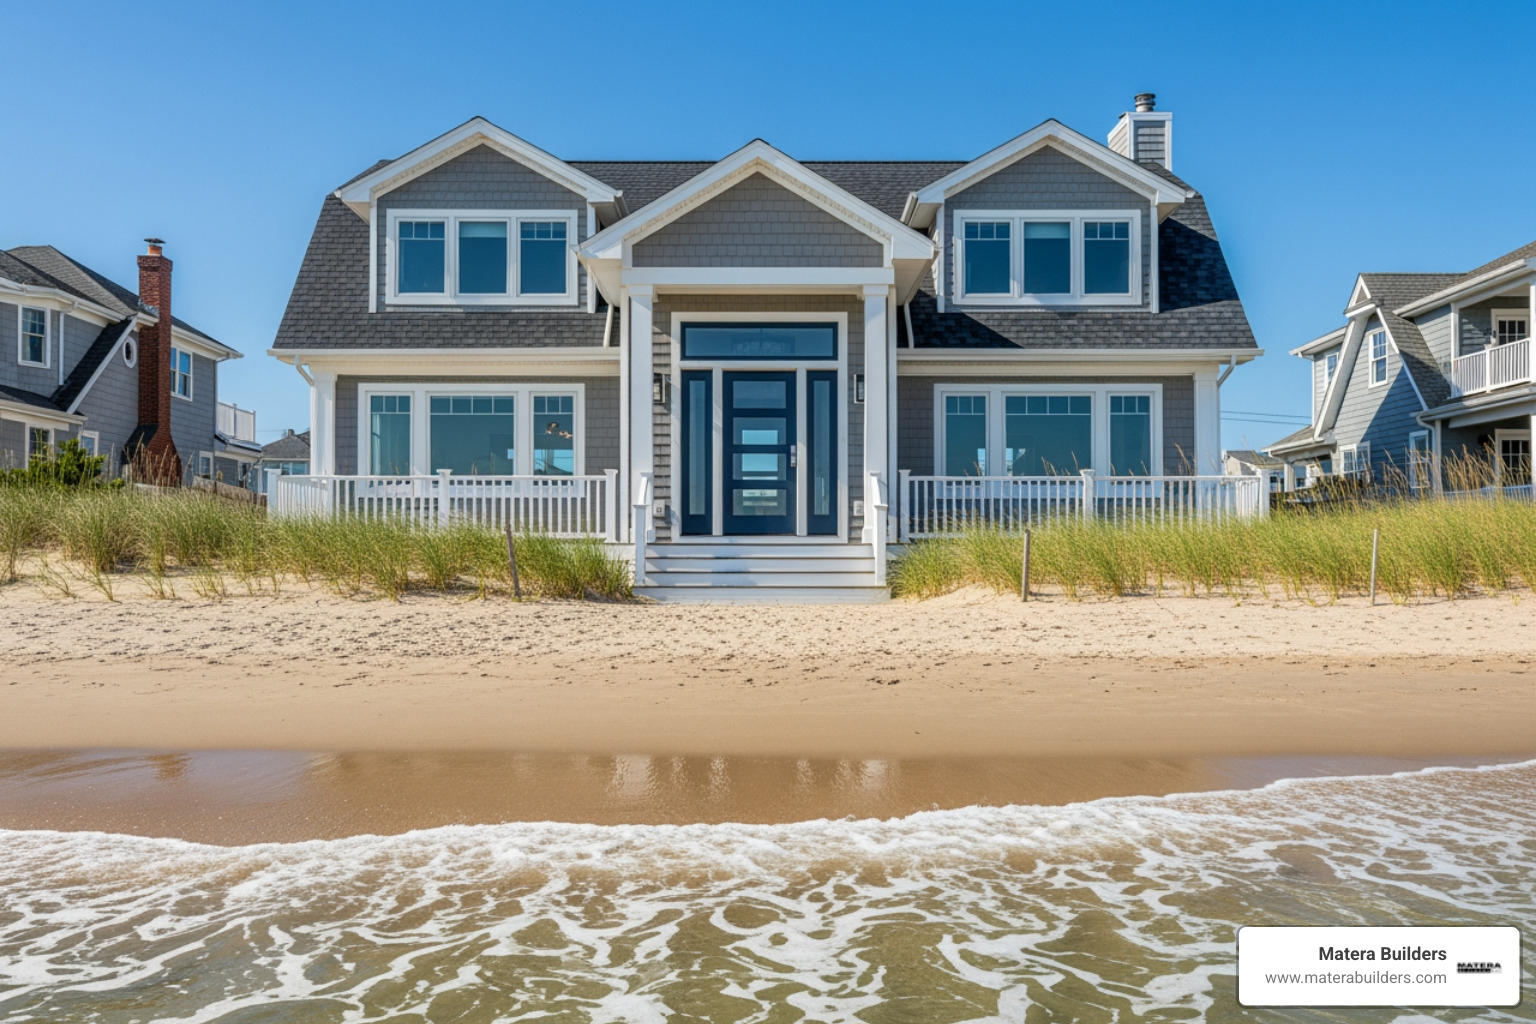
At Matera Builders, Mike Werner and our team of experts have spent decades perfecting the art of the perfect entry. We understand the unique challenges of New Jersey homes, from the salt air in Ocean City to the humidity of the Jersey Shore. We don't just "hang" doors; we install high-performance systems designed to last a lifetime.
If you are ready to upgrade your home with a professional touch, we are here to help. More info about Therma-Tru entry doors can be found on our website, or you can reach out to us directly to discuss your next project. Let's make sure your home's first impression is a lasting one.