


Why Replacing Windows in a Brick House Is Harder Than You Think
To install replacement windows in a brick house, follow these key steps:
- Choose your method - Insert (pocket) replacement if the existing frame is solid, or full-frame replacement if the frame is rotted or water-damaged.
- Measure carefully - Take measurements at multiple points and use the smallest dimension. Order the window at least 1/2 to 3/4 inch smaller than the opening.
- Prepare the opening - Remove old sealant and mortar chunks. Inspect the wood buck frame for rot.
- Flash the rough opening - Install a sill pan with flexible flashing tape. Integrate new flashing with the existing weather barrier.
- Set and secure the window - Shim the jambs level and plumb. Fasten with masonry screws. Leave the bottom uncaulked for drainage.
- Seal the perimeter - Caulk the sides and top. Use backer rod for exterior joints. Never block weep holes.
Brick homes are beautiful. But that same brick that gives your New Jersey home its curb appeal can turn a routine window replacement into a serious challenge.
Most window replacements are straightforward. You pull the old unit, slide in the new one, and seal it up. Brick changes everything.
Unlike homes with vinyl or wood siding, you cannot simply peel back the cladding to access the weather barrier behind the wall. The brick is fixed. That means flashing, fastening, and sealing all have to happen in tight, unforgiving conditions.
The stakes are high. Poor installation in a brick opening can lead to:
- Water leaking behind the wall with no easy way to find it
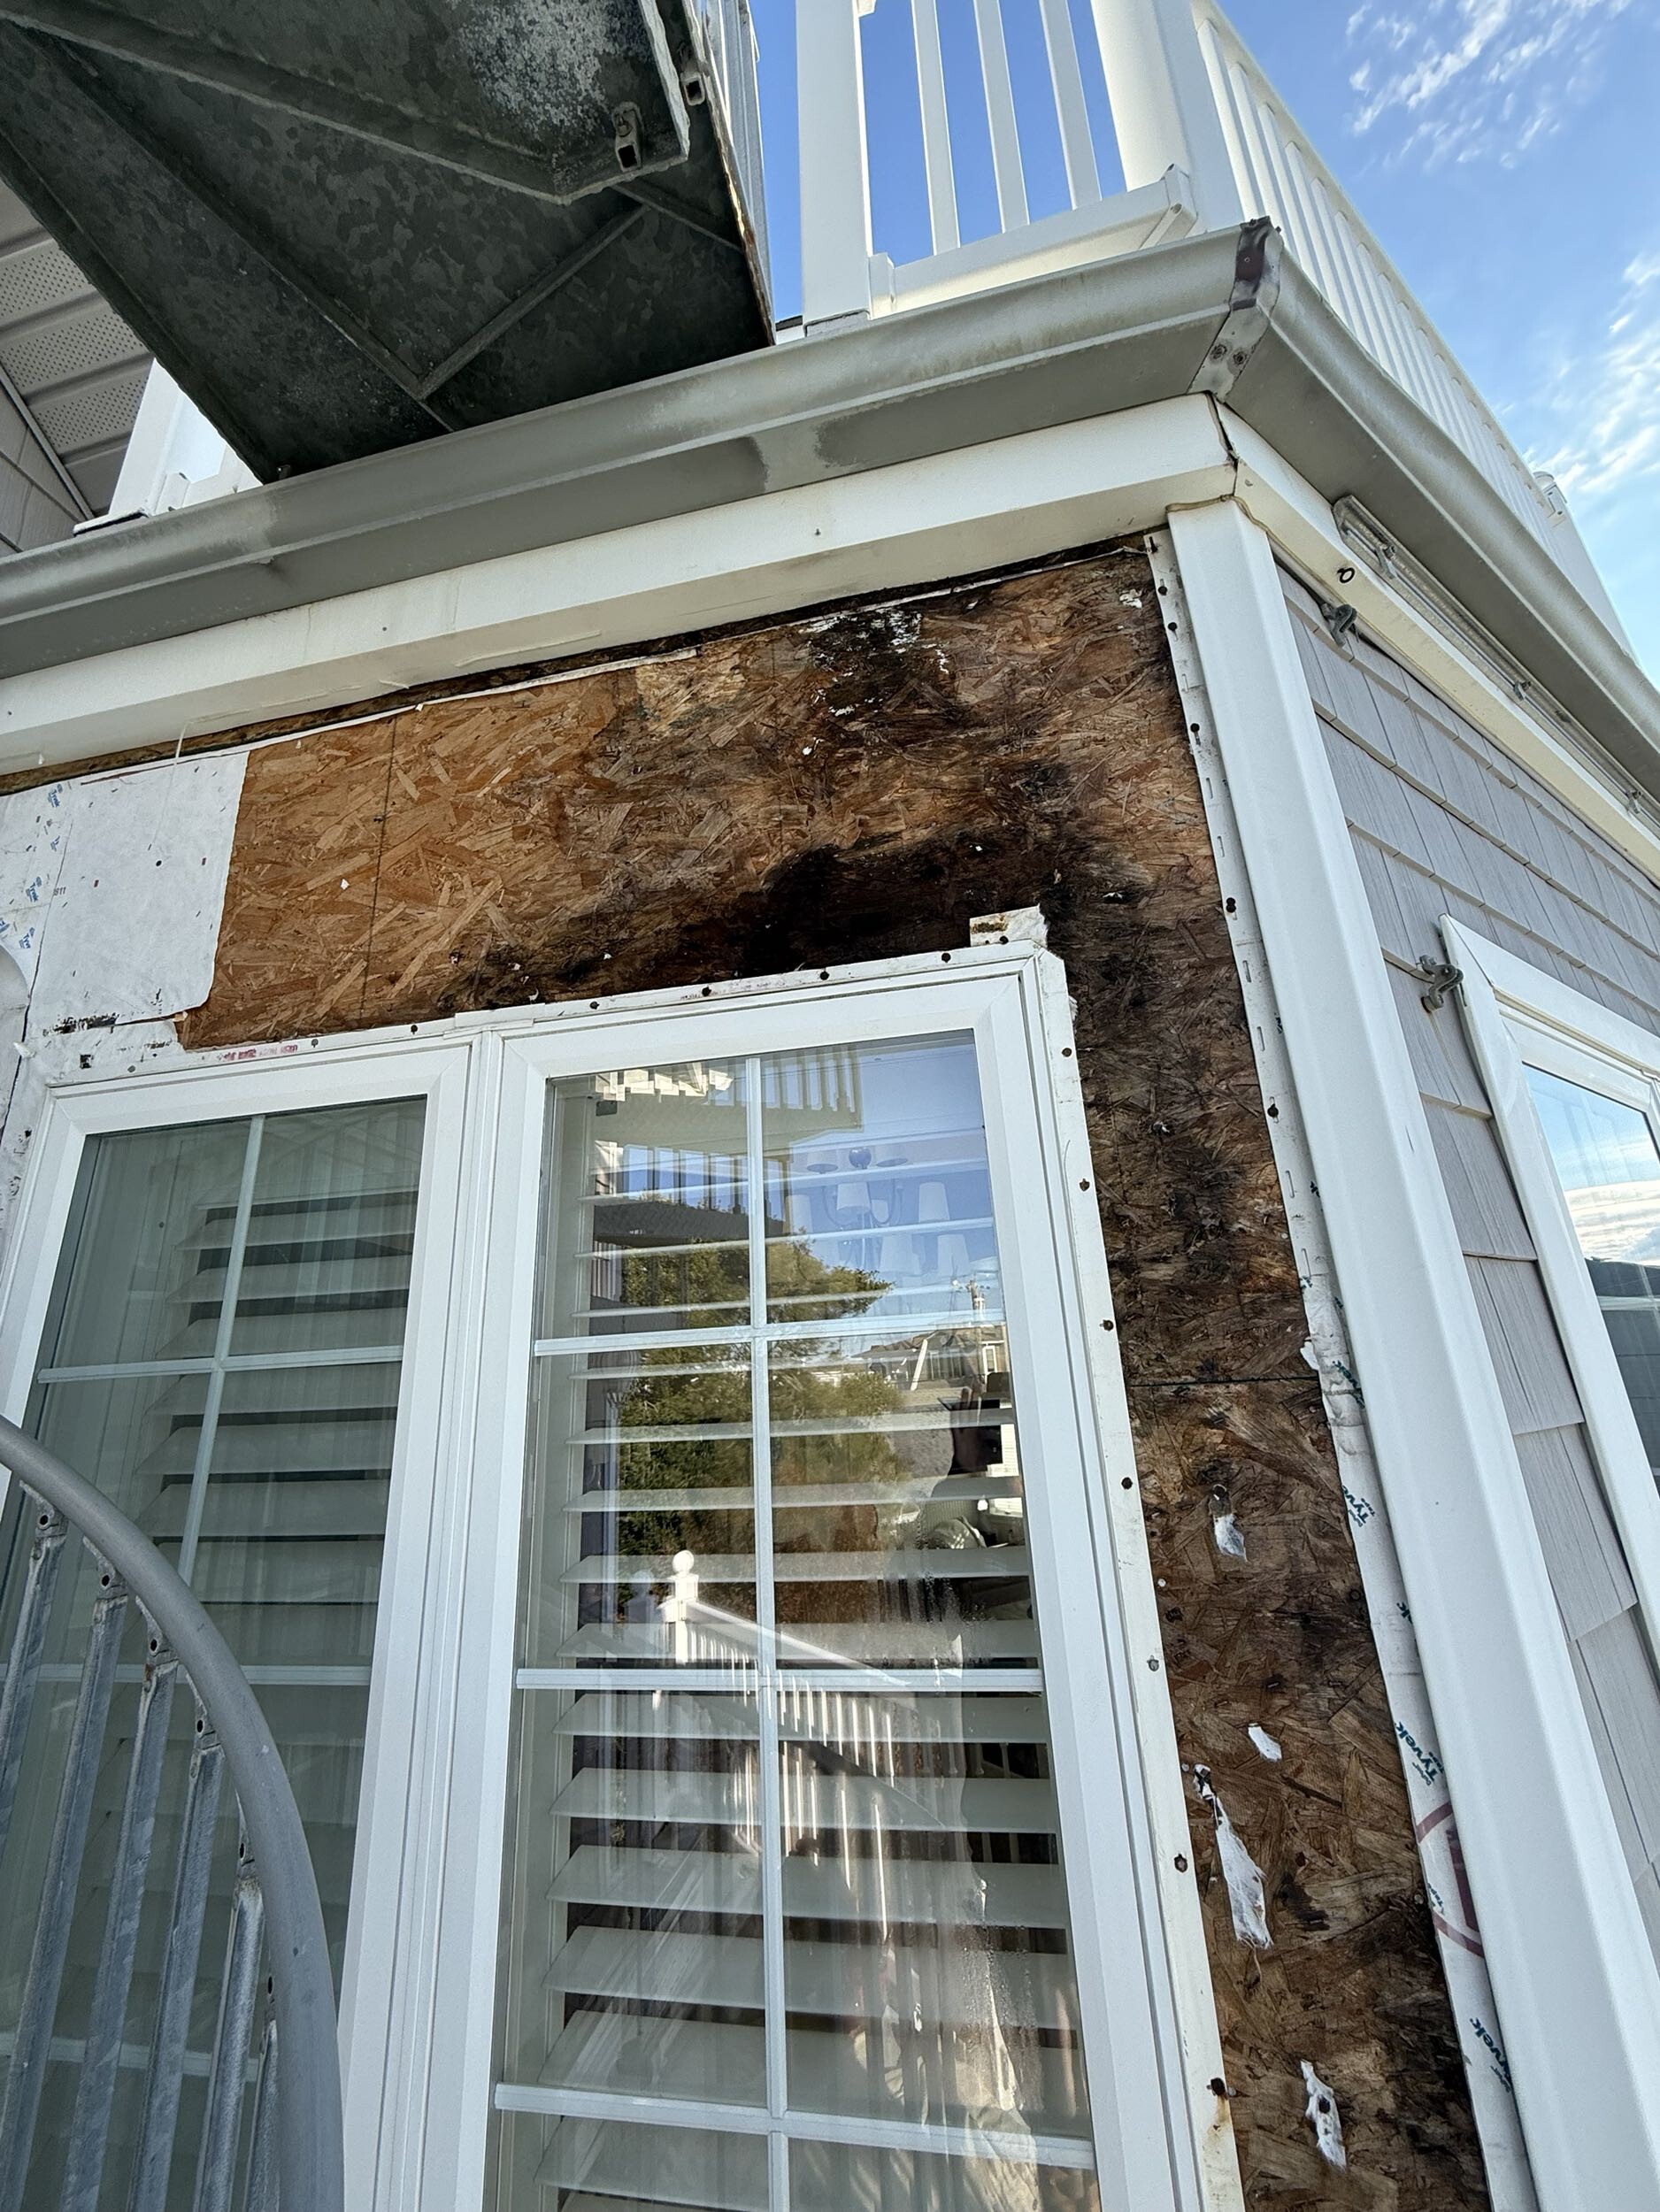
- Rotting framing hidden under the brick veneer
- Drafts and energy loss from gaps that are hard to seal properly
- Cracked or damaged brick from careless removal
In coastal markets like New Jersey's Shore towns, salt air and wind-driven rain make every one of those risks worse. A window that leaks in a mild inland climate can fail fast on the coast.
This guide walks you through exactly what it takes to get the job done right.
I'm Mike Werner, CEO of Matera Builders, a premium exterior renovation contractor serving New Jersey homeowners with a focus on high-performance window and door installations. My experience working in coastal environments has taught me that installing replacement windows in a brick house demands a level of precision and planning that goes well beyond a standard window swap. In the sections below, I'll share what that precision looks like in practice.
Install replacement windows in brick house word roundup:
- installing a window in a brick house
- installing new construction window in an existing home
- replacement windows installed
Why It Is Hard to Install Replacement Windows in Brick House
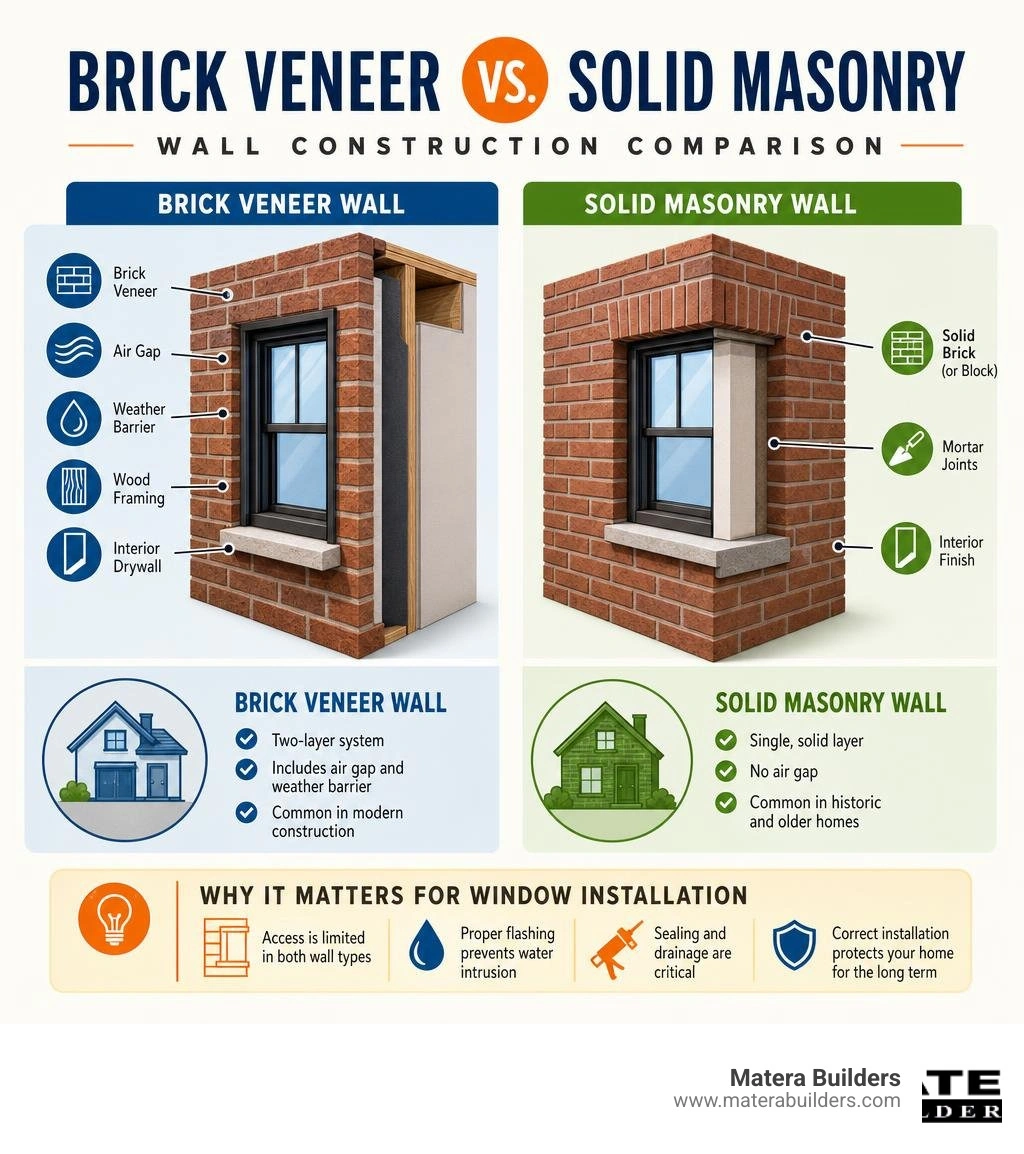
Brick is not actually waterproof. It behaves like a sponge. When heavy rain hits your brick exterior, the brick absorbs water.
In a standard brick veneer home, there is a small air gap behind the brick. Water travels through the brick, runs down the back of the masonry, and exits through weep holes at the bottom of the wall.
This design works well until you try to install replacement windows in a brick house.
When we replace a window in a wood-framed home with siding, we can pull the siding back. This allows us to tape the window flanges directly to the house wrap.
With brick, that weather barrier is buried behind three inches of solid masonry. You cannot pull the brick back to tape your window.
This creates a serious water management problem. If you do not isolate the window opening from the brick cavity, water running down the back of the brick will seep directly into your wood framing. Over time, this leads to rot, mold, and structural damage.
The steel lintel above the window is another challenge. This heavy steel angle iron supports the brick above the opening. If the lintel is rusted or improperly flashed, water will bypass the window and leak into your living room.
To learn more about these building science challenges, read the technical guide on Replacing Windows in Brick-Veneer Homes. For a complete overview of the process, check out our guide on installing a window in a brick house.
Choosing Your Replacement Method: Full-Frame vs. Insert
When replacing windows in a brick home, you must choose between two main methods.
Insert (Pocket) Windows
Insert windows are fully assembled units that slide directly into your existing wood frame. You only remove the old sashes and hardware.
This method is fast. It minimizes disturbance to your brick veneer and interior trim.
However, you can only use insert windows if the existing wood frame is completely dry, square, and free of rot. If there is hidden water damage behind the frame, pocket windows will only hide the problem, not fix it. Pocket windows also reduce your overall glass area.
Full-Frame Replacement
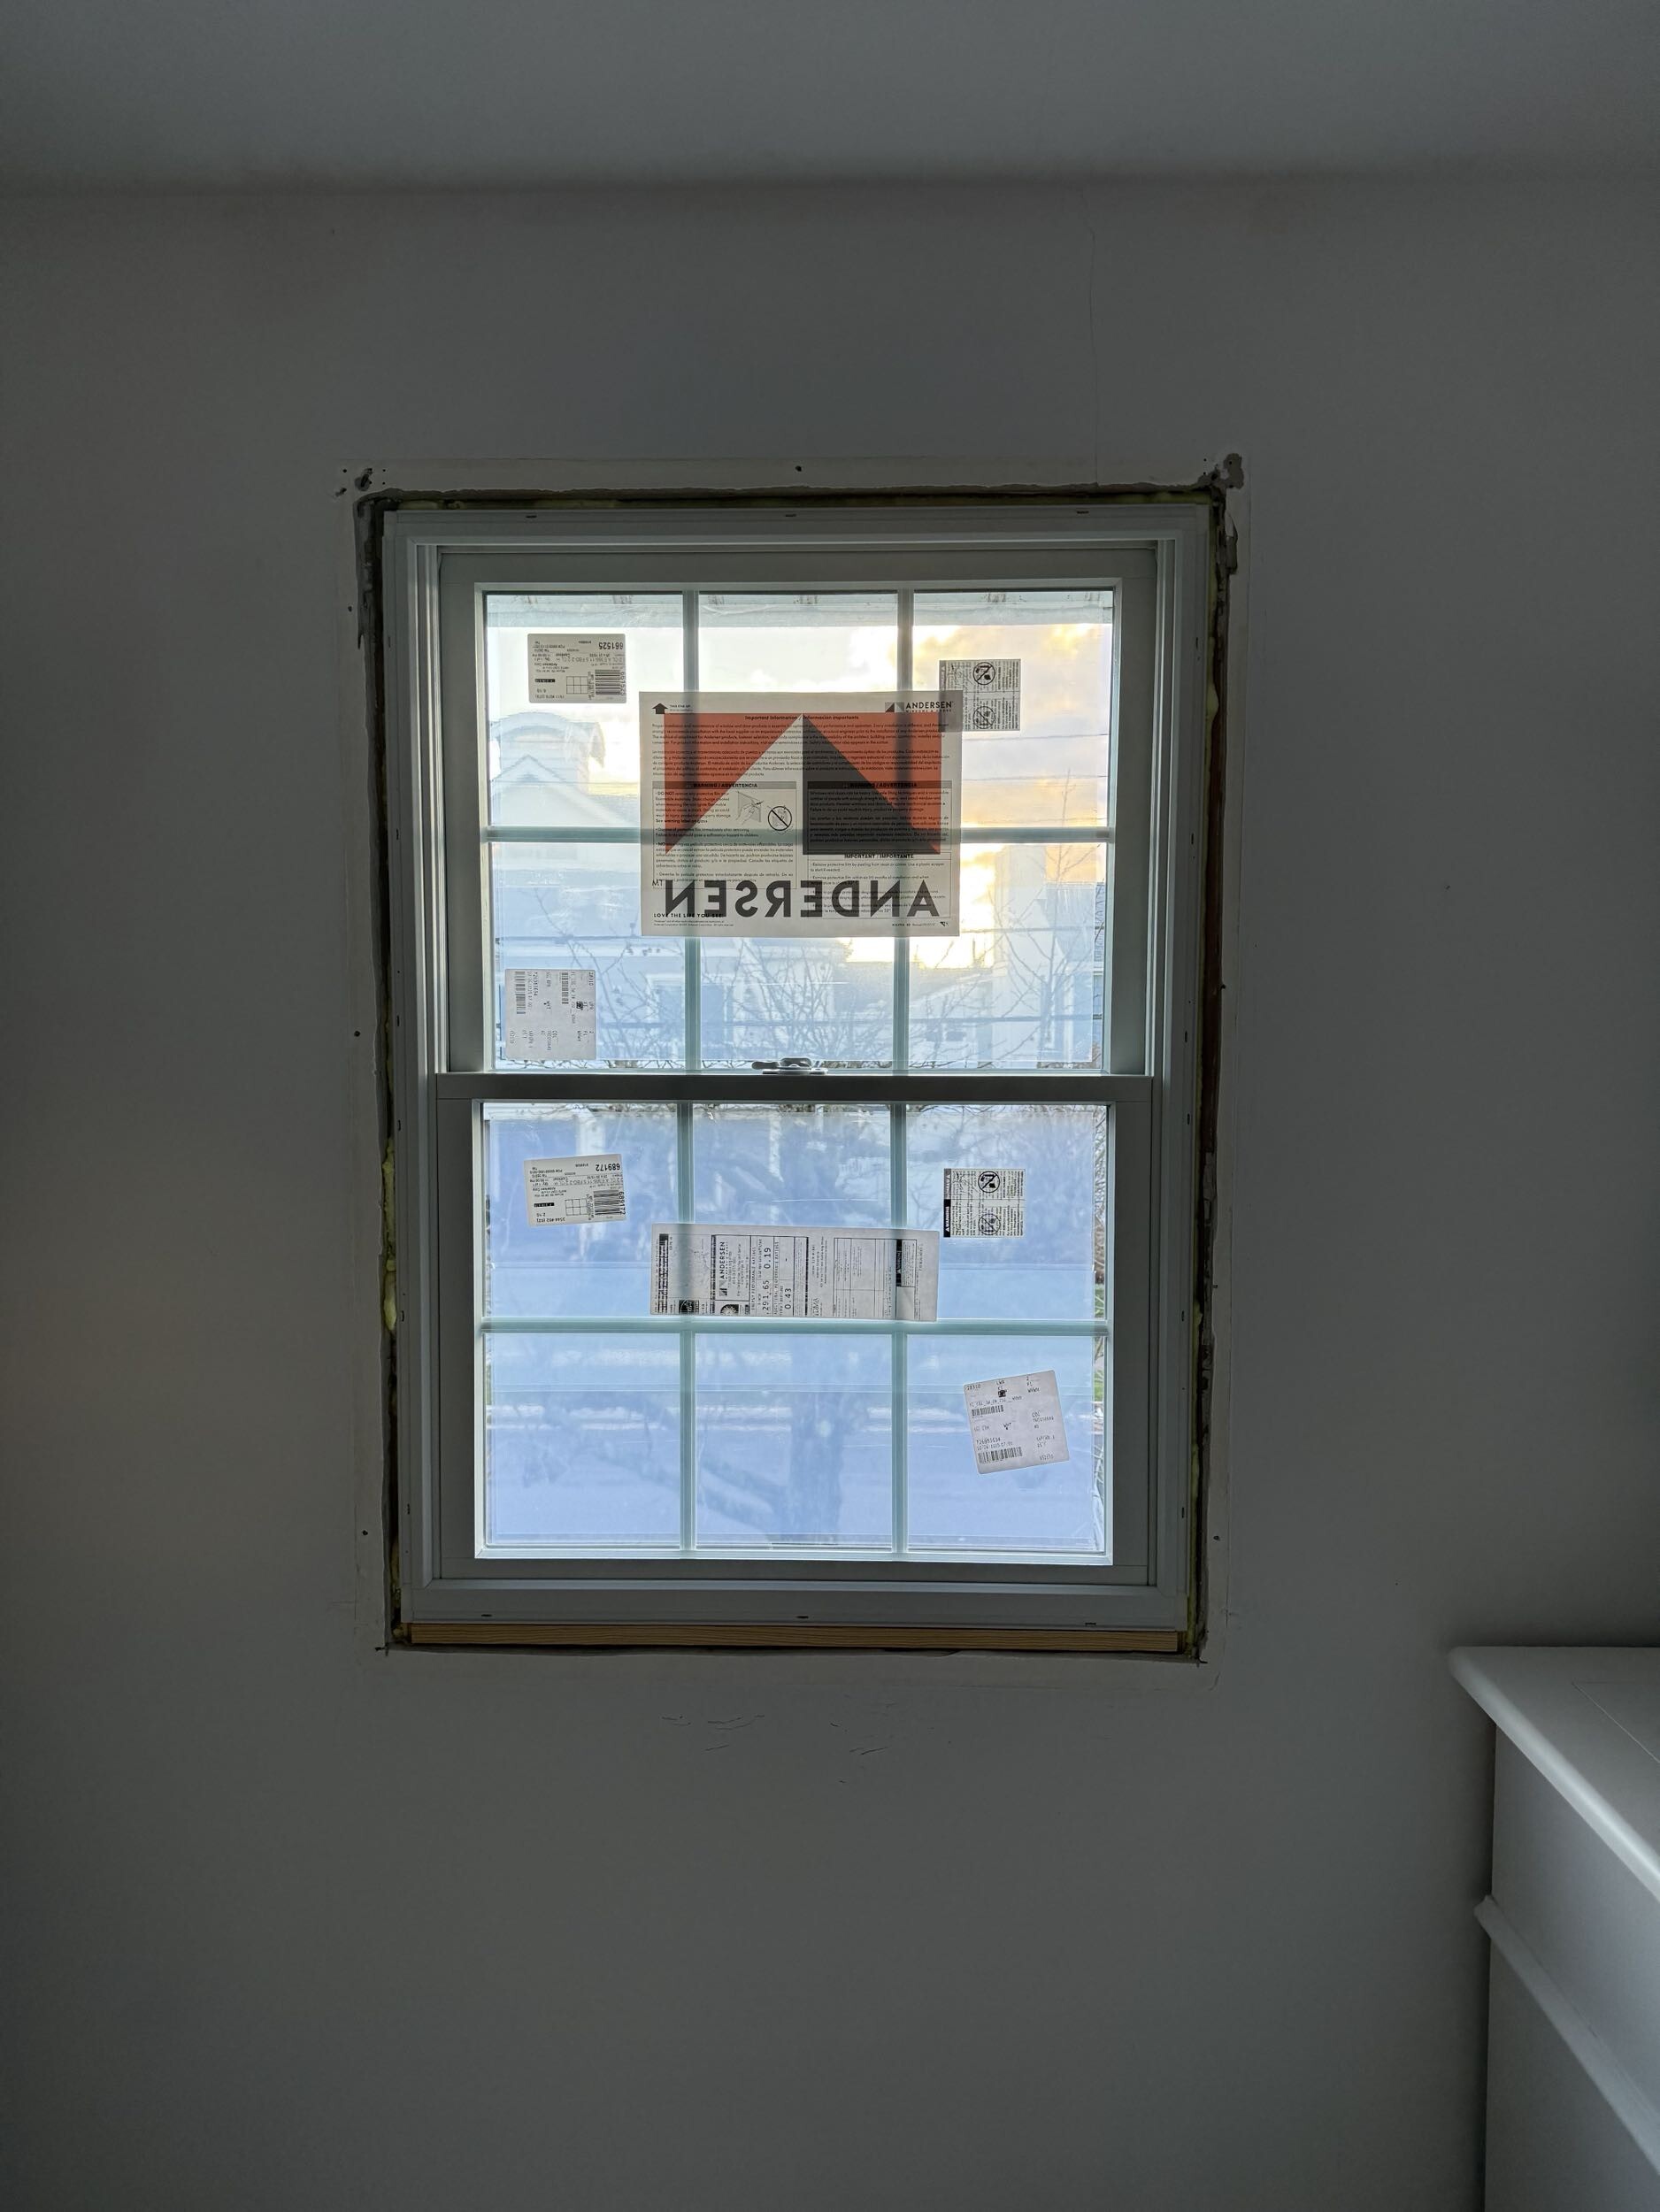
A full-frame replacement requires us to strip the opening down to the rough wood framing. We remove the old window, the frame, and the exterior brick mold trim.
This is the superior method for older brick homes. It allows us to inspect the structural framing, replace any rotted wood, and install a modern, watertight sill pan.
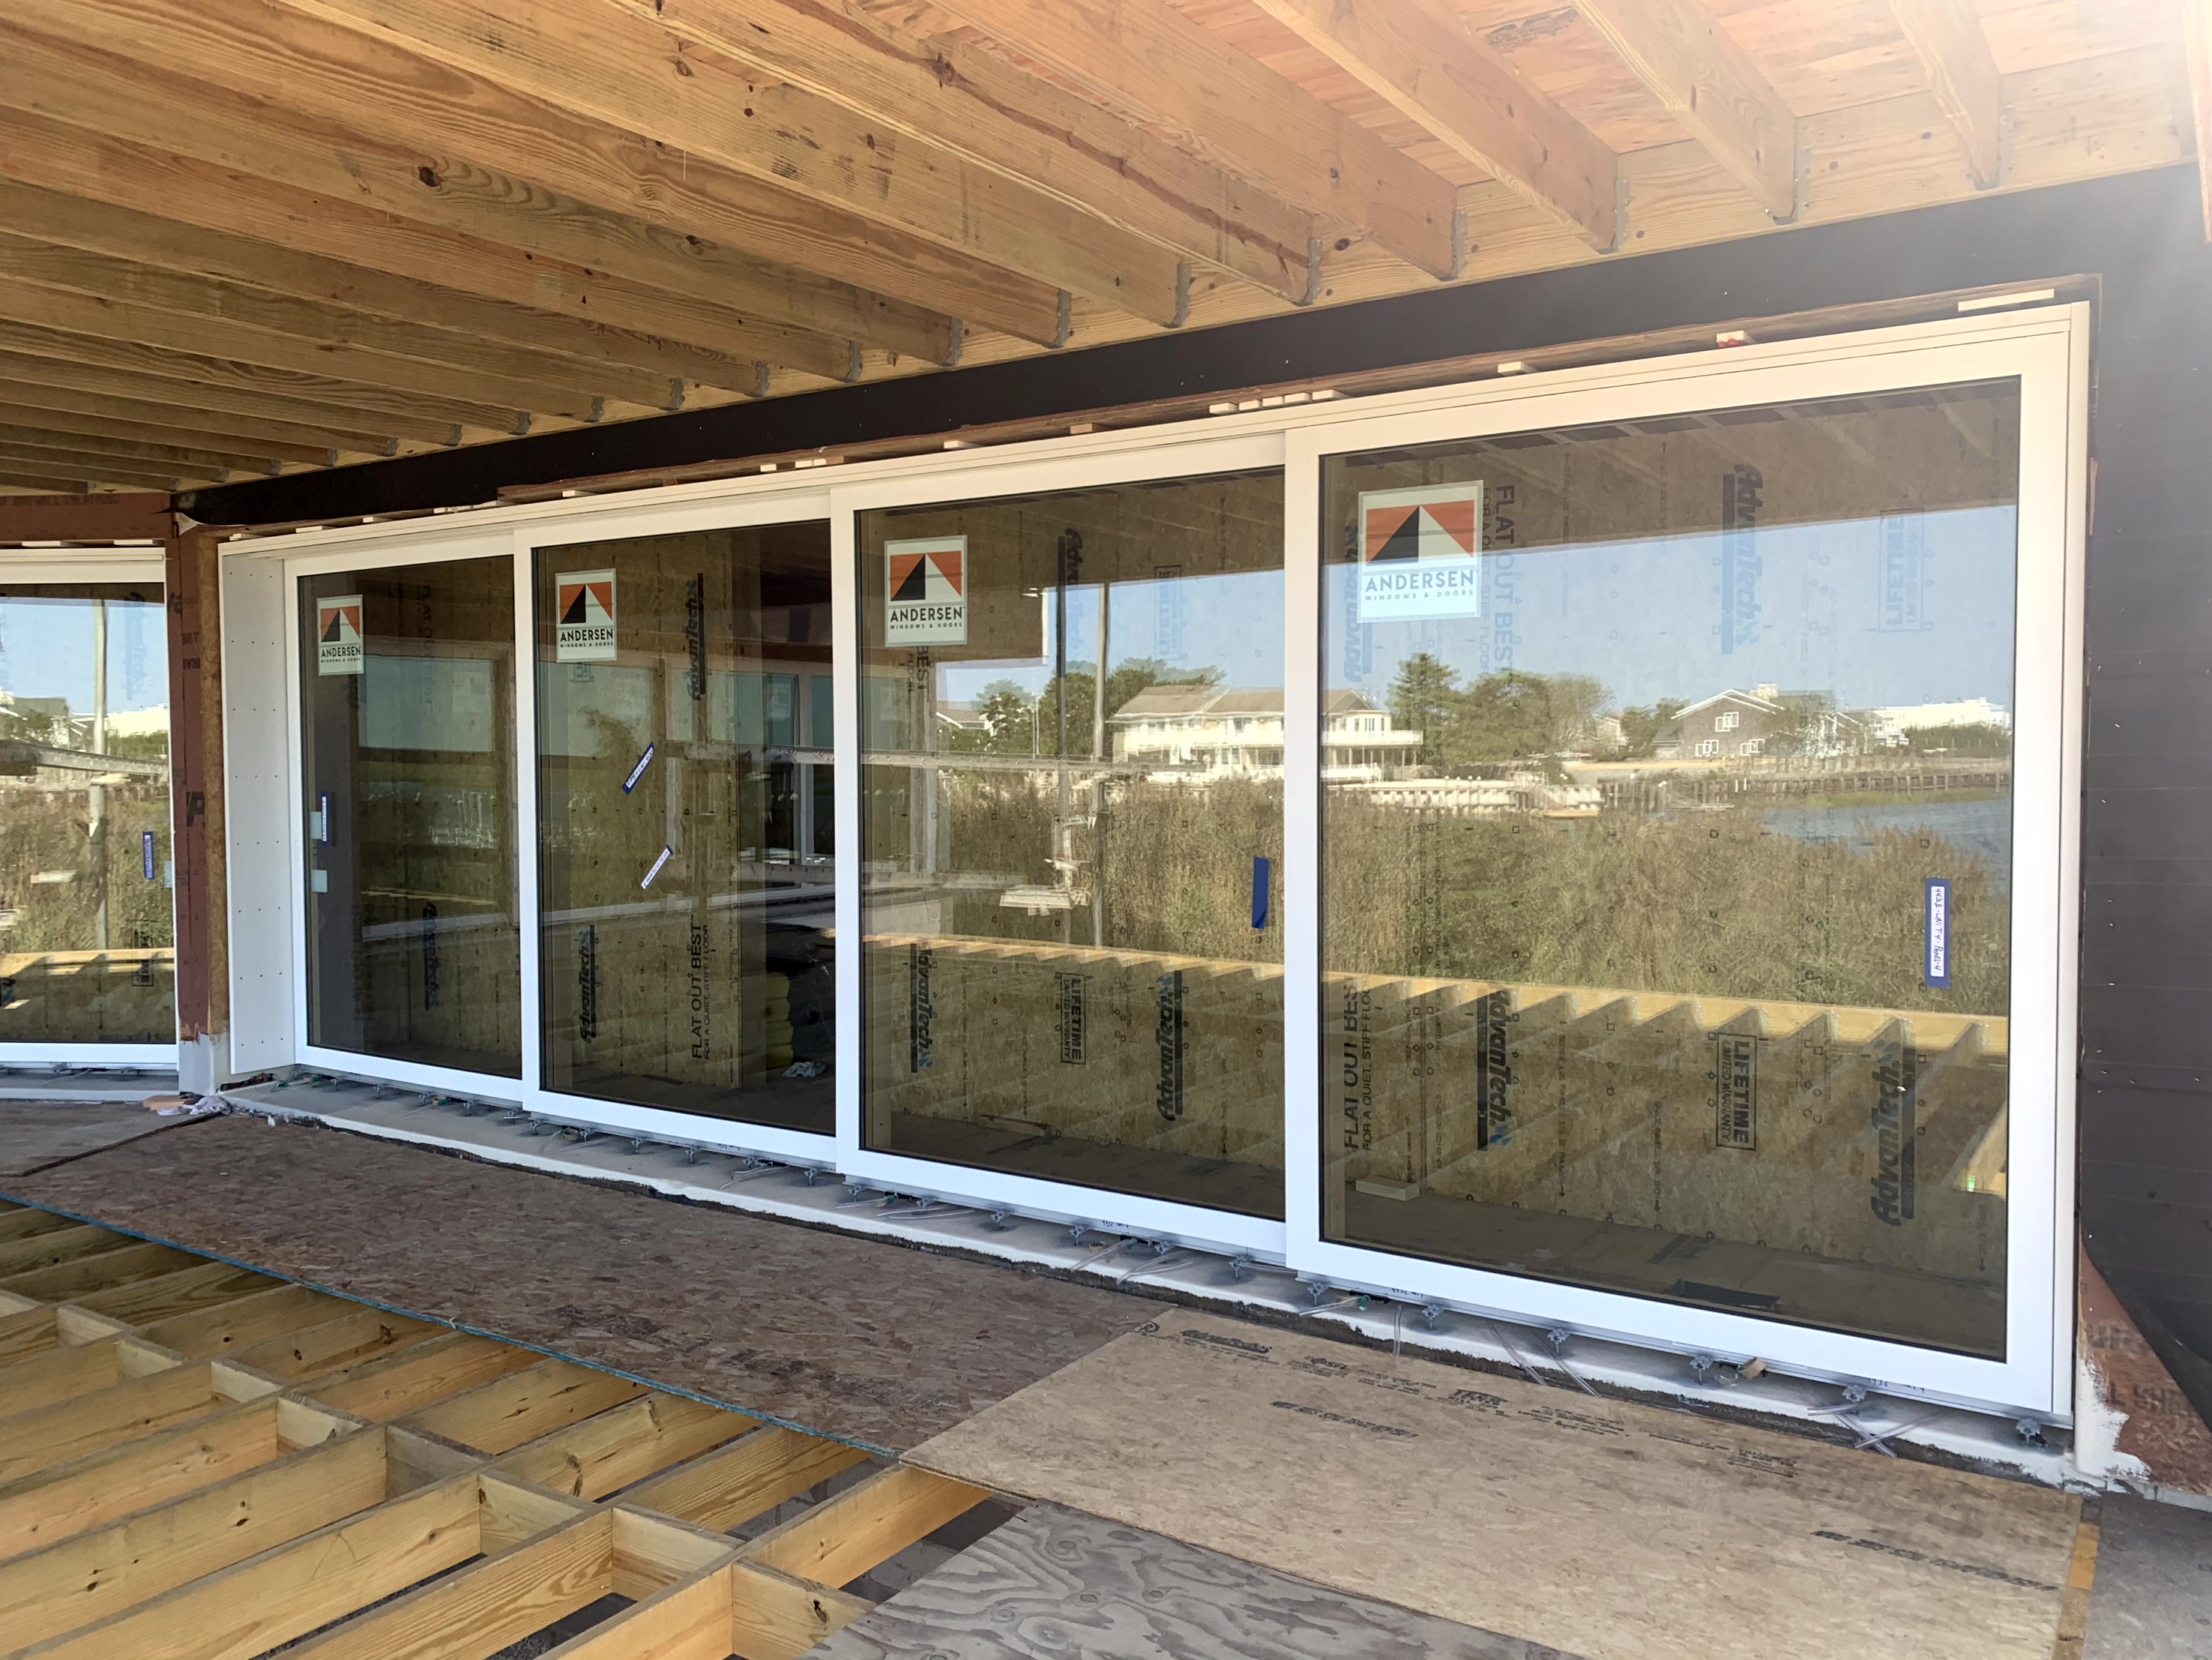
For full-frame installations, we highly recommend Andersen Windows. Standard vinyl windows are flexible. They can bow and distort under the pressure of expanding brick or high coastal winds.
Andersen windows feature Fibrex composite frames. Fibrex is twice as strong as vinyl. It resists warping, handles extreme temperature changes, and maintains a tight seal.
To learn more about the financial side of this decision, read our breakdown of the Cost of Putting in New Windows.
How to Safely Install Replacement Windows in Brick House Openings
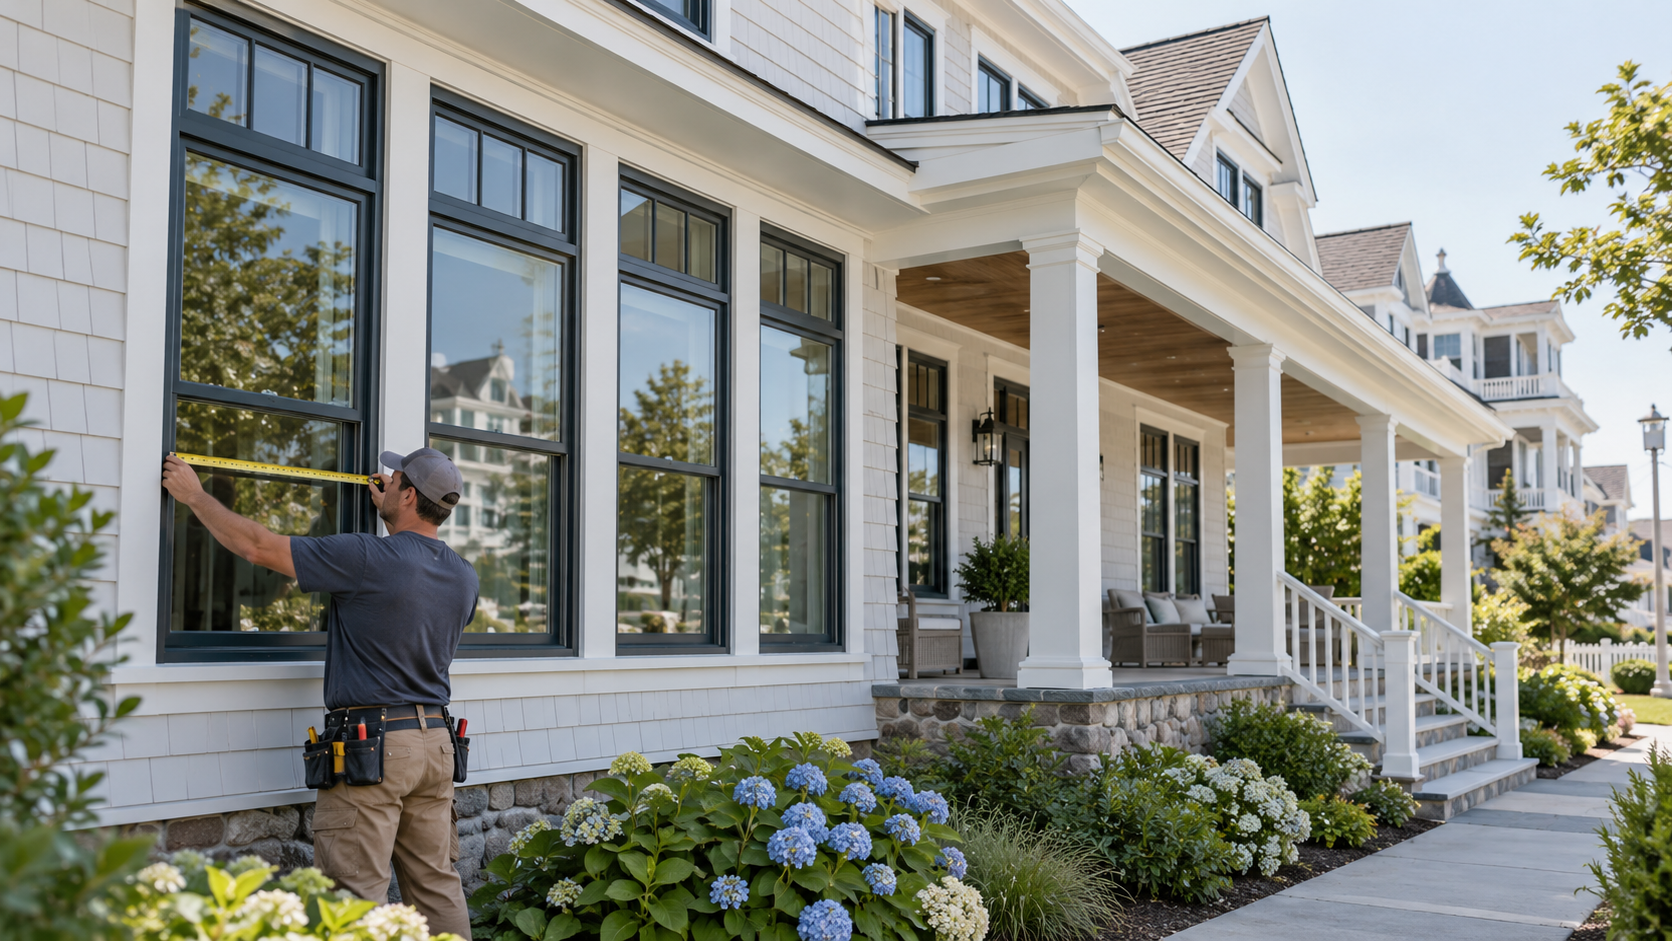
Precision measurement is the most important step in the entire process. Brick openings do not flex. If your new window is even a quarter of an inch too large, it will not fit, and you cannot easily enlarge a masonry opening.
To get the perfect size, we take twelve distinct measurements:
- Three horizontal measurements of the rough opening (top, middle, bottom)
- Three vertical measurements of the rough opening (left, middle, right)
- Three horizontal measurements of the exterior brick opening
- Three vertical measurements of the exterior brick opening
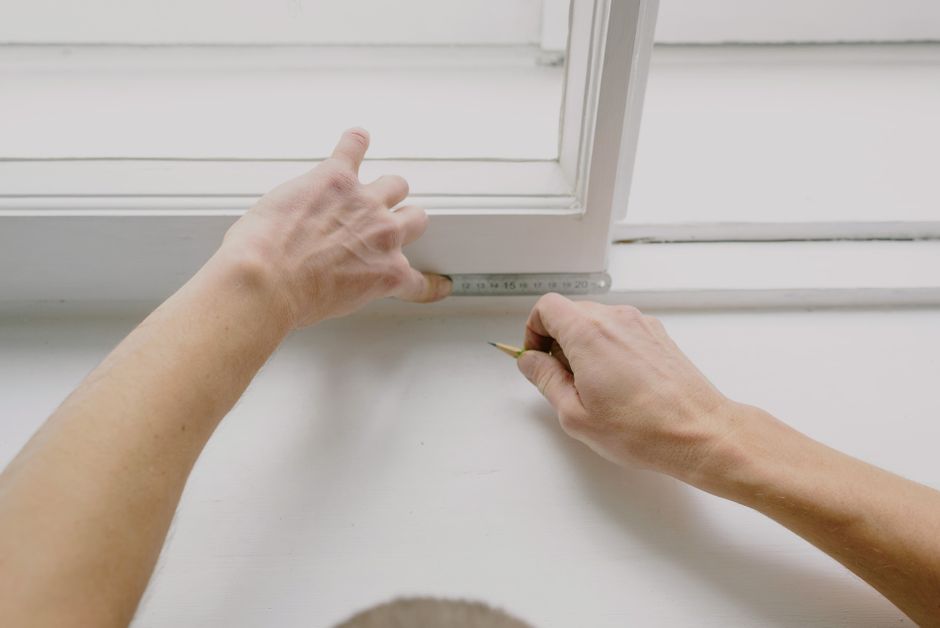
We use the smallest of these measurements to order the window.
The new window must be ordered at least 1/2 to 3/4 inch smaller than the smallest rough opening dimension. This leaves a consistent 1/4-inch gap around the perimeter. This gap is crucial. It gives us room to level the window, apply insulation, and allow for natural expansion and contraction.
If you want to read more about getting the perfect fit, view our guide on Fitting New Windows.
Preparing and Flashing the Masonry Opening
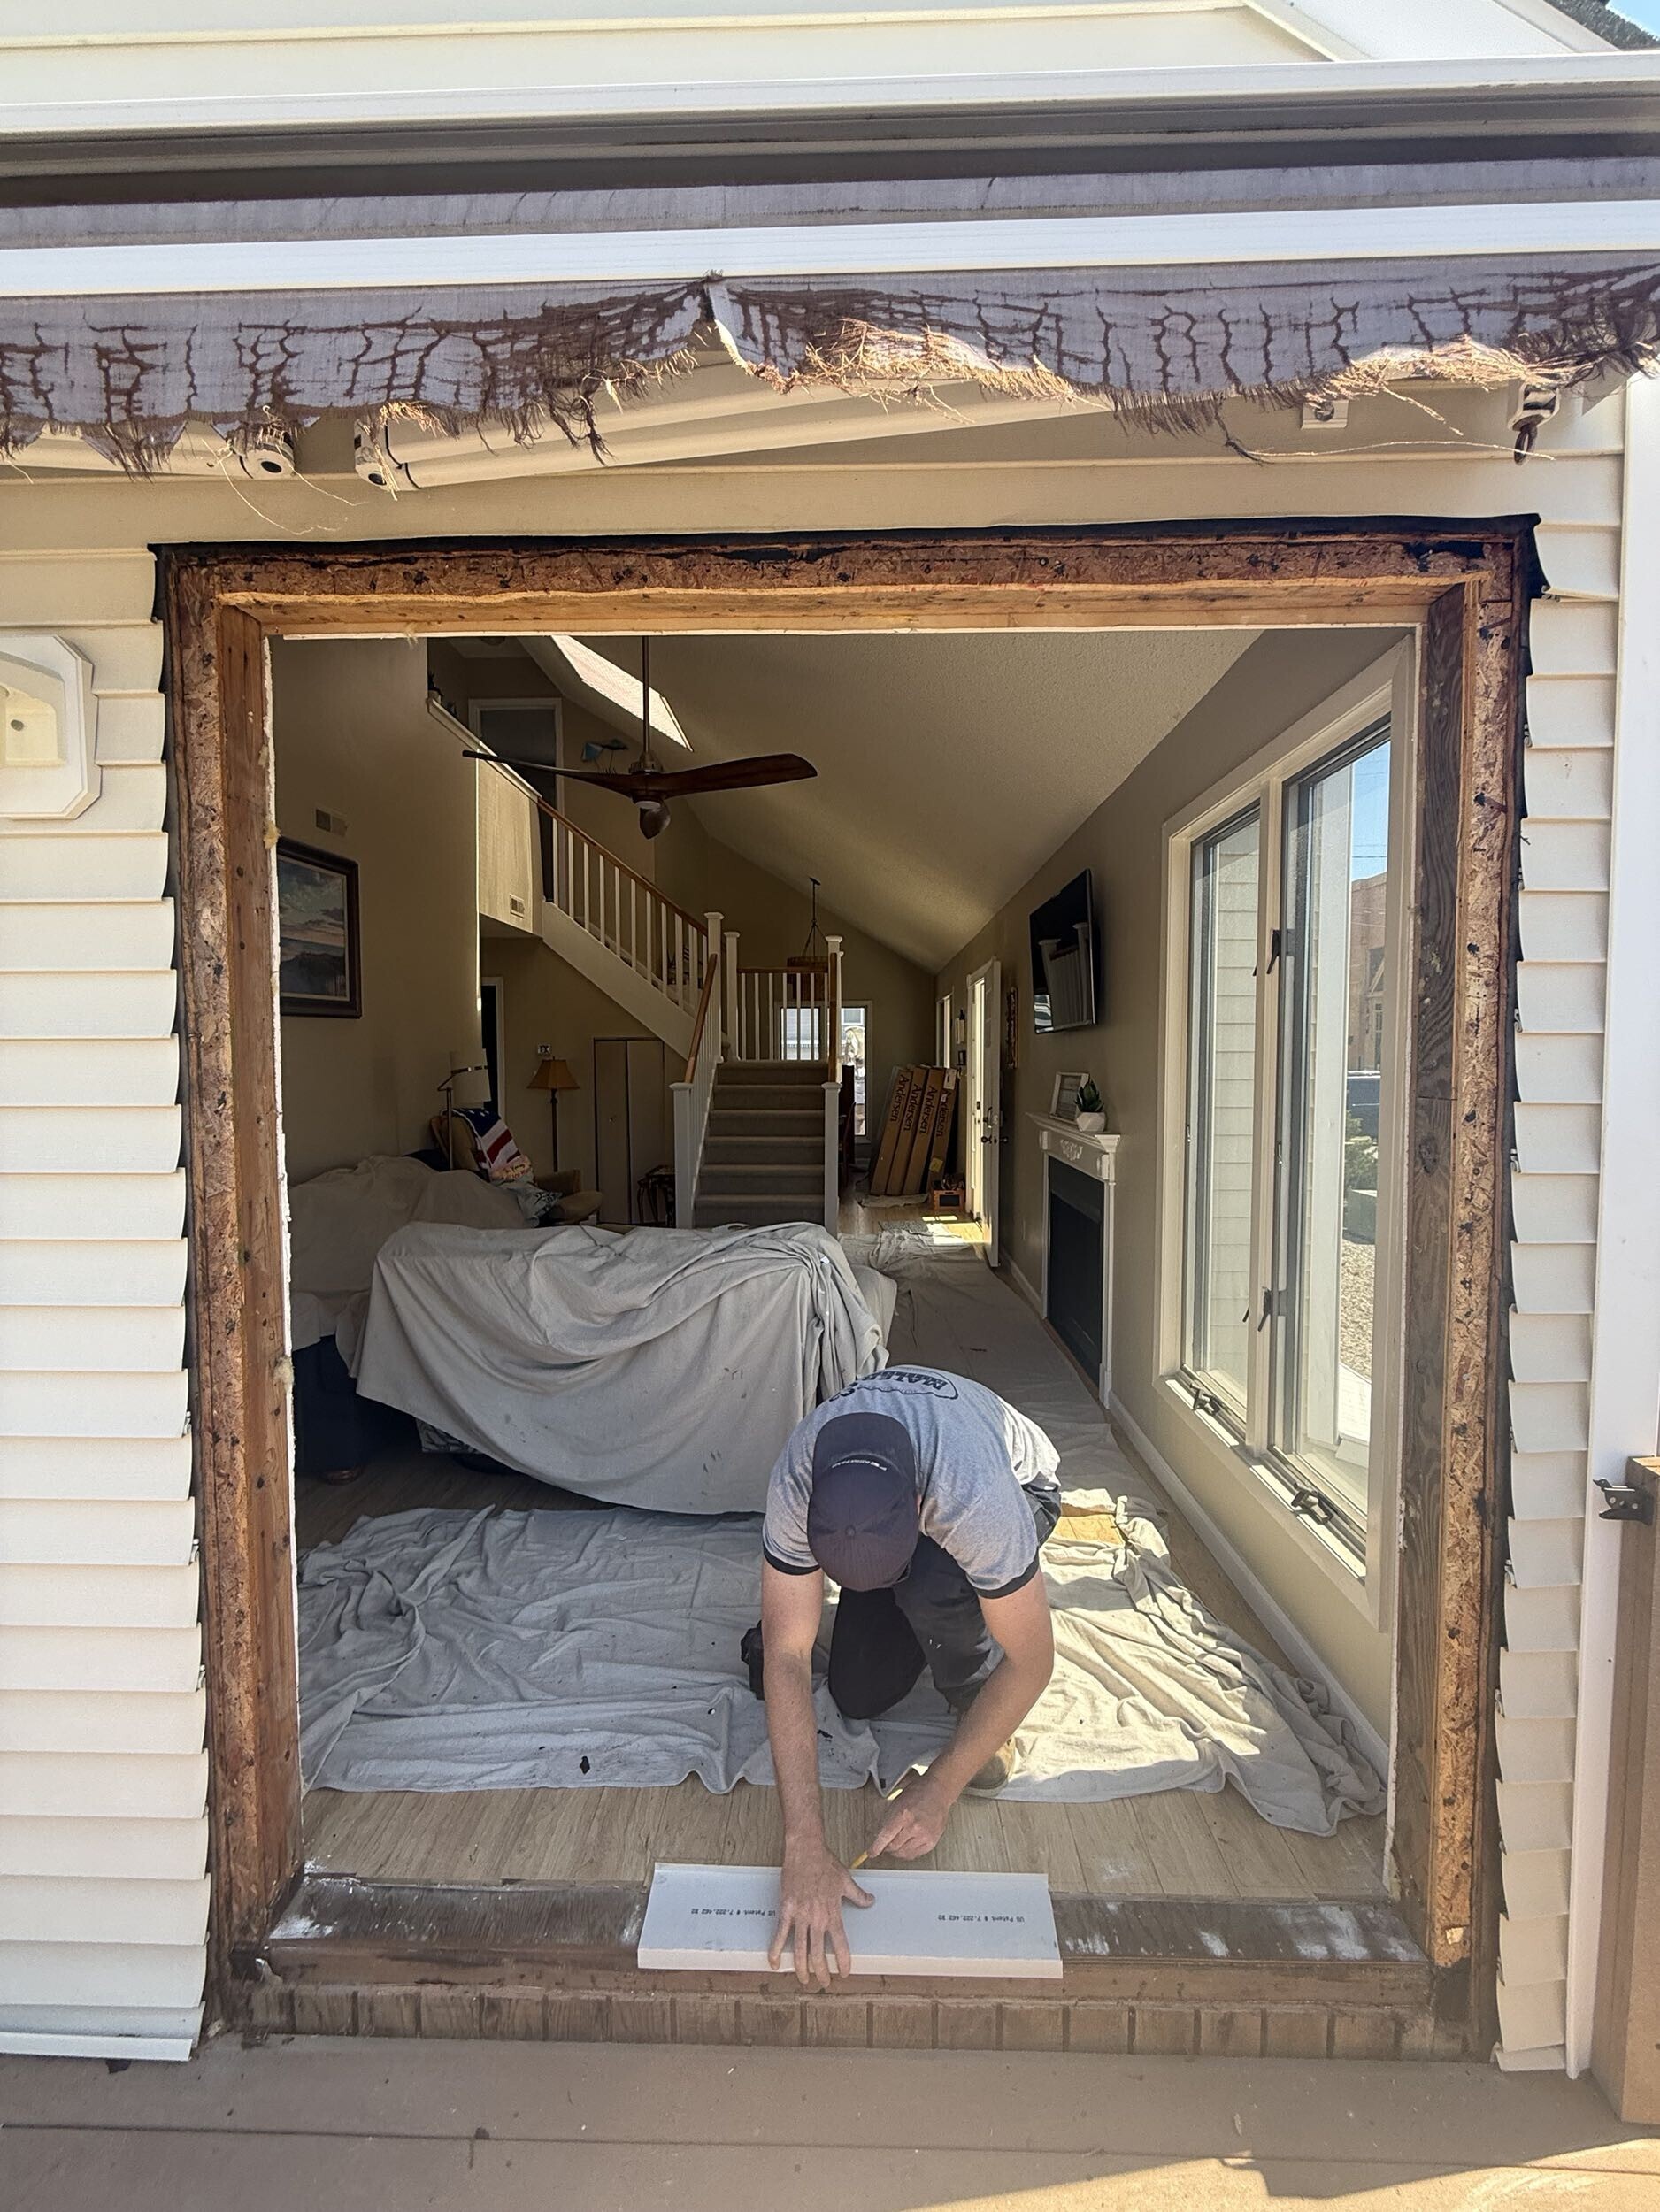
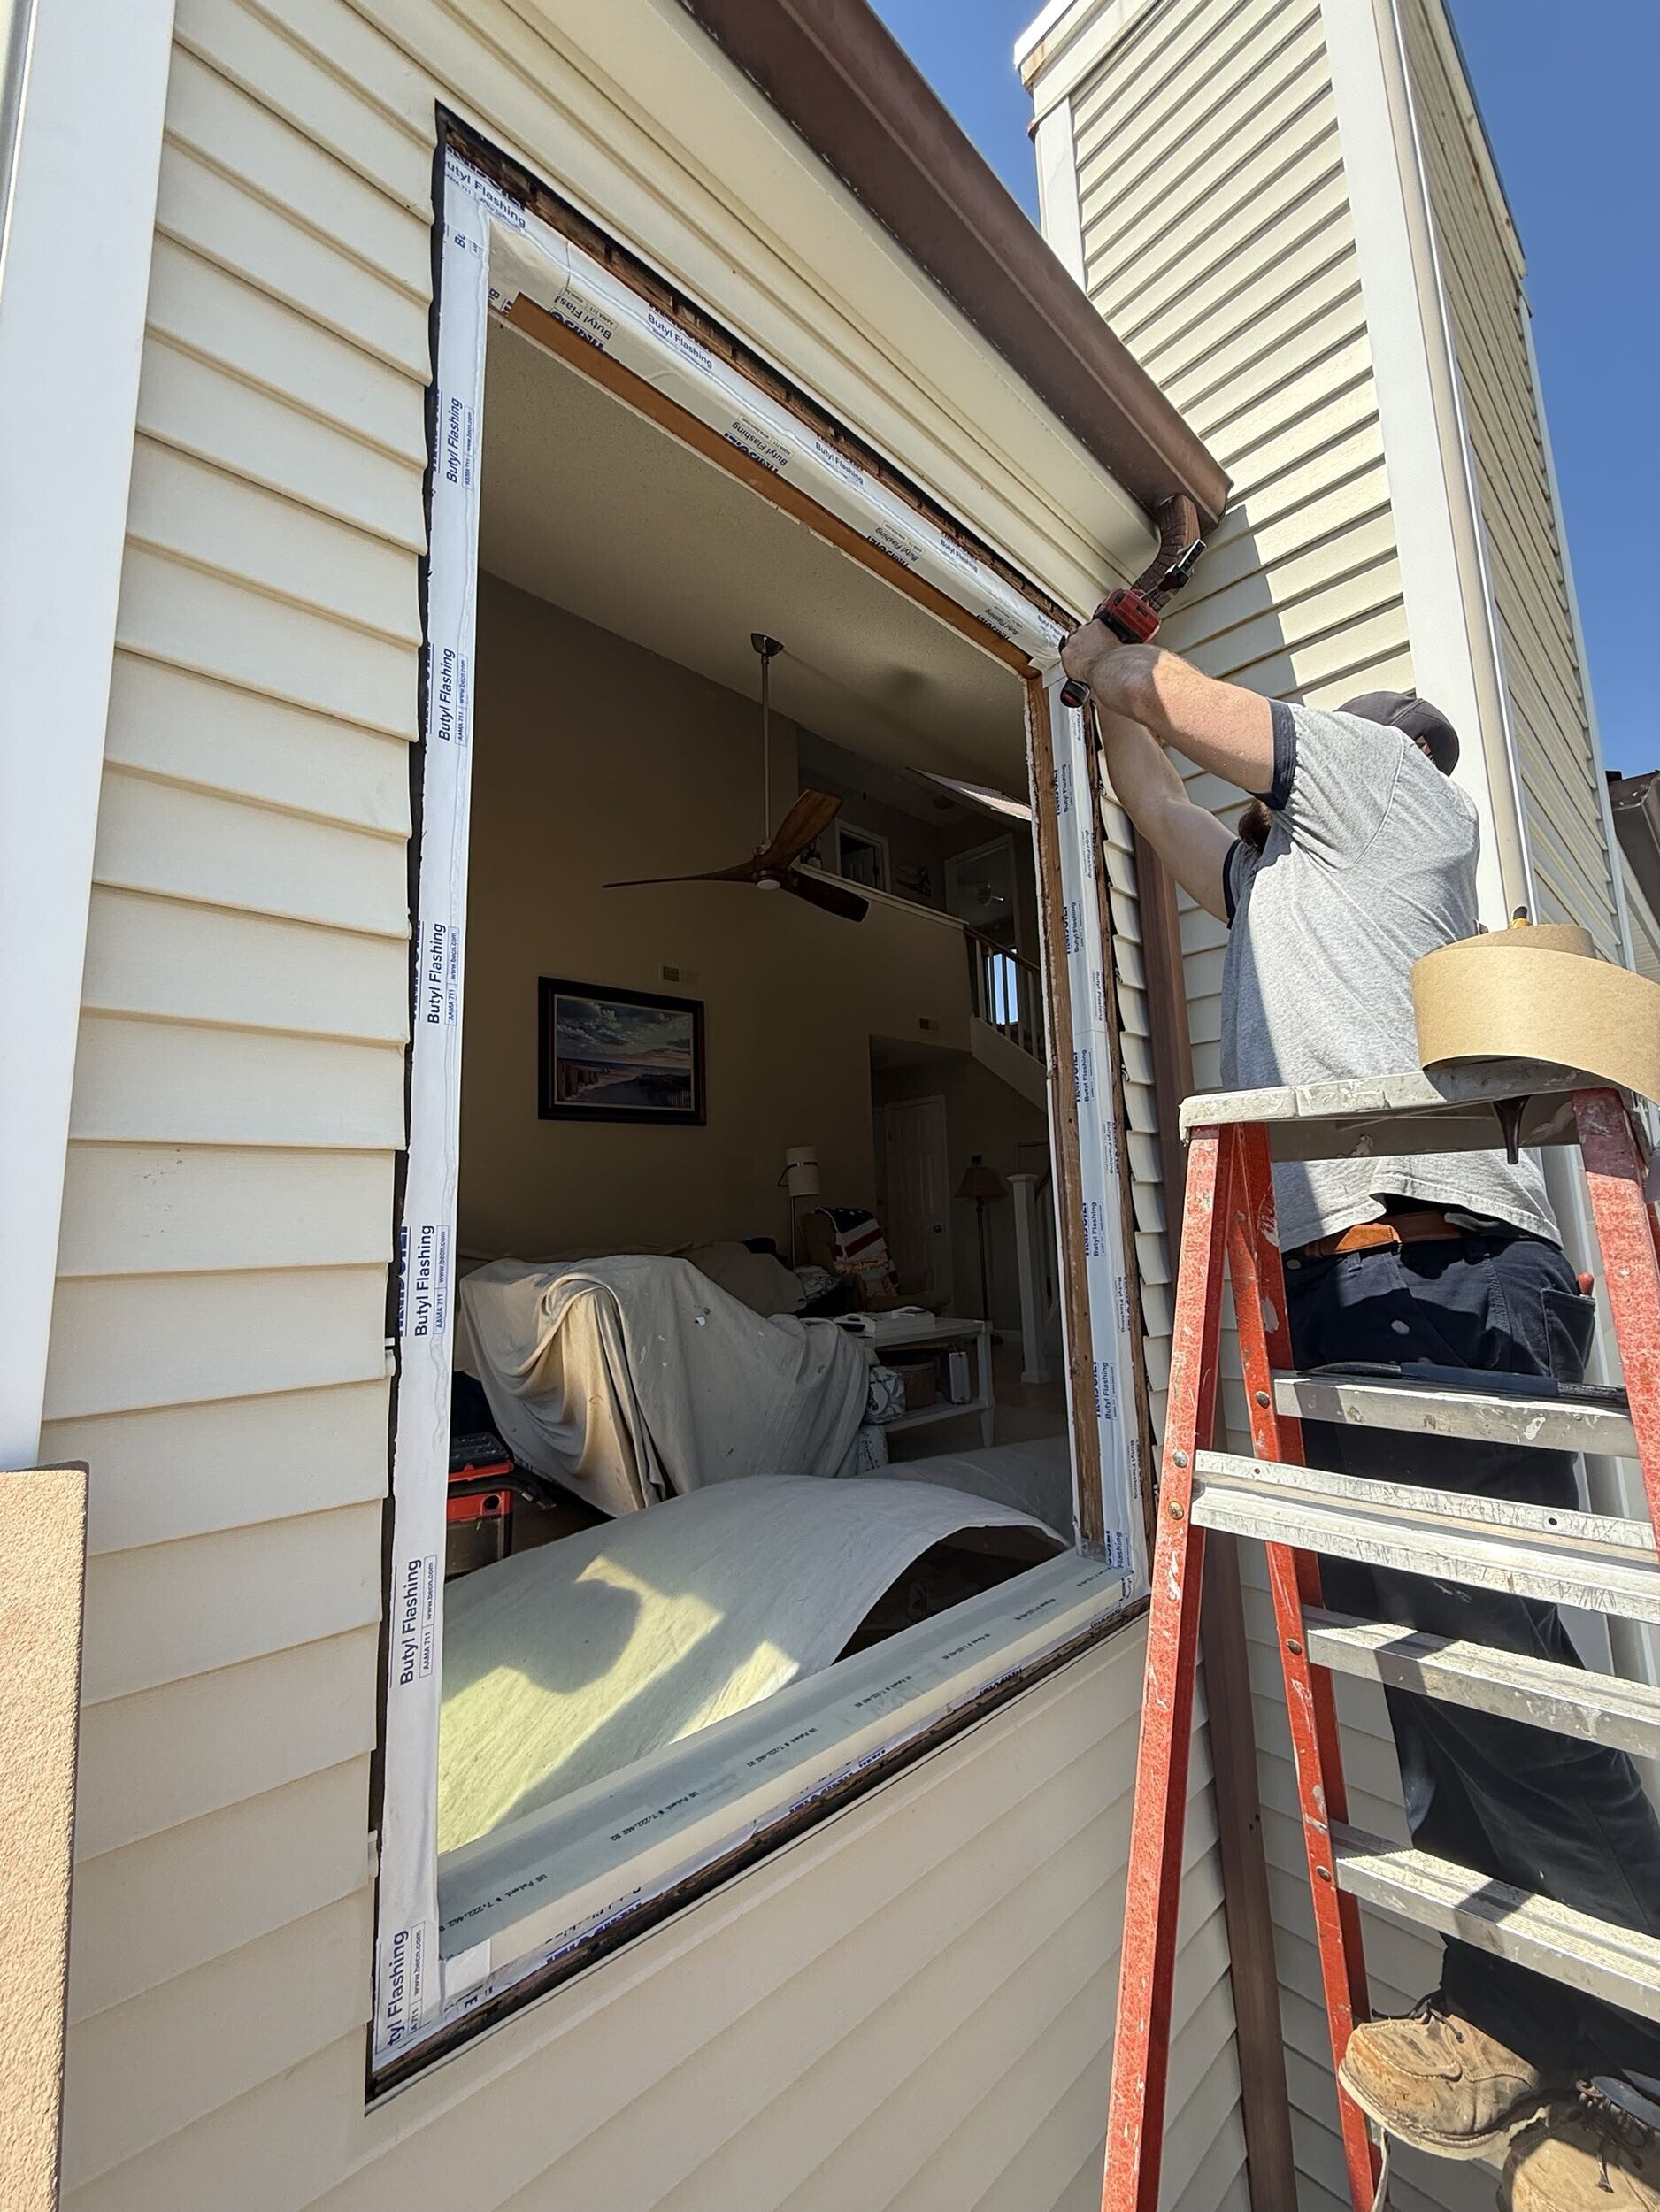
Once the old window is out, we must prepare the opening. We use an angle grinder and chisel to clean away old mortar chunks, dried caulk, and debris.
Next, we inspect the wood buck. The wood buck is the wood frame attached to the masonry that holds the window. If we find rot, we replace the wood with rot-resistant materials.
Because we cannot easily integrate traditional flashing tape with the weather barrier behind the brick, we must build a self-contained water management system inside the opening.
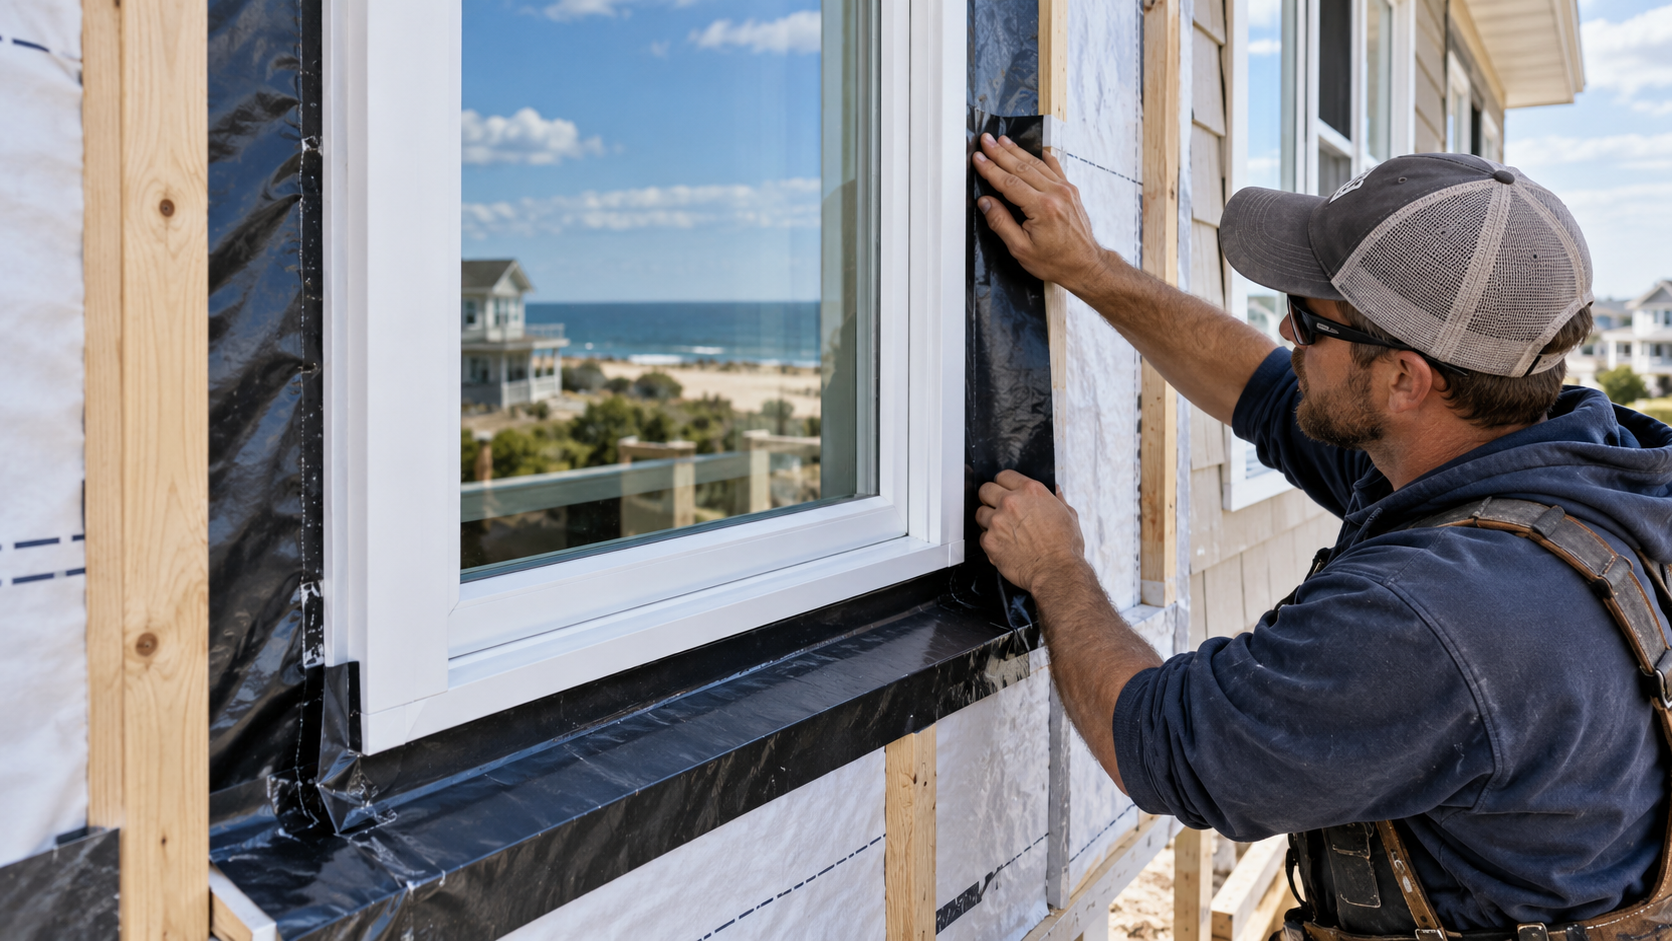
We do this by creating a site-built sill pan:
- We install a sloped wood strip on the rough sill.
- We add a low-profile back dam at the interior edge of the sill.
- We cover the entire sill with high-performance flexible flashing tape, turning it up at the sides to create a watertight pan.
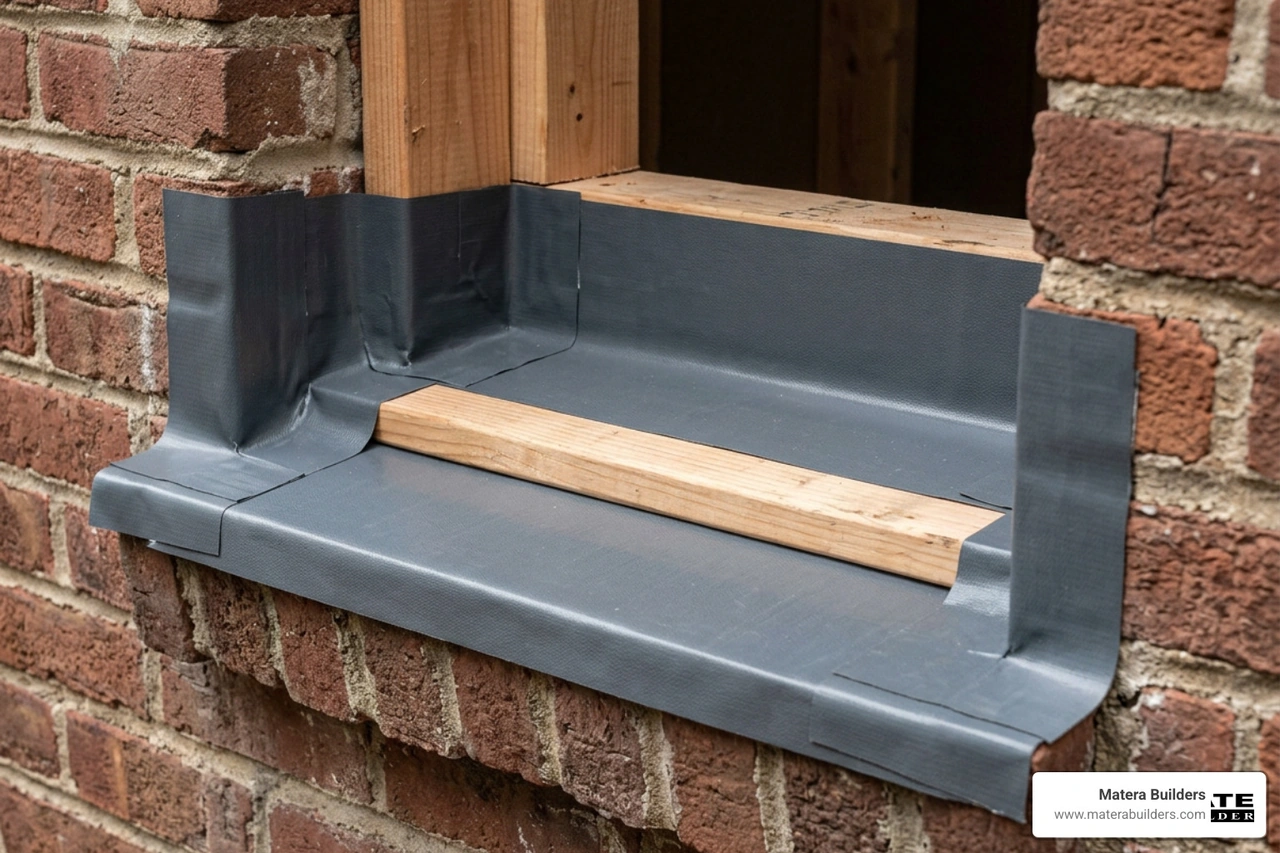
This sill pan acts as an insurance policy. If any water bypasses the exterior seals, it hits the sloped pan and drains harmlessly out to the exterior, protecting your home's framing.
For highly challenging installations, we use liquid-applied flashing. This material creates a seamless, rubberized barrier that bonds directly to both the wood framing and the rough masonry.
For deeper technical details on flashing masonry openings, you can read A Pro's Guide to Replacing Windows in Masonry Openings. You can also learn about modern flashing methods in our article on installing a new construction window in an existing home.
Step-by-Step Guide to Install Replacement Windows in Brick House Structures
Once the opening is prepped and flashed, we are ready to install the window.
Step 1: Dry Fit
Before applying any sealant, we place the window in the opening. We verify that the window fits comfortably and that we have adequate clearance for shims.
Step 2: Apply Sealant
We remove the window and apply a thick, continuous bead of high-solids sealant along the interior back dam of our sill pan and around the interior face of the brick opening.
Step 3: Set and Shim
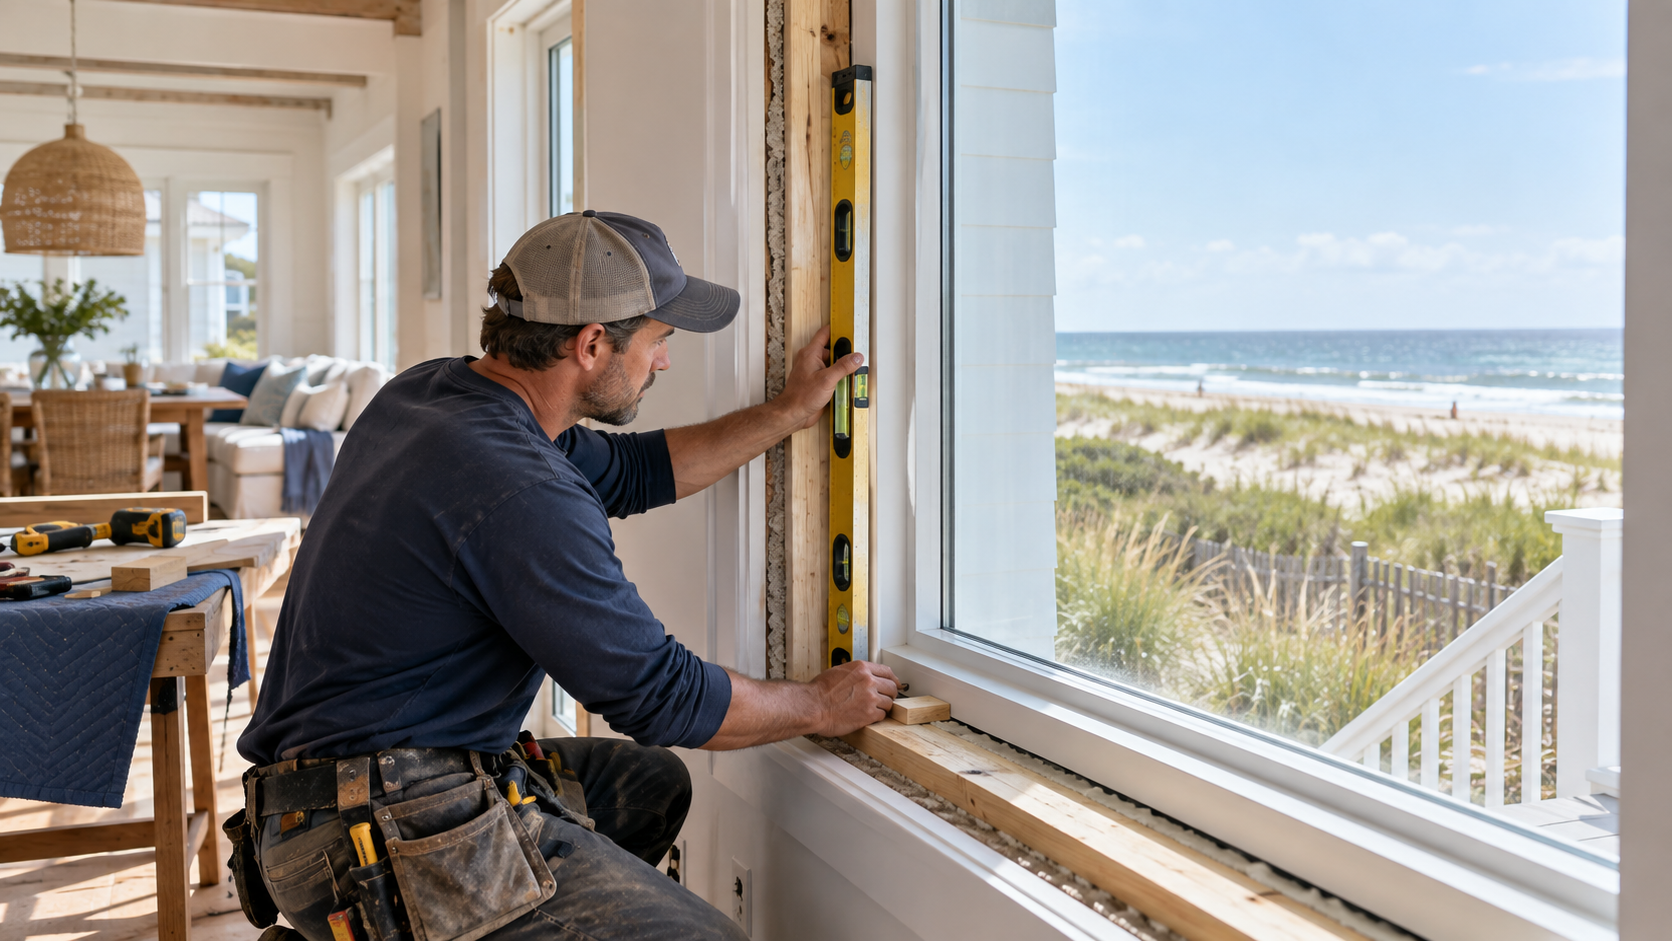
We set the window into the opening. We place non-compressible shims under the sill and along the sides.
We place shims approximately six inches from the top and bottom corners. We use a level to ensure the window is perfectly plumb, level, and square.
We never force the shims. Over-shimming can bow the window frame and prevent the sashes from operating smoothly.
Step 4: Secure the Window
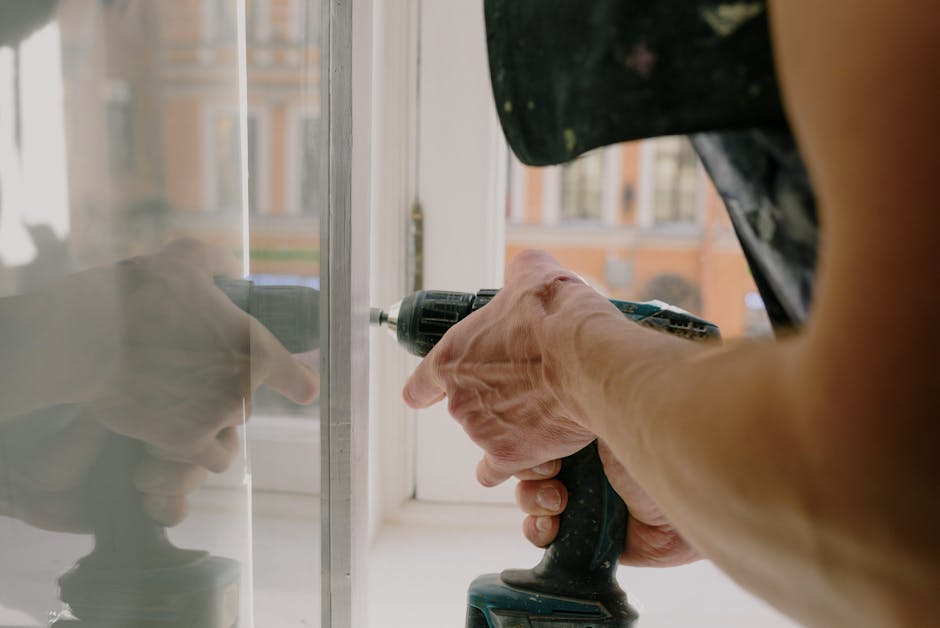
We secure the window using corrosion-resistant masonry screws. We drill pilot holes through the window frame and shims, then drive the screws directly into the wood buck or masonry.
We place screws at least two inches away from the edge of the brick to prevent the masonry from cracking.
Step 5: Insulate
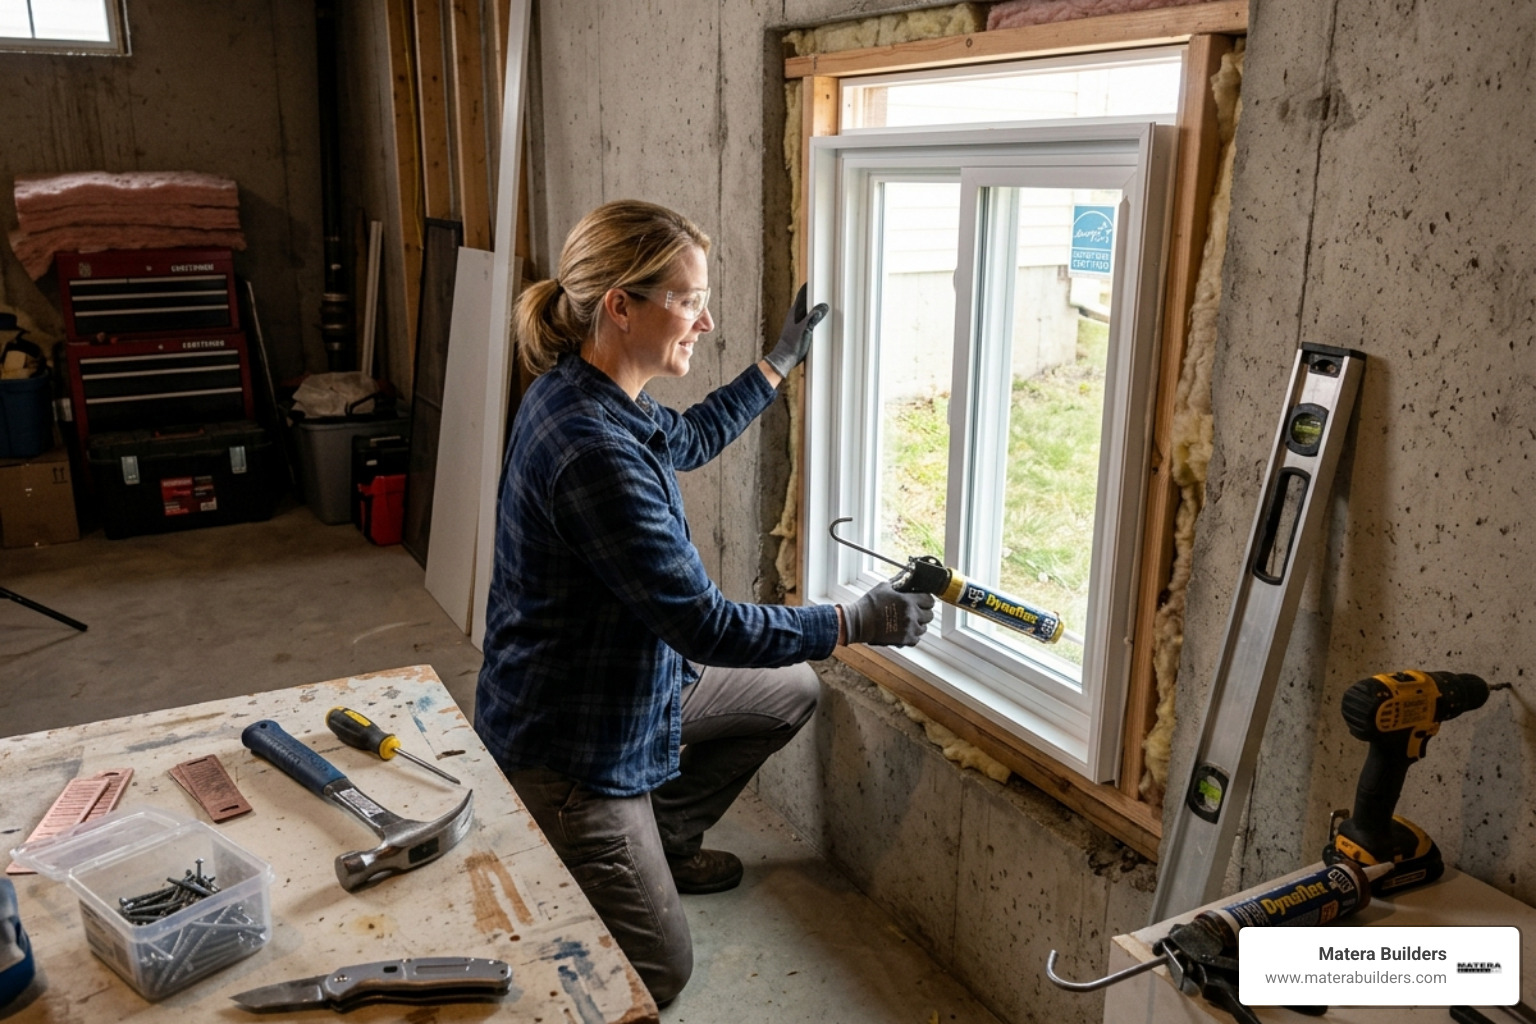
From the interior, we seal the gap around the window using low-expansion polyurethane foam.
Regular expanding foam can exert enough pressure to bow the window frame. Low-expansion foam fills the air gaps, blocks drafts, and provides excellent thermal insulation without distorting the frame.
Step 6: Exterior Sealant and Backer Rod
On the exterior, we install a foam backer rod into the gap between the window frame and the brick. We then apply a high-quality polyurethane sealant over the backer rod.
The backer rod is critical. It prevents three-sided adhesion, allowing the sealant to stretch and contract as temperatures change.
We leave small gaps in the sealant along the bottom sill. These gaps act as weep holes, allowing any trapped moisture to escape.
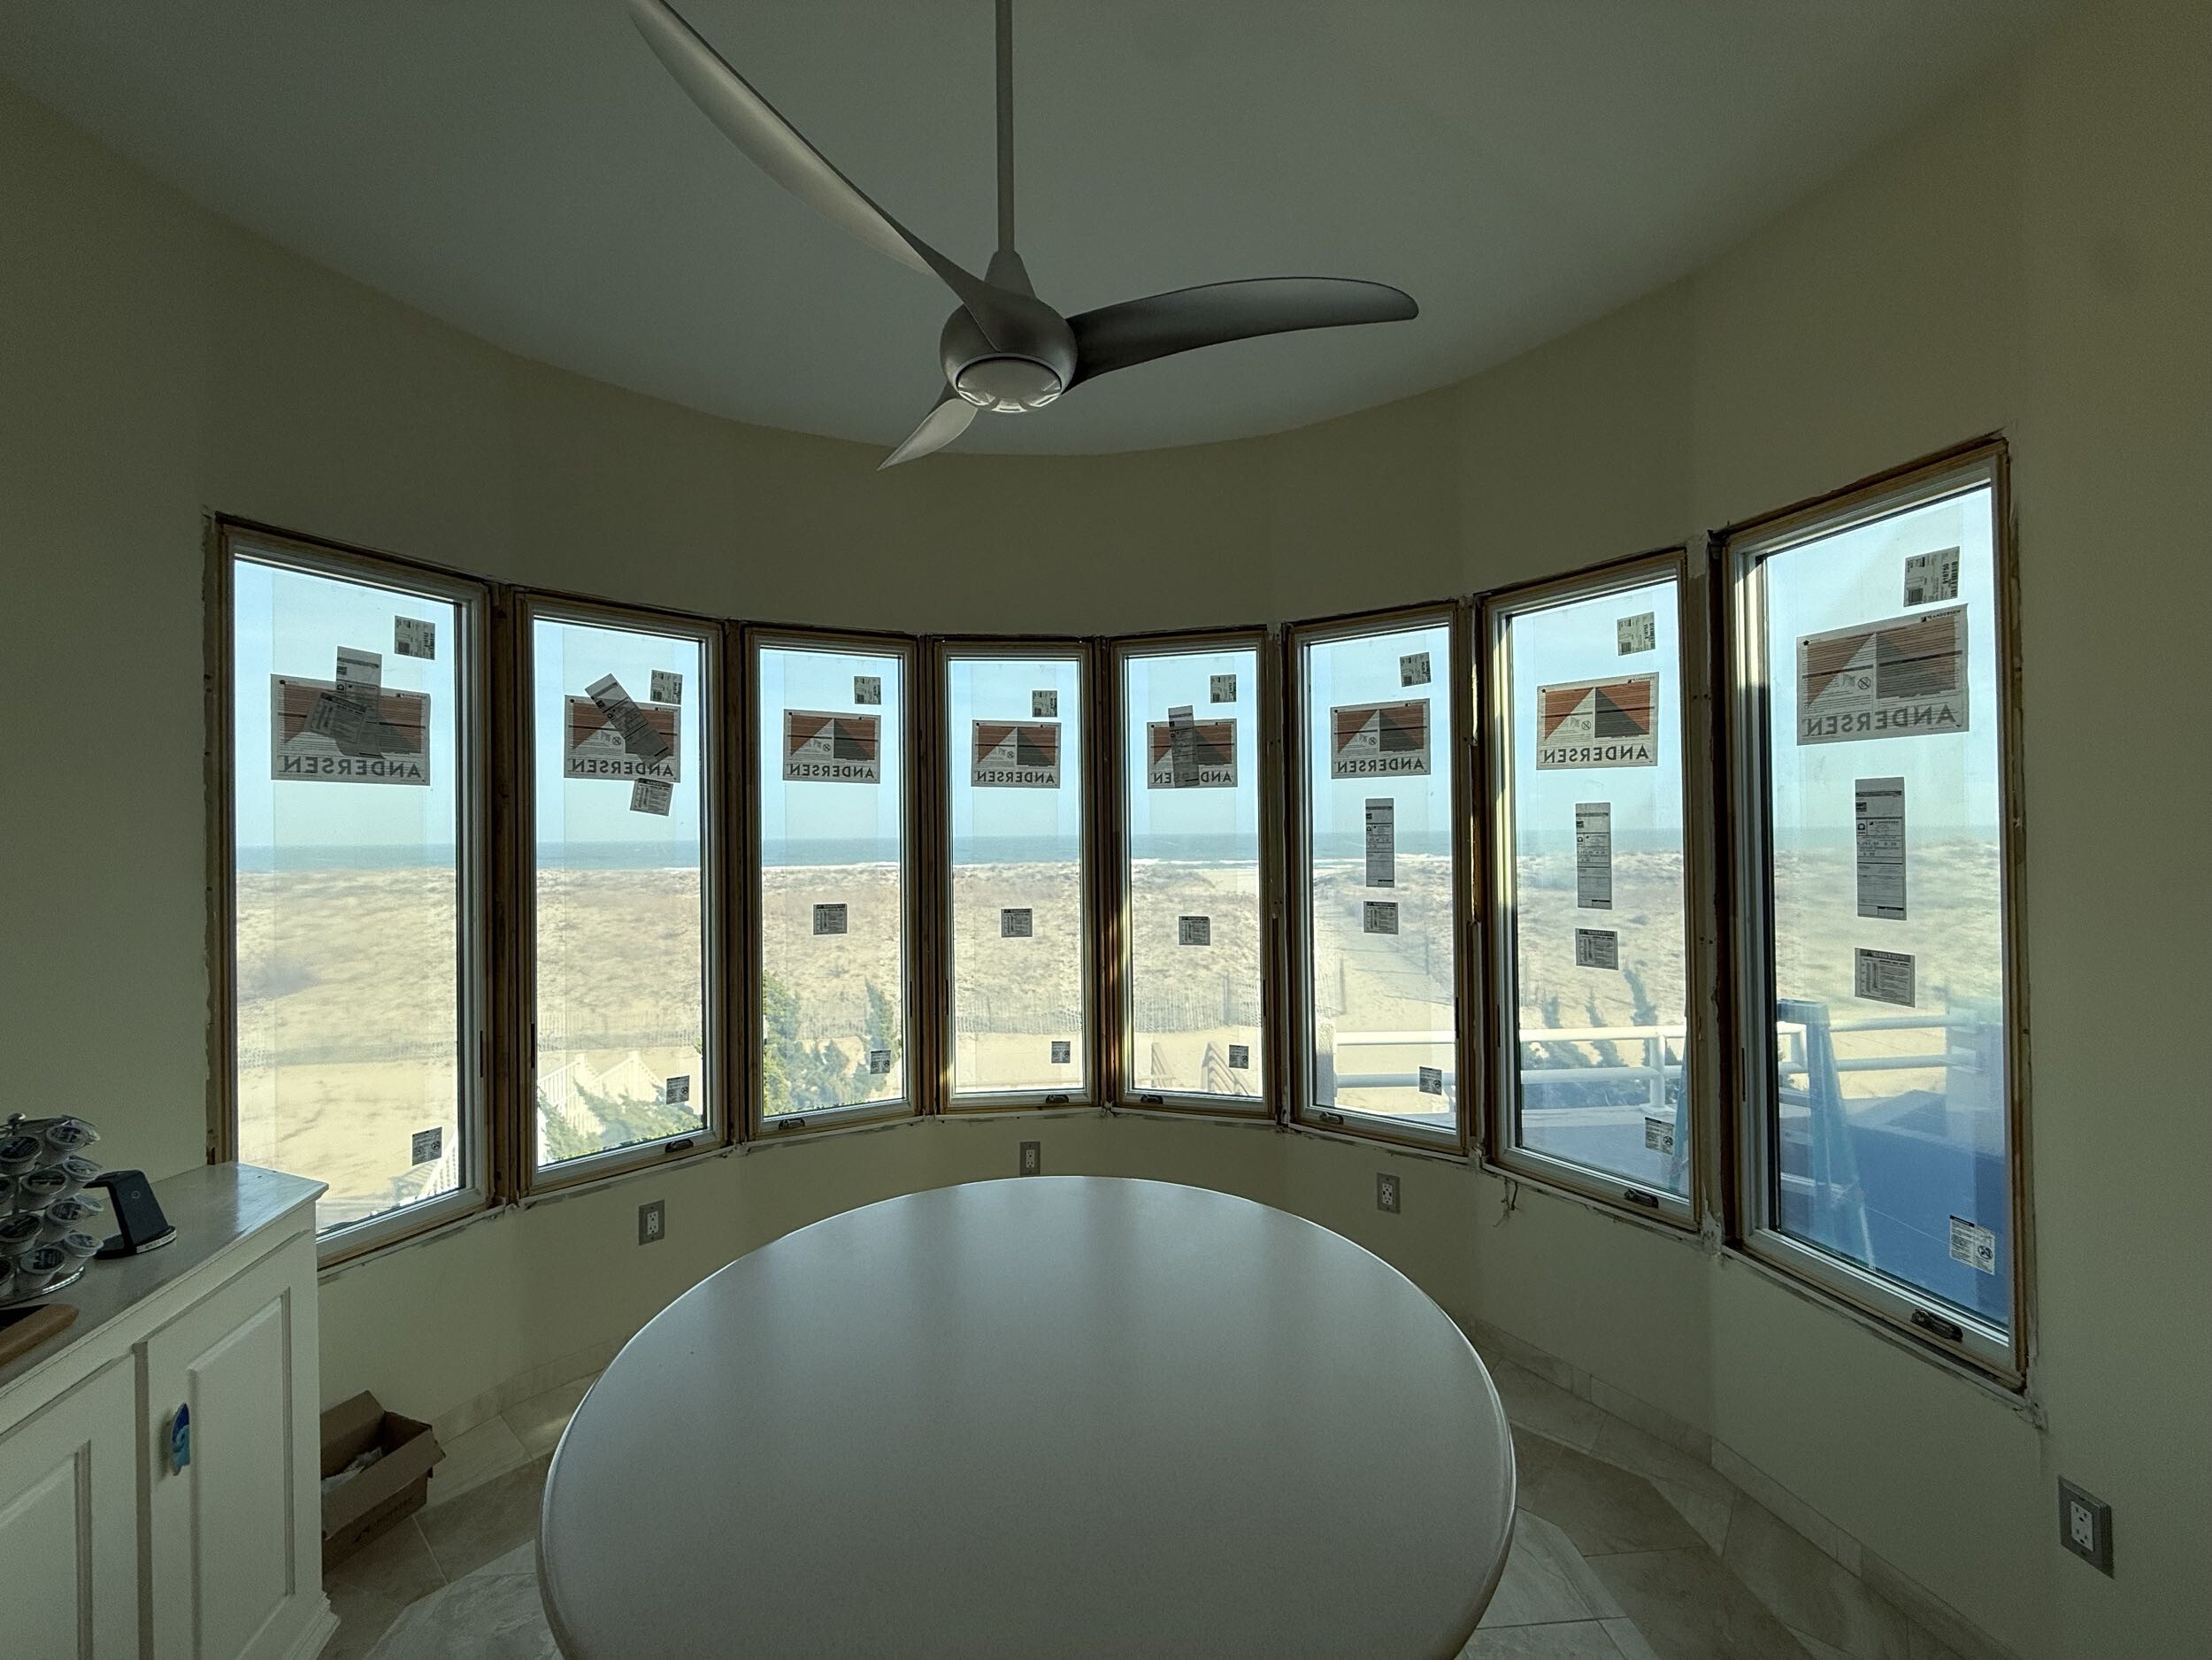
To see what a completed installation looks like, read our article on having replacement windows installed.
Frequently Asked Questions About Brick Window Installation
Do you have to remove brick to replace a window?
No. In almost all cases, you do not have to remove or cut the brick to replace a window.
We order custom-sized windows designed to fit your existing brick opening. The only time brick removal is necessary is if you want to install a significantly larger window than the original.
Can you use standard vinyl windows in a brick opening?
While you can use vinyl, we do not recommend it for brick homes, especially in coastal New Jersey.
Vinyl expands and contracts rapidly with temperature changes. Because brick is rigid, this movement can pinch the vinyl frame, causing it to bow, draft, or leak.
Fibrex frames from Andersen offer the rigidity of wood with the maintenance-free benefits of vinyl, making them the perfect choice for masonry openings.
How do you prevent water leaks after installation?
Water prevention relies on three things:
- A properly sloped sill pan to drain water outward
- High-quality sealant applied over a foam backer rod
- Keeping the bottom exterior weep holes clear
If you seal the bottom of the window completely, you will trap water inside the brick cavity, which will eventually rot your walls.
Conclusion
Installing replacement windows in a brick home is a highly technical task. It requires a deep understanding of water management, masonry behavior, and structural integrity.
A single mistake in flashing or measuring can lead to hidden rot and costly structural repairs.
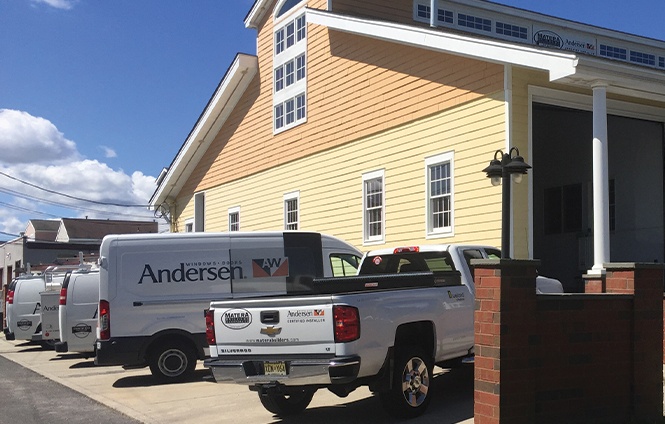
At Matera Builders, we've brought local building experience to every project since 1988. Led by Mike Werner, our team installs high-performance Andersen Windows as an Andersen Elite Certified Contractor.
We understand the unique challenges of coastal New Jersey weather. We know how to keep your home dry, comfortable, and beautiful for decades to come.
If you are ready to upgrade to energy efficient windows, do not take chances with a standard window swap. Trust a specialized window replacement contractor.
Contact us today to schedule your professional window assessment. Let us help you protect your home with a perfect brick window installation.
To get started, visit our Matera Builders Windows page.





.jpg)
.jpg)