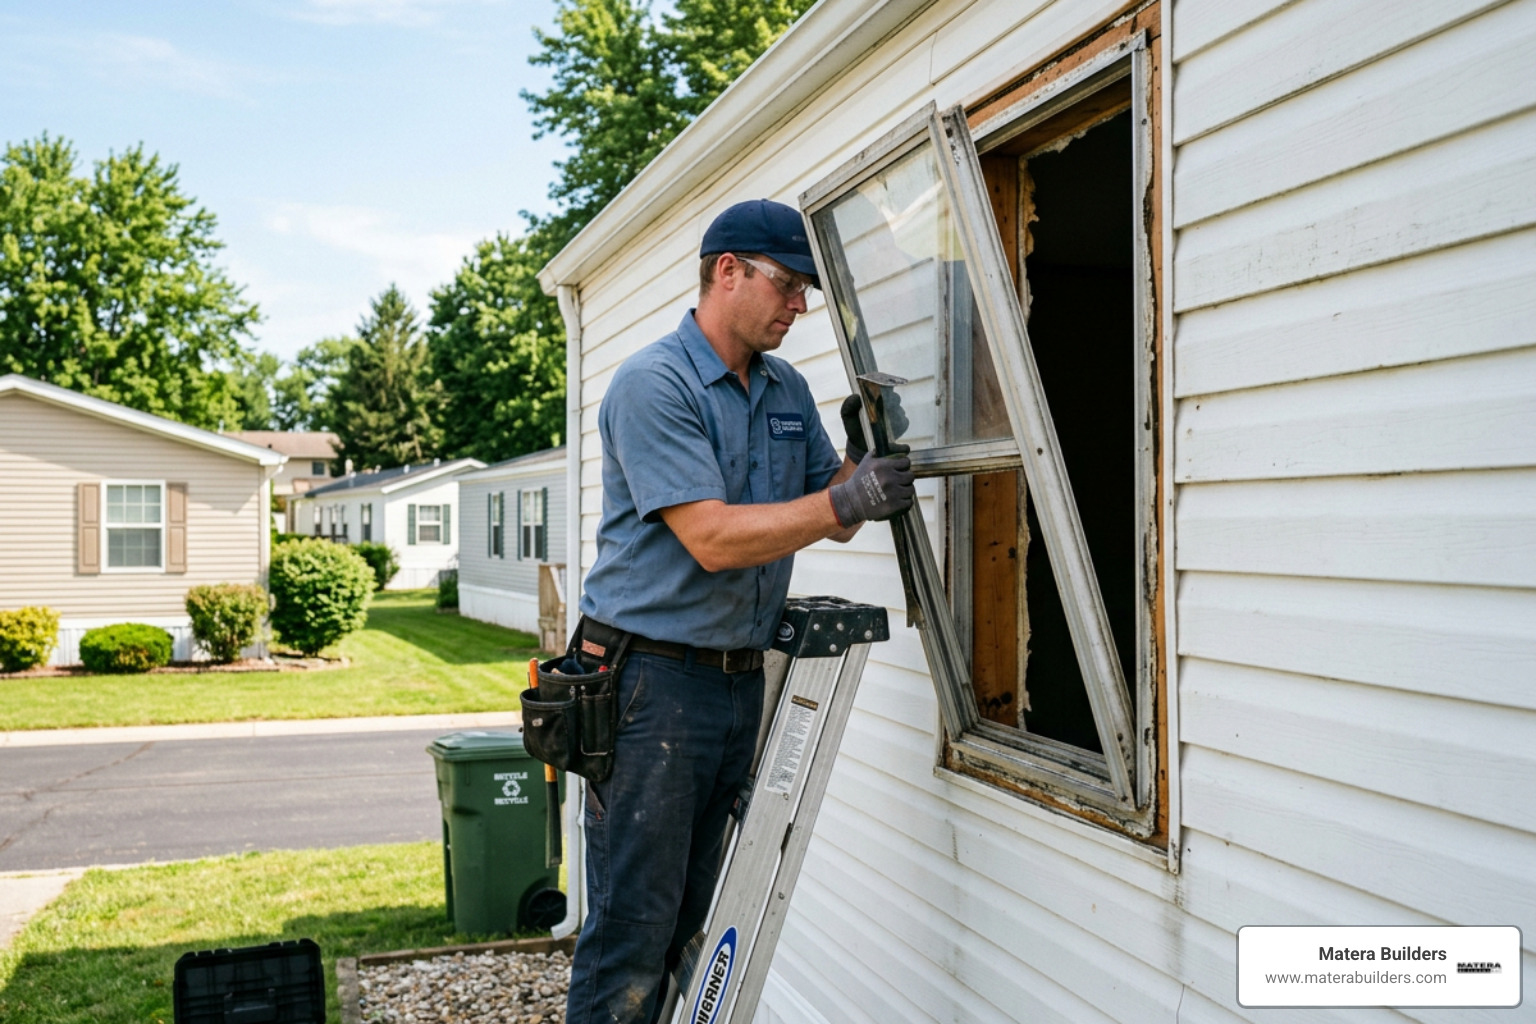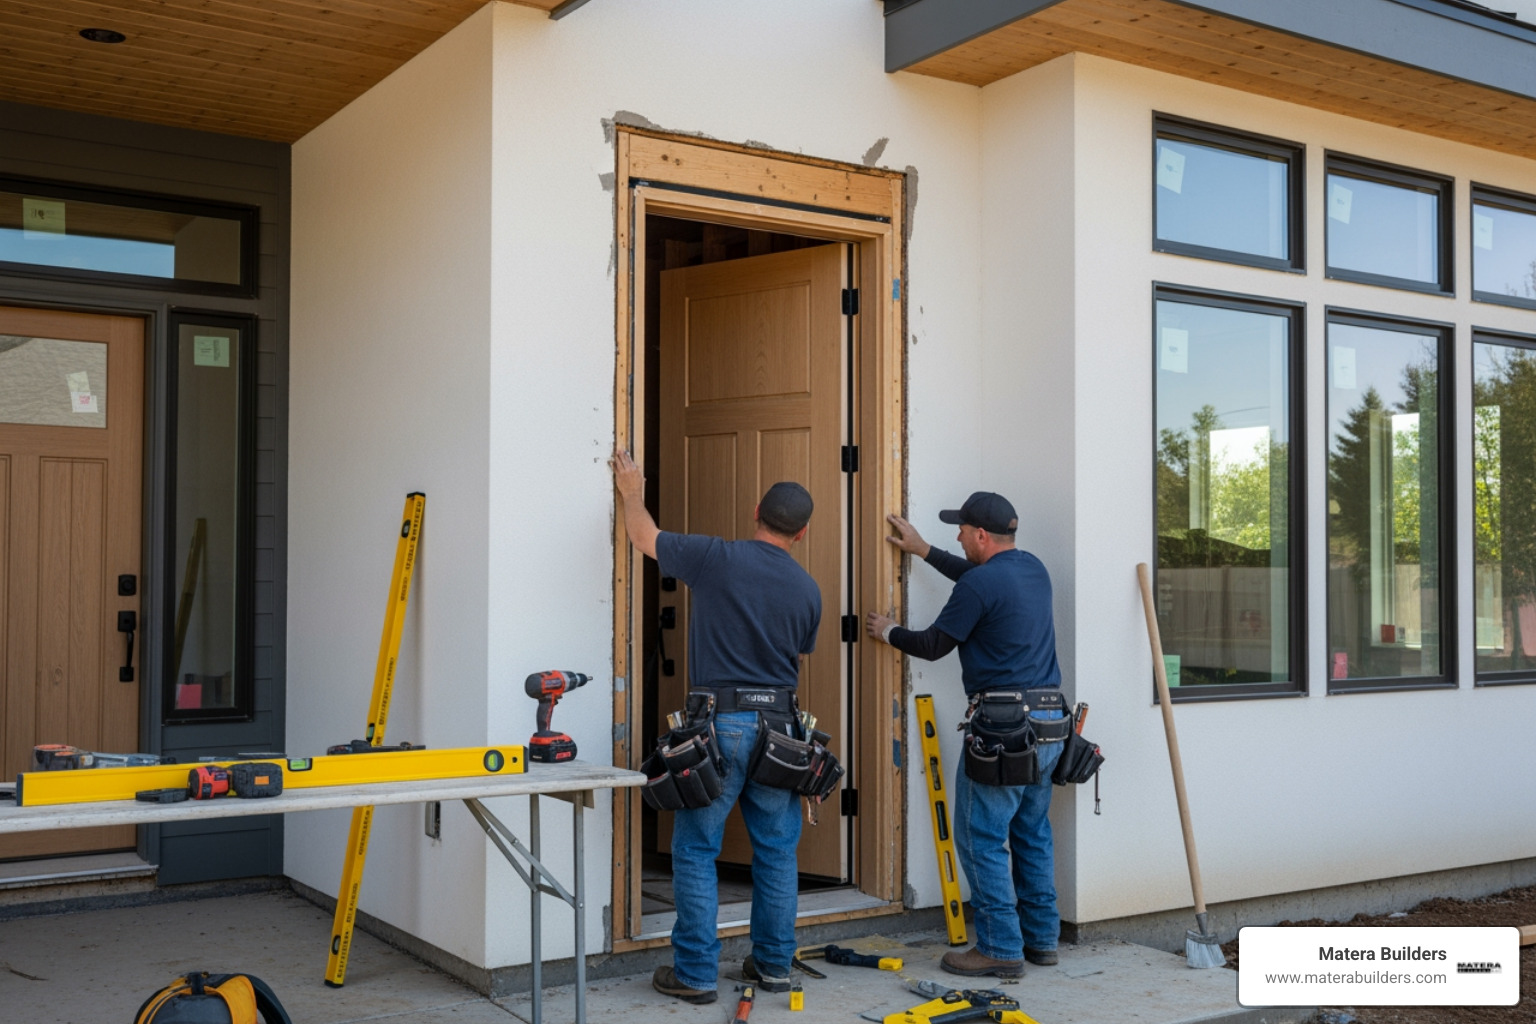

Why Proper Flanged Window Installation Prevents Costly Water Damage
Installing vinyl windows with a nailing flange the right way is one of the most important steps in protecting your home from water intrusion, drafts, and rising energy bills.
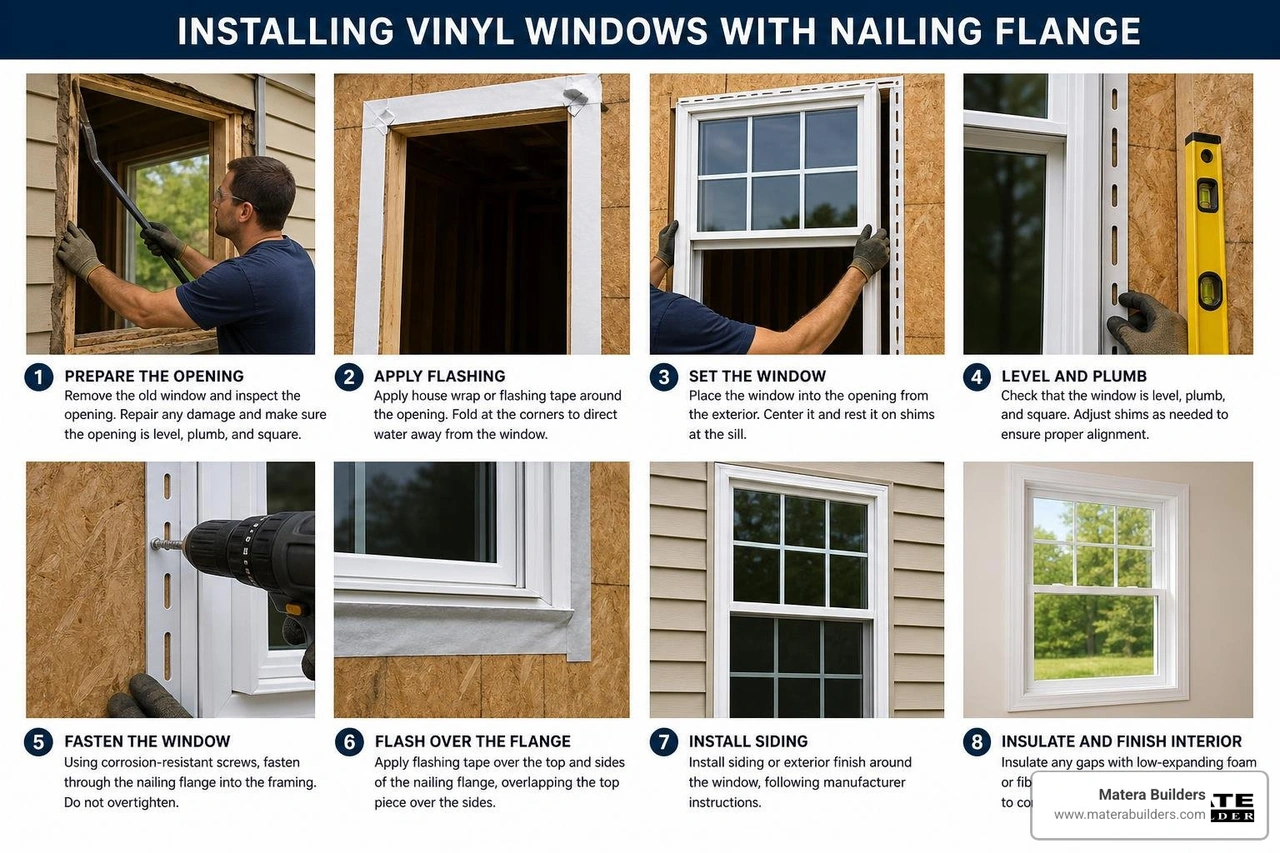
Here is a quick overview of the key steps:
- Size the rough opening correctly - The opening should be 1/2" to 5/8" larger than the window in both width and height.
- Flash the sill first - Apply self-adhesive flashing to the sill before the window goes in, with at least 2" visible below the nailing fin.
- Set the window level, plumb, and square - Shim the sill near the exterior edge, no more than 24" apart.
- Fasten through the nailing fin - Use corrosion-resistant screws or roofing nails, starting 3"-7" from corners, spaced 8"-12" apart depending on performance grade.
- Seal the sides and top, not the bottom - Run a 3/8" continuous sealant bead on the jambs and head. Leave gaps at the sill for drainage.
- Flash in shingle order - Sill first, then jambs, then head, so water always sheds outward.
Skipping or rushing any of these steps can lead to serious problems: water pooling behind the flange, rot in the framing, or window failure in the first coastal storm.
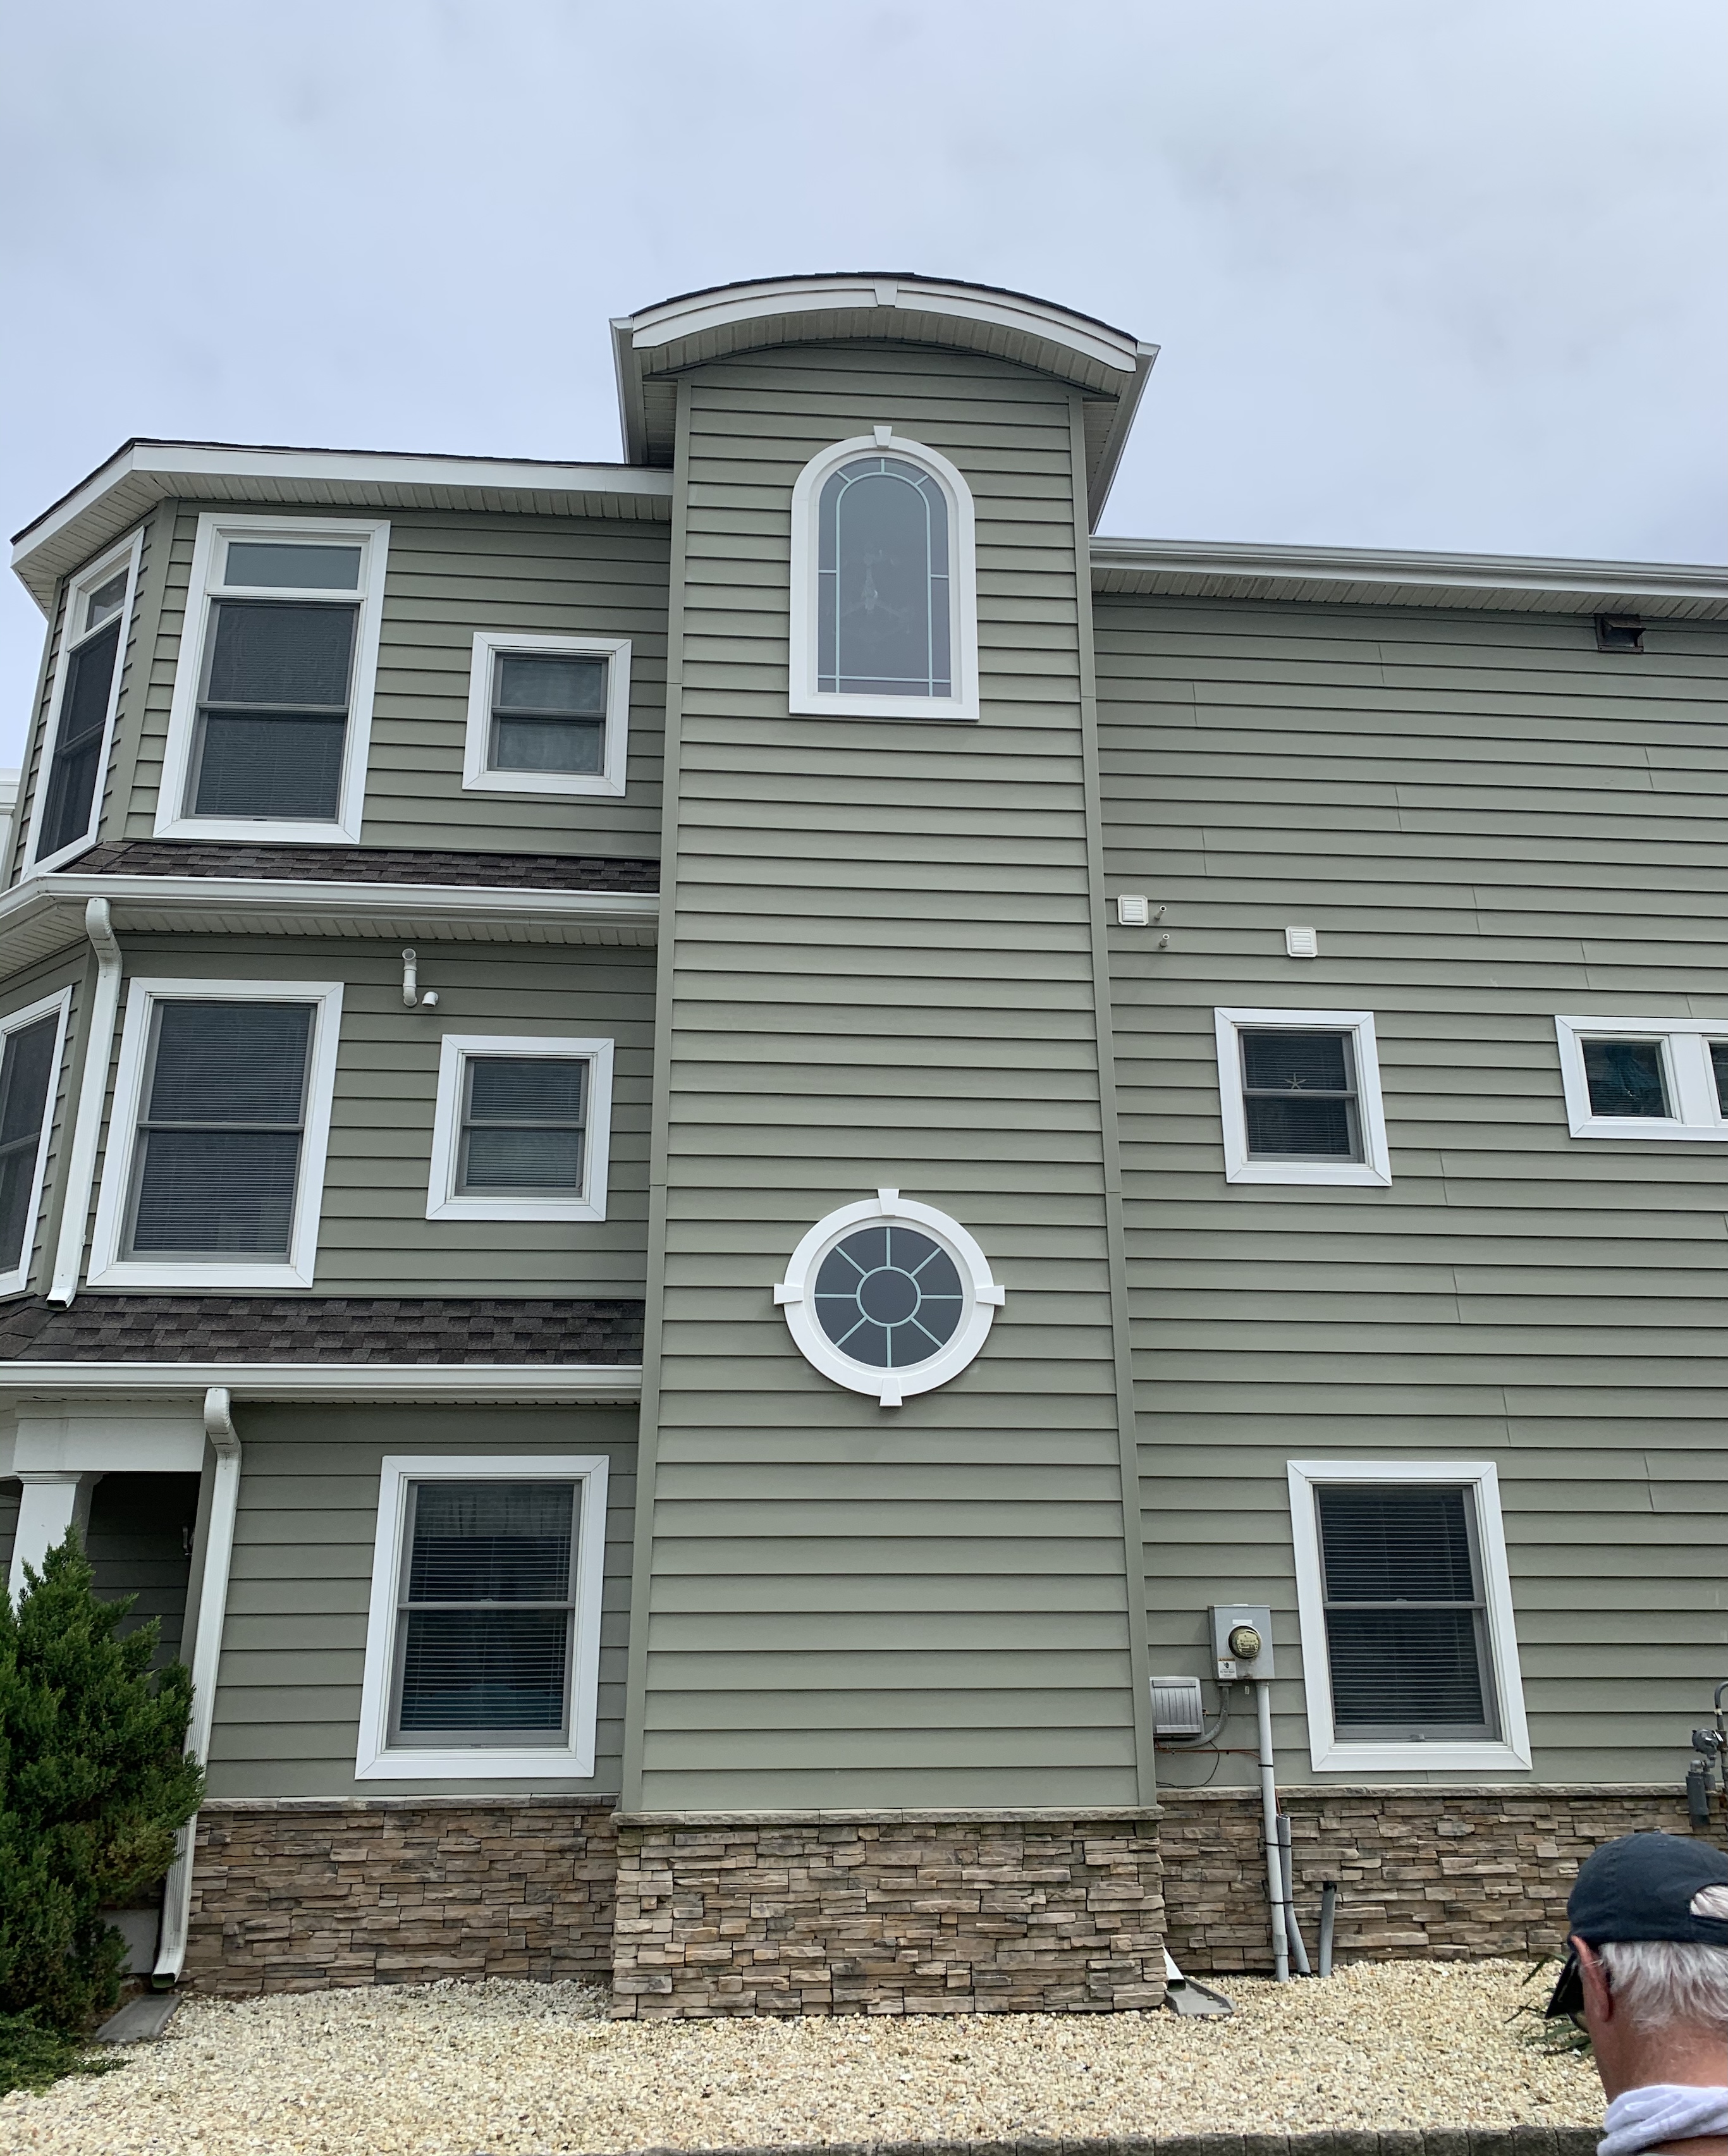
For homeowners in New Jersey, this is not a small risk. Salt air, heavy rain, and wind-driven moisture along the Jersey Shore put every installation detail to the test. A window that looks fine from the inside can be leaking behind the wall for months before you notice the damage.
I'm Mike Werner, owner of Matera Builders, a premium exterior renovation contractor serving NJ homeowners with a focus on high-performance window systems, including installing vinyl windows with nailing flange in coastal and high-humidity environments. My team works to manufacturer specifications on every job, because in coastal markets, there is no margin for shortcuts.

Simple guide to installing vinyl windows with nailing flange:
- average cost to install vinyl windows
- cost of vinyl replacement windows installed
- installing a new construction window in an existing home
Understanding Nailing Fins: Integral vs. Non-Integral
Before we grab our hammers and drills, we need to look at the window frame itself. A nailing fin, or nailing flange, is a thin strip that runs along the exterior edges of the window frame. It has pre-punched holes for fasteners. Its job is to hold the window securely against the sheathing while providing a flat surface to seal against water.
Vinyl windows typically come with one of two types of nailing flanges: integral or non-integral.
An integral nailing fin is extruded as part of the vinyl frame. It is one solid piece of vinyl. The corners are welded together at the factory. This creates a continuous, unbroken barrier around the entire window. If you want a frame that is completely sealed at the corners right out of the box, integral fins are the standard. They are common in new construction.
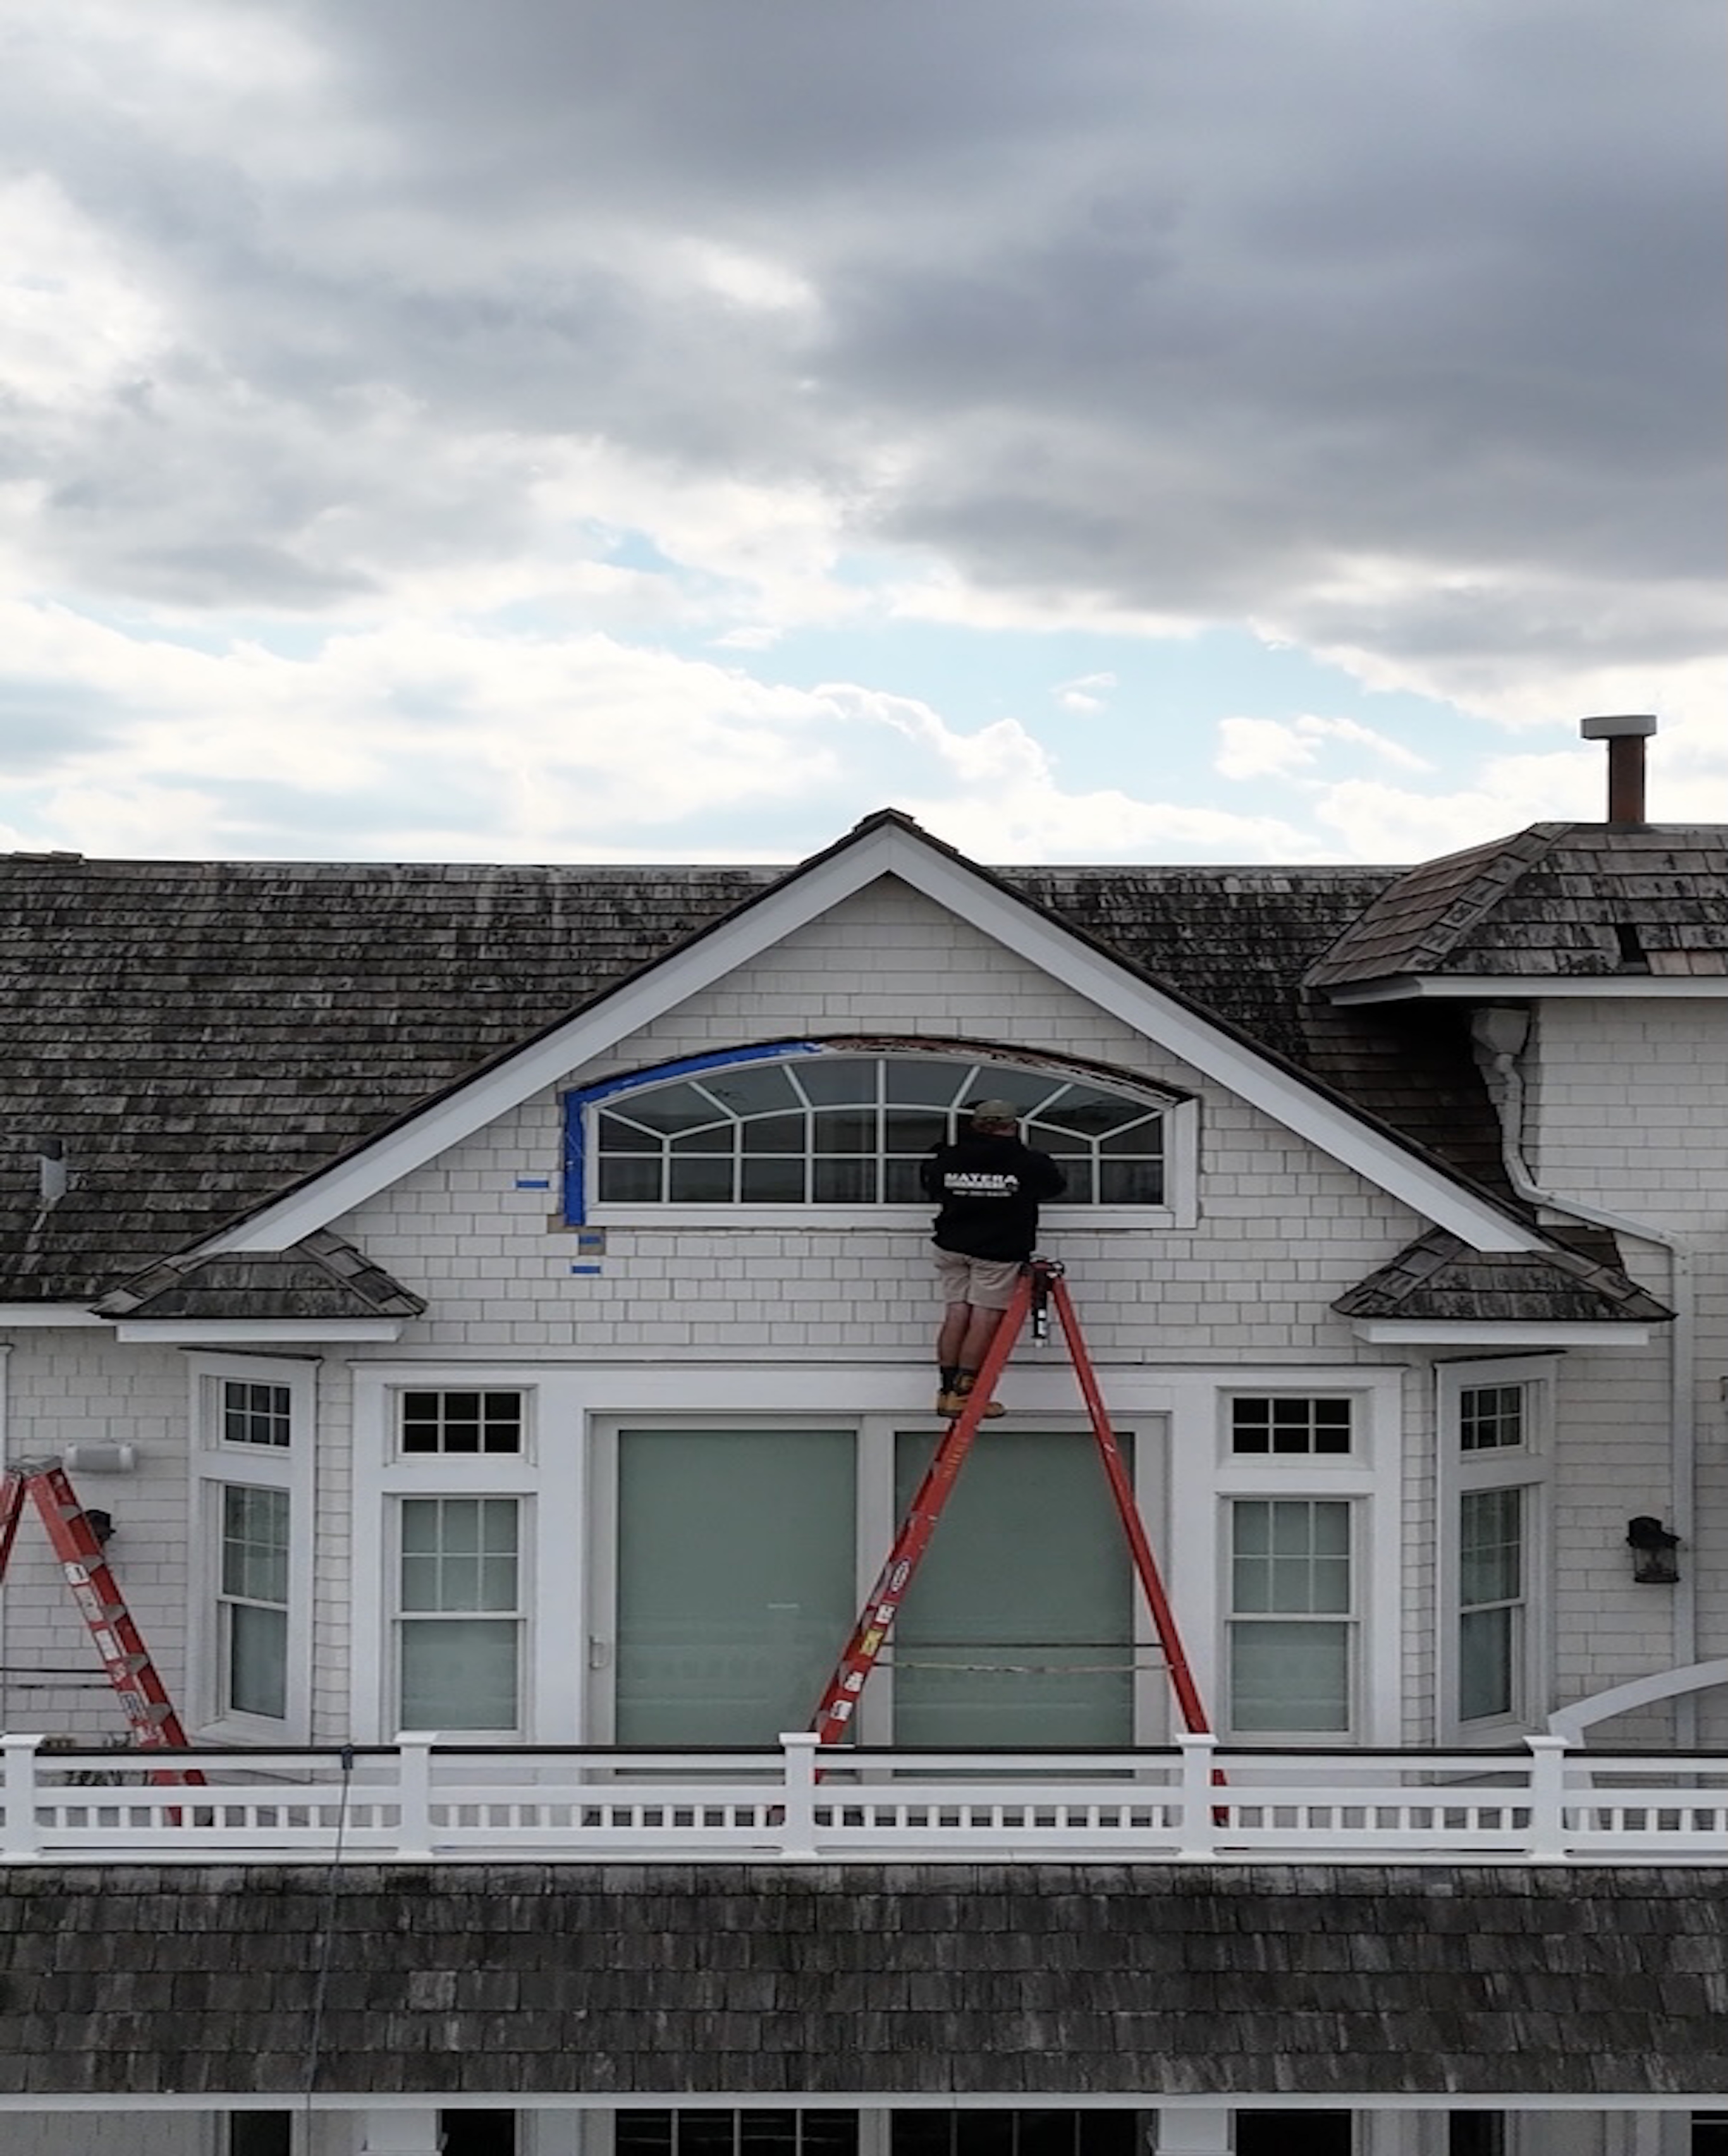
A non-integral nailing fin is a separate piece. It is added to the frame during assembly. It can be made of vinyl, metal, or other materials. These fins often fold flat. This makes the windows easier to ship and store. It also allows installers to push the window through the rough opening from the inside of the house. This is very helpful when fitting new windows on the second or third floor of a coastal home.
However, non-integral fins require extra care. Because they are not welded at the corners, you must seal the joint where the fin connects to the window frame. This prevents water from slipping through the gaps.
Vinyl expands and contracts with changing temperatures. In New Jersey, we experience freezing winters and hot, humid summers. This thermal movement puts stress on the window. If the window is pinned too tightly, the vinyl can warp or crack.
Key differences between integral and non-integral nailing fins:
- Material structure: Integral nailing fins are extruded as a single piece with the vinyl frame. Non-integral nailing fins are separate strips attached to the frame.
- Corner seams: Integral fins are welded solid at the factory. Non-integral fins have open seams that require manual flashing tape.
- Shipping and handling: Integral fins are rigid and fixed, so they require more space. Non-integral fins are often foldable, which makes them easier to transport.
- Thermal expansion: Integral fins have a rigid structure and require precise fastening to avoid warping. Non-integral fins offer slightly more flexibility during home settling.
For more details on alternative window styles, see this discussion on nail fin vs. no nail fin.
Preparing the Rough Opening for Installing Vinyl Windows with Nailing Flange
A great window is only as good as the opening it sits in. If the rough opening is the wrong size, out of plumb, or not square, the window will not perform correctly.
The rough opening must be slightly larger than the window frame. This provides room for shimming, insulation, and the natural movement of your home. The standard clearance is 1/2 inch to 5/8 inch larger than the window width and height. If you are installing a mulled unit, which is two or more windows joined together, the opening should be 3/4 inch wider.
Before you put the window in, you must check the opening for squareness, level, and plumb.
To check for square, measure the opening diagonally from corner to corner. Measure from the top-left corner to the bottom-right, and then from the top-right to the bottom-left. The two measurements should be nearly identical. The maximum allowable deviation from square is 1/8 inch for windows 20 square feet and smaller. For larger windows, the limit is 1/4 inch.
Next, check for level and plumb. The maximum allowed deviation is 1/16 inch per 2 feet of opening, and it should never exceed 1/8 inch overall. If the opening is tilted, the window sash will bind, and the weatherstripping will not seal out the wind.

If you are replacing a window on an older home, you can learn more about the process by reading about installing a new construction window in an existing home.
Preparing the Sill and Weather-Resistant Barrier (WRB)
Water always finds a way down. That is why the sill of your rough opening needs the highest level of protection. We must create a sloped sill pan to direct any water that gets past the window back to the outside.
We start by modifying the sill to have a positive slope toward the exterior. You can do this by installing a piece of cedar bevel siding across the bottom of the rough opening. This creates a gentle 5-degree slope.
Next, we integrate the weather-resistant barrier, or building wrap. Cut the WRB at the window opening. Fold the sides and the bottom flap into the rough opening and staple them to the framing. At the top of the window, make a diagonal cut at each corner to create a flap. Fold this flap up and tape it temporarily out of the way.
Now, we apply the sill flashing. Use a high-quality, self-adhesive flashing tape. This tape must be wide enough to cover the sill and wrap down over the building wrap on the exterior wall. It should extend at least 2 inches below where the bottom nailing fin will sit.
Press the tape firmly into the corners of the sill. Run the flashing tape 6 inches up each side of the jambs. To ensure a tight seal, use a hand roller to press the tape down. This activates the pressure-sensitive adhesive. If you have pinholes in the corners, apply small, bowtie-shaped pieces of flashing tape to seal them.
This method aligns with standard building science and INSTALLATION INSTRUCTIONS for Vinyl Windows with Integral Nailing Fin (JII001).
Step-by-Step Installation Process
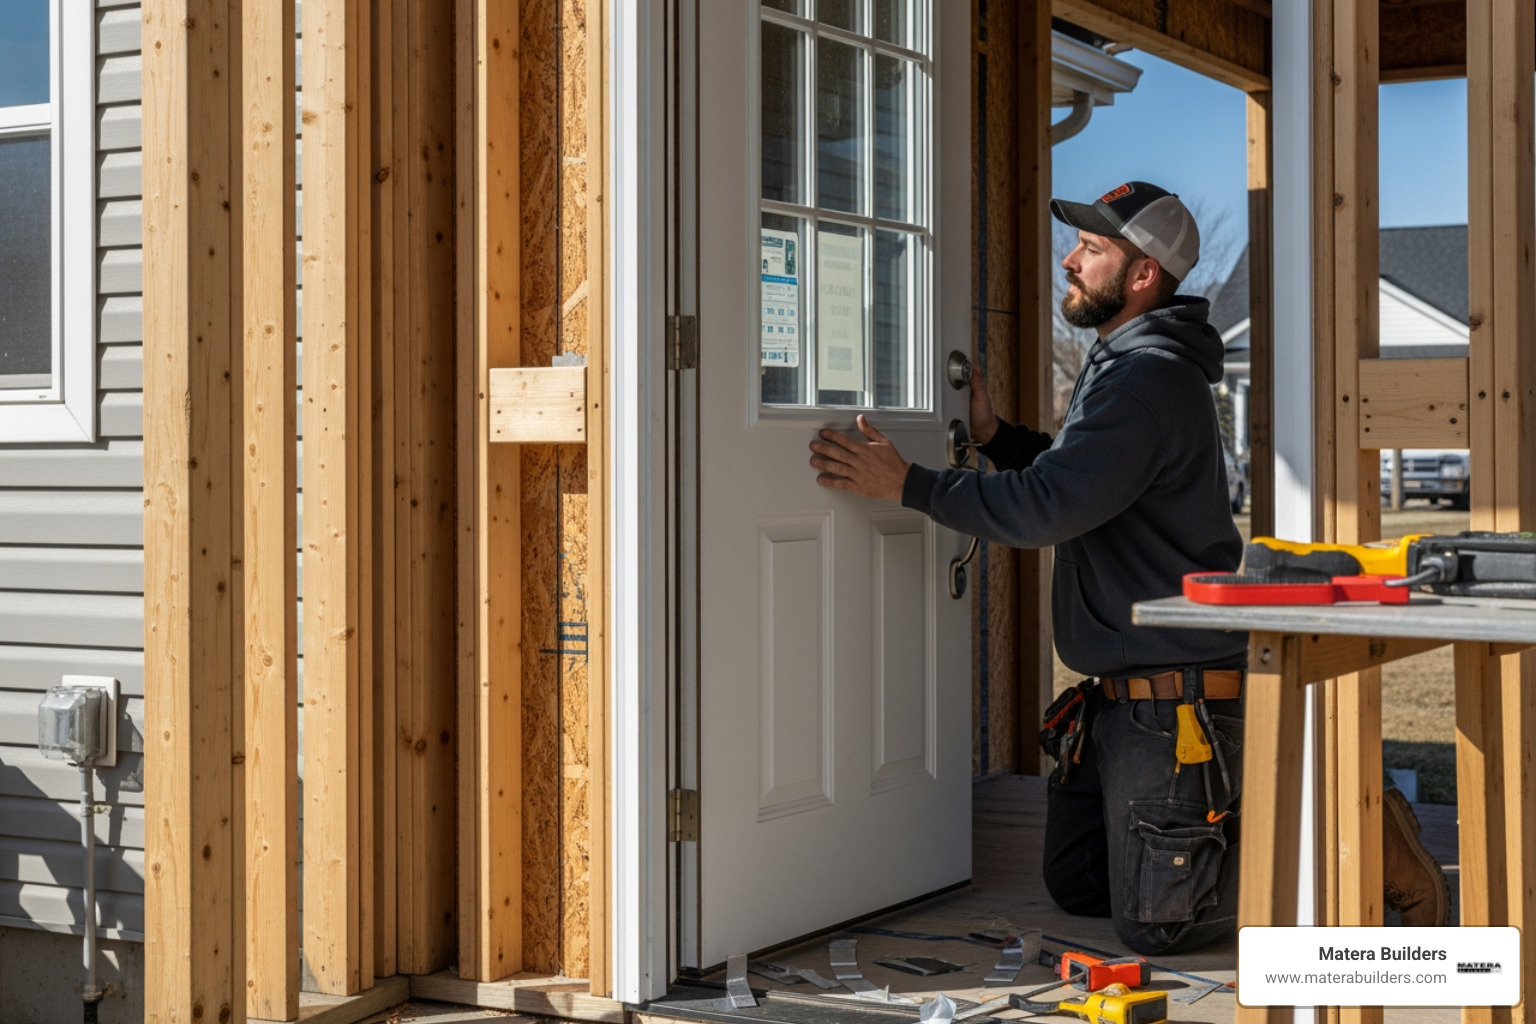
Once the rough opening is clean, flashed, and verified, we are ready to install the window.
First, do a dry fit. Lift the window into the opening without any sealant. Check how it fits. Verify that you have a consistent 1/4 inch to 3/8 inch gap around the entire frame. This gap is necessary for expansion. Remove the window and set it aside safely on a clean surface.
Now, place shims on the sill. Use durable plastic shims that will not compress or rot over time. Place the shims near the exterior edge of the sill. Position them 1 inch from each side corner, and space them no more than 24 inches apart. If your window has a center mullion or meeting rail, place a shim directly underneath it for support.
For more information on costs, you can read our guide on the average cost to install vinyl windows.
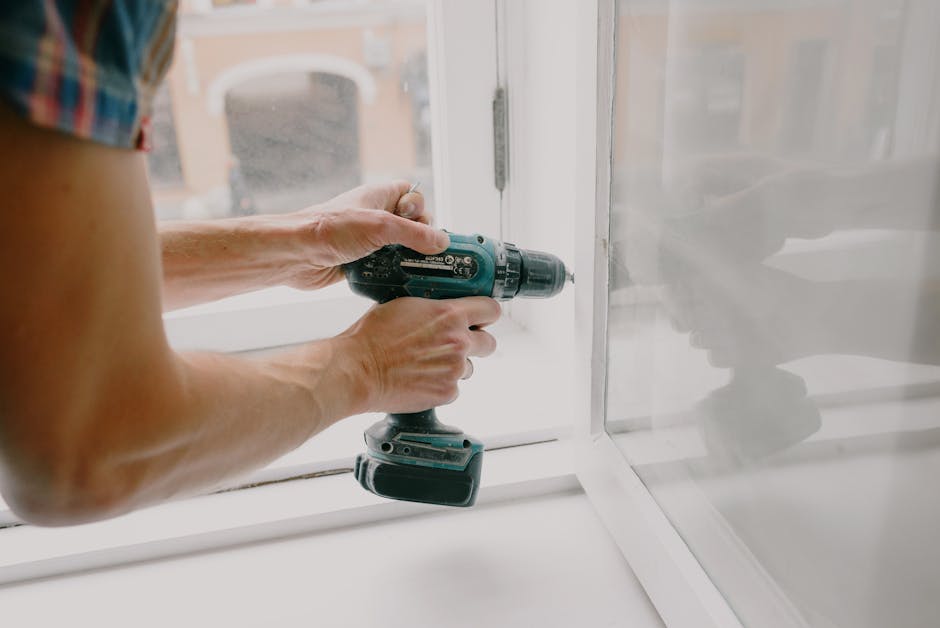
Fastening and Installing Vinyl Windows with Nailing Flange
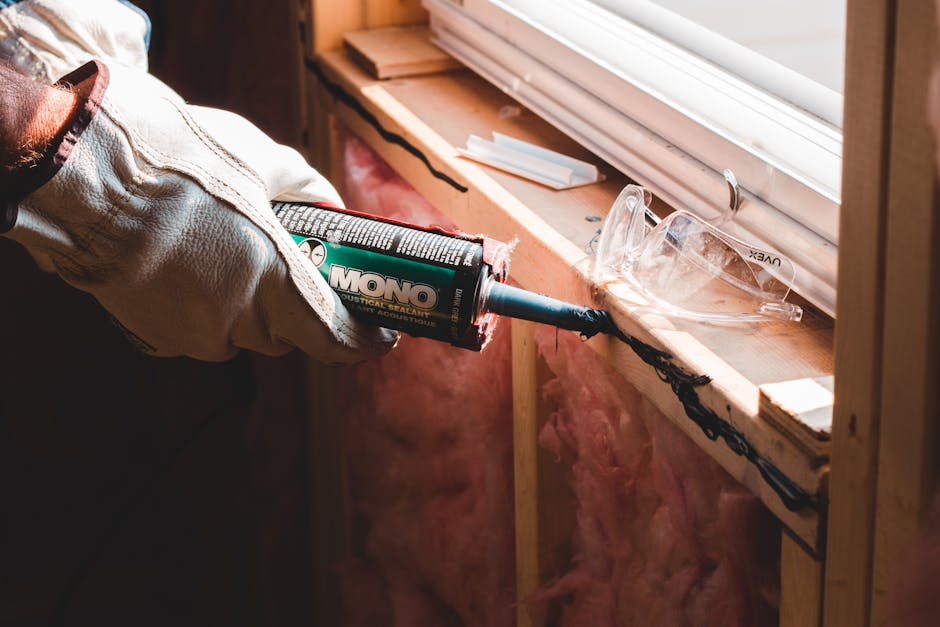
Now we apply the sealant. Run a continuous 3/8 inch bead of high-quality, exterior-grade sealant around the backside of the nailing flange. Apply this bead along the top and the two side flanges, aligning it with the pre-punched fastener holes.
Do not apply a continuous bead of sealant to the bottom flange. If you seal the bottom flange completely, any water that gets into the sill pan will be trapped. Instead, leave 2-inch gaps in the sealant bead at the bottom to allow water to drain out.
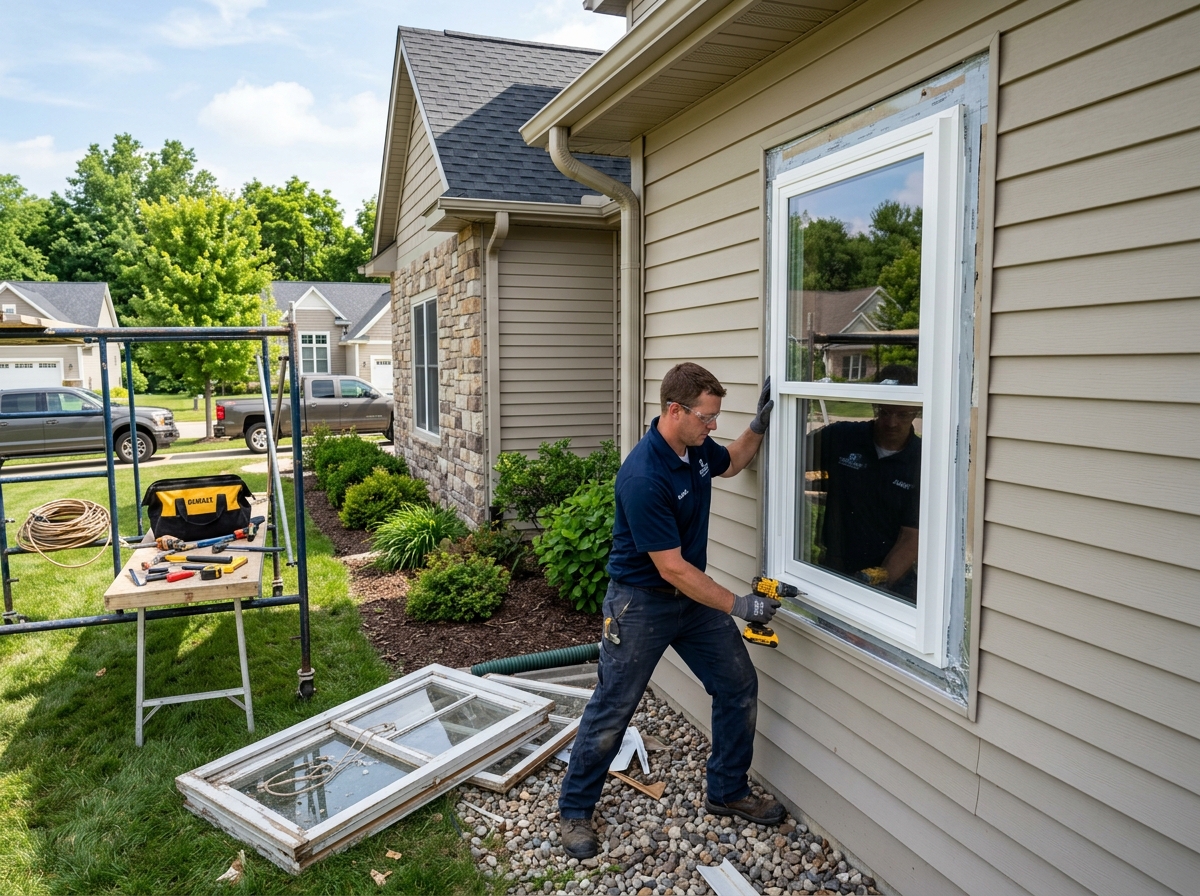
With the help of a partner, lift the window and place the sill into the opening first. Pivot the window upright into place. Press the flanges firmly against the sheathing to squeeze the sealant.
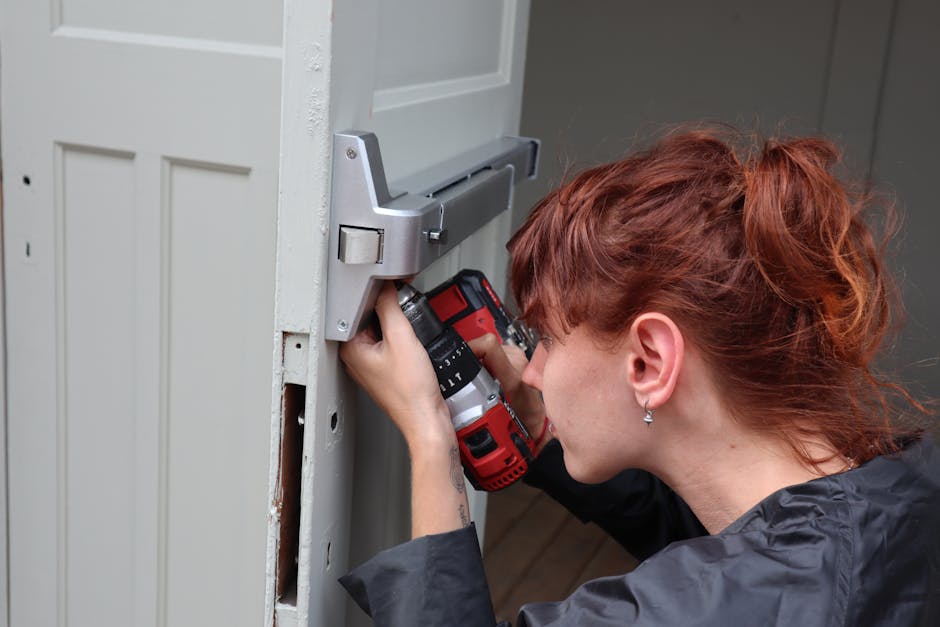
Have your partner hold the window while you insert a fastener through the nailing flange near one of the top corners. Do not drive it completely tight yet.
Check the window for level, plumb, and square. Adjust your shims as needed. Once the window is perfectly aligned, place another fastener in the opposite corner.
We recommend using corrosion-resistant screws, such as 1.5-inch lath screws, rather than roofing nails. Screws offer better holding strength in coastal winds. They also allow you to make small adjustments later without risking damage from a hammer blow. All fasteners must penetrate the structural framing members by at least 1 to 1-1/4 inches.
Fasten through the nailing flange starting 3 to 7 inches from the corners. Space your fasteners 8 to 12 inches apart along the top and sides, depending on the performance grade of your window. For standard residential installations, fastening every other pre-punched hole is sufficient. For impact-rated windows in high-wind zones, you must place a fastener in every single hole.
For further reference on installation steps, check the Installation Instructions.
Sealing and Flashing After Installing Vinyl Windows with Nailing Flange
Now that the window is fastened, we must seal the exterior flanges. We apply flashing tape in a specific sequence to create a shingle effect. This ensures that water running down the wall always flows over the tape, not under it.

First, apply flashing tape over the side flanges. The tape should start at the top of the side flange and extend at least 2 inches below the bottom of the sill flashing. Press it down firmly with your roller.
Second, apply flashing tape over the top flange. This piece of tape must extend at least 2 inches beyond the outer edges of the side flashing tape on both sides.
Third, release the top flap of the building wrap that you folded up earlier. Fold it down over the top flashing tape. Secure it with flashing tape along the diagonal cuts, but leave the bottom edge of the flap un-taped or skip-taped. This allows any water that gets behind the building wrap above the window to escape.
Never apply flashing tape over the bottom nailing flange. The bottom must remain open so that the sill pan can drain freely to the exterior. Ensure that the window's built-in weep holes are clear of sealant and debris.
For more details on integrating windows with advanced housewraps, read about Installing a Nail-Fin Window Over Peel-and-Stick Housewrap | Pella.
Common Mistakes and Troubleshooting in Coastal NJ Installations
Coastal New Jersey homes face harsh weather. High winds, driving rain, and salt air can easily expose poor installation work.
Here are the most common mistakes we see:
- Sealing the bottom flange completely: This is the most common error. It traps water inside the wall framing, leading to rot and mold. Always leave the bottom flange unsealed and un-flashed.
- Over-tightening the fasteners: Driving screws or nails too tight against the vinyl flange will distort the frame. This prevents the sash from sliding smoothly and can cause the vinyl to crack during temperature changes. Leave a tiny gap between the fastener head and the flange.
- Using cheap, non-corrosive fasteners: Standard steel nails or screws will rust quickly in the salty air of Ocean City or the Jersey Shore. Always use hot-dip galvanized nails or high-grade stainless steel screws.
- Skipping the roller: Simply pressing flashing tape down with your hand is not enough. You must use a roller to create a permanent, watertight bond.
- Failing to check for square during fastening: It is easy to pull a window out of square as you drive screws. Keep checking the diagonals and the operation of the sash as you work.
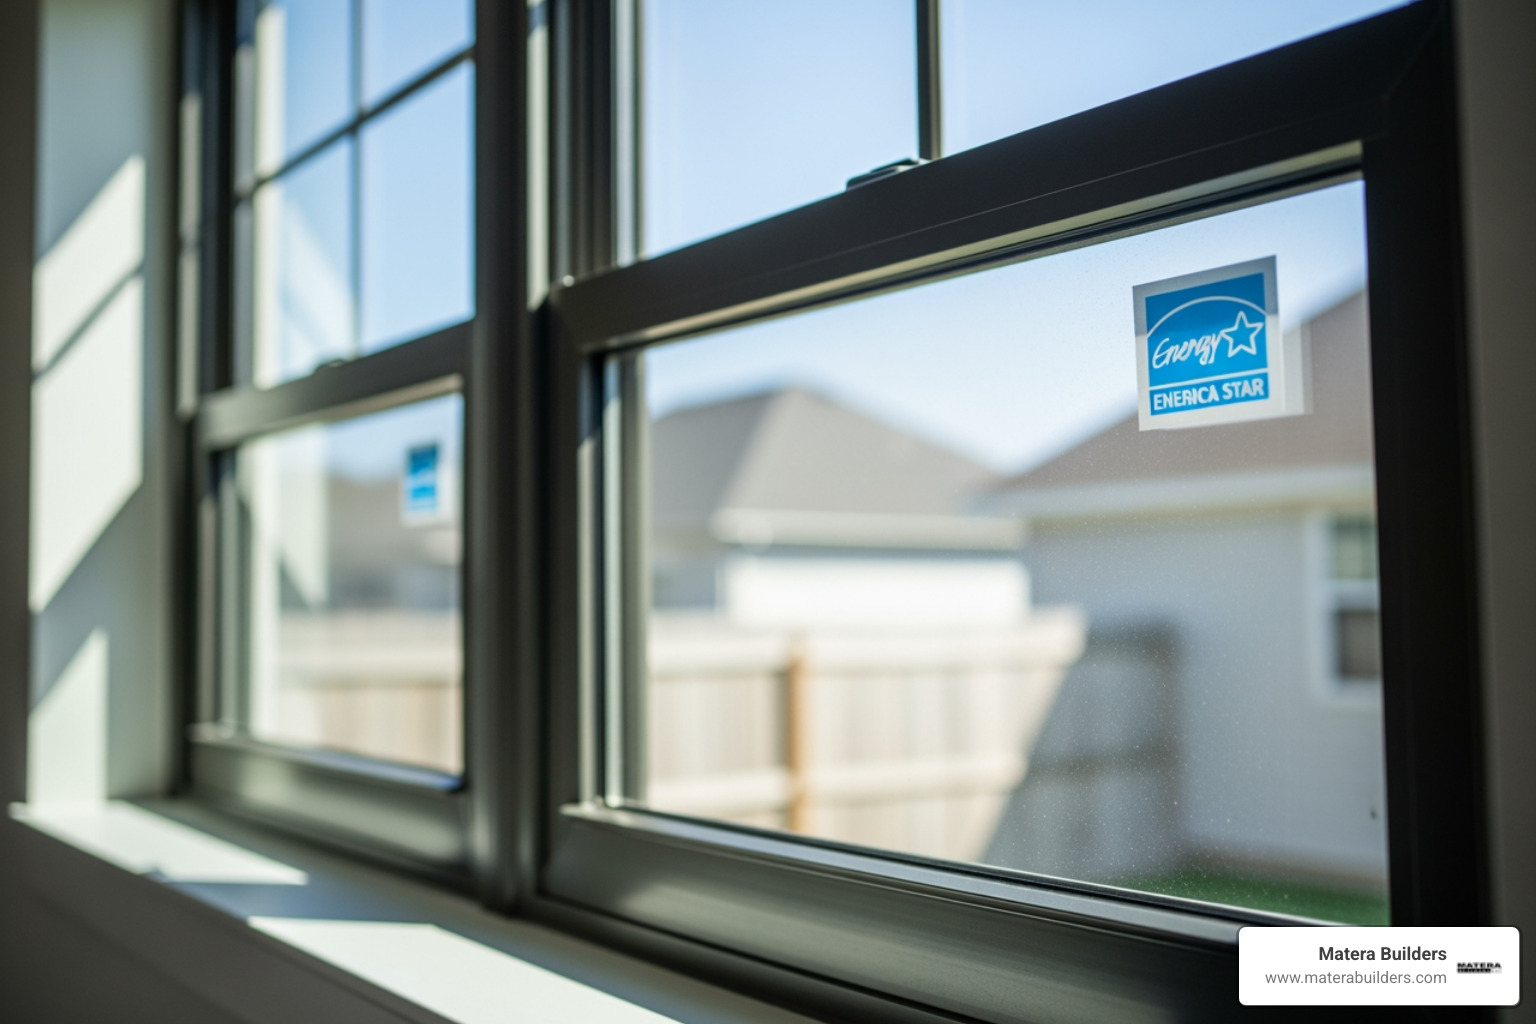
If you are planning an upgrade to improve your home's efficiency, you can read more about energy efficient window upgrades.
Frequently Asked Questions about Flanged Window Installation
Should you nail the top flange of a vinyl window?
Yes, but with caution. In standard new construction, the top flange should be fastened to keep the window secure against wind loads. However, some builders in areas with high structural movement suggest leaving the top flange un-nailed or using slotted holes. This prevents the window frame from cracking if the header settles.
If you do fasten the top flange, ensure the fasteners are centered in the slots and not driven too tight. This allows the frame to slide slightly as the house settles.
Can you use screws instead of nails for nailing flanges?
Yes, screws are often the better choice. We prefer using 1-1/2 inch corrosion-resistant lath screws with a flat washer head. Screws provide superior holding power against wind-driven forces. They also allow you to back out the fastener easily if you need to adjust the window's position.
Using a hammer near a vinyl window carries the risk of slipping and cracking the vinyl frame or breaking the glass.
How do you fix an undersized rough opening for a flanged window?
If your rough opening is slightly too small, you have a few options:
- Trim the framing: If you only need a fraction of an inch, you can shave down the jack studs using a planer or circular saw.
- Rebuild the opening: If the opening is significantly too small, you must remove the jack studs and install new ones of the correct size to maintain structural integrity.
- Use plywood fillers: If the opening is slightly too large, you can install 1/2-inch plywood strips to reduce the opening size. Glue the plywood to the framing with a strong construction adhesive and fasten it securely with screws.
For more tips on troubleshooting, see this discussion on nail fin vs. no nail fin- Discussion Board Forum for Vinyl Windows.
Conclusion
Installing vinyl windows with a nailing flange requires attention to detail, the right materials, and a clear understanding of water management. By preparing the rough opening, flashing in a shingle-like sequence, and using the correct fastening patterns, you can protect your home from drafts and water damage for decades.
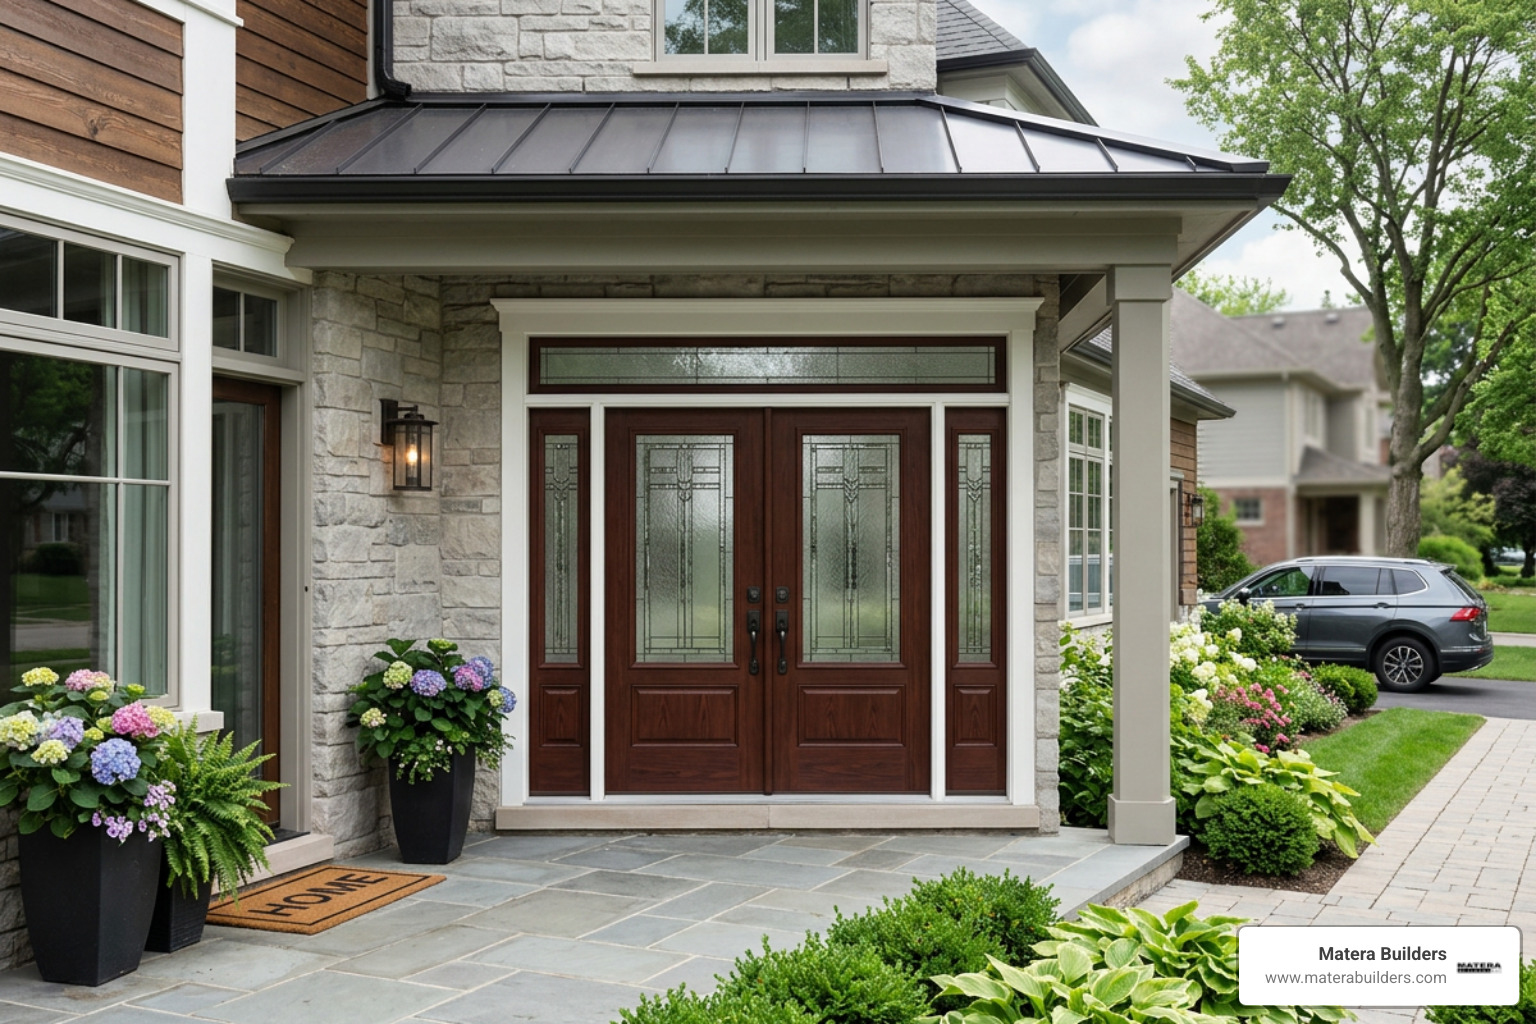
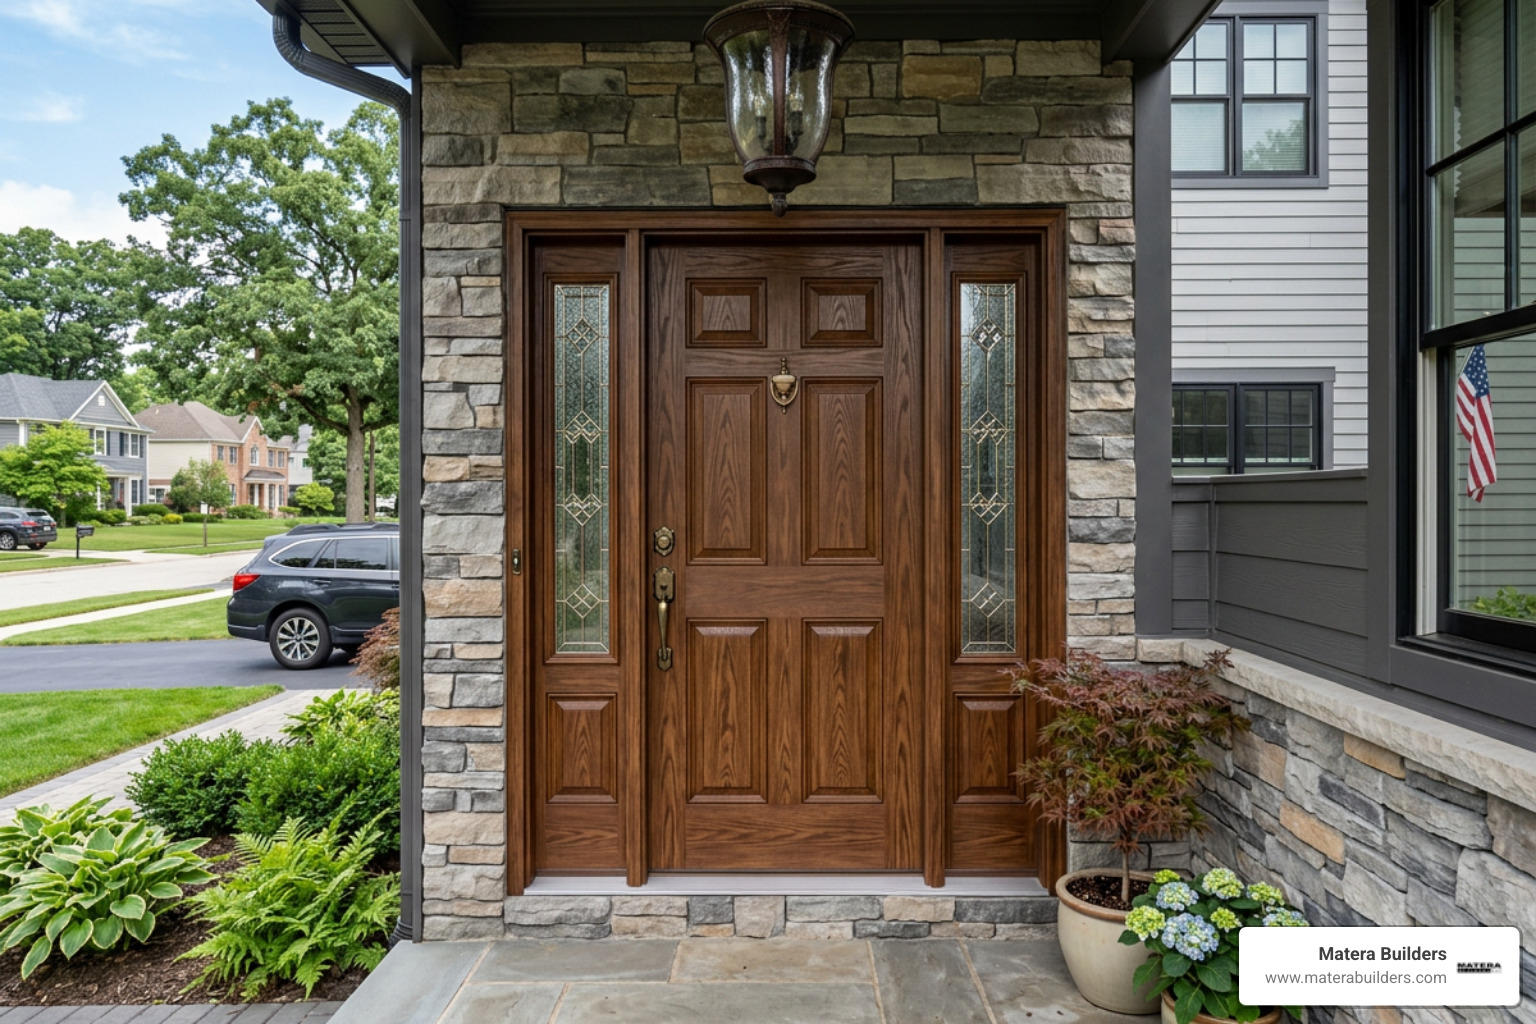
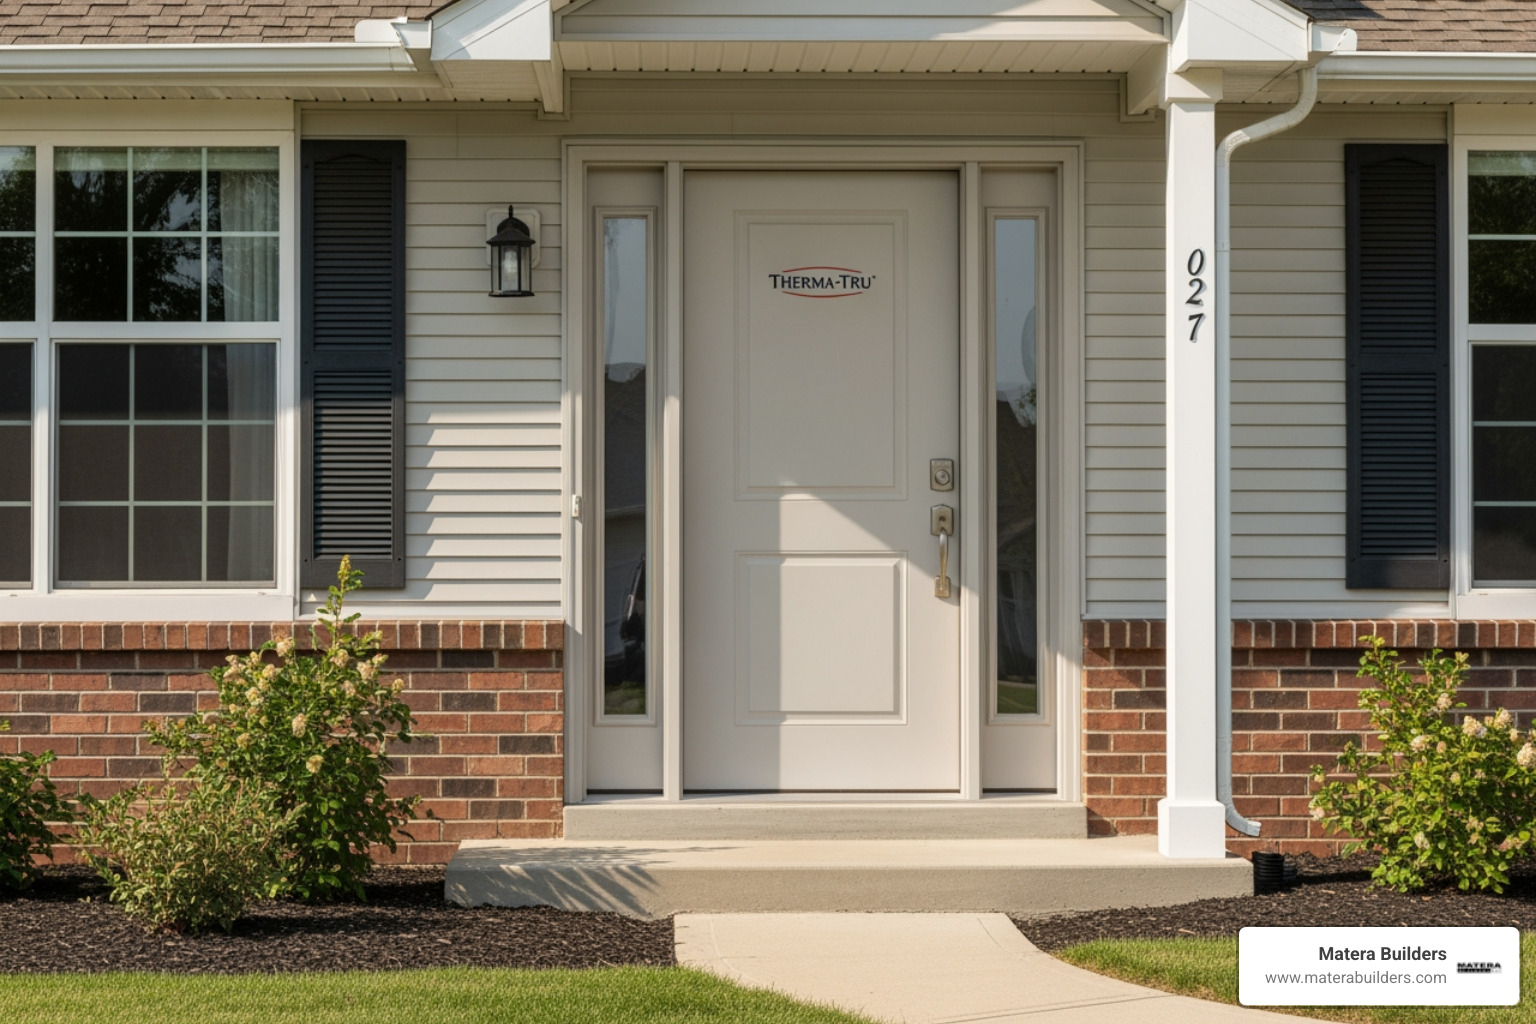
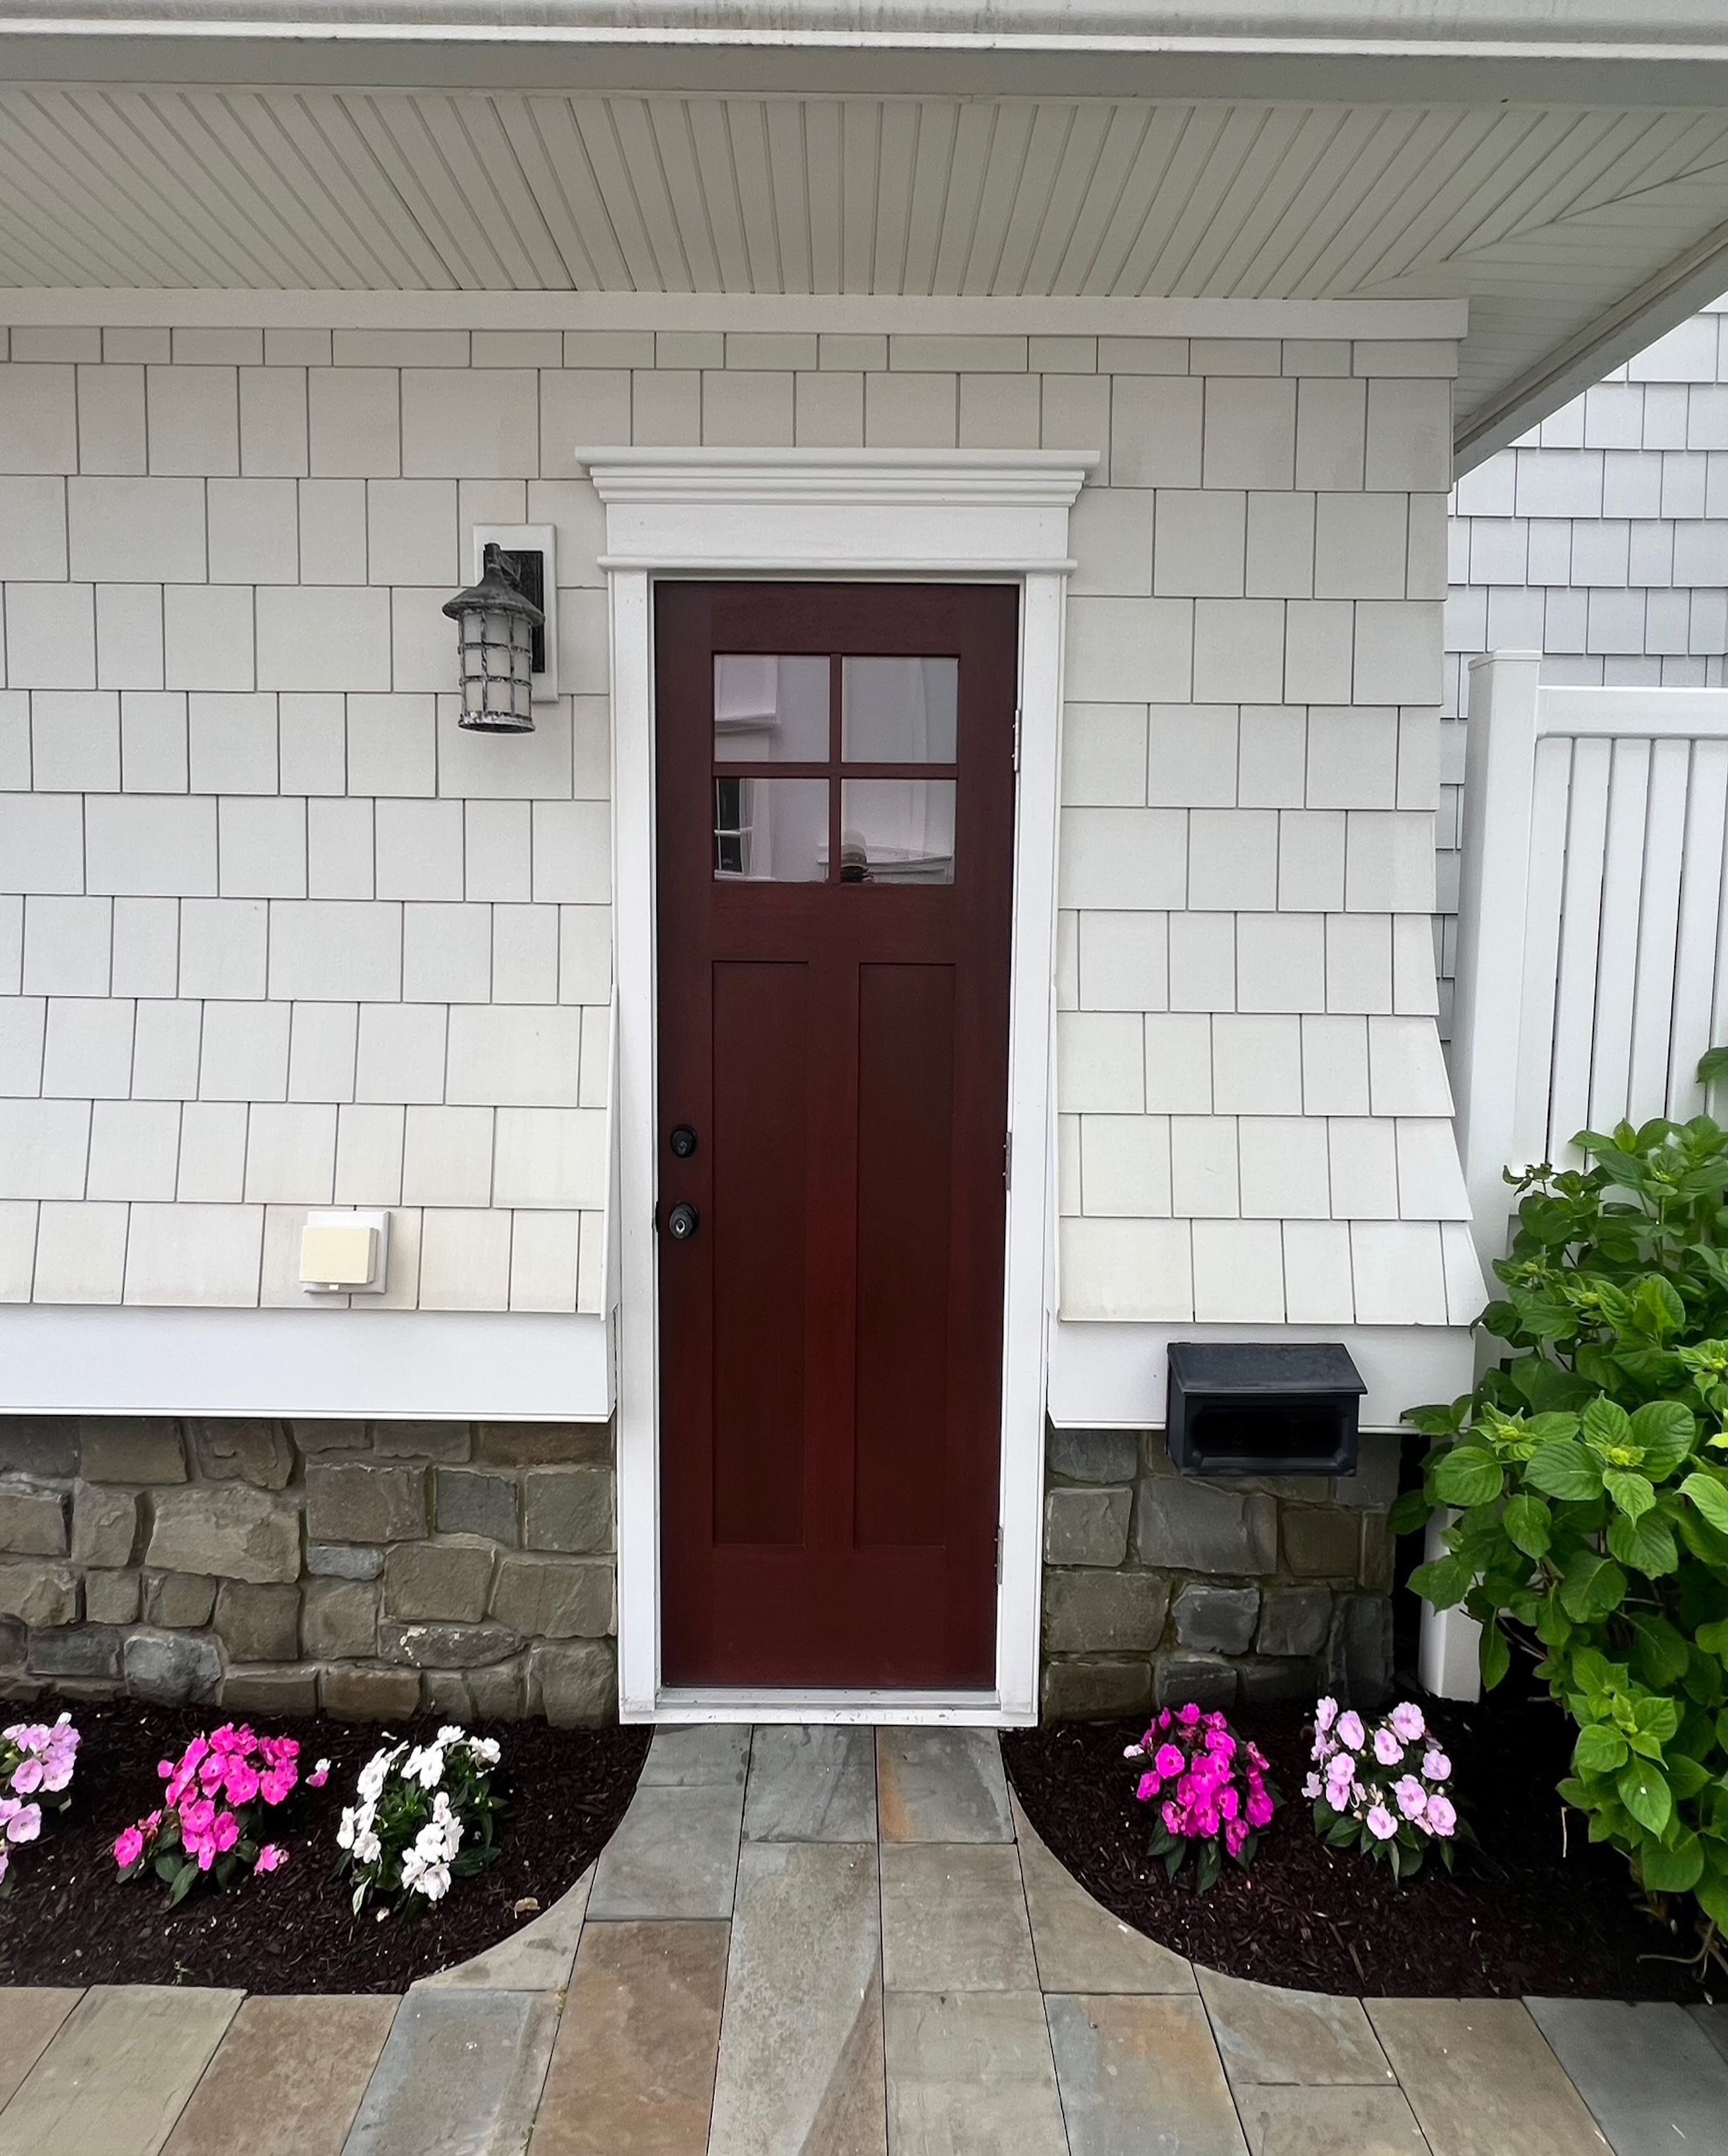
At Matera Builders, we bring over 37 years of experience to every home improvement project. Our team of certified installers specializes in premium products, including high-performance Andersen Windows & Doors and Therma-Tru Entry Doors. We understand the unique challenges of coastal building in Ocean City, NJ, and the surrounding Jersey Shore communities.
If you want the job done right the first time, reach out to us. We offer professional window replacement services New Jersey homeowners trust. Let us help you protect your home with durable, energy-efficient windows.
Contact us today to schedule your professional window installation assessment.