
What You Need to Know Before Starting a 1950s Kitchen Remodel
A 1950s kitchen remodel is one of the most rewarding home improvement projects you can take on — but it comes with a unique set of challenges that modern kitchens simply don't have.
Here's a quick snapshot of what to expect:
- Average cost: $5,000 for a budget DIY update to $60,000+ for a full professional renovation.
- Typical timeline: 2 months to 6 months, depending on the scope.
- Most common problems: Closed layouts, poor lighting, lack of storage, and outdated wiring.
- Biggest opportunity: Blend retro charm with modern function without gutting everything.
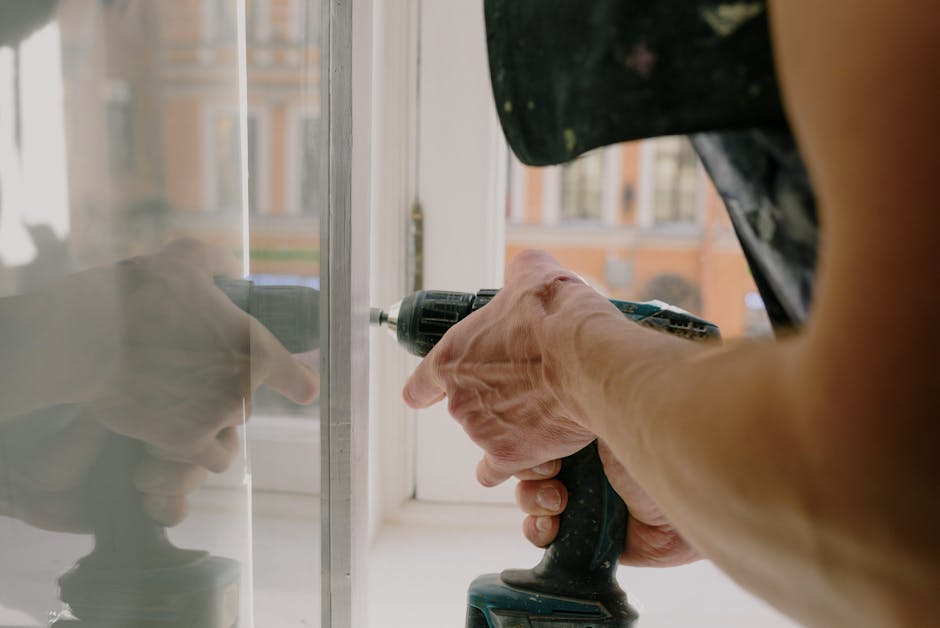
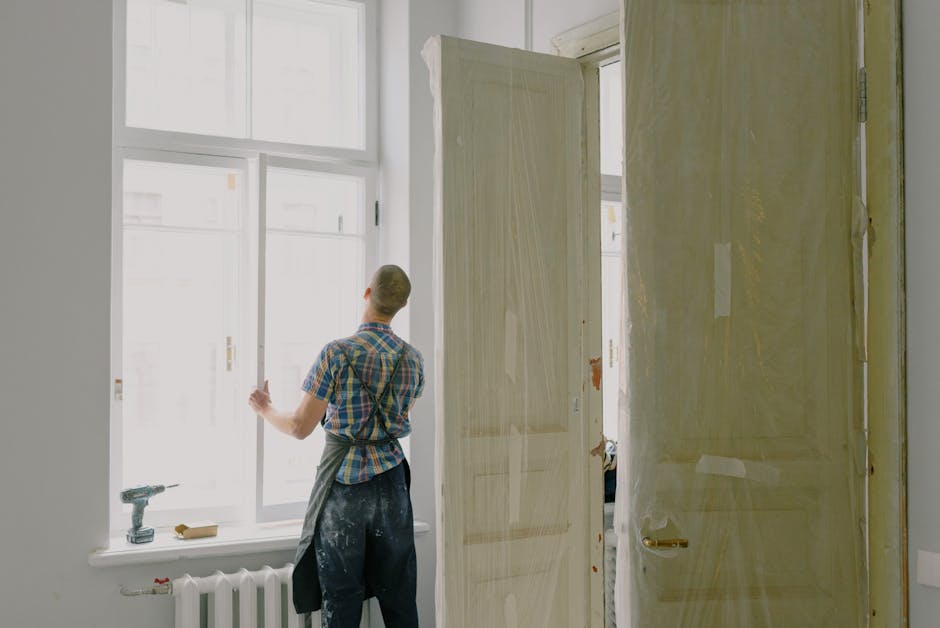
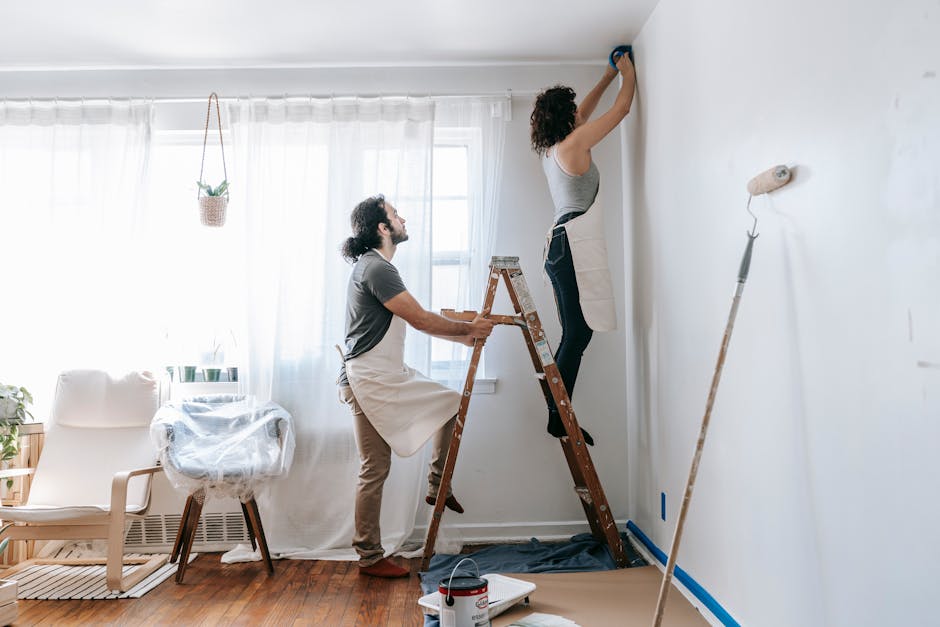
- DIY vs. pro: Demo and painting are DIY-friendly; electrical, plumbing, and plastering should be hired out.
Many homeowners are surprised to discover how livable — and lovable — a 1950s kitchen can be once it's updated thoughtfully. The original details often have real character: checkerboard floors, pastel cabinetry, scalloped valances above the sink, and vintage hardware that you simply can't replicate cheaply today.
But these same kitchens were designed for a single cook working alone. They're closed off, short on counter space, and rarely have enough storage for a modern family.
The good news: you don't have to tear everything out to get a kitchen that works in 2026.
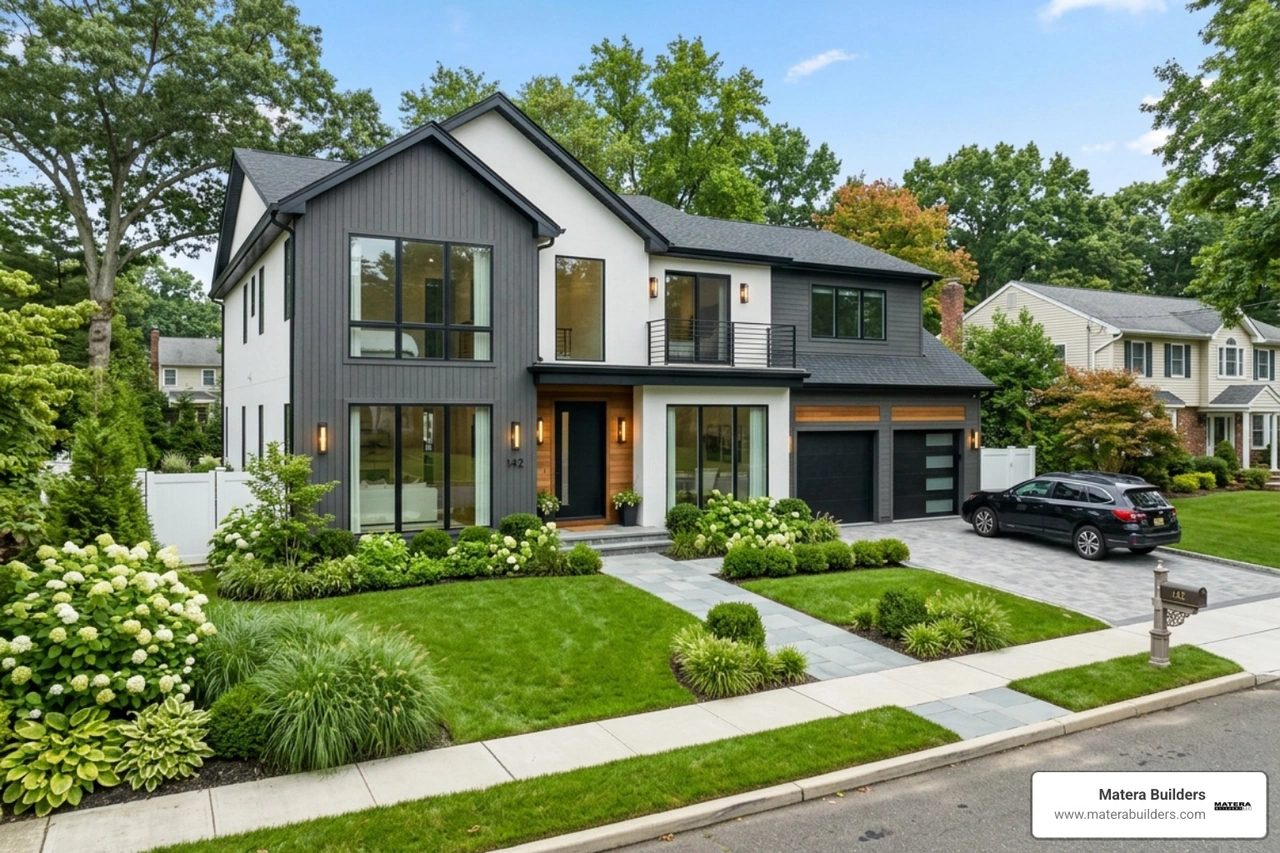
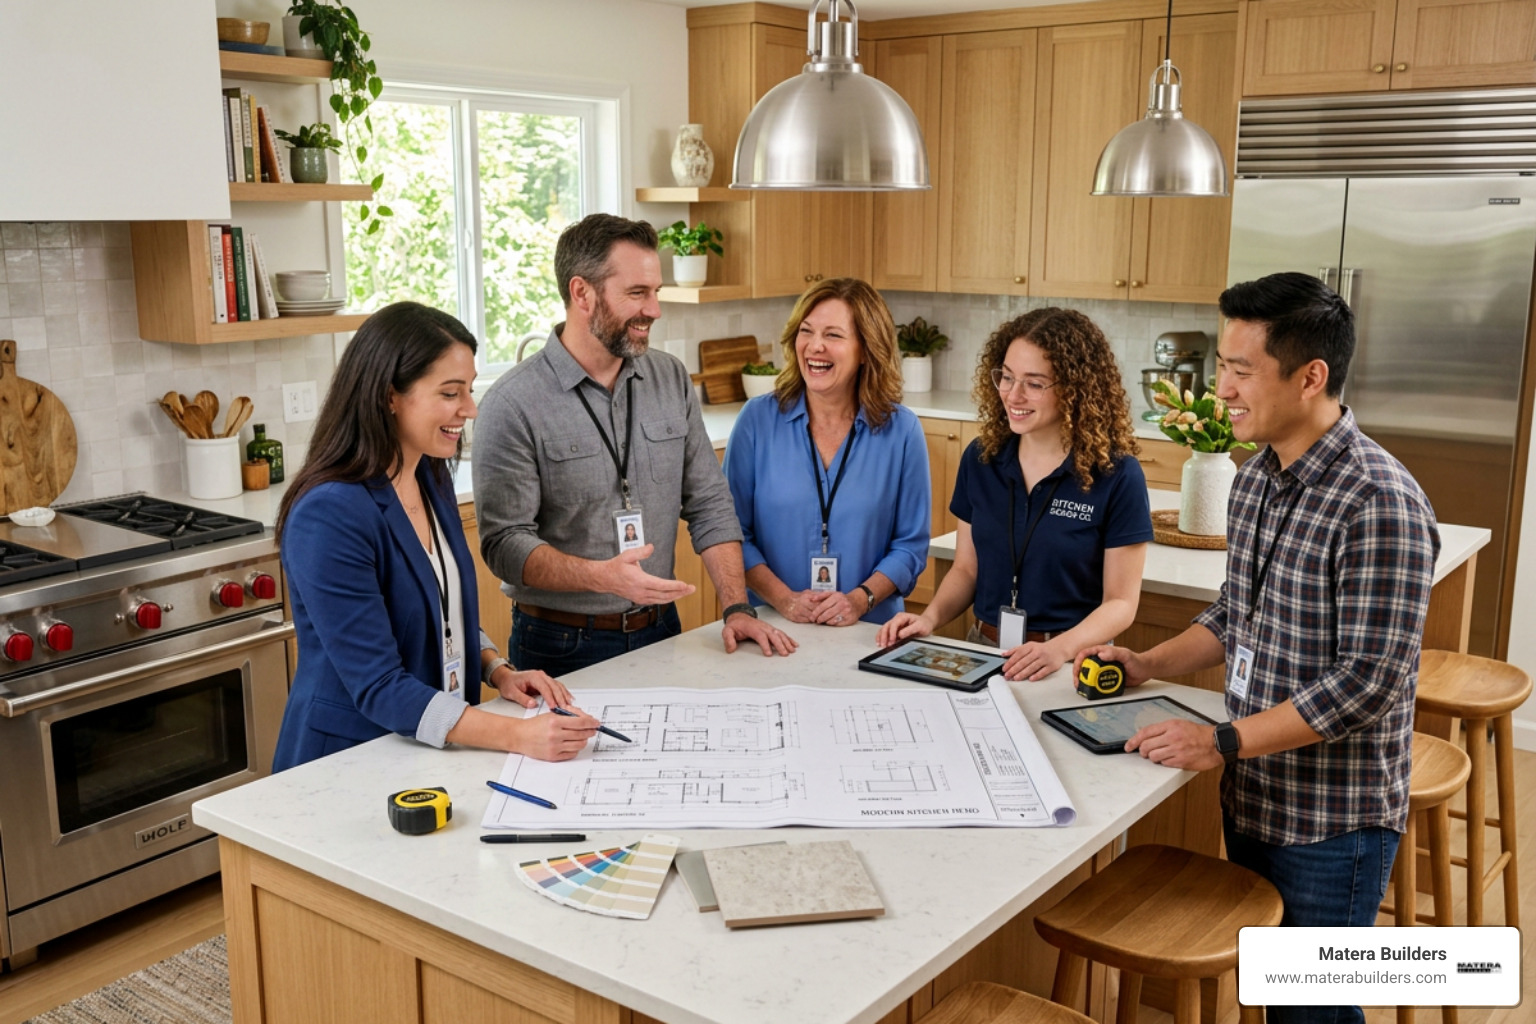
I'm Mike Werner, Owner and CEO of Matera Builders LLC, a residential construction and remodeling company with deep roots in the New Jersey coastal market — where older homes, including those needing a complete 1950s kitchen remodel, require extra attention to structural performance, moisture control, and material durability. In this guide, I'll walk you through how to modernize your mid-century kitchen without overspending or losing the vintage charm that makes it special.

1950s kitchen remodel terms explained:
Planning Your Budget-Friendly 1950s Kitchen Remodel
Planning a remodel in 2026 requires a clear understanding of costs and timelines. A basic kitchen cosmetic update can cost under $10,000 if you do a lot of the work yourself. A full, professional, high-end remodel often tops $50,000 to $60,000.
For many homeowners along the Jersey Shore, the goal is to find a middle ground. You want to preserve what works while upgrading the bones of the kitchen to handle the damp, salty coastal climate.
If you choose a professional remodel, the project typically takes about six months from design to final inspection. If you choose the DIY route, it can take much longer. Some homeowners who tackle projects on weekends find that a DIY 1950's Kitchen Remodel can stretch over several years while living in the home.
Before you swing a hammer, you must decide what stays and what goes. If you are planning a complete house renovation, it is best to plan the kitchen layout in tandem with the surrounding rooms.
- Cosmetic DIY: $5,000–$10,000, with a typical timeline of 2–3 months of weekend work. Best for homeowners on a tight budget who want to keep original cabinets.
- Mid-range professional: $25,000–$40,000, with a typical timeline of 3–4 months. Best for families needing layout tweaks, new appliances, and professional plumbing.
- Full custom renovation: $60,000+, with a typical timeline of 5–6 months. Best for homeowners removing walls, upgrading windows, and installing custom millwork.
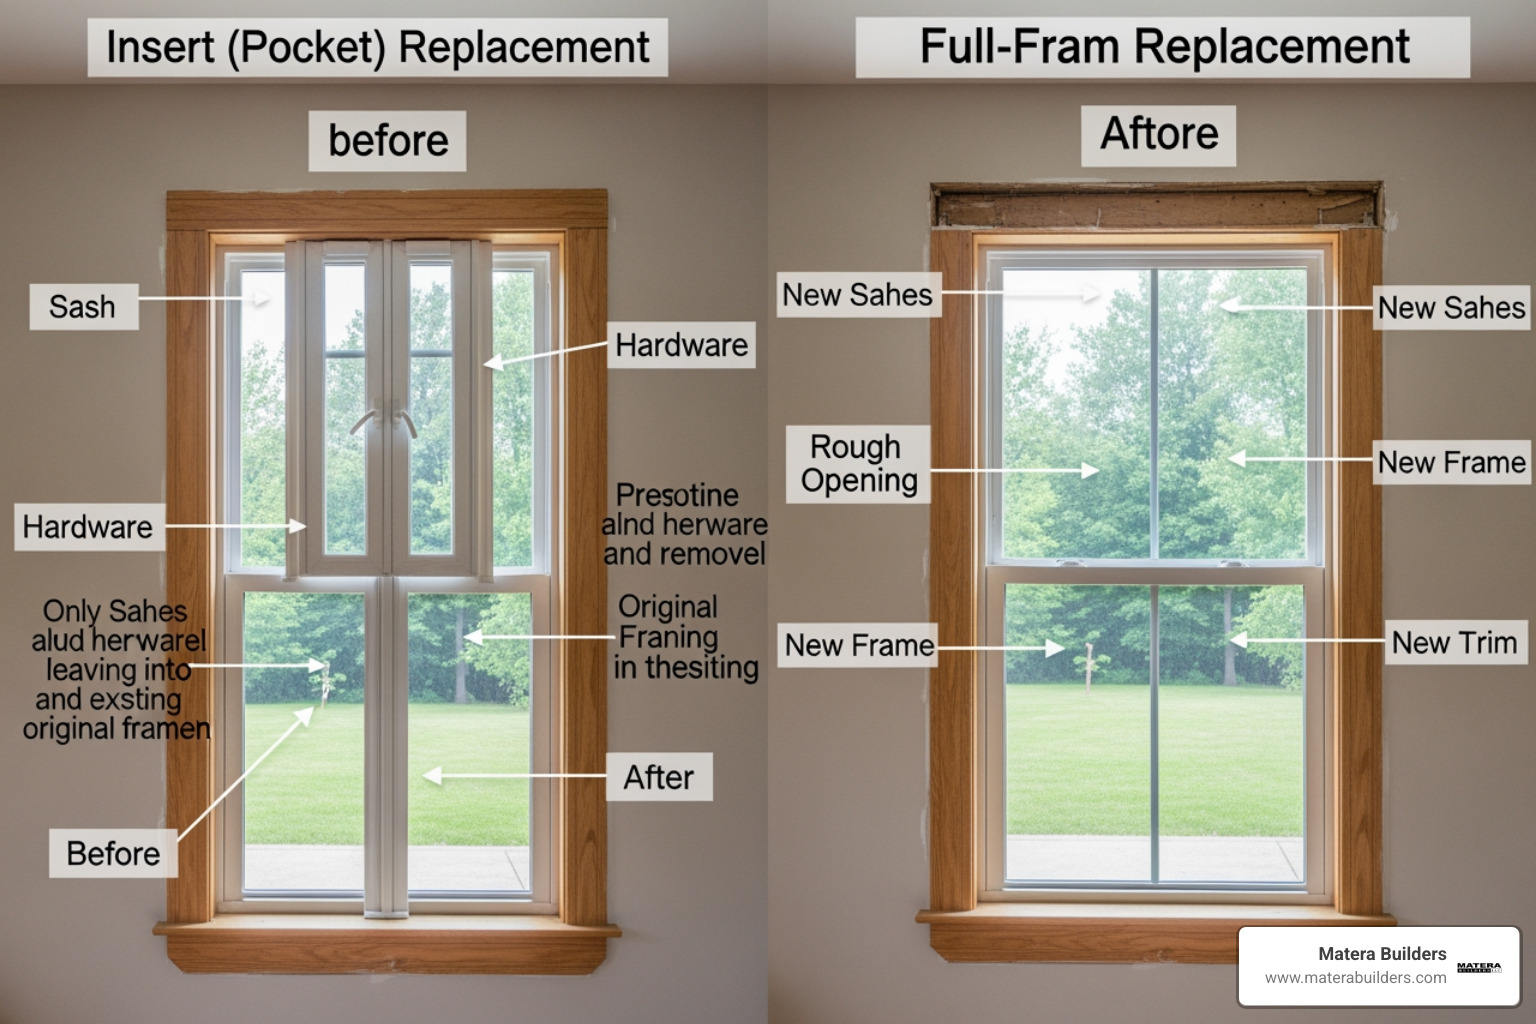
Overcoming Layout and Structural Challenges

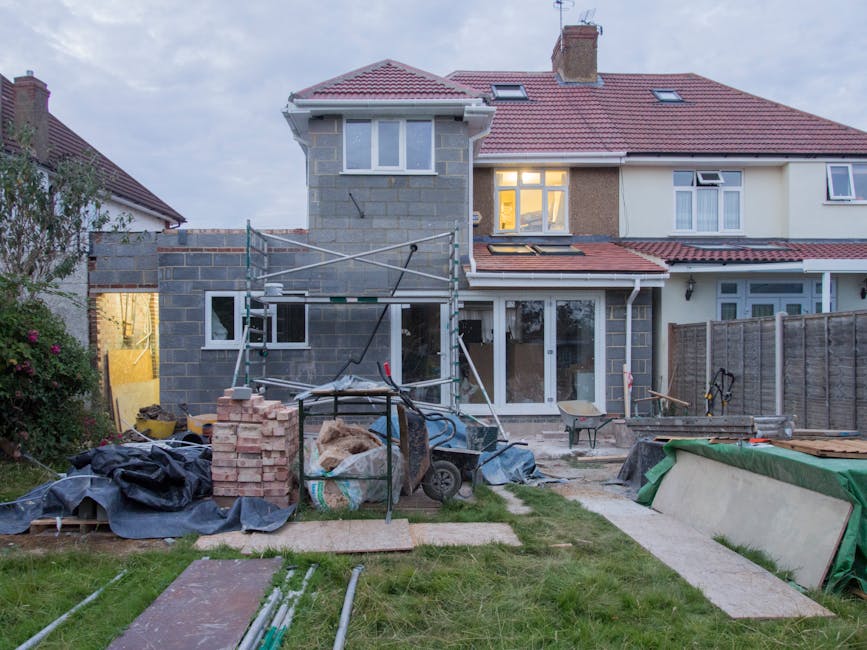
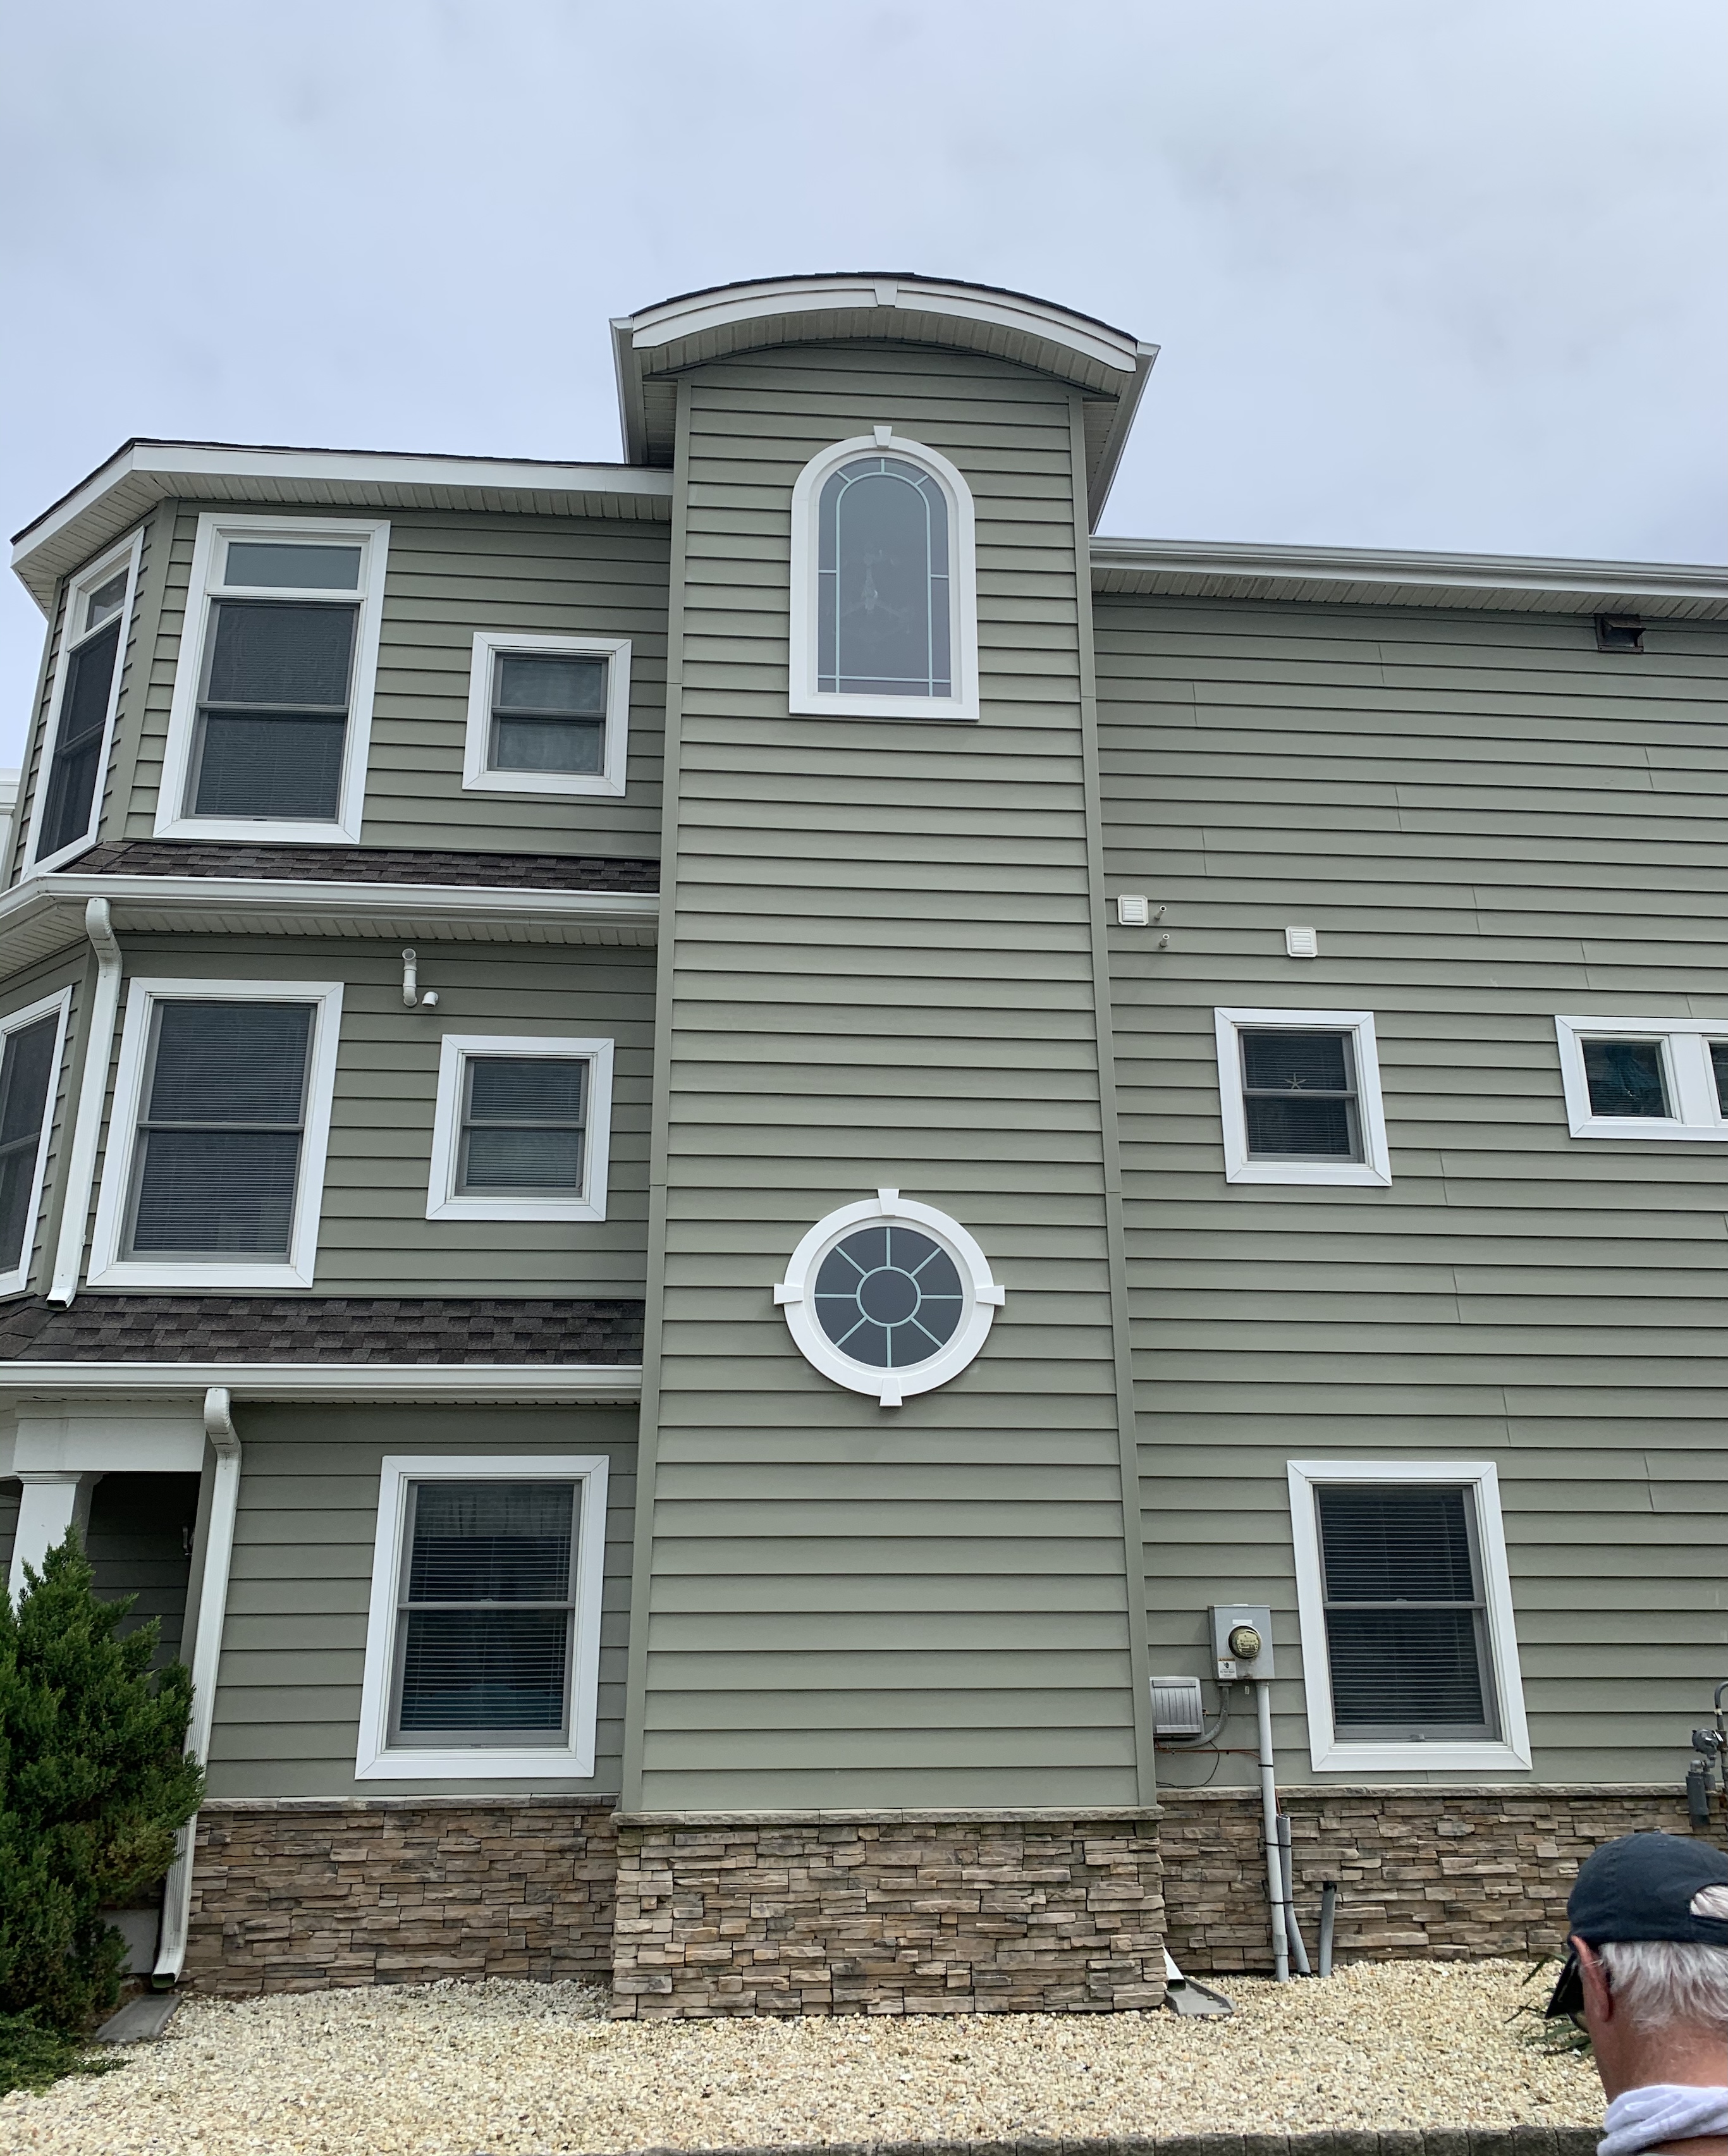
Older homes in Ocean City and the surrounding Jersey Shore areas are built beautifully, but their layouts reflect a different era. To make these spaces work today, we have to solve several structural puzzles.
When you open up a 1950s kitchen, you often run into hidden plumbing stacks, old plaster walls, and outdated electrical systems. For example, a common issue is finding a main plumbing stack right where you want to remove a wall. Instead of spending thousands of dollars to reroute the plumbing, you can get creative. Some homeowners use a customized 12 inch wine rack or a shallow pantry cabinet to stylishly conceal the pipe while keeping the open feel.
Electrical panels also need close attention. Mid-century homes were built for a refrigerator and a toaster. They were not built for modern double ovens, high-power microwaves, and dishwashers. You will almost certainly need to upgrade your electrical panel to meet modern safety codes.
Layout Challenges in a 1950s Kitchen Remodel
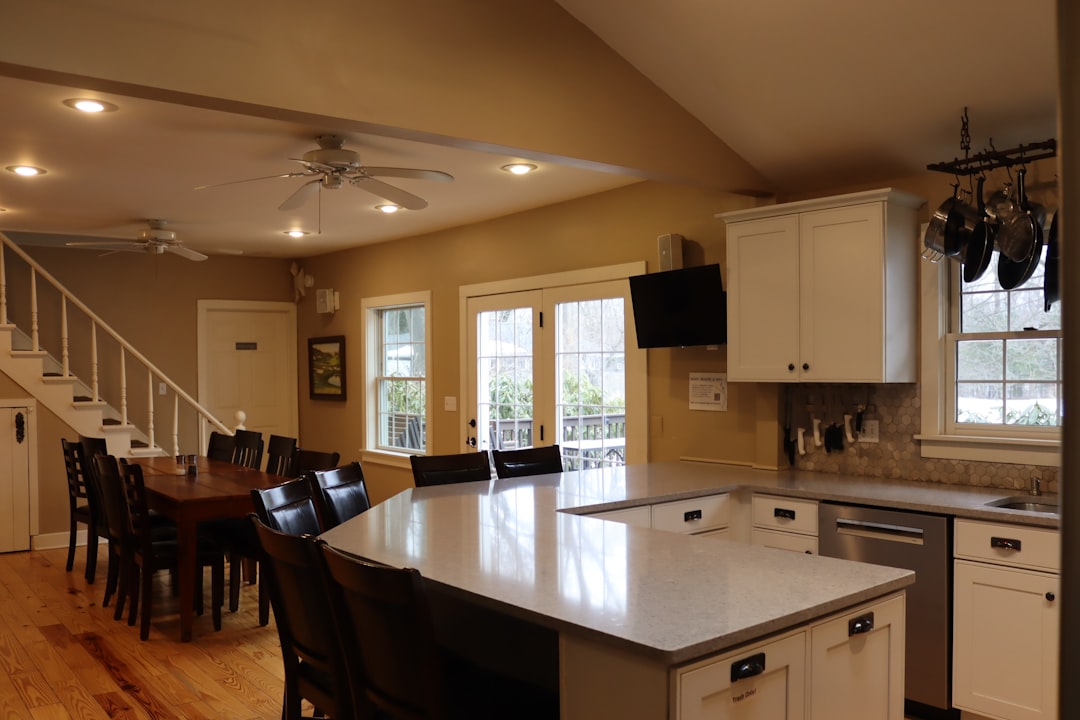
In the 1950s, the kitchen was treated as a closed-off workspace. To understand how these spaces were originally designed, you can read about The 1950s': The Closed-Off Kitchen. These kitchens were built for a solo cook, featuring wall-oriented workspaces with no central islands.
Today, families want a space where multiple people can cook, do homework, and socialize at the same time. If you are looking for home remodel designers near me, they can help you reconfigure the footprint.
Adding a central island, even a small one measuring 3 feet by 7 feet, can completely change the traffic flow.
If your kitchen is too tight for an island, look at your appliance placement. In many 1950s layouts, the stove sits in an awkward spot right next to a doorway or the sink. Moving the stove to an opposite wall and shifting the sink slightly can create a much safer and more efficient work triangle.
You can also gain space for a dishwasher by moving a peninsula just 7 inches into an adjacent dining area. This small adjustment can give you enough room to install modern conveniences without losing your dining space.
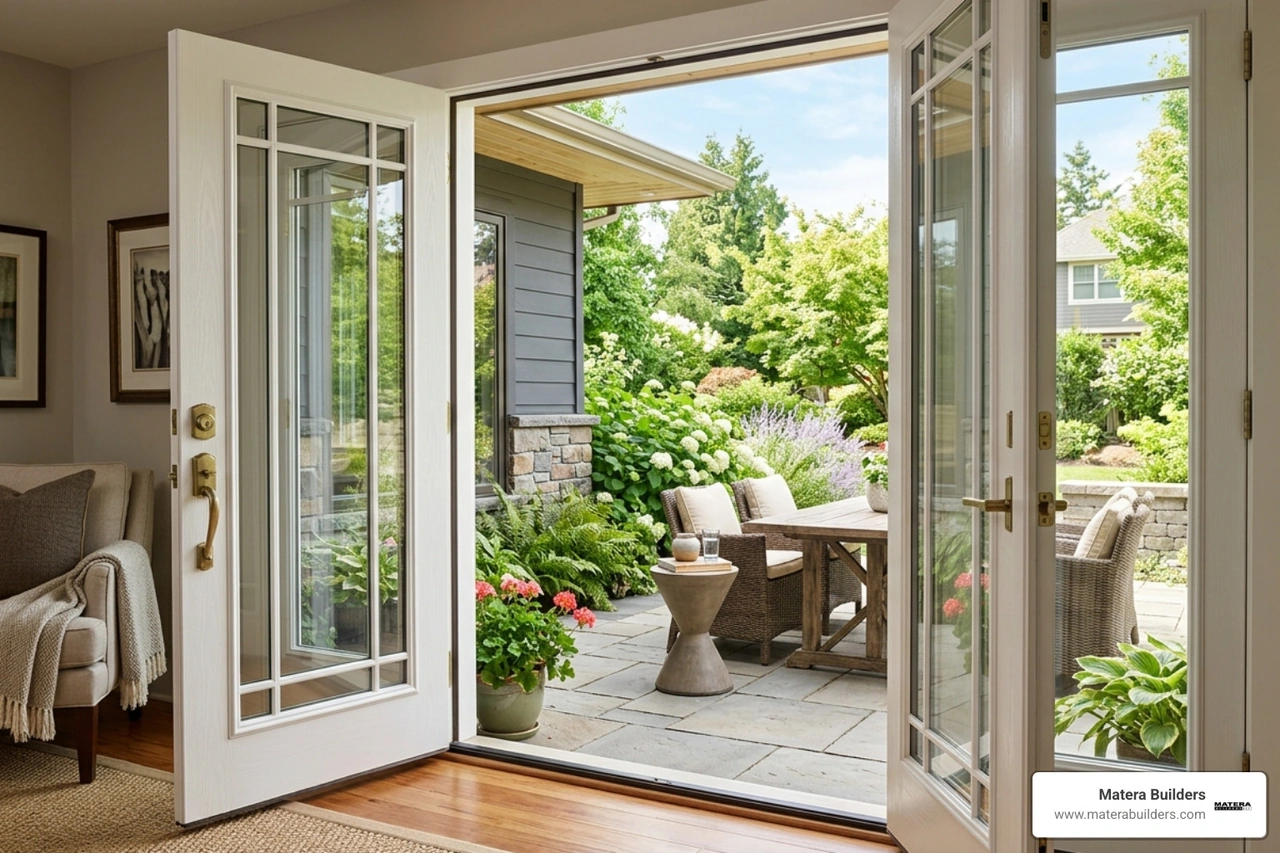
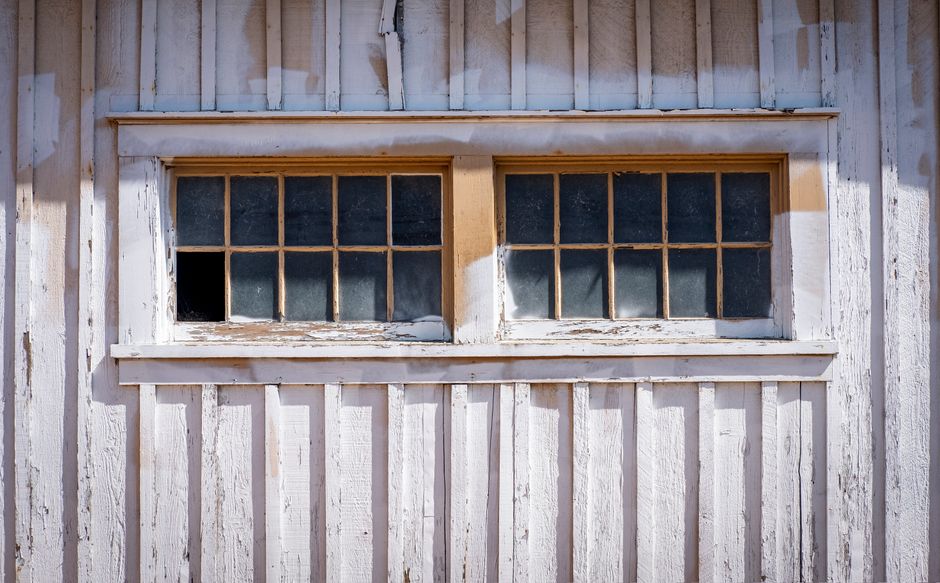
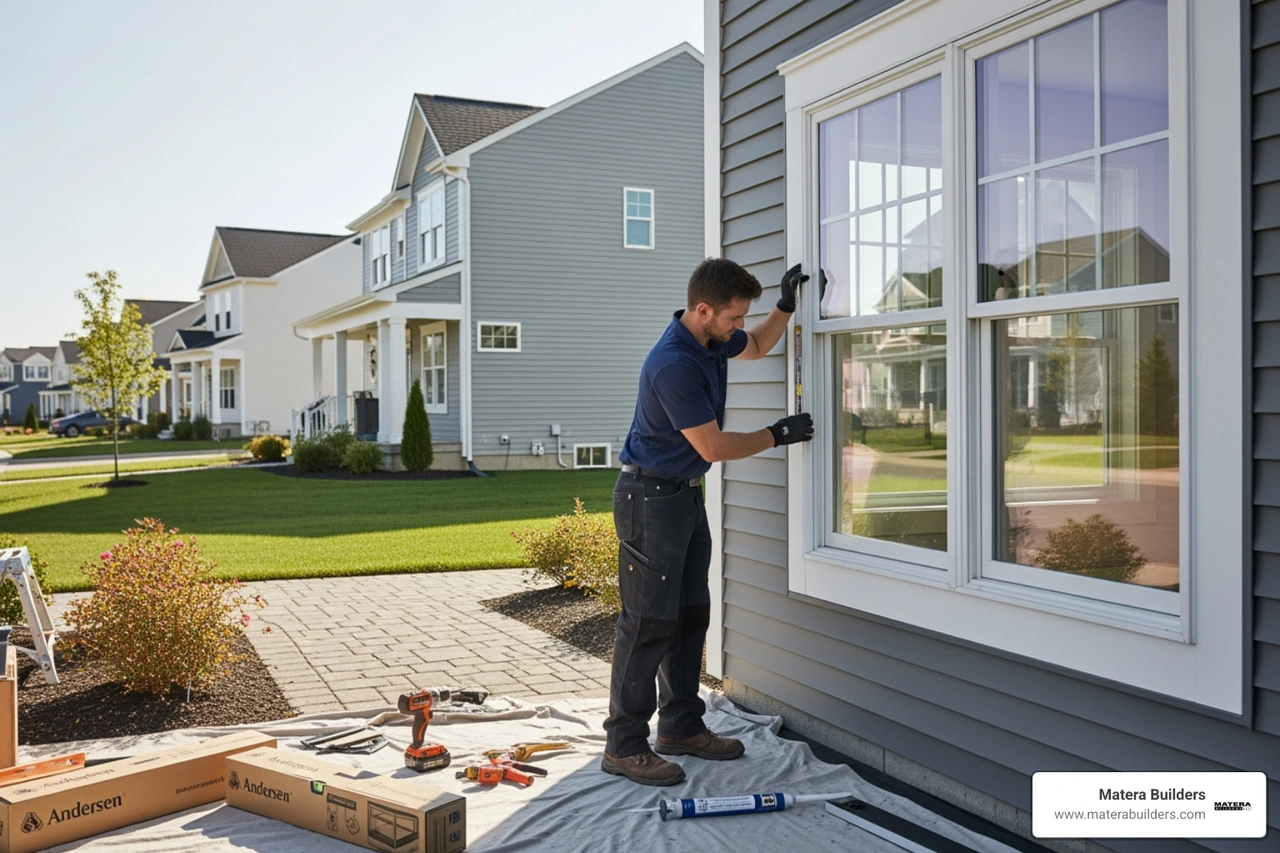
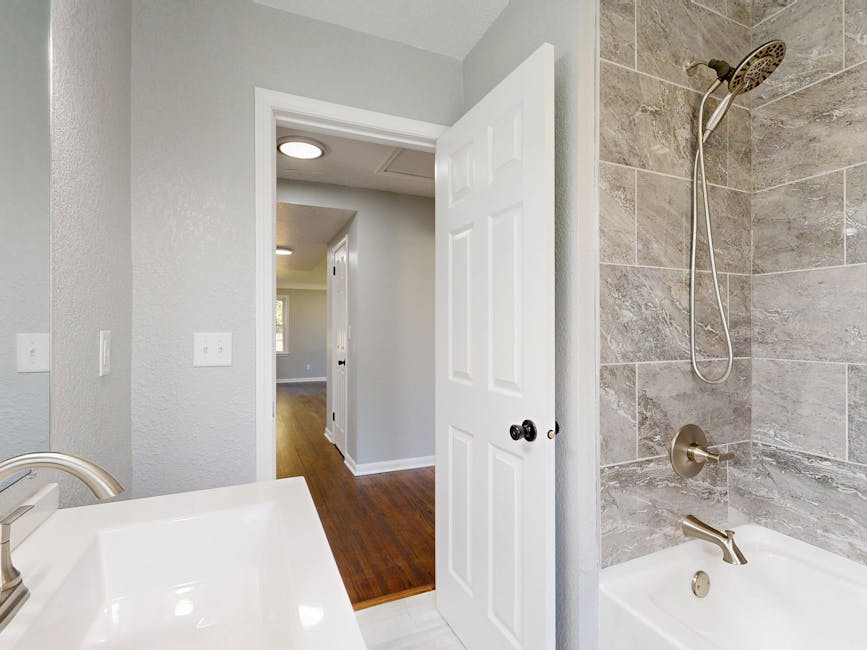
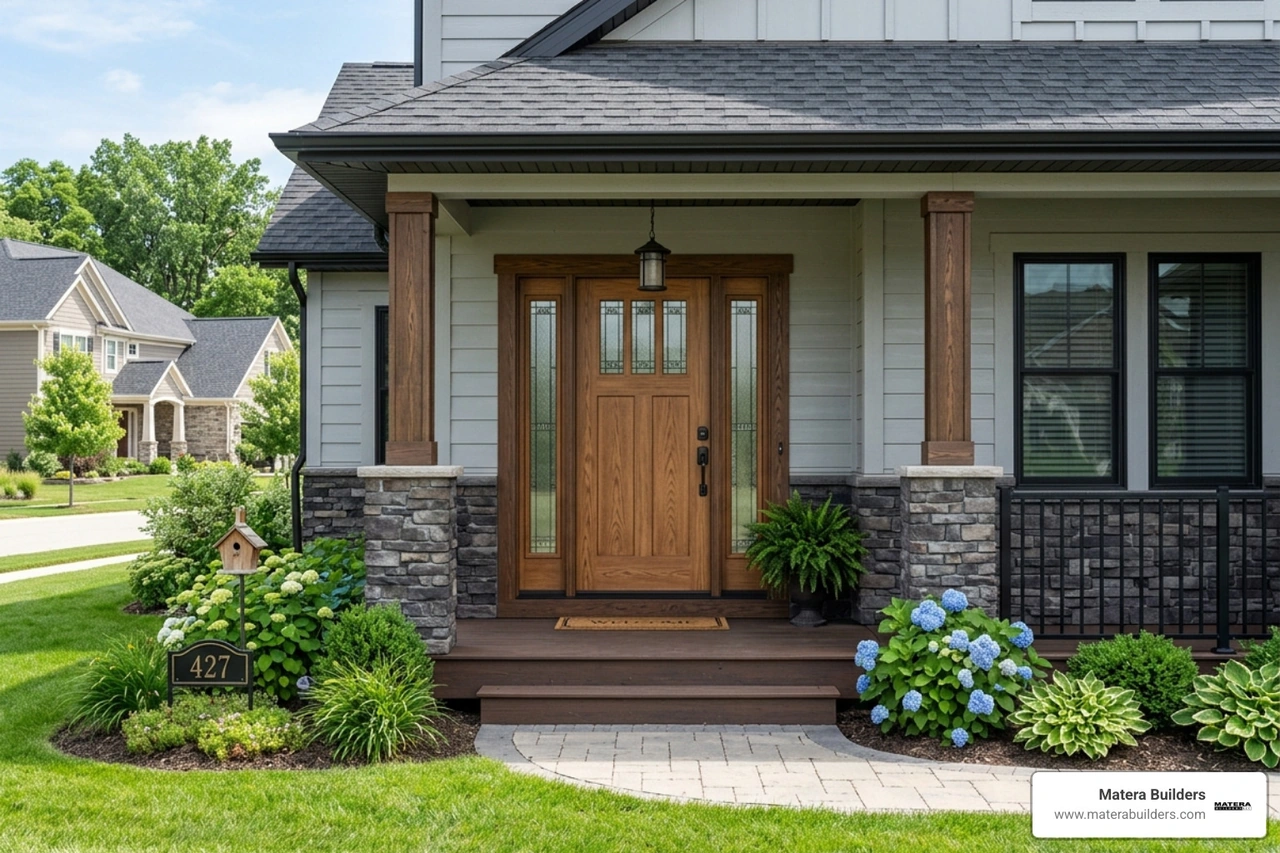
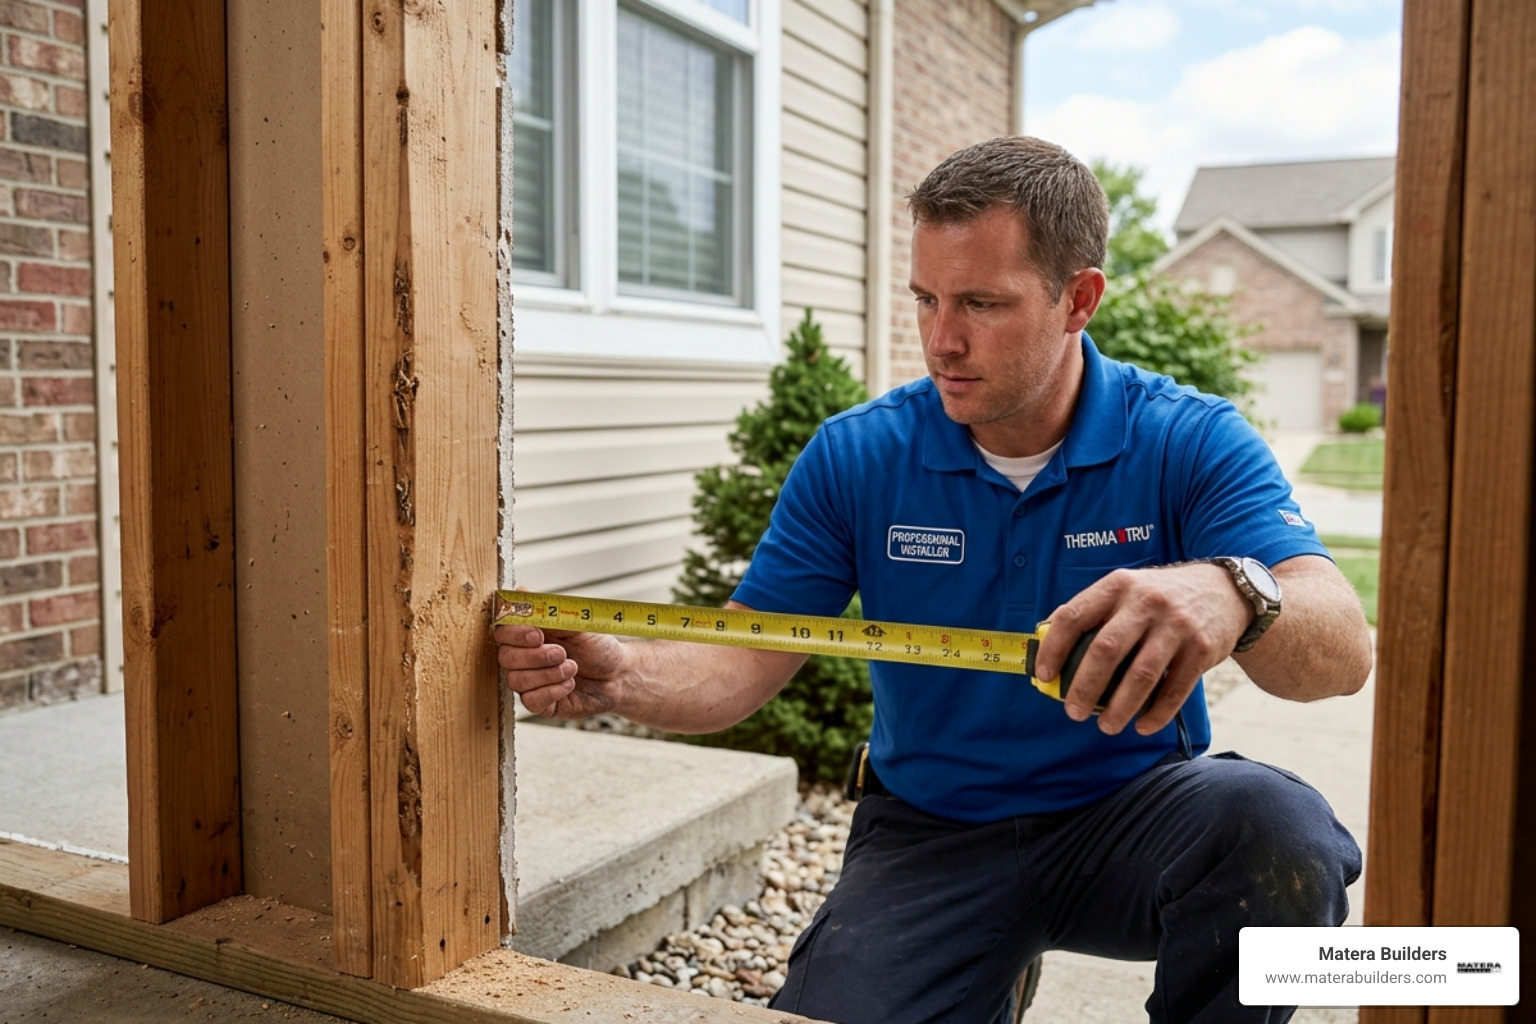
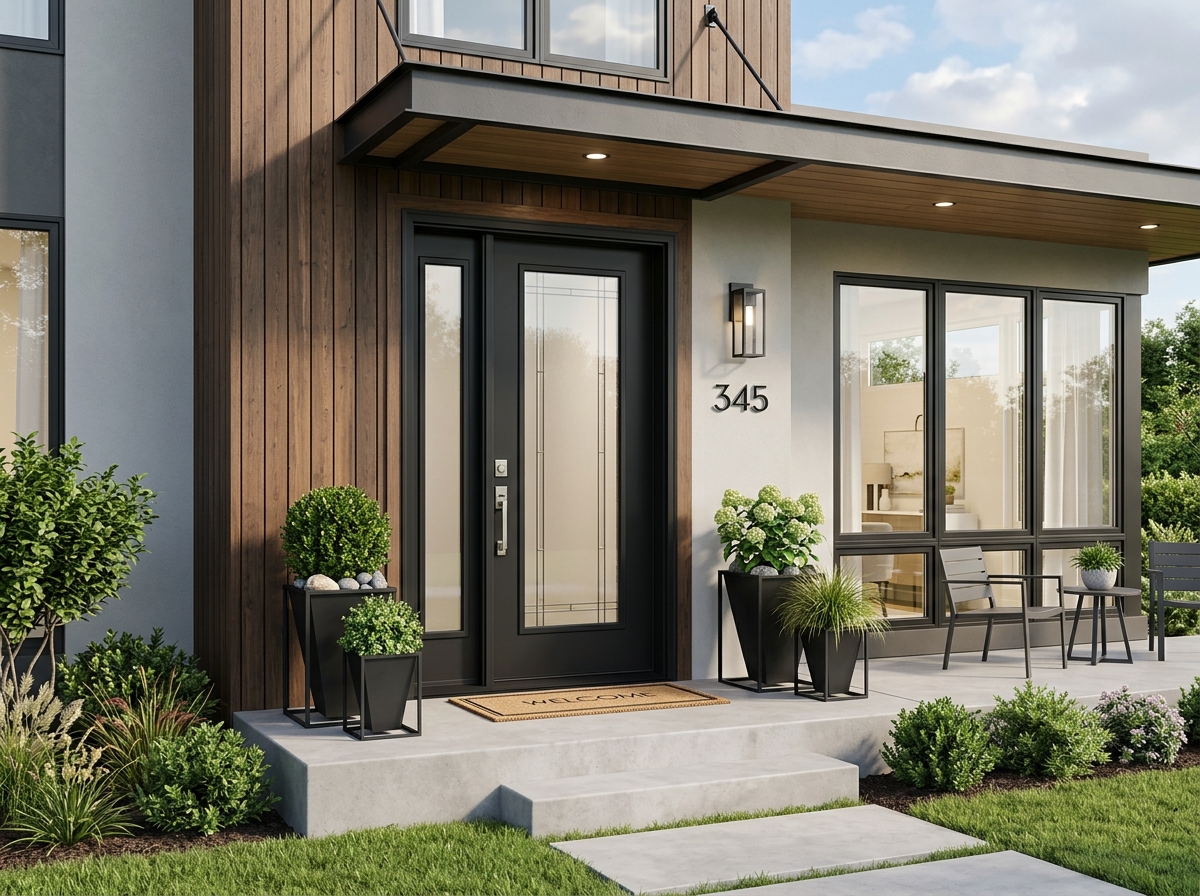
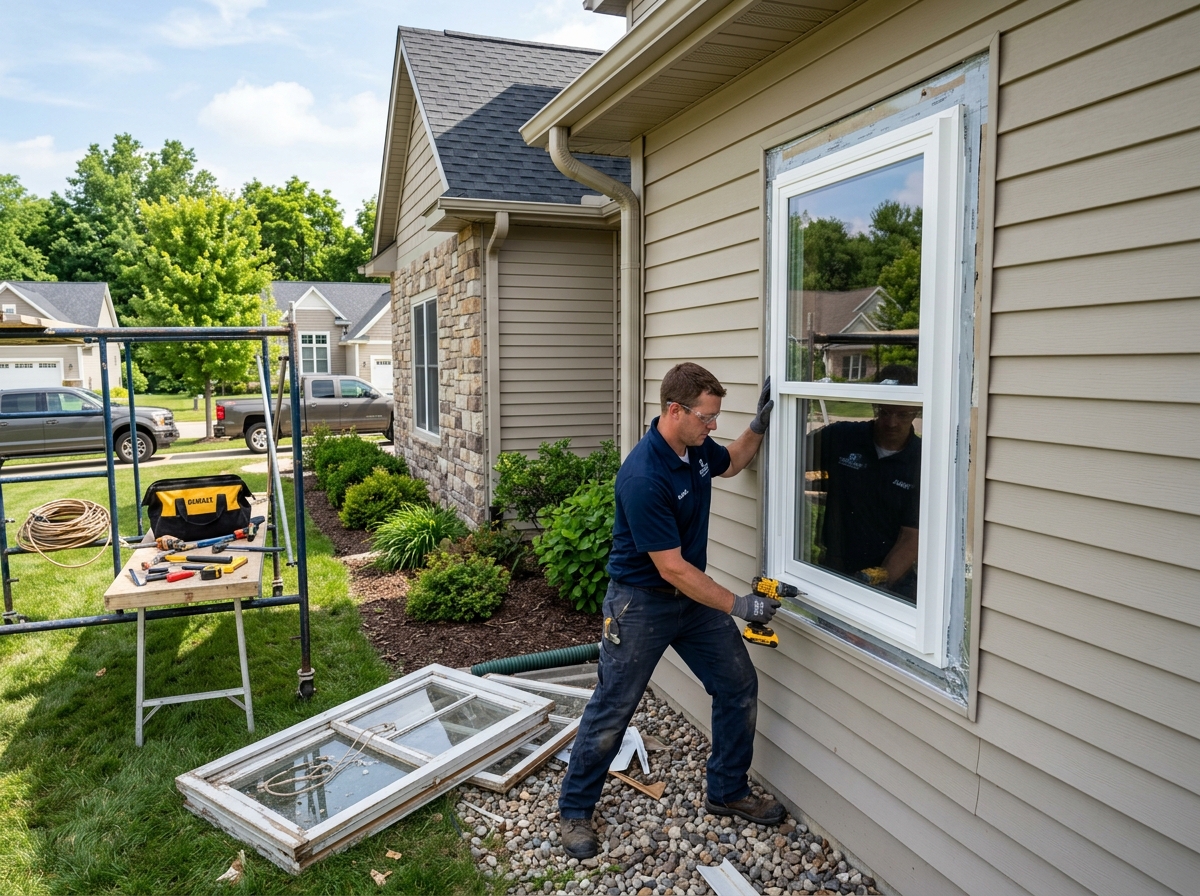
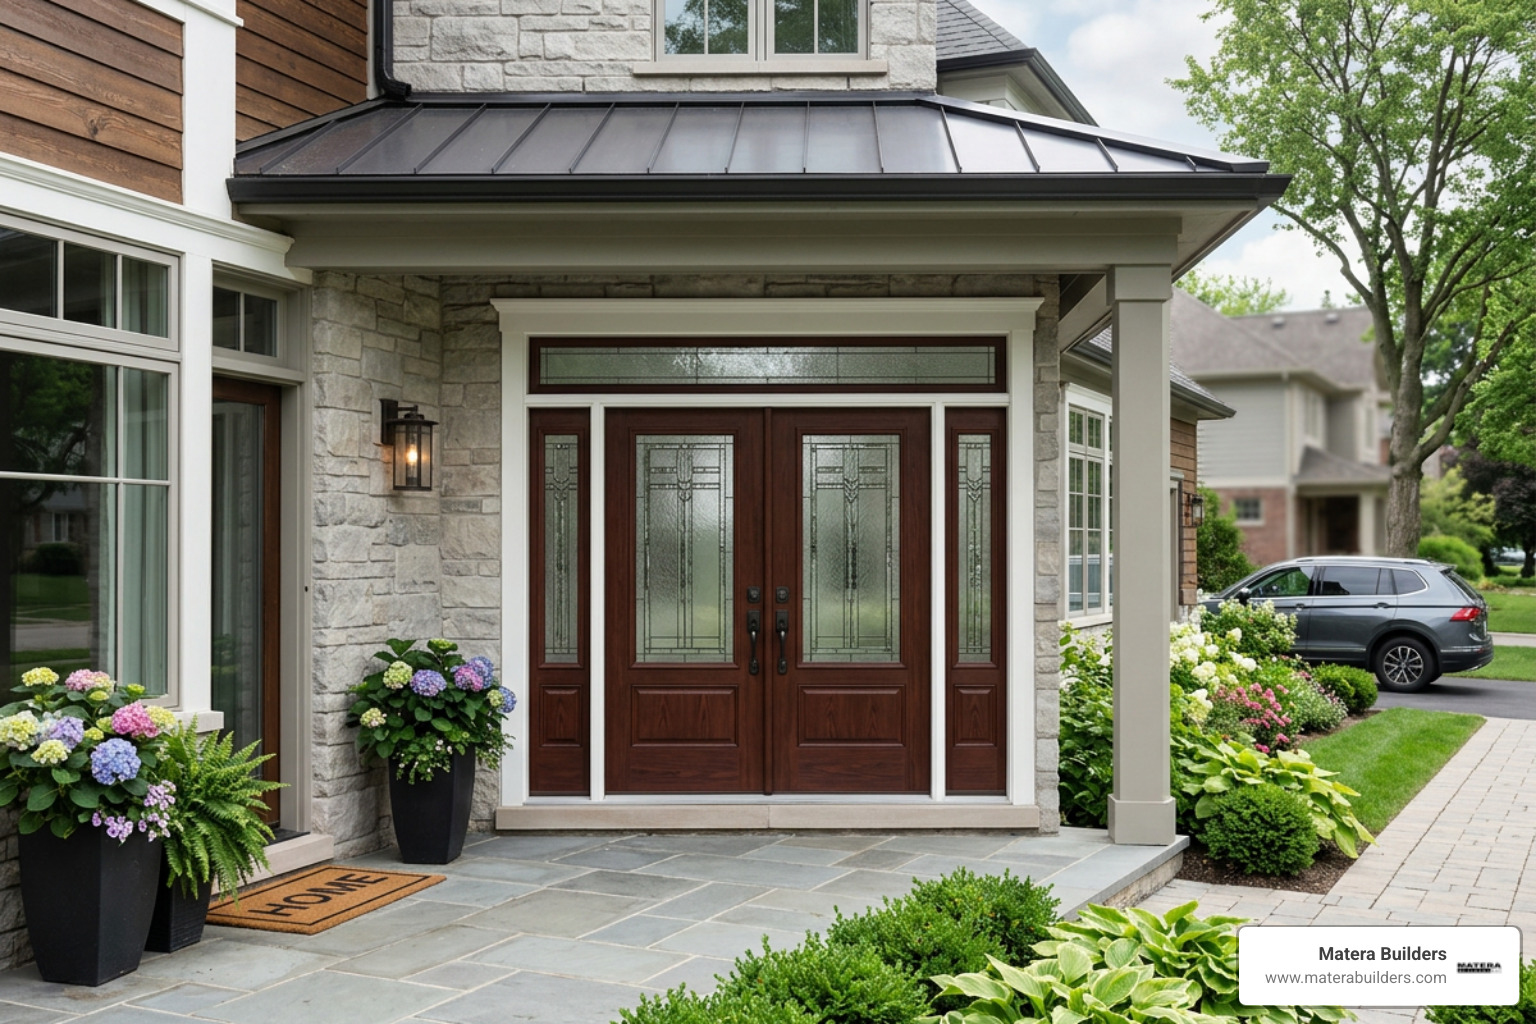
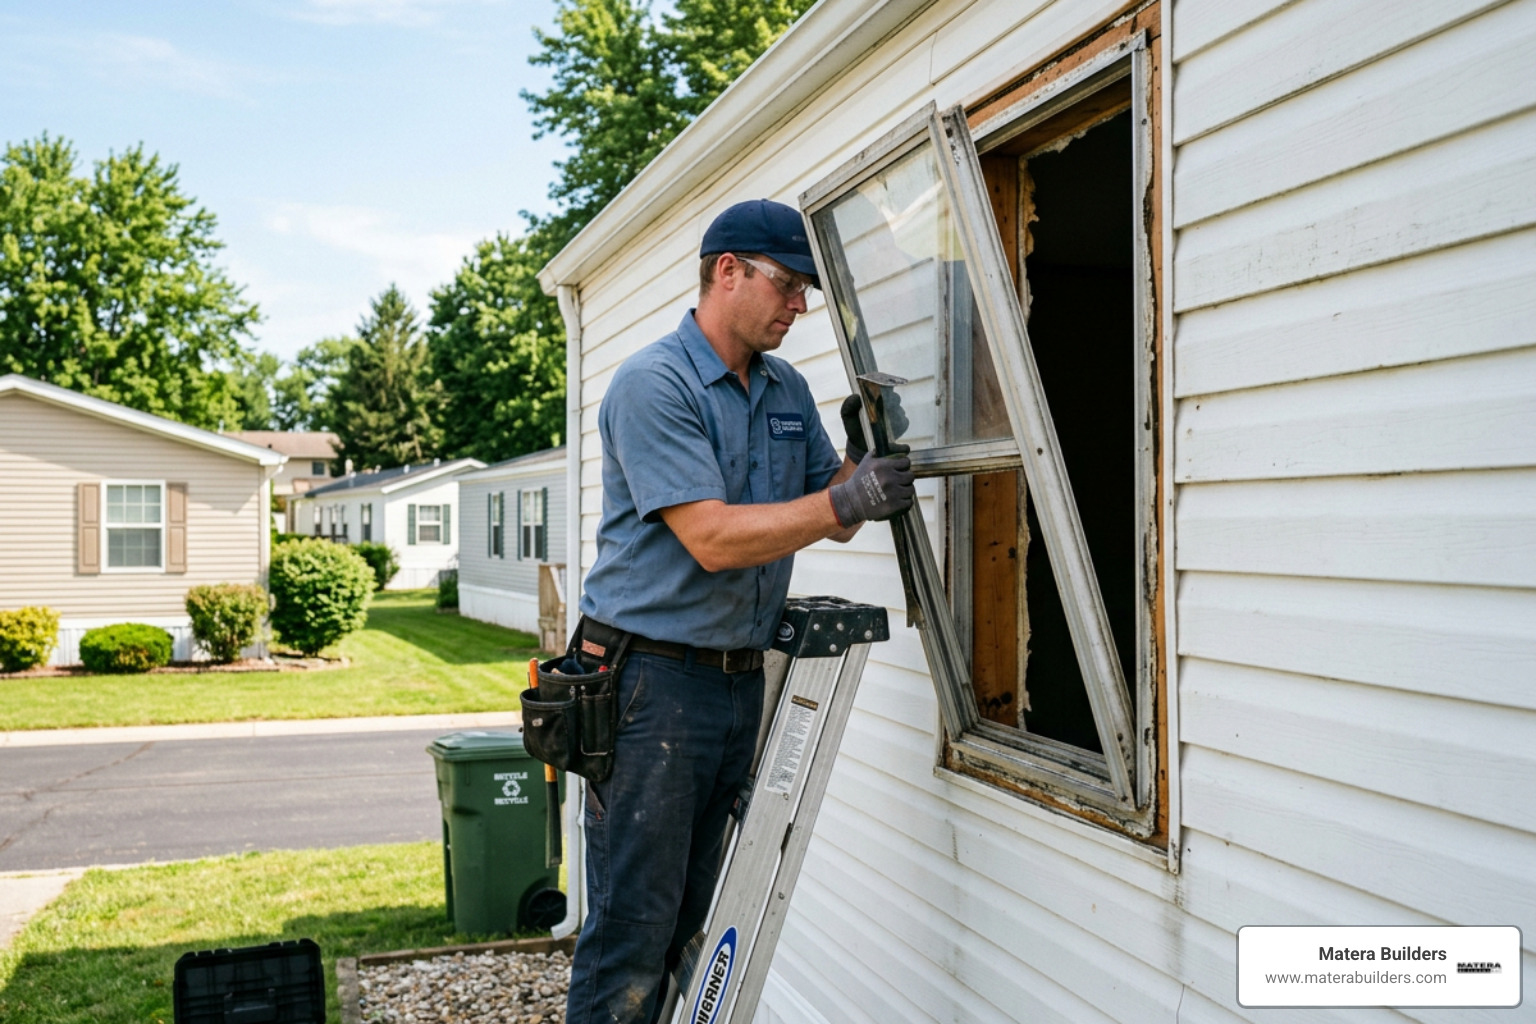
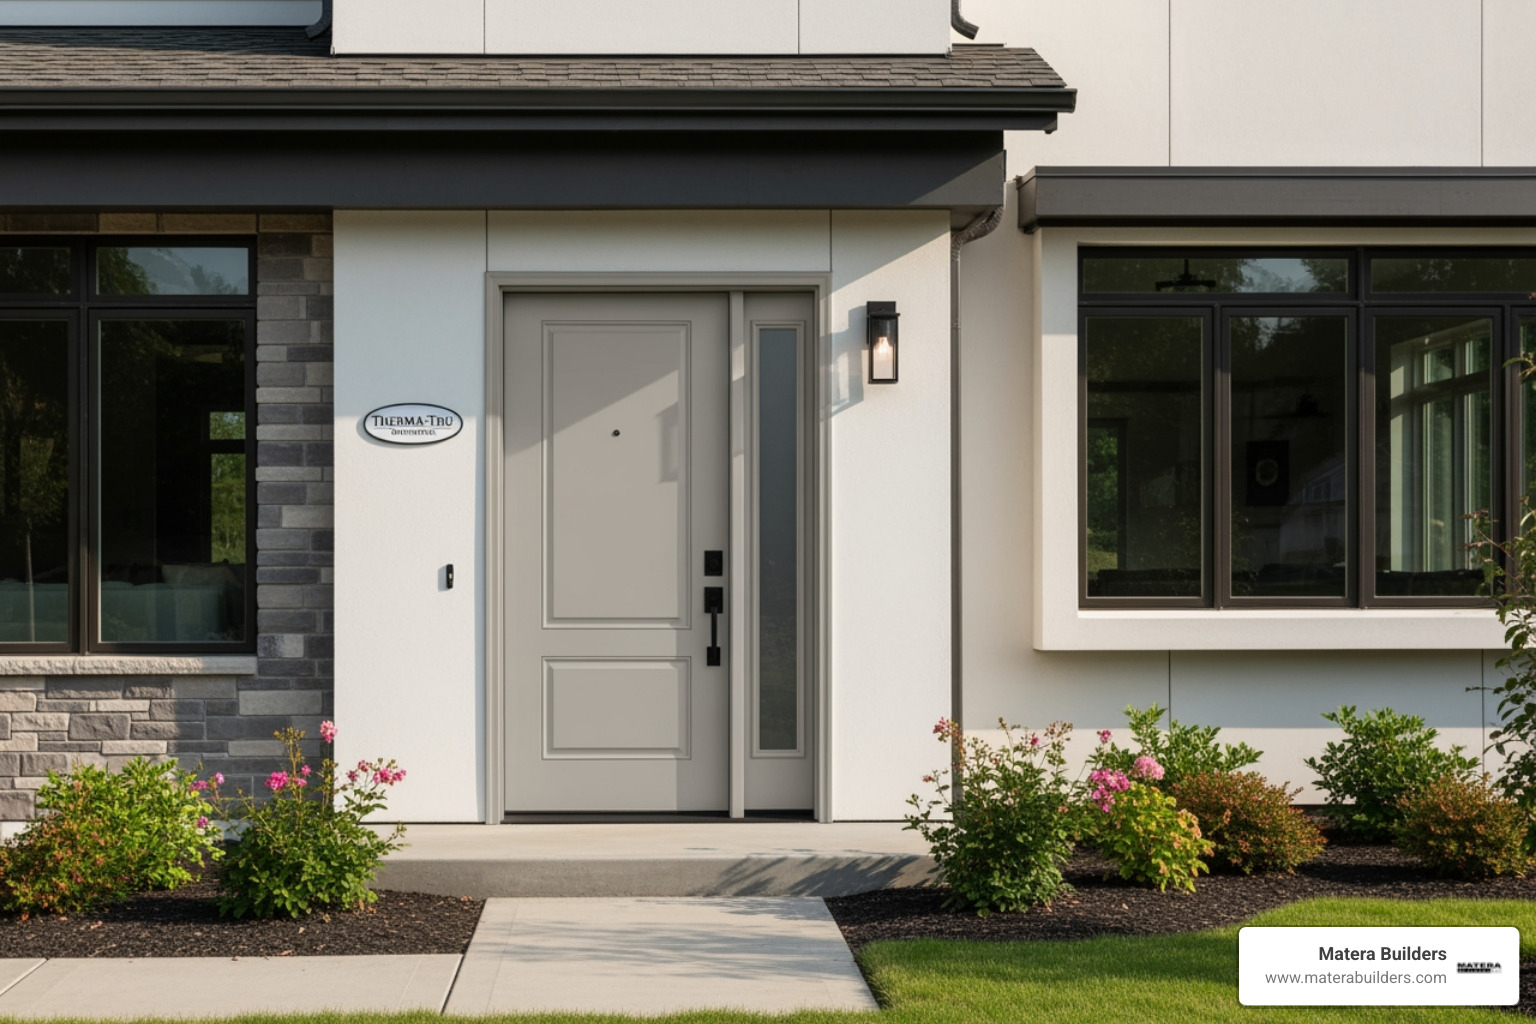
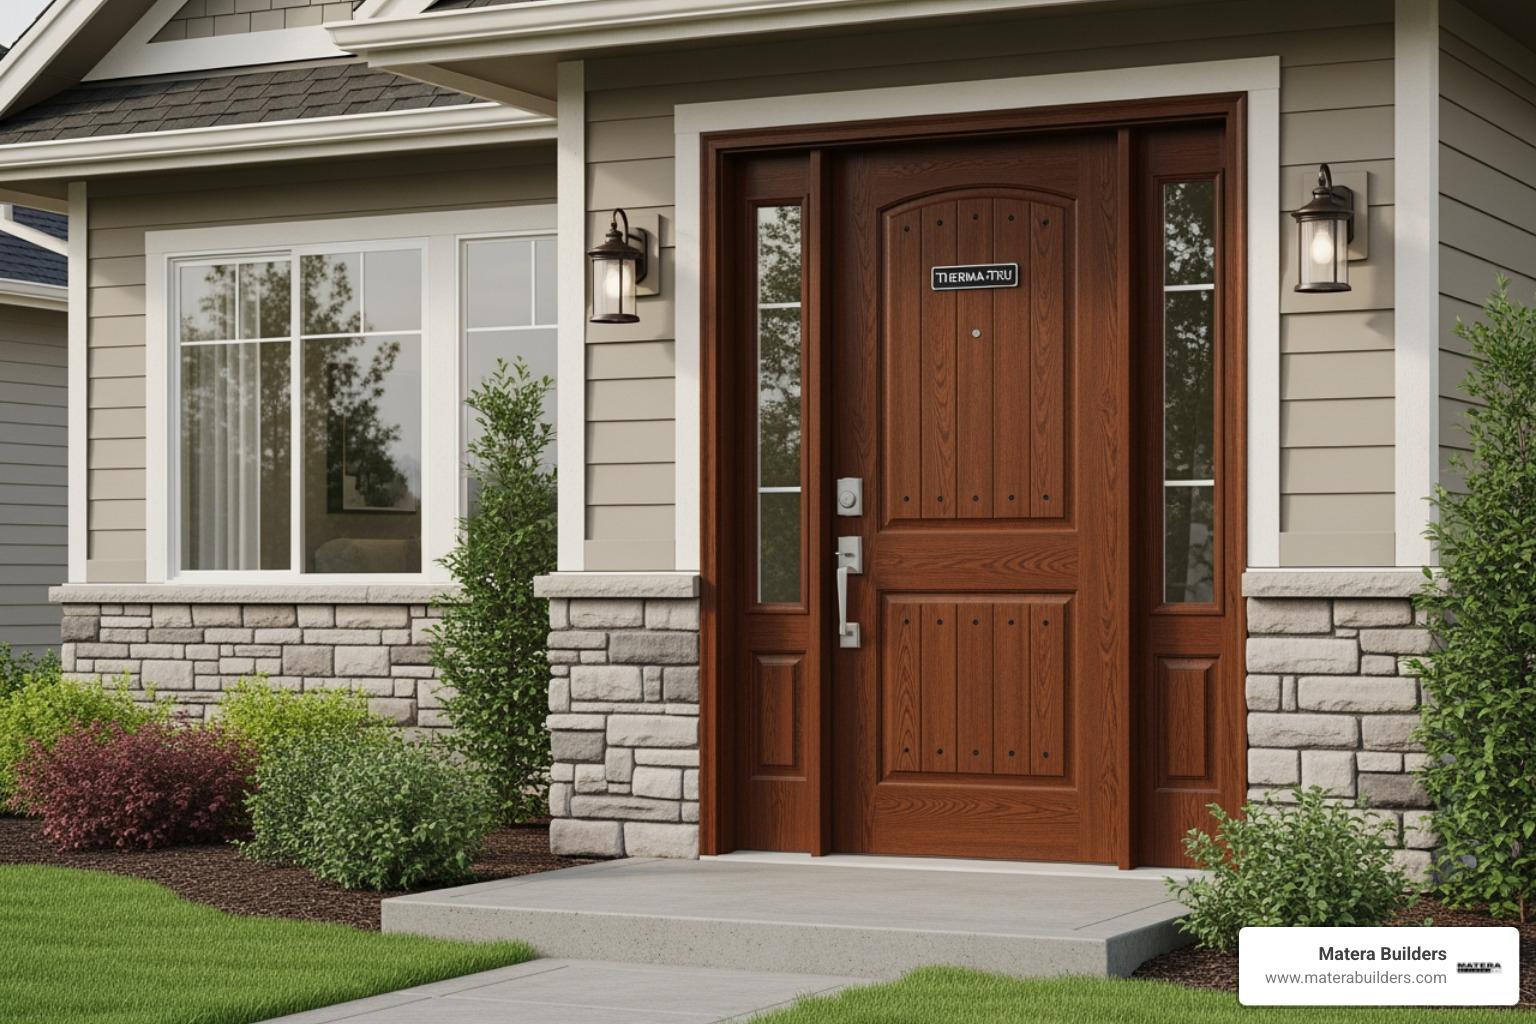
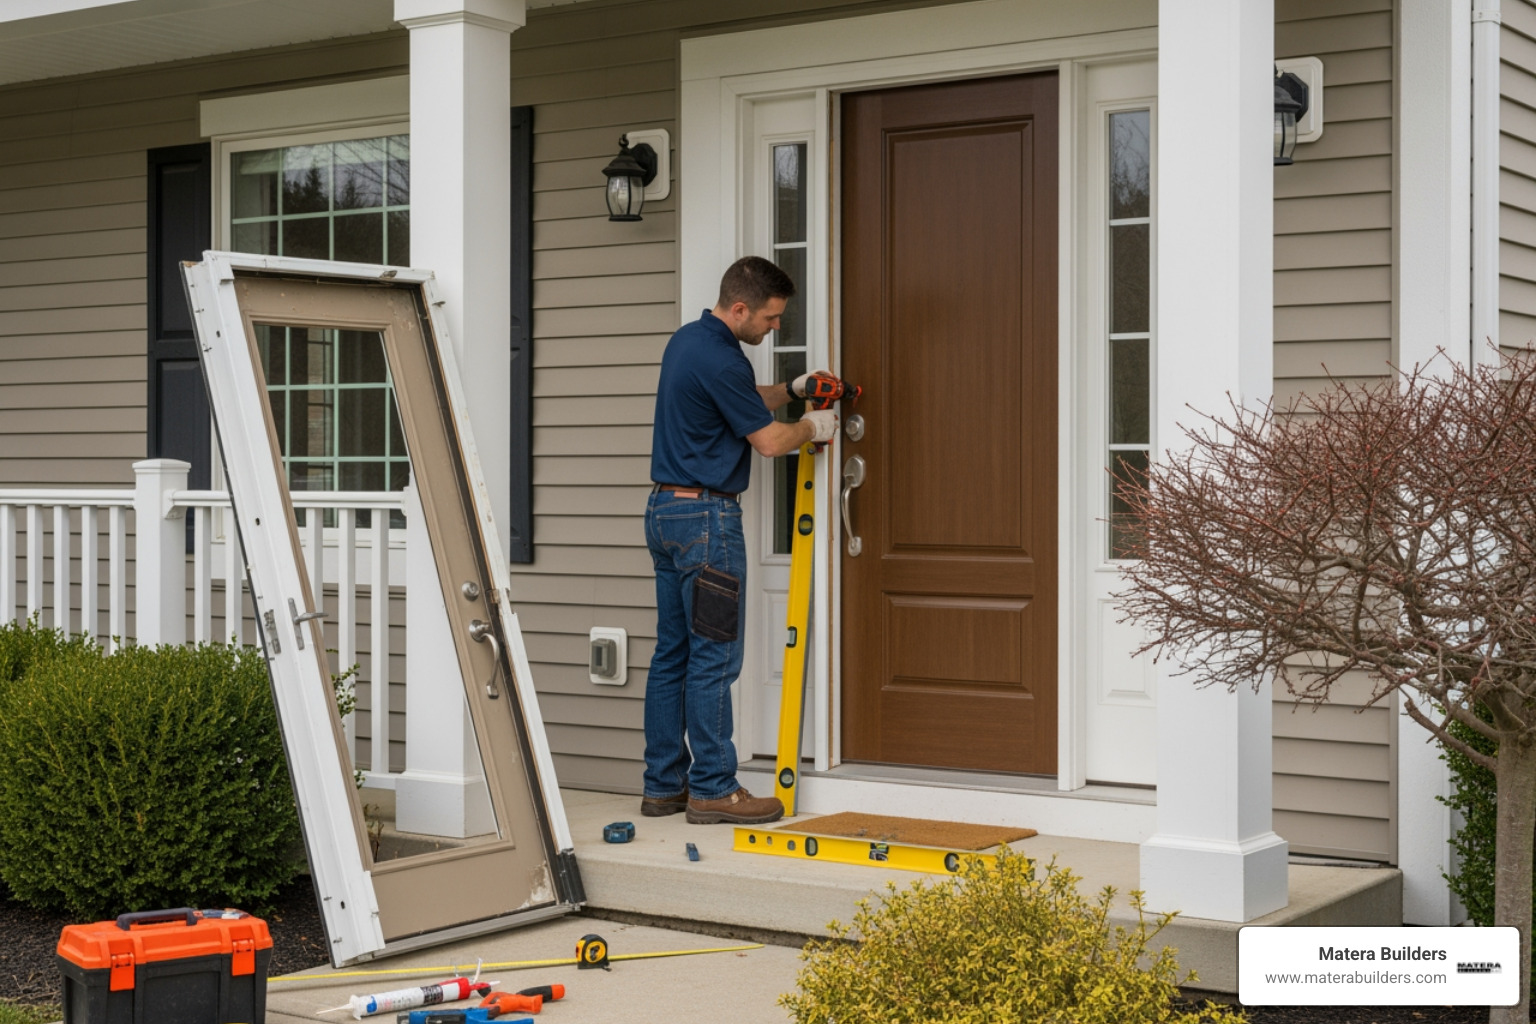
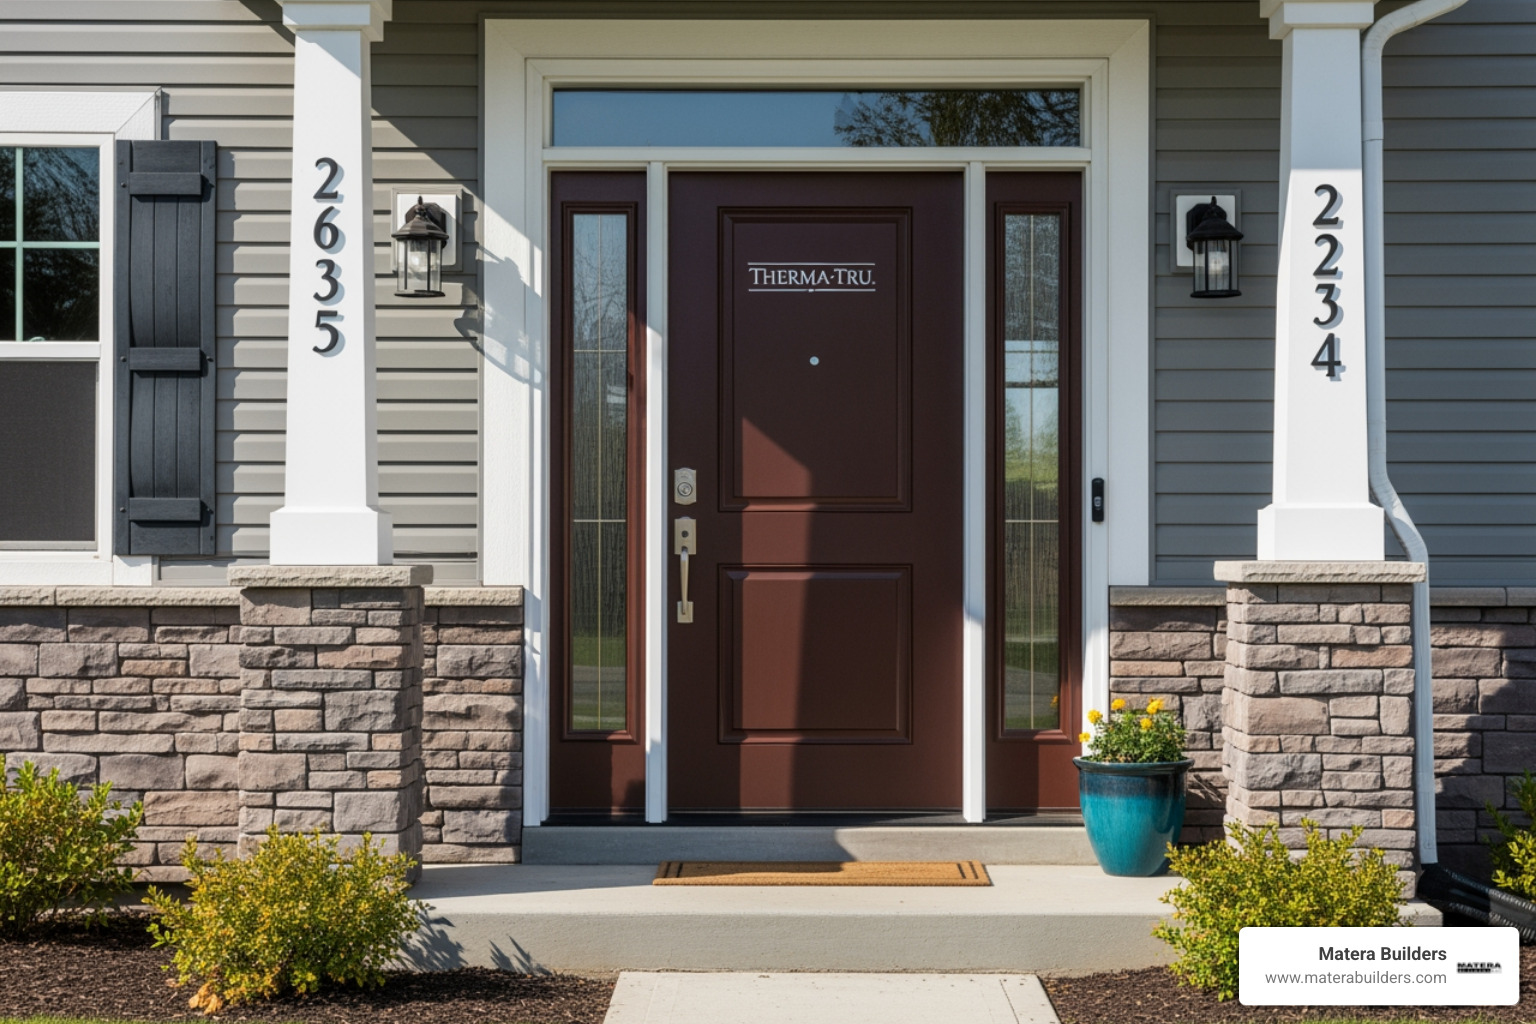
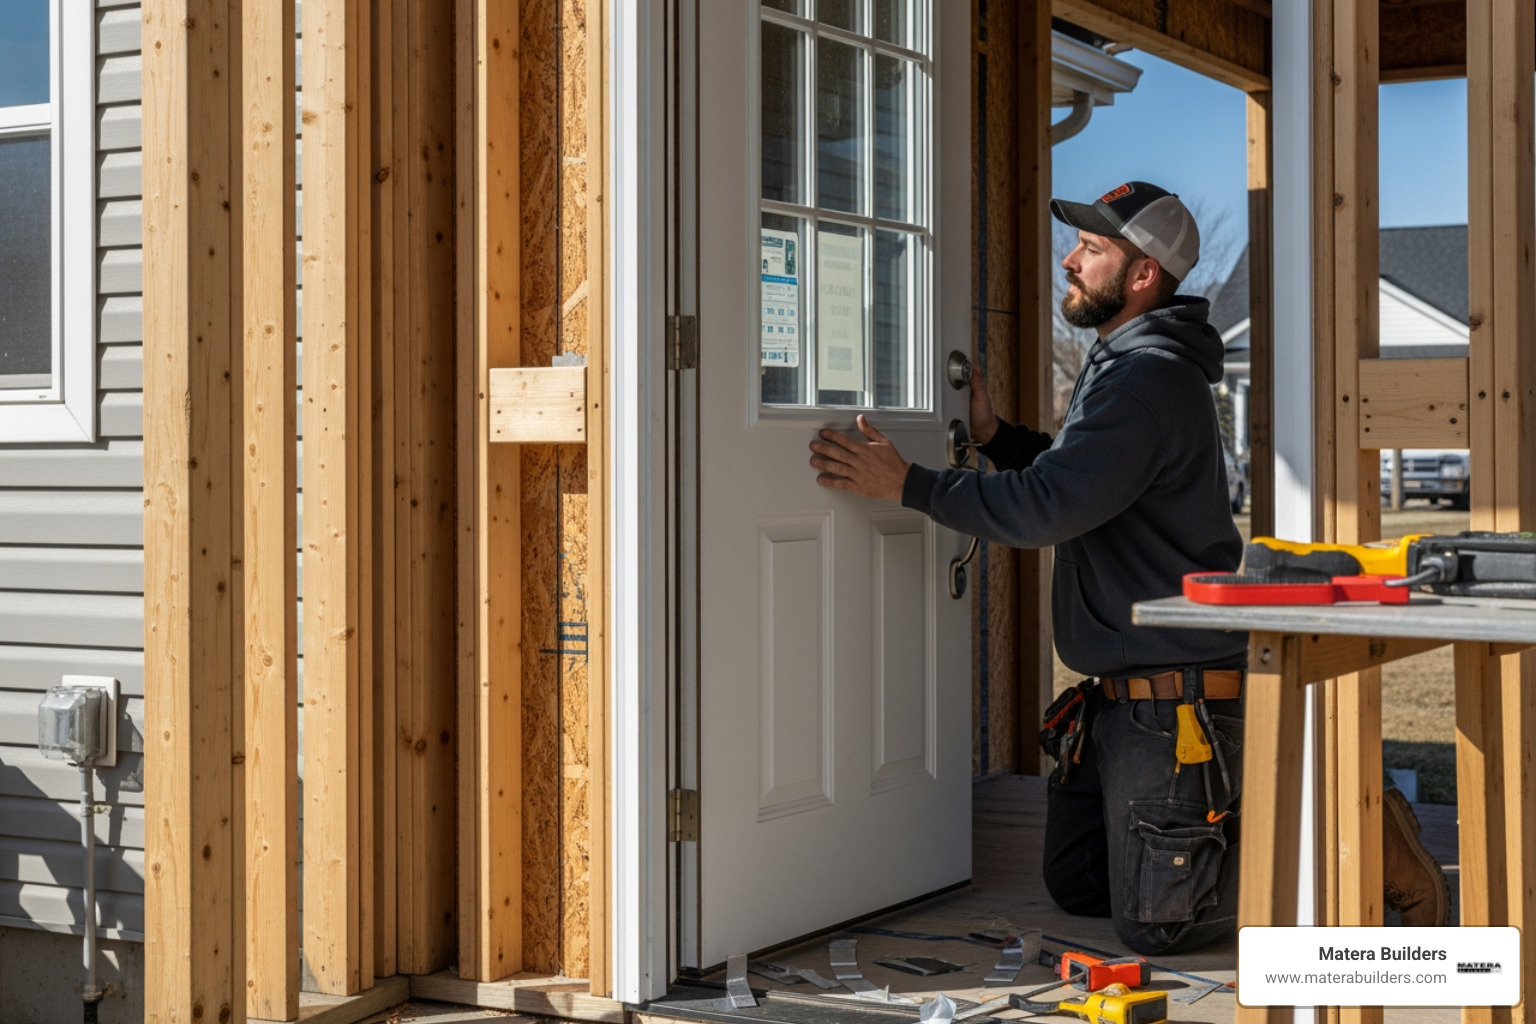
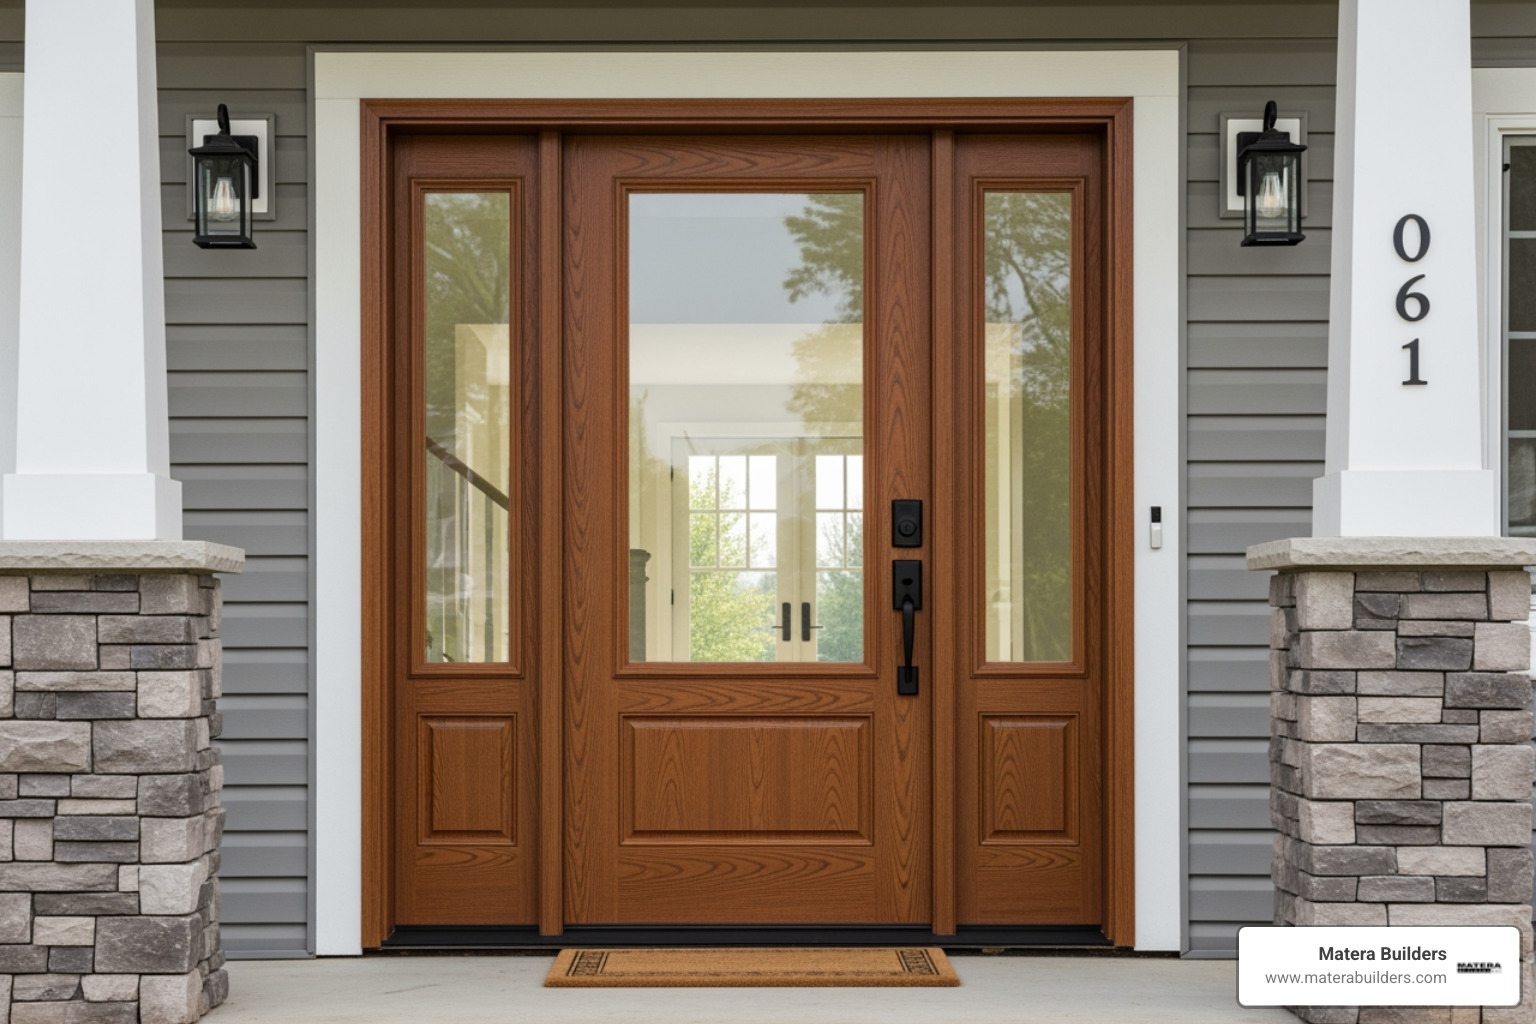
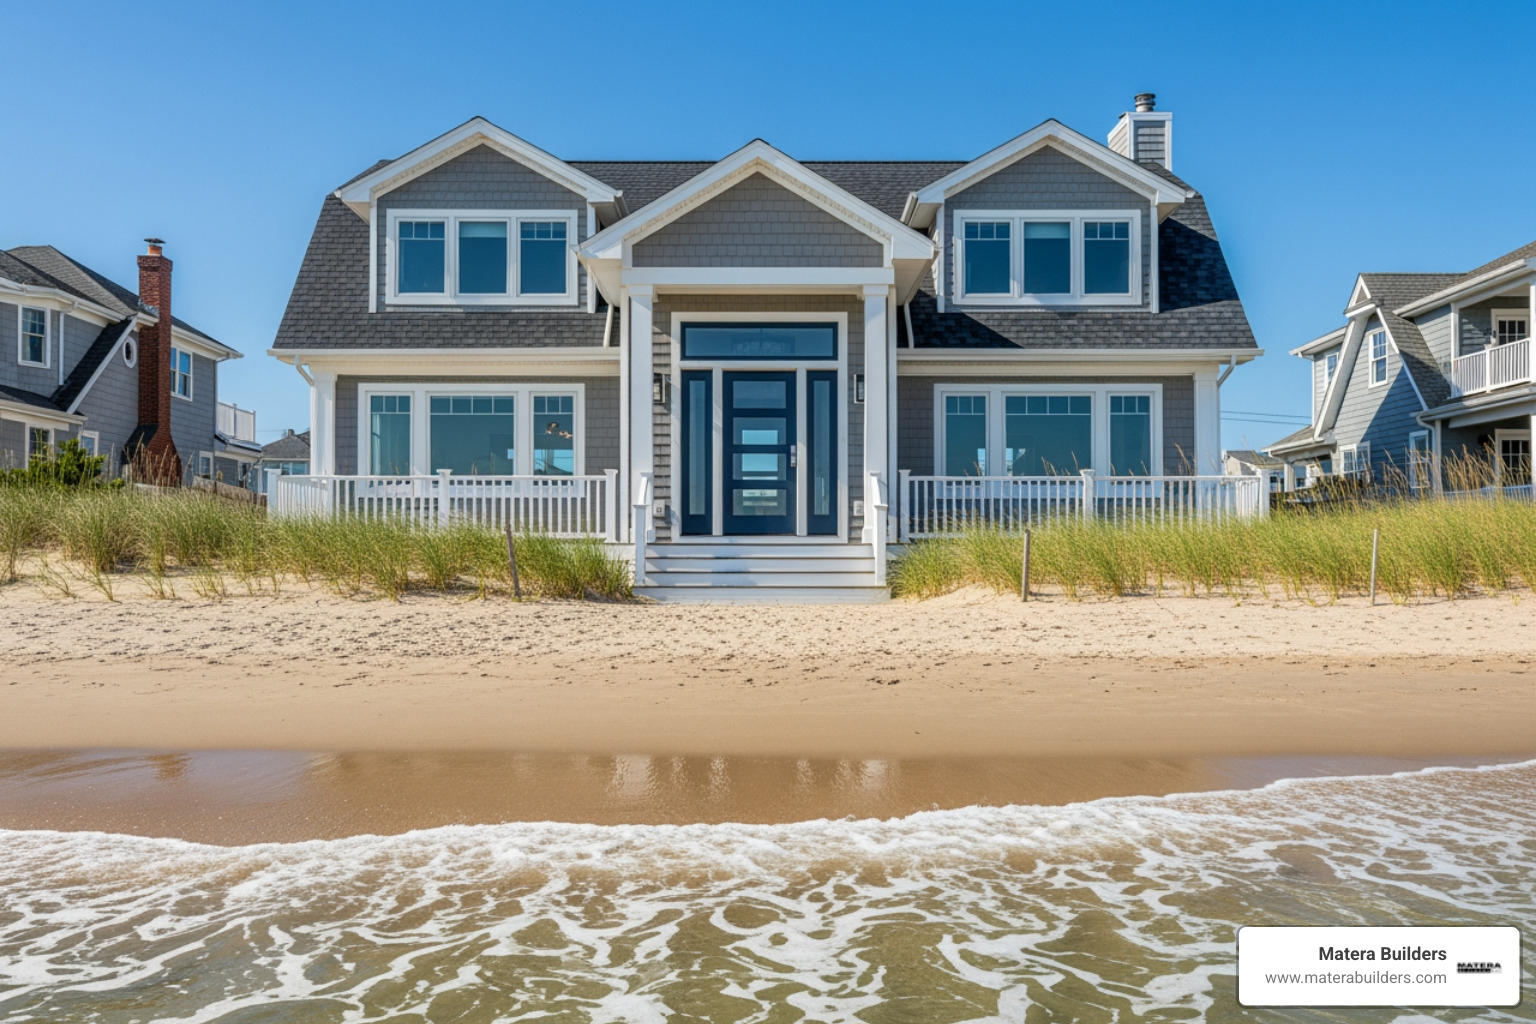
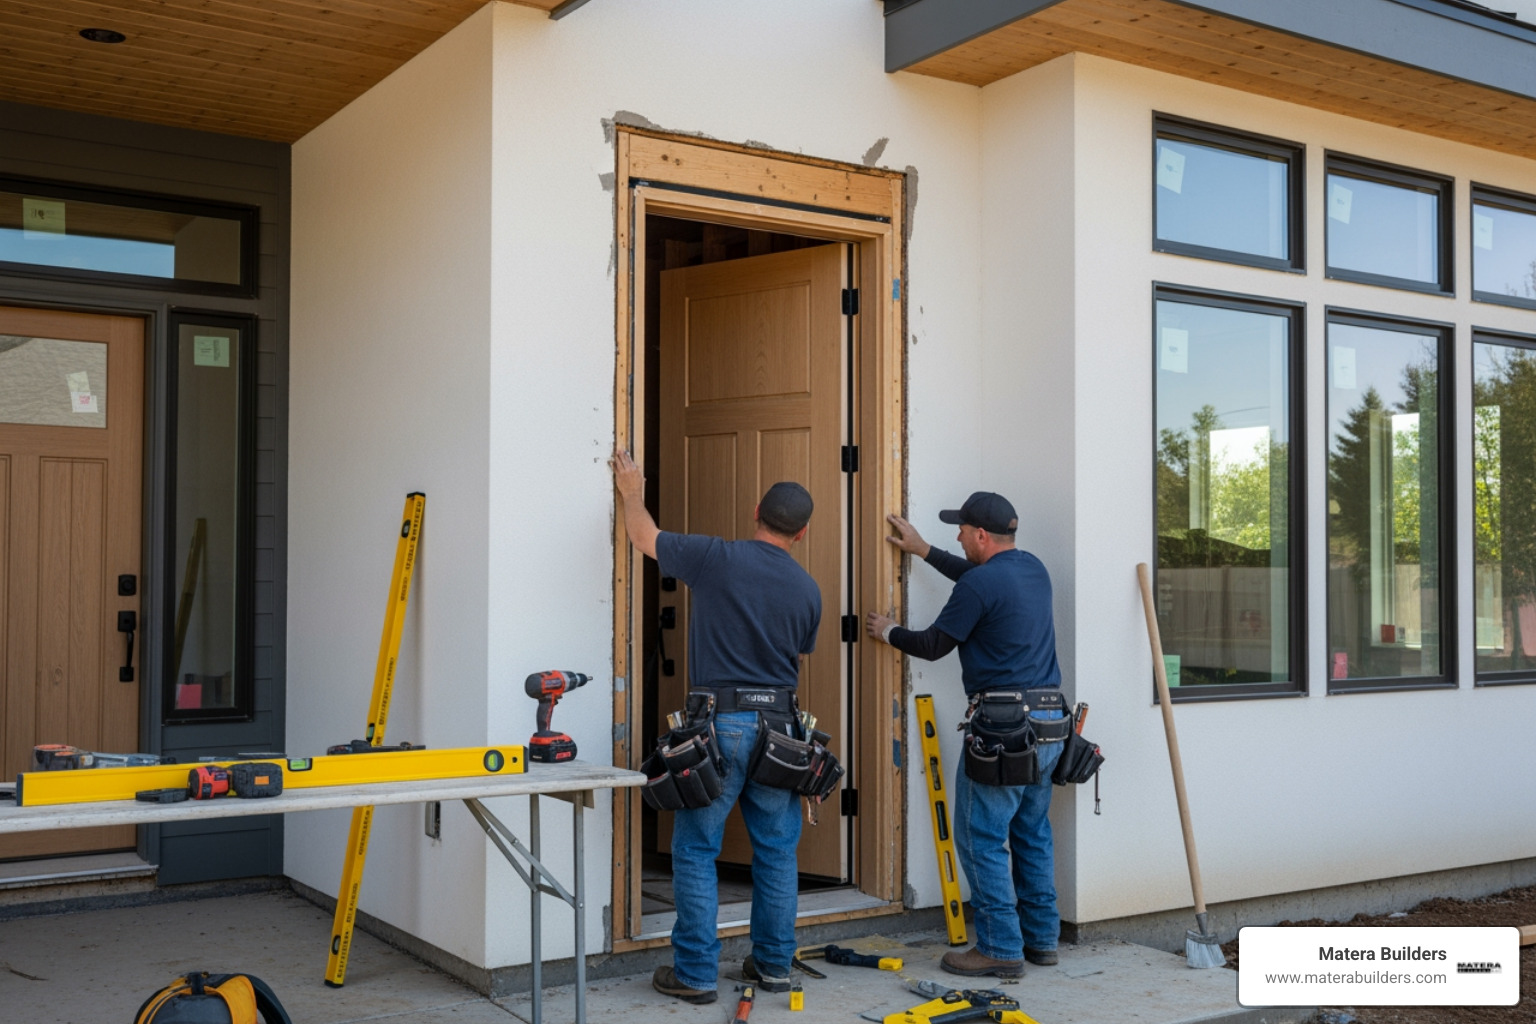
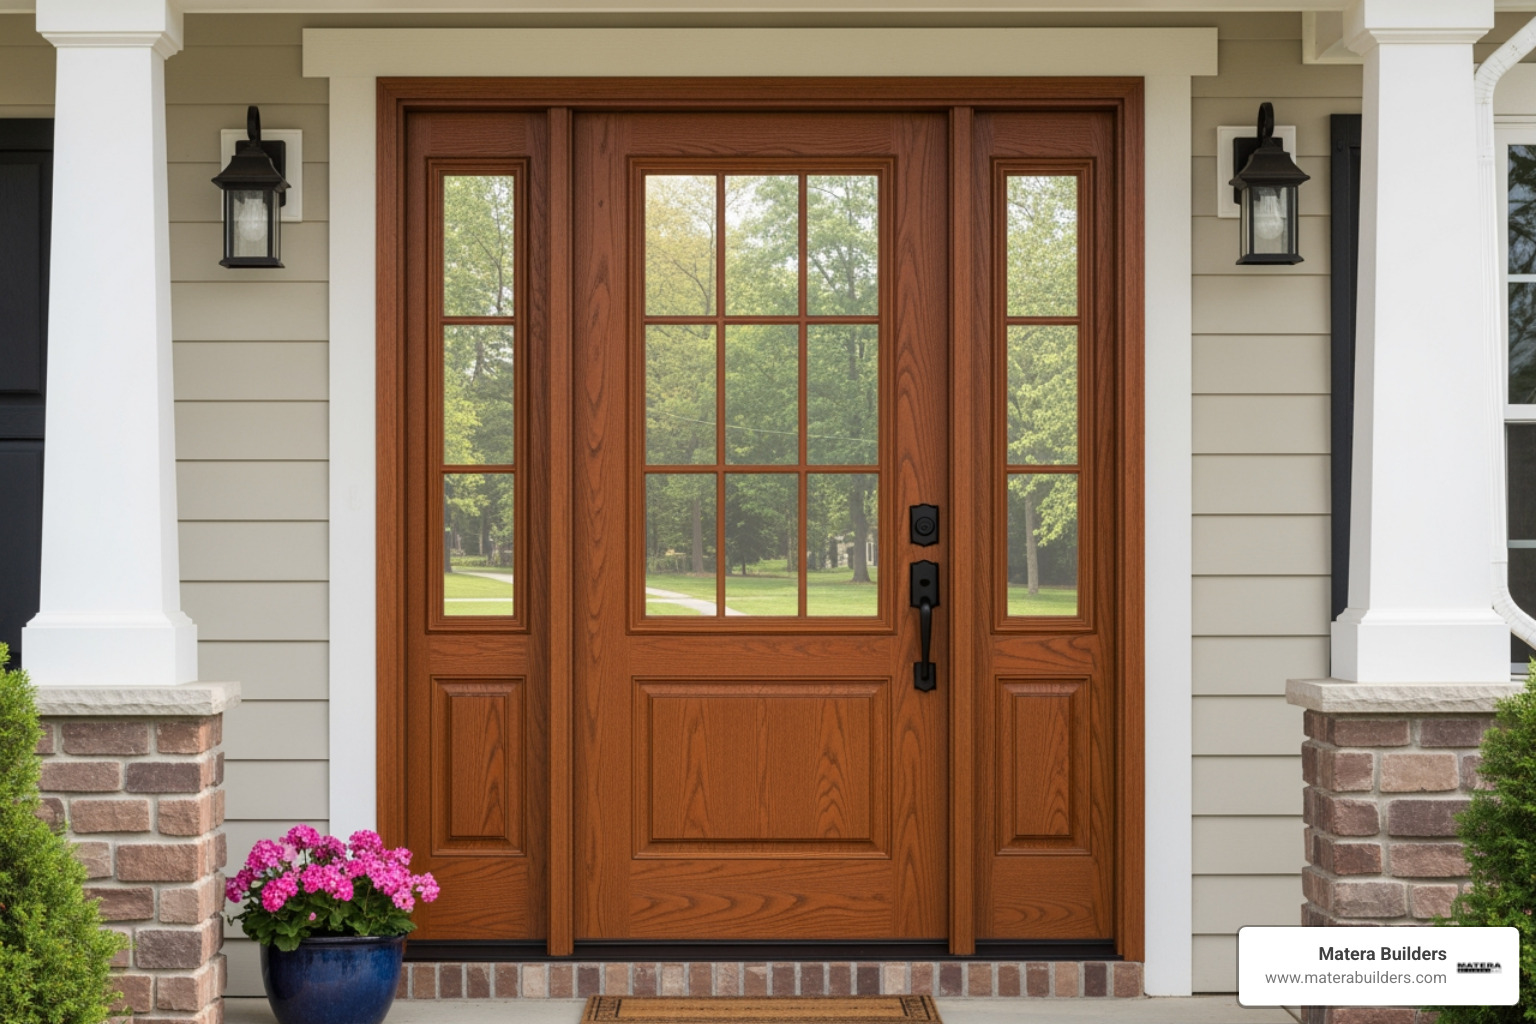
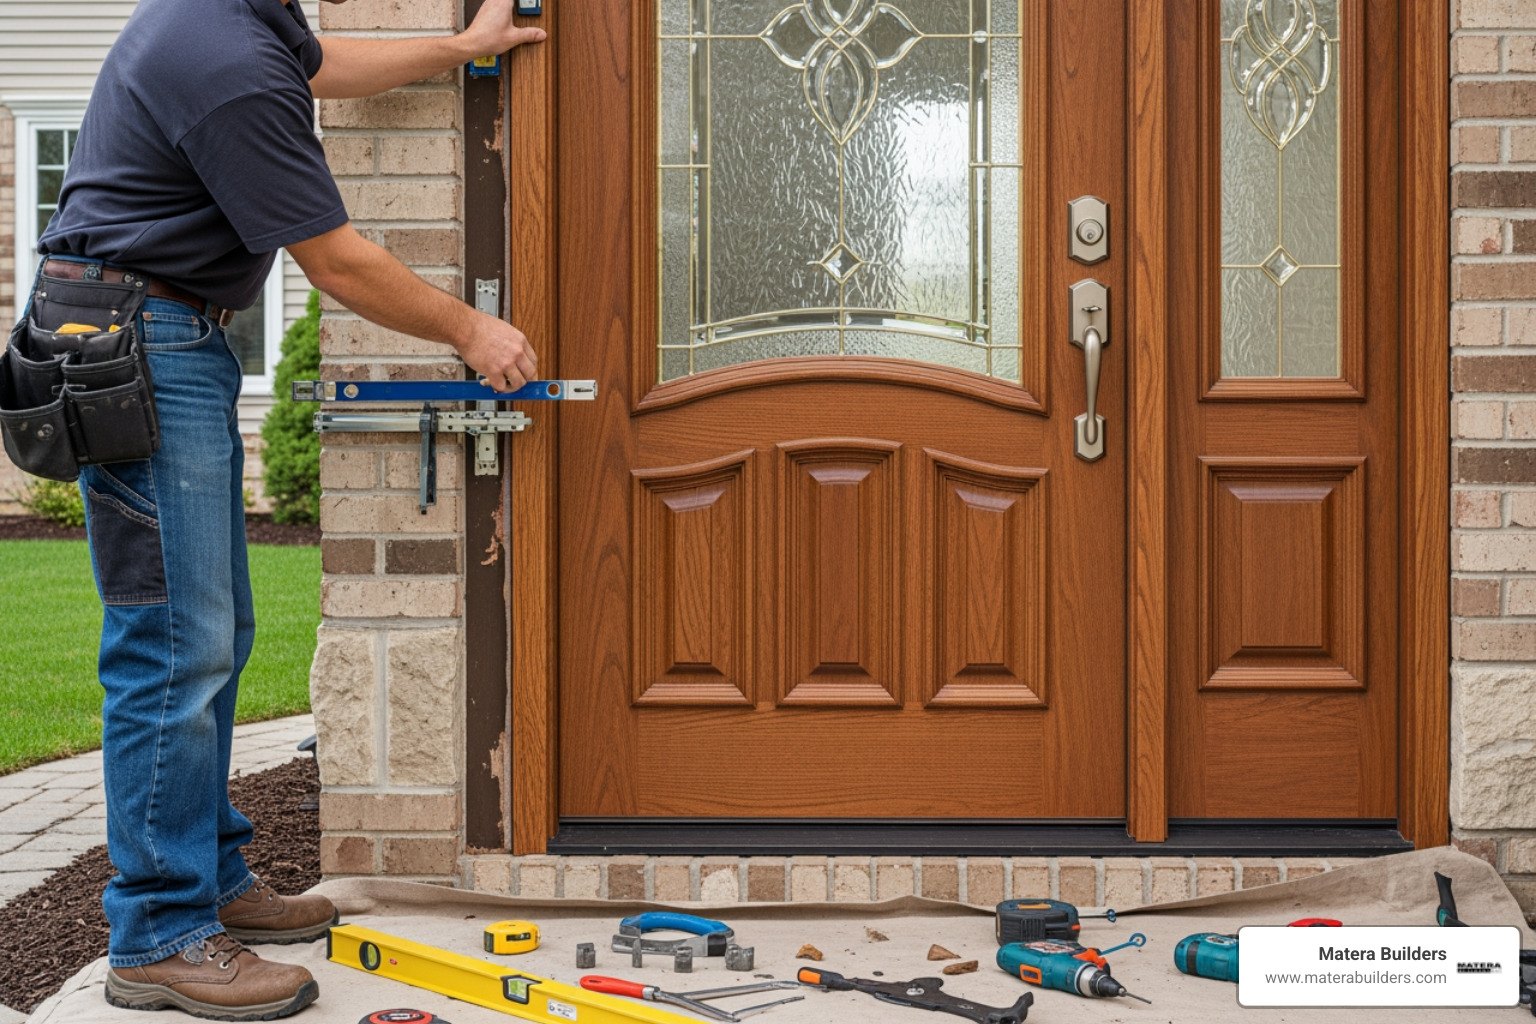
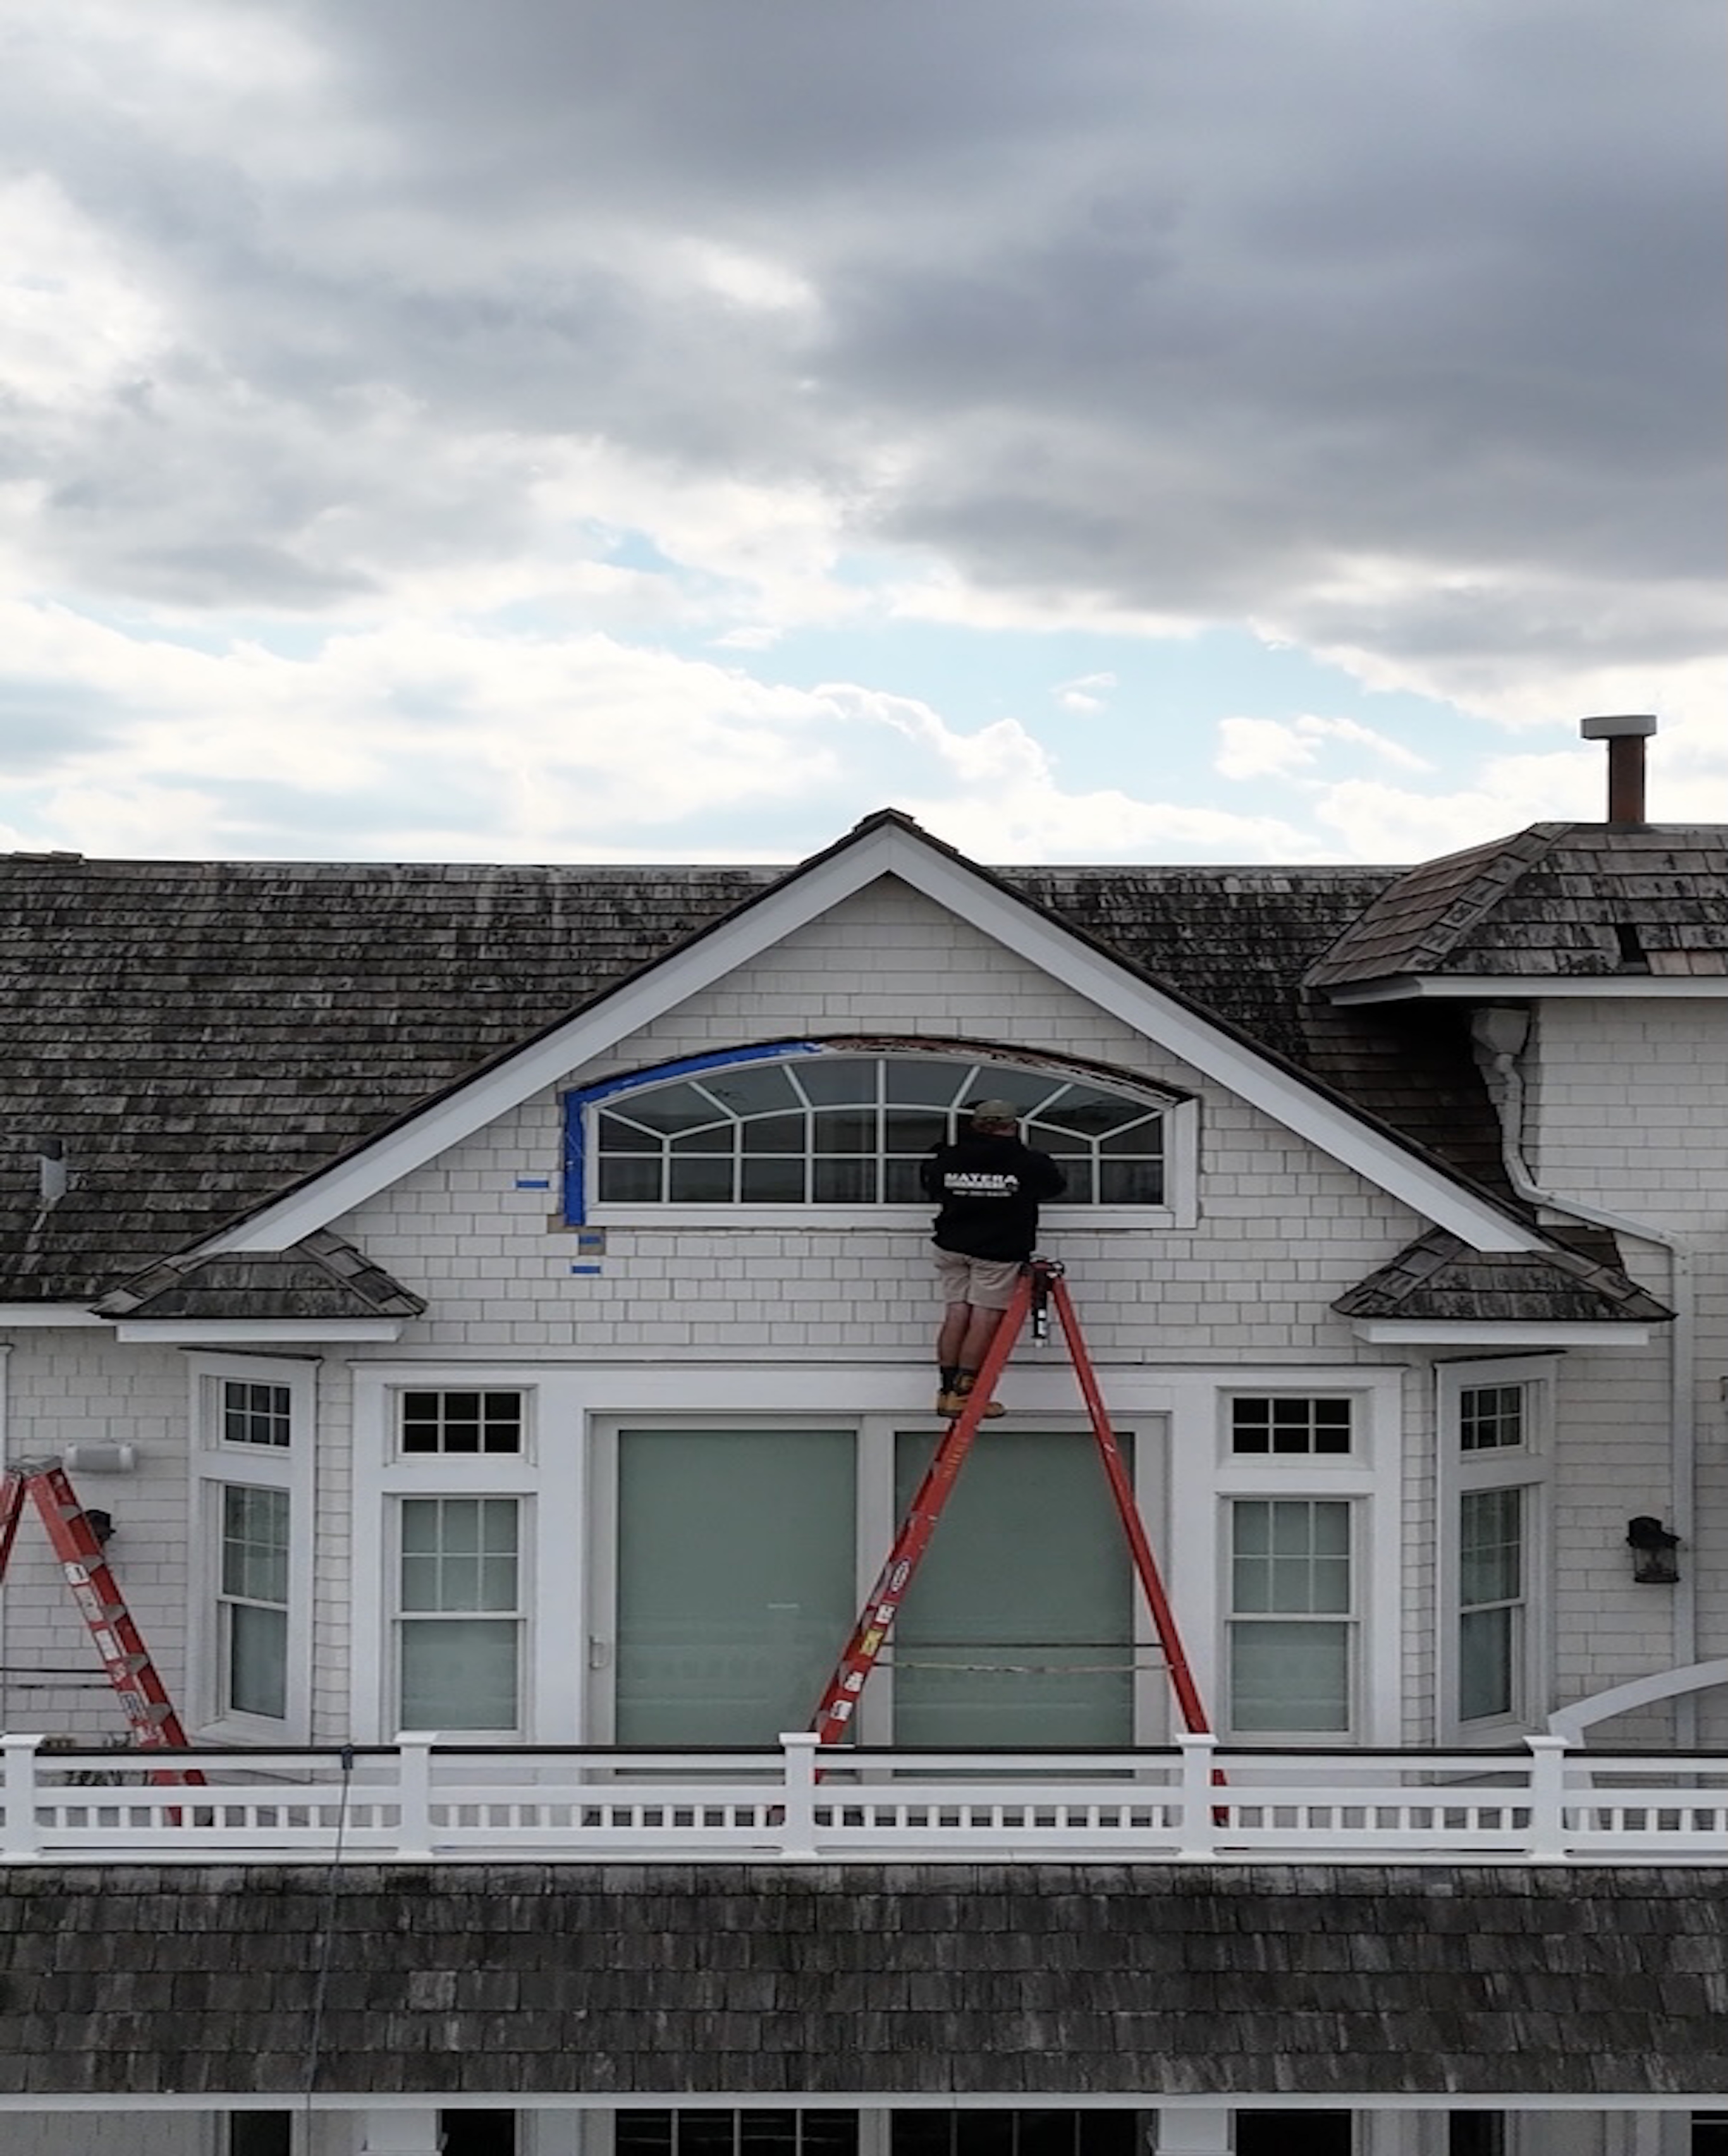
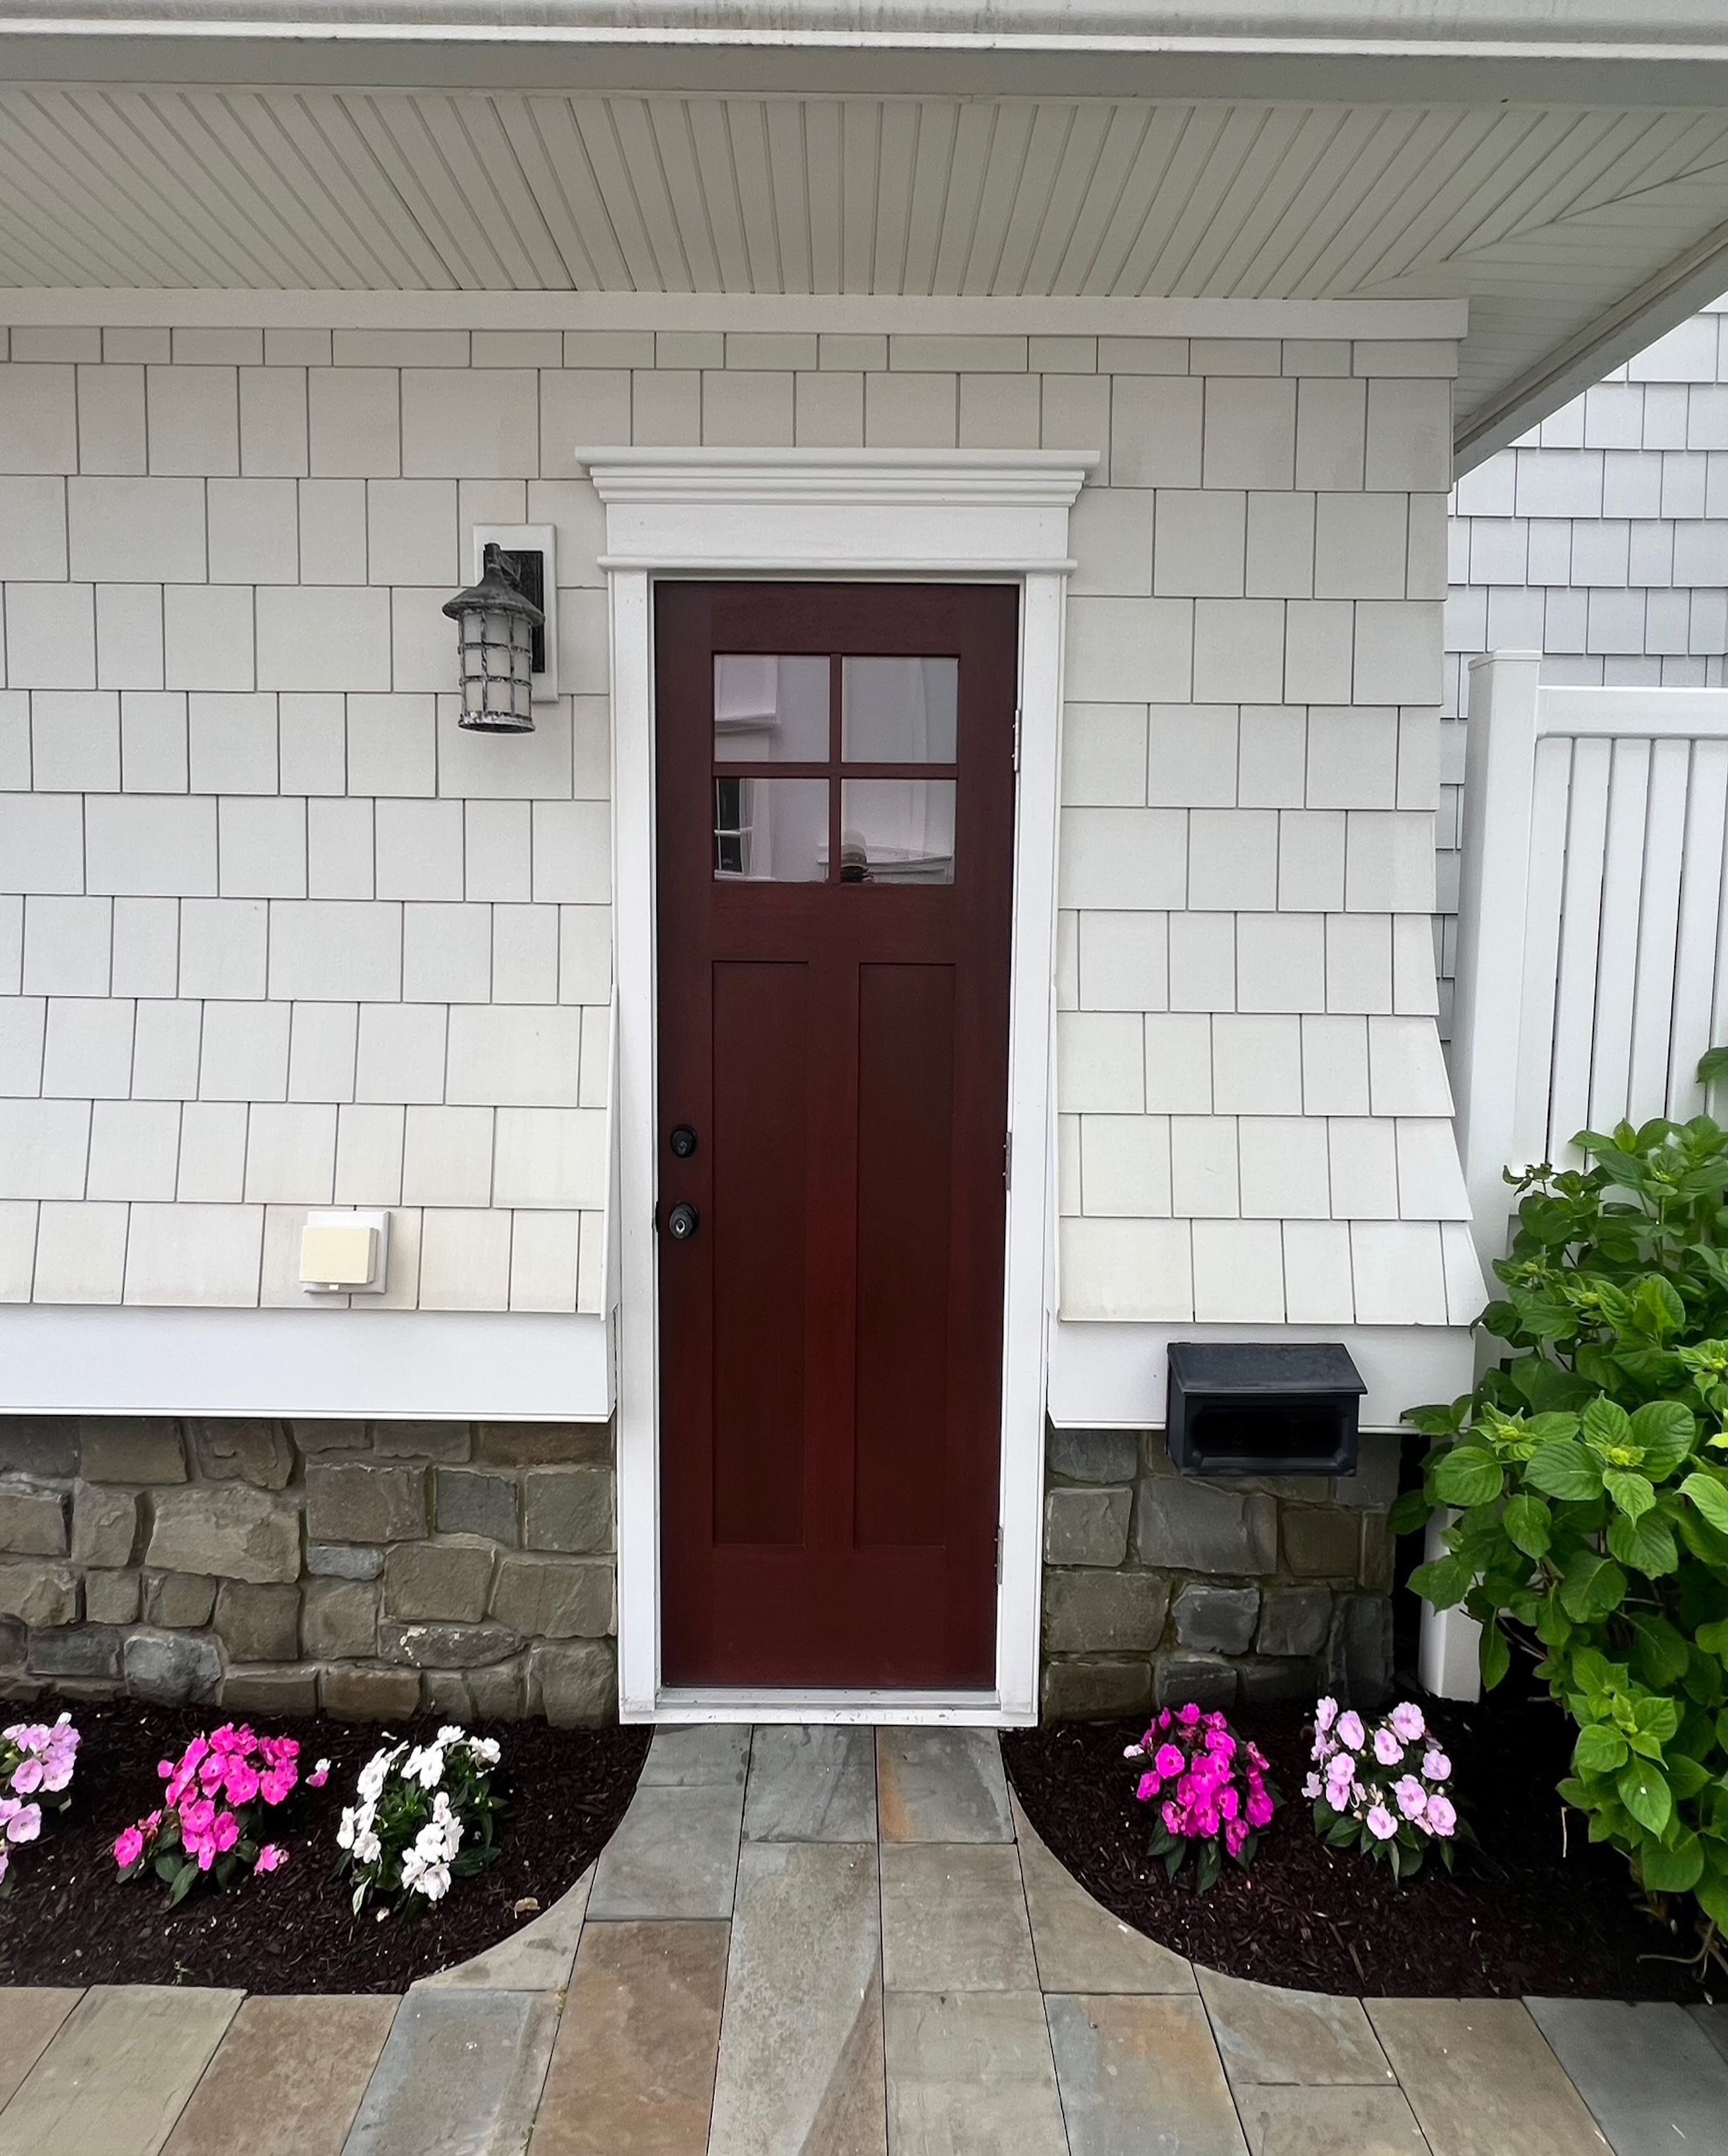
Upgrading Windows and Doors for Coastal Efficiency
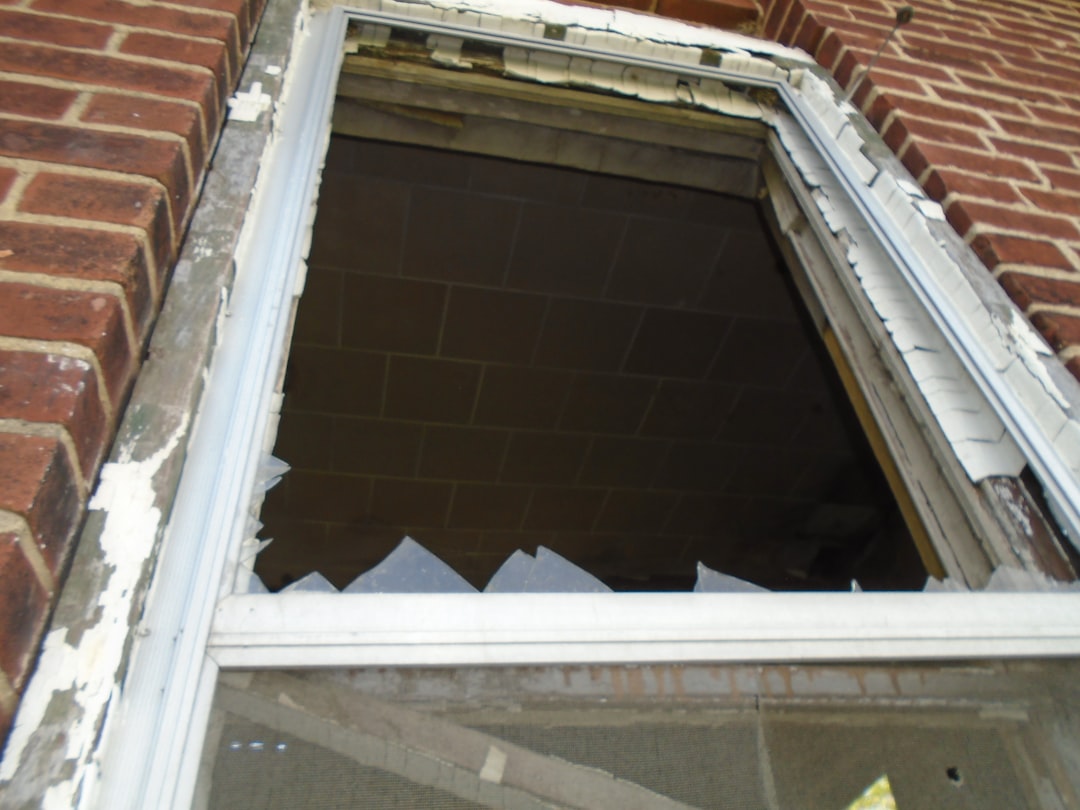
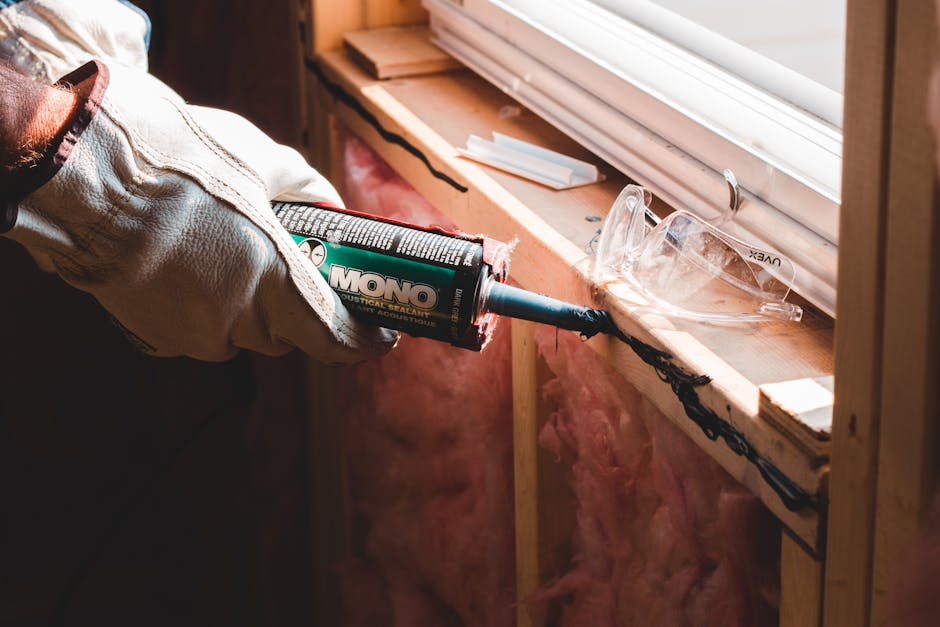
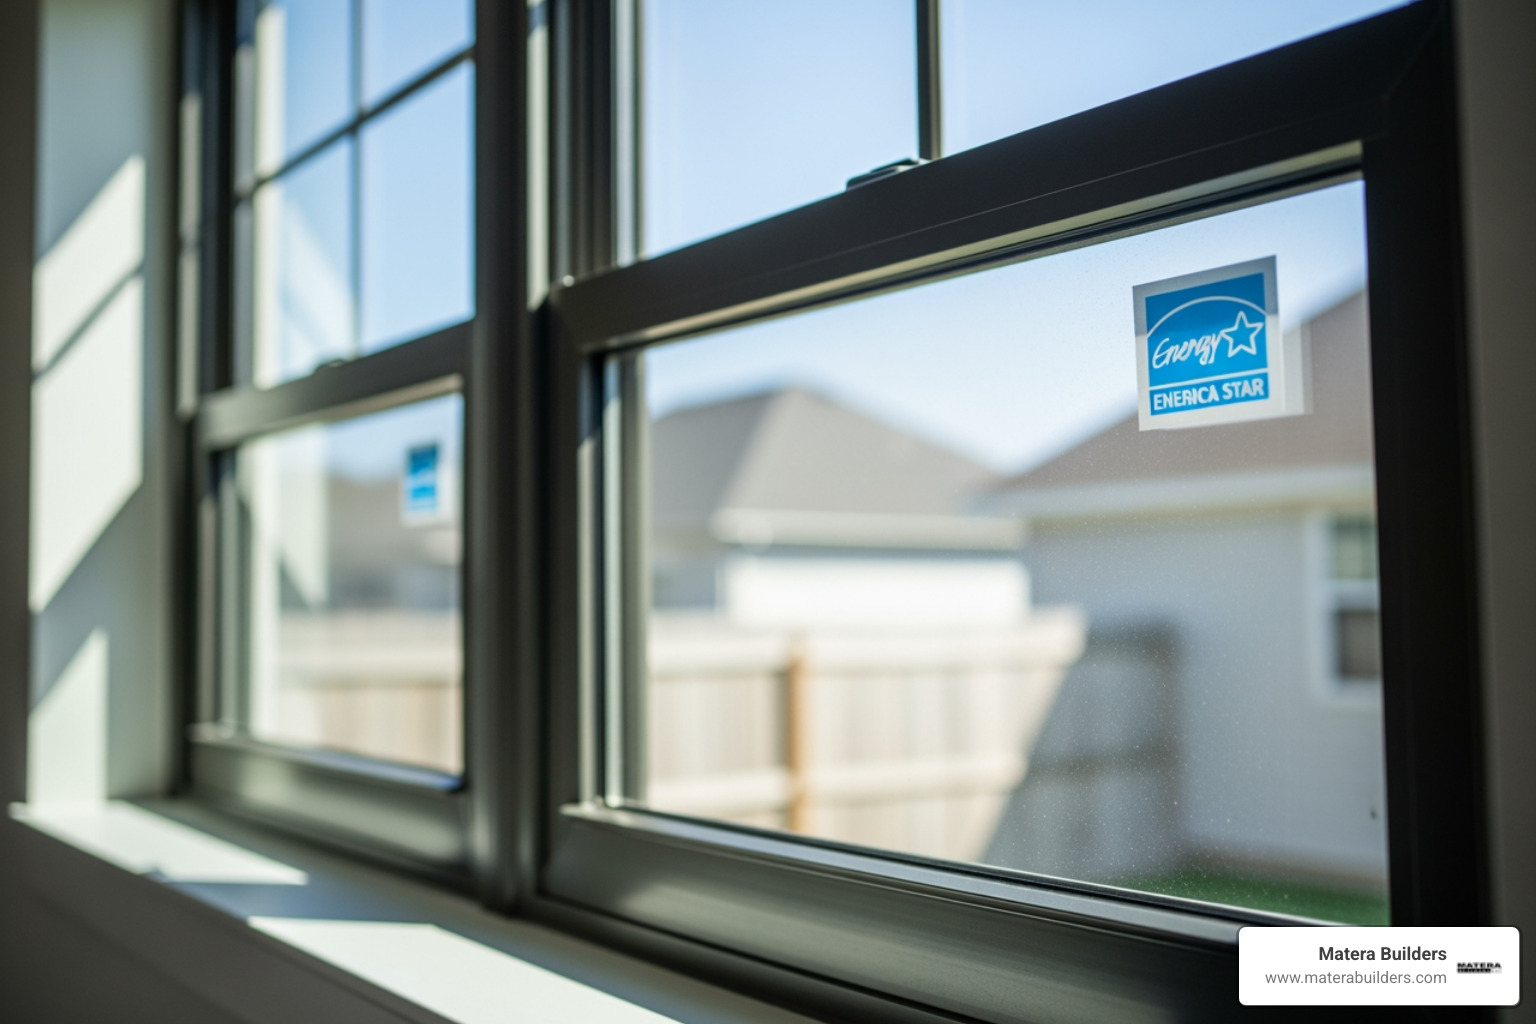
If you live near the ocean in New Jersey, your kitchen windows and doors face tough conditions. Drafts, salt air corrosion, water intrusion, and rising energy bills are common problems in older coastal homes.
When remodeling, you should prioritize high-performance materials. A standard wood window frame will rot quickly when exposed to coastal humidity and salt spray.
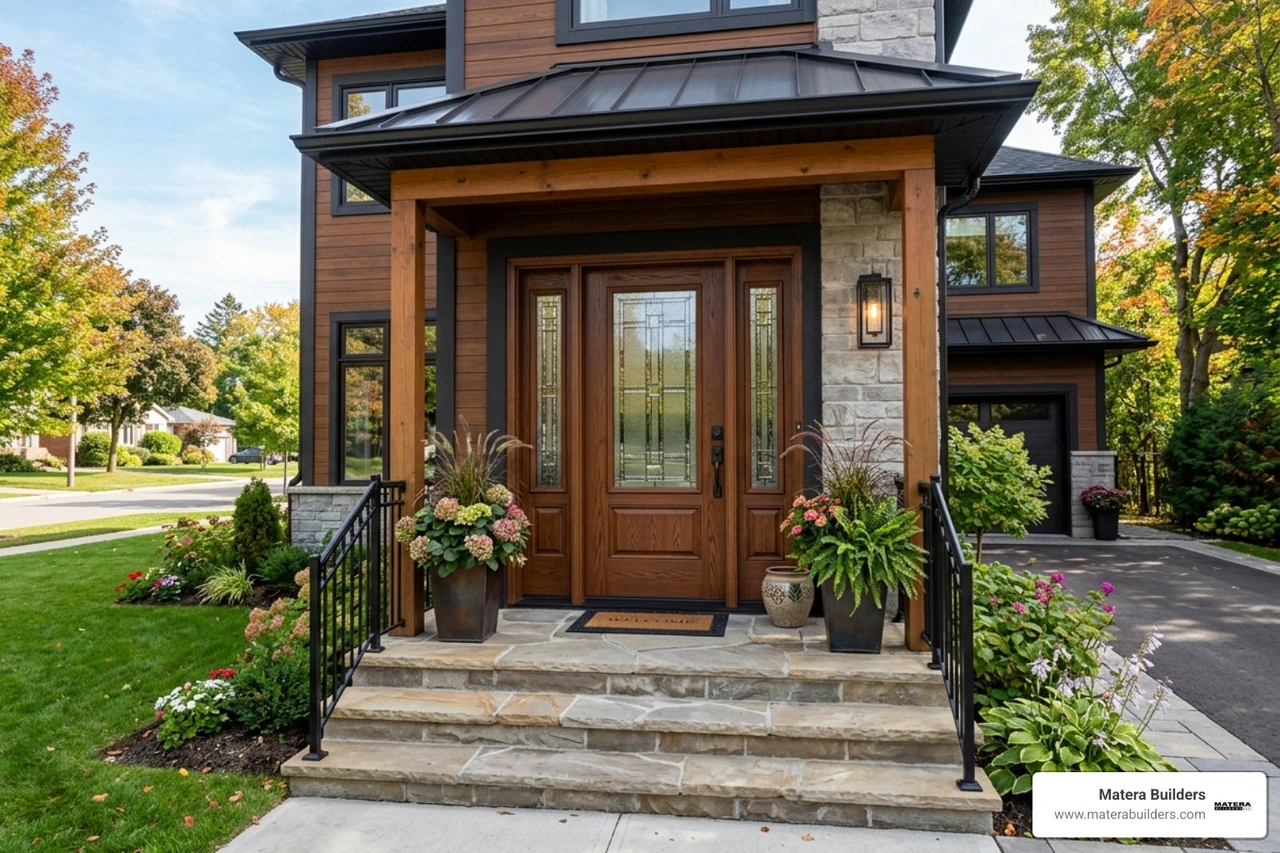
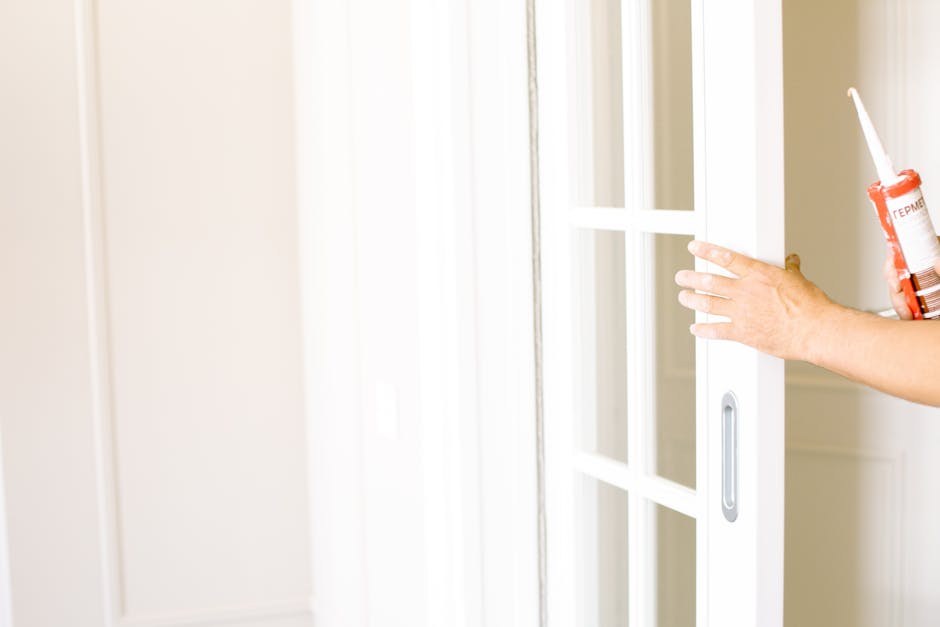
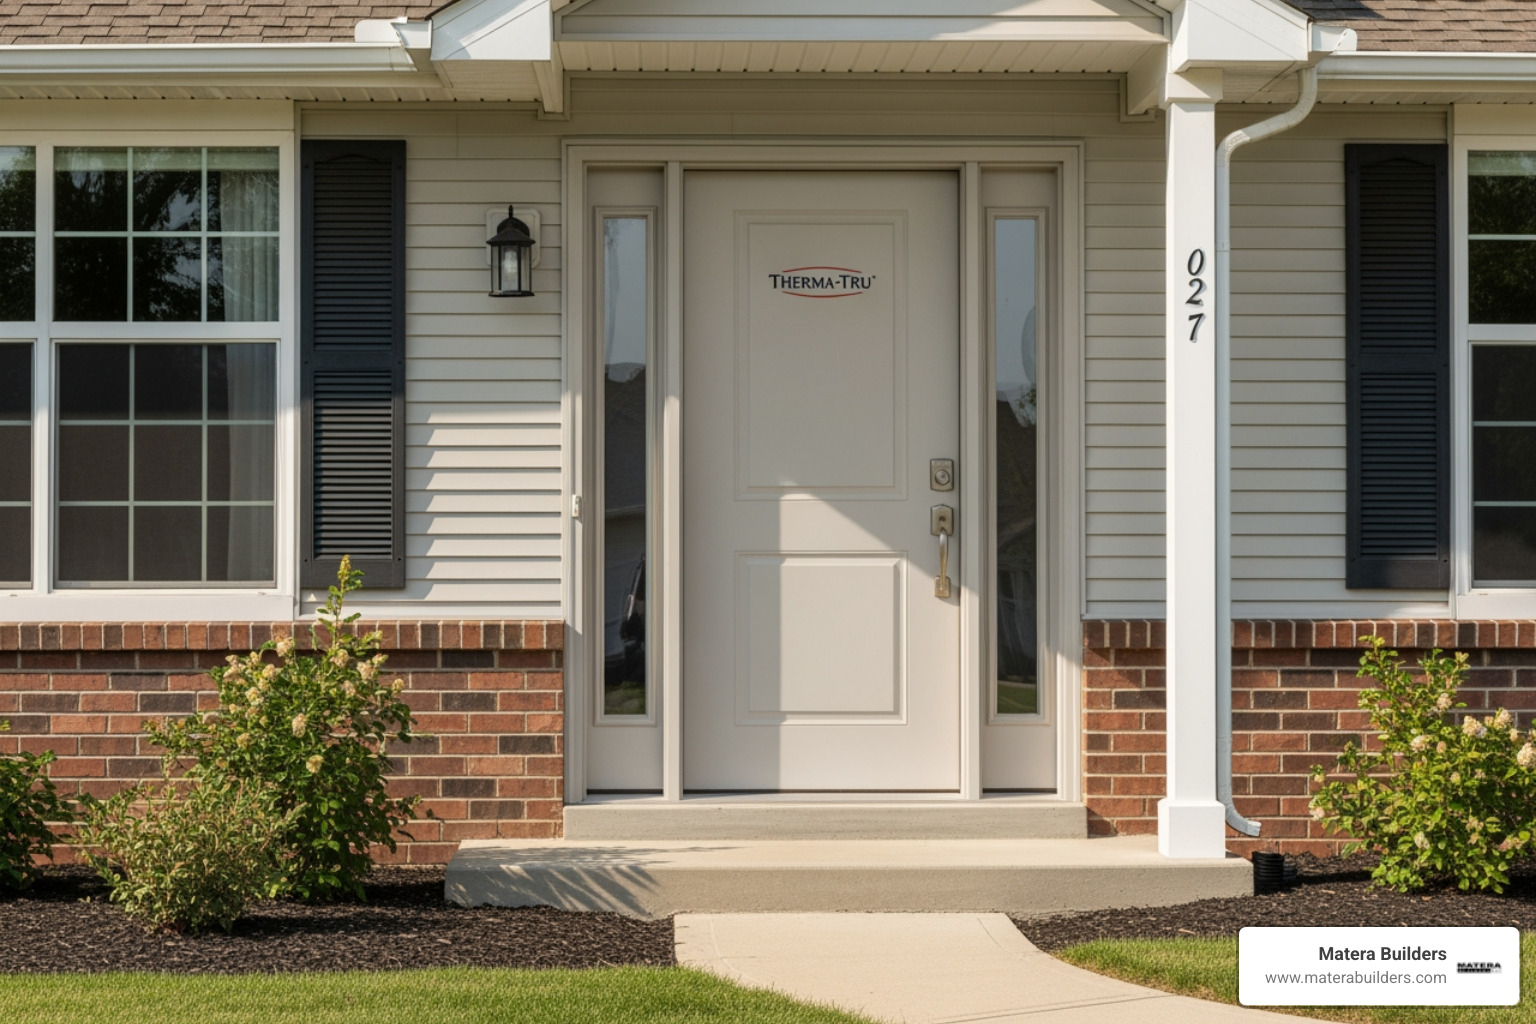
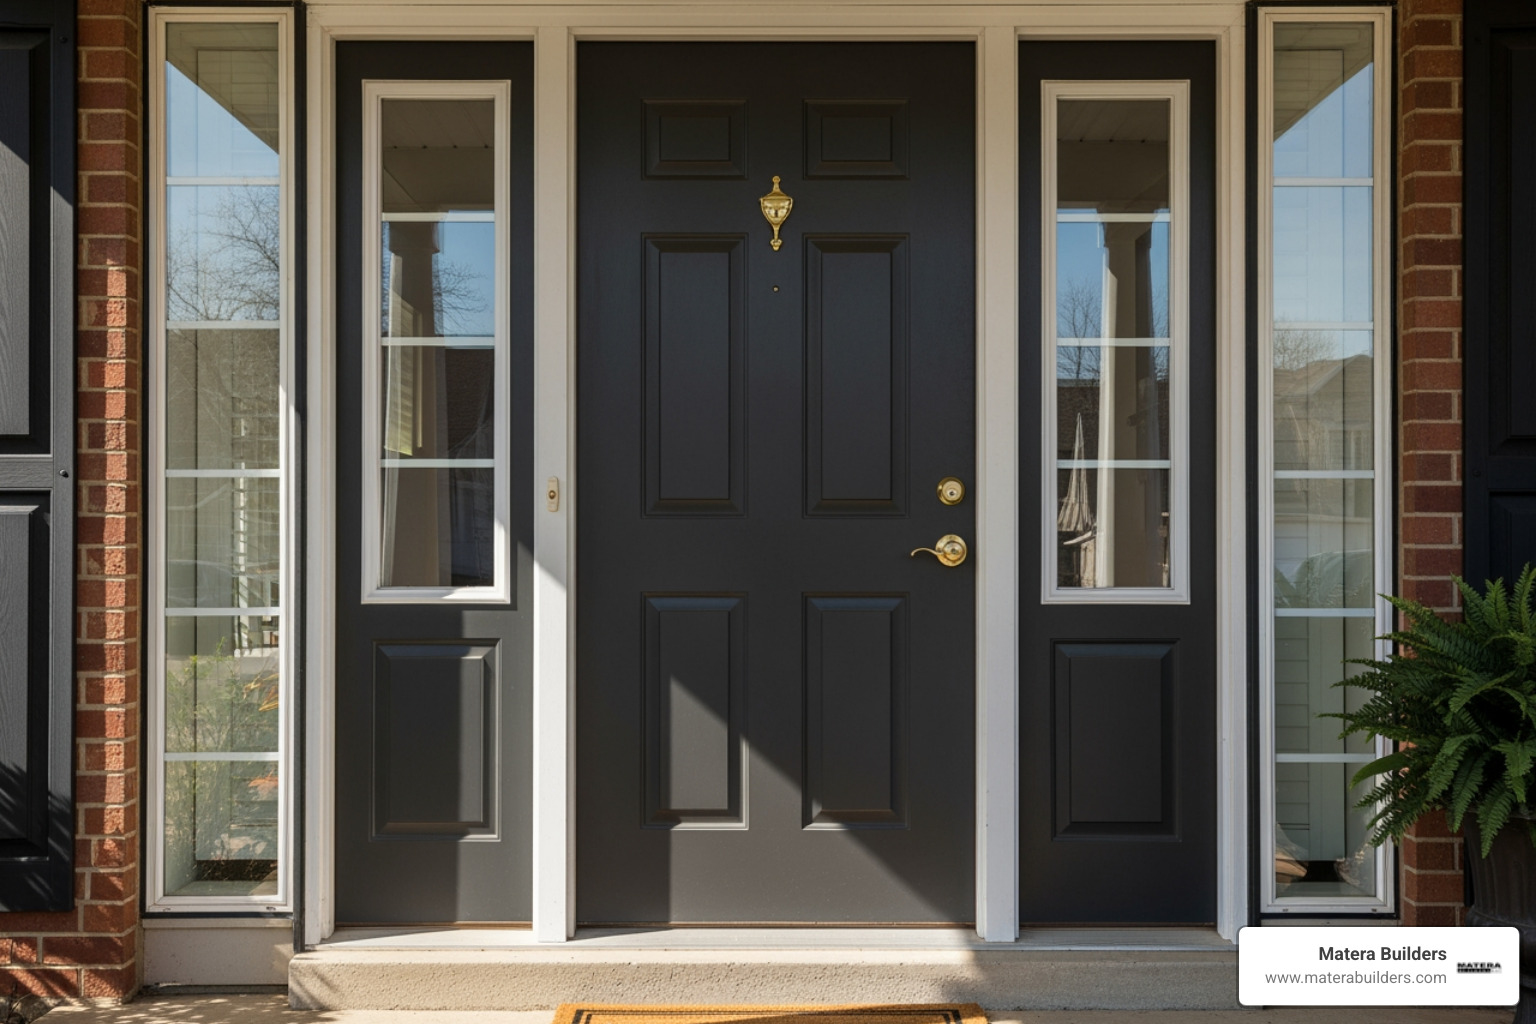
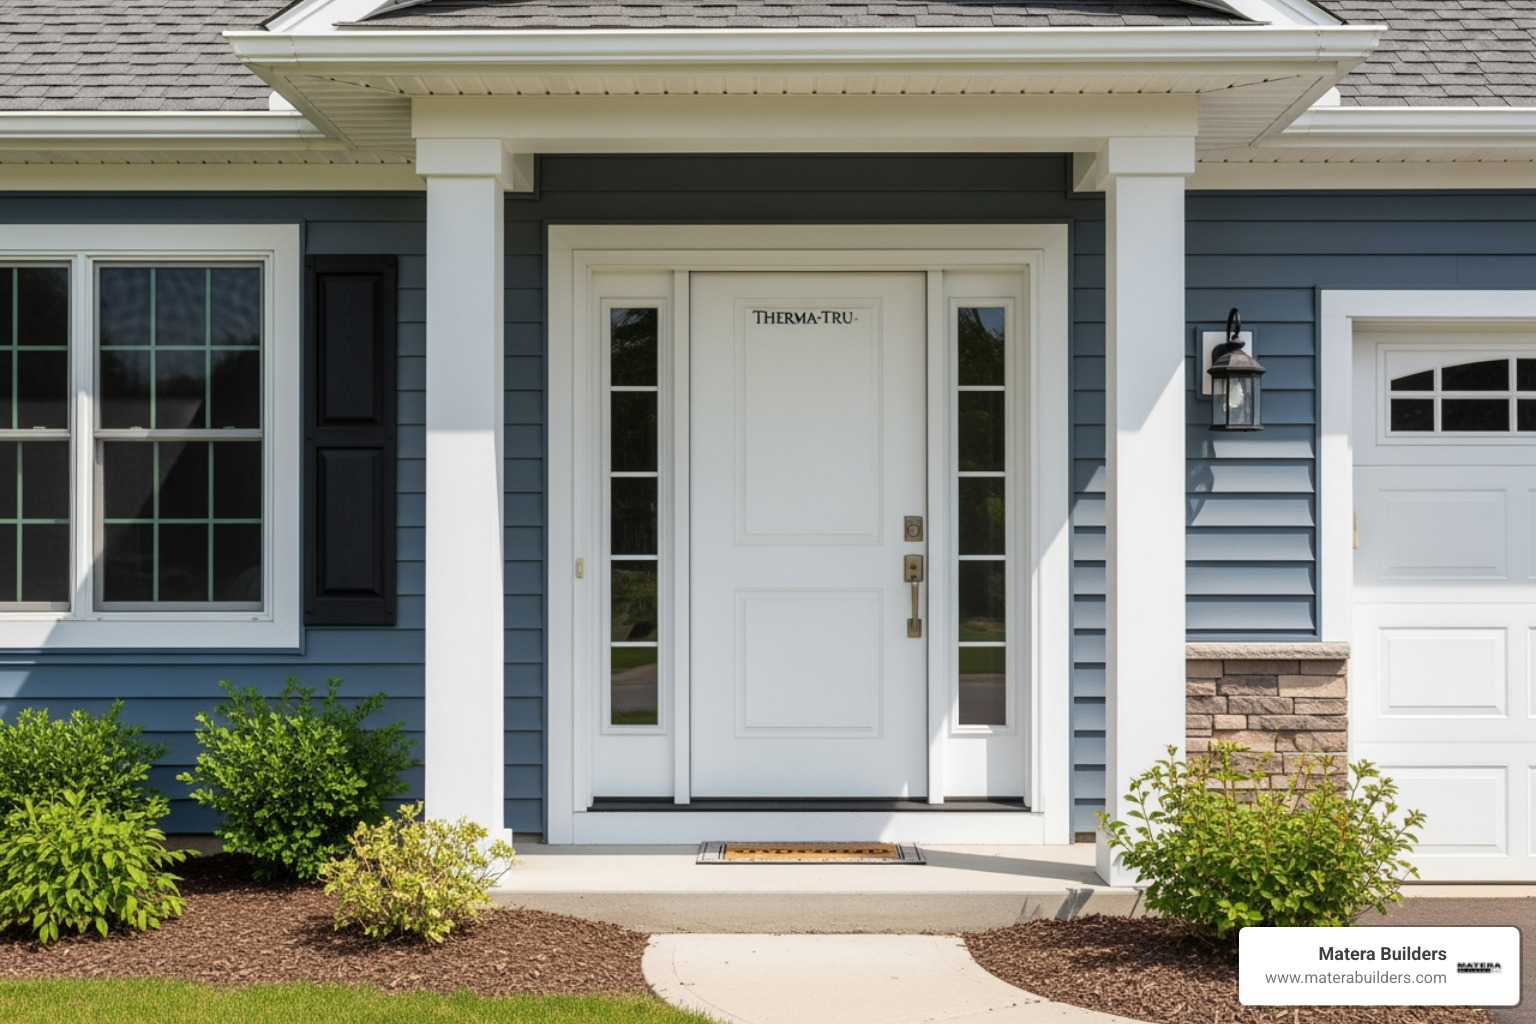
This is why we focus on high-performance upgrades. Investing in a professional Andersen Windows installation is one of the best ways to protect your kitchen from the elements. Andersen windows use Fibrex composite frames. Fibrex combines the strength of wood with the low maintenance of vinyl. It does not rot, warp, or corrode in salt air.
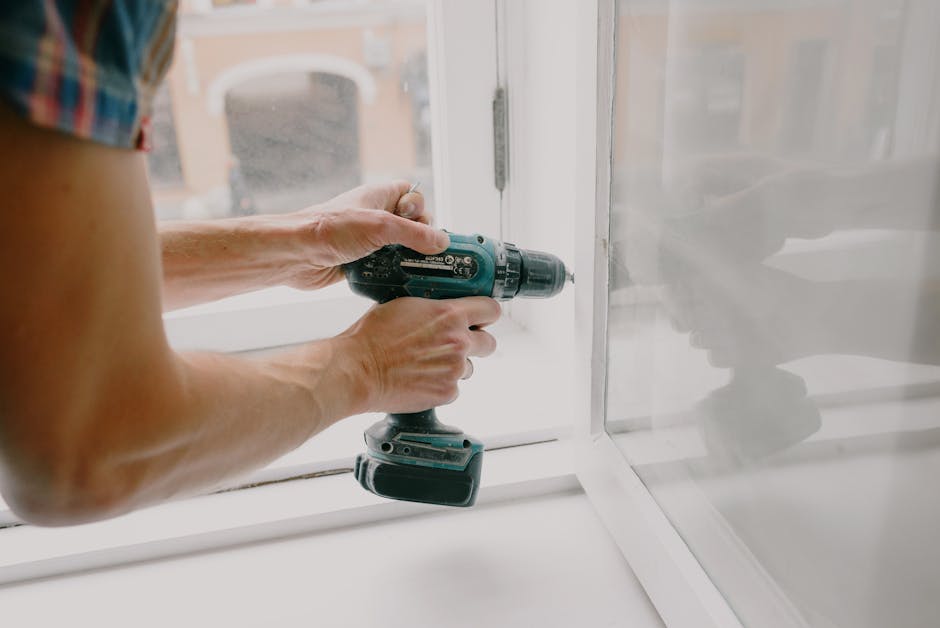
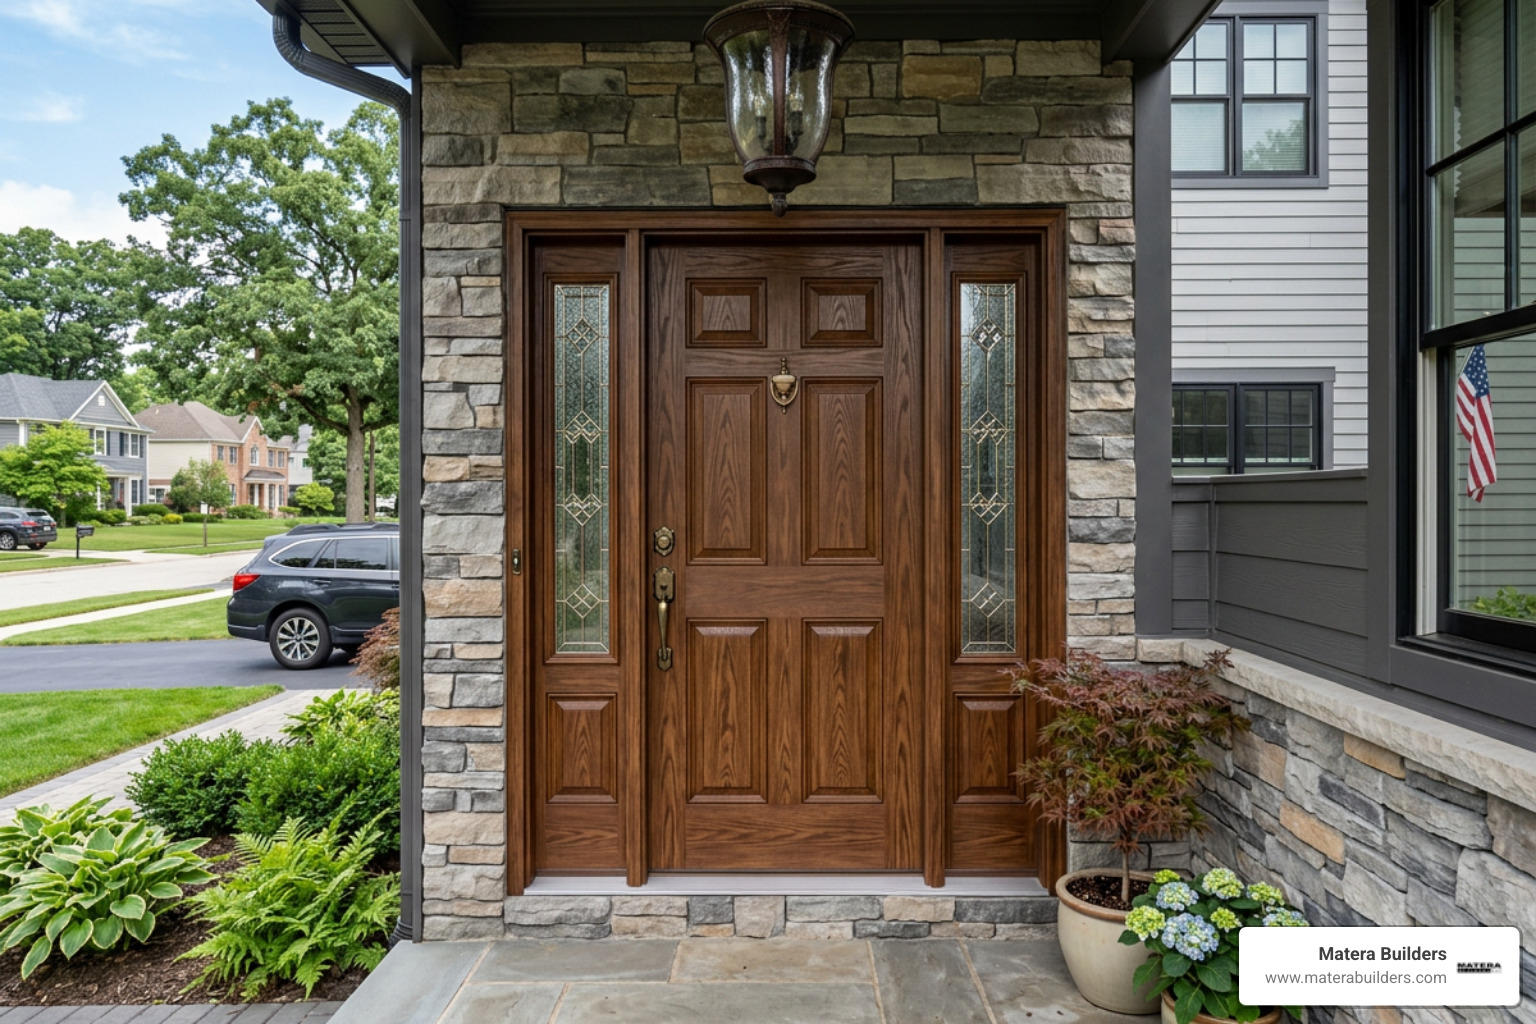
Similarly, an Andersen Doors replacement ensures your kitchen entry remains draft-free and secure. Working with an experienced window replacement contractor allows you to install energy efficient windows that keep your kitchen warm in the winter and cool in the summer.
A proper coastal window replacement not only lowers your utility bills but also floods your kitchen with natural light, making a small 1950s space feel twice as large. If you want to learn more about coordinating these exterior upgrades with your interior projects, check out our guide on full house renovation nj.
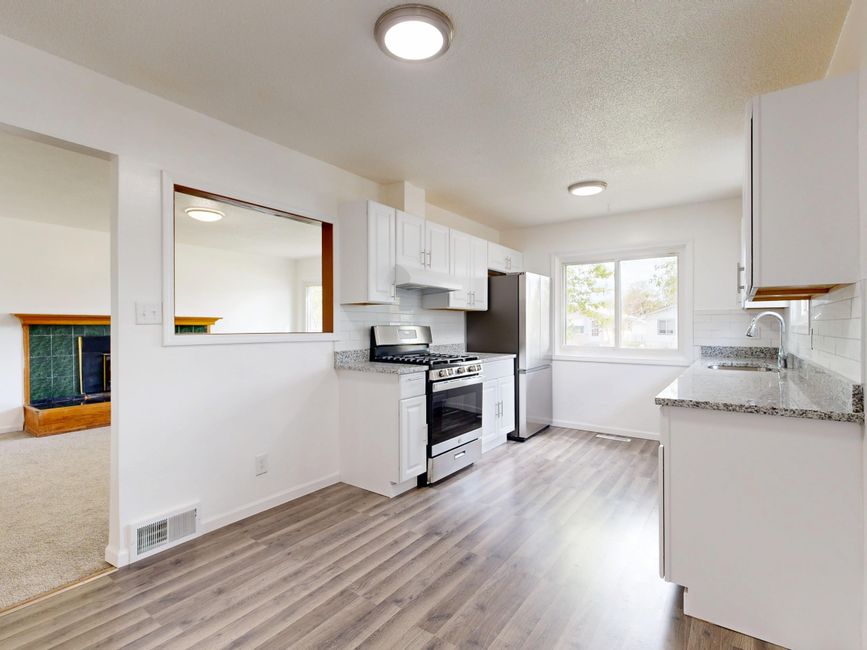
Blending Retro Aesthetics with Modern Functionality

You do not have to choose between a historic look and modern convenience. The most successful remodels blend the two seamlessly. By choosing the right colors, materials, and storage solutions, you can create a kitchen that feels nostalgic but performs like a brand-new space.
Preserving Original Features During a 1950s Kitchen Remodel
If your original 1950s cabinets are structurally sound, keep them. Wood cabinets from this era were often built directly into the wall framing of the house. They are incredibly sturdy, often much stronger than cheap modern particle-board cabinets.
You can preserve these cabinets by painting them. A popular choice for a vintage-inspired look is Farrow & Ball Calke Green. This rich, organic green brings warmth and character to the space.
To see a beautiful example of how color can transform an older space, take a look at Before & After: This "Tired" 1950s Kitchen Got a Dreamy Vintage-Inspired Makeover.
When updating original cabinets, try to preserve features like:
- Scalloped wood valances above the sink.
- Original chrome butterfly hinges and pull hardware.
- Built-in pantry closets.
Pairing these painted cabinets with a classic white and brown checkered floor or a bold geometric tile keeps the retro spirit alive.
Selecting Modern Retro-Style Appliances and Materials
Choosing the right materials is key to achieving a balanced look. For countertops, butcher block is a beautiful, budget-friendly option that adds natural warmth. If you prefer a solid surface that requires less maintenance, LG Hi-Macs solid surfaces are an excellent choice. The "Ice Queen" colorway, for example, features subtle reflective flecks that mimic vintage laminate countertops without the risk of peeling.
For the backsplash, aqua glass tiles or a quilted stainless steel panel behind the stove can create a clean, mid-century look.
When it comes to appliances, you do not have to settle for standard stainless steel. Brands like BlueStar offer professional-grade ranges with custom retro-colored knobs, such as turquoise or pale pink. Fisher & Paykel offers sleek, counter-depth refrigerators that fit perfectly into tight 1950s cabinet openings.
For a detailed walkthrough of how these materials look when installed together, check out Our great 1950s kitchen renovation reveal.
Frequently Asked Questions About 1950s Kitchens
How much does a 1950s kitchen renovation cost in 2026?
In 2026, a basic cosmetic renovation where you keep the original layout and paint the cabinets yourself costs between $5,000 and $10,000. A mid-range professional remodel that includes new countertops, updated appliances, and minor plumbing adjustments typically costs between $25,000 and $40,000. A full, down-to-the-studs custom renovation with wall removals, structural changes, and high-performance window upgrades averages around $60,000.
Always set aside 15% of your budget for unexpected structural or electrical repairs. Older homes frequently hide surprise costs behind their plaster walls.
Can I keep my original 1950s cabinets?
Yes. If the cabinet boxes are sturdy, you can easily update them. If you have flat-front doors, you can give them a modern Shaker look by adding thin wood trim around the edges before priming and painting.
Always test older cabinets for lead paint before sanding. If lead is present, use safe wet-sanding techniques or hire a certified professional to handle the preparation.
How do I make a small 1950s kitchen feel brighter?
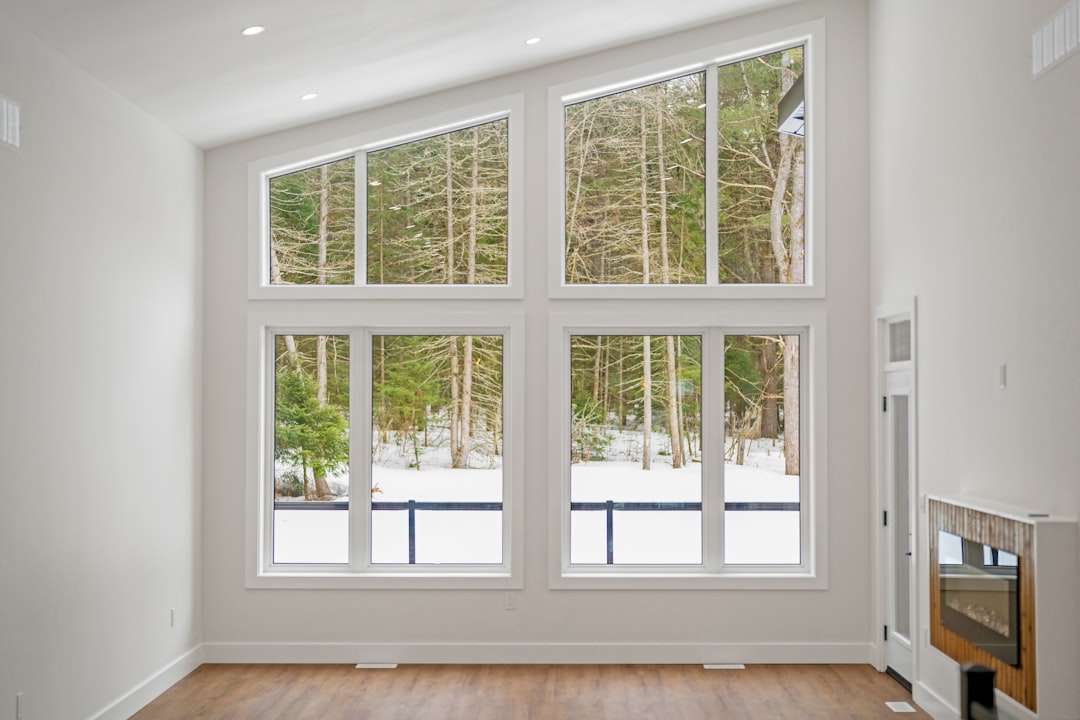
Start by removing any drywall soffits above your upper cabinets. Soffits block light and make ceilings feel lower. Removing them allows you to extend your cabinets to the ceiling, which instantly increases your storage space.
Next, replace old fluorescent fixtures with recessed LED can lights and add under-cabinet LED strip lighting. Finally, paint the walls and cabinets in light-reflective colors like warm whites, soft creams, or pale pastels.
Conclusion
A 1950s kitchen remodel is a fantastic way to bring character, warmth, and modern efficiency into your home. By preserving sturdy original elements and upgrading structural components like your windows and doors, you can enjoy a beautiful, functional space for decades to come.
At Matera Builders, led by owner Mike Werner, we bring over 37 years of experience to every home improvement project in Ocean City and the Jersey Shore. We are certified installers who believe in transparency, trust, and craftsmanship that withstands the coastal environment.
If you are ready to update your mid-century home, Schedule a kitchen and bath renovation consultation with our team today. Let us help you design a kitchen that honors the past while building for your family's future.