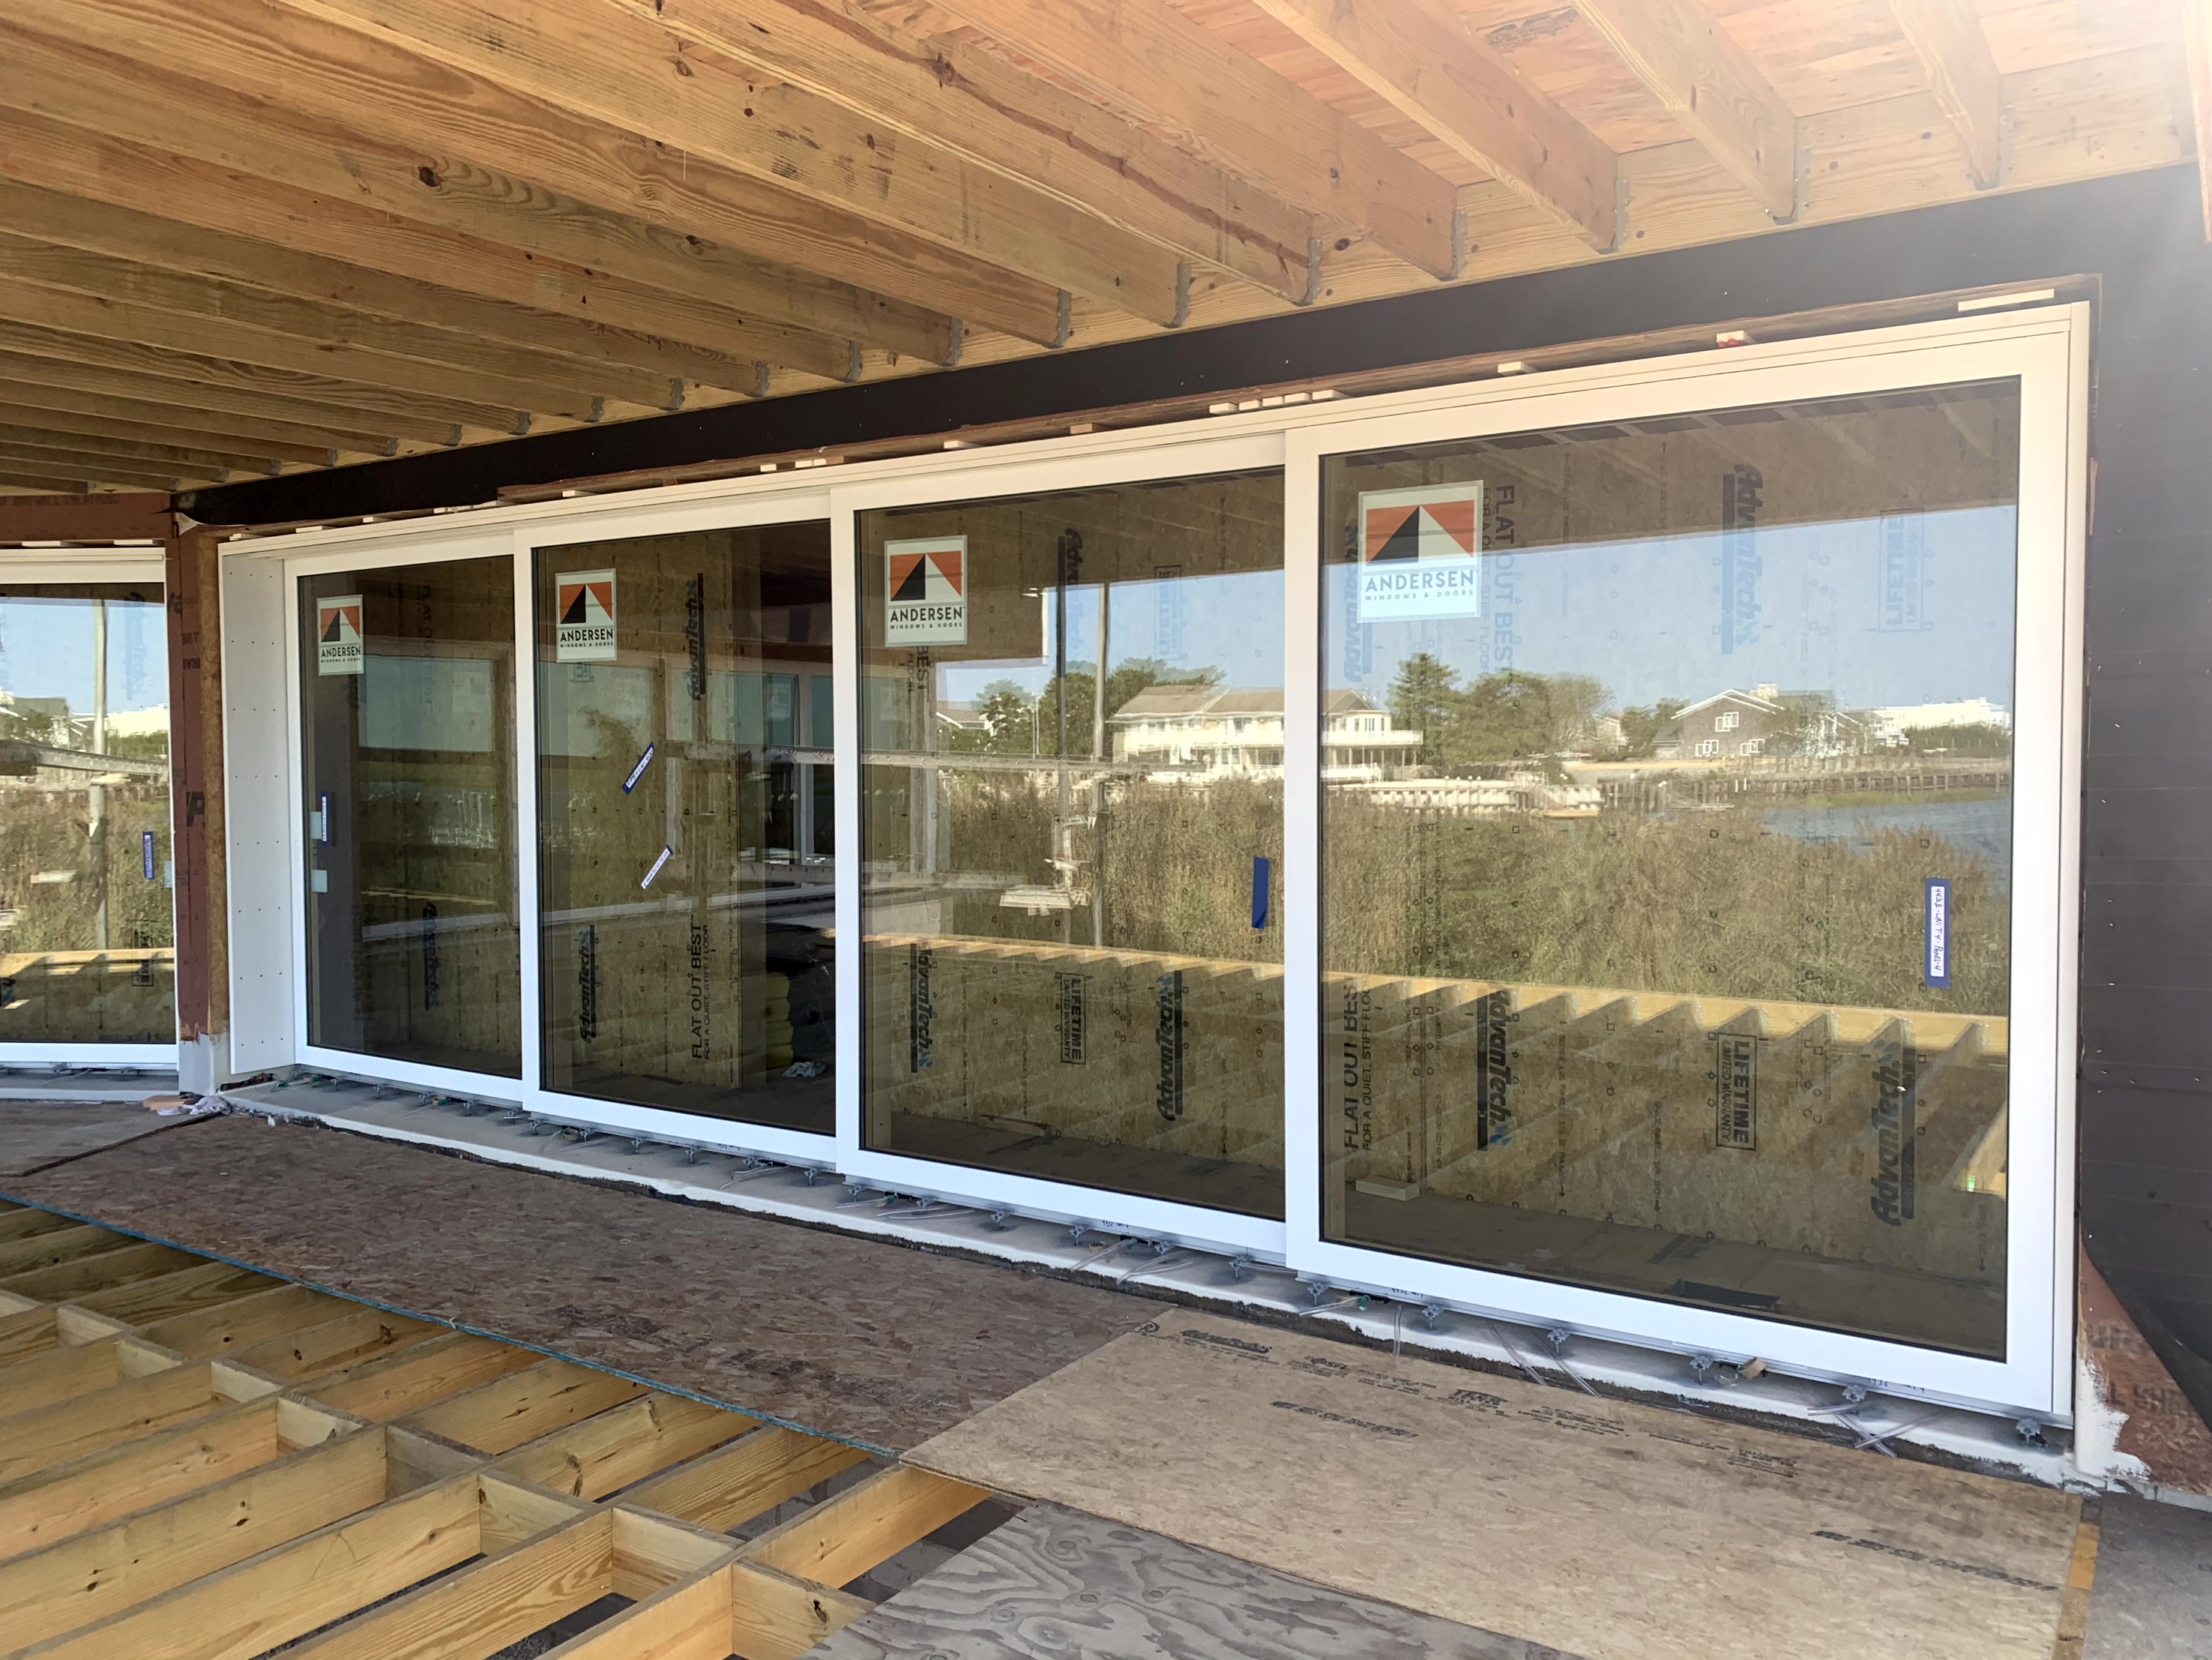



Why Installing a Window in a House Is Harder Than It Looks
Installing a window in a house is one of those projects that looks simple until you're standing in front of a rotted sill, a frame that's out of square, or a gap that's letting salt air straight into your living room.
Before diving in, here's a quick overview of how window installation works:
- Choose your method - Insert (pocket) replacement or full-frame replacement
- Measure accurately - Width and height at three points each; use the smallest measurement
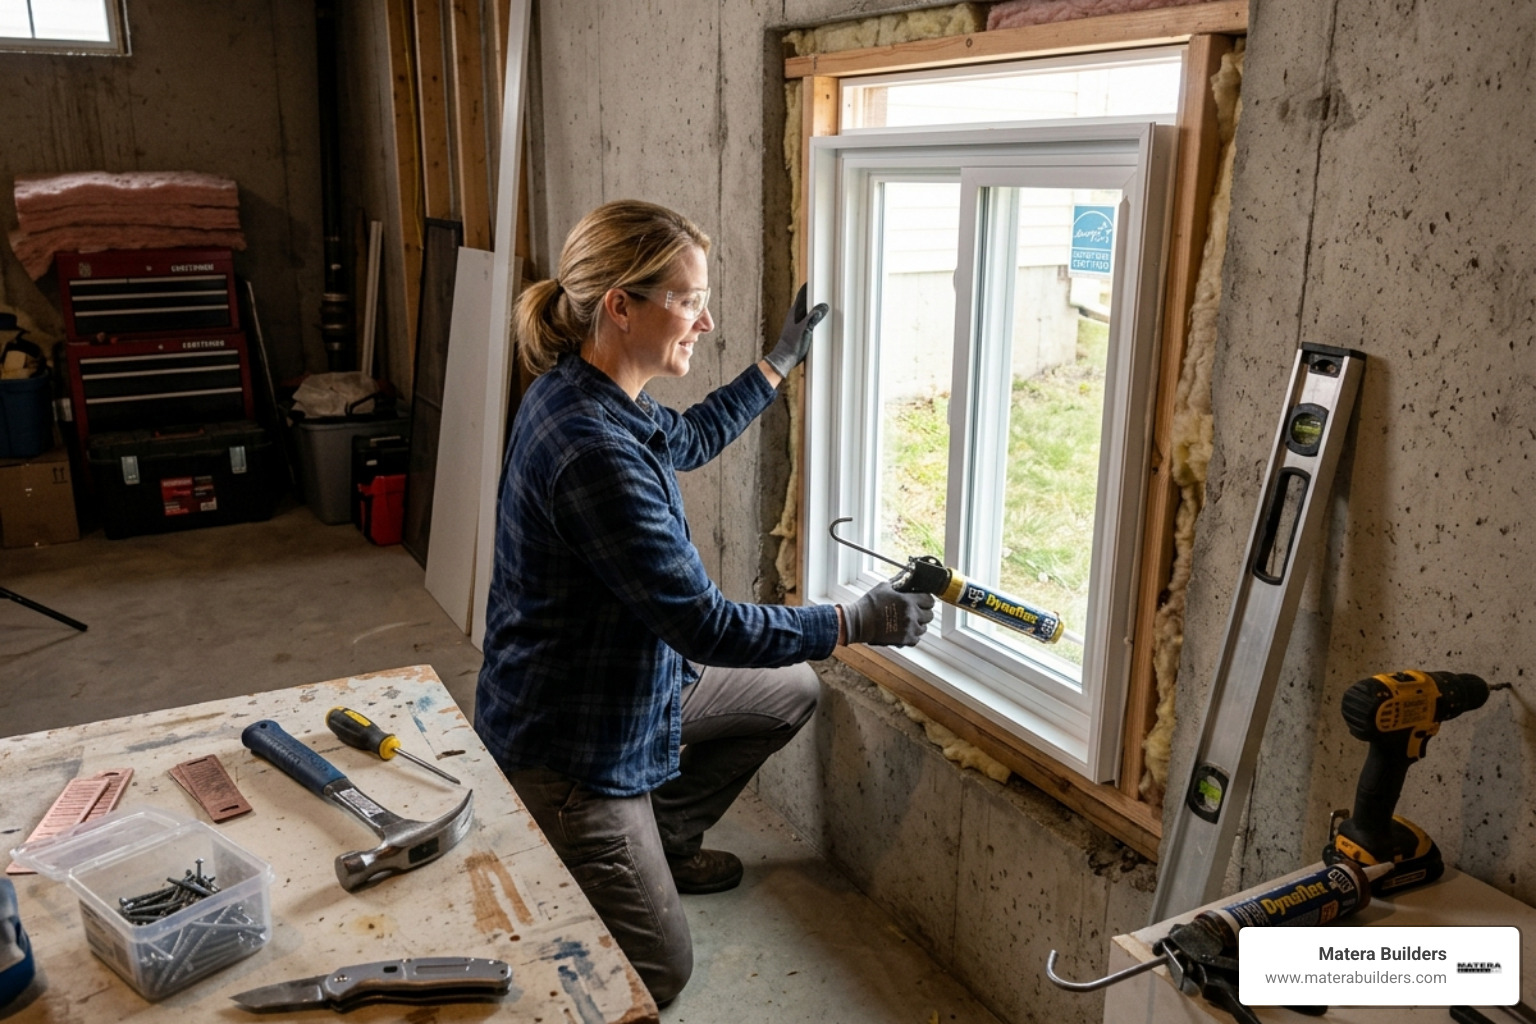
- Gather tools - Caulk gun, level, pry bar, shims, flashing tape, low-expansion foam
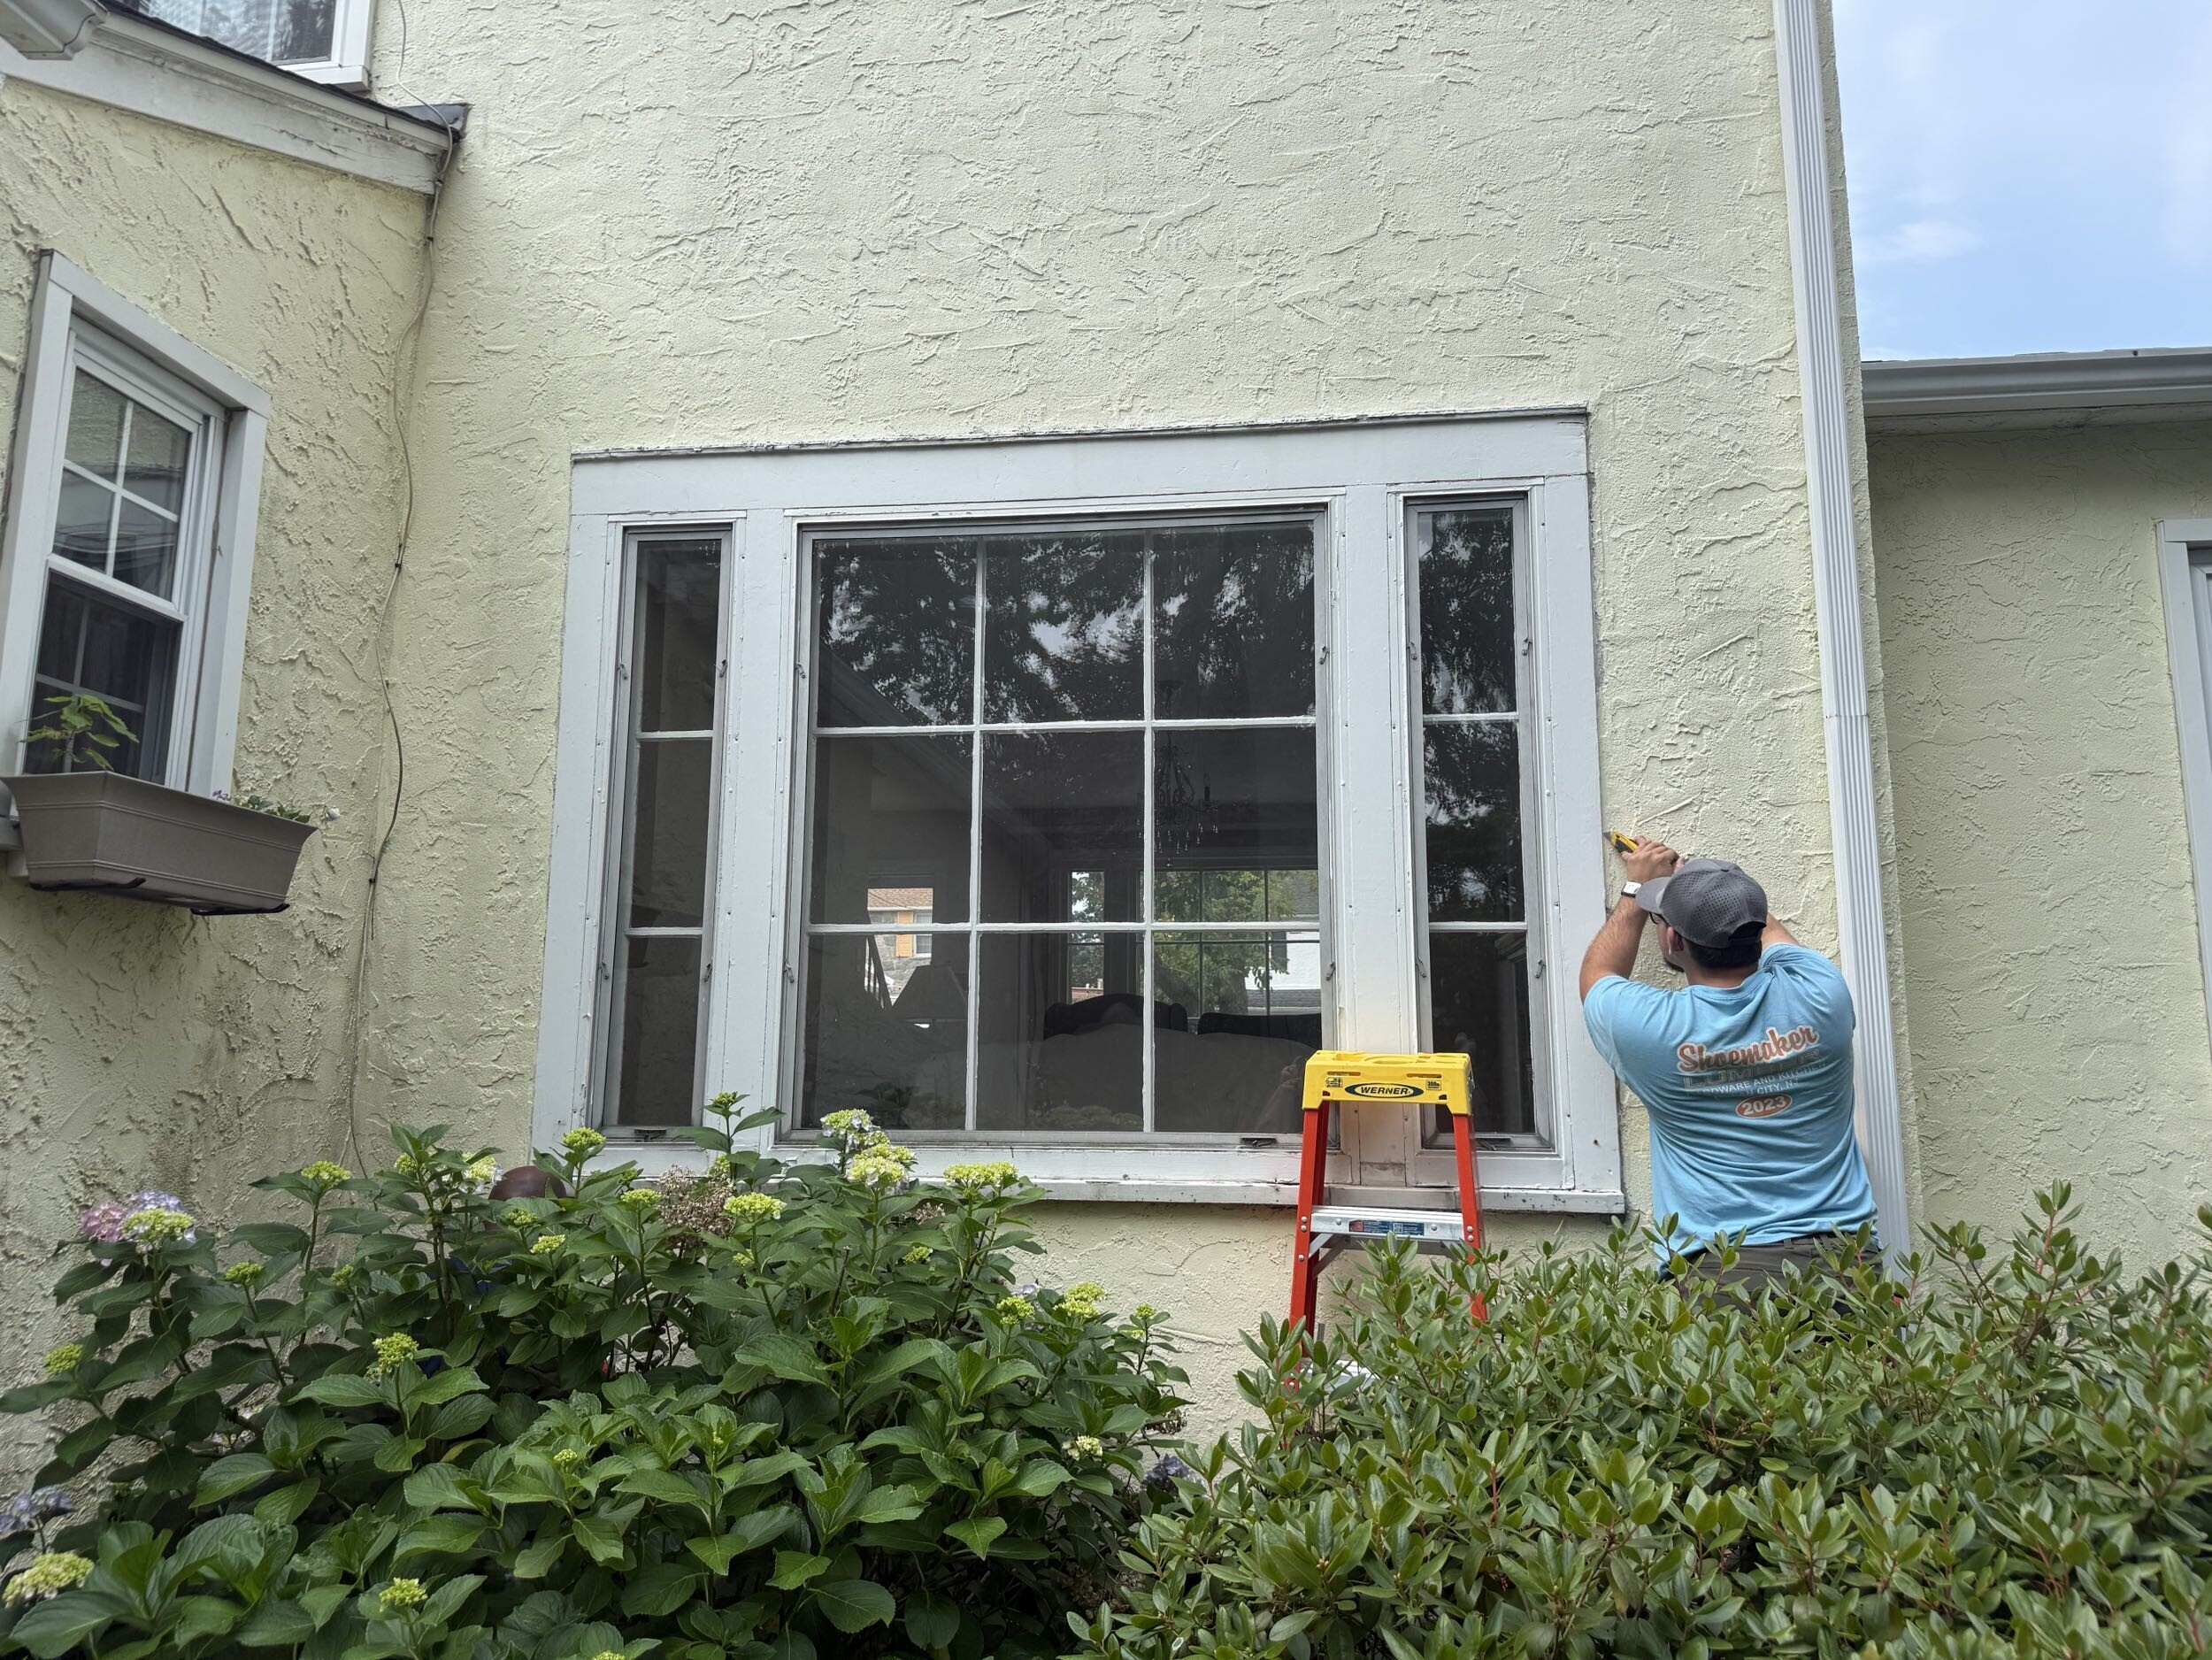
- Remove the old window - Score, pry, and clean the opening
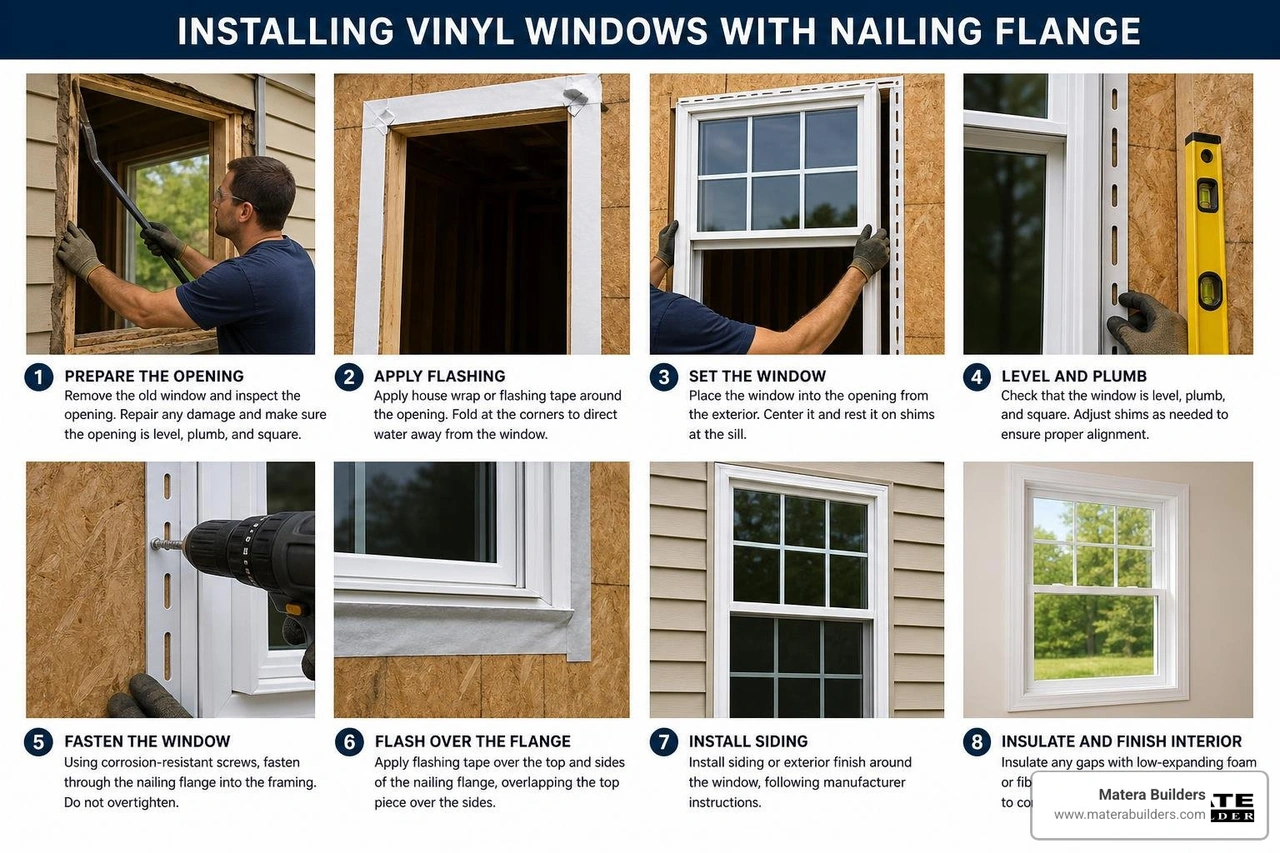
- Install and seal the new window - Dry-fit, shim, fasten, flash, and insulate
- Check operation - Test sashes, verify plumb and level, seal interior gaps
Most homeowners can handle a straightforward insert replacement in a sound frame. But in coastal New Jersey, where salt air, moisture, and driving rain put constant pressure on your home's exterior, the margin for error is slim. A poorly sealed window doesn't just cause drafts. It causes rot, water intrusion, and rising energy bills that compound year after year.
This guide walks you through the full process, from choosing the right replacement method to weatherproofing the finished install.
I'm Mike Werner, owner of Matera Builders, a premium exterior renovation company specializing in high-performance window and door replacements along the New Jersey shore, where installing a window in a house means accounting for coastal humidity, wind load, and moisture control at every step. I'll share the same standards my crews use on every job, so you can approach this project with a clear picture of what it actually takes.

Similar topics to installing a window in a house:
- average cost of basement window replacement
- installing a window in a brick house
- energy efficient windows nj
Choosing Your Method: Insert vs. Full-Frame Replacement
Before you buy any materials, you must decide how you want to replace your window. There are two main methods. You can use an insert replacement, which is often called a pocket window. Or you can do a full-frame replacement.
Choosing the wrong method can lead to major headaches down the road. If you have hidden frame rot and cover it up with a pocket window, that rot will keep spreading. If you choose a full-frame replacement when you did not need to, you will spend extra money and time removing perfectly good trim.
Here is a quick breakdown to help you compare your options:
| Feature | Insert (Pocket) Replacement | Full-Frame Replacement |
|---|---|---|
| What is removed? | Only the old sashes and track hardware. | The entire window frame, sills, and trim. |
| What stays? | The existing outer window frame and trim. | Nothing. You go down to the rough opening. |
| Glass Area | Slightly smaller because of the double frame. | Maximized glass area. |
| Best For | Sound frames with no rot or water damage. | Rotted frames, changing window size, or style. |
| Siding Impact | None. Work is done inside or outside the trim. | May require cutting back siding or exterior trim. |
| Time Needed | 2 to 4 hours per window. | 4 to 6 hours per window on ground level. |
When we work on homes along the Jersey Shore, we pay close attention to the structural frame. If you want to dive deeper into these differences, read our guide on New Construction Windows vs Replacement Windows.
For many homes, we recommend high-performance composite materials like Fibrex from Andersen. Fibrex combines the strength of wood with the low maintenance of vinyl. It does not rot, warp, or corrode in salt air. This makes it perfect for coastal window replacement.
What Is an Insert or Pocket Window?
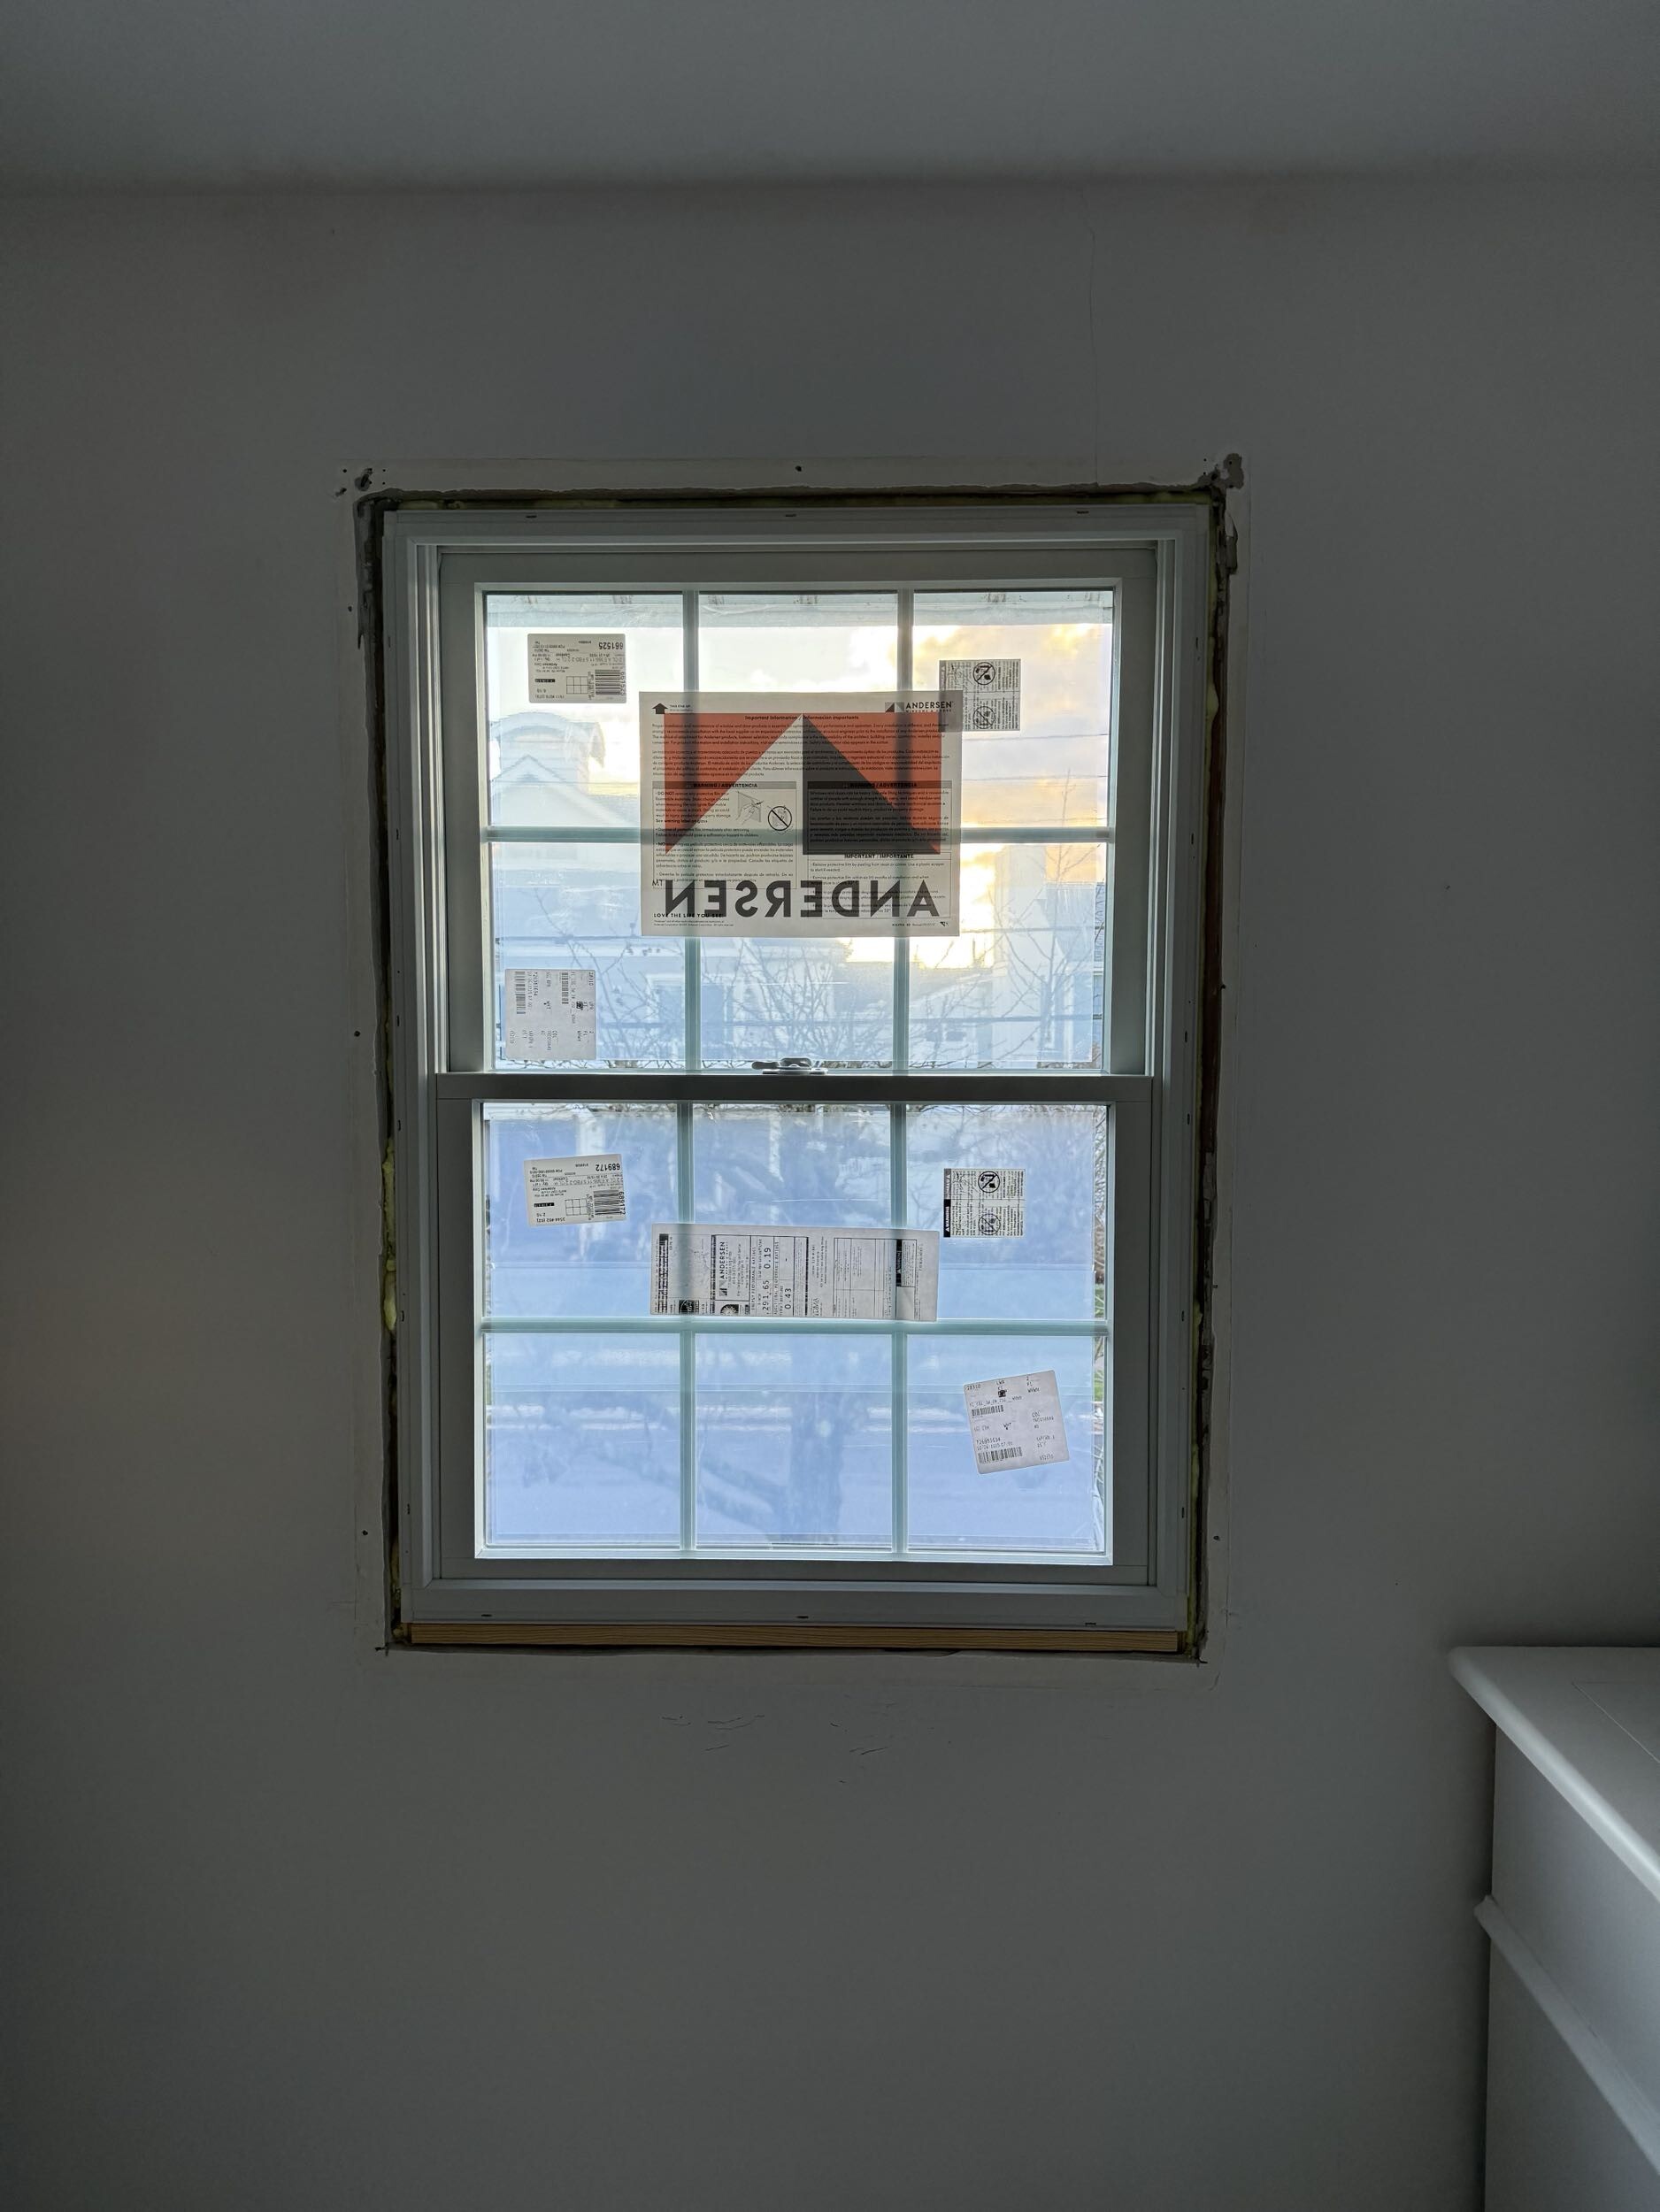
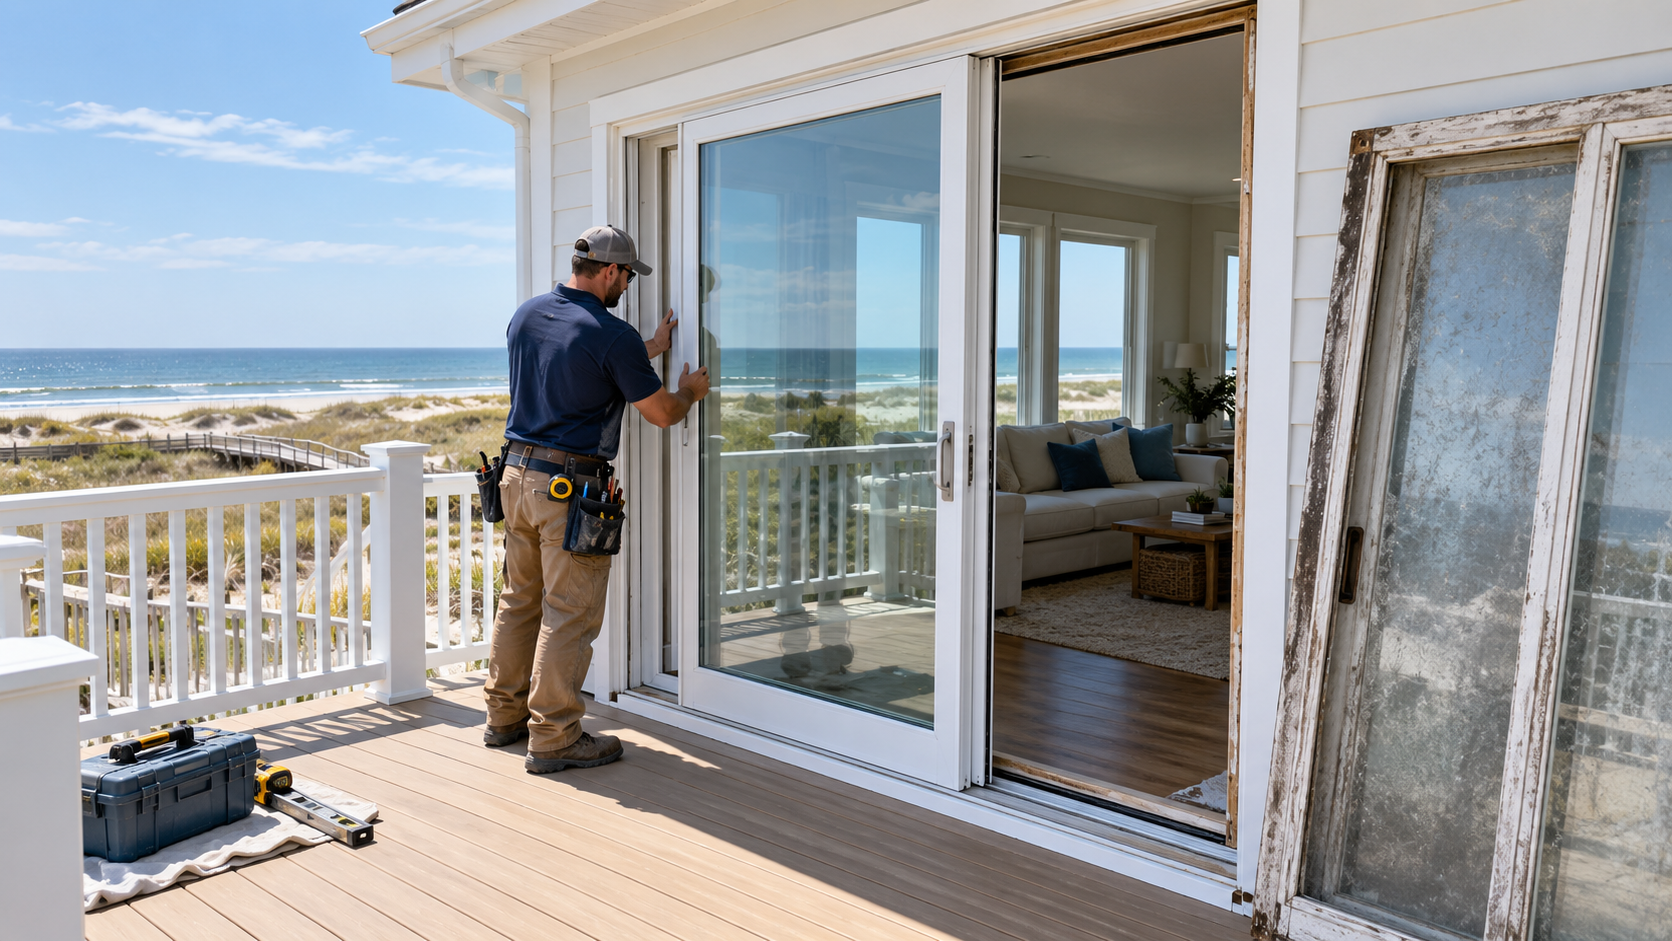
A pocket installation is the fastest way to replace a window. With this method, the new window unit slides directly into the existing window frame. You do not have to tear out your interior casing or touch your exterior siding.
The main drawback is that you lose a small amount of glass area. Because you are placing a frame inside another frame, the remodel window has to be slightly smaller than the original. This means slightly less natural light. However, if your existing frame is in great shape, this is a very popular DIY option.
What Is a Full-Frame Window?
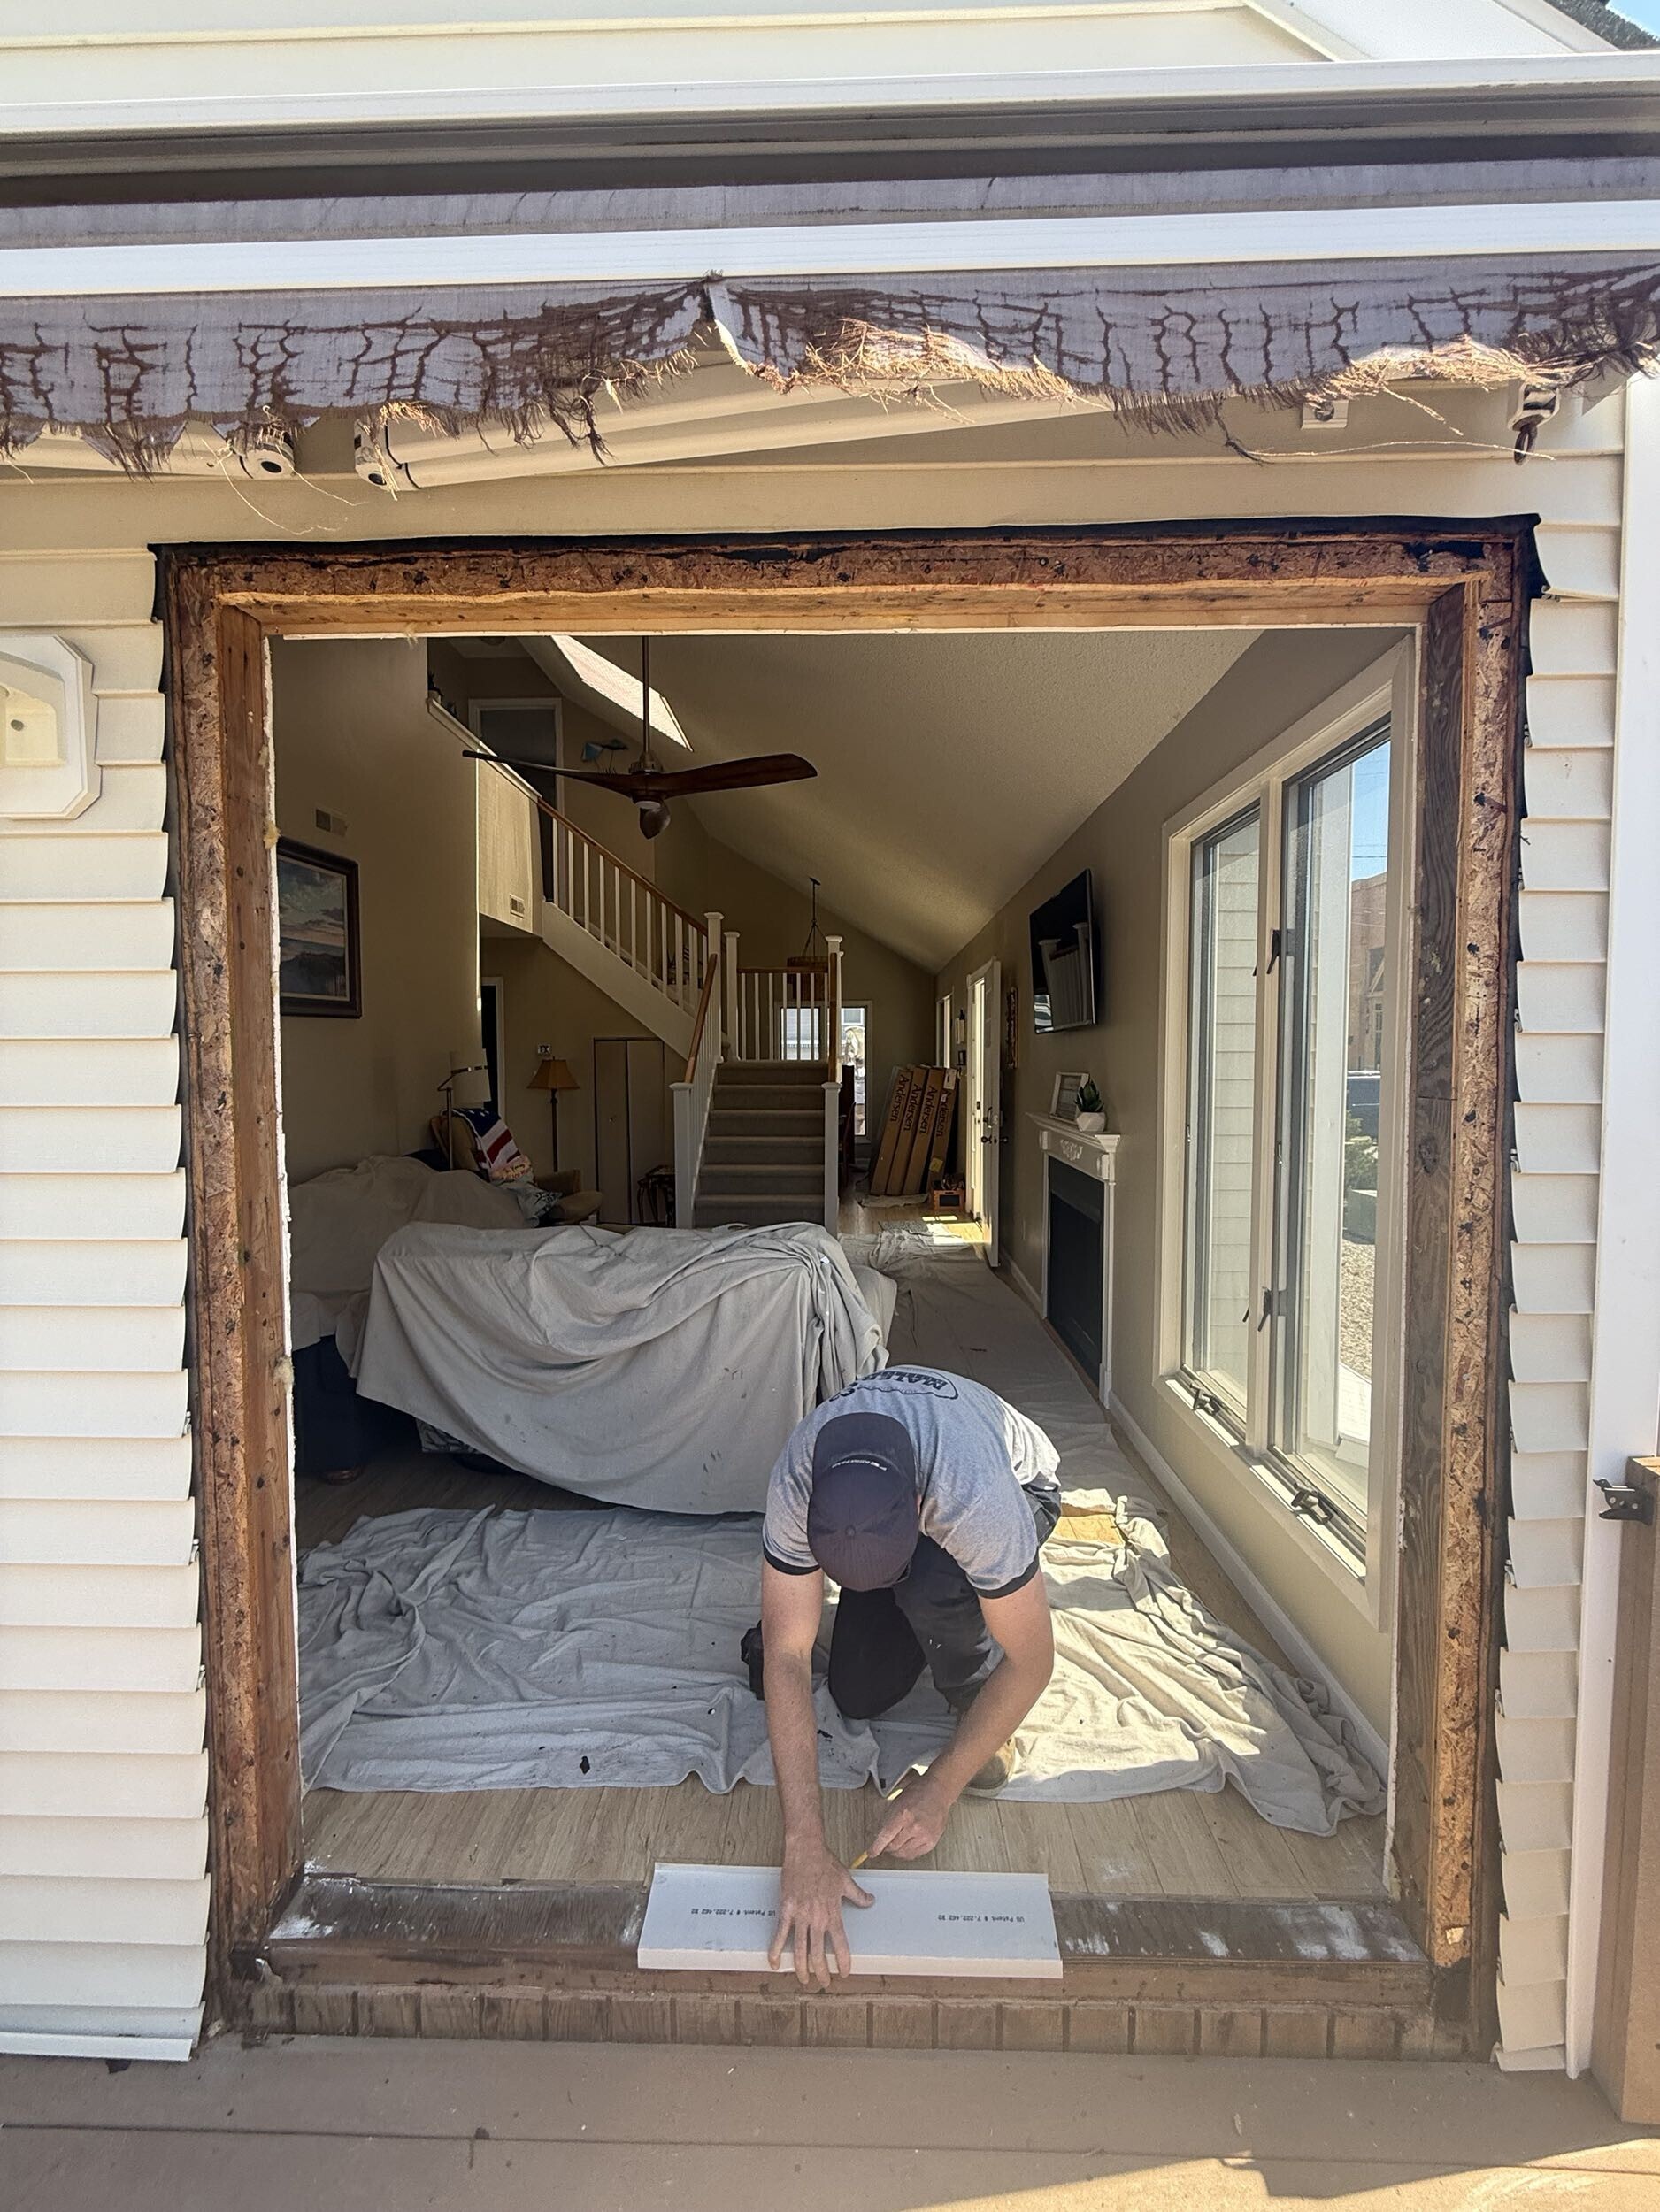
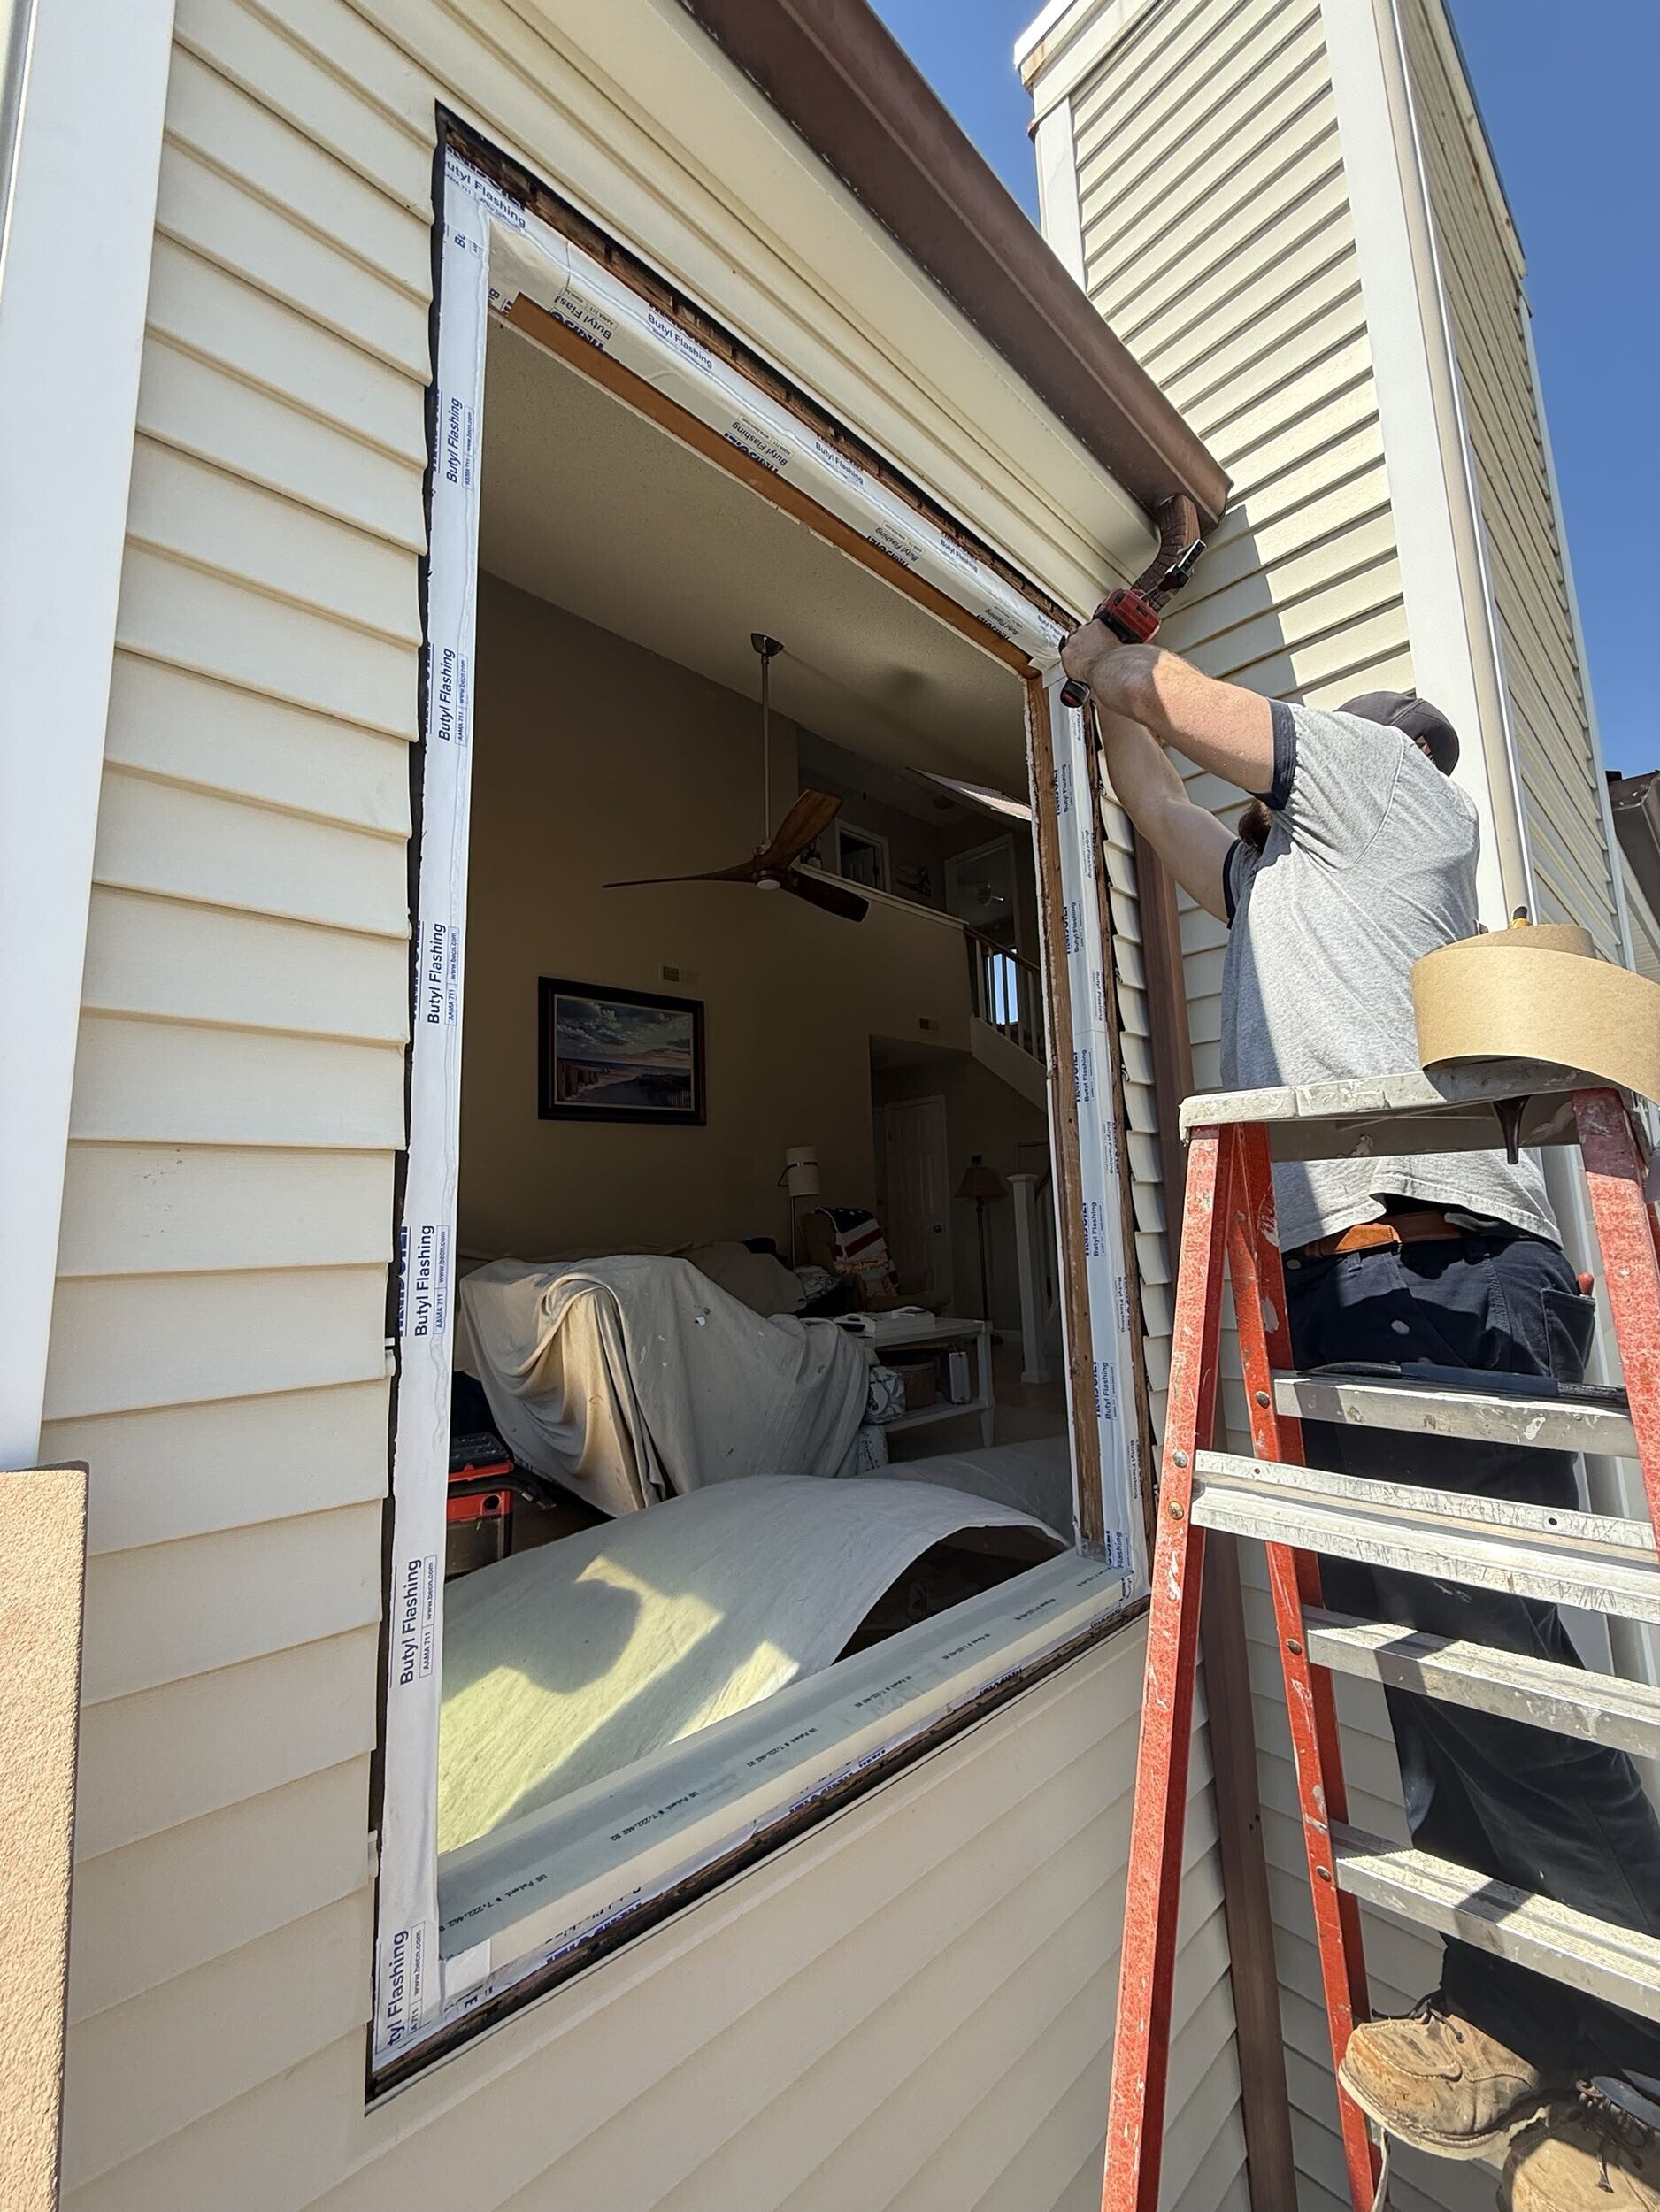
A full-frame replacement is a complete tear-out. You remove the sashes, the frame, the interior trim, and the exterior brickmould. This leaves you with a raw rough opening of wood studs.
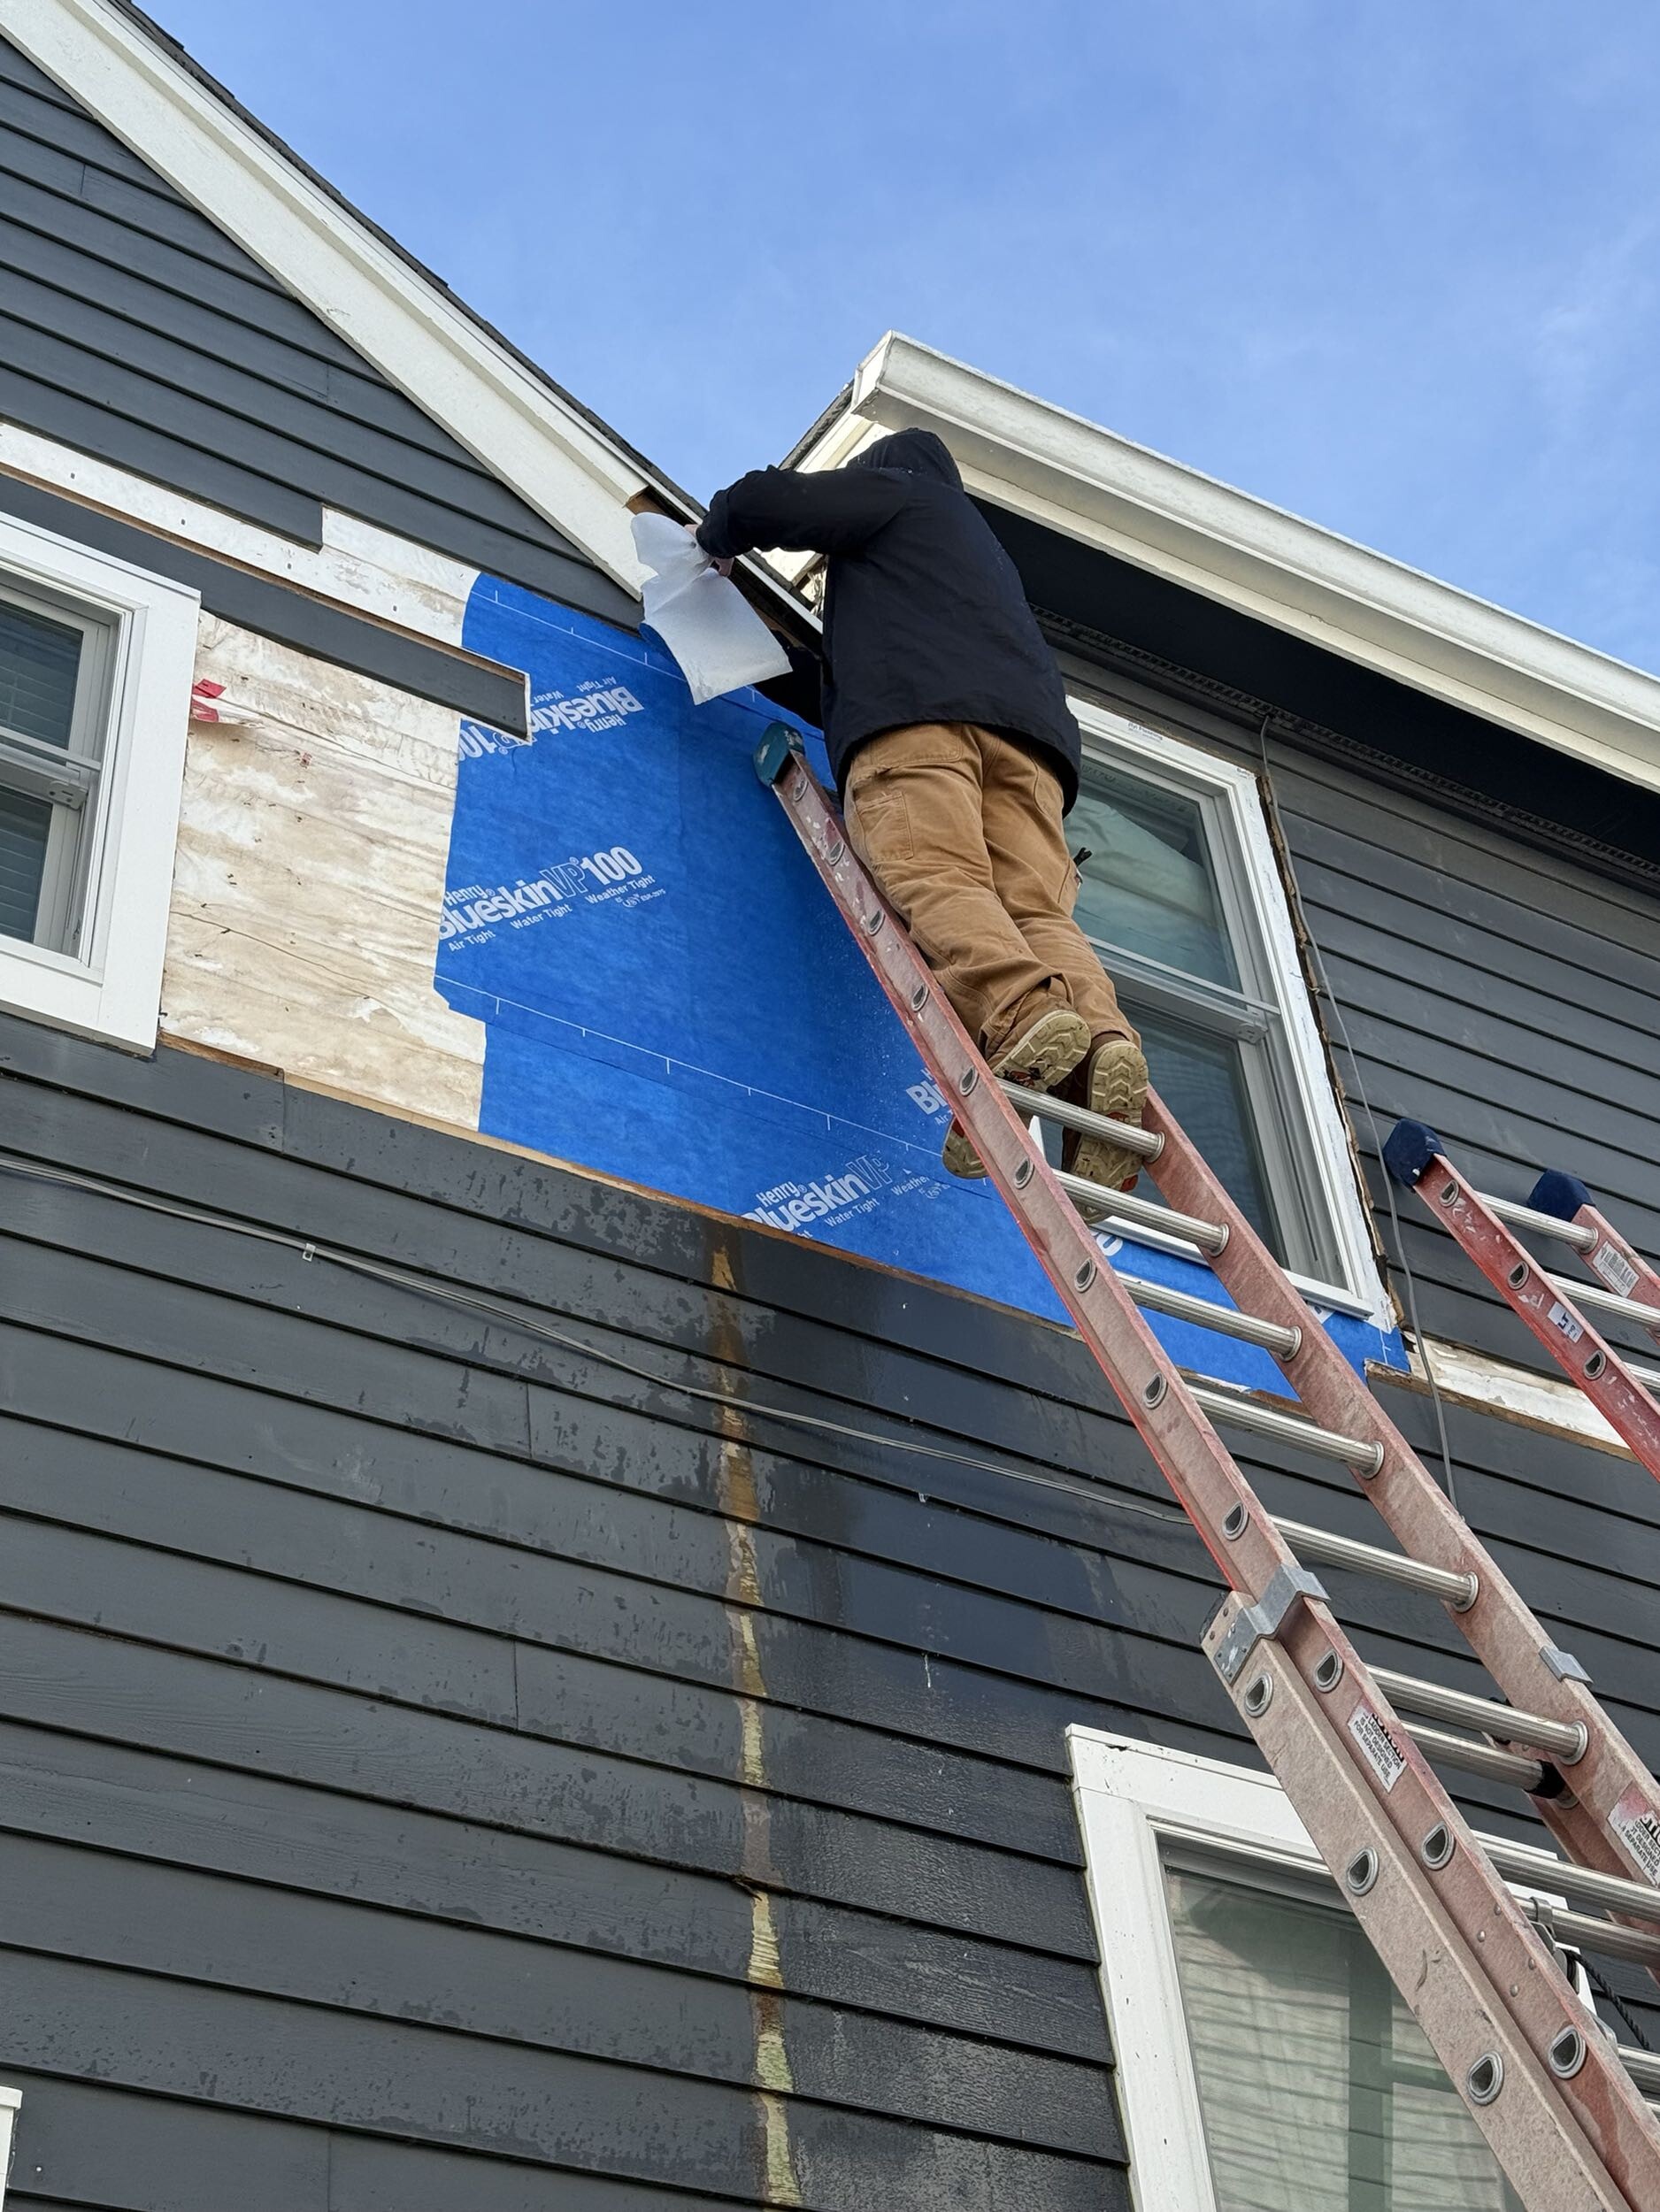
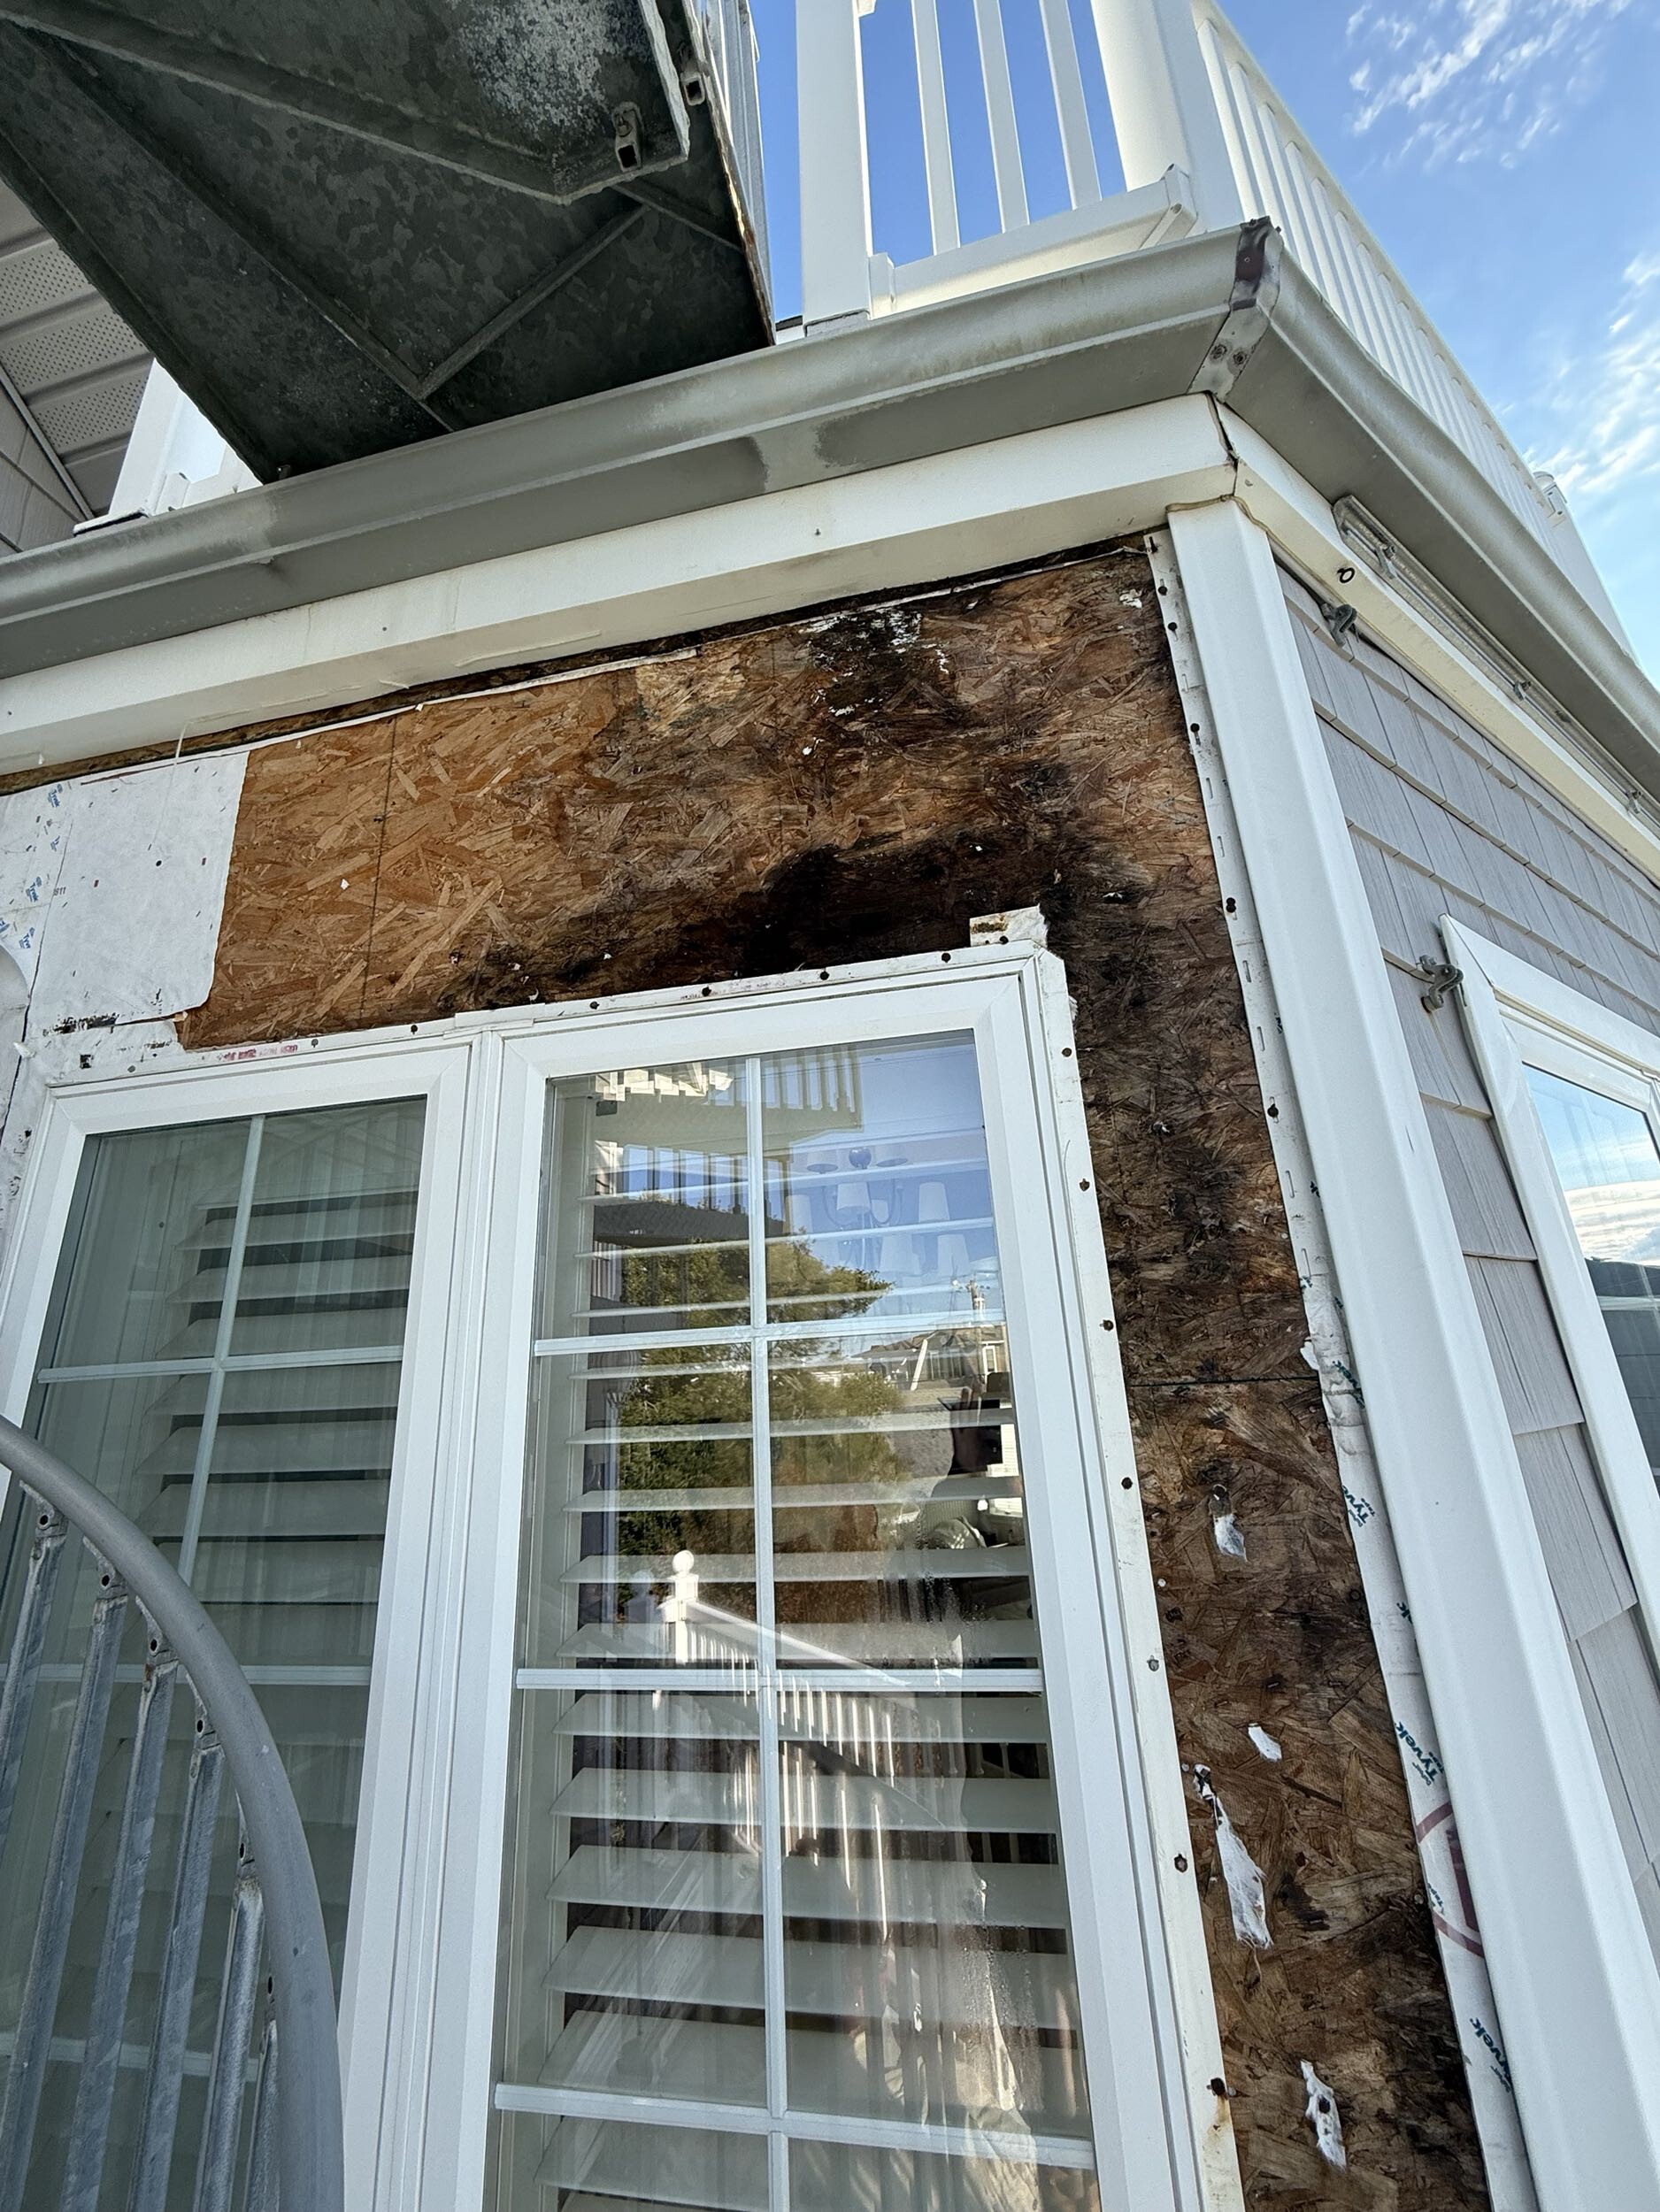
This method is necessary if you have structural rot or water damage around the window. It is also the best choice if you want to change the shape or size of the window. Tearing everything out allows you to inspect the wall cavity. You can then apply a brand-new water barrier and flashing tape to protect your home from driving ocean winds.
How to Measure Your Window Opening Accurately

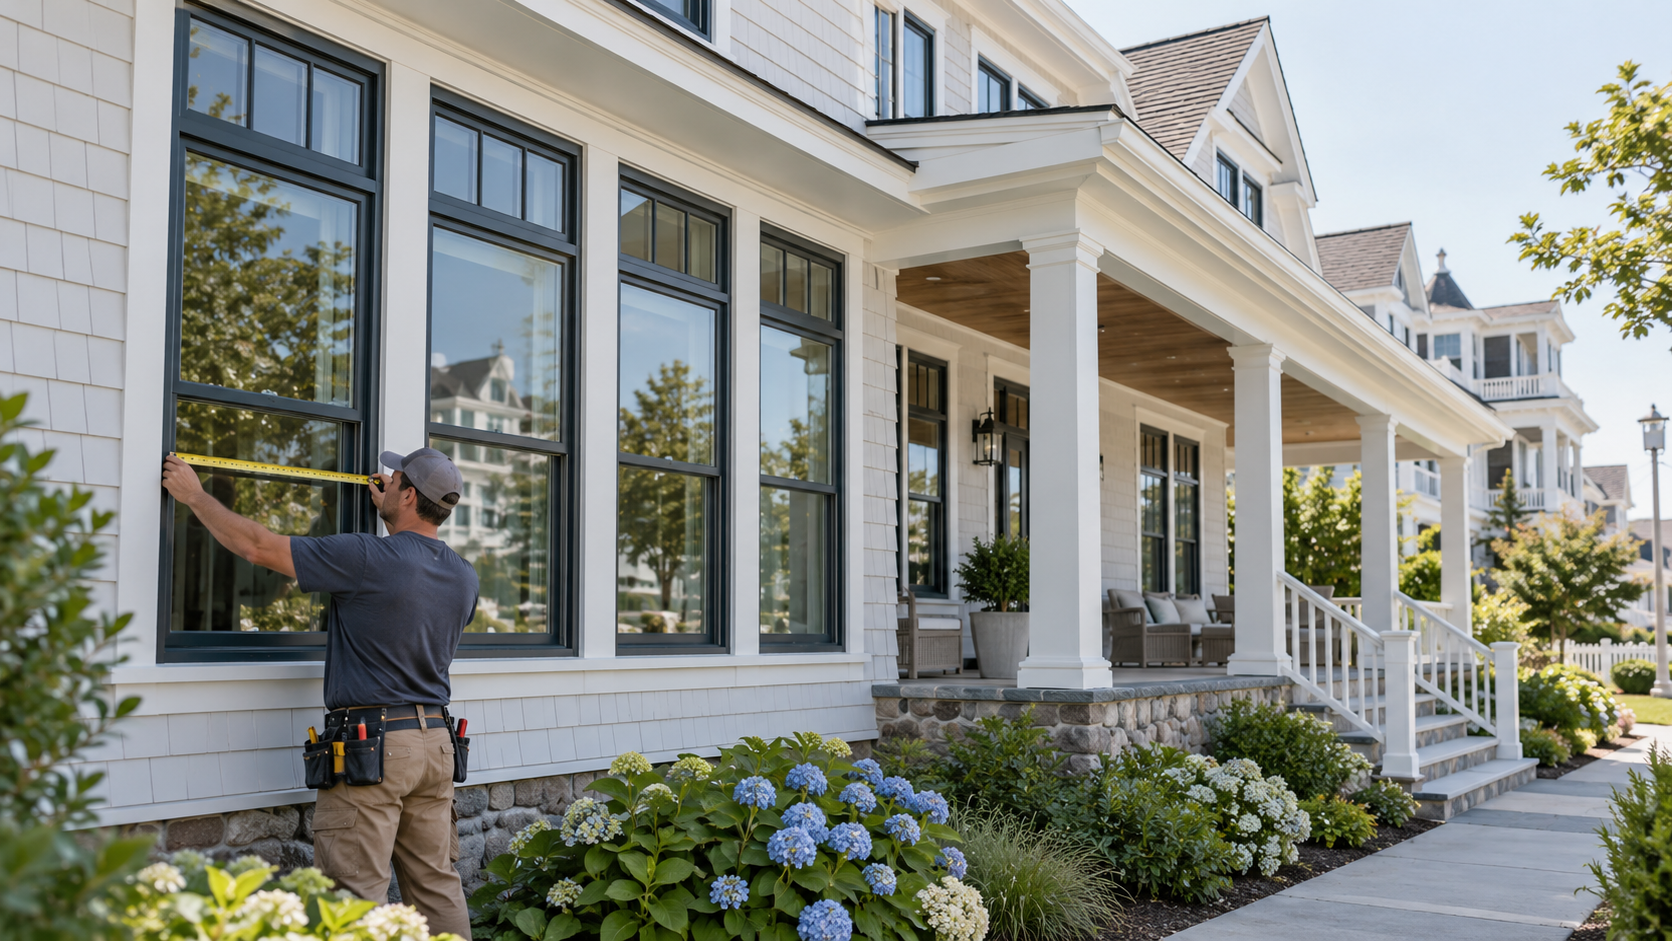
When installing a window in a house, accurate measurements are everything. If your new window is too large, it will not fit. If it is too small, you will have massive gaps that are hard to seal and insulate.
Your new window needs to be about 3/4 inches smaller than your window opening. This gives you a 3/8 inch gap on all sides. This clearance keeps you from needing to reframe the opening. It also leaves room for squaring, shimming, and applying insulation.
To get the right numbers, grab a reliable tape measure and follow these steps.
Measuring Width and Height
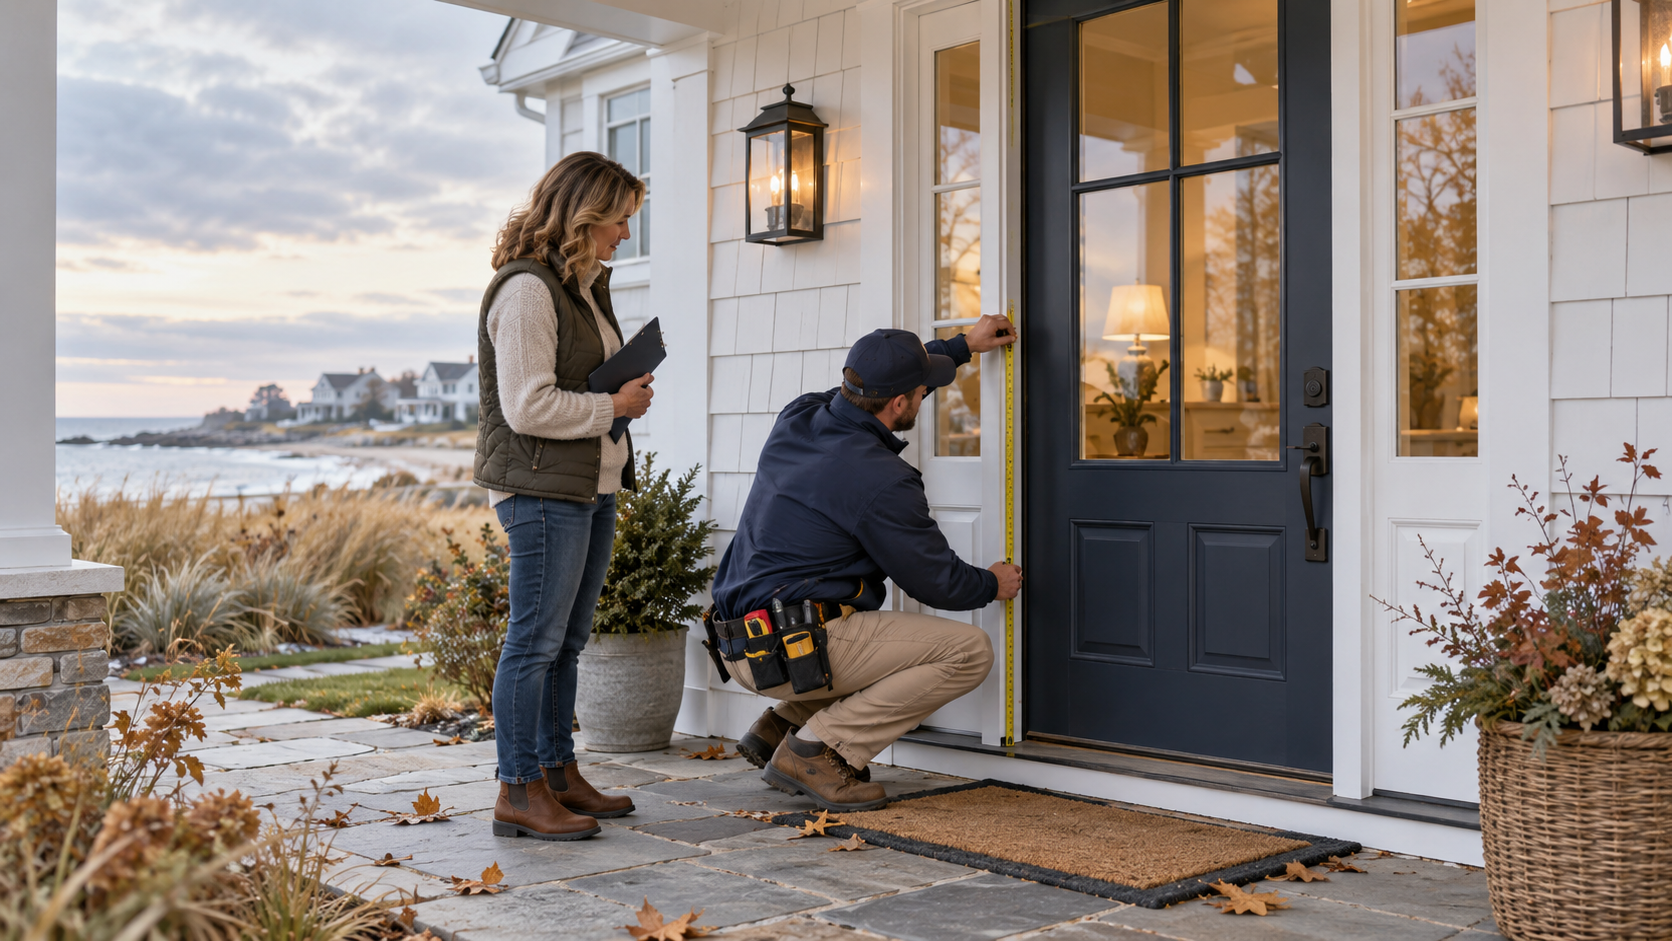
For an insert window, you must measure the inside of the existing window frame, not the trim.
Measure the width in three locations:
- The top of the opening
- The middle of the opening
- The bottom of the opening
Write down all three numbers. Circle the smallest measurement.
Next, measure the height in three locations:
- The left side
- The center
- The right side
Write down these numbers and circle the smallest measurement. You must use the smallest width and height measurements when ordering your window. This ensures the unit will slide in without binding.
Checking for Squareness and Level
An opening can look straight but still be out of shape. To check for squareness, measure the diagonals. Run your tape measure from the top-left corner to the bottom-right corner. Then measure from the top-right corner to the bottom-left corner.
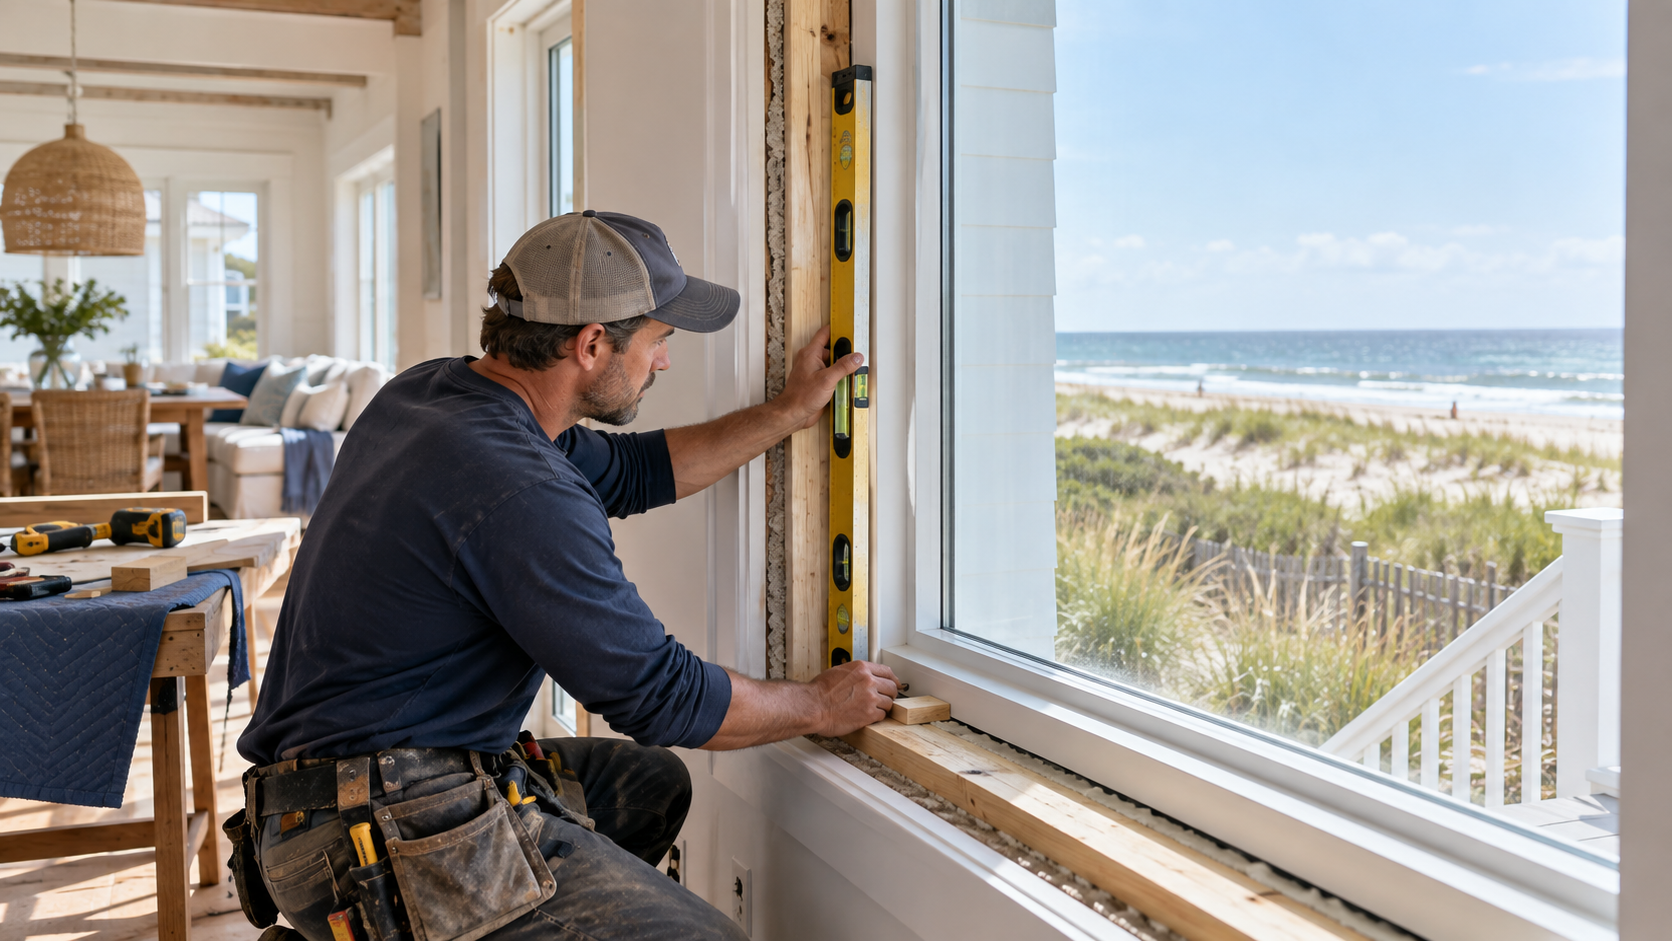
If the two diagonal measurements differ by more than 1/4 inch, your frame is out of square. You will need to use extra shims during installation to make sure the new window sits perfectly level and plumb. You should also use a level to check the sill and the side jambs.
Tools and Materials Needed for DIY Window Installation
Before you remove your old window, make sure you have all your tools ready. You do not want to be left with an open hole in your wall while you run to the hardware store.
Here is what you will need:
- Safety glasses and work gloves - To protect against glass and wood splinters.
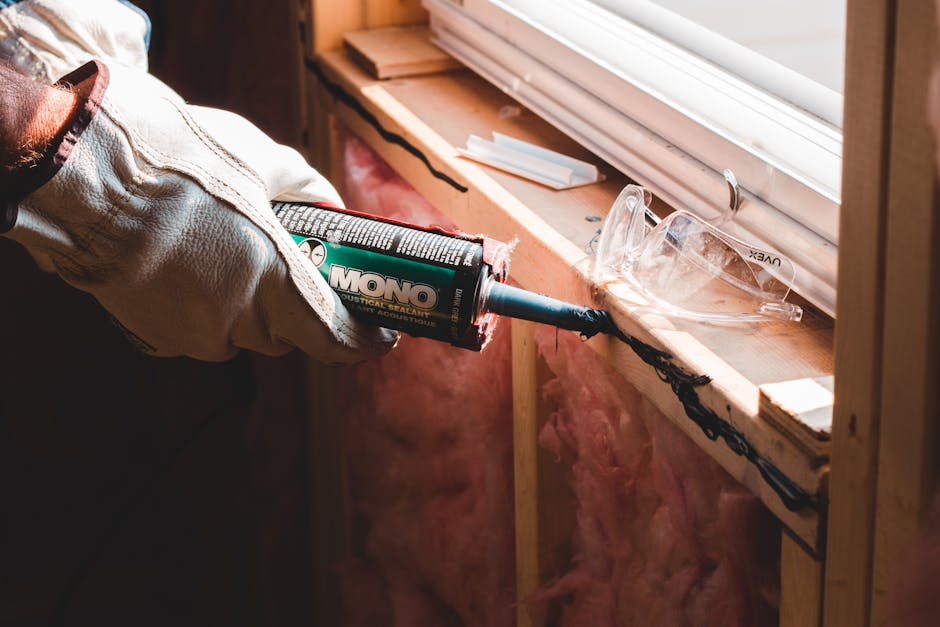
- Caulk gun - For sealing the window.
- Waterproof shims - Composite shims are better than wood because they do not rot.
- Level - A 2-foot or 4-foot level is best.
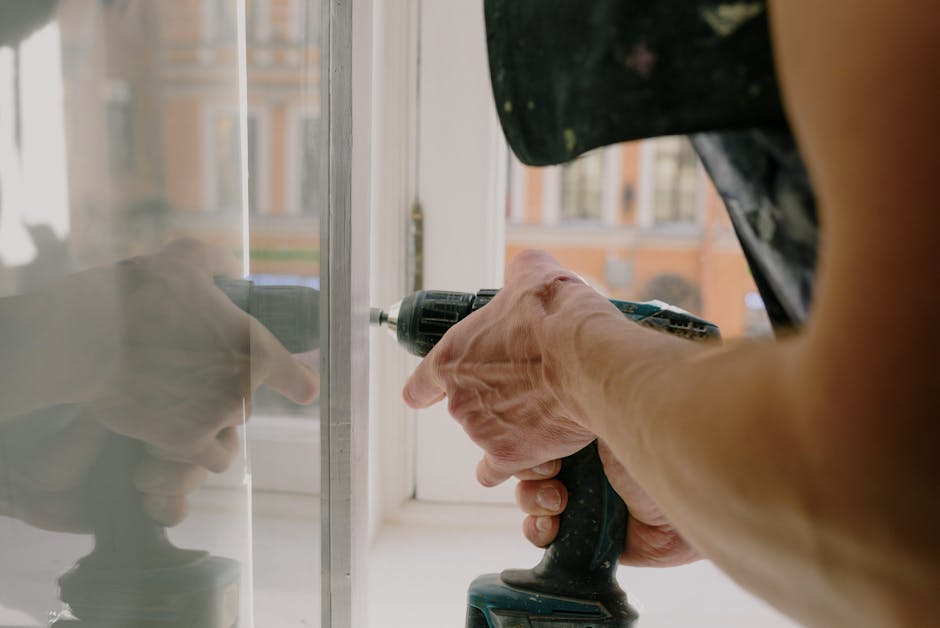
- Power drill and driver bits - To secure the window frame.
- Utility knife - For scoring paint and cutting foam.
- Pry bar - To remove old trim and stops.
- Low-expansion foam - Use foam labeled specifically for windows and doors. Standard foam expands too much and can bow the frame.
- Butyl caulk - Stays soft and flexible in cold weather.
- Flashing tape - To protect the sill from water.
For a detailed look at the tools professionals use, you can read How to Install a Replacement Window - This Old House.
Step-by-Step Guide to Removing the Old Window
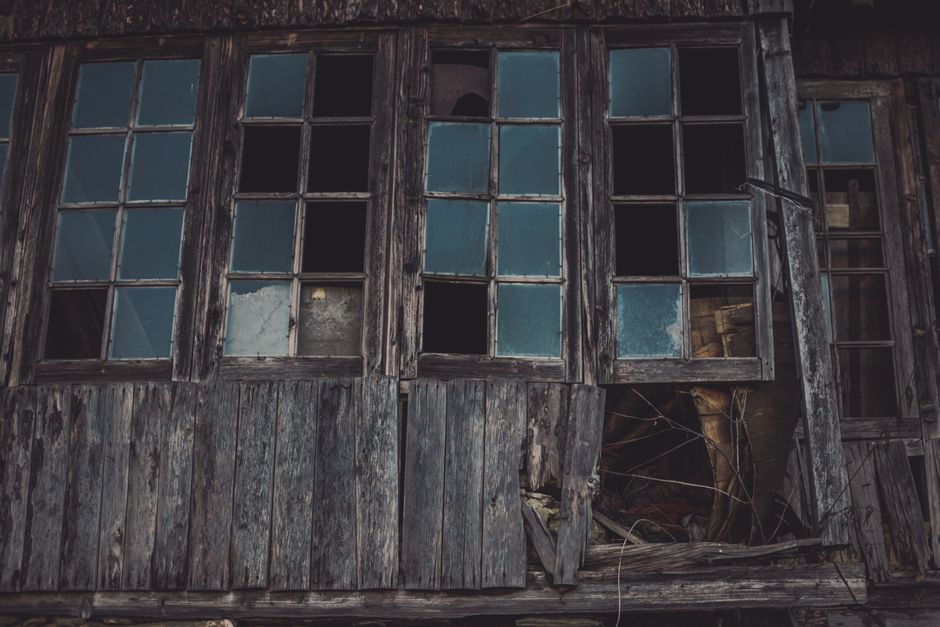
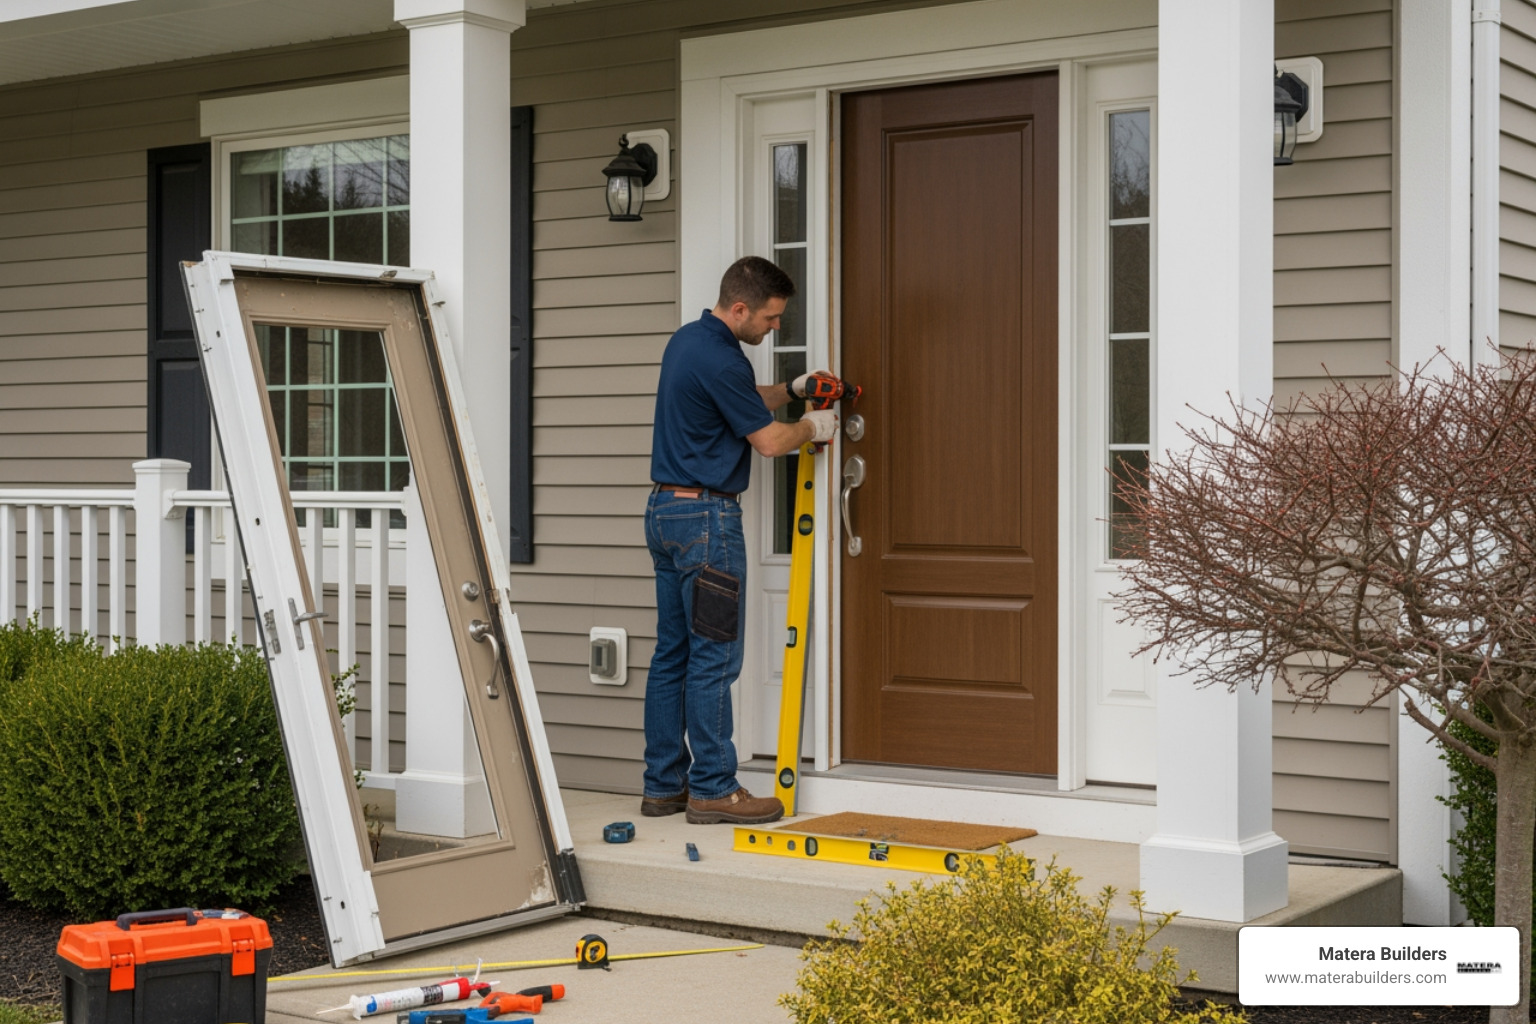
Now it is time to get to work. Removing the old window requires patience. If you rush, you can damage the existing frame or break the glass.
Safety is your first priority. If your home was built before 1978, it may contain lead paint. Disturbing lead paint can create dangerous dust. You should follow EPA guidelines and consider hiring a certified professional if lead is present.
Removing the Sashes and Stops
Start on the inside of your home. Use a utility knife to score the paint line where the window stops meet the frame. Scoring prevents the paint from peeling off your drywall or wood trim when you pull the stops.
Use a small pry bar to gently remove the interior stop beads. Keep them in a safe place if you plan to reuse them. Once the stops are out of the way, you can remove the lower sash.
If you have an old double-hung window with sash weights, cut the cords or chains. Let the weights fall inside the pocket. If your window has spring balances, unscrew them carefully. Once the lower sash is out, remove the parting strip to free the upper sash.
Cleaning and Preparing the Frame
With the sashes gone, you are left with an empty frame. Clean out all dust, old paint flakes, and debris.
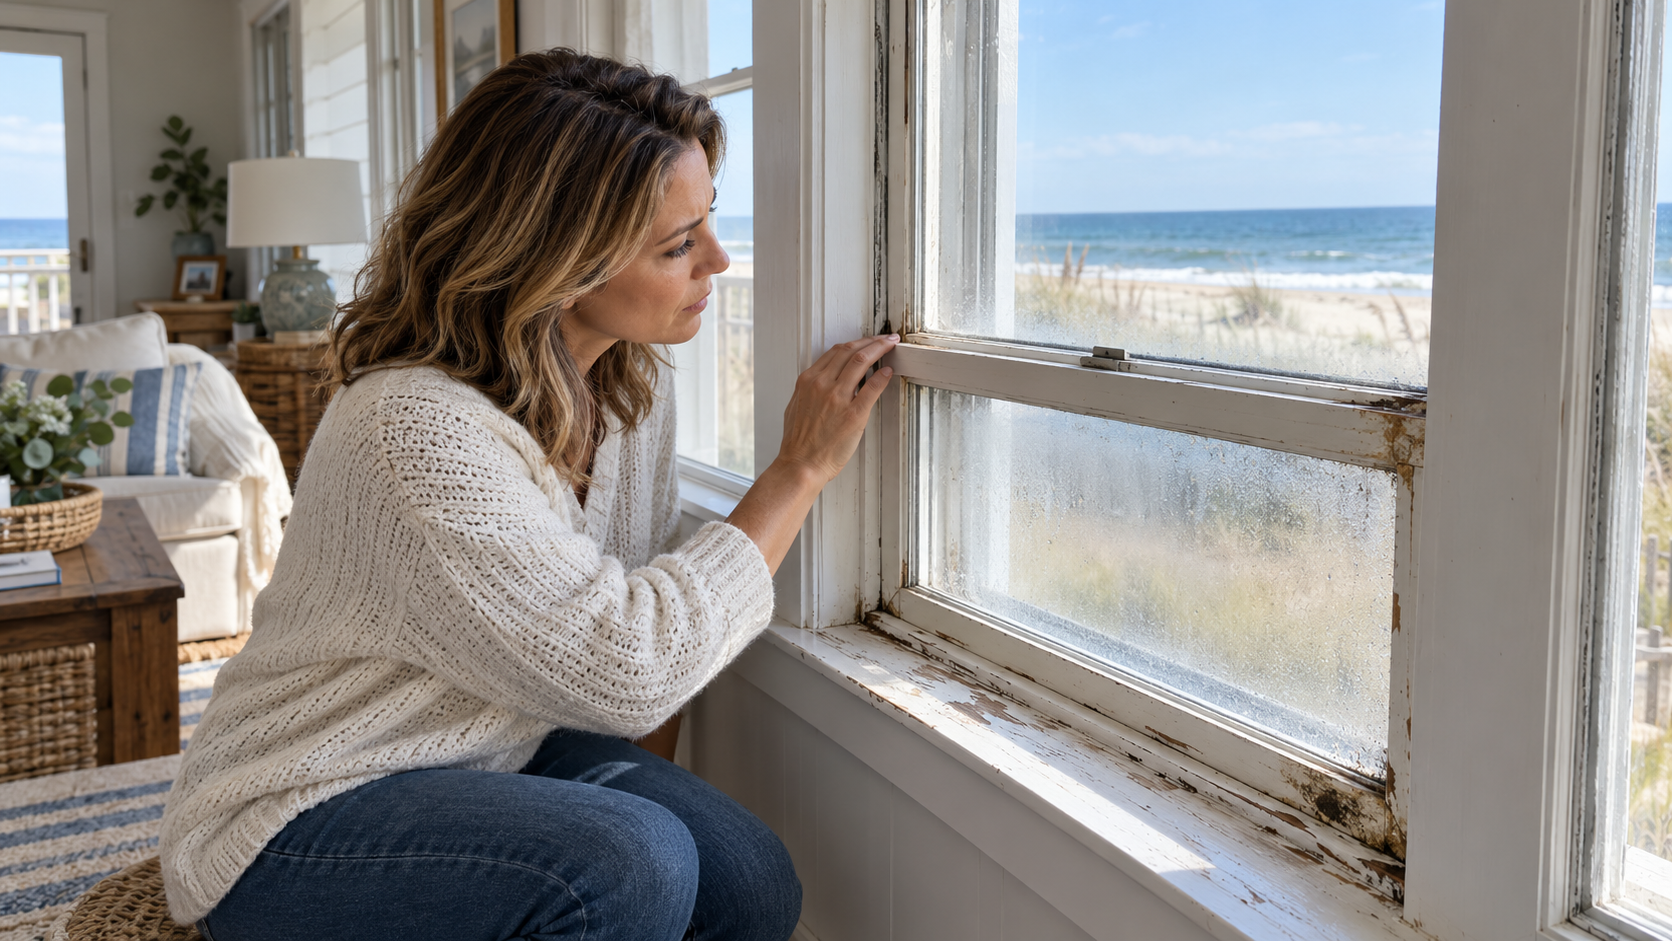
Take a wood awl or screwdriver and poke the sill and jambs. Look for soft wood. If you find minor rot, you must scrape it out and treat the wood. If you find deep structural rot, you cannot install an insert window. You will need to switch to a full-frame replacement to fix the framing.
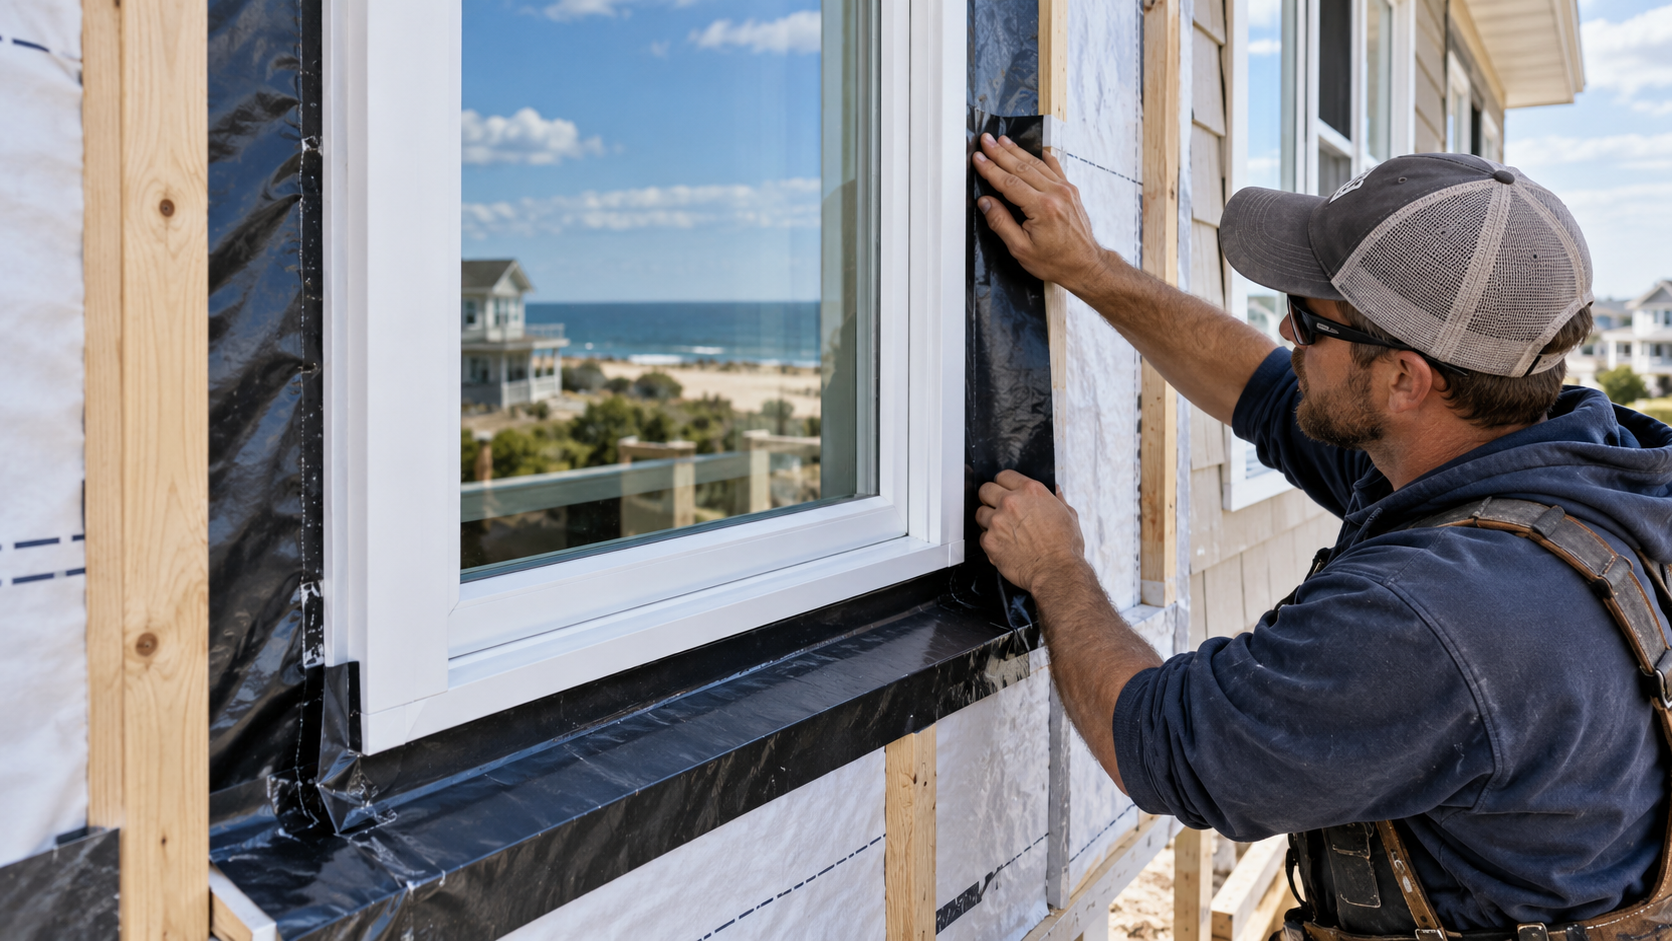
Once the frame is clean and dry, apply flashing tape over the sill. Run the tape up the side jambs about six inches. This creates a waterproof pan that directs any future leaks outside.
The Real Cost and Time Commitment of Installing a Window in a House
Many homeowners wonder if they should tackle this project themselves. To make an informed choice, you need to understand the costs and time involved.
Installing a window in an existing wall can range from $1,000 to $5,000 per window for professional labor, not including the cost of the window itself. For example, a custom oval window installation can cost about $1,500 for installation, framing, and siding repair. You must also budget around $750 for drywall patching and trim, plus the cost of the custom window.
For standard replacement windows, a DIY approach saves on labor. But you must invest your own time. An insert replacement takes about 2 to 4 hours per window. A full-frame window replacement requires at least 4 to 6 hours per window on the ground level. Windows on upper floors take even longer because of ladder work and safety setups.
If you want to understand professional rates better, check out our analysis of the Cost of Putting in New Windows.
Step-by-Step Guide to Installing a Window in a House (Insert Method)
Here is how to install your new insert window:
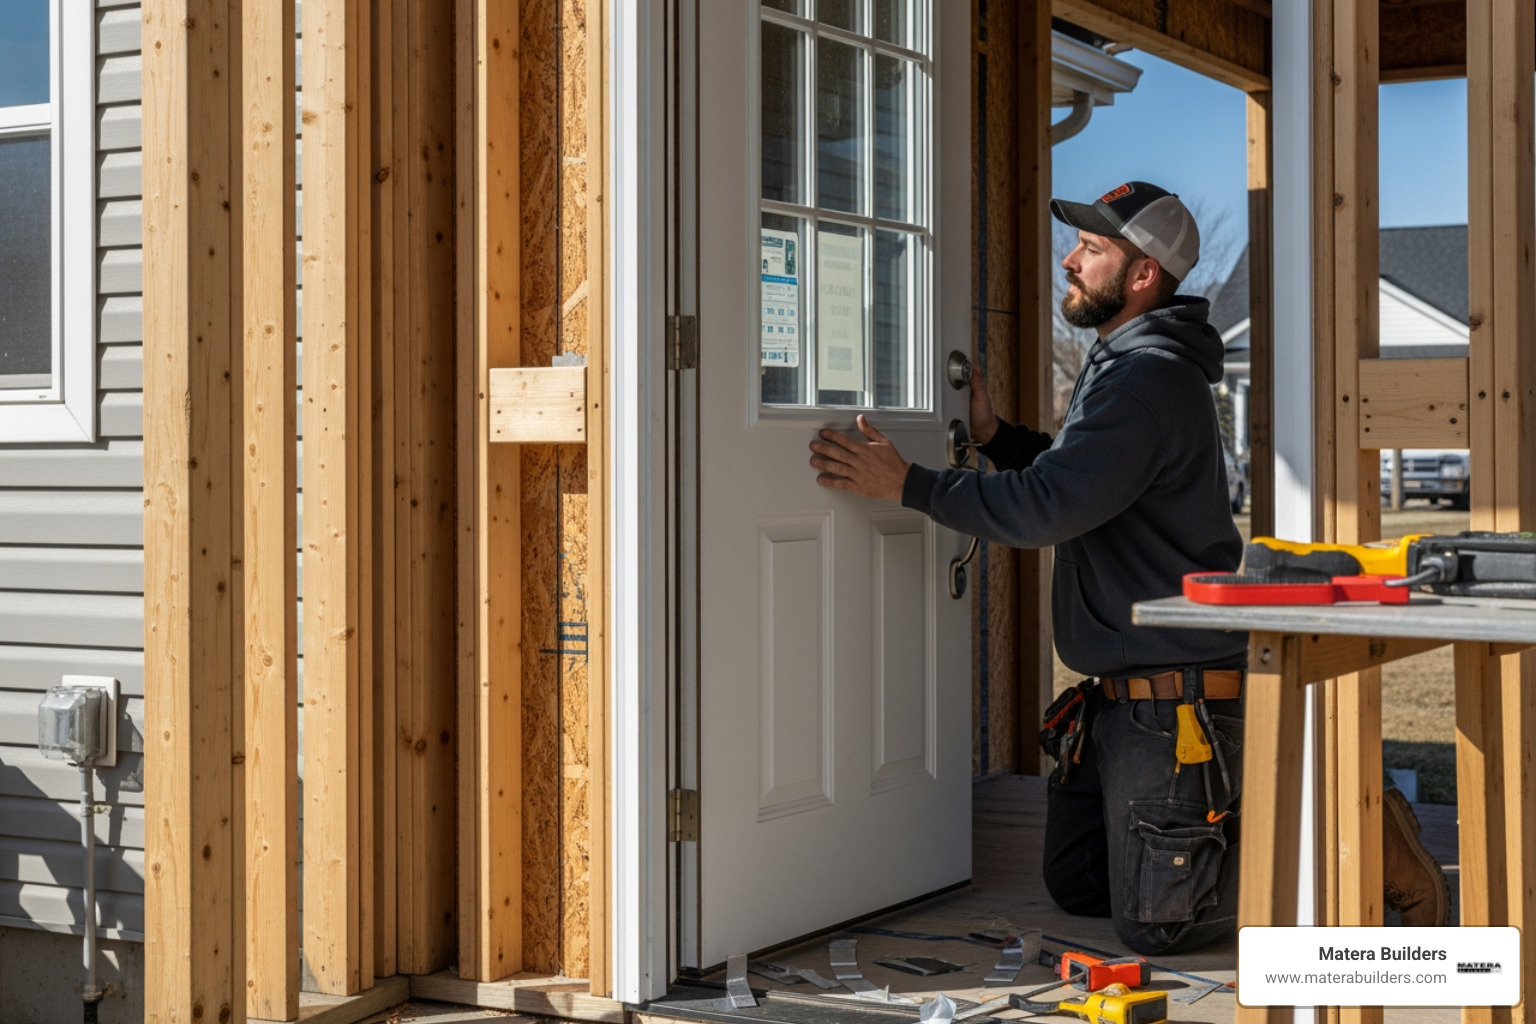
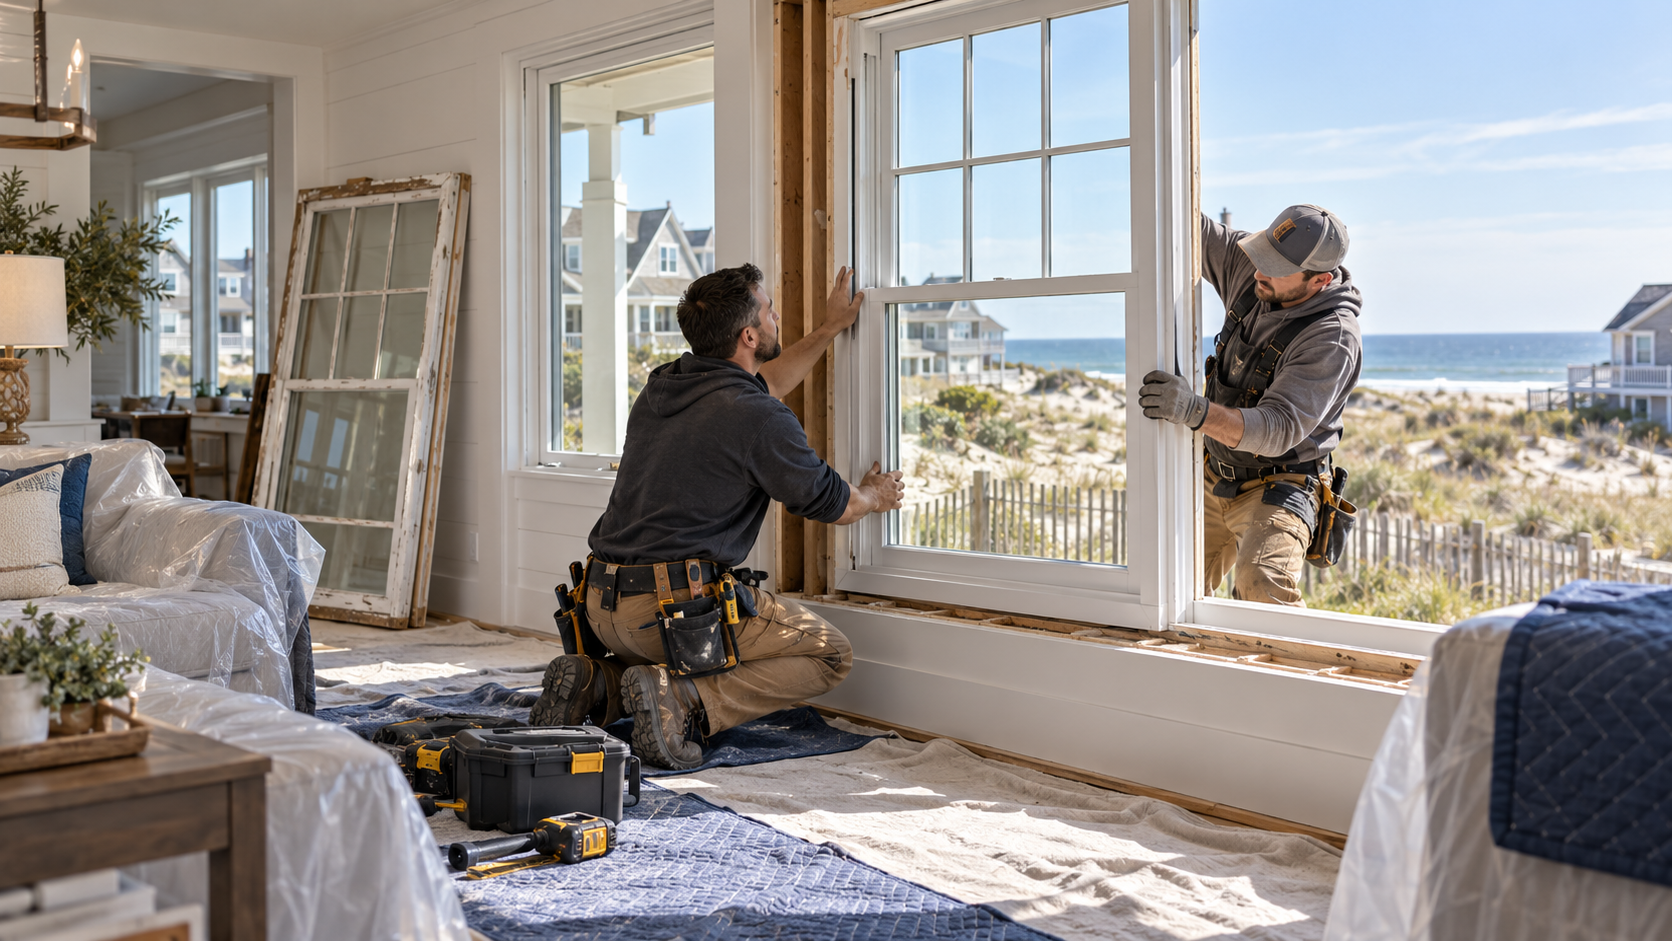
- Dry-fit the window - Set the new window inside the opening. Check if it fits. Use a level to see how close it is to plumb. Remove the window.
- Apply caulk - Apply a thick, continuous bead of high-quality butyl caulk along the inside face of the exterior blind stop. This creates a water barrier.
- Set the window - Place the bottom of the window on the sill first. Push the top forward until the window rests firmly against the caulked blind stop.
- Shim the frame - Insert composite shims at the screw locations. Place them between the new window frame and the old jambs. This keeps the frame straight. Do not over-shim, or you will bow the vinyl or wood frame.
- Secure with screws - Drive stainless steel screws through the pre-drilled holes in the window frame and into the studs. Do not over-tighten.
- Test the sashes - Open and close the window. The sashes should slide smoothly. If they bind, adjust your shims.
For specific technical details on vinyl systems, you can refer to the manufacturer guidelines in 20-4002-05.indd.
When to Avoid Installing a Window in a House Yourself
While DIY is rewarding, some situations call for professional help. You should avoid doing this yourself if:
- The rough opening is out of square by more than 1/2 inch.
- There is structural water damage or termite rot in the wall studs.
- The windows are on the second or third floor. Working on high ladders with heavy glass is highly dangerous.
- You want to preserve a manufacturer warranty. Many premium brands require certified installation to keep the warranty active.
If you decide the job is too large, you can connect with Professional Window Installers NJ to ensure the work is done safely and correctly.
Weatherproofing: How to Flash, Seal, and Insulate Your New Window
A window is only as good as its seal. In coastal New Jersey, we get heavy rain and strong winds. If you do not weatherproof your window correctly, water will find its way inside.
Proper weatherproofing keeps your home dry and helps you save on heating and cooling. You can learn more about choosing the right materials in our guide on Energy Efficient Windows NJ.
Applying Flashing Tape and Sealant
When applying flashing tape, always work from the bottom up. This is called shingle-fashion flashing. It ensures that water flowing down the wall runs over the seams instead of behind them.
Apply a high-quality butyl sealant around the exterior perimeter of the window where the frame meets the trim. Leave small gaps at the bottom sill. These drainage voids are called weep holes. They allow any water that gets inside the frame to escape safely.
Insulating the Gaps Correctly
Once the window is secured, you will have small gaps between the new window frame and the rough opening. You must fill these to prevent drafts.
Use low-expansion foam labeled specifically for windows and doors. Standard expanding foam can expand with enough force to warp your window frame. Apply the foam in a thin bead around the perimeter. Let it expand and cure. Once dry, cut away any excess with a utility knife.
If you prefer, you can pack the gaps loosely with fiberglass insulation. Do not pack it too tight, or it will lose its insulating value.
Frequently Asked Questions About Window Installation
Do I need a permit to replace a window in New Jersey?
In New Jersey, you usually do not need a permit for a simple like-for-like insert window replacement. However, if you are cutting a larger opening, changing the structural framing, or adding a new window where there was not one before, you will need a building permit from your local town hall. Always check with your local building department before starting.
How do I dispose of my old windows?
Old windows cannot go into your regular household trash. Glass and aluminum frames are highly recyclable. Contact your local waste management company to see if they offer a recycling program. If your home has old wood windows with lead paint, you must wrap them in heavy plastic and dispose of them according to local hazardous waste rules.
Are there tax credits available for energy-efficient windows?
Yes. As of June 2026, federal tax credits are available for homeowners who install Energy Star-certified windows. You can qualify for a tax credit of 30 percent of the product cost, up to $600 per year. Make sure to keep your purchase receipts and the NFRC labels from your new windows to claim this credit on your taxes.
Conclusion
Installing a window in a house is a great way to improve your home's comfort, style, and energy efficiency. While a basic insert replacement is within reach for a skilled DIYer, the coastal climate of the New Jersey shore demands absolute precision.
If you want to keep your new windows performing beautifully for decades, check out our guide on Window Door Maintenance After Installation Essential Tips to Protect Your Investment.
At Matera Builders, Mike Werner and our team bring over 37 years of experience to every home improvement project. We are certified installers who understand how to protect your home from salt air, humidity, and coastal storms. If you are planning a project and want to make sure you hire the right team, read our guide on How to Vet a Contractor in New Jersey Before You Hire.
Ready to upgrade your home with beautiful, high-performance windows? Schedule a Professional Assessment with Matera Builders today. We will help you select the perfect windows and handle the installation process with the highest standards of craftsmanship.




.jpg)

.jpg)