

Why Installing Replacement Windows in an Old House Is Harder Than It Looks
Installing replacement windows in an old house is not the same as replacing windows in a newer home. Old houses have quirks that can turn a simple swap into a serious project.
Here is a quick summary of what the process involves:
- Decide repair or replace - Historic wood windows can often be repaired or upgraded with storm panels and weatherstripping instead of replaced.
- Choose your window type - Insert (pocket) windows fit inside the existing frame. Full-frame replacements remove everything down to the rough opening.
- Measure carefully - Measure width and height at three points each. Use the smallest number. Check diagonals for square.
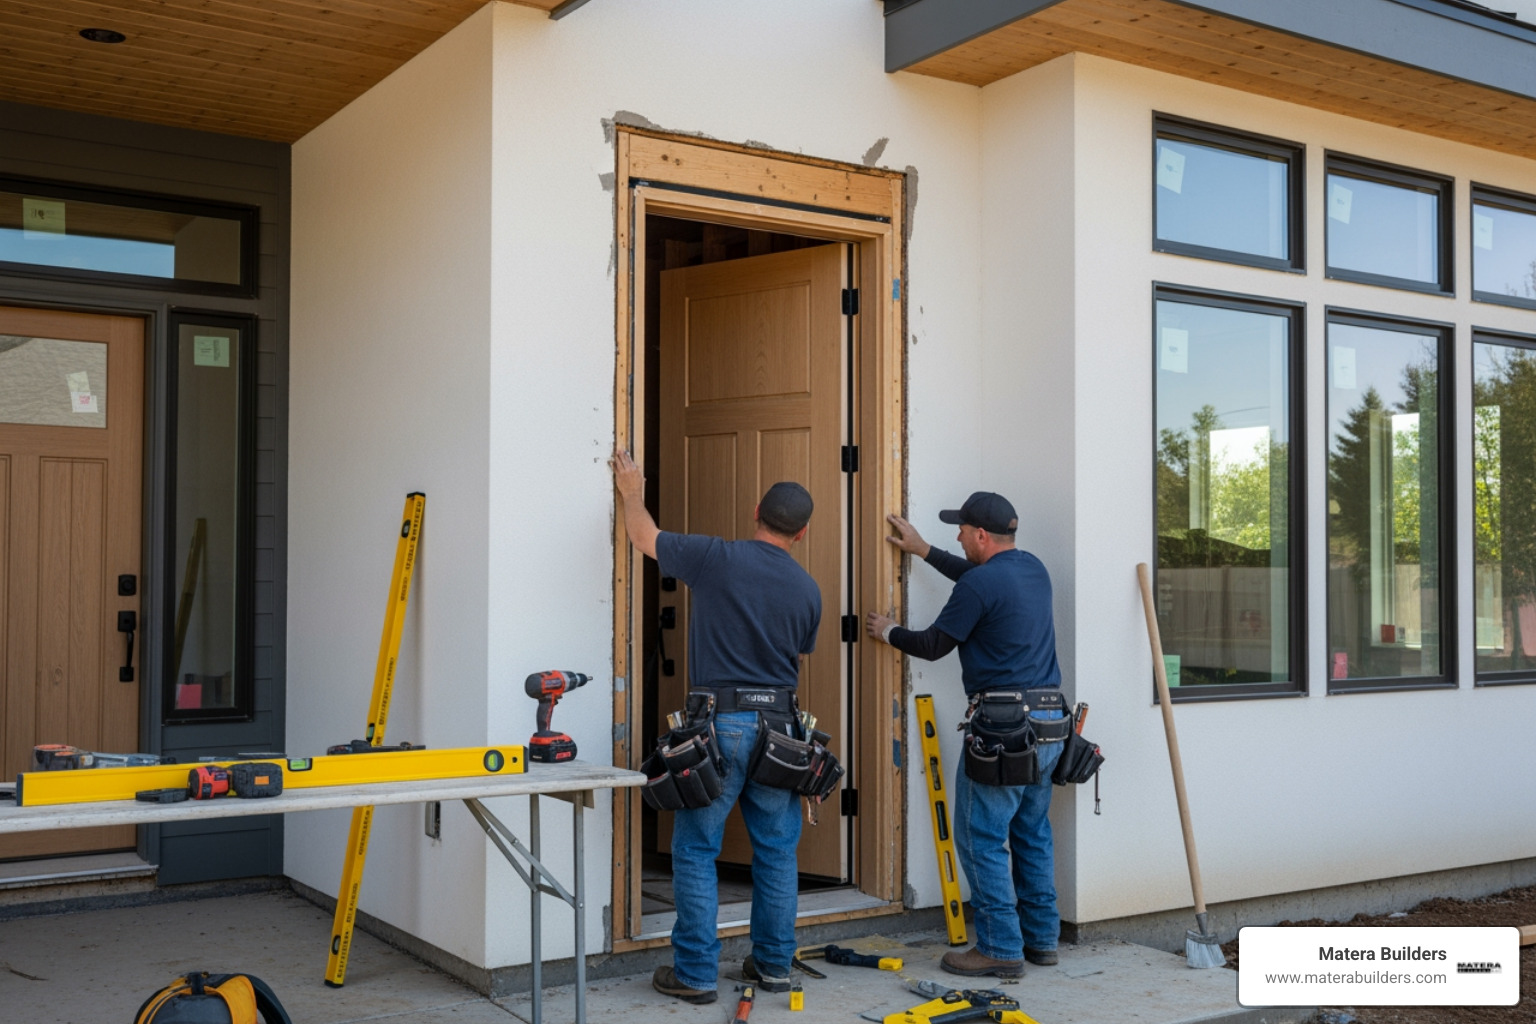
- Prep the opening - Score paint lines, remove stops and sashes, clear out sash weights, and insulate weight pockets.
- Install and seal - Apply flashing tape, set the window level and plumb, shim it square, and seal with low-expansion foam and butyl caulk.
- Finish the trim - Reinstall or replace interior and exterior trim to protect the opening from air and water.
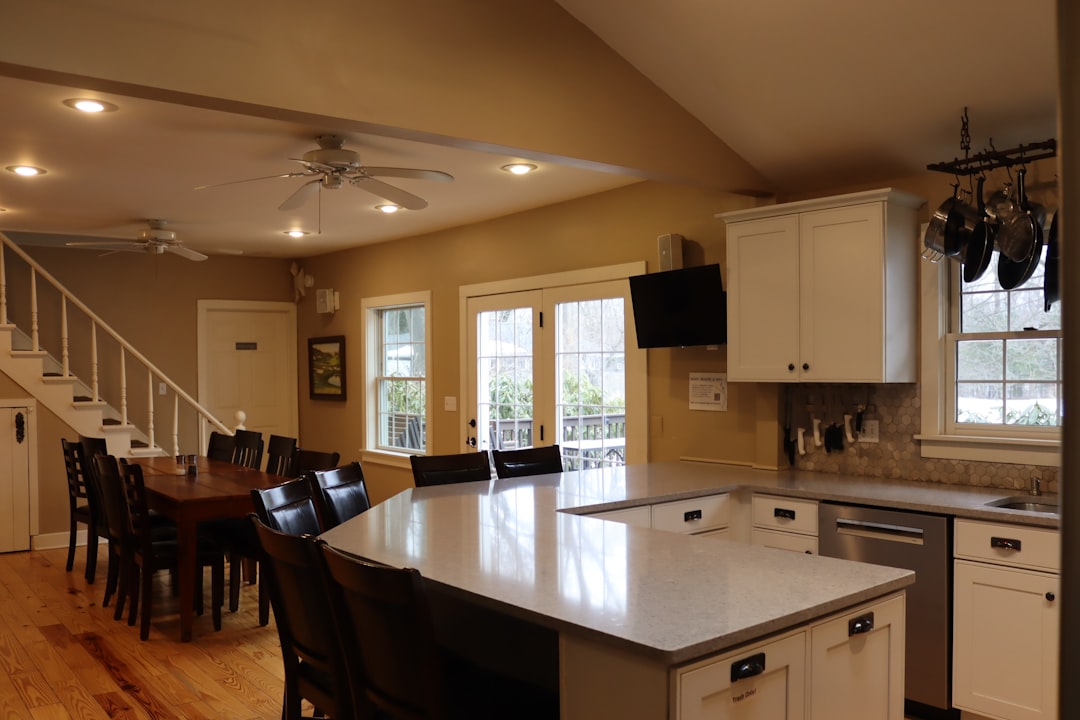
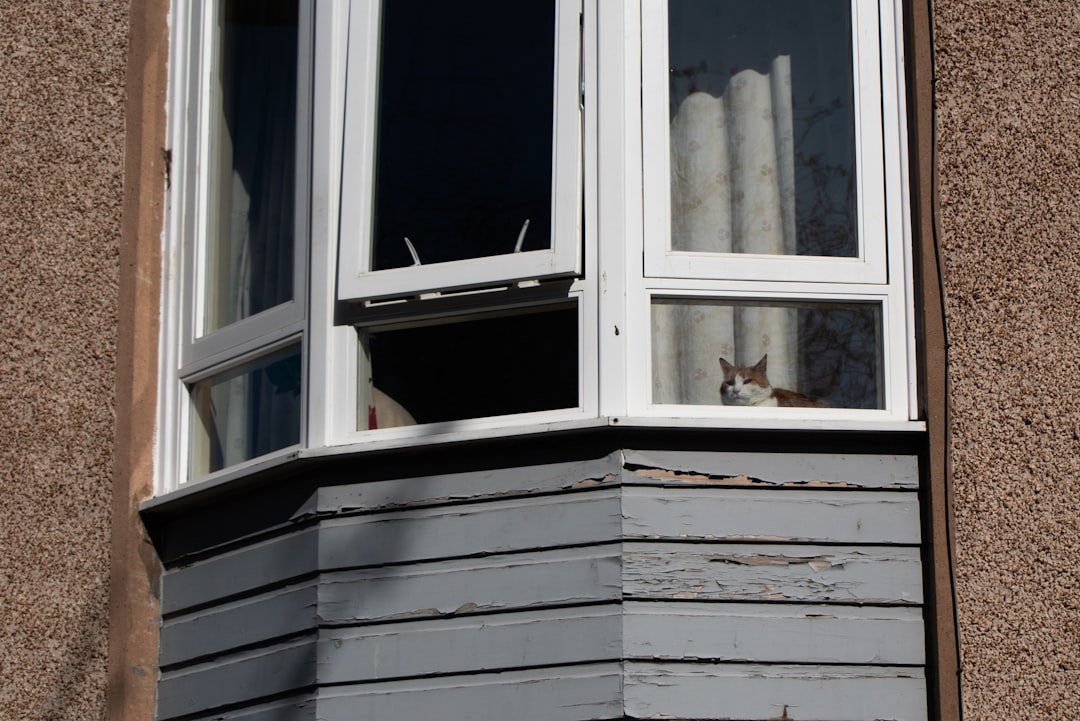
Old homes, especially those built before 1950, come with challenges that newer homes simply do not have. Plaster walls that crack if you look at them wrong. Frames that have shifted, settled, and racked over decades. Sash weights hidden inside the walls. Layers of paint thick enough to seal windows shut. And in coastal markets like New Jersey, add salt air corrosion and moisture intrusion to that list.
Nearly half of all homeowners who replace windows professionally, 47.1%, live in homes more than 20 years old. The most common reason? Cracked, damaged, or broken frames. That number climbs even higher in older coastal neighborhoods where wood rots faster and frames take a beating from humidity and wind.
The good news: with the right approach, you can replace windows in an old house without destroying original trim, cracking plaster, or creating new water problems. But you need to know what you are walking into before you start pulling things apart.
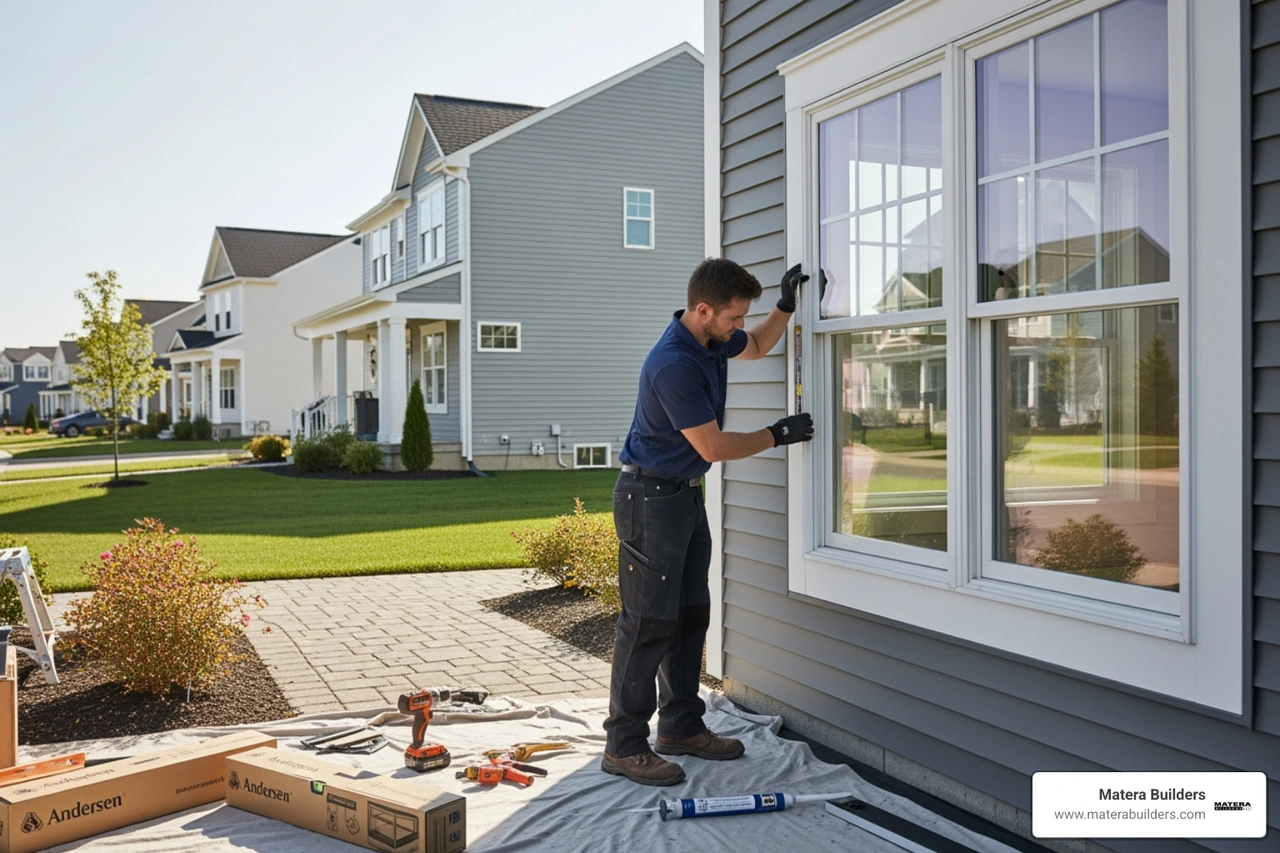
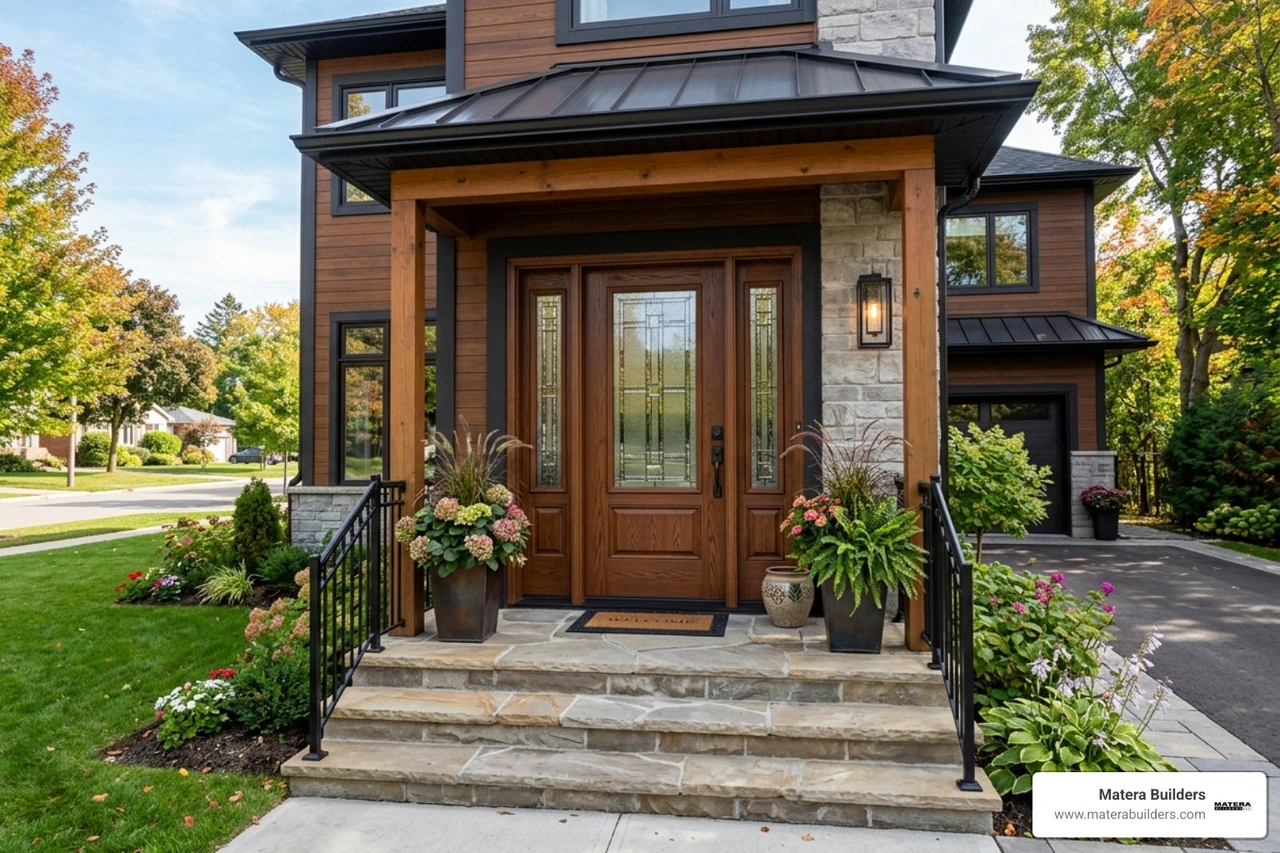
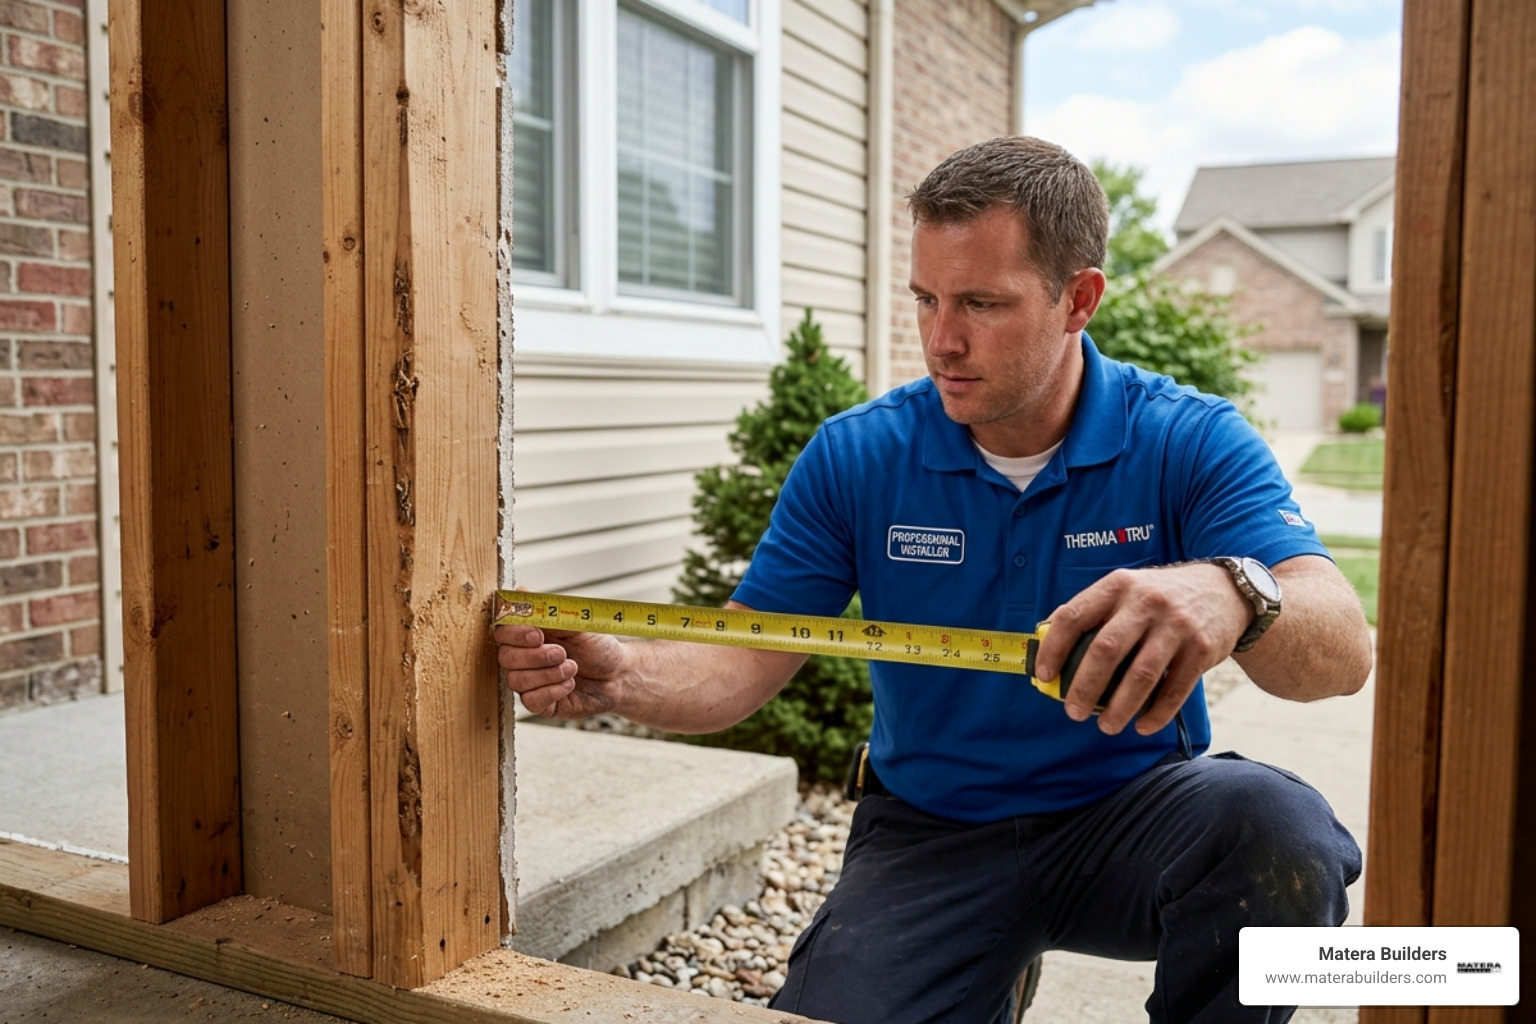
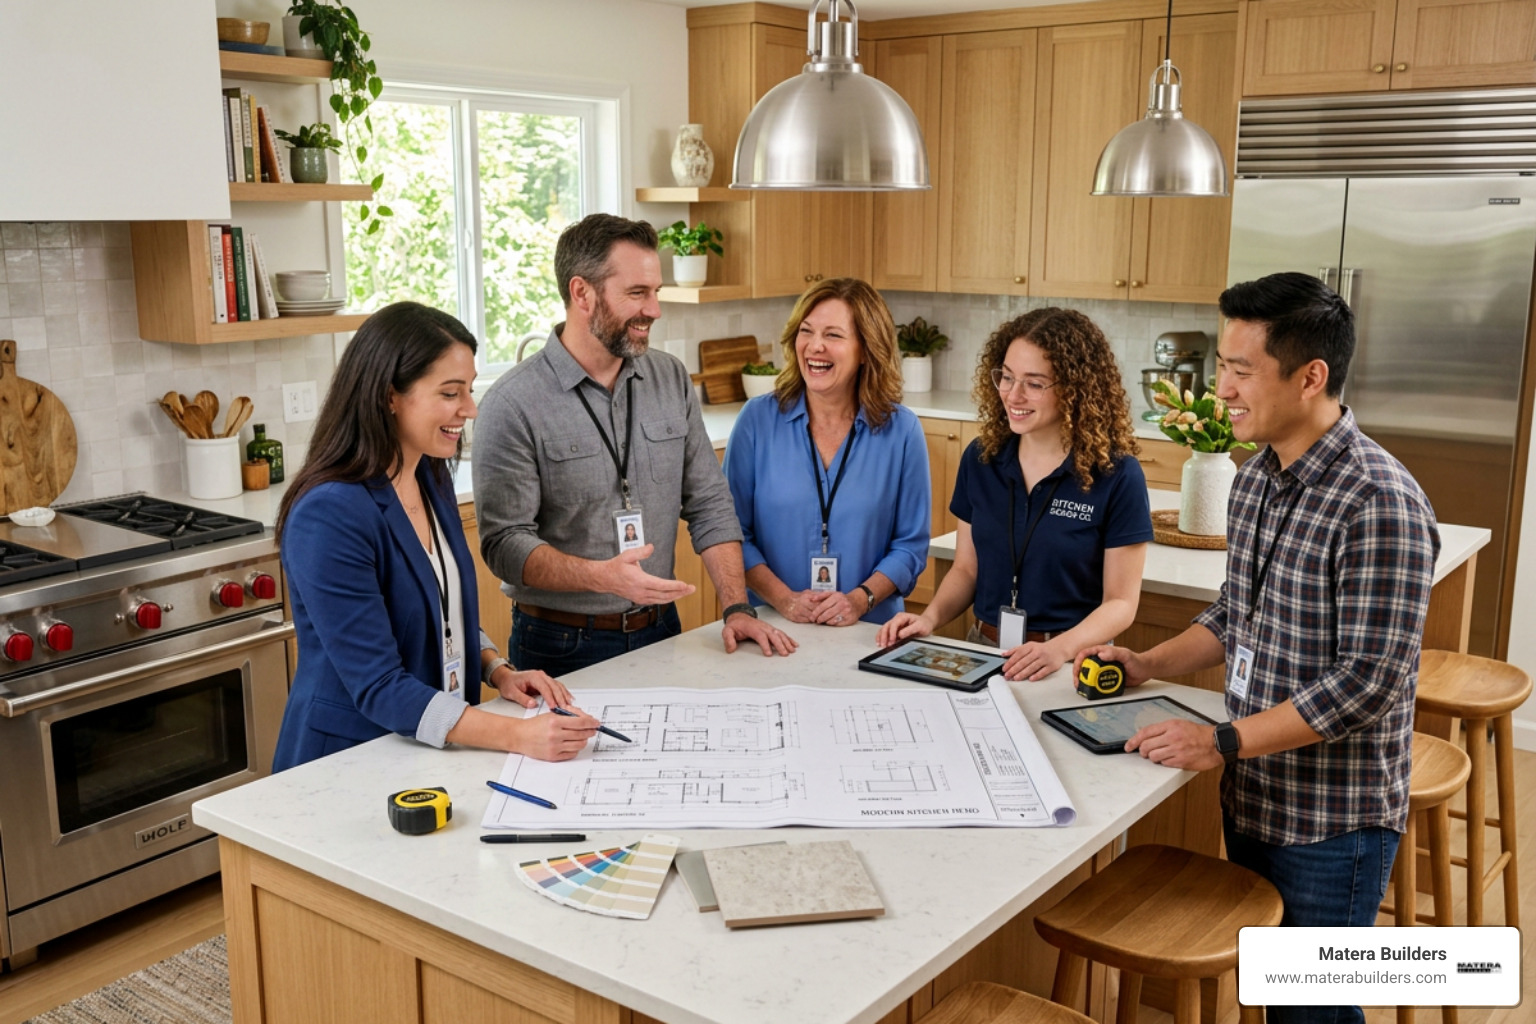
I'm Mike Werner, owner of Matera Builders, a premium exterior renovation contractor specializing in installing replacement windows in old house structures across the New Jersey coast. My team has navigated everything from rotted brick-veneer openings to original 1920s double-hungs, and I'll walk you through exactly how to do this the right way.

Installing replacement windows in old house terms to know:
- average cost of window replacement per window
- installing a new construction window in an existing home
- energy efficient windows nj
Repair vs. Replacement: When to Save Historic Windows
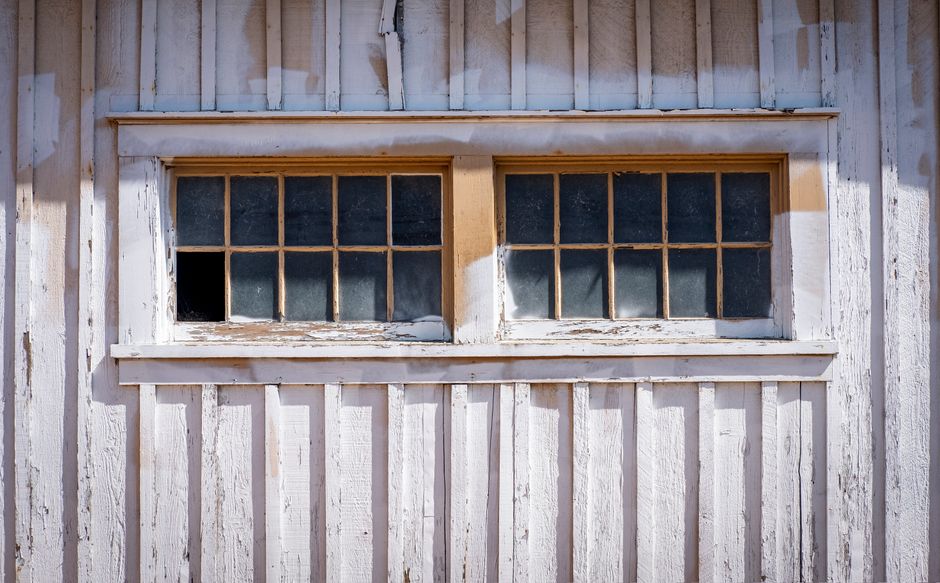
Before you grab a crowbar, ask yourself if you really need to replace your windows. Many older homes on the Jersey Shore feature original, old-growth wood windows. This old-growth wood is incredibly dense, stable, and naturally resistant to rot. Once you throw it away, you can never get it back.
Historic single-pane windows get a bad reputation for being drafty. However, draftiness is usually an air-leakage problem, not a glass problem. By adding high-quality weatherstripping and external or internal storm panels, you can make an original window nearly as efficient as a modern double-pane unit.
According to the guide on Considering the Repair, Retrofit and Replacement of Historic Windows, historic single-pane windows paired with a good storm window can cut energy loss by roughly 50 percent. Furthermore, doing the weatherstripping yourself offers a massive return on investment.
If you want to keep your home's historic charm while stopping drafts, you can learn How to Improve the Performance of Vintage Windows Like a Pro - Fine Homebuilding. This process involves removing the sashes, routing a small groove into the wood, and installing modern silicone bulb weatherstripping.
Here is a quick comparison to help you decide whether to repair your vintage windows or replace them:
- Material lifespan: Historic window repair and retrofit can preserve windows for 100+ years with simple paint and maintenance, while modern replacement windows typically last 10 to 20 years before seals fail.
- Wood quality: Historic windows often use high-density, rot-resistant old-growth wood, while modern replacements use modern softwood or composite materials.
- Energy efficiency: Historic windows with storm panels offer moderate efficiency, around R-2.86, while modern replacement windows can reach high performance with U-factor ratings down to 0.25.
- Aesthetic value: Historic repair preserves original glass wave, thin profiles, and trim, while replacement windows often have slightly thicker frames and reduce total glass area.
- Repairability: Historic windows are easier to repair part by part, including glass, ropes, and sashes, while modern units often require full replacement if the sash or seal breaks.
- Initial cost: Historic window repair has a low to moderate DIY cost but can involve higher professional labor, while quality modern replacement windows require a higher upfront investment.
If your frames are completely soft, structurally failed, or rotted through, replacement is your best path forward. If you are facing that situation, let's look at your replacement options.
Full-Frame vs. Insert Windows: Which Is Best for Older Homes?
When you decide to install new windows, you must choose between two main installation methods: full-frame replacement or insert (pocket) replacement.

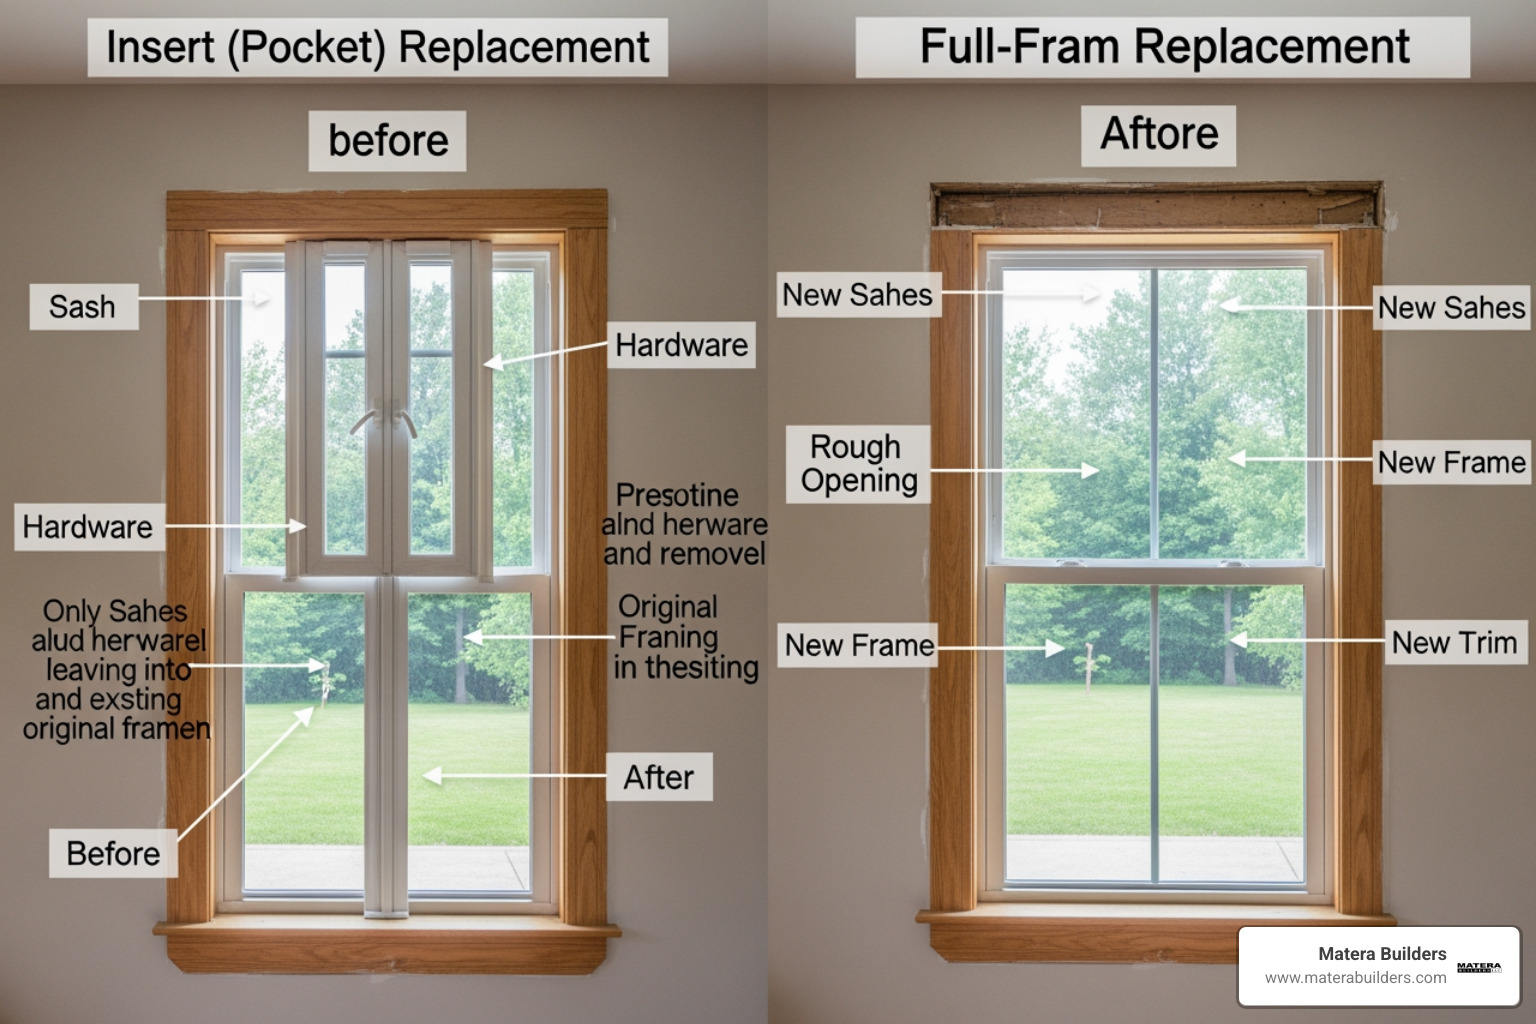
Insert (Pocket) Windows
An insert window is a fully assembled window that slides directly into your existing wood window frame.
- How it works: You only remove the old sashes, the parting bead, and the interior stops. The original window frame, sill, and exterior trim stay completely intact.
- Pros: It is much easier and faster to install. You do not have to disturb your interior plaster, wallpaper, or historic exterior trim. This keeps your costs lower.
- Cons: Because the new window frame sits inside your old window frame, you lose about one to two inches of glass width and height. If your existing frame is rotted, out of square, or water-damaged, you cannot use this method.
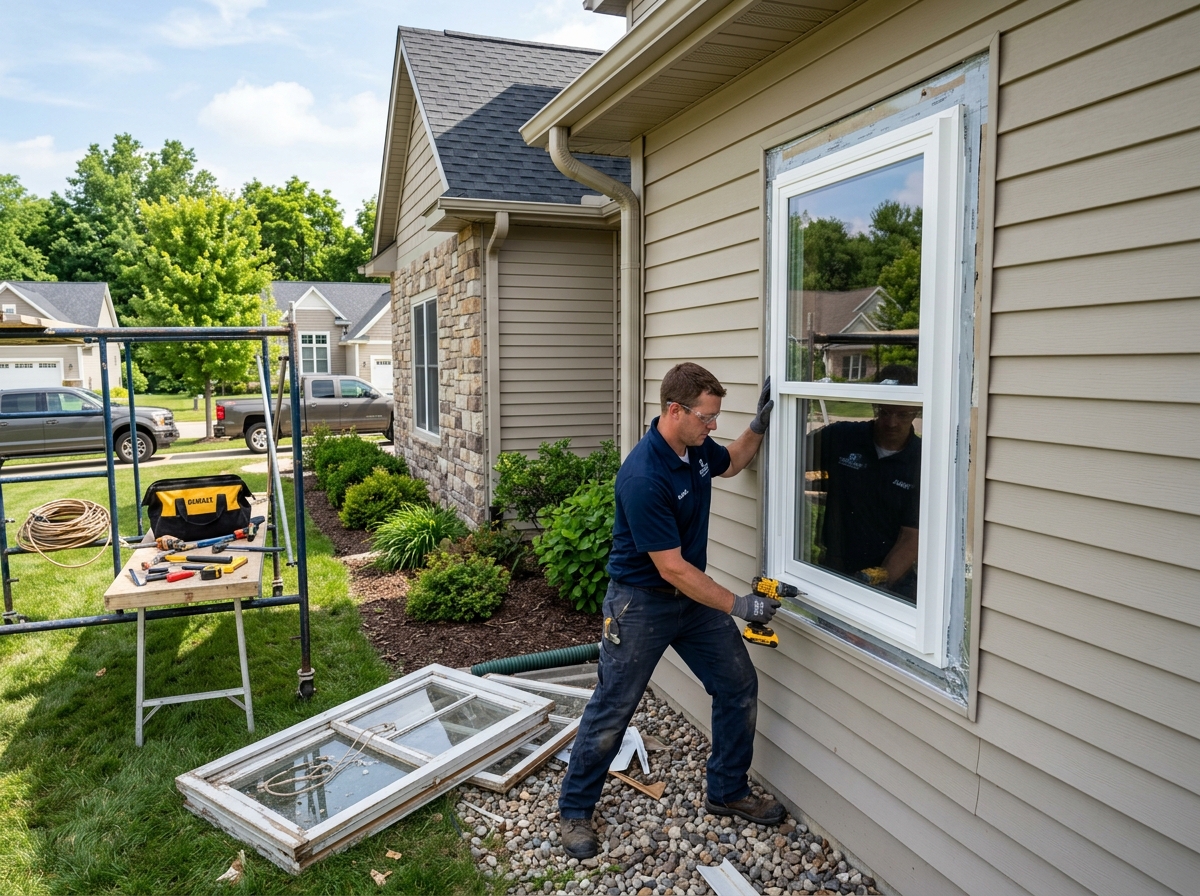
Full-Frame Windows
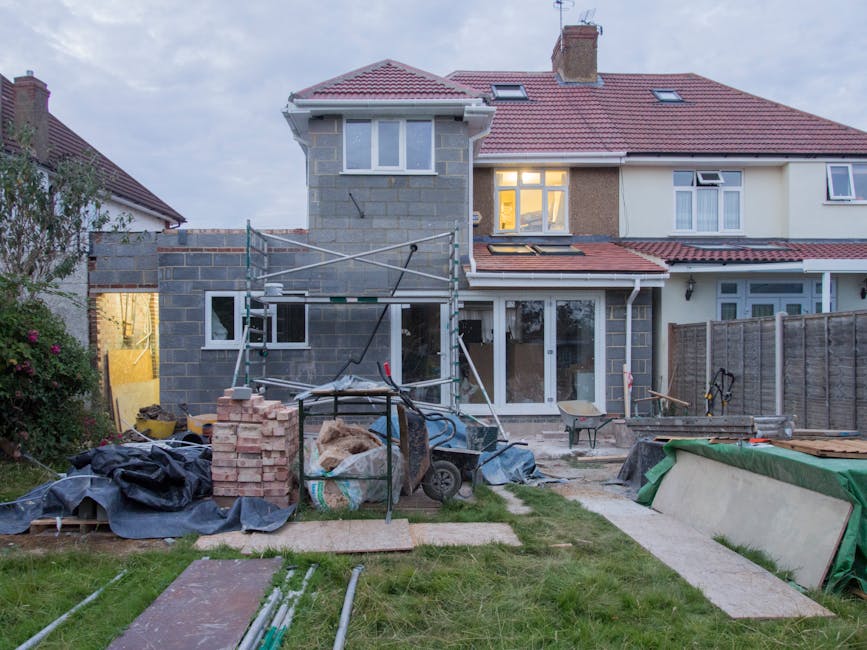
A full-frame replacement removes everything, including the sashes, frame, sill, and interior and exterior trim, exposing the rough studs of the house.
- How it works: You strip the opening down to the bare framing. You then install a brand-new window with its own frame and trim.
- Pros: This is the only way to inspect and repair hidden water damage, rot, or insect infestation inside the wall. It also maximizes your glass viewing area and allows you to change the style or size of the window.
- Cons: It requires removing and replacing interior and exterior trim. This can easily crack old plaster walls and require touch-up paint and siding work. It is also more expensive. You can read more about the labor involved in Fitting New Windows.
For most older homes with structurally sound frames, insert windows are the preferred choice because they preserve the original trim. However, if you live near the ocean in Ocean City, NJ, decades of salt air and driving rain may have rotted your sills. In that case, a full-frame replacement is the safest way to protect your home from structural water damage.
Key Challenges When Installing Replacement Windows in Old House Structures
Older homes have character, but they also have structural challenges that can complicate your installation. Here are the three most common hurdles you will face:
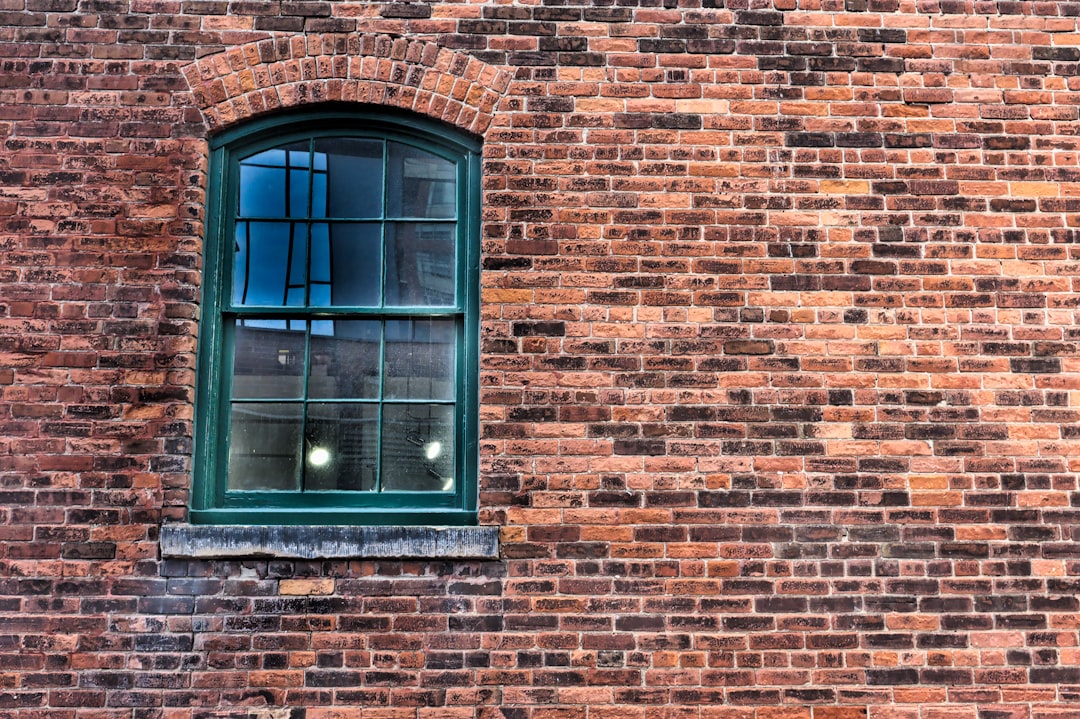
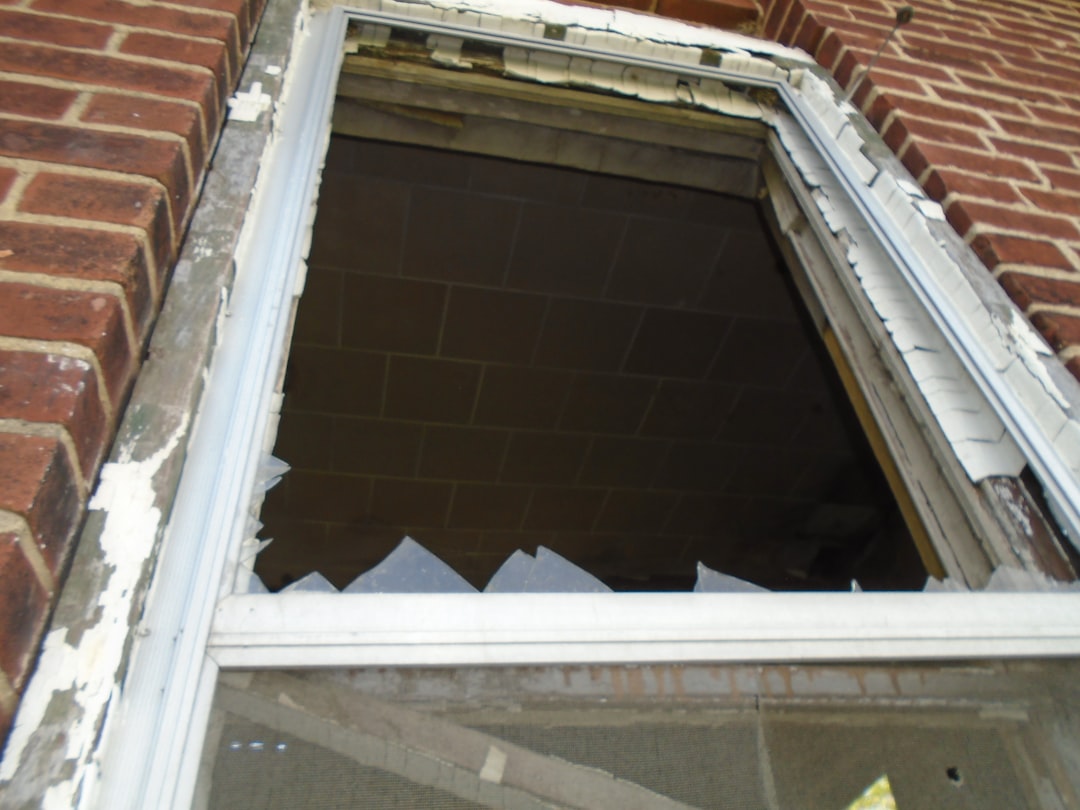
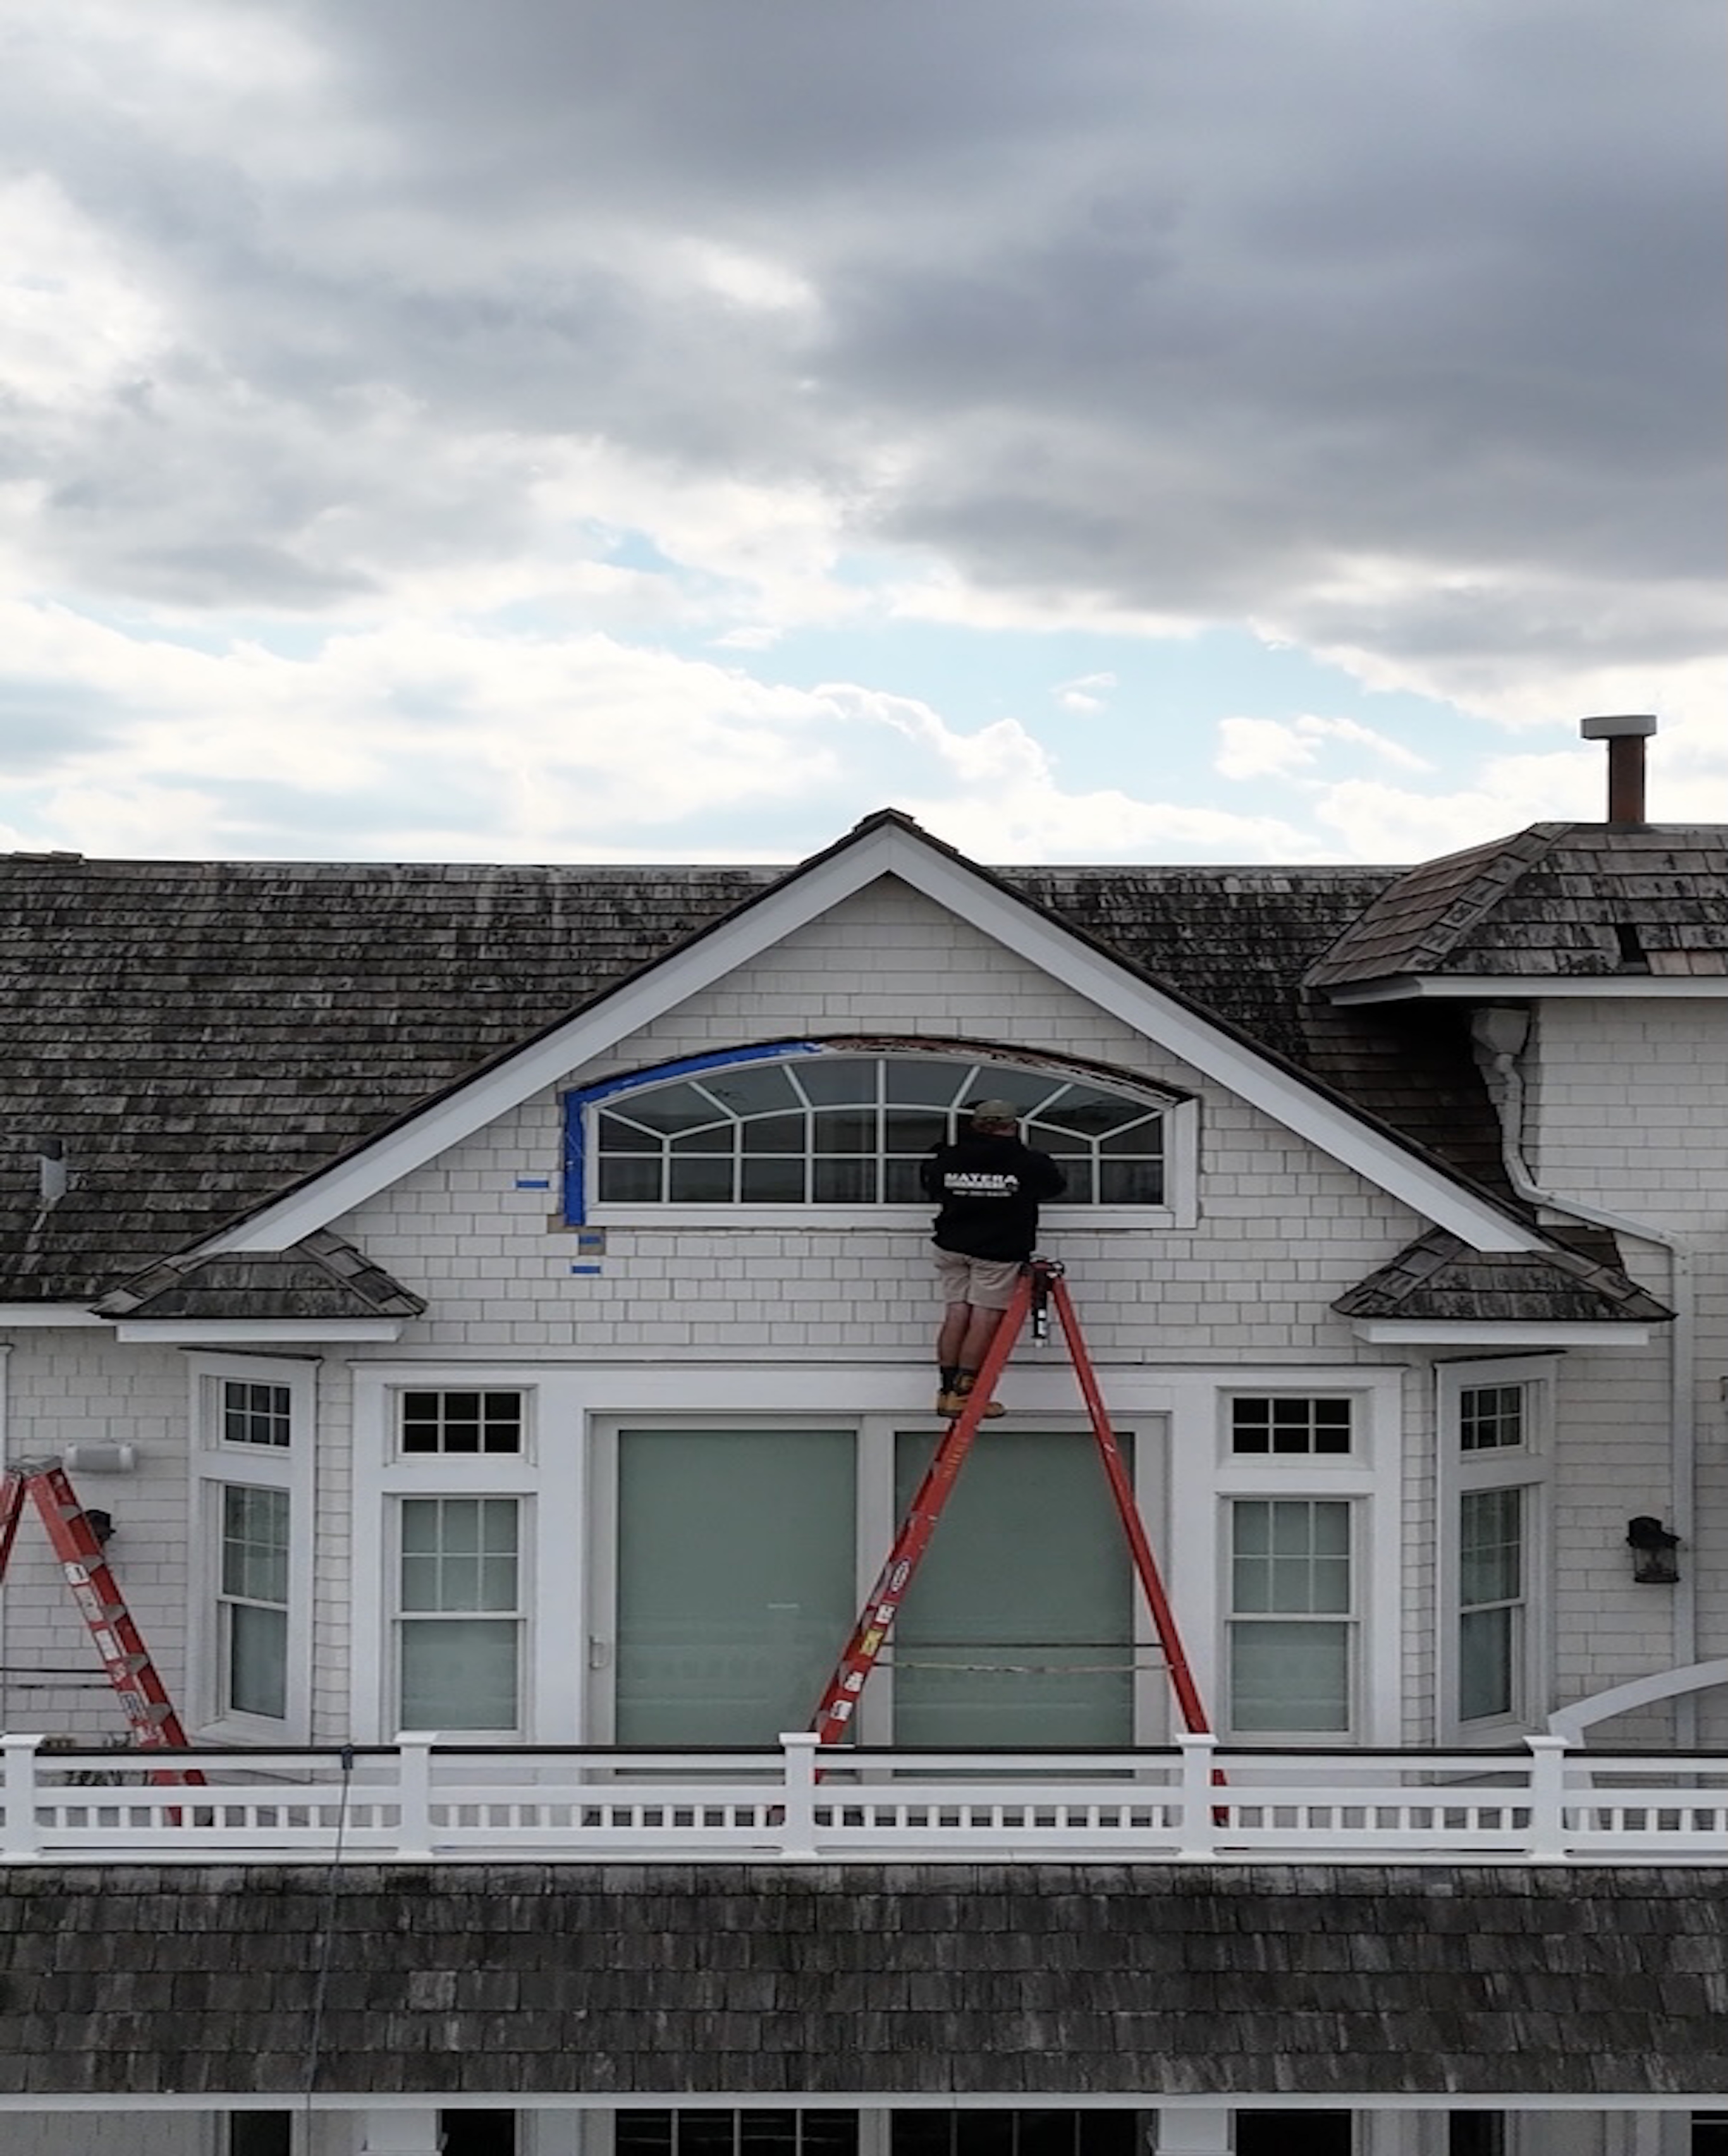
1. Handling Masonry and Brick Veneer Openings
If you are working on a brick or stone home, you cannot easily alter the opening. Masonry does not give. When replacing a window in a brick house, you must integrate your new weather barriers with the existing building paper behind the brick.
According to A Pro's Guide to Replacing Windows in Masonry Openings - Fine Homebuilding, you often have to shrink the new window slightly to keep the nailing flange intact. This allows you to flash the window properly and maintain your manufacturer warranty. If you try to force a standard-sized window into an uneven masonry opening, you will end up with leaks.
2. Settled, Out-of-Square Frames
Houses settle over time. An opening that was perfectly square in 1920 is likely a trapezoid today. When you install a new, perfectly square window into an out-of-square opening, you must use shims to level and plumb the new unit. This leaves gaps of varying sizes around the frame. You must fill these gaps with the right insulation and sealants, or you will have major drafts.
3. Plaster Walls and Keyed Frames
In many historic homes, the interior plaster is actually keyed, or wrapped, directly into the window frame. If you yank the old frame out aggressively, you will tear large chunks of plaster off the interior walls. To avoid this, you must cut the old frame into small sections using a reciprocating saw and pry them out gently.
If you want to understand how to handle these structural challenges step-by-step, check out our guide on installing a new construction window in an existing home.
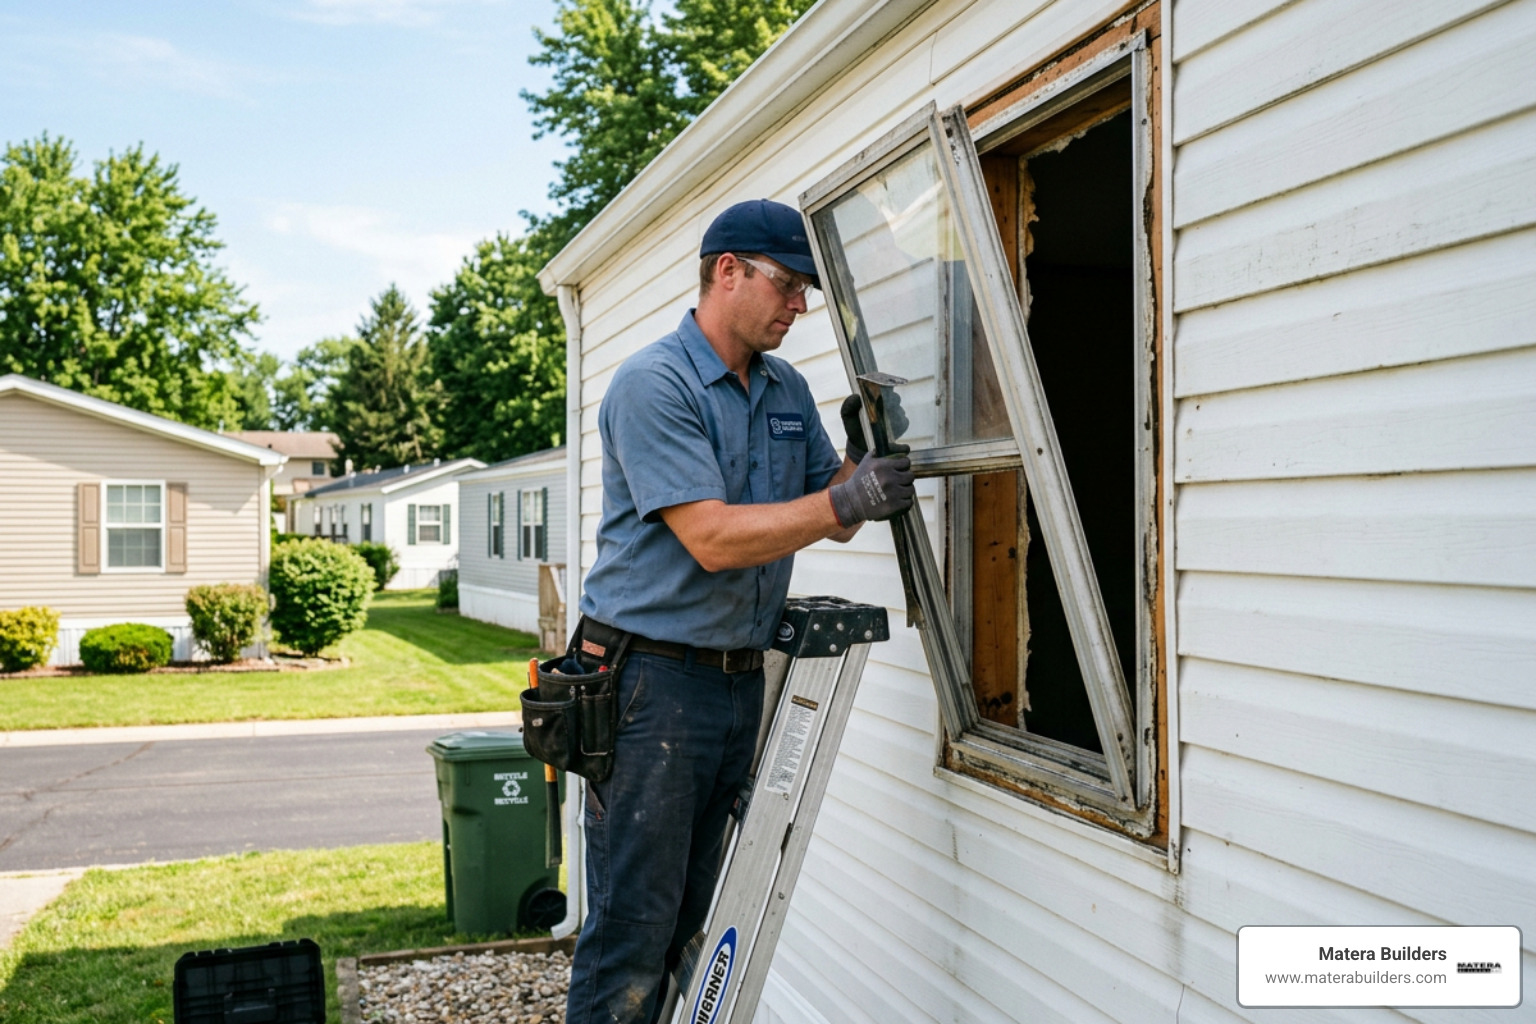
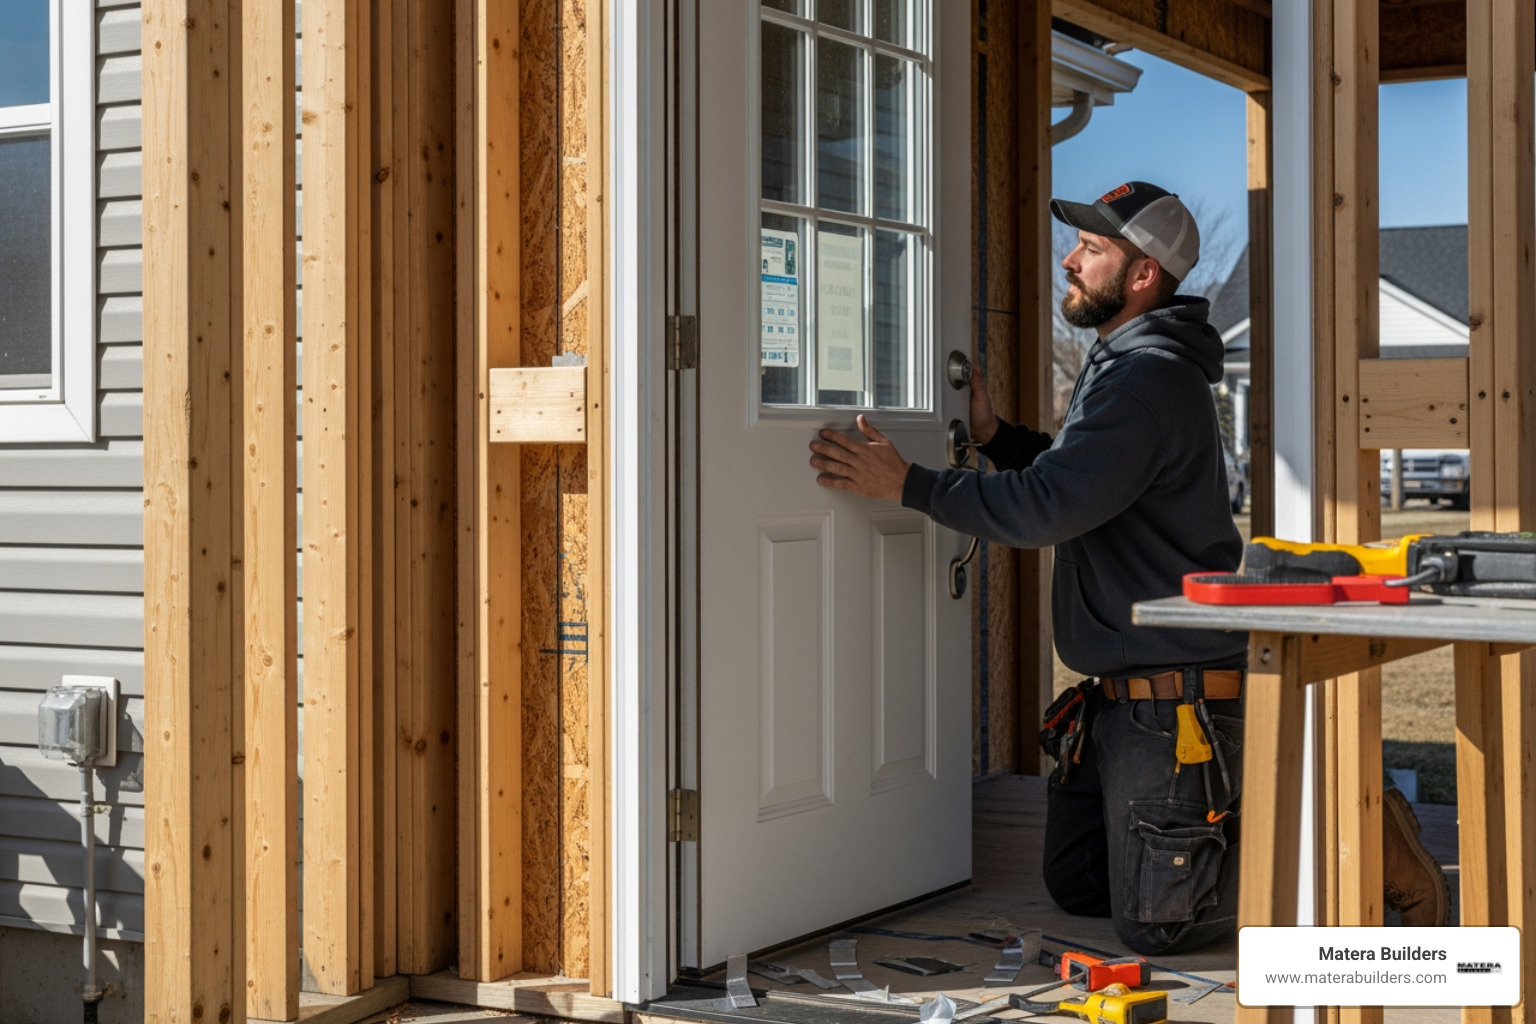
Step-by-Step Guide to Installing Replacement Windows in Old House Frames
If your existing window frames are structurally sound, dry, and square, installing insert windows is a project you can tackle. Here is how to do it step-by-step.

Required Tools and Materials:
- Tape measure and level
- Utility knife and pry bar
- Hammer and chisel
- Reciprocating saw or handsaw
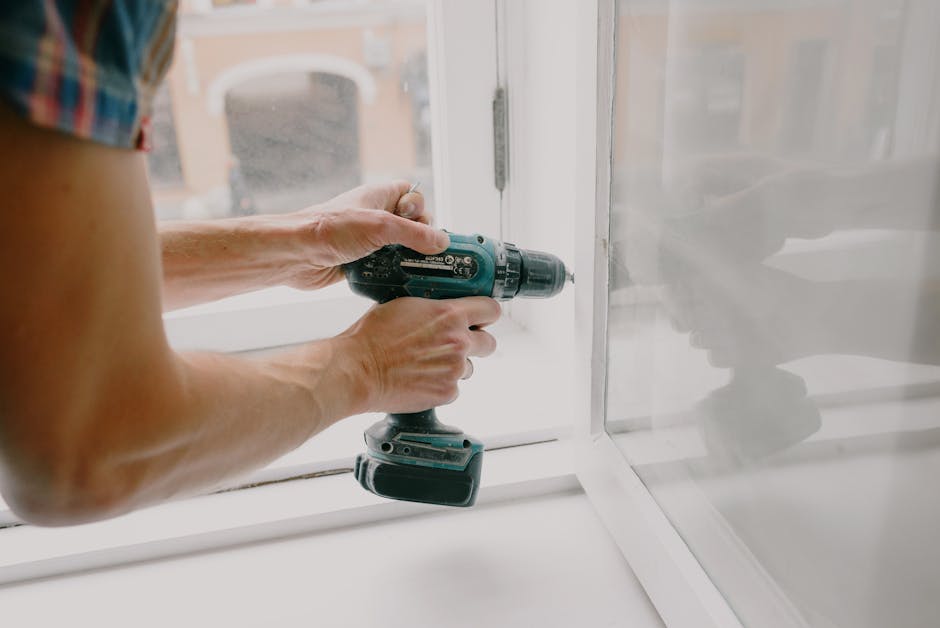
- Cordless drill and screwdriver bits
- High-quality flashing tape
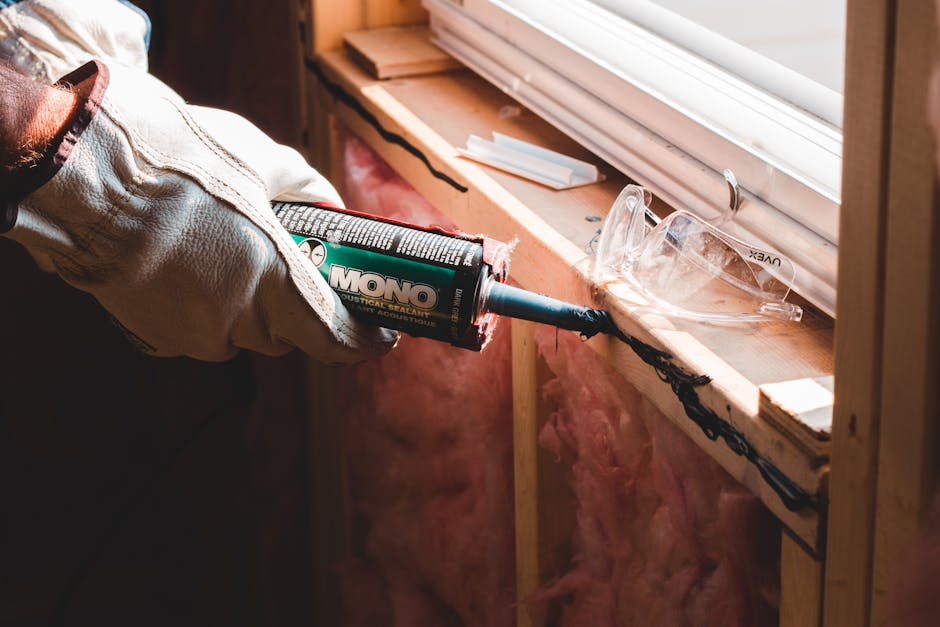
- Low-expansion window and door foam
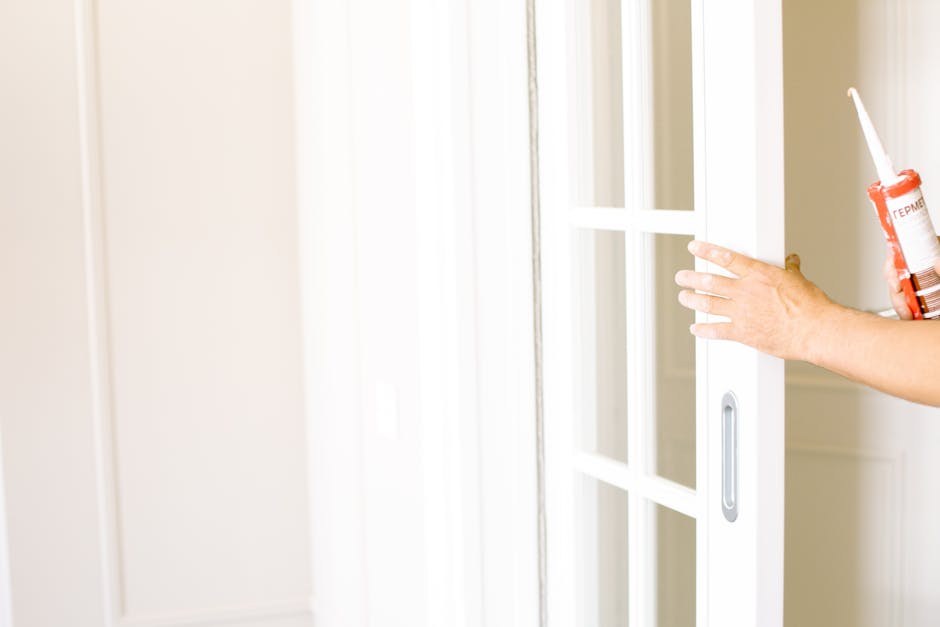
- Exterior-grade butyl caulk
- Cedar shims
- Safety glasses and dust mask (essential for lead paint protection)
Preparation Steps Before Installing Replacement Windows in Old House Openings
Step 1: Measure the Opening Correctly
Do not guess on your measurements. A mistake here means your new window will not fit.
- Width: Measure the distance between the inside of the jambs at the bottom, middle, and top of the window. Record the smallest measurement.
- Height: Measure from the high point of the sill (closest to the inside) to the head jamb at the left, middle, and right. Record the smallest measurement.
- Squareness: Measure diagonally from corner to corner. If the two diagonal measurements differ by more than 1/4 inch, you will need to shim the window carefully to get it square.
Step 2: Score Paint and Caulk Lines
Older homes have many layers of paint. Use a sharp utility knife to score the paint lines where the interior stops meet the window frame. If you skip this step, prying the stops off will tear the paint and wood, ruining your trim.
Step 3: Remove the Stops and Sashes
Gently pry off the interior wood stops. Set them aside if you plan to reuse them. Cut the sash cords on the bottom sash and let the weights fall inside the wall pockets. Remove the bottom sash. Remove the parting strip (the thin piece of wood separating the top and bottom sashes) using a chisel or pliers, then remove the top sash.
Step 4: Clean and Insulate the Weight Pockets
Old double-hung windows use heavy cast-iron weights suspended on ropes inside the wall cavities. These weight pockets are huge sources of drafts.
- Drill a 3/8-inch hole into the pocket covers or open the access doors.
- Fill the cavities with low-expansion foam or dense fiberglass insulation. This step is crucial for achieving Energy Efficient Windows NJ standards.
- Seal the holes and any cracks with flashing tape.
Step 5: Prep the Sill and Frame
Scrape away loose paint, dirt, and old caulk from the existing frame. Inspect the wood for rot. If the wood is dry and solid, apply a layer of self-adhesive flashing tape across the sill, extending it up the sides at least six inches. This creates a waterproof pan that directs any future water leaks outside.
Step 6: Dry-Fit the New Window
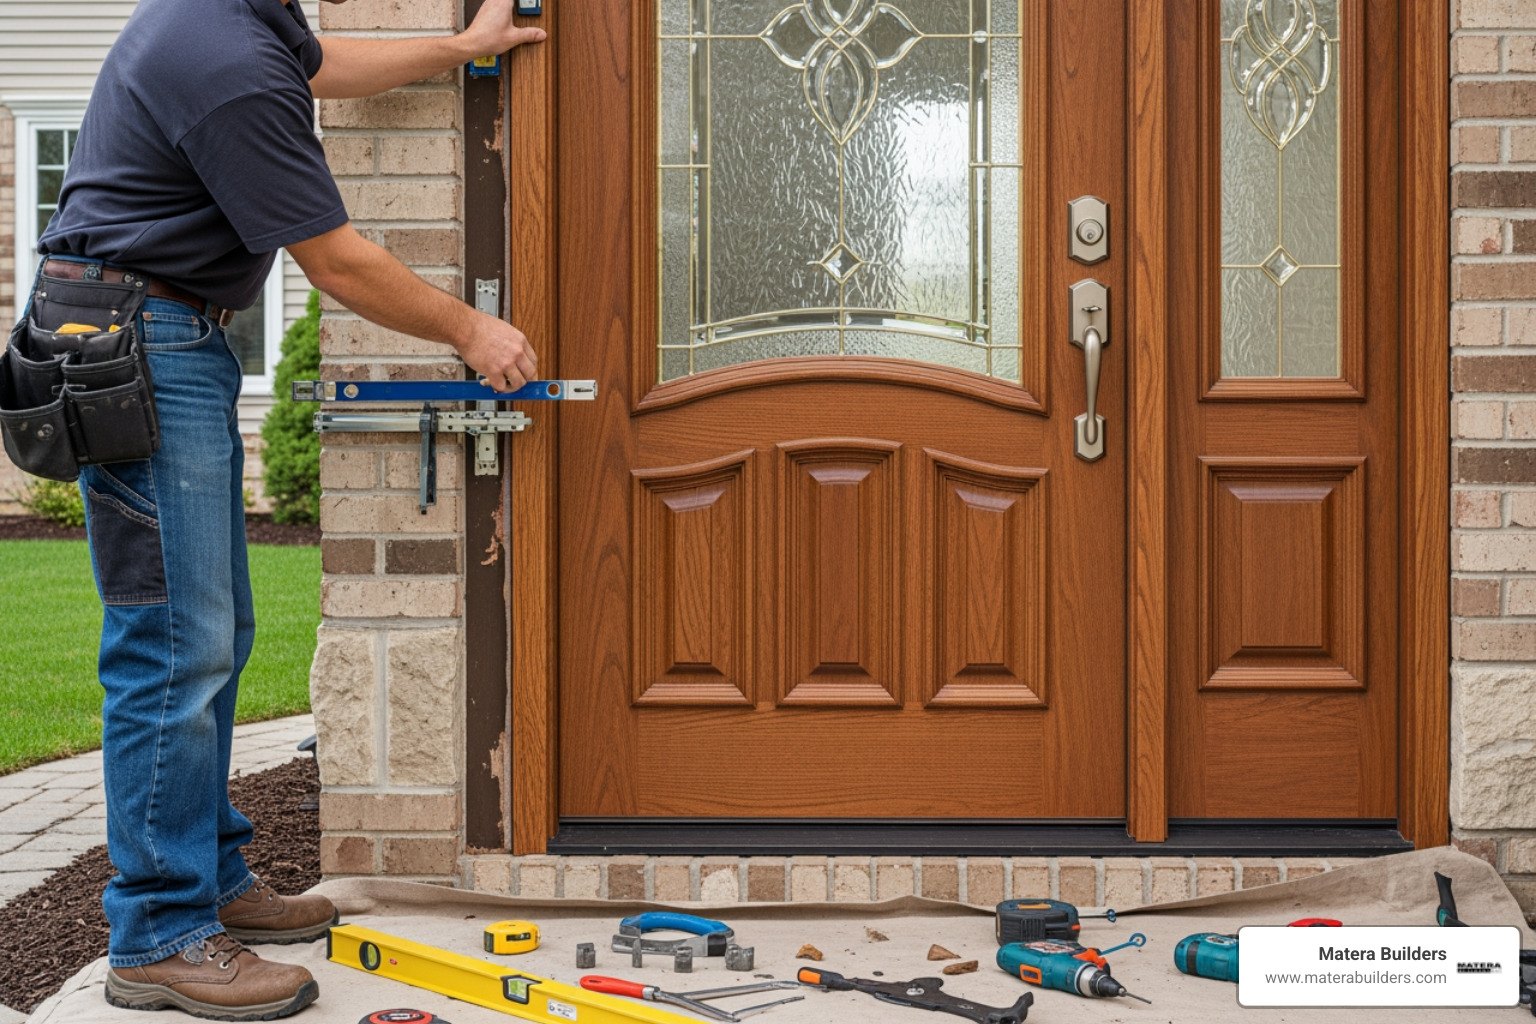
Before applying any sealant, place the new insert window into the opening. Check that it fits smoothly and that you have room to adjust it. Use a level to check for plumb and level. If everything looks good, remove the window.
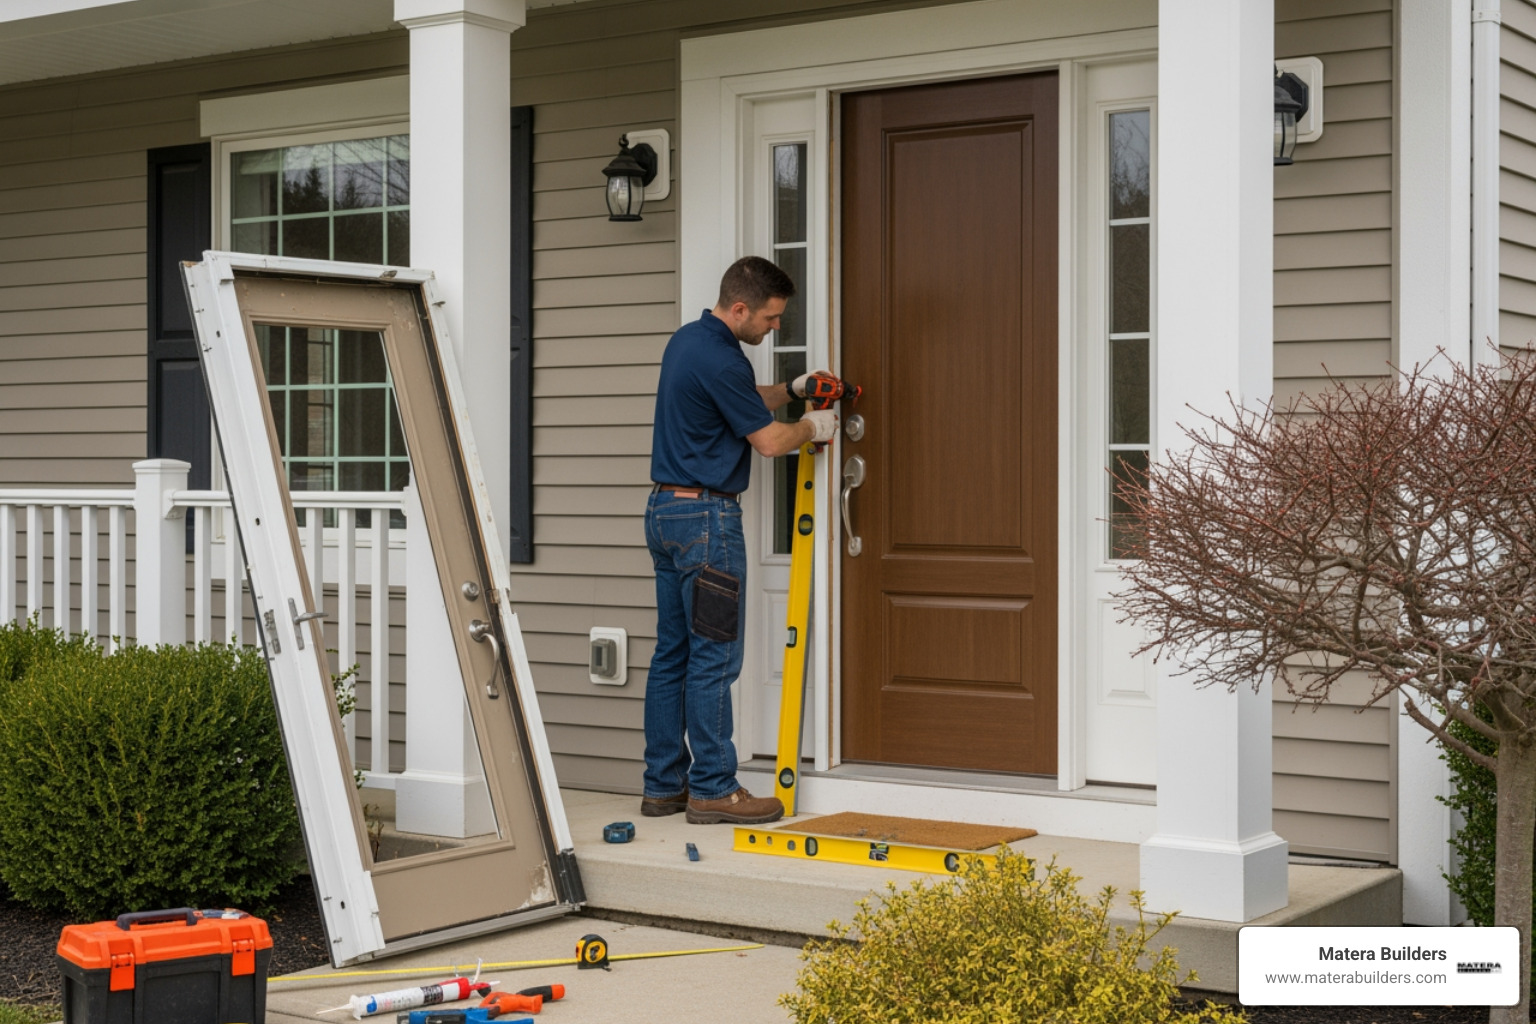
Step 7: Apply Caulk and Set the Window
Apply a thick, continuous bead of high-quality butyl caulk along the inside face of the exterior blind stops (the wood trim on the outside of the window frame) and across the sill.
Lift the new window into place, pressing it firmly against the exterior stops to seal the caulk.
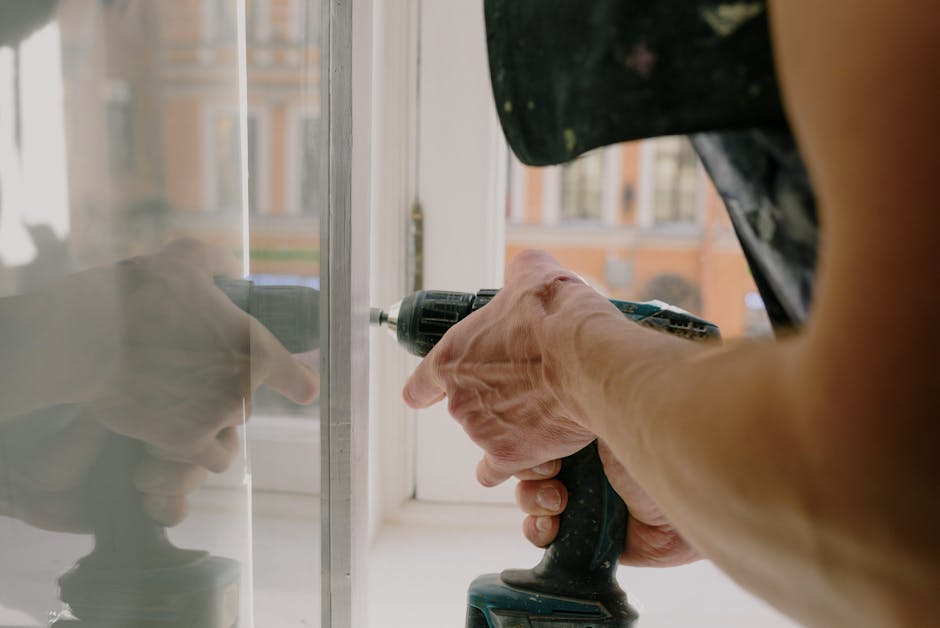
Step 8: Shim and Secure
Insert cedar shims at the screw holes on the sides of the window frame. This prevents the frame from bowing when you tighten the screws. Drive the installation screws through the pre-drilled holes in the window frame and into the original wood jambs.
Check that the window sashes open, close, and lock smoothly. If they bind, adjust your shims.
Step 9: Insulate and Seal the Gaps
On the inside of the house, fill the small gap between the new window frame and the old jamb with low-expansion foam.
Warning: Only use foam labeled specifically for "Windows and Doors." Standard expanding foam expands with enough force to bow the vinyl or wood frame, locking your sashes shut.
Step 10: Reinstall the Trim
Once the foam is cured, cut off any protruding shims with a utility knife. Reinstall your interior stops. Apply a clean bead of paintable acrylic latex caulk around the interior trim, and use exterior-grade butyl caulk to seal the outside edges where the window meets the casing.
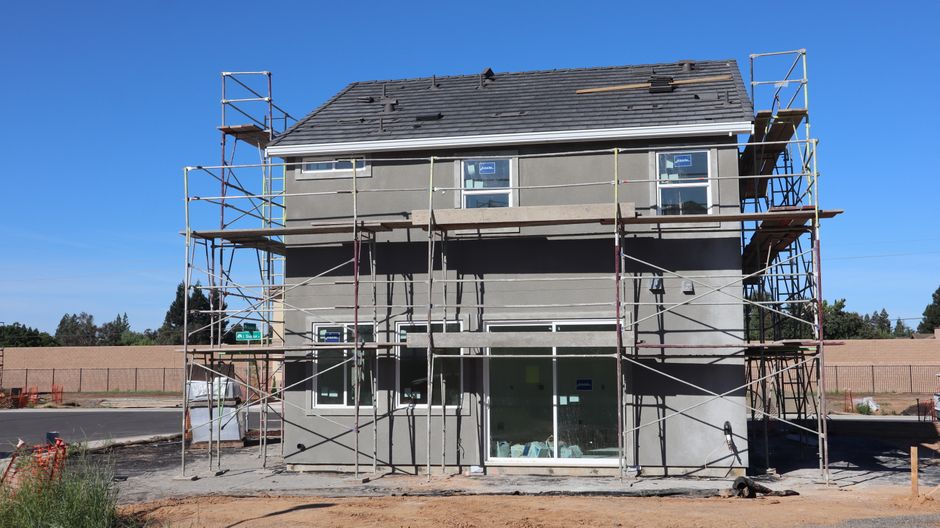
Choosing the Right Materials for Installing Replacement Windows in Old House Projects
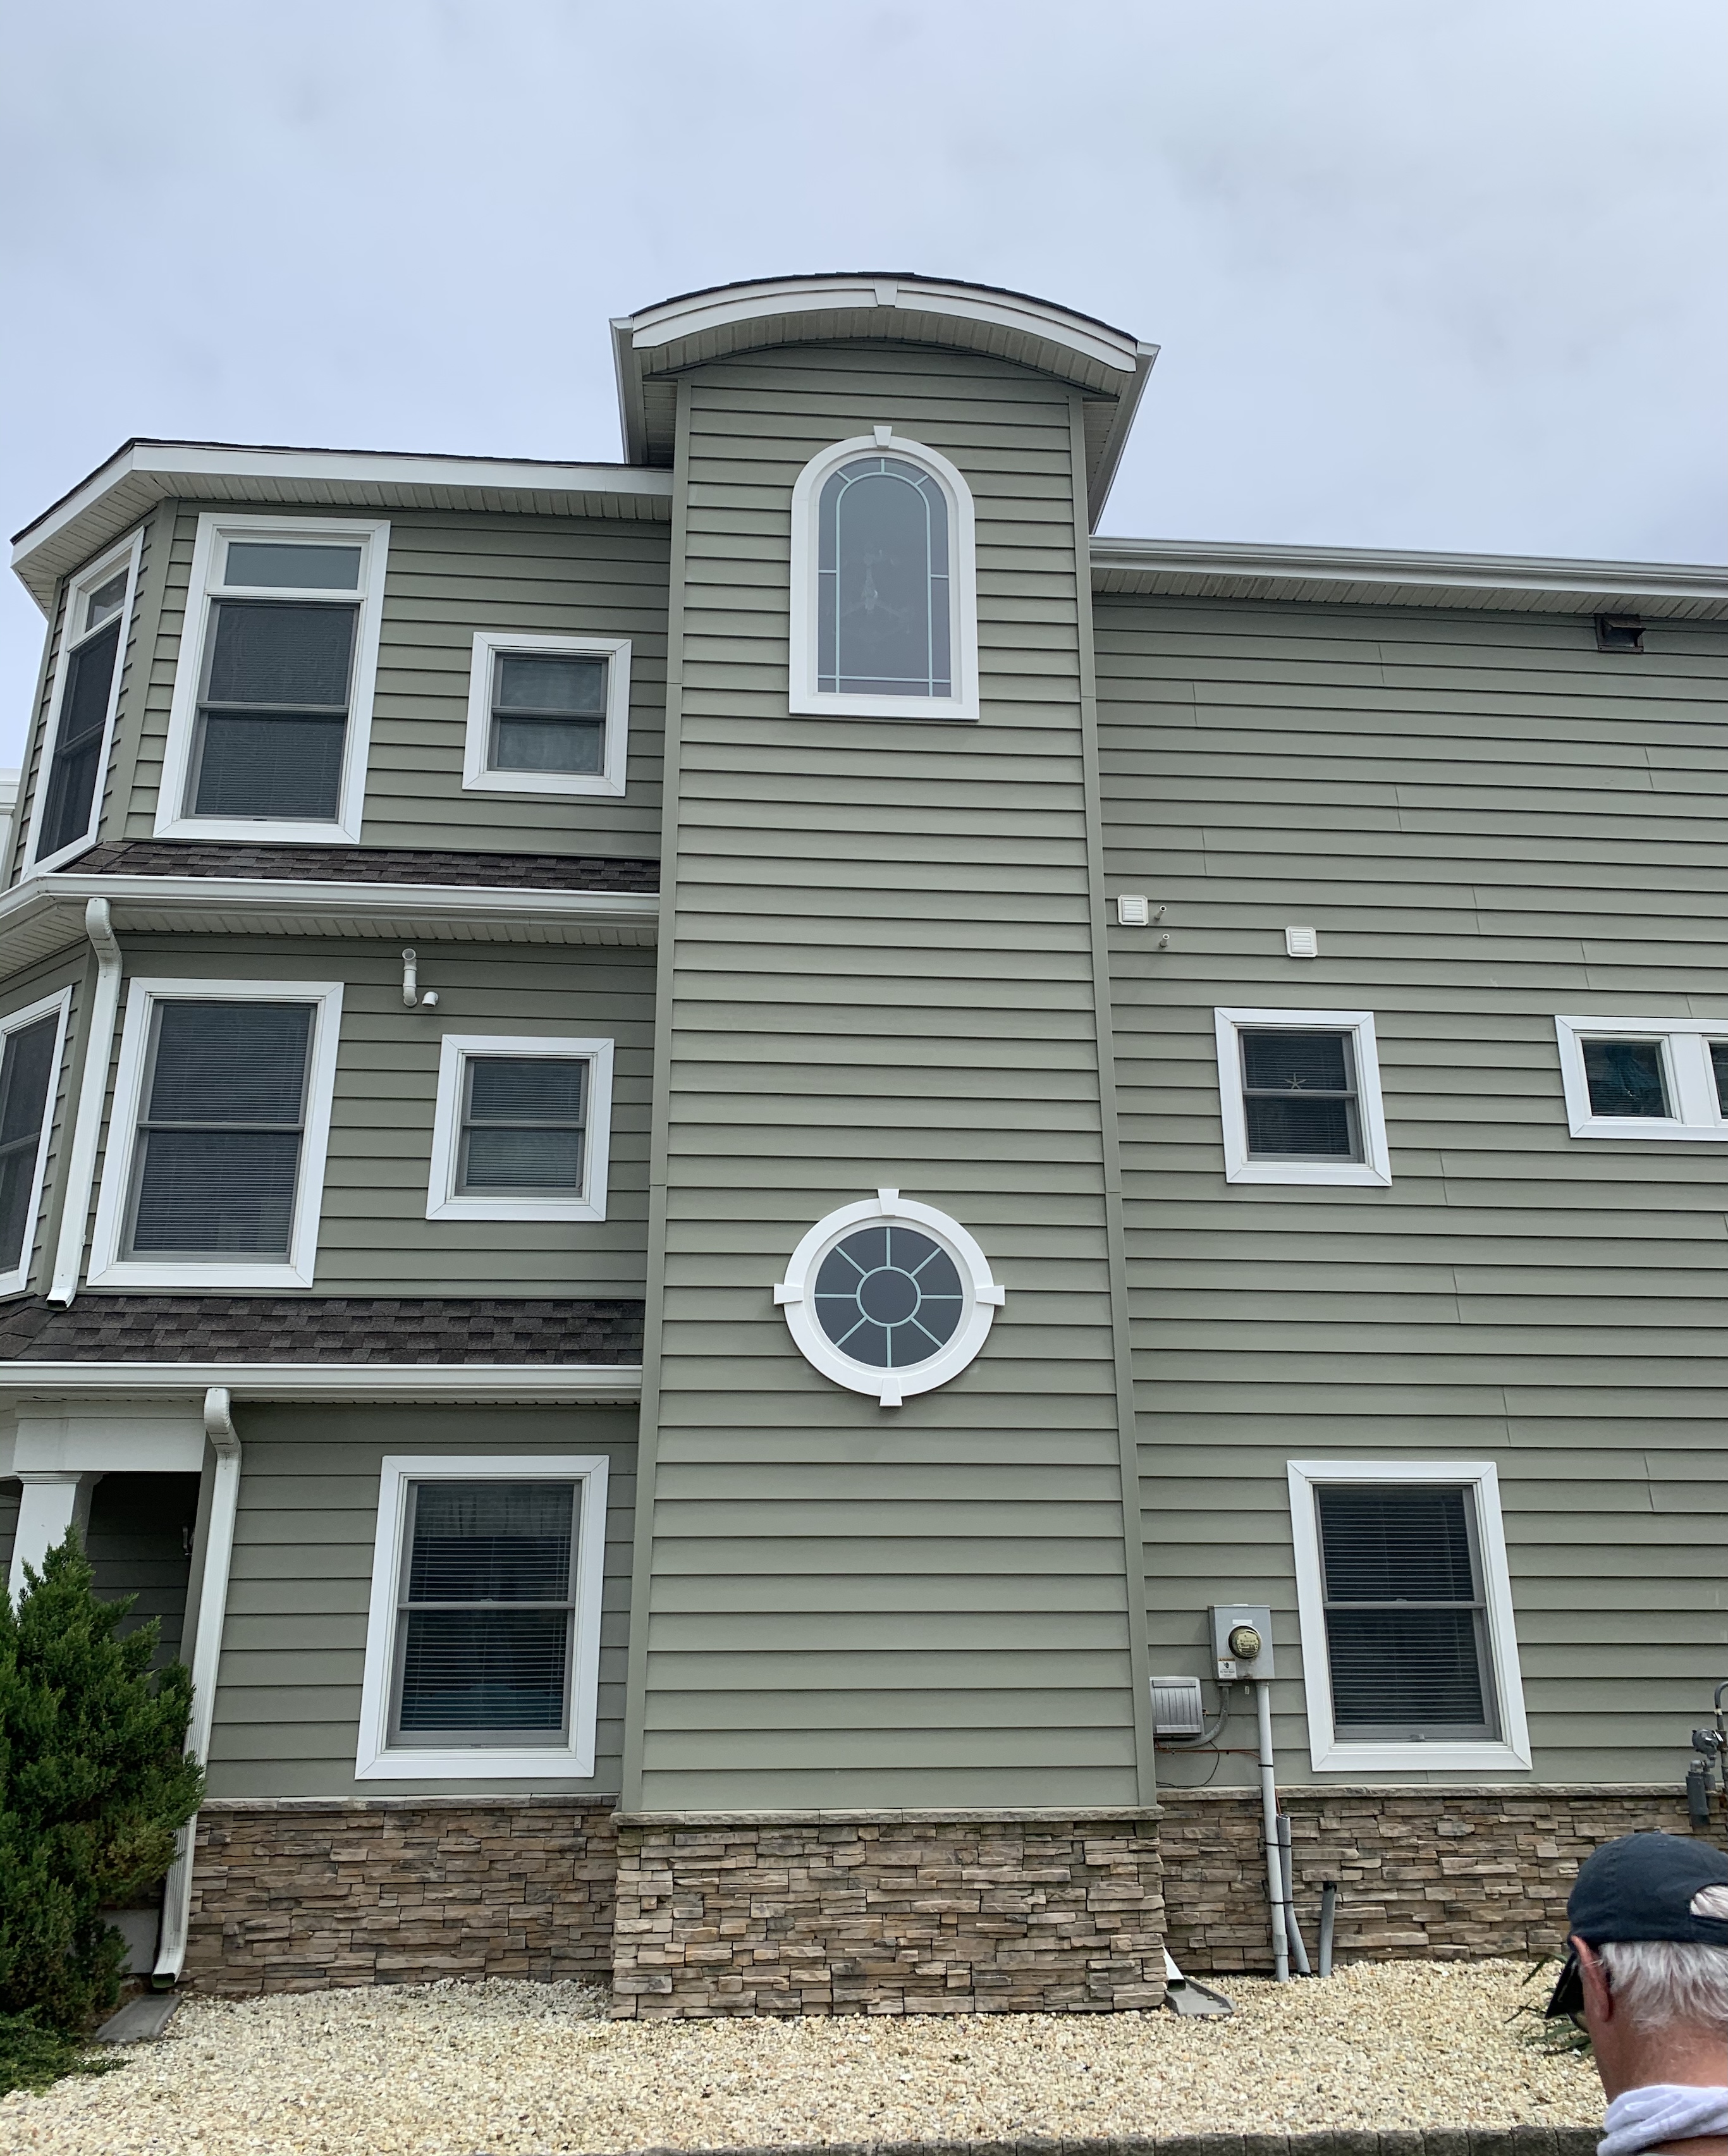
When choosing materials for your older home, you cannot just grab the cheapest vinyl window off the shelf. Coastal New Jersey weather is harsh. High winds, salt air, and intense summer sun will degrade cheap vinyl windows in less than ten years.
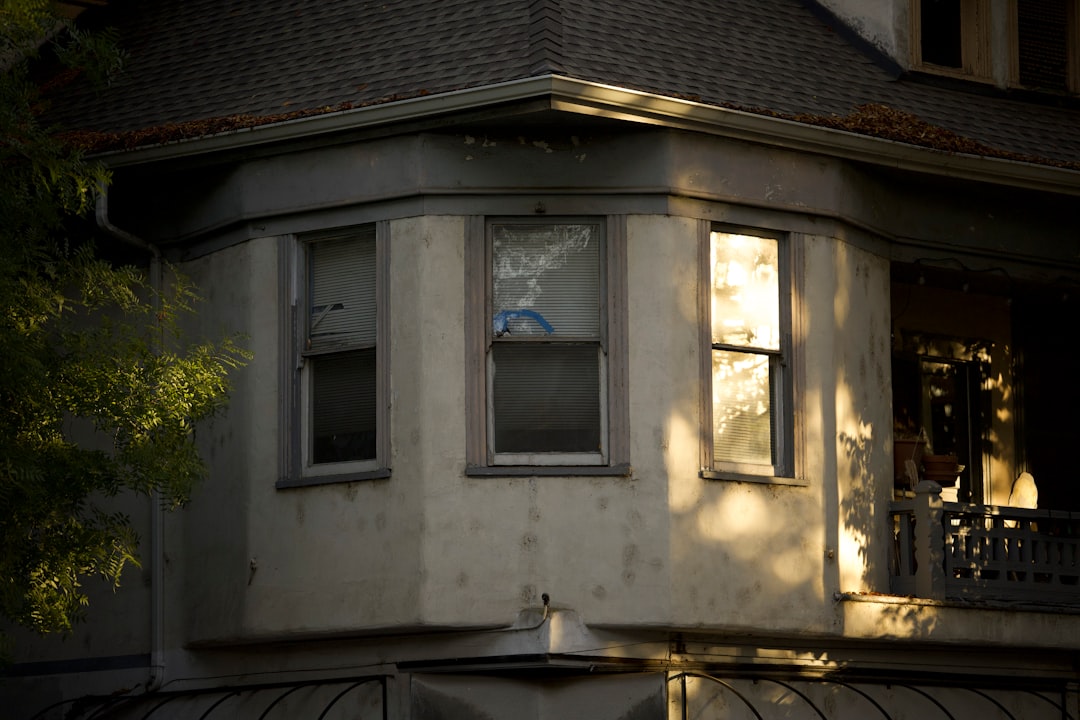
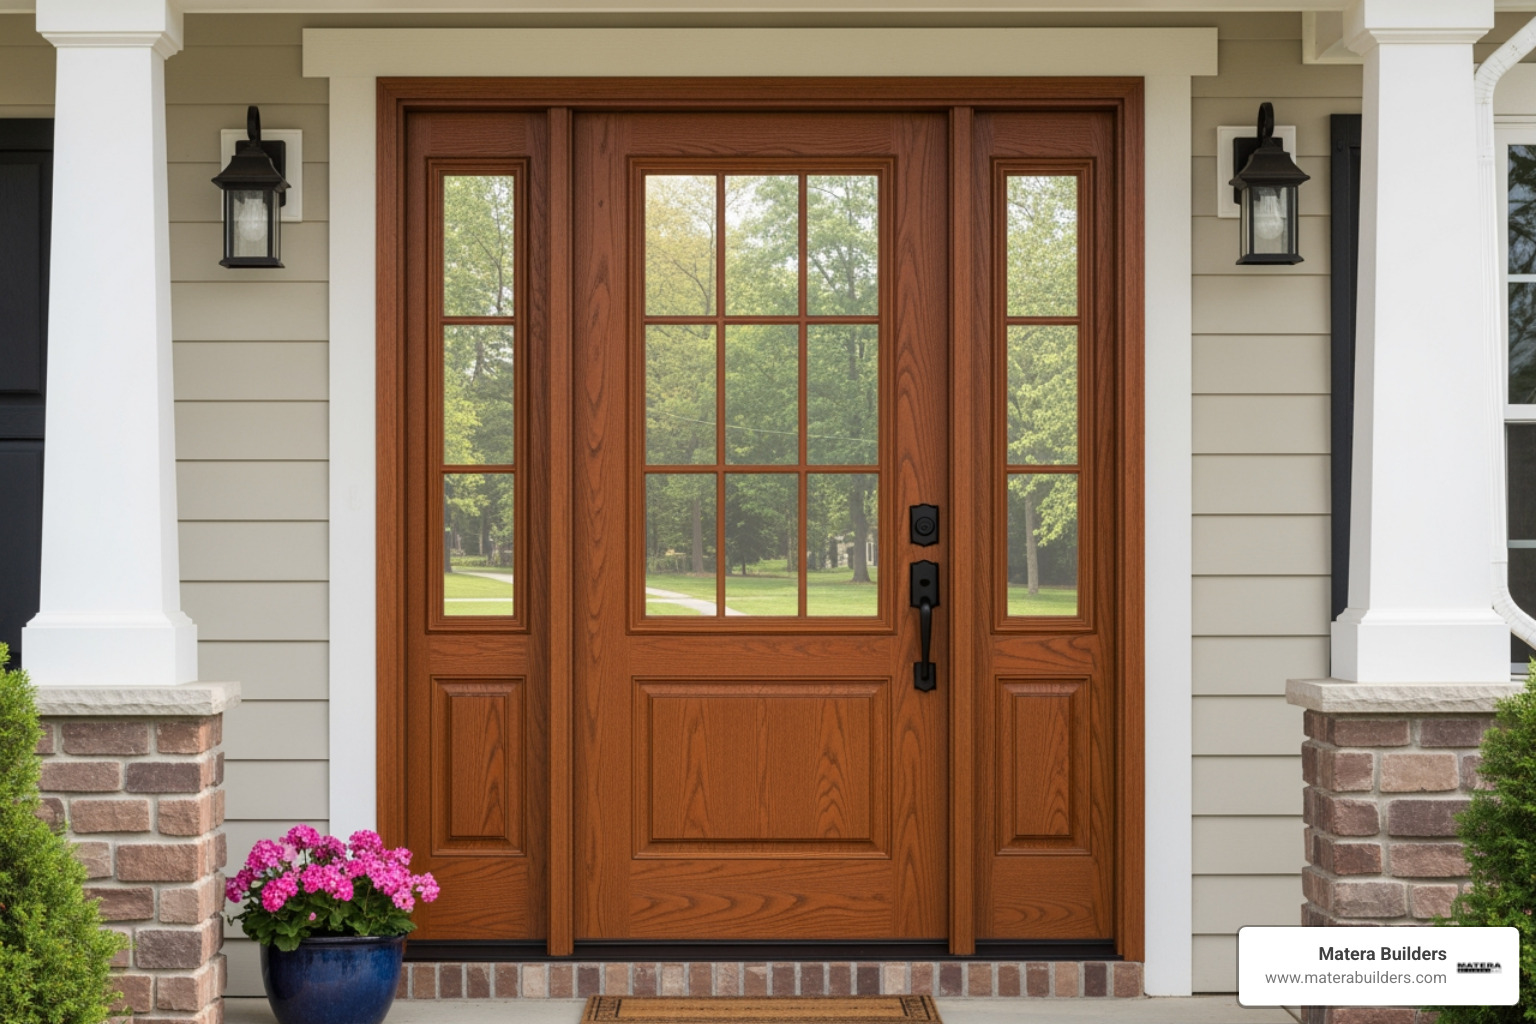
- Double-Hung Style: This is the most popular style for historic homes, chosen by over 40% of homeowners. It matches the original architectural style of historic properties.
- Fibrex Composite Material: If you want the look of wood without the maintenance, consider Andersen's Fibrex material. It is twice as strong as vinyl, handles extreme temperature swings without expanding or contracting, and stands up to harsh coastal salt air.
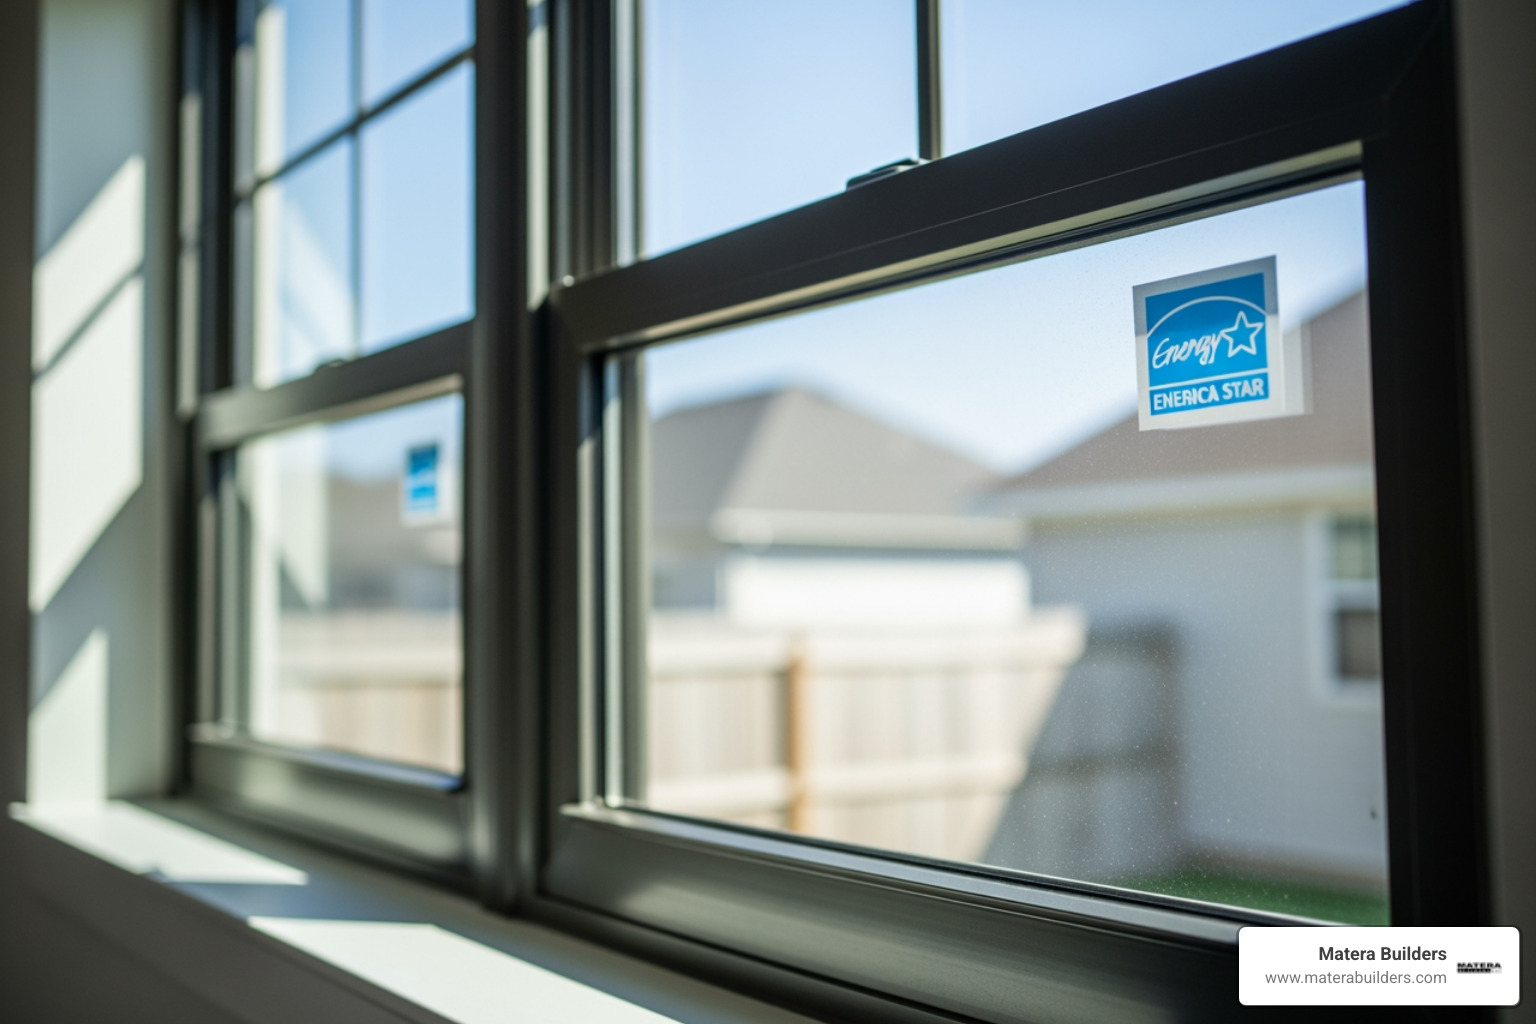
- Energy Star Ratings: Look for windows with a low U-factor (which measures how well the window prevents heat from escaping) and a low Solar Heat Gain Coefficient (SHGC), which blocks heat from the sun.
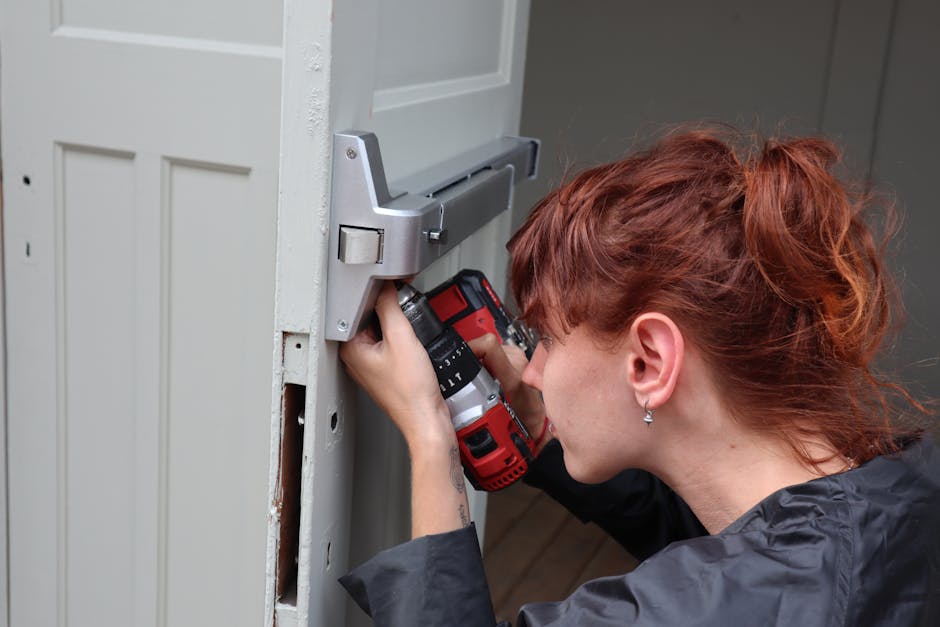
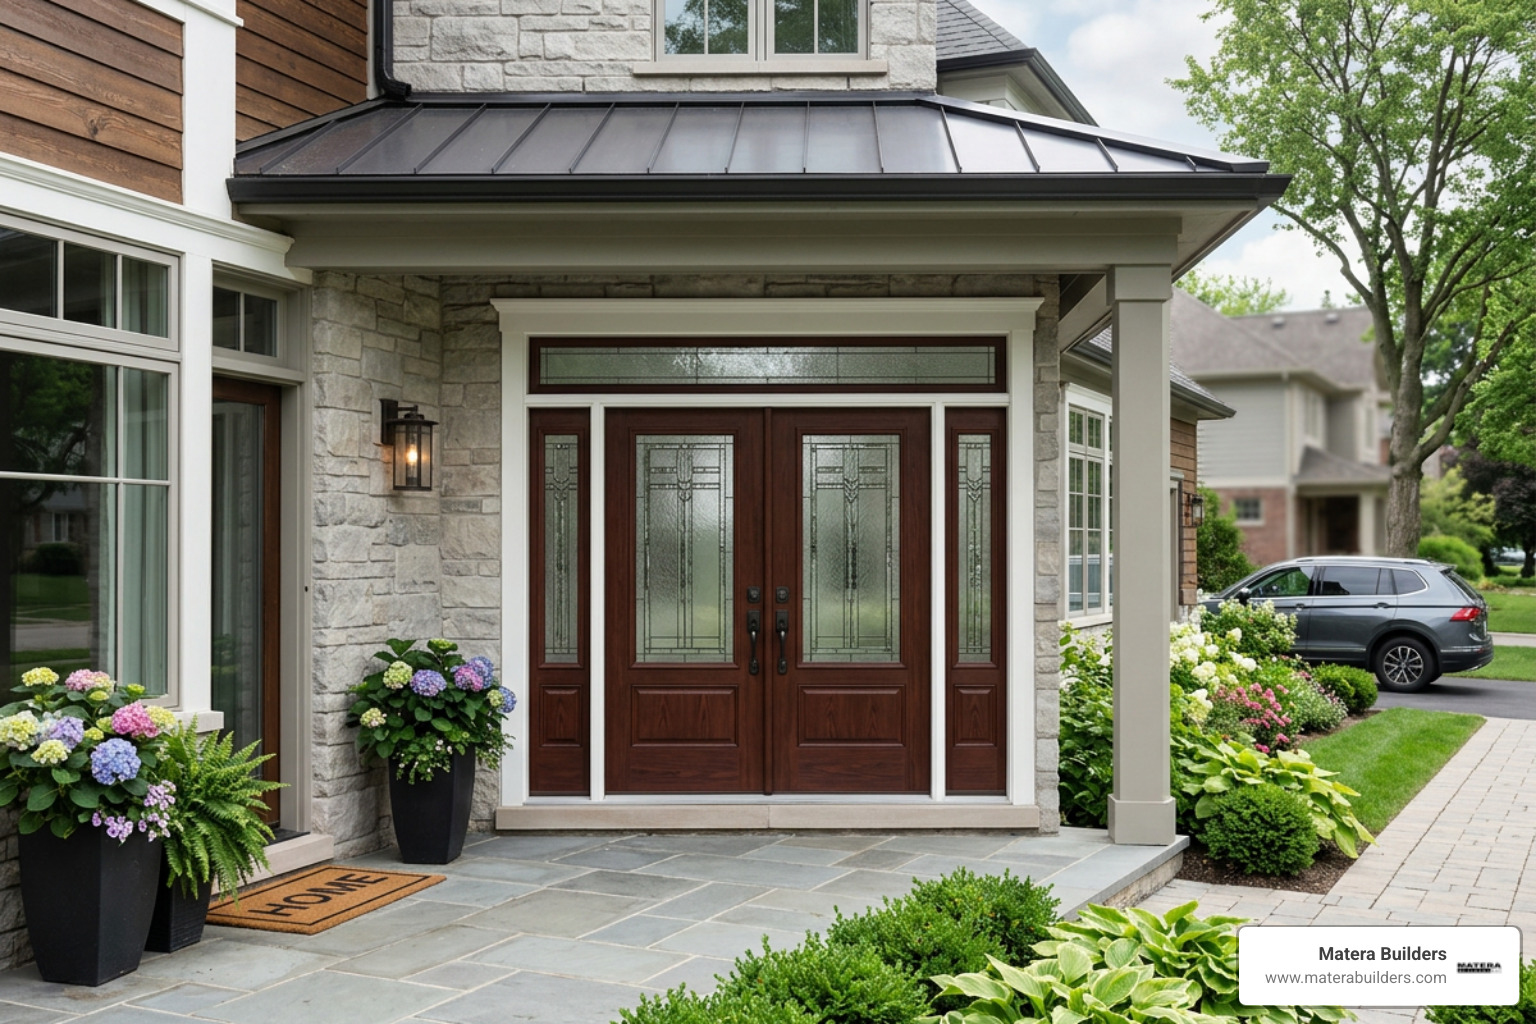
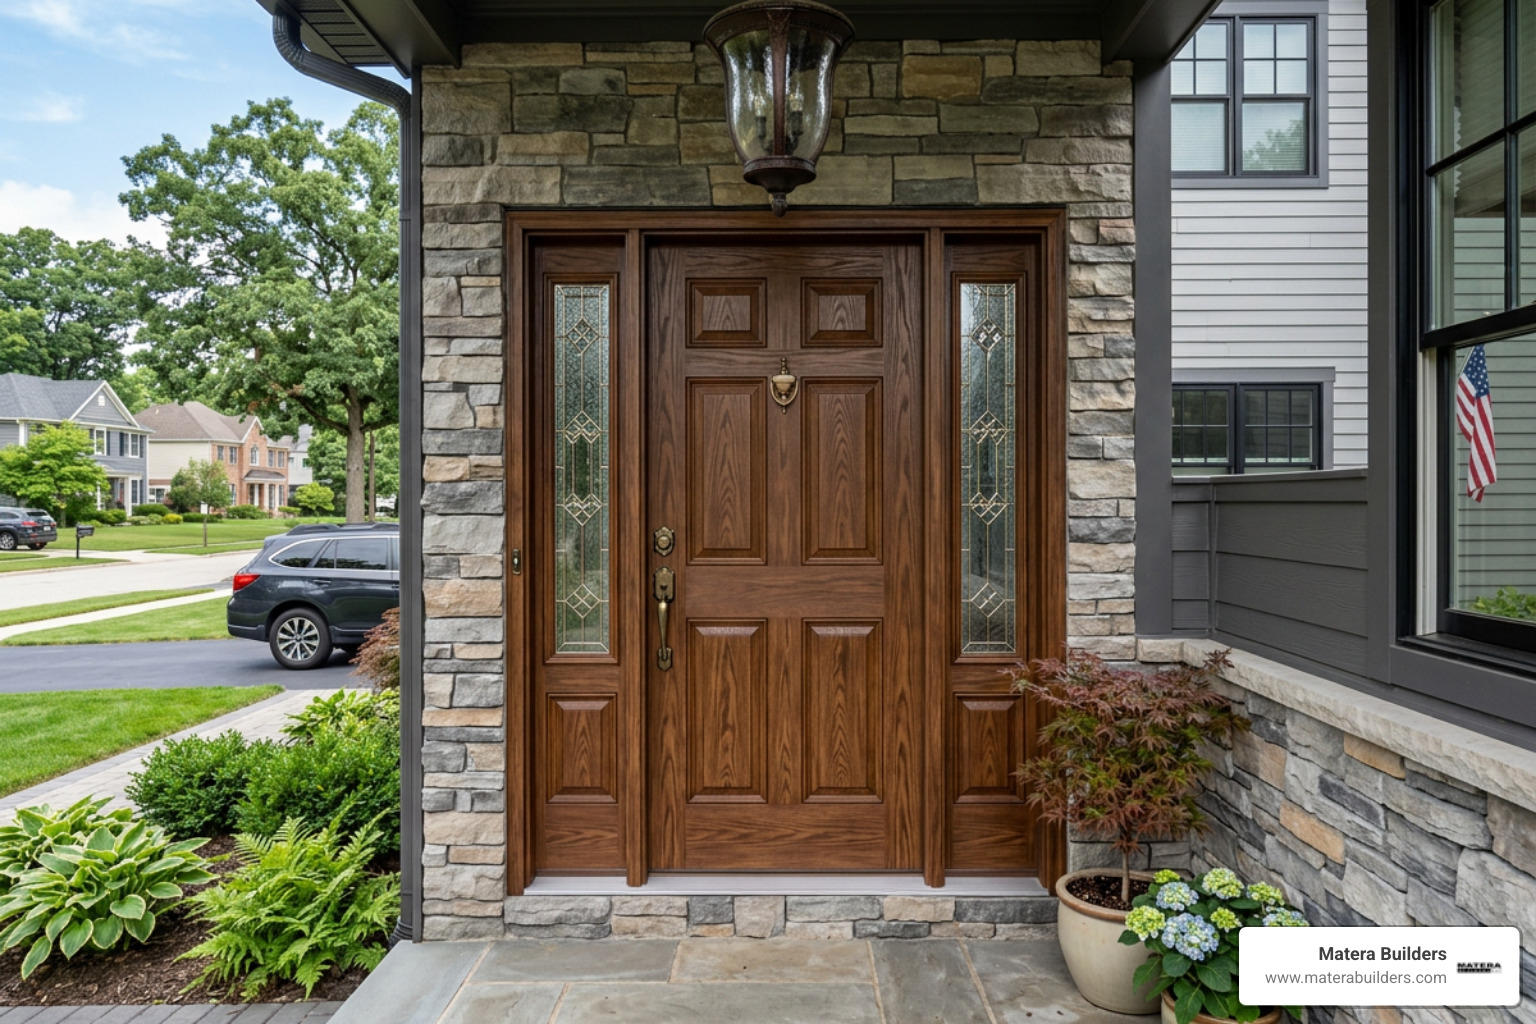
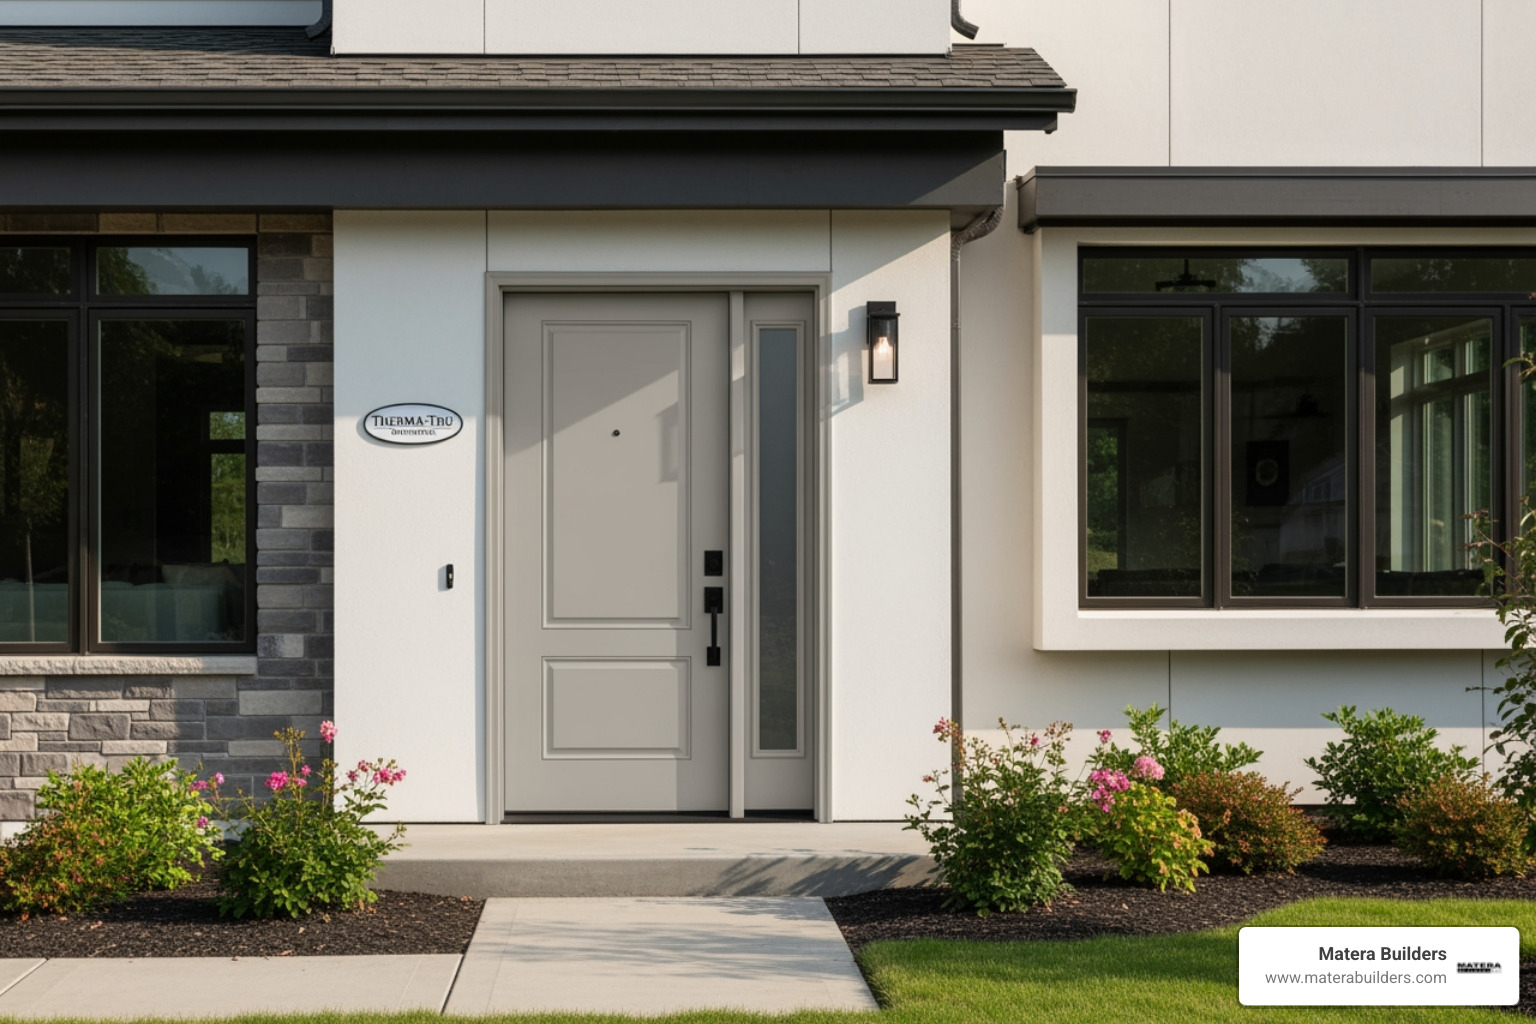
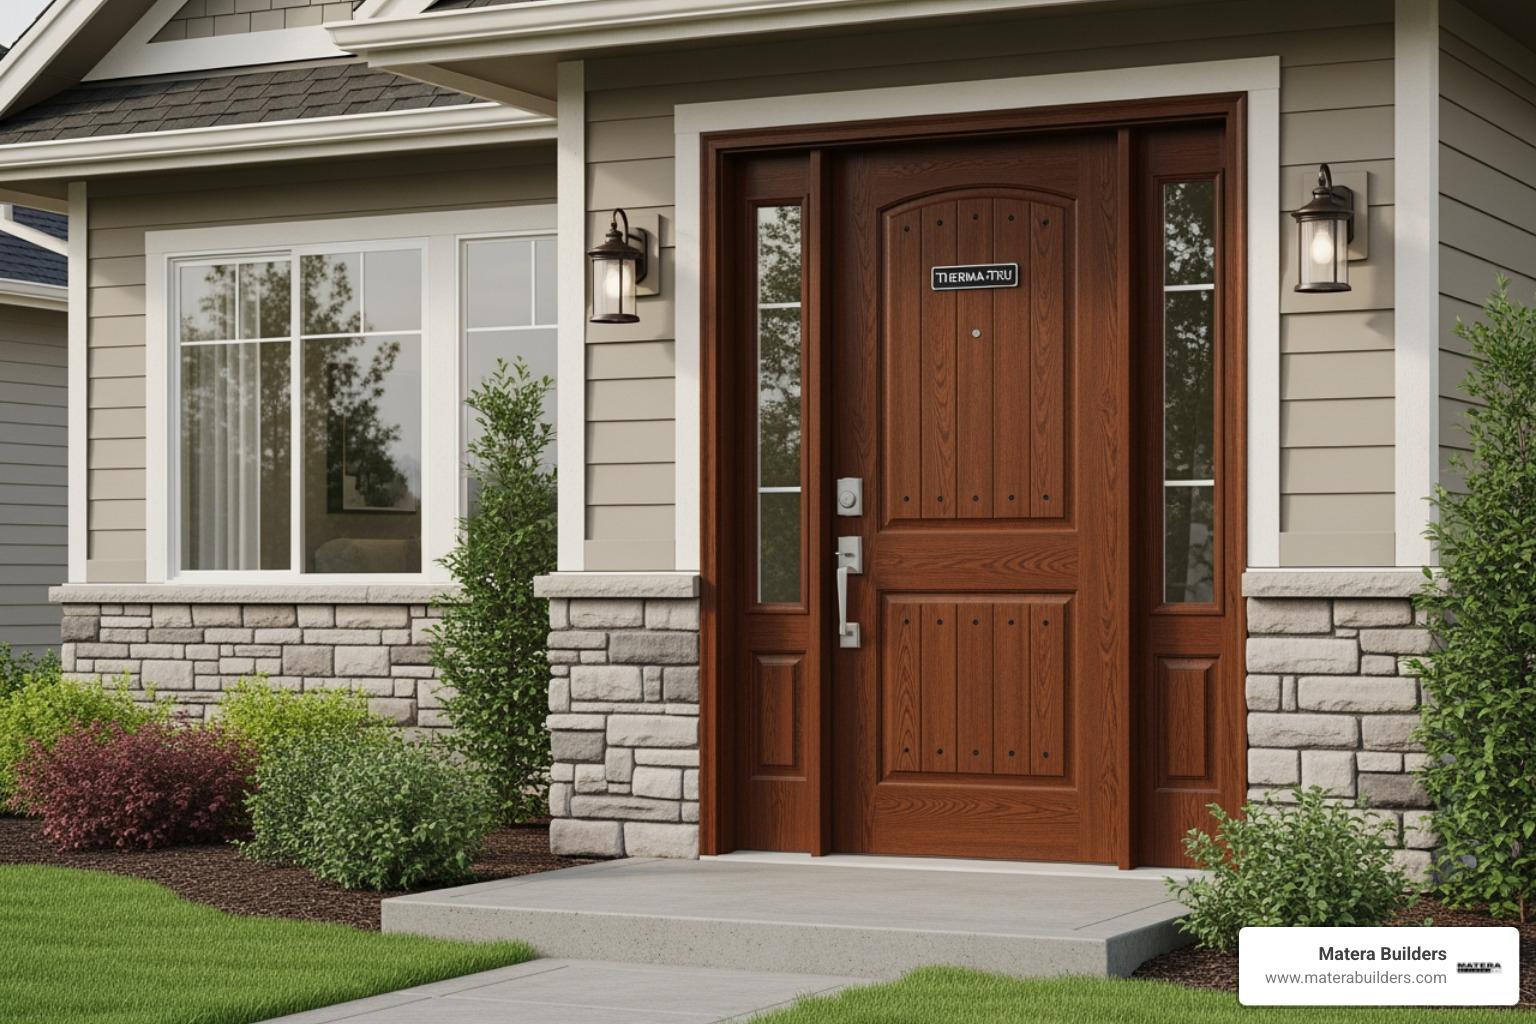
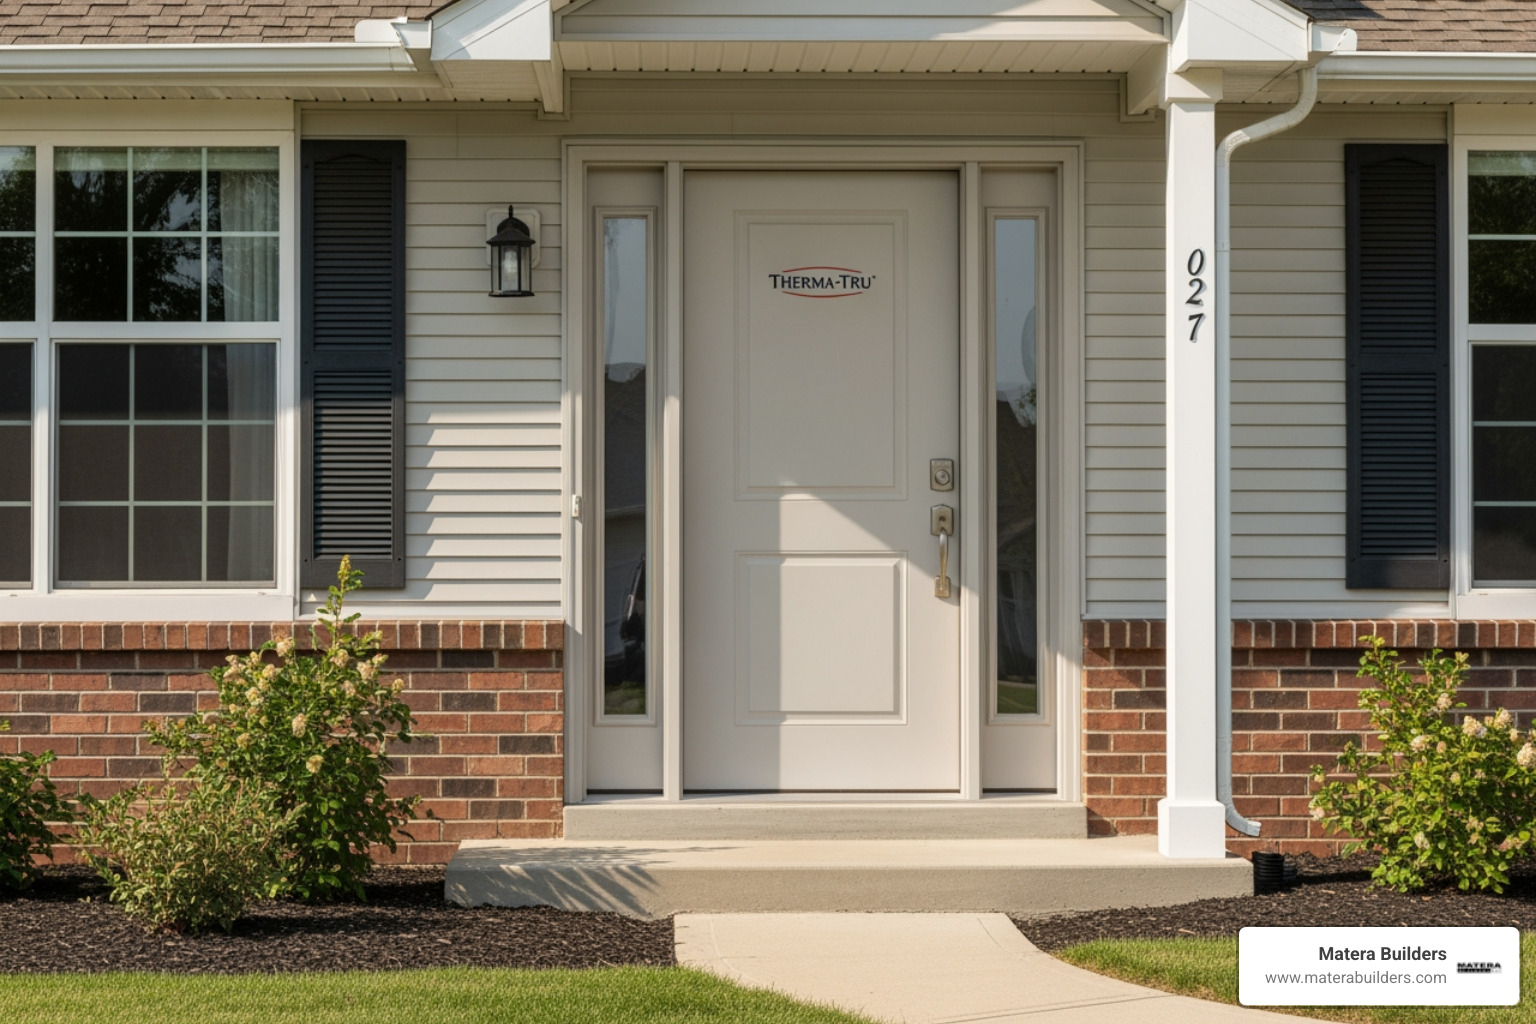
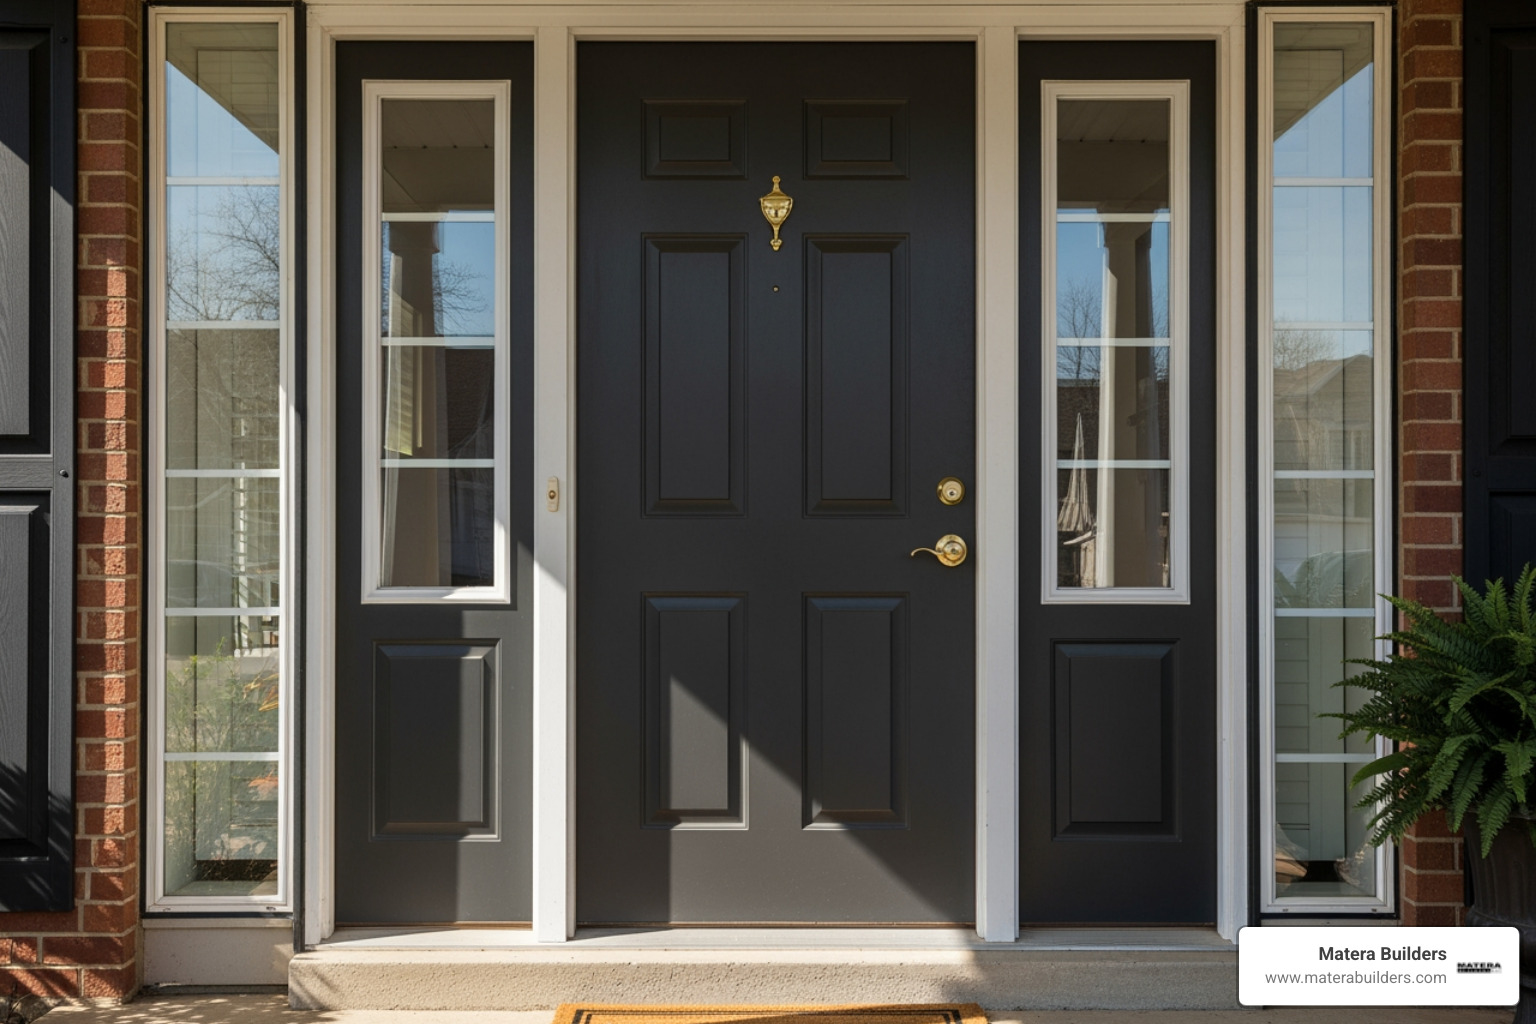
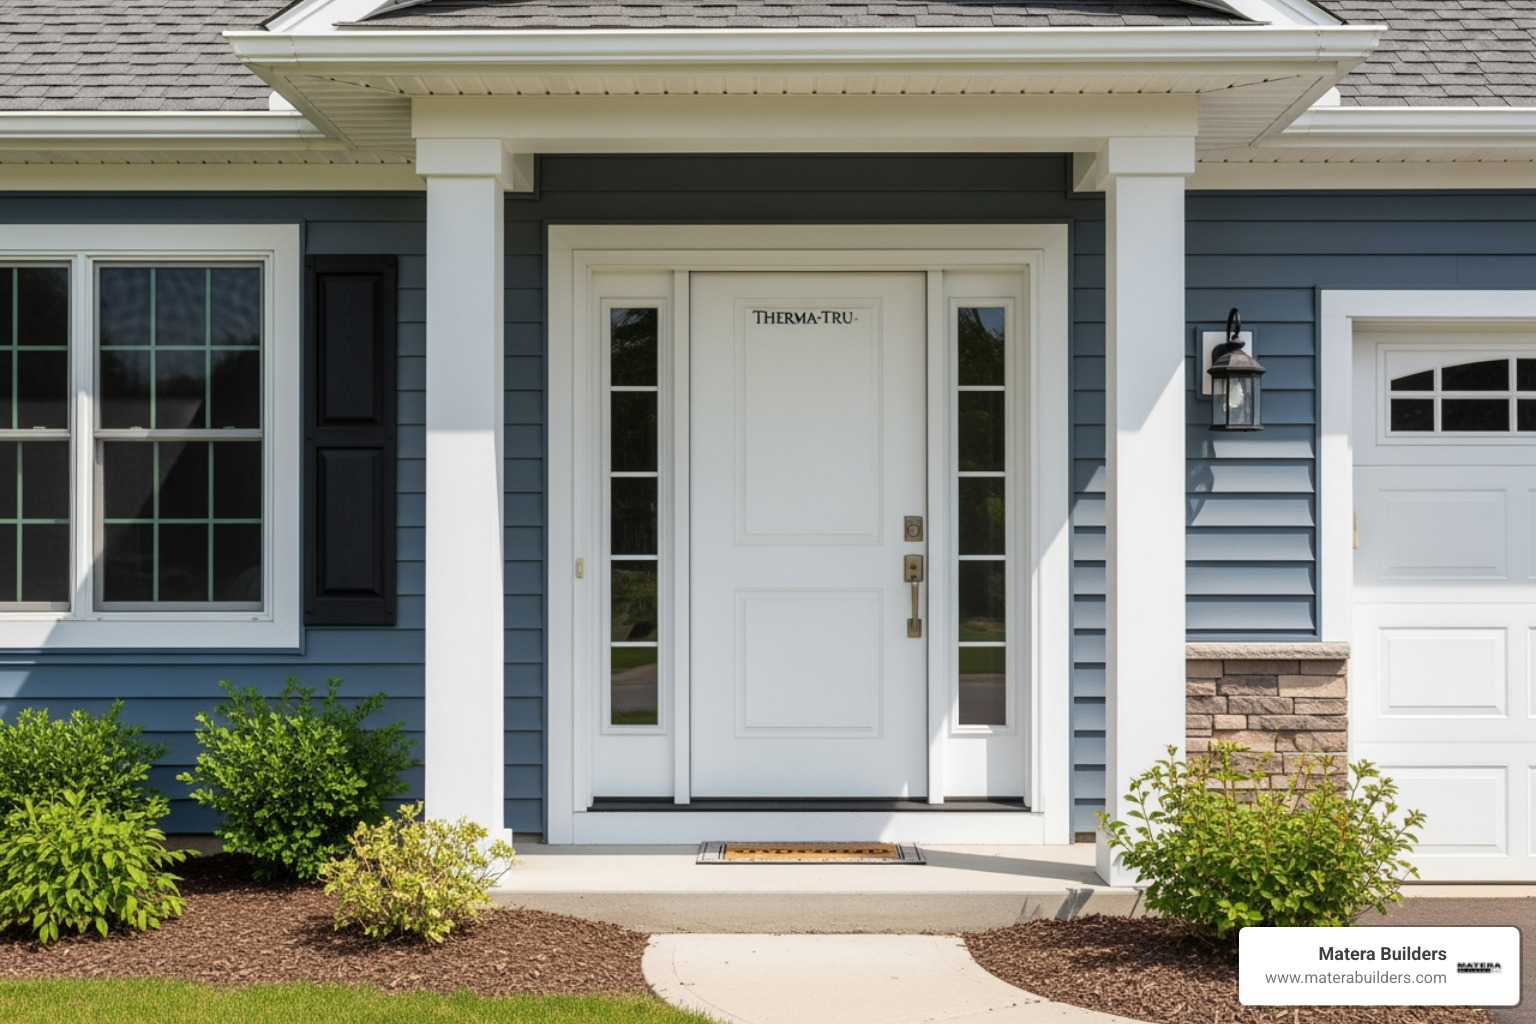
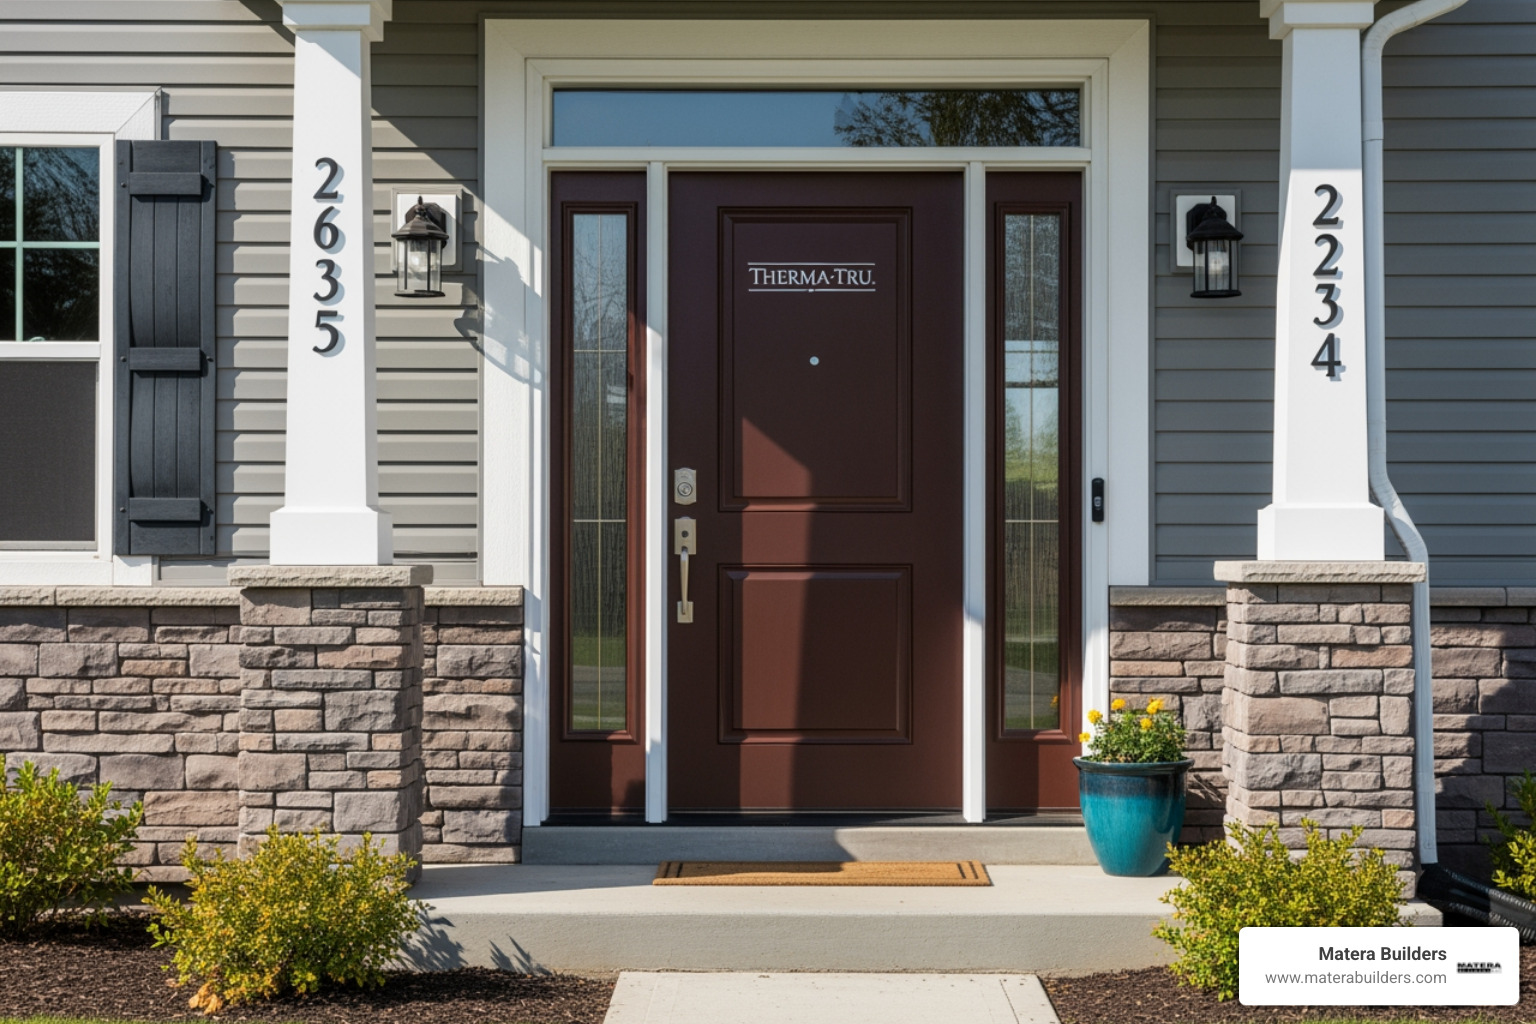
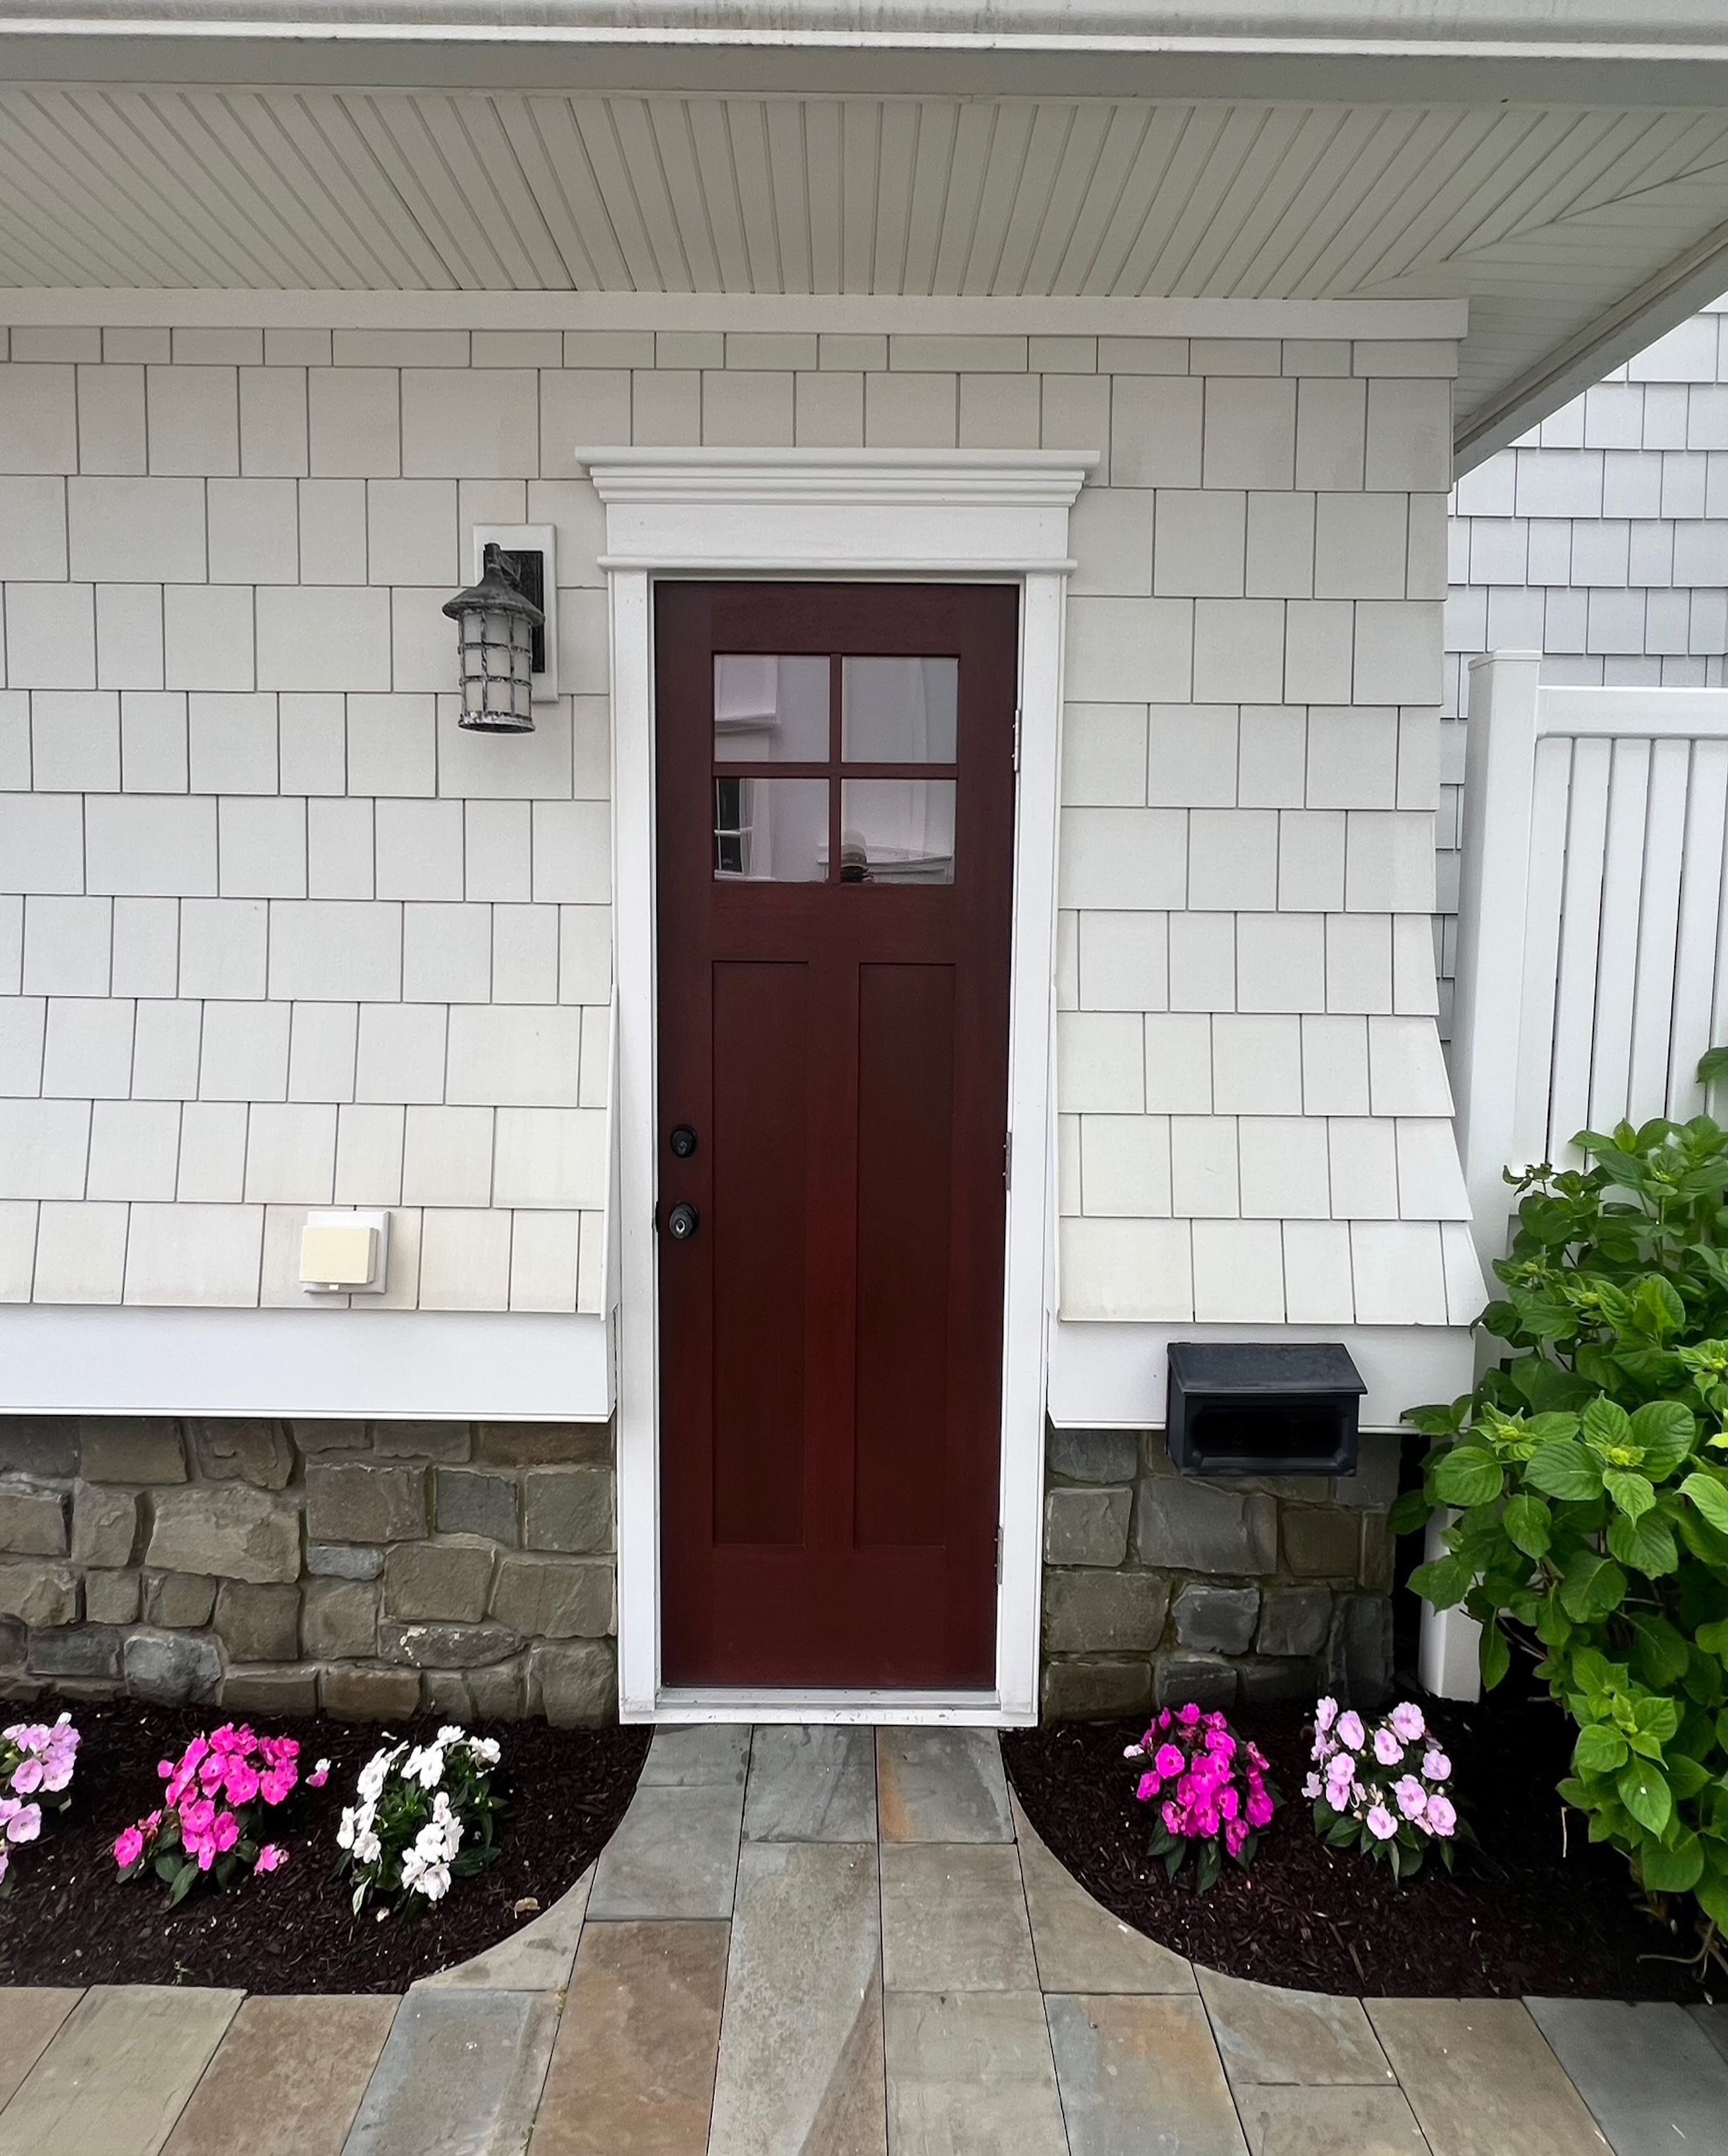
If you are upgrading your home, it is also a great time to think about your entryways. You can coordinate your window project with an Andersen Doors replacement to completely seal your home's envelope. This ensures your entire home is protected from coastal drafts and rising energy bills.
Frequently Asked Questions about Older Home Windows
Can I install replacement windows myself in an old house?
You can install insert windows yourself if you have basic carpentry skills, patience, and a square opening. However, if your home has settled significantly, has rot, or features brick veneer, the job gets complicated quickly.
Improper DIY installation can lead to hidden water leaks. Over time, these leaks rot your wall framing and lead to expensive structural repairs. If your windows are on the second floor, or if you suspect lead paint is present, hiring a certified window replacement contractor is the safest route.
How do I stop drafts without replacing my historic windows?
If your budget is tight or local historic preservation rules prevent replacement, you can seal your original windows. Apply high-quality caulk around the exterior trim. Install spring-bronze weatherstripping along the sash tracks.
Finally, add high-quality exterior storm windows. This combination stops drafts, reduces outside noise, and costs a fraction of the price of full replacement.
What are the signs that my old window frames are rotted beyond repair?
Take a flathead screwdriver and gently press it into the windowsill and the bottom of the outer frame. If the wood feels soft, spongy, or the screwdriver sinks easily into the wood, you have active wood rot.
If the rot has traveled deep into the side jambs or the wall framing beneath the window, insert windows will not work. You must perform a full-frame replacement to remove the damaged wood and rebuild the rough opening.
Conclusion
Installing replacement windows in an old house is a balancing act. You want to preserve the classic character, beautiful trim, and historic appeal of your home while enjoying the comfort, warmth, and lower energy bills of modern glass technology.
Whether you choose to restore your original old-growth wood sashes or replace them with high-performance composite windows, taking your time and using the right sealing techniques is the key to a job that lasts.
If you are dealing with uneven frames, historic brick openings, or the harsh coastal weather of the Jersey Shore, you do not have to tackle this alone. My team at Matera Builders has over 37 years of experience helping homeowners in Ocean City and across New Jersey protect their homes.
We are certified installers of premium Andersen Windows and Doors, meaning we bring precision, durability, and trust to every single project.
If you want to ensure your windows are installed to the highest standards, contact us today for a professional assessment. We will help you find the perfect solution for your home.
- Learn more about our Professional Window Installers NJ services.
- Explore our high-performance Andersen Windows & Doors options today.